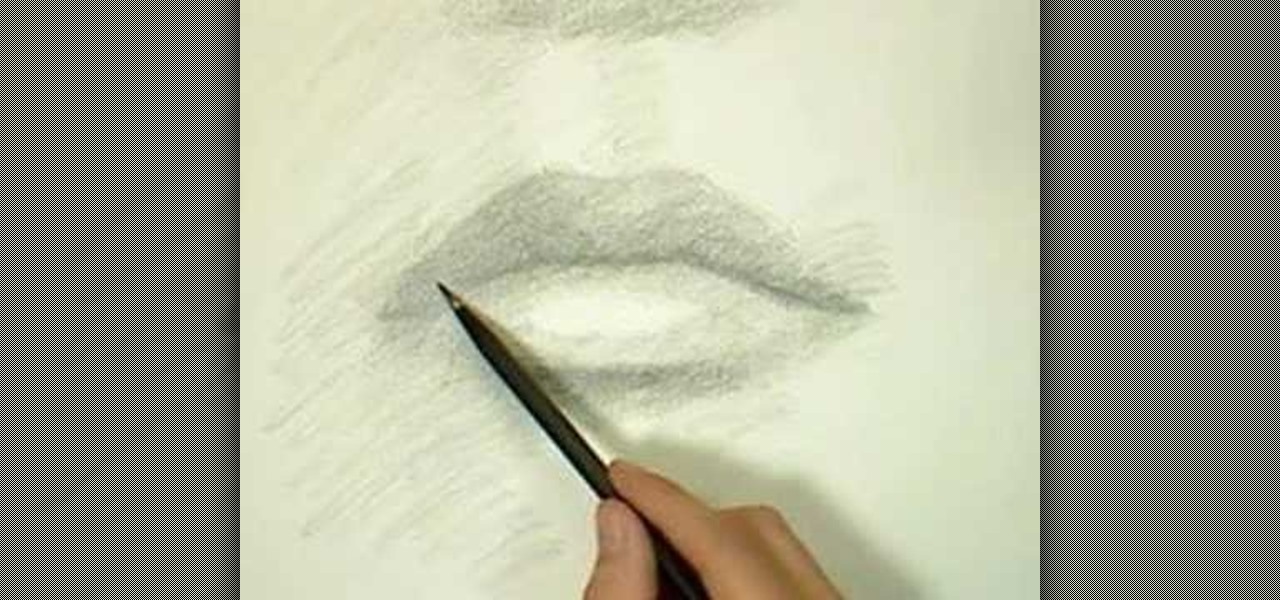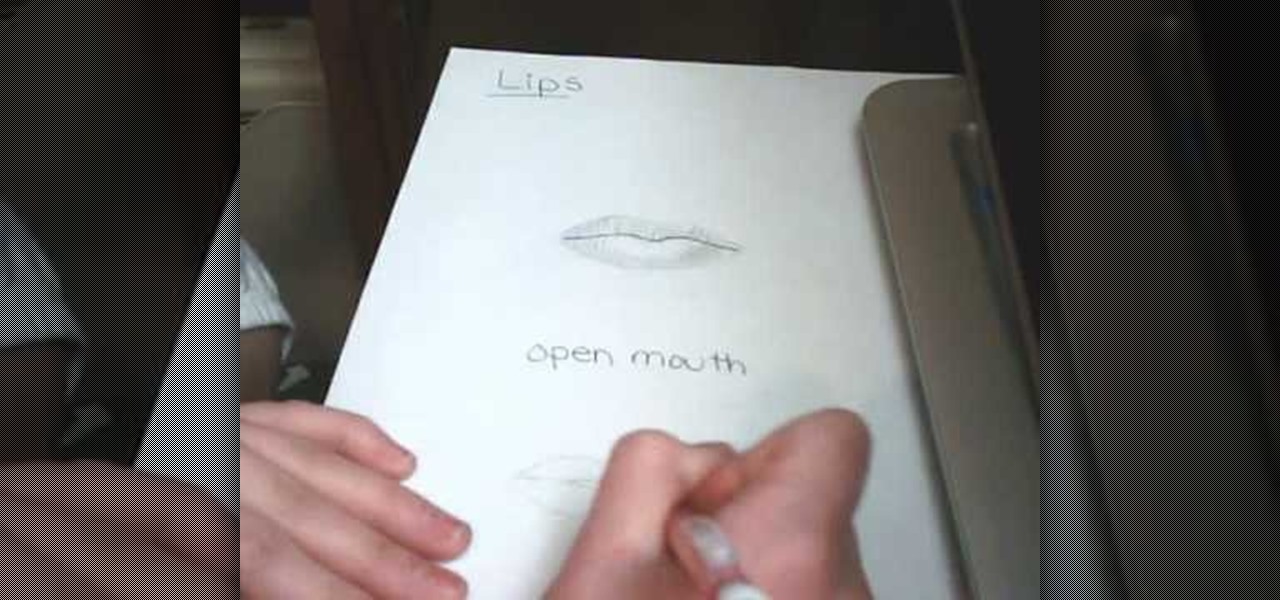
If your drawing a face and get to the mouth region and don’t know where to go from there then watch this video to see how you can shade in lips. Fist you’ll draw the basic lip outline. Depending on who you’re drawing the lips might be fuller or thinner. The tricky part it the shading. The shading is to show depth in the lips. You’ll want to give a shine in the middle to greater depth. Next you’ll want to try drawing a partially open mouth.

Seven easy basic art methods and steps to drawing Anakin Skywalker. The first 1-3 steps illustrates the basic drawing methods for the human head shape, and line placement for a basic human head. The fourth step illustrates basic drawing of the eyes, nose, mouth and ears. Step five illustrates the basic shading around the eyes, nose, ears and mouth. Step six illustrates how to add the shaping and styling of the hair and facial features. The final step illustrates how to shade the hair. It also...
Draw23 presents a video demonstrating how to draw a face. The video uses no instructions or advice, it just shows plainly, in fast-motion, how to draw a realistic portrait. First, an outline of the face is made, including lines indicating where the eyes, nose, and mouth will be placed. The next step is drawing the features with minimal shading. Next, heavy shading is added, and finally, some last-minute details to perfect the drawing. By watching this video, you can see the proper technique u...

Learn how to texture splat in real time with the help of GLSL shading.umetric clouds when working in Blender. Whether you're new to the Blender Foundation's popular open-source 3D computer graphics application or are a seasoned digital artist merely on the lookout for new tips and tricks, you're sure to be well served by this free video software tutorial. For more information, and to get started doing real-time texture splatting yourself, take a look!

In this how to video, you will learn how draw a '56 Chevy truck with flames. First, draw the outline of the car. Next, go into it with the windshield and driver side window. Next, draw the two wheels on the side. Also draw the lines for the fenders of the car. Add in the grill and head lights of the car in the front. Finish the basic outline with the vents on the hood of the car and the details of the back of the truck. Next, draw the flames in with a red marker. Outline the flames with a yel...

In this how to video, you will learn how to draw V for Vendetta. First, start out with the legs of the character. Draw the outline as if the character is squatting. Next, draw the outline of the cape and the hands. Next, draw the face of the character. Note that he wears a hat. You can also fill in his mask. Note that the mask has a mustache and a grin. Once the outline of the character is complete, add the basic details of his suit. This includes the areas of the highlights and shading. Make...

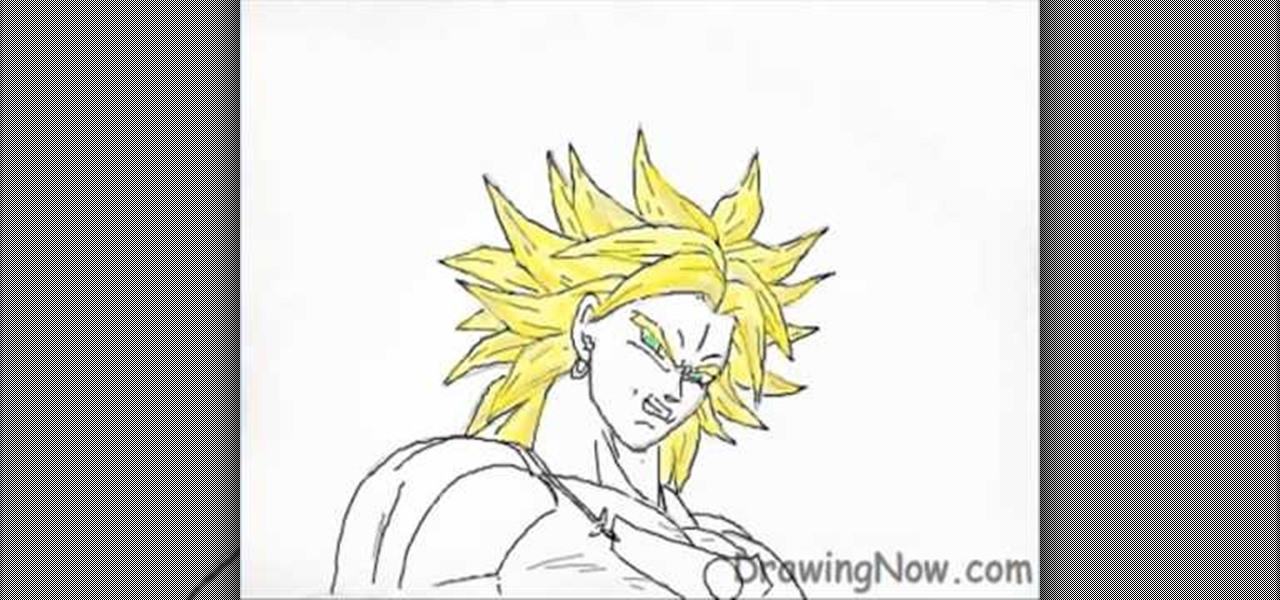
In this how to video, you will learn how to draw Broly. First, start out with an oval shape for the face. Next, add another for the ear. From here, you can add the neck, shoulders, and chest. Next, draw numerous spikes for the hair. The basic outline is complete. Go into the drawing with more detail by adding lines inside the spikes to simulate hair strands. Add the eyebrows, eyes, nose, and mouth. Next, draw in the muscles of the shoulders and chest. Add the outline of the necklace. Now you ...
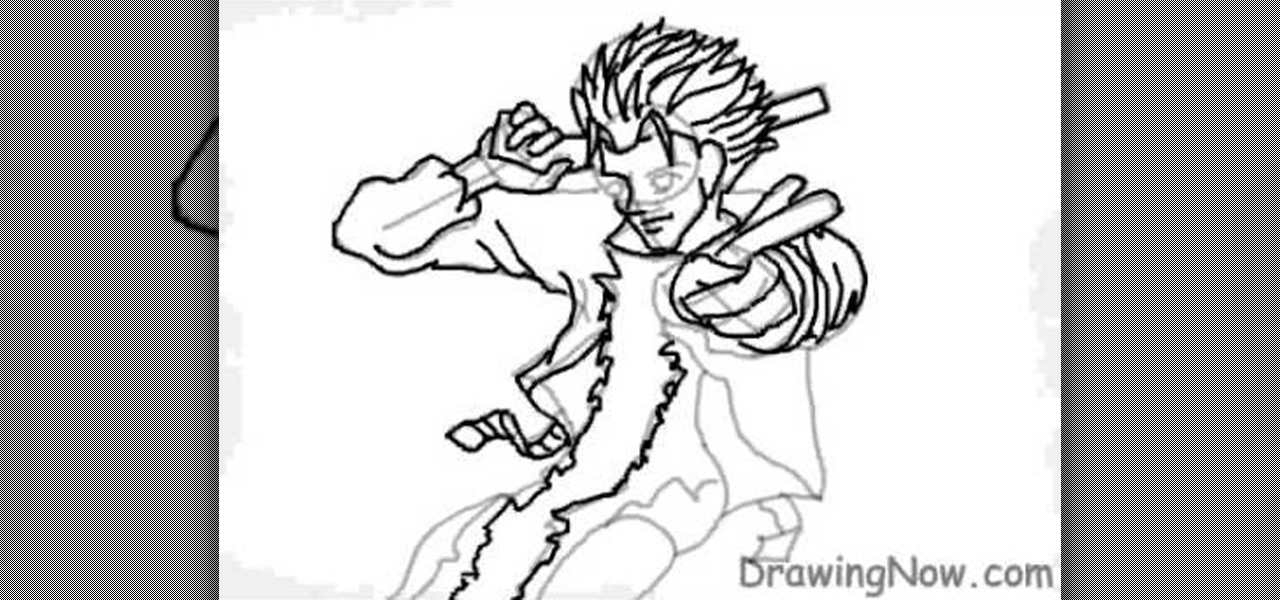
In this how-to video, you will learn how to draw Madara Uchia. First, start off with an oval shape for the face. Next, draw several spike shapes for the hair and bangs. Now, move on to the armor of the character. From here, draw a circle behind the body. Now you can fill in the details of the character. Move into the face and draw the eyes, nose, and mouth. Outline the armor in more detail so you can see straps and metal folds. Erase any of the previous lines that were used for guides. Once y...
Start with a faint outline of the leopards head which is an oval shape and is body which is connected to the head, then add the outlines of the legs ears and tail. In the oval draw the proper perspective lines for the face of the leopard. Now draw the outline of the tree or branch the leopard is laying on. Begin to darken the outlines, drawing with proper perspective, while adding the outlines for facial features. Add your shading depending on your light source then begin to erase the faint l...
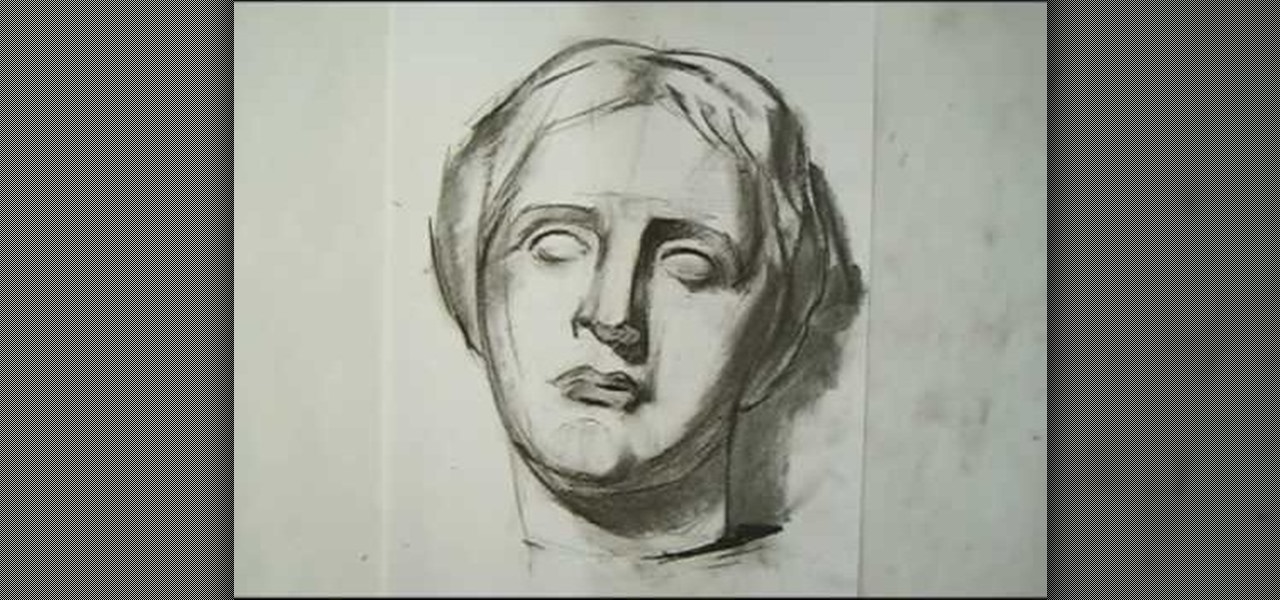
This video begins with various examples of male heads being shown from different angles. The artist begins by drawing the outline of the eyes and eye brows with little definition. The outline of the head is then created to give the male head it's size and shape. by using a ruler the distance in between eyes, nose and lips are created then drawn more precisely. The video shows various different ways to shade the male faces features to give realism. The last part of the drawing that is covered ...
In this video, we learn how to draw the manga character Vash. Start by drawing the outline of the character from the head to the toe. After this, draw in the details of the body and the face. Next, use a paintbrush in black to start to draw over the outline to make a 3D version of it. From here, draw on the details of the body as well as the colors for the skin. After this, draw in the details for the hair and then color in the clothing. Add in shading and lines on the clothing to make it loo...
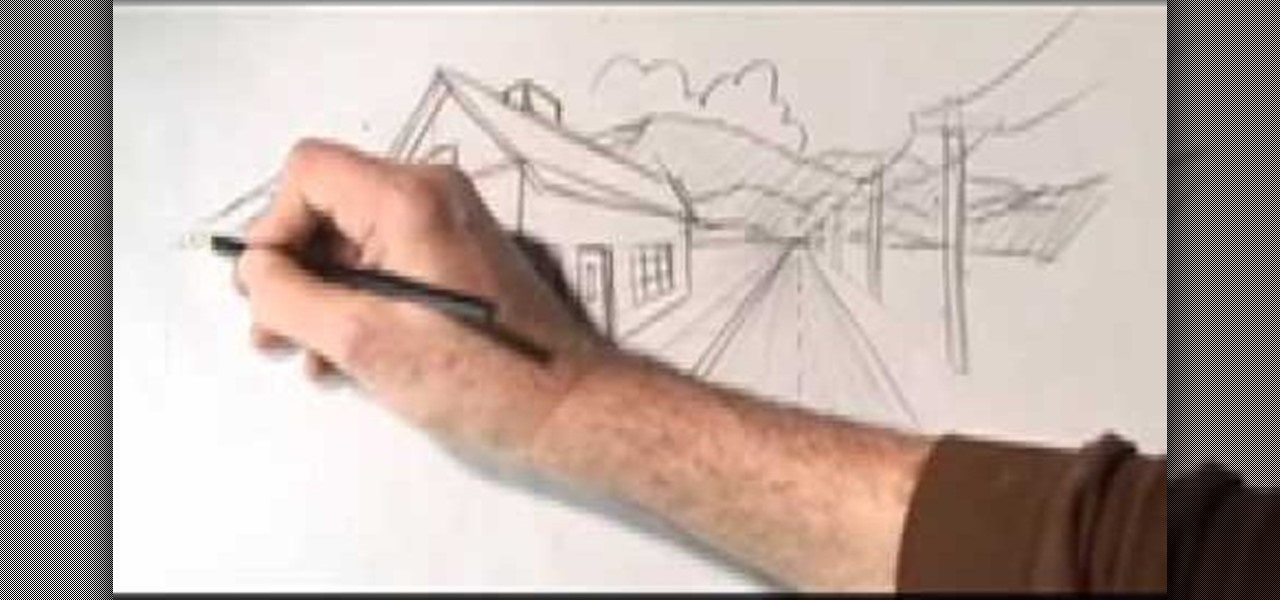
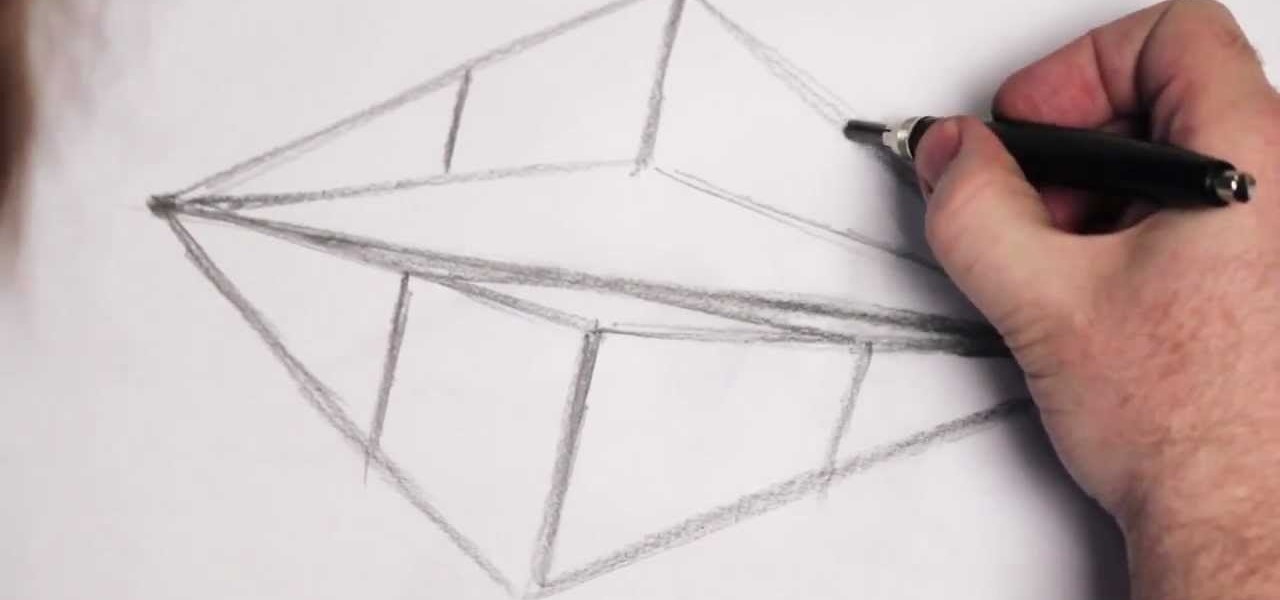
In this video, we learn how to draw two point perspective. Start off with a horizontal line on your paper. After this, draw a small point on the line where your drawing will focus to. From here, you will start to draw lines coming out of this. Next, you will design the rest of the picture around the main focal point you started out with. Add in lines to create lots of detail and make sure to use shading to show depth. Erase any background lines you don't need. Then when you are finished, you ...
In this tutorial, we learn how to draw a horse step-by-step. First, you will want to draw the face of the horse. You can use intersecting lines in the face so you place the features of the face equally apart. After this, draw the outline for the body of the horse. Once you have this perfected, you can start to add in the hair for the horse. Next, draw in the details of the body and draw the shoes on the bottom of the horses feet. Draw in the tail, then add in shading and other lines to make i...
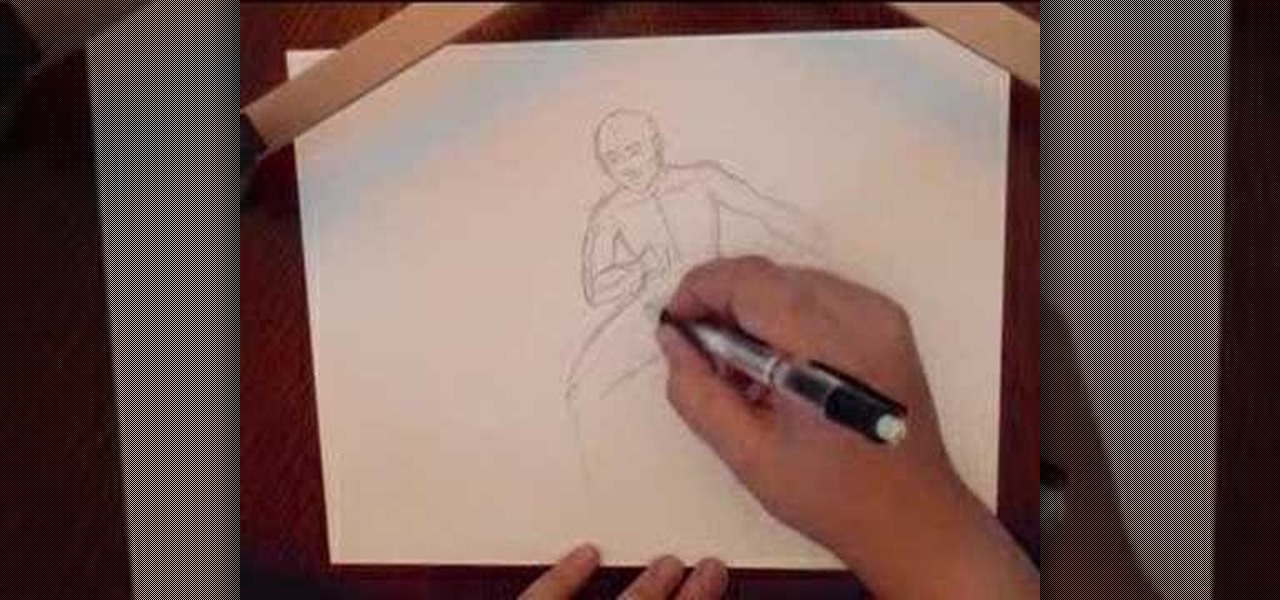
In this video, we learn how to draw a basic human figure. Start with a circle first as the head, then draw cross hairs over the circle to indicate the tilt and direction the head is facing. Then, add in the chin, shoulders, then circles where the joints are. Draw in the rib cage and spine, then the hip bones. After this, draw the legs and continue down until you reach the feet. When you finished with this outline, use a darker line to draw more details and shading in on the face and body. Whe...
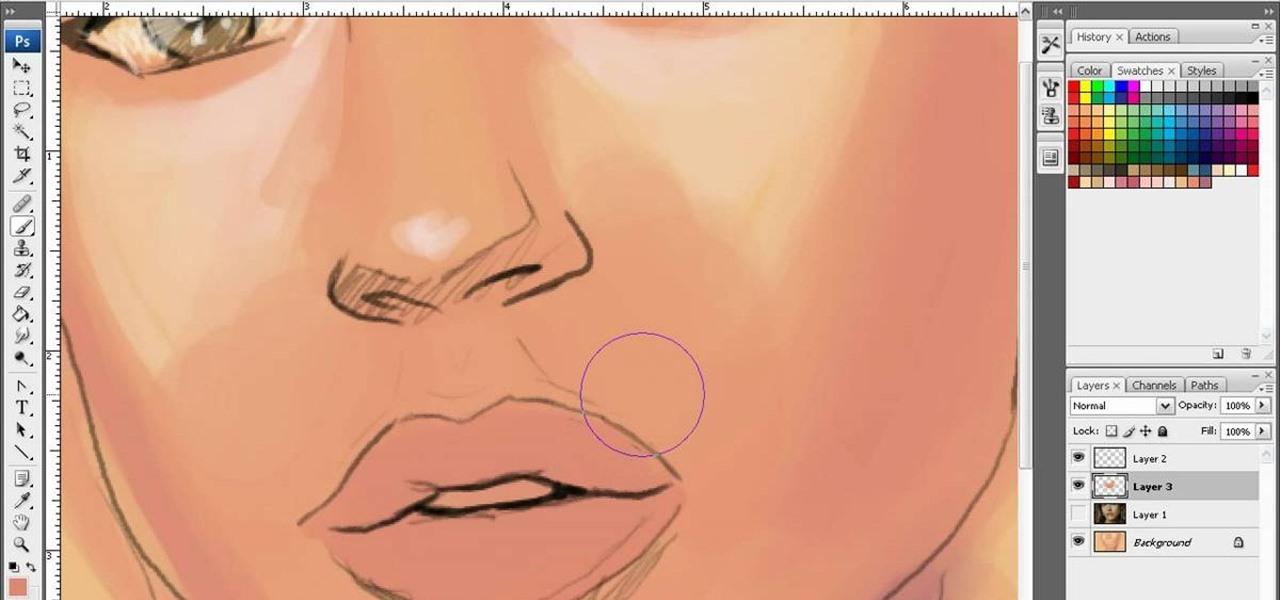
If you are a seasoned veteran or a newcomer to digital painting in Adobe Photoshop CS3, making lips look great can be tough. In this great three-part video series, Neil Fontaine goes into great detail in each video, showing the amount of detail required to create great looking lips including different lighting and shading required to get the right amount of sheen off the lips.
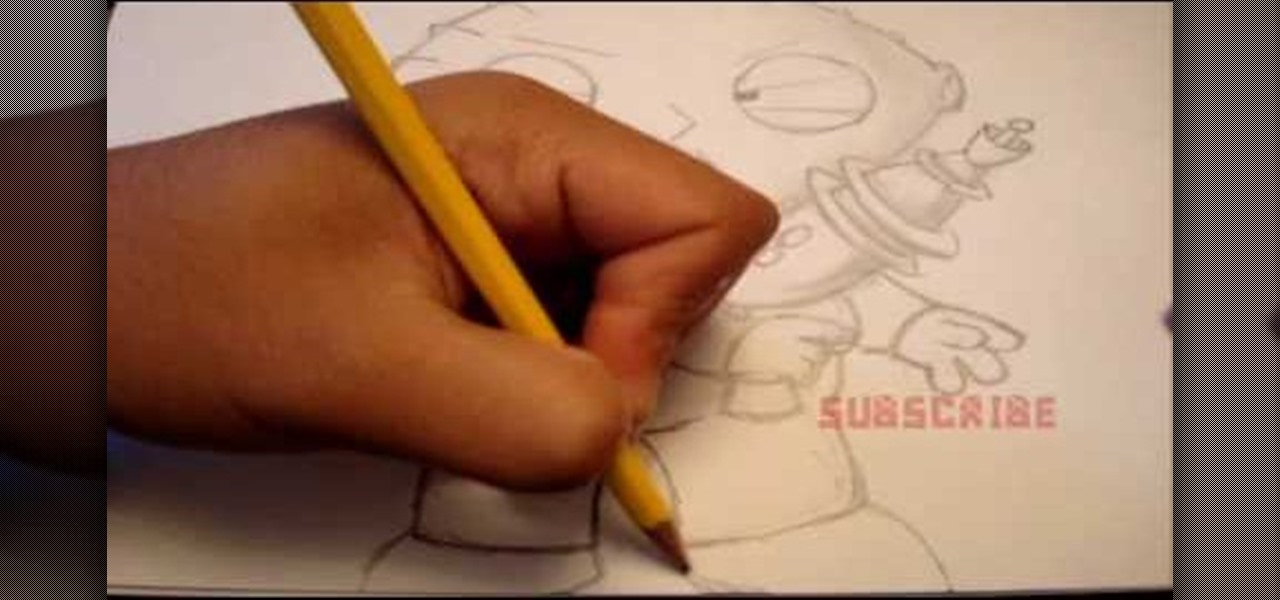
In this tutorial, we learn how to draw Stewie Griffin from Family Guy with a pencil. Start off by drawing the ears, then the football shaped head around the ears. next, draw the arms with the shirt on it, and make the hands. Also, draw a rocket with Stewie holding it. Keep drawing downwards, making the arms around the rocket and the body with pants and a bib on top. Draw in the details of the face, giving the character large eyes and a triangle shaped nose. Give the character narrow eyebrows ...
In this tutorial, we learn how to draw Ironman. Start off by drawing the feet to Ironman, making sure to pay close attention to the detail that is on the outside suit. Make sure to include bolts and screws to make the picture more lifelike. Use shading on the outside of the sides to make it darker and more realistic. Continue working your way up on Ironman until you reach the torso and the rest of the upper body. Then, draw the head onto the top followed by the large mechanical arm and the he...
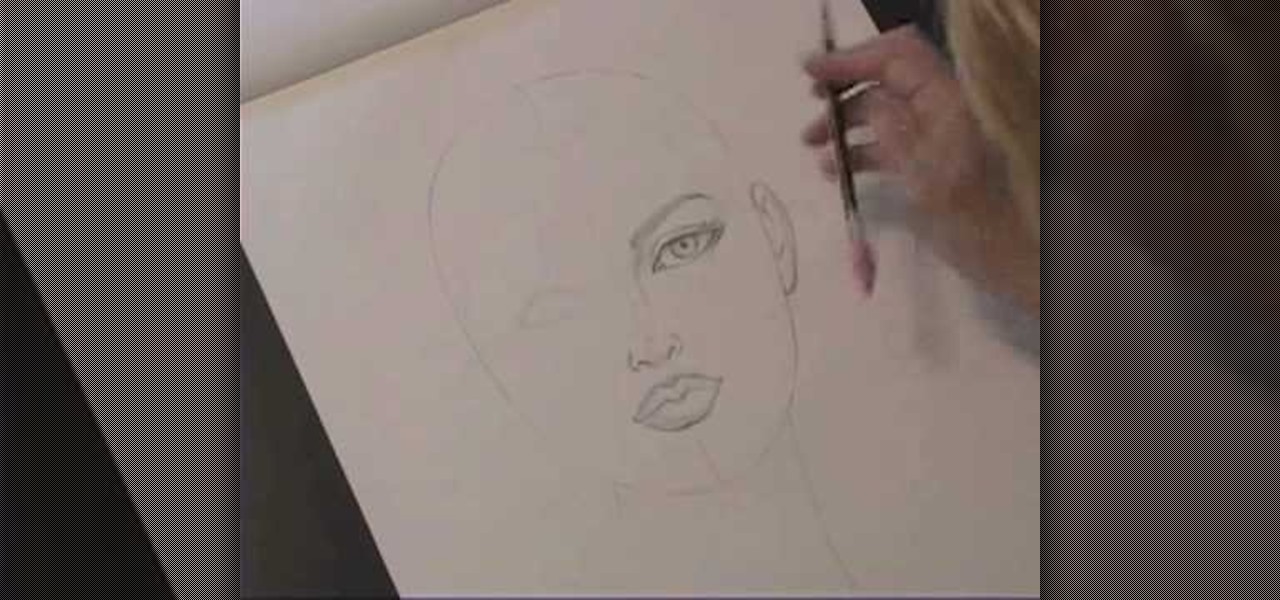
Kathryn Hagen teaches us how to draw female heads in this tutorial. Start with an oval and dissect it horizontally and vertically. Draw in the hairline, as well as the eyes, nose, and mouth. You can measure out where everything should go by using the lines as a reference point. Add details into the eye, then continue on to add more details to the nose, showing the nostrils. Draw more details on the mouth, then define the center of the lip and shape. Draw on the ears, and add a line where the ...
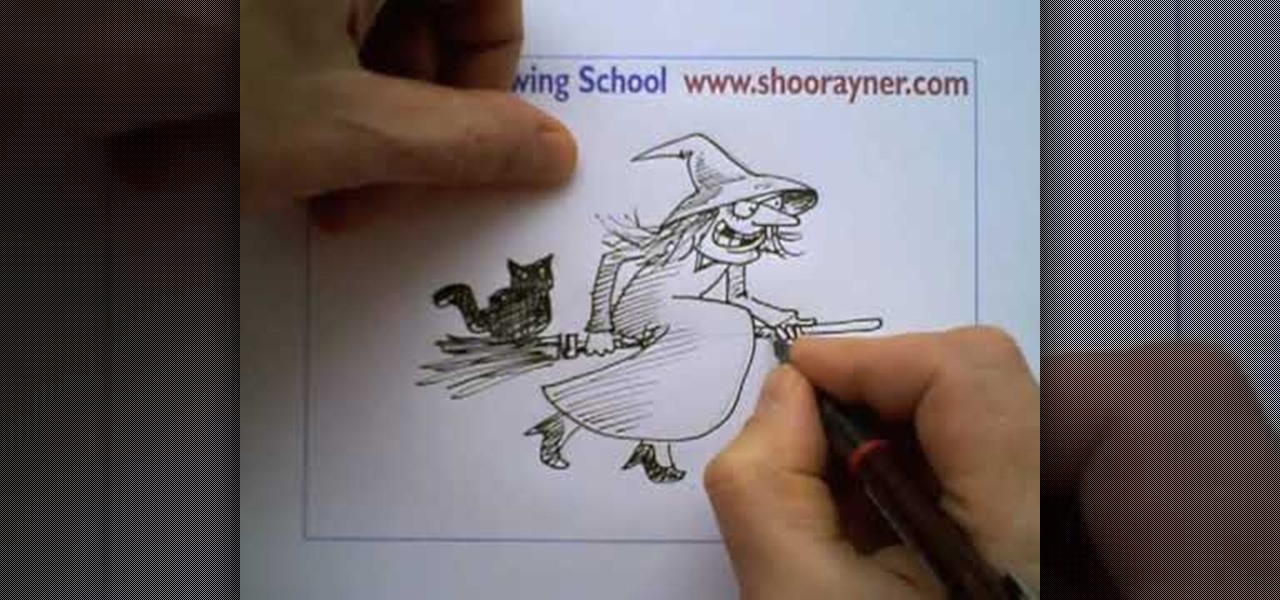
In this video, we learn how to draw a Halloween witch. There are a ton of different styles of witches you can draw, you just have to choose that one that you like best! No matter which one you choose, you will first start out by drawing the outline of the witch, using a light pencil marking. Draw the head and body, followed by the witch with the broomstick. After this, start to add in more details, such as the face and clothing. Make sure to draw in the hat and add in lines on the clothing to...
In this Fine Art video tutorial you will learn how to draw with basic shapes and apply them. The four basic shapes are spheres, cubes, cylinders and cones. A sphere is a three dimensional circle. On paper it will look flat without shading. Make sure you practice all kinds of circles. A cube is a three dimensional square. You can make a basic cube by drawing two squares and then join the corners. Cylinders are tubes or pipes. Draw two ellipses and join them by lines. If you are just starting o...
in this video Evan Burse teaches us an easy way to draw Toothless from the 3D cartoon how to train your dragon.
Want to draw a male chibi? This video will show you how. First, draw a circle. Second, draw a tiny triangle underneath the circle. This will be the body of the chibi. Then, draw two little circles for eyes in the center of your face. Next, draw four little ovular rectangles for the limbs of the creature. Now you must give definition to your chibi's eyes by emphasizing them with dark shading. Lastly, add the rest of the clothes on depending upon your preference. The author takes the opportunit...
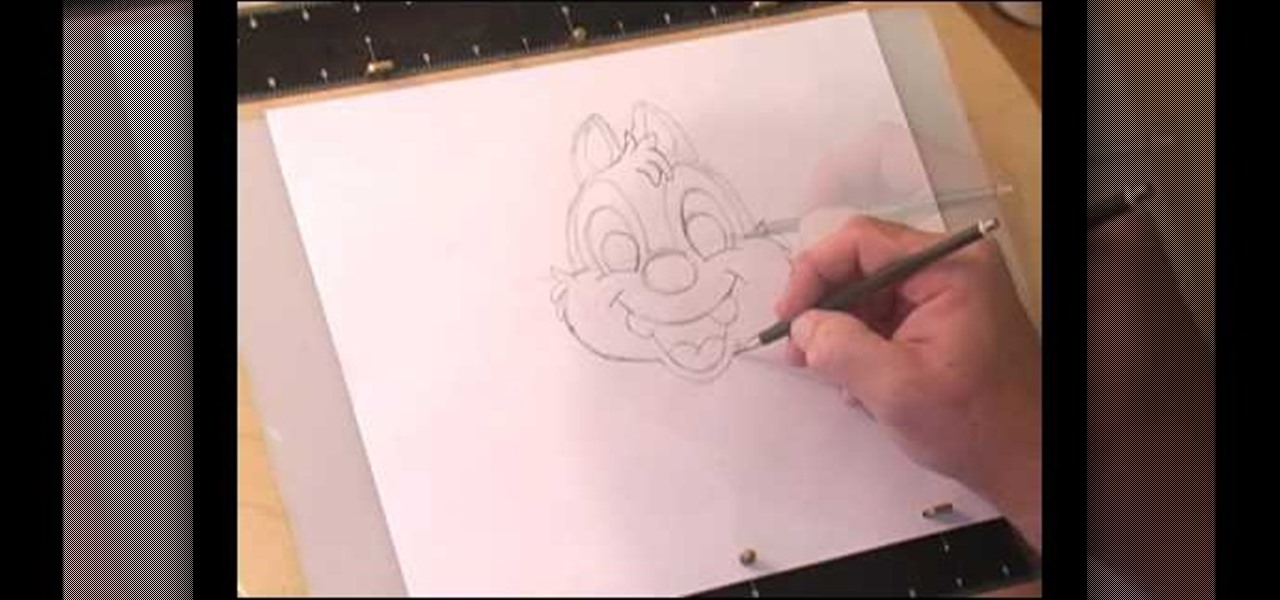
This video shows us how to draw a Dale character. First you draw a ball about the size of an orange. Insert construction lines in the shape of a cross. Starting with the small middle area, draw the mask outline and add the ears at the top. Draw in the nose under the middle line. Draw the cheeks outside the construction line on both sides. Add smile lines on each side and draw a curve between them for the mouth. Extend the lower part of the mouth outside the construction line. Insert teeth and...
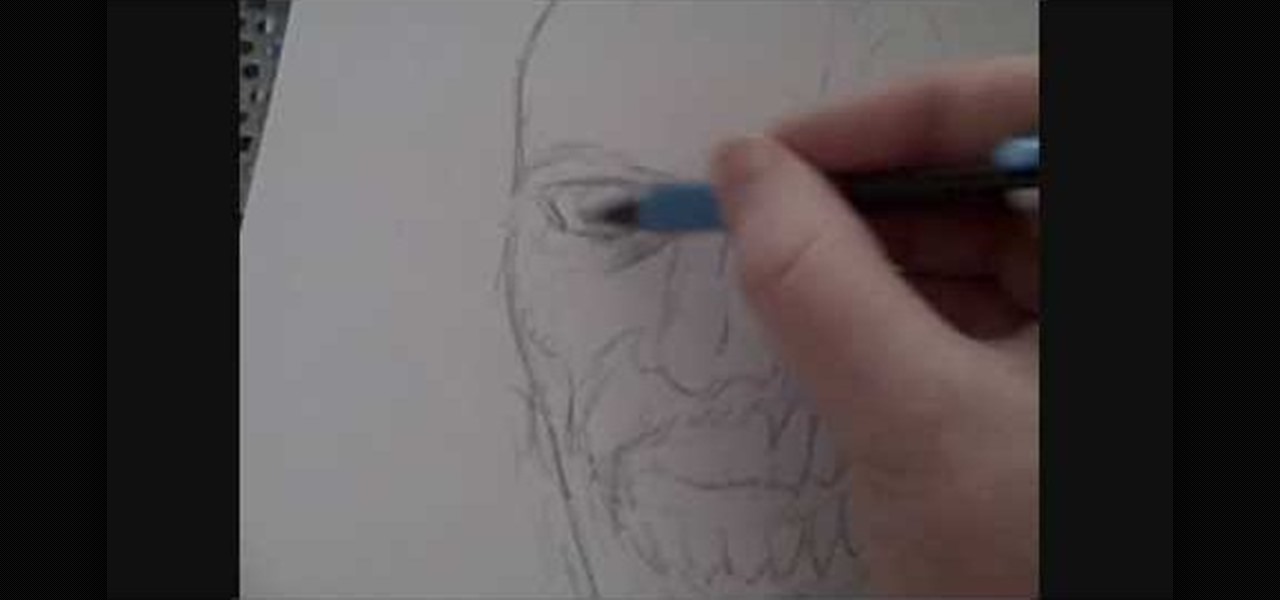
Big fan of all things gory? In this three-part drawing tutorial, learn how to draw a gruesome zombie head step by step. In the first video of this series, the artist begins by sketching and shaping the head, while the second video goes over shading & defining the zombie head. Lastly, in the third video, the artist goes through the inking stages, filling out the face & giving the zombie head character.
Drawing of a horse is broken down into a helpful series of tips and tricks in this nice, succinct tutorial video. Step 1, the video describes the use of ovals and other simple shapes, to begin to plan the overall structure, for later. Step 2, around those ovals and simple shapes; begin a rudimentary outline of the horse you're trying to draw. Using the example given, see what's possible, and begin to erase your ovals and other structure-assisting shapes, in the middle, giving you now your act...
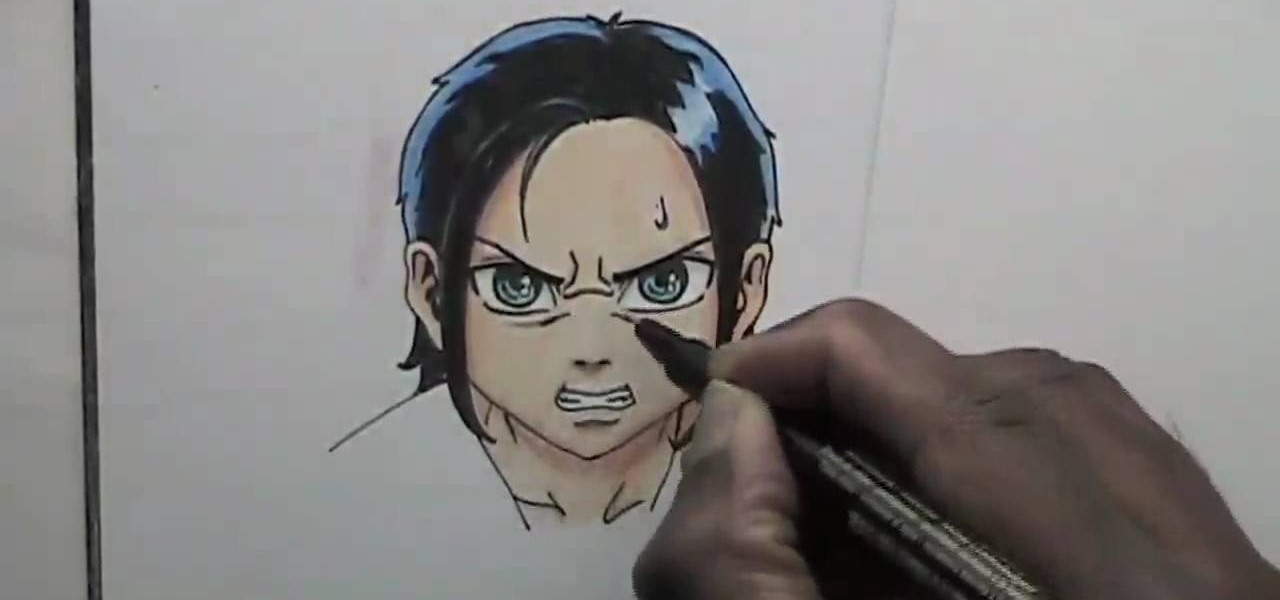
Learning to sketch can be a frustrating process for even the most experienced artist. In this easy to follow guide, you will learn to draw your favorite anime or manga character to express that annoyed feeling you get from having to erase! The artist makes sketching and shading angered features on the characters seem like a breeze, and in no time flat you'll be sketching your own characters without the previous hassle! He demonstrates all kinds of faces, from simple scrunched up annoyance to ...
Learn how to draw Gastly, the Pokemon. 1. Start by drawing a circle. 2. Add a smiling mouth. 3. Draw half circles for the eyes with little lines for the pupils. 4. Add two little "V"s for teeth/fangs. 5. Add a flame behind him. 6. Add shading.
Value shapes can be a struggle for an artist to learn, but it's worth the effort. With the right shading and definition, your drawings can really come alive. In this multi-part series, the artist walks you through value shapes for your portraits.
You can certainly use Photoshop to do do freehand figure drawing! This tutorial shows you how to make a drawing, starting with a sketch, from a photograph while using Adobe Photoshop. Then add in some coloring, shading and highlights, and then use color theory to bring out the most important lines.
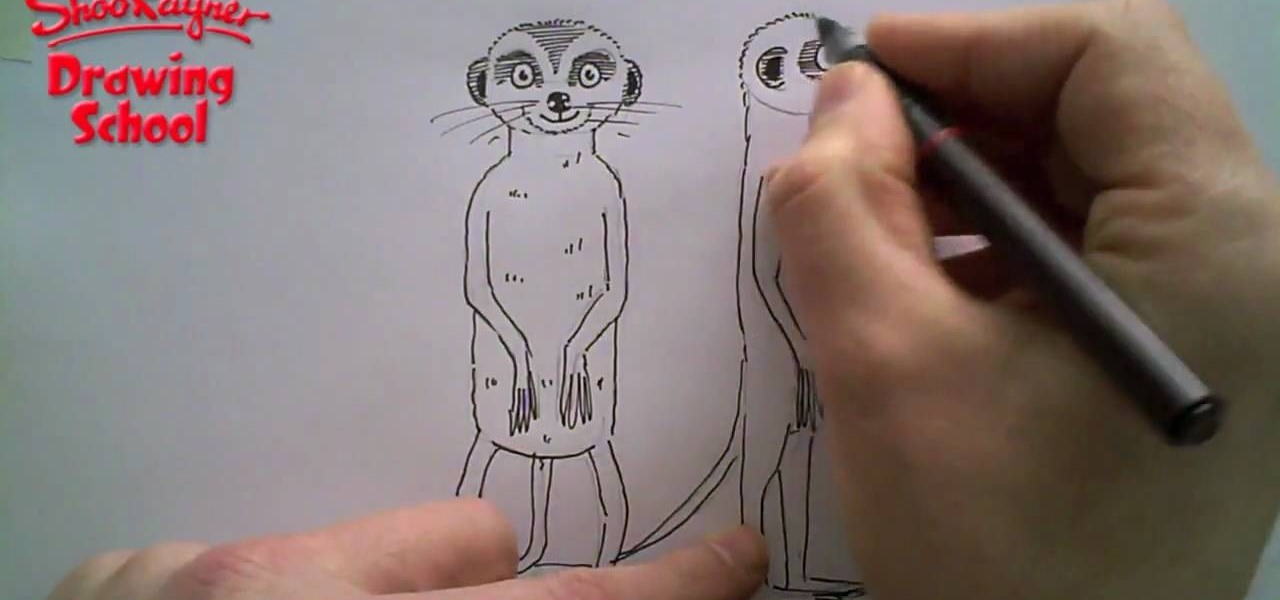
In order to draw a meerkat, you will need the following: a pen, an eraser, and a pencil.
In this "how to" video, we learn how to draw a "chibi" form of an angel. Chibi is a Japanese term meaning "short person" or "small child". It has become a style of art in which Japanese Anime and Manga artists attempt to make all of their characters into "cute", childlike characters (with small bodies, large heads, and large eyes). The artist in this video shows his/her step by step process of drawing a small "chibi" angel holding tightly onto a heart. The artist starts with the eyes, then wo...
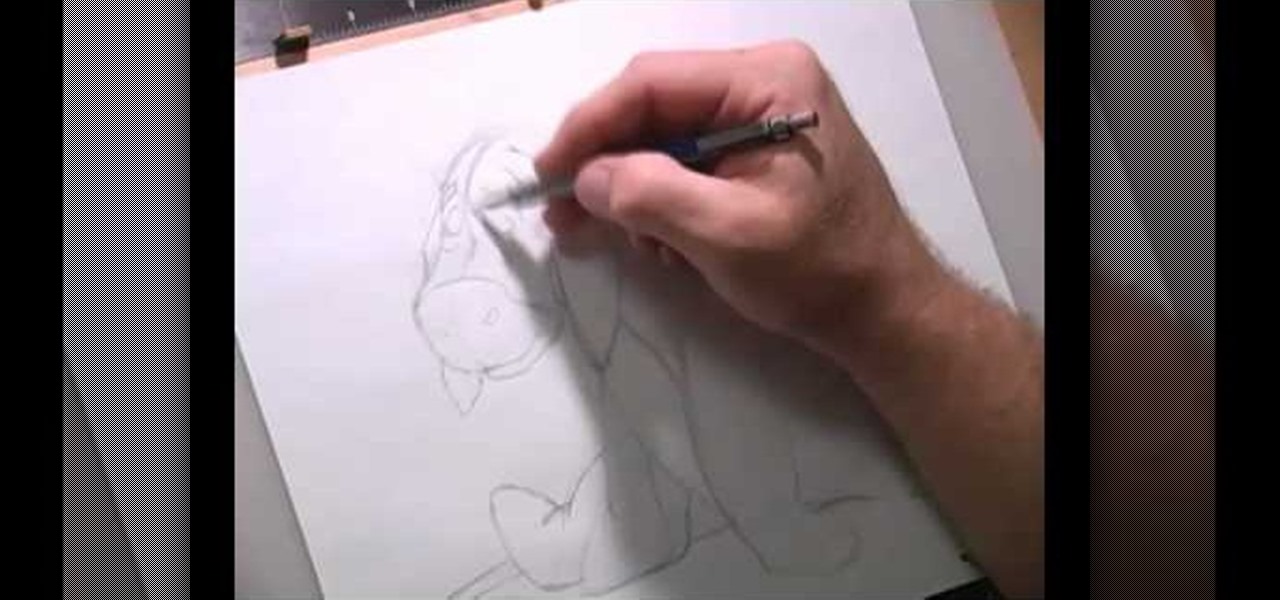
The user demonstrates how to draw Disney's Eeyore in this video. The first step is to draw a circle about the size of a 50 cent piece for his head and add construction lines to it, including one across the lower part of the circle to use as a reference. The user also suggests creating a mark below the "head" to mark where the end of Eeyore's jaw will be. Then, starting at the bottom cross line, he begins drawing the rounded area of his snout. Next, he draws a straight line from the other side...
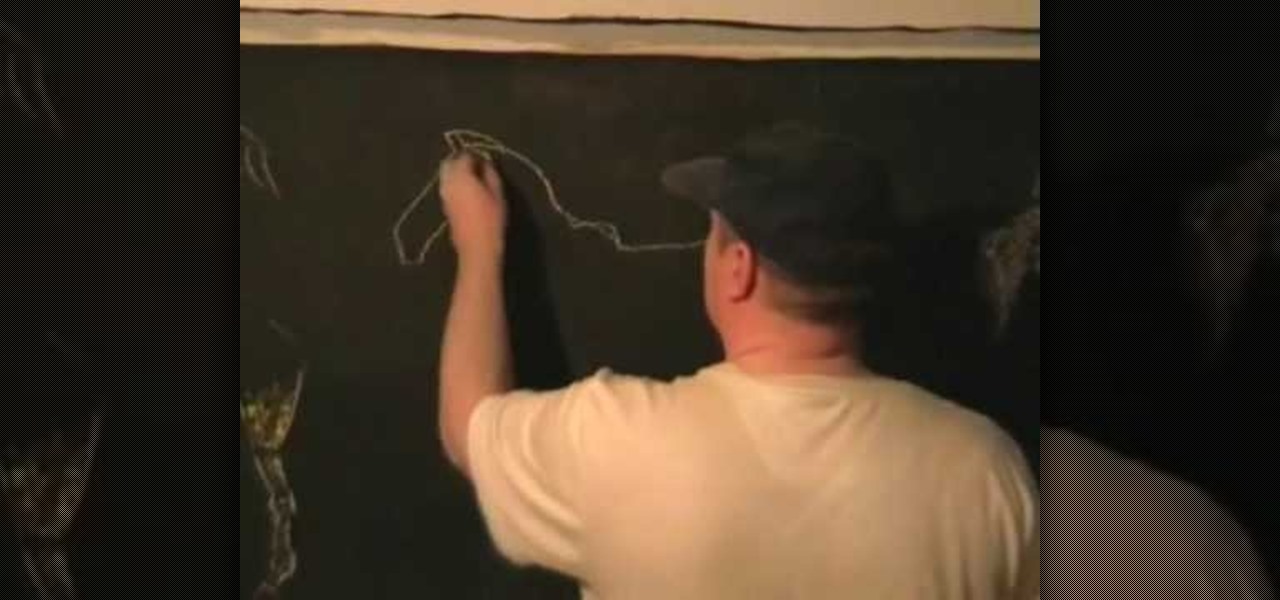
This video is about how to tattoo. Once you make your choice of design, the tattoo artist traces the image. Next, he places the image on carbon paper and traces the image again to create a reverse image. He cleans the persons skin then firmly presses on the blueprint. Now its time to construct the needles. One is for outlining and the other is for coloring. The finished needles go in a machine to be cleaned. He places the needle in a Coil. When an electric current runs through the coil, it ma...
This is a beginner tutorial on how to create a simple Easy Button. Check out this Photoshop tutorial from Tjdyo on making this iconic toy in PS CS4. Making this involves lots of layers, masks and shading.
This video contains different techniques to draw Naruto Sage Mode. The first step is to draw the basic outline of the characters face along with the ears and nose. After completing the basic outline the eye outline and details are then placed. The Lips and nose are drawn third to finish the basic features of the character. Dark shading around the eyes must be completed to give Naruto sage mode more realism and detail. The hat is one of the last parts of the character created involving a simpl...
In this tutorial, we learn how to do a simple Mario drawing. First, take your pencil and start to draw the outline of the head. After this, you will draw in the mustache, nose, and mouth on his face. From here, draw in the hat on the top of the head and then draw in the eyes as well. Add in shading and lines to create additional details and depth in the drawing as well. Continue to draw in the body and the overalls that are on the body as well. Finish off with the legs and the shoes and then ...
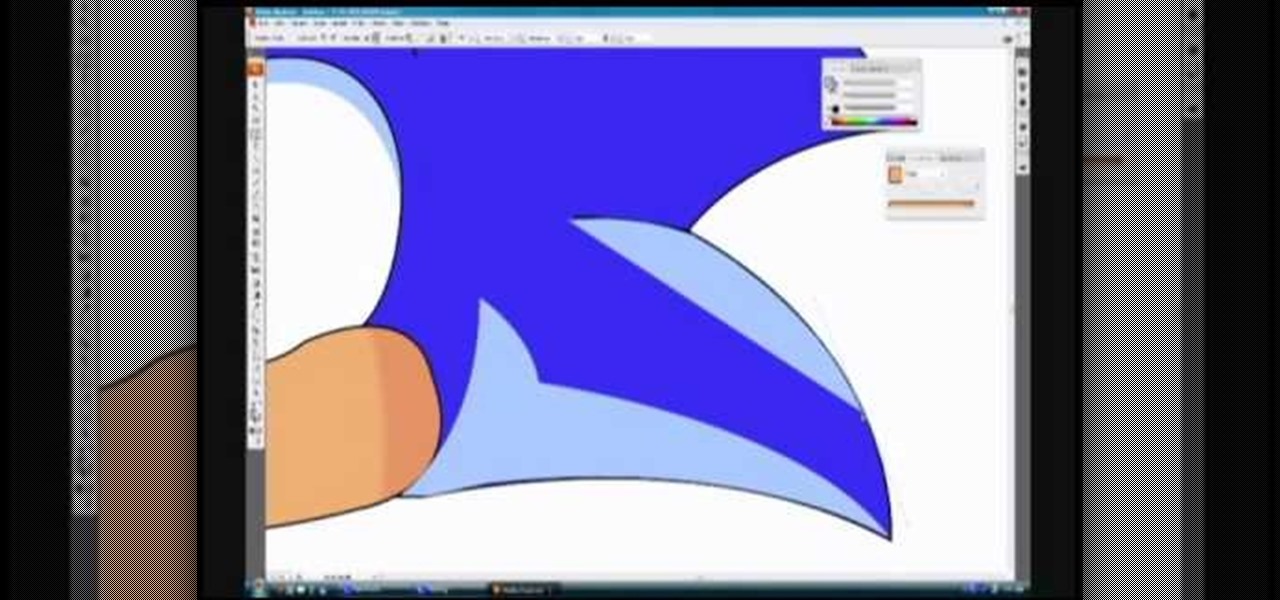
In this video, we learn how to draw Sonic in Adobe Illustrator. First, draw out the muzzle and the nose with a pen. From here, you will draw out the eyes and then make the outline for the ears and the hair. Next, draw in the details around the face. Once you do this, add color to the hair and to the face as you see fit. Then, add in additional lines to show creases and make him look more realistic. After this, add in shading with darker colors on the sides of the face and the hair. When finis...
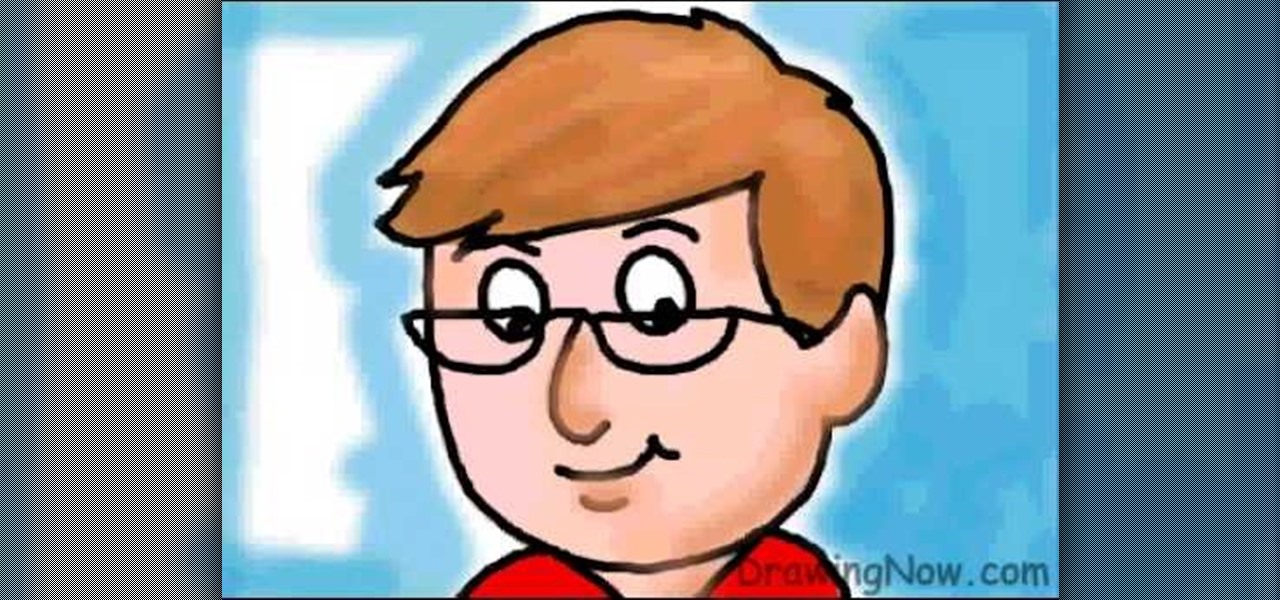
In this tutorial, we learn how to draw a cartoon dad. First, draw the oval for the head and then draw the hair and the facial features on with an outline. After this, color in the skin, hair, and collar of the shirt. Next, add in details for the hair and the face to make it look more realistic. Then, color in the shirt and outline the head and rest of the body with a black thick paintbrush. Draw on glasses to the face underneath the eyes to give the dad an older look. Then add shading and whi...
In this tutorial, we learn how to draw Uncle Scrooge McDuck. Start off by drawing the outline of the hat, heat, neck, upper body, instrument, and lower body. After this, draw on the eyes, glasses, and the beak. From here, you will start to add in additional details and erase the outline lines from where they aren't needed. Start to add in lines to create folds on the character and then color him in with the appropriate colors. After this, add in shading to different parts of him and his instr...