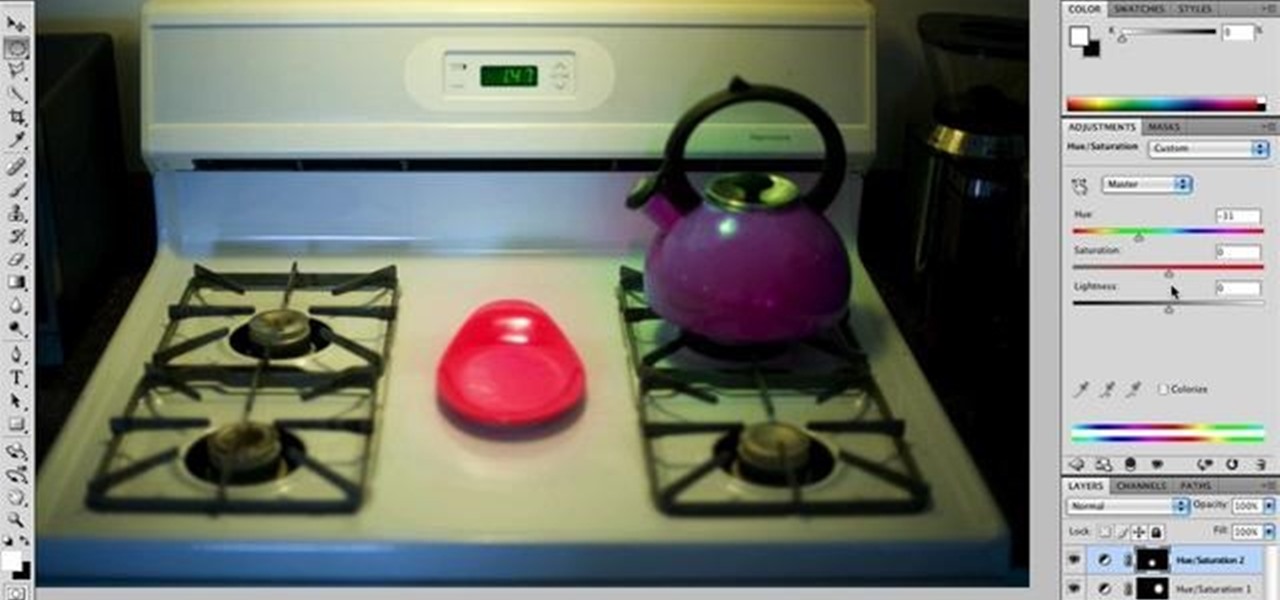
Nick from Greyscale Gorilla gives a great tutorial on not only how to adjust the hue and saturation of various objects in Photoshop, but he also demonstrates how to select and isolate these objects for better chromatic keying.
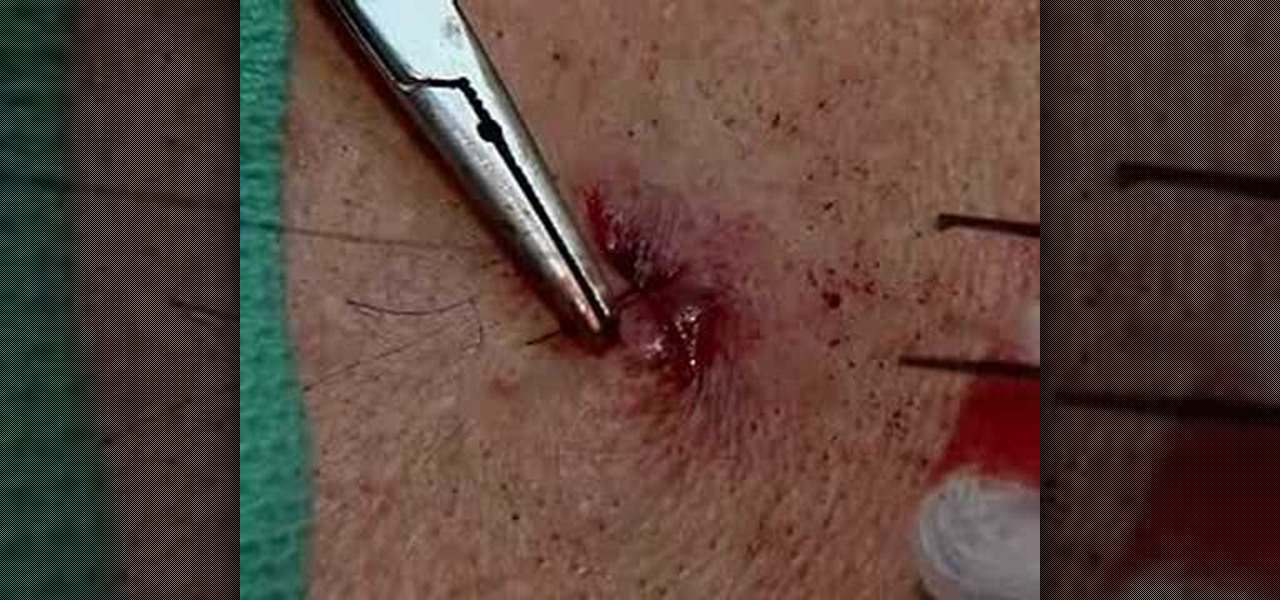
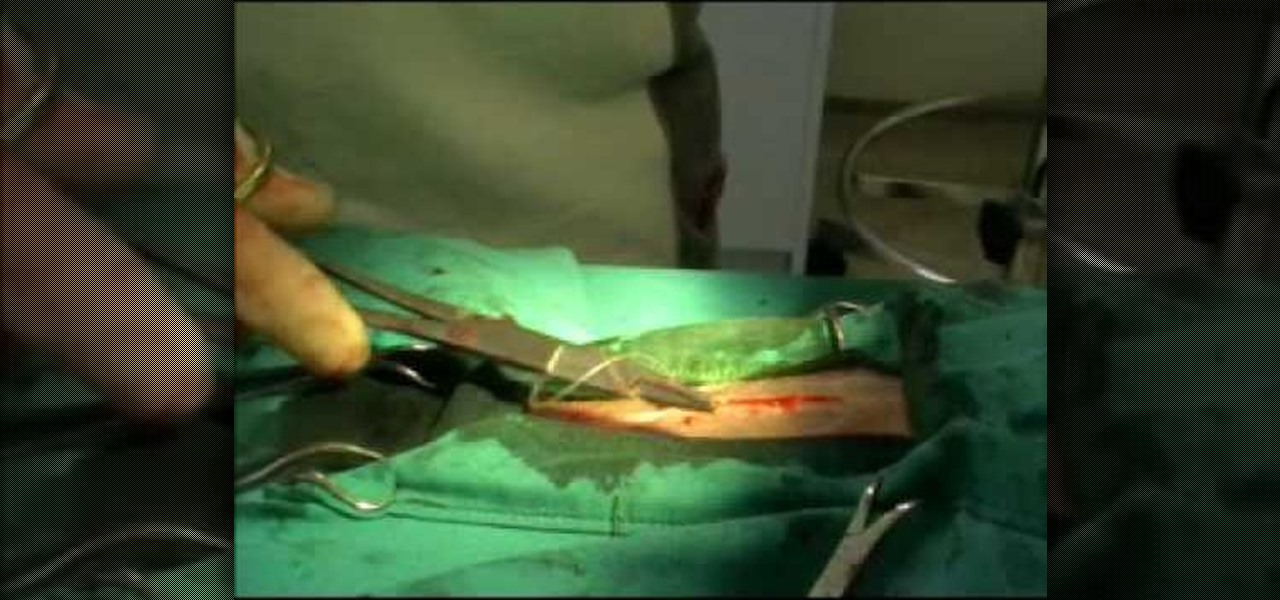
An important part of being a surgeon involves knowing how to do various types of sutures. This medical how-to video demonstrates how to do a simple interrupted suturing technique. Simple interrupted sutures are great for closing skin wounds. Follow along and learn the proper method for using this type of suture on your patient.

An important part of surgery is knowing the various types of closures to perform. This medical how-to video demonstrates how to do a simple interrupted suturing technique. The simple interrupted suturing technique is especially good for simple laceration repair. Follow along and learn how it is done.
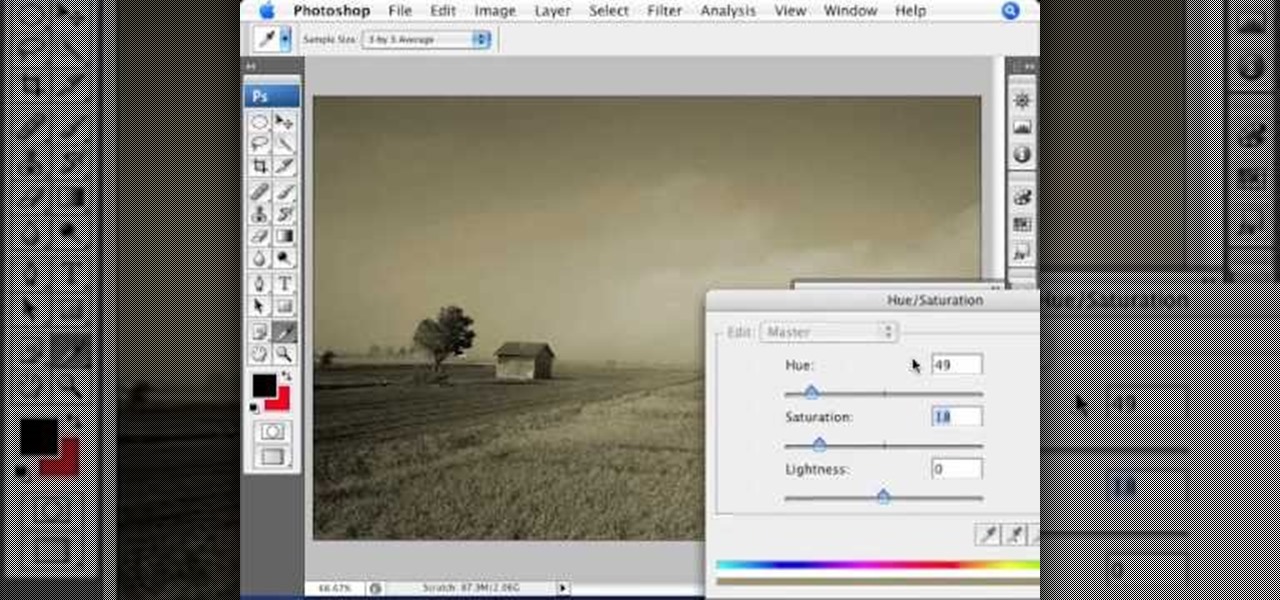
Need an introduction to the Hue/Saturation & Color Balance tools? This clip will teach you what you need to know. Whether you're new to Adobe's popular raster graphics editing software or a seasoned professional just looking to better acquaint yourself with the program and its various features and filters, you're sure to be well served by this video tutorial. For more information, including detailed, step-by-step instructions, watch this free video guide.
This clip provides an introduction to Photoshop's ever-useful hue and saturation toolsWhether you're new to Adobe's popular raster graphics editing software or a seasoned professional just looking to better acquaint yourself with the program and its various features and filters, you're sure to be well served by this video tutorial. For more information, including detailed, step-by-step instructions, watch this free video guide.
This clip talks about what Hue Saturation Value is, and how to use Blender and the HSV node to isolate a specific color or range of values from an image. Whether you're new to the Blender Foundation's popular 3D modeling program or a seasoned graphic artist just interested in better acquainting yourself with the application, you're sure to be well served by this free video tutorial. For more information, including detailed instructions, take a look!

In the wide world of suturing techniques, the simple interrupted suture is perhaps the simplest and most common. This video details and demonstrates how to perform such a suture. This will be a very handy video for anyone new to the field of medicine looking to improve their surgical skills.
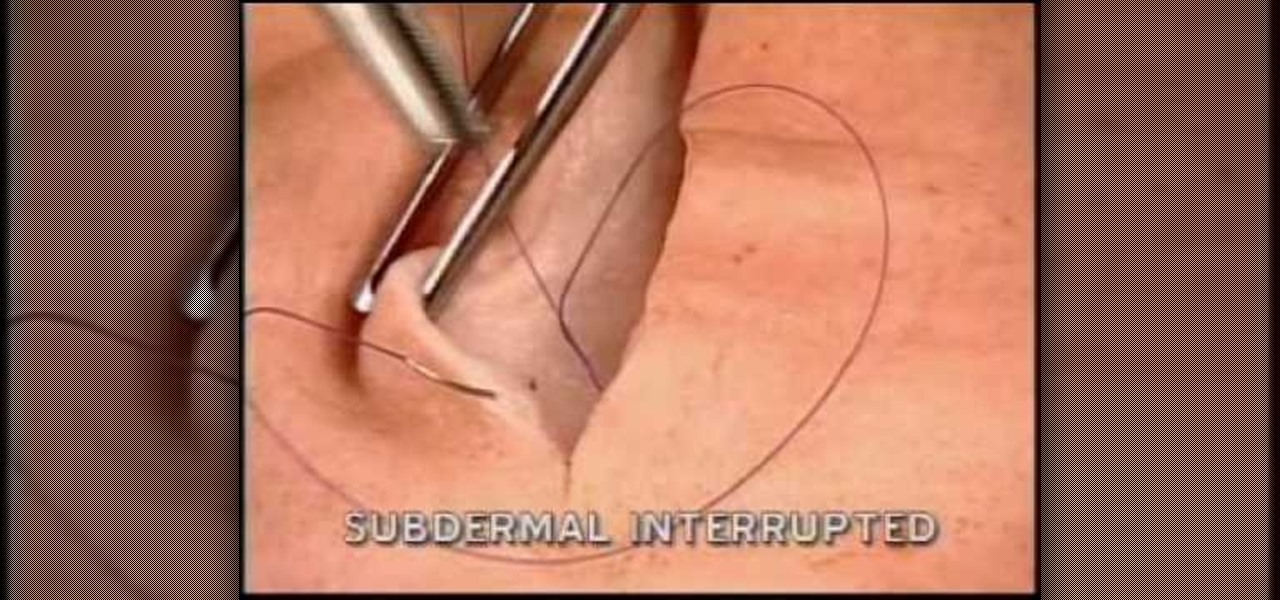
The subdermal interrupted suture is a complicated, difficult type of suturing. It does have advantages, however, as the resulting suture is both strong and cosmetically pleasing. This video walks you through performing the stitch, and should make it easier to use this effective suturing procedure on your patients.
In this free video software tutorial, you'll learn how to use the Saturation Curve editor when color correcting or grading footage in Color. Whether you're new to Apple's popular non-linear editor or a seasoned digital video professional merely looking to pick up a few new tips and tricks, you're certain to be well served by this video guide. Take a look.
This how-to video is about how to add a color tint to photos in Photoshop.
This video illustrate us how to preform a simple interrupted suture in surgery. Here are the following steps:
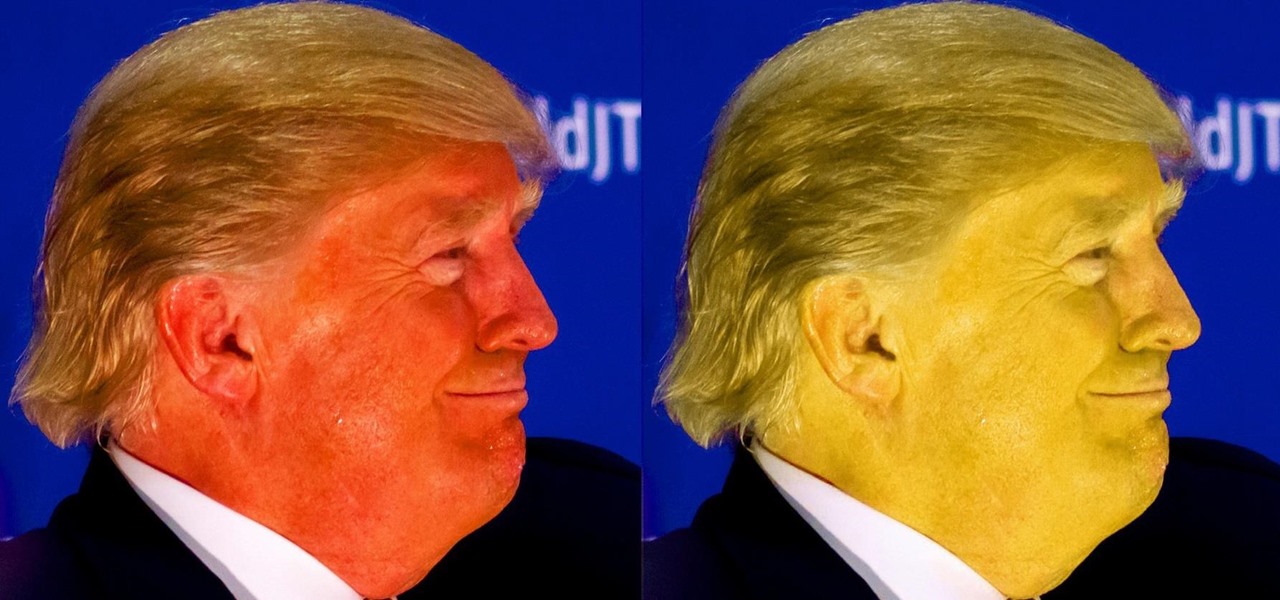
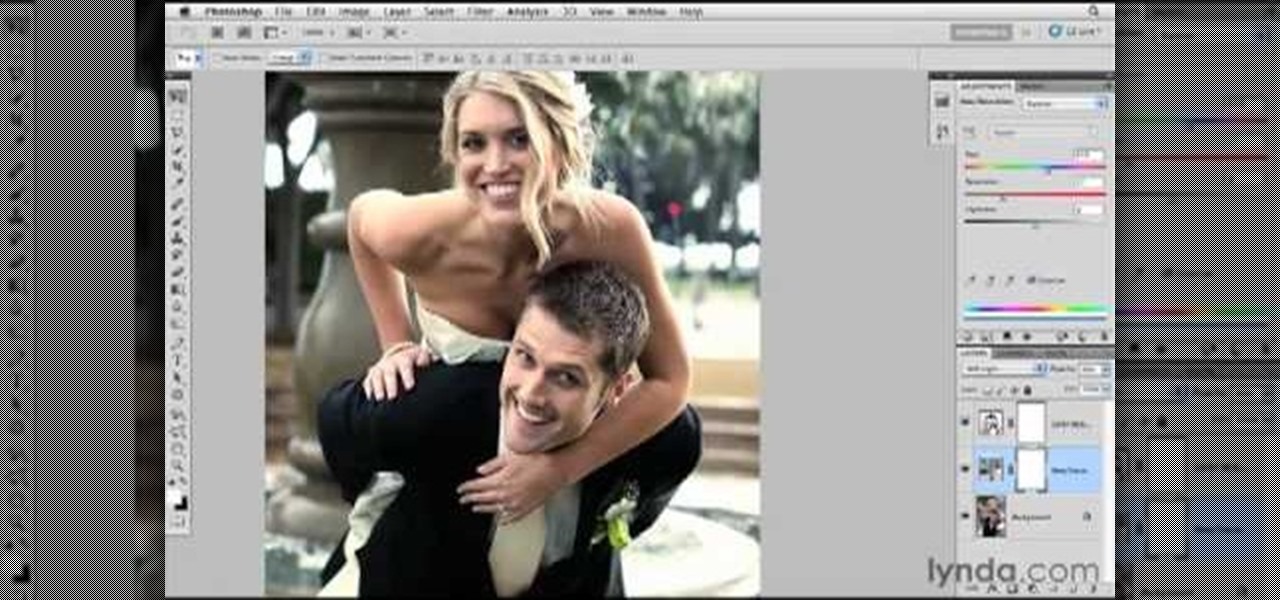
With Adobe Photoshop on your computer, it's super easy to change or adjust the skin tone of somebody in a digital photo. The process uses some basic selection and color adjustment tools, and it's a fun way to make a friend's face nauseously green or lessen the effects of overly strong, sometimes even orange, makeup.
This video demonstrates how to change the color of hair, dress, car or any thing of your choice using photoshop. This is really simple. Select the photo in which you need to change the color. Create a new transparent layer. Click on the brush tool and select a brush type with the right size required. For hair, you could use a brush with a fuzzy edge while sharp edges for clothes and car. Select the white color in the task bar. Click and drag carefully along the edges and fill in the area wher...
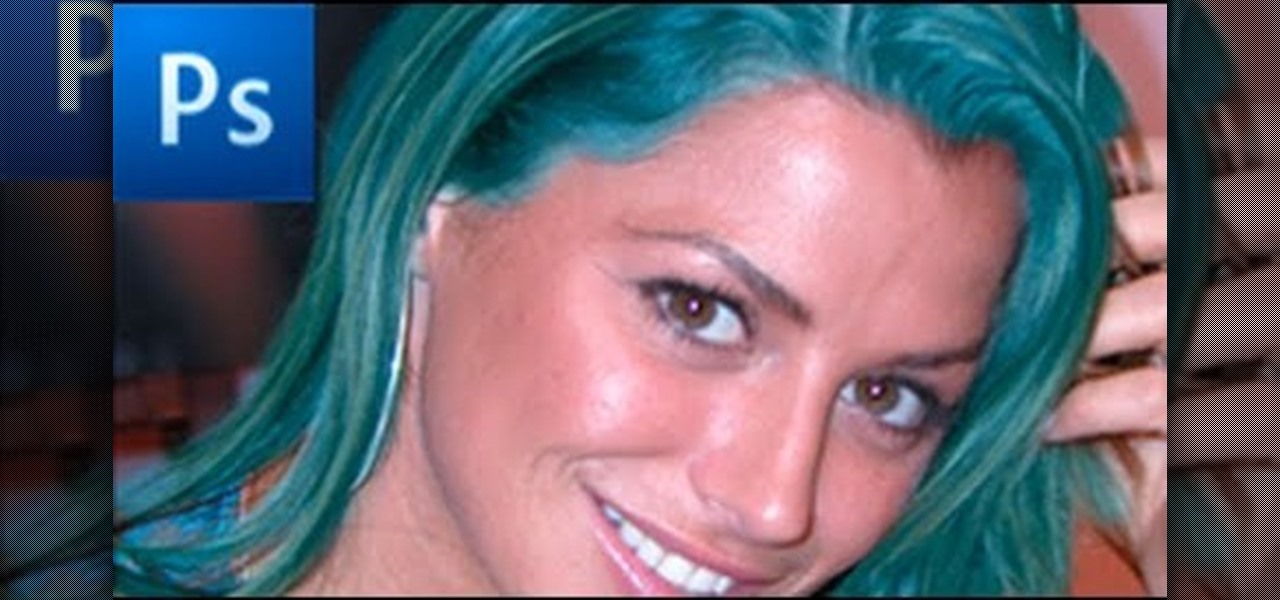
Photoshopuniverse will show you how to change a person's hair color in PhotoShop. You can achieve this by using hue and saturation adjustment layers and set to colorize. Set the saturation to about 50%. Go back to the background layer and select the color range select parts of the hair color, select the parts of the hair you want to change and with the eye dropper click it. Once the selection is made invert the selection the color will change. You can now change the hue to make it what you want.
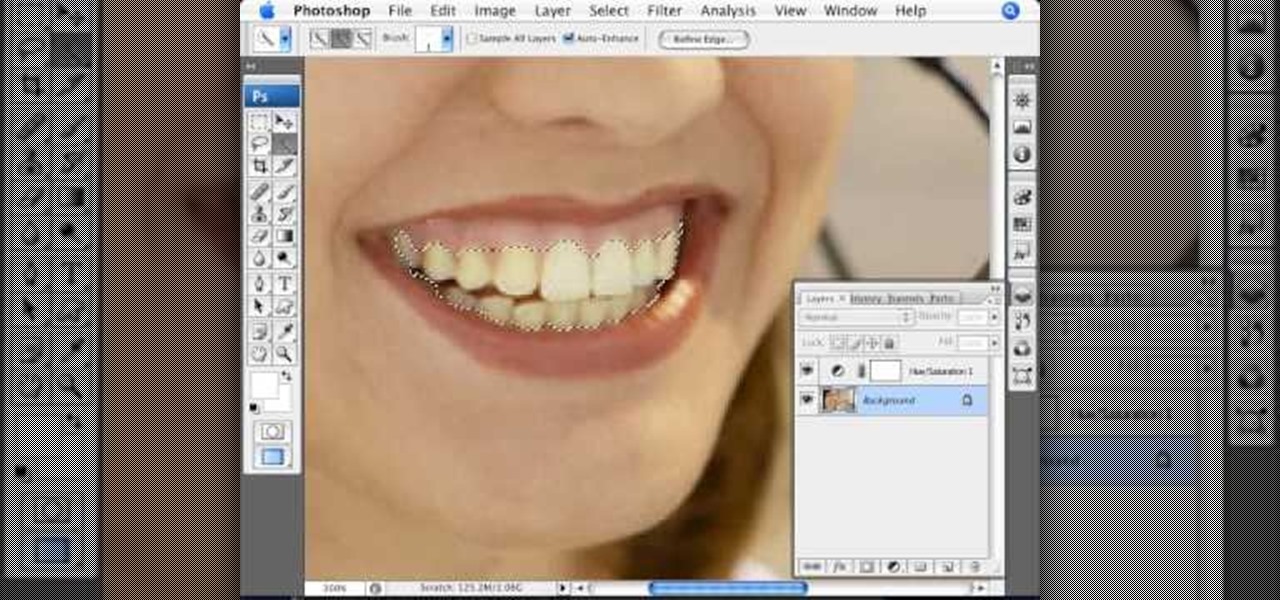
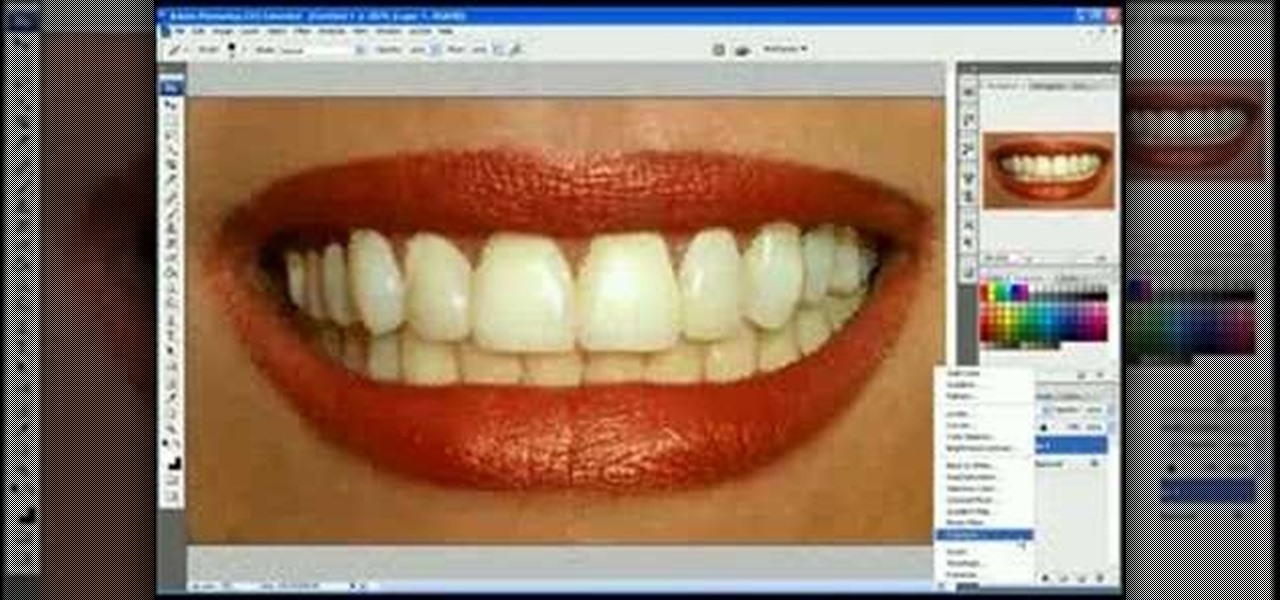
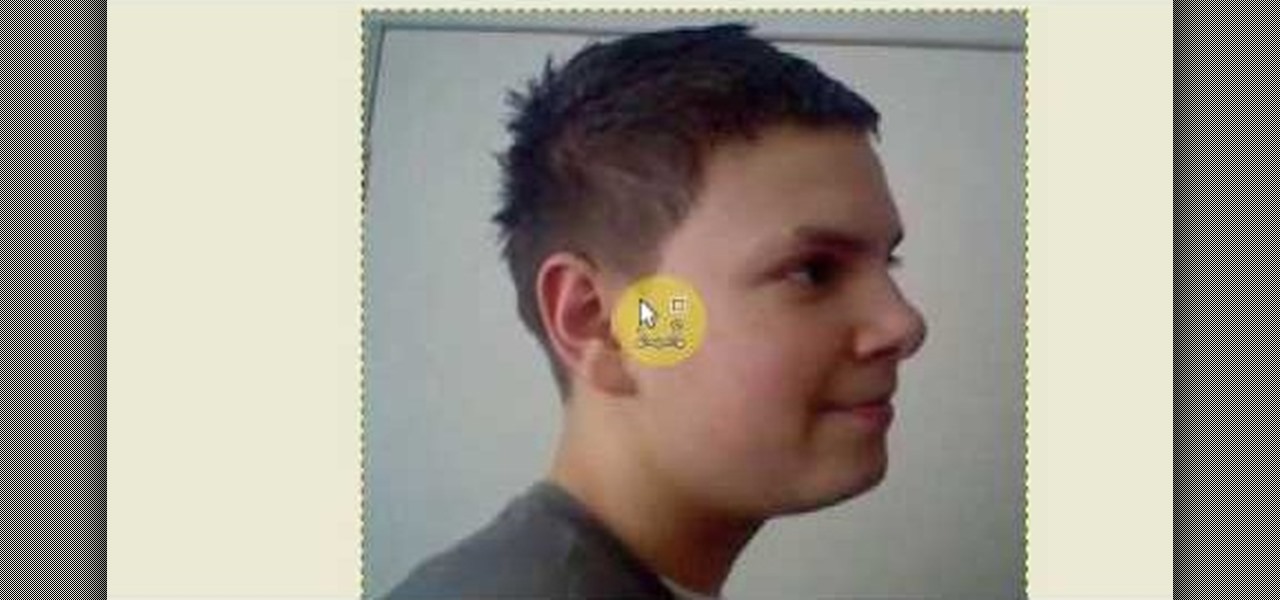
This is a terrific video on how to whiten yellow teeth in Photoshop, taught by Link. First, he zooms in on the teeth and uses the quick selection tool or magic wand. This is a pretty easy task. You just have to click and drag. If you put too much of the gums, you can hold down alt, then drag the areas you don't want. Make sure you use a small brush when using these modifications. All you have to do then, is go into the heat saturation and select shift-control-I, which inverts the selection. T...
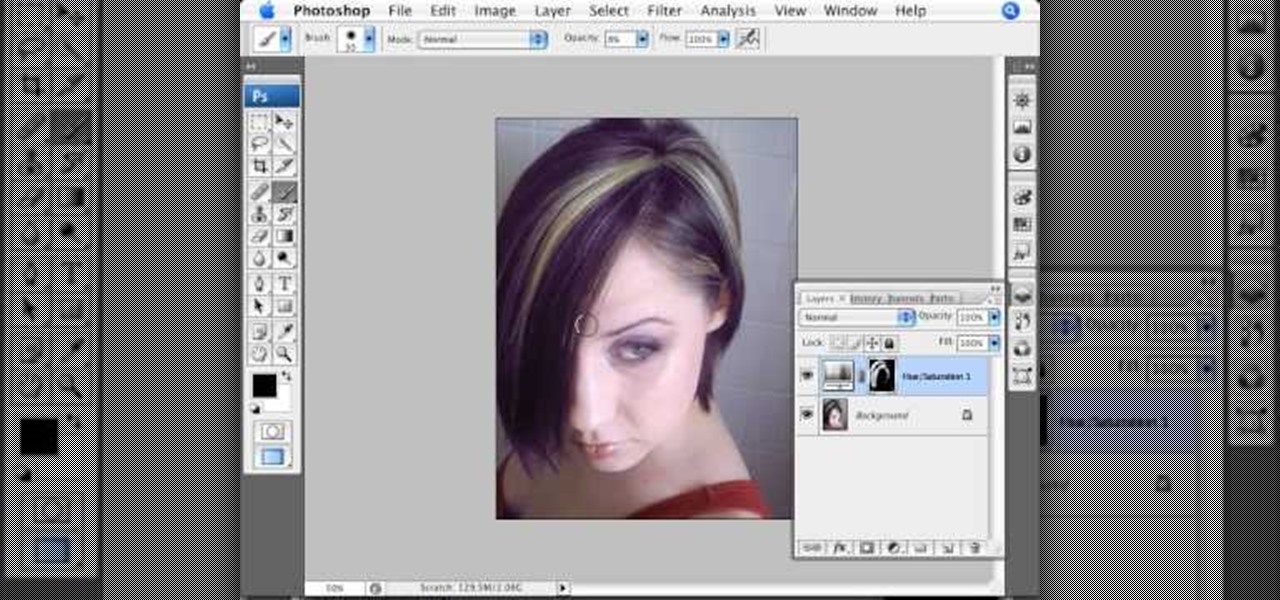
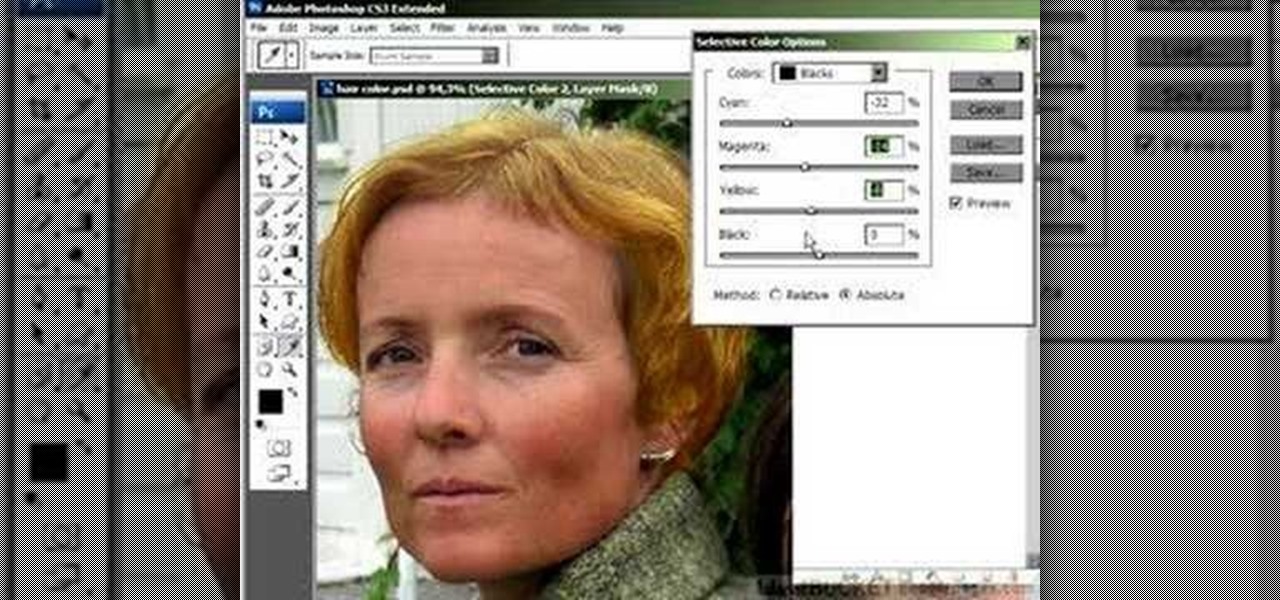
In this Photoshop tutorial the instructor shows how to change the dark hair color to blond. To get this accomplished you need to use a couple of very special techniques. First use the selective adjustment layer and select the outline of the hair. Now use the selective color option and change cyan and magenta settings to about minus forty. Now changing the other yellow color to achieve saturation and black colors to achieve the effect with shadows. Now next change the colors of black so that t...
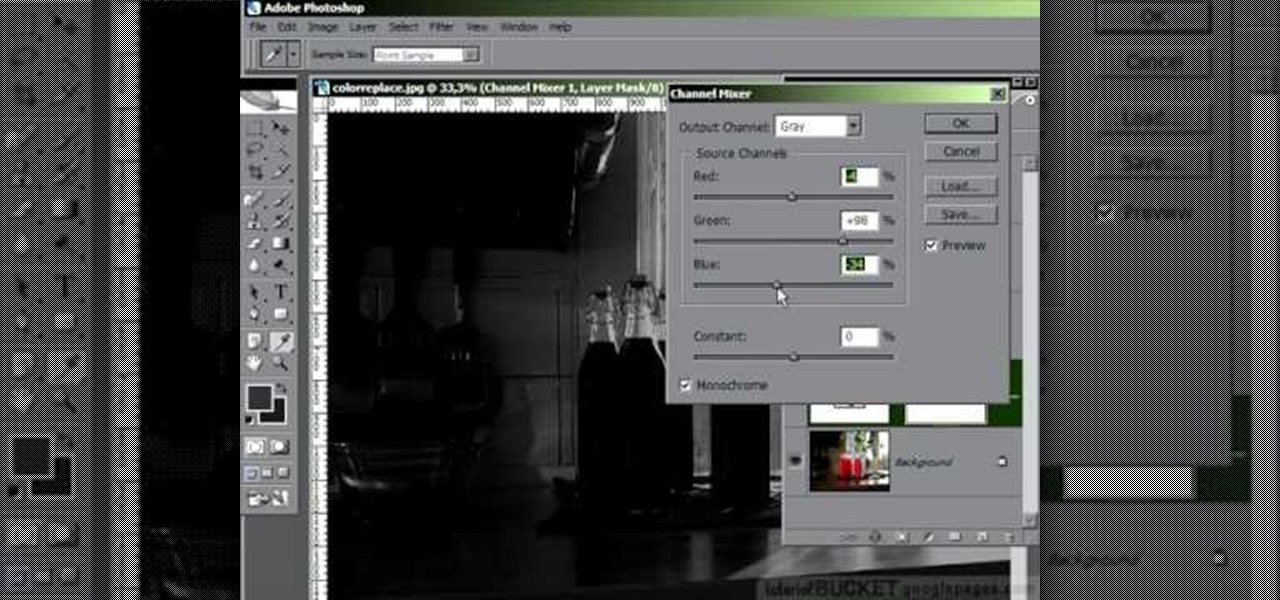
In this video tutorial, learn the several methods to get black & white images from color originals in Photoshop. The first method is the simple desaturate by going to image > adjustments > desaturate and it will wipe out the color from your image. The second non-destructive way of doing this is going into the layers palette, adding a new adjustment layer, choosing hue and saturation and dragging the saturation slide all the way down to minus (-) 100. The next method is going to the channels p...
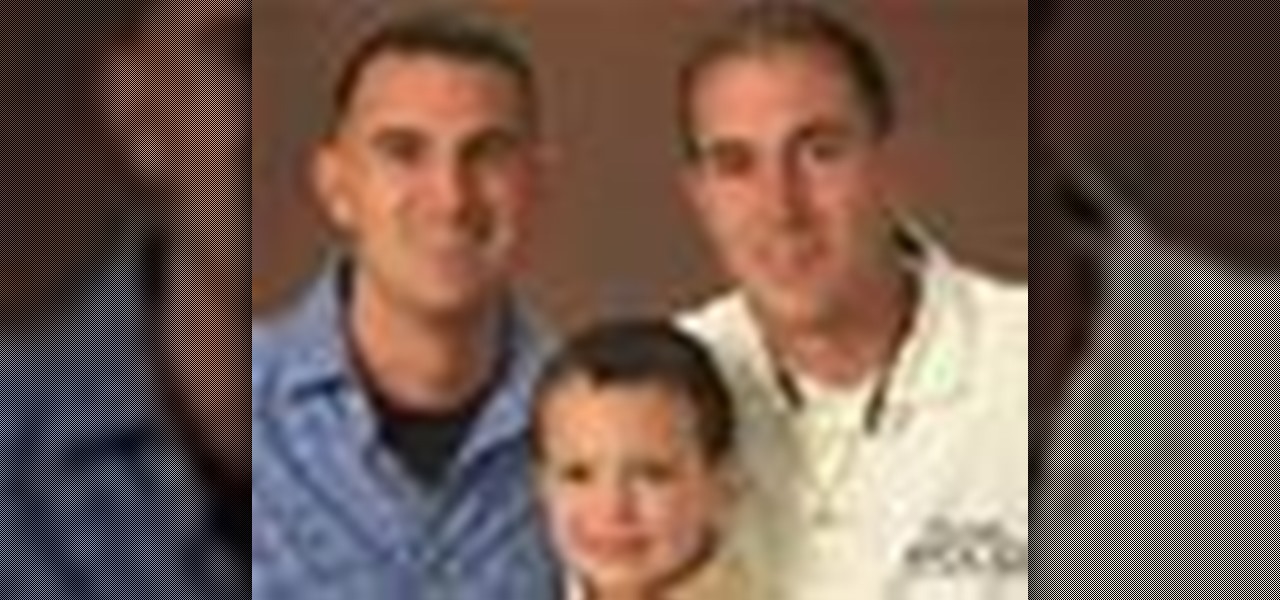
Simon Plant of ProPhotoInsights.com shows how to use Photoshop to blend colors in images. He uses a photo of his son standing in front of Stonehenge to take us through each layer of the photo to alter the levels of hues, saturation, and opacity. The key to blending colors is a matter of playing with different hues and saturation levels in Photoshop to get the subject in the foreground to match the background. Follow Plant's thorough tutorial to find out how to get professional looking photos ...
This video will discuss how to implement color changes in Photoshop editing. This step by step approach will tutor the novice Photoshop user how to utilize the various tools and applications to achieve, colorization in photos, swap select and hue, colors and backgrounds of photos, describes layering using saturation and blend techniques. This video tutorial will describe and demonstrate the correct settings and tool usage for easy application of each editing and color manipulation.
The enhance controls in Aperture's adjustments panel provide a number of tools for refining your tonal adjustments, controlling saturation, and for correcting color casts.
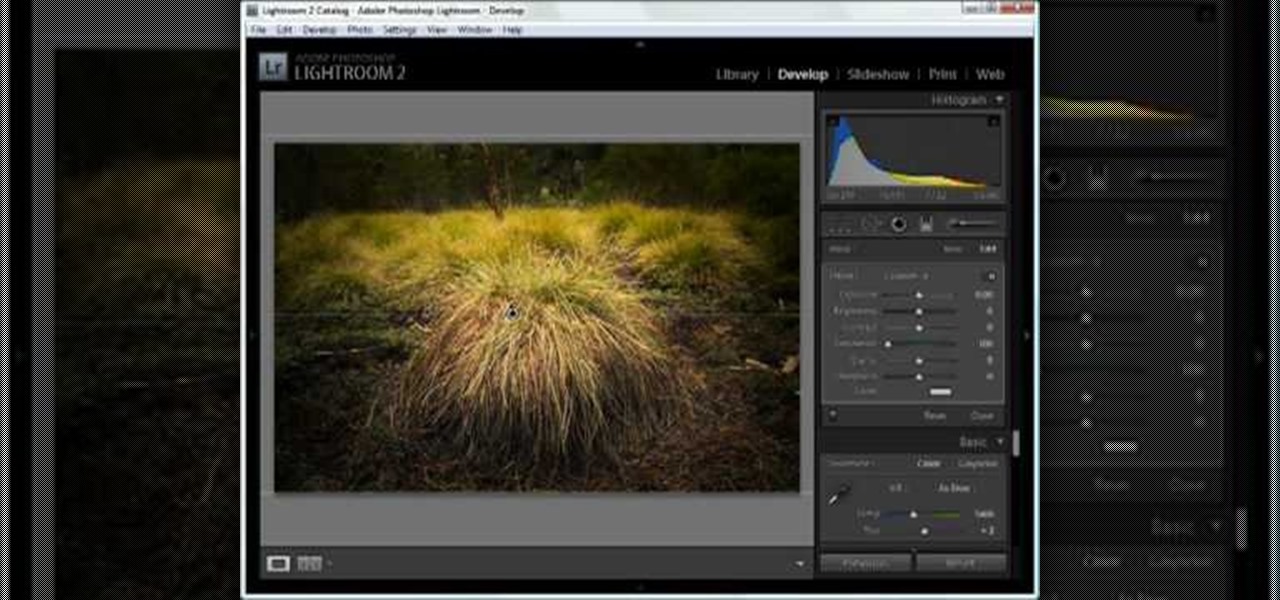
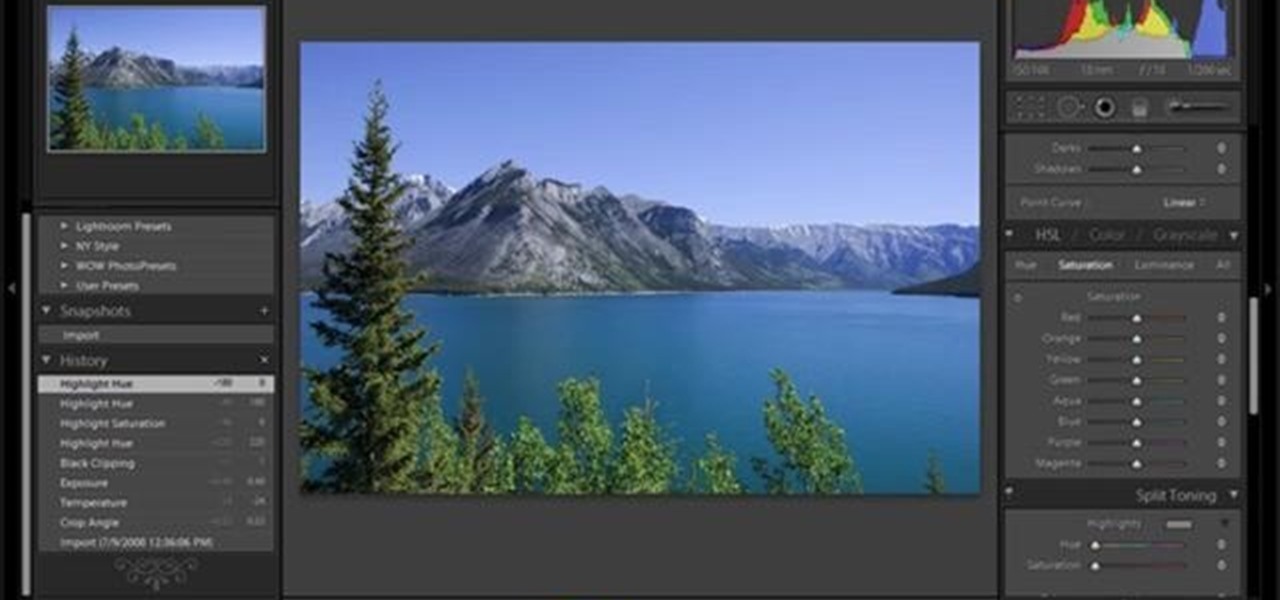
Pixel Perfect is the "perfect" show to help you with your Photoshop skills. Be amazed and learn as master digital artist Bert Monroy takes a stylus and a digital pad and treats it as Monet and Picasso do with oil and canvas. Learn the tips and tricks you need to whip those digital pictures into shape with Adobe Photoshop and Illustrator. In this episode, Ben shows you how to apply localized correction in Lightroom 2.
In this video we learn how to whiten teeth in Photoshop like a professional. Start off by opening up Photoshop and zooming in on the teeth in your photo. Start out by selecting a hollow brush and then paint the selection onto the teeth. Paint around them carefully and make sure you don't touch the gums in the middle and on the top of the teeth. Once you have selected the entire area of the teeth you will see them all covered in red. Then, go to "select" and "inverse", then press the button fo...
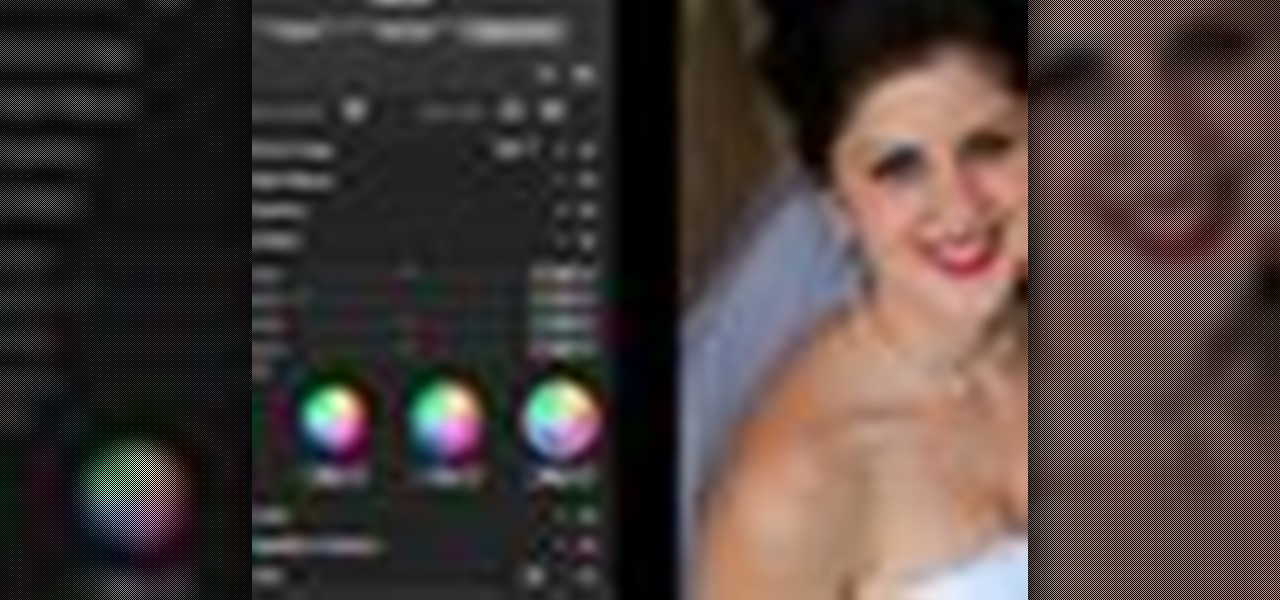
In this tutorial, we learn how to dodge and burn in Lightroom 2. First, open up your image in Lightroom 2 and use the brushes to change the saturation and the colors in the image. You can also use the graduated filter which you can use to apply effects across the image itself. Next, you can add a tint onto the picture and apply a second filter to make the top of the image darker, then make the middle of it brighter. Change the exposure and saturation to make the picture look more realistic. U...
In this video, we learn how to change the color of clothing in Photoshop. First, click "enhance", then "adjust color", then "saturation". Now place a magnetic lasso around the shirt color you want to change. You can now use a slider to go through all the different colors, and pick that one that you want to use in the picture. Play around with the saturation, hue, and brightness to change what the color looks like in the picture. If you want to add more contrast, it will look more real like it...
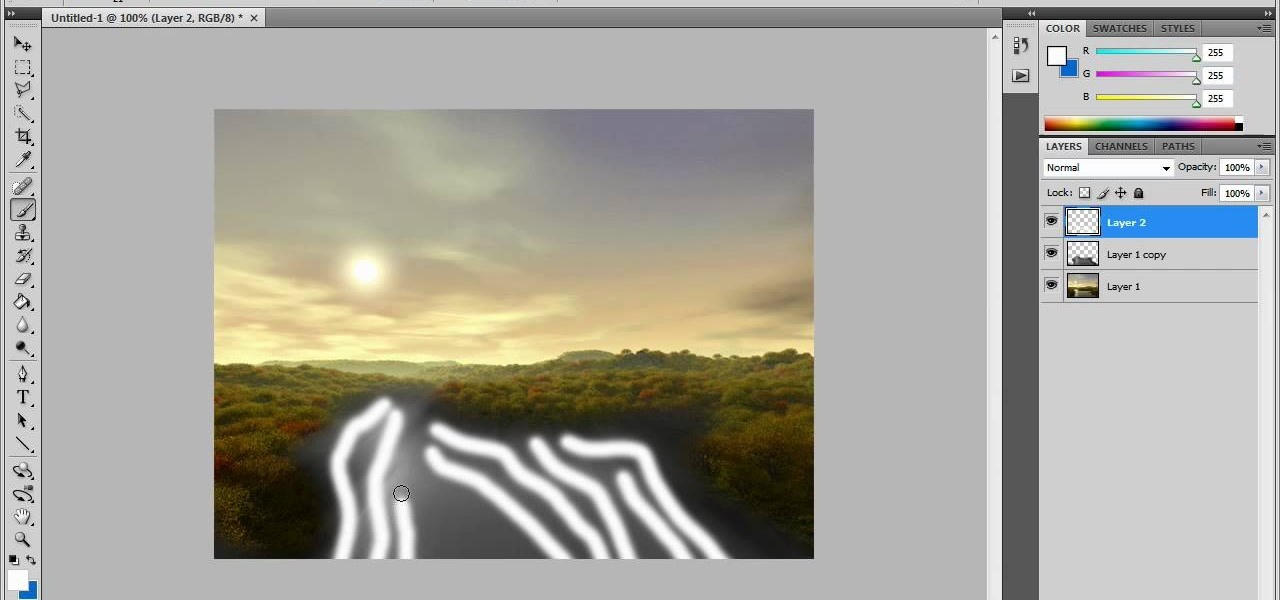
In this video tutorial, viewers learn how to create fog using Adobe Photoshop. Begin by importing the image into the program and duplicate the image. Now go to Filter, select Blur and select Radial Blur. Set the amount to 100, Blur Method to Zoom and Quality to Best. Now select the rectangular marking tool and select the sky. Then open the Hue/Saturation menu and set the Saturation to -100. Use the eraser tool to remove the gray from the edges. Now use the paint tool and paint white streaks o...
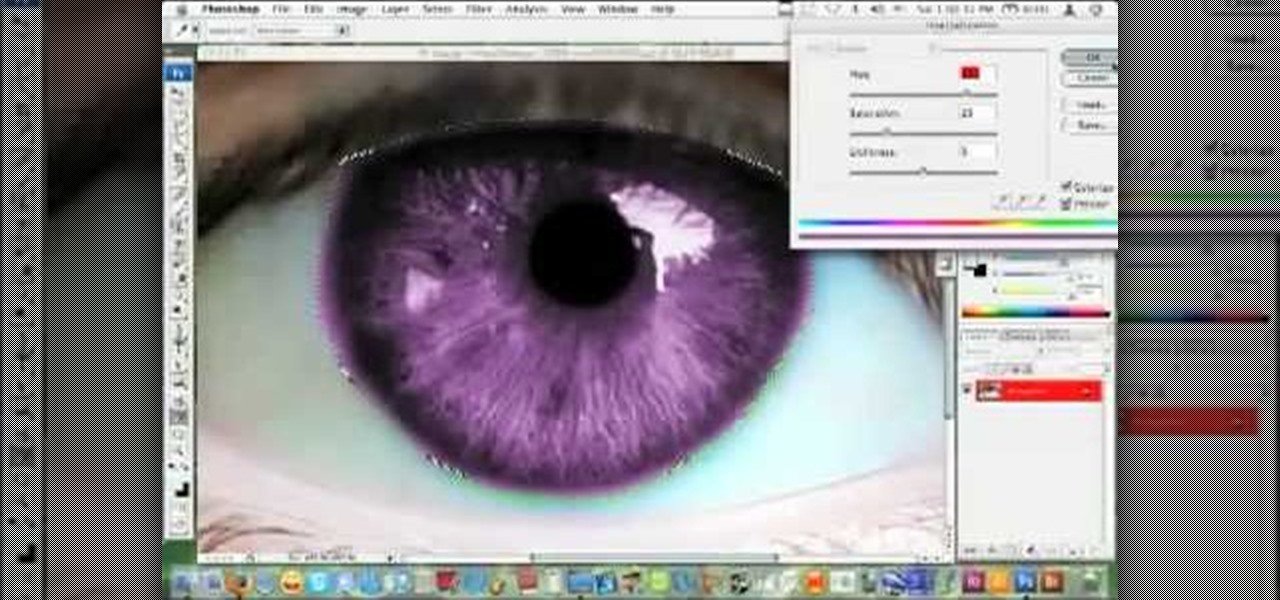
In this video tutorial, viewers learn how to change the color of eyes using Adobe Photoshop. Begin by selecting the Magnetic Lasso tool and create a selection around the eye. To create a second selection without losing the first one, hold the Shift key. Now go to Image, click on Adjustments and select Hue/Saturation. Now adjust the hue and saturation of the eye to change the color. This video provides a visual demonstration for viewers to easily follow along. This video will benefit those vie...
This video shows the method to split tone in Lightroom. Firstly, go to the 'Grayscale' button to change the photo into black & white. Go to the split toning section and change the tint into the color you want using the 'hue' option. You can also use the 'Highlights' option to select the color and see the preview. Bring the saturation down to get the right color. Repeat the same procedure with the shadows. Choose the right tint for shadows. Hold the 'Alt' key down to see the effect of change i...
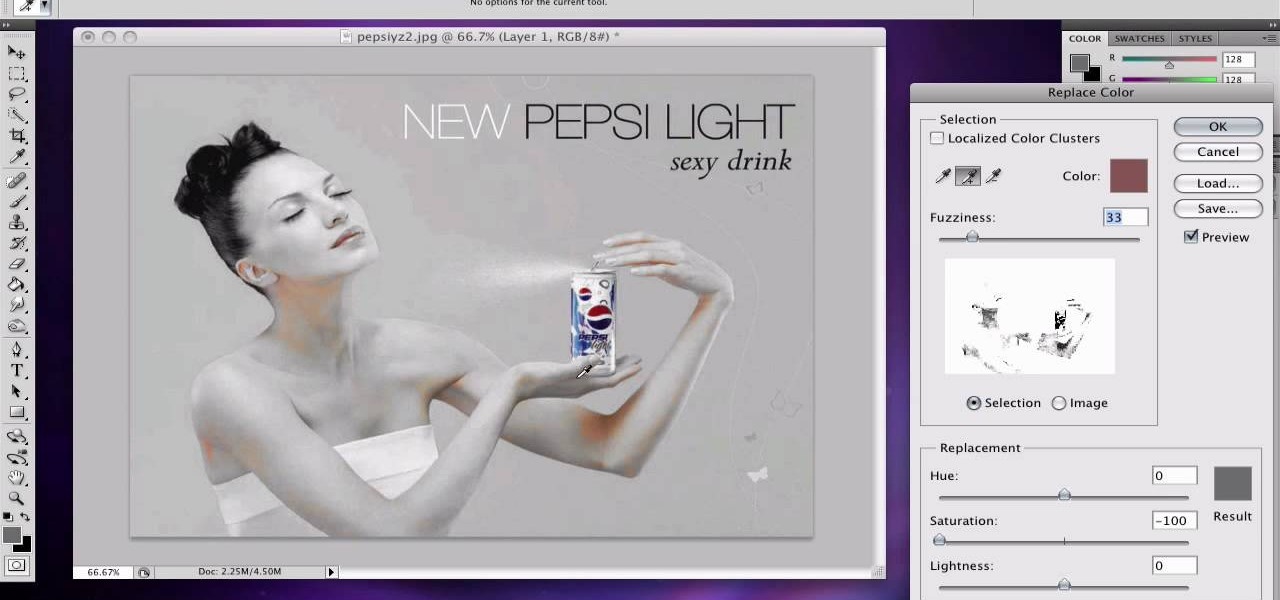
If you want to learn how to do selective desaturation in Photoshop CS4, you should watch this video. Go to File and choose Open. Open the file you want. Go to Image, select Adjustments, and then Replace Color. Select the second droplet or the droplet with a plus sign. Increase Fuzziness, say 106 but you need to decrease Saturation. Set Saturation to -100. Click on the image except for the selected part that you want to have a color. Decrease Fuzziness to know the parts that you need to click ...
In the tutorial, GeorgiAnastaso shows your how to change color of an object in Photoshop. First of all open the picture which you want to change. Then make a new layer and go to make adjustment layer option. There will be three options. Hue, saturation and lightness. If you change the hue amount it will change the color of your object. Saturation will maintain the color amount. After finishing this tutorial you will be enable to change any color in photoshop.
If you're looking to do a cool photo with some special old effect then you should make it white an black.
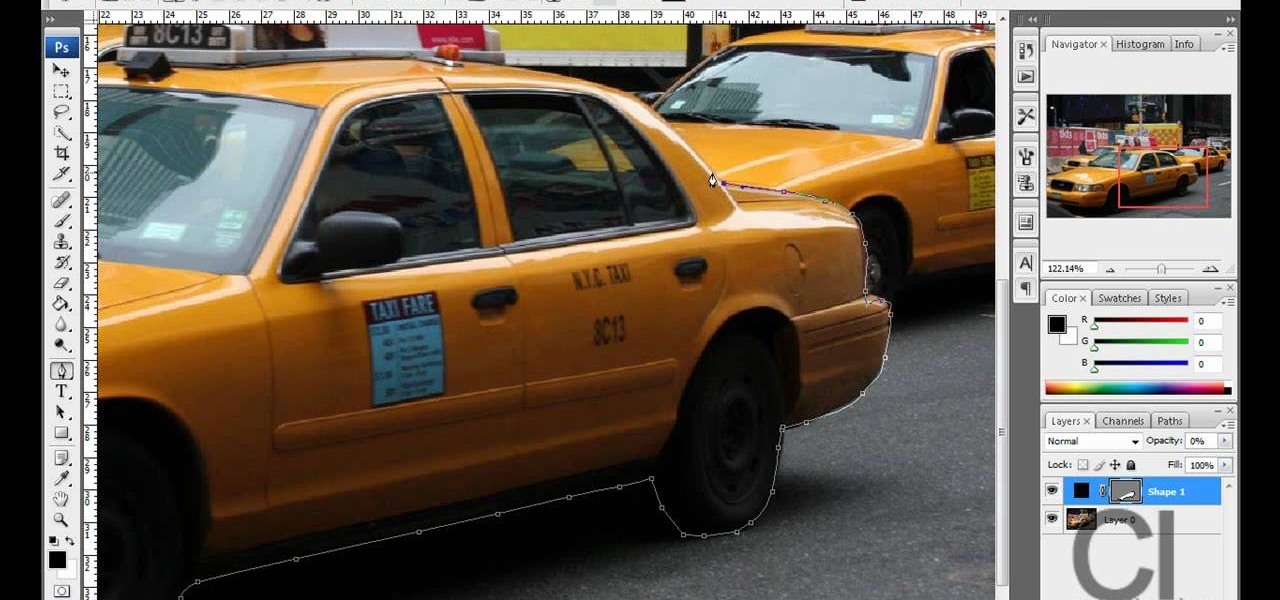
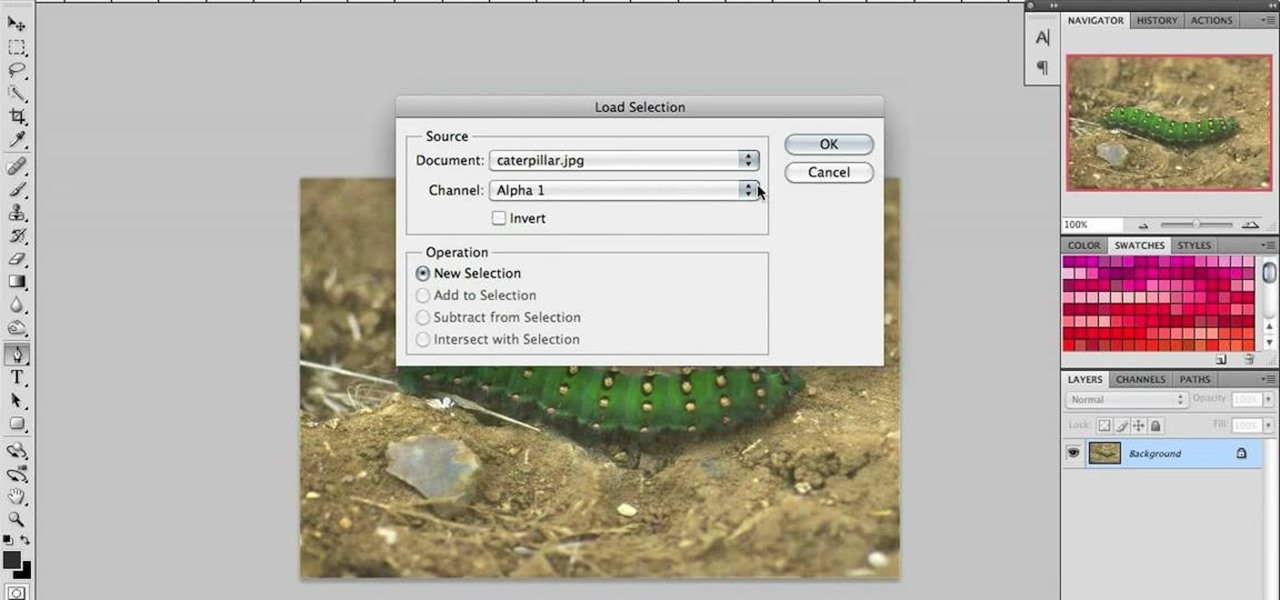
The step by step methods to isolate colors in Photoshop have been shown in the video. In a layer we have to place an image and first select the particular part to be isolated with the pen tool which has free form pen tool, add subtract, intersect and exclude overlapping path options. After that make a right click and select make selection option. Keep the feather be in 3 and click ok. Paste this in a new layer by pressing control+d keys. Create a copy layer of 2 and open Hue and saturation pa...
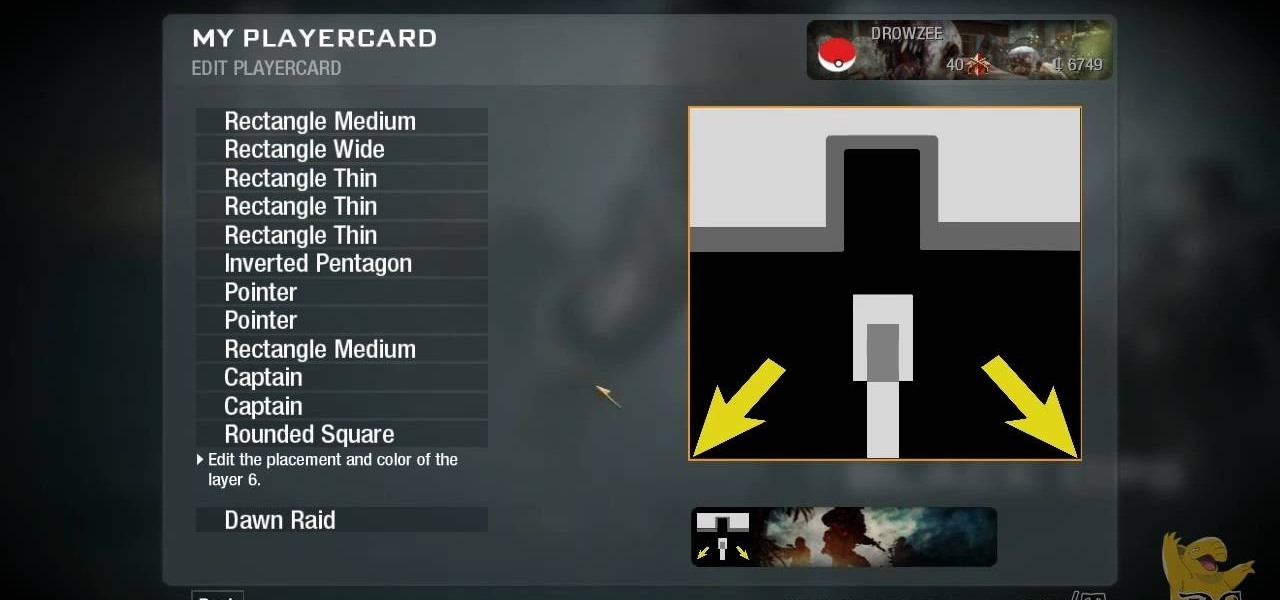
This clip will teach you everything you'll need to know to draw the dreaded Connection Interrupted symbol in the Call of Duty: Black Ops Emblem Editor.
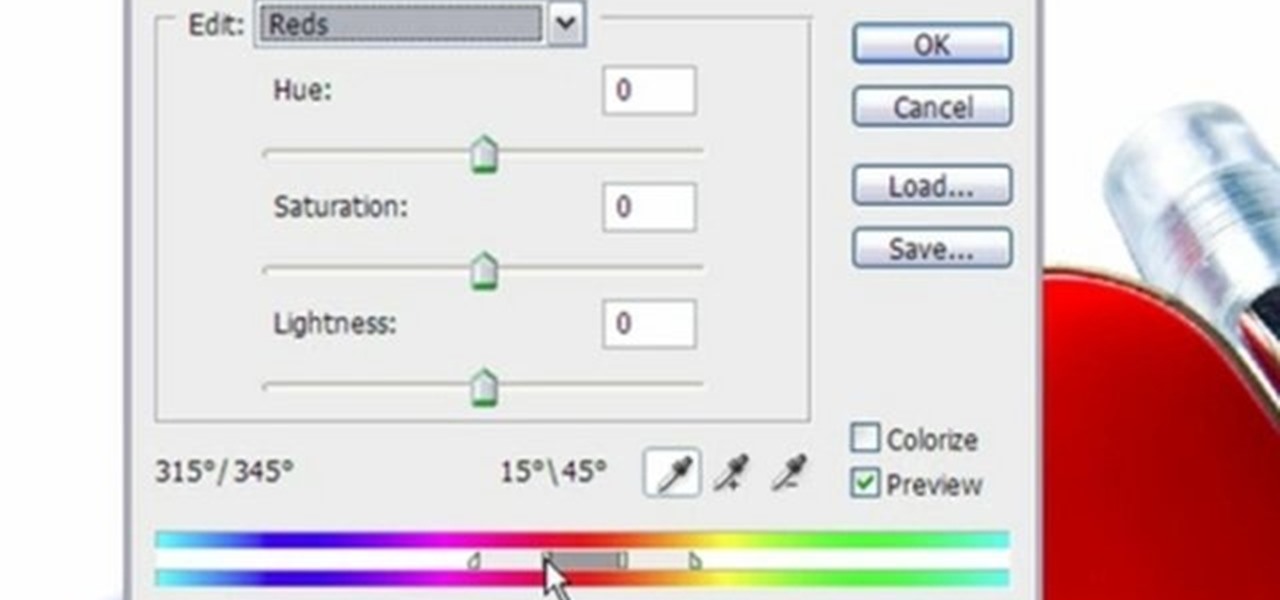
This video shows three ways to change the color of an object in Photoshop. The first method is of hue and saturation. Go to 'Image' & 'Adjustments' and choose 'Hue/Saturation' or press Ctrl+U as shortcut. Go to Edit and choose the color you want to change. As you select the color, a grey bar appears in between the rainbow bars at the bottom representing the color you want to change and the feathering which it will cause. You can change it by sliding it outwards. Slide the 'Hue' slider to chan...
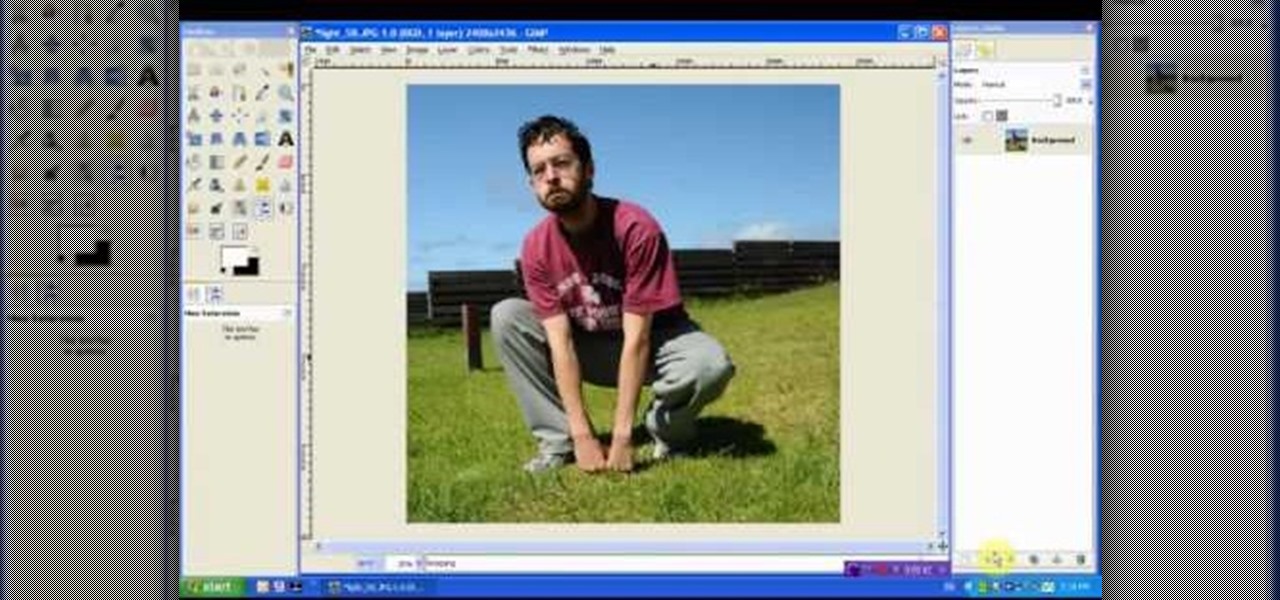
Open up the GIMP on your computer, and then proceed to open up the photo you wish to modify. Now, select the scissors tool from your Tool palette or by clicking "Tools" on the menu bar, then click "Selection Tools," and also click "Intelligent Scissors." Use this tool to outline the person's hair in the photo by clicking along the hairline at about 1/4-inch intervals until you return to the first place you clicked.
Turn a photograph of a regular person into an image of everyone's favorite muscular green psychopath! Using the hue slider, saturation tool and the Iwarp function, you can distort your picture in GIMP to make it look like a picture of Hulk instead.
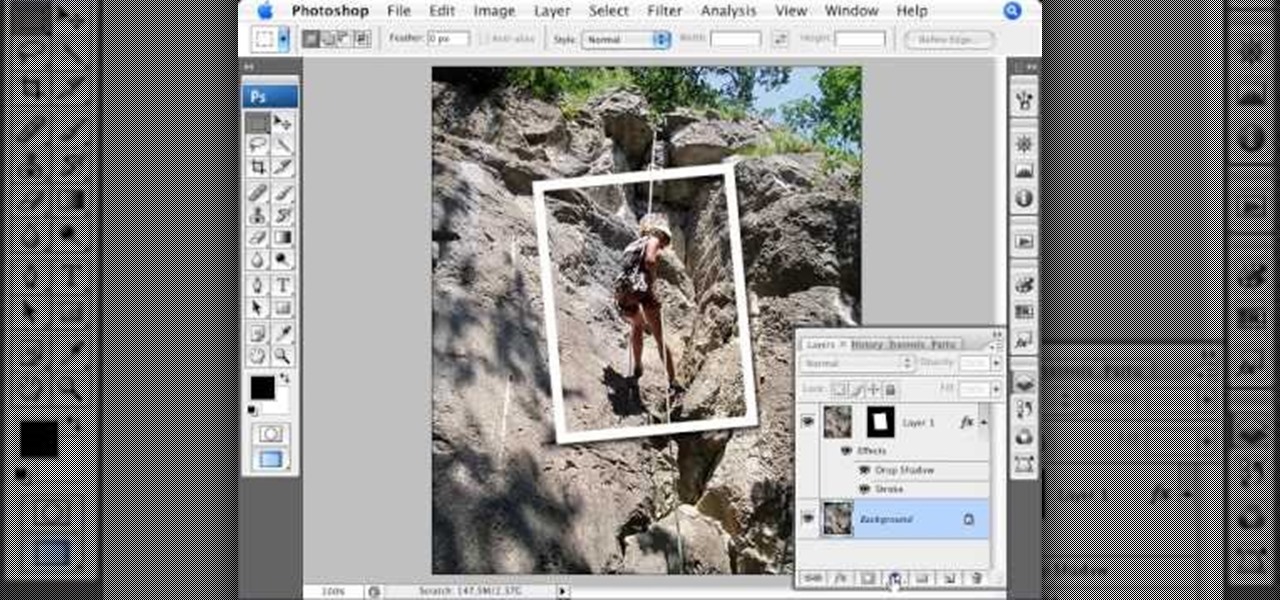
Have you ever wanted to create a background with one of your photos? This video shows you how to use one of your photos to create a photo background using Adobe Photoshop. It will show you how to use the free transform tool, overlay blend modes, hue and saturation, drop shadows, and other cool effects. Learn all about creating photo backgrounds with this video tutorial.
Oftentimes, a photo may not capture the true vibrancy of color in real life, but Photoshop can fix that. Photos with lots of color can be given even greater hue saturation by adding extreme contrast in Photoshop. By using multiple effects, including overlay blend modes and noise across multiple layers, a picture's color intensity can be made more bold with these techniques. By following the steps in this video, colors can be made more vibrant using extreme contrast with Photoshop software.
hotarrows223 demonstrates how to manipulate the eye color in a photograph using the masking tool. First, you must open the image with the eyes you intend to work on with Photoshop CS3. Next.], you must zoom in on an eye. You should be at the point where the iris fills up more than half of your screen. After that, you must select the iris, outlining it with the selection tool. Then, select image>adjustments>Hue/Saturation. Make sure all the boxes are checked, then adjust the hue or color bar t...
Photoshop's hue & saturation tool is great for tweaking the colors of an image en masse but what if it's only one particular color that you'd like to enhance or change? Then, my friend, you use the color replacement tool. This video tutorial will show you how to use it in Adobe Photoshop CS4.
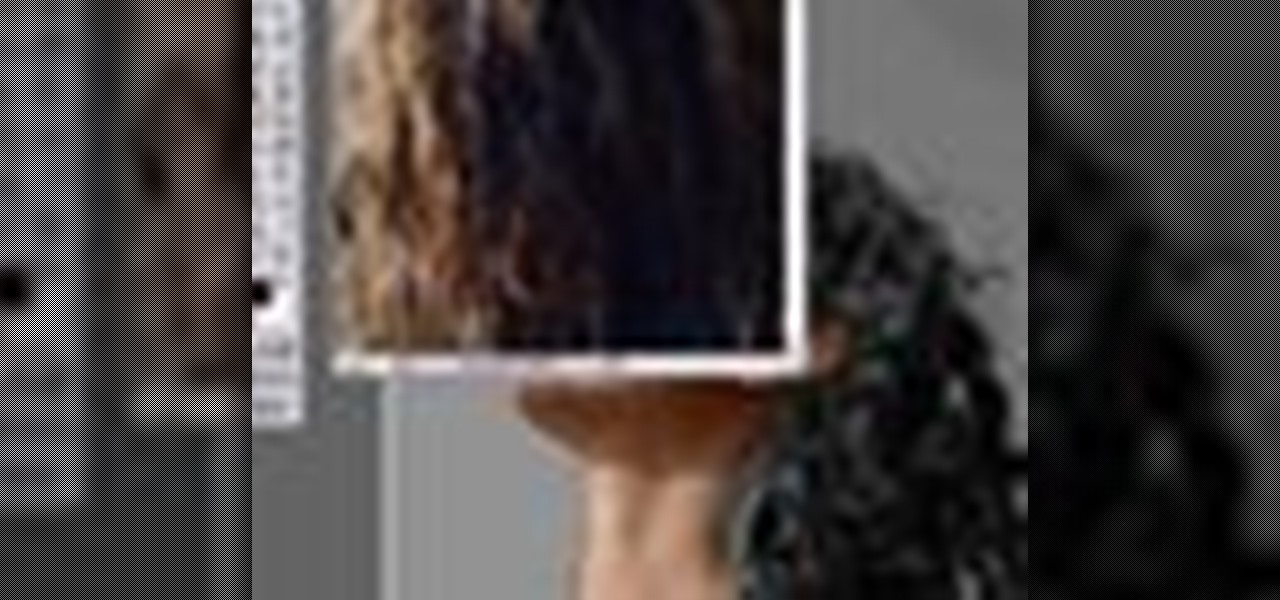
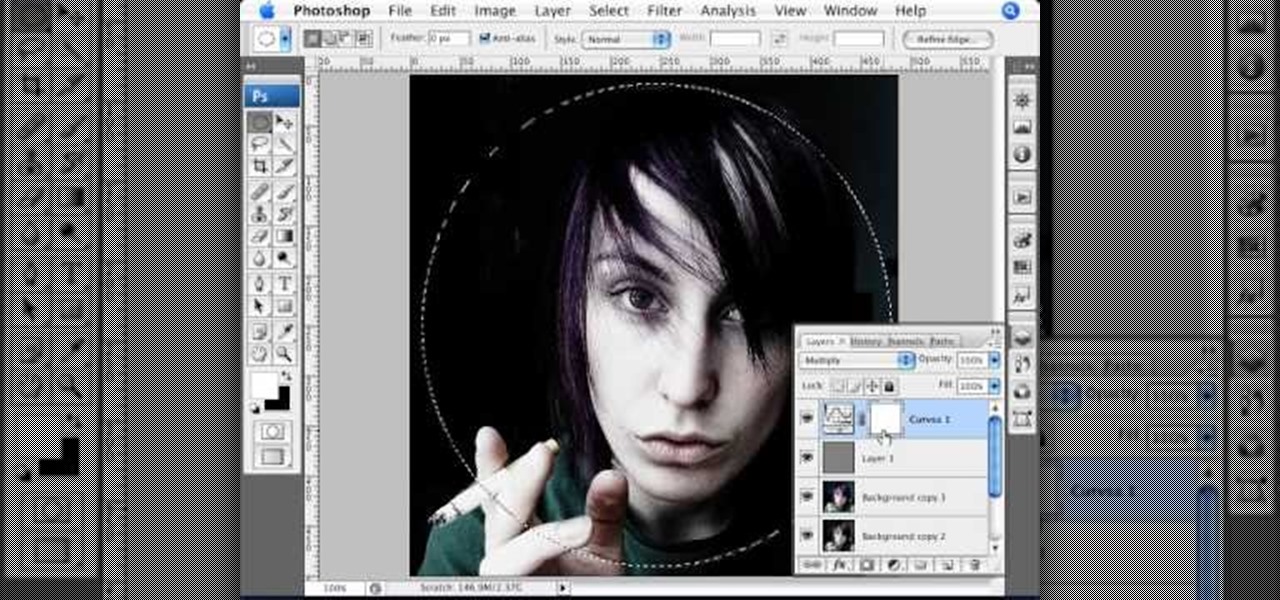
This video shows you how to form an eye-catching border around any photograph by placing a photo within (or on top of) itself using Photoshop. The process includes duplicating the image, adding a layer mask, adding an inside layer stroke and drop shadow, changing hue or saturation, and using a blur effect. If your vacation photos or family pictures are putting your visitors to sleep, try this easy and fascinating technique that will be sure to draw attention.