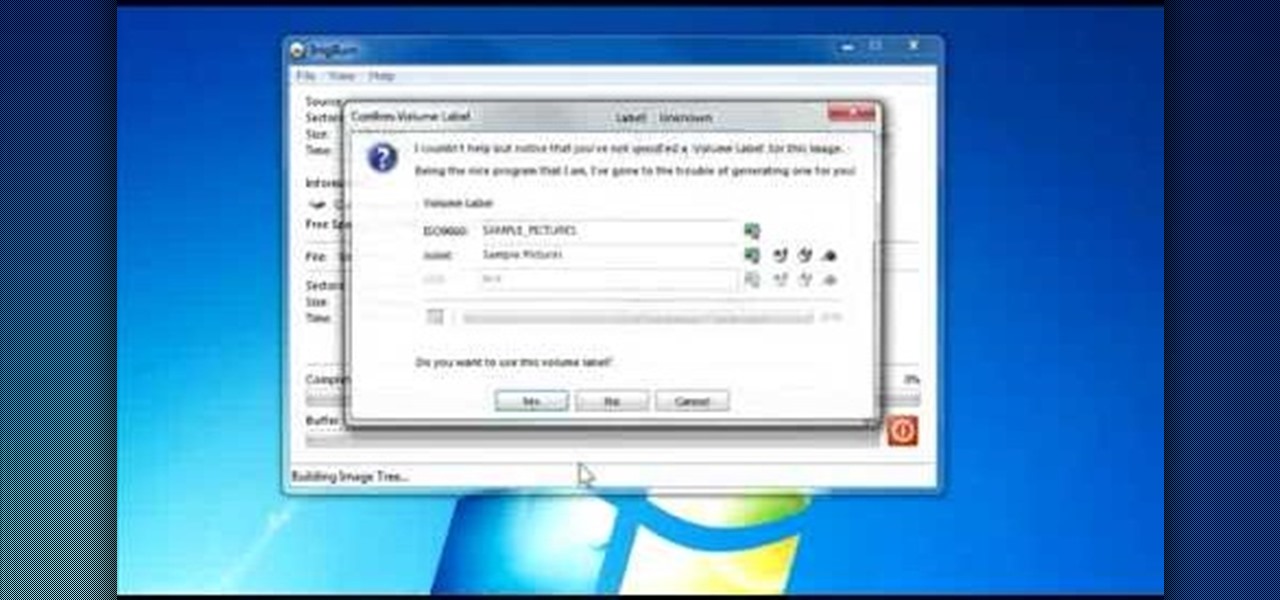
In this video tutorial, viewers learn how to quickly burn ISO disc images in Windows 7. Users will not need to download any third party software. This task is very fast, easy and simple to do. Simply double-click on the ISO file to Open Windows Disc Image Burner. Then select your disc drive and click on Burn. Users may also right-click on the ISO file an select Burn disc image. This video will benefit those viewers who use a Windows 7 computer, and would like to learn how to easily burn ISO d...

See how to ensure you have cropped your images properly for printing and how to check that the resolution is high enough for printing when working in the GIMP image editor. Whether you're new to the GNU Image Manipulation Program, GNU's popular free graphics editor, or a seasoned designer just looking to pick up a few new tips and tricks, you're certain to enjoy this free video software tutorial. For more information, including detailed, step-by-step instructions, and to get started printing ...
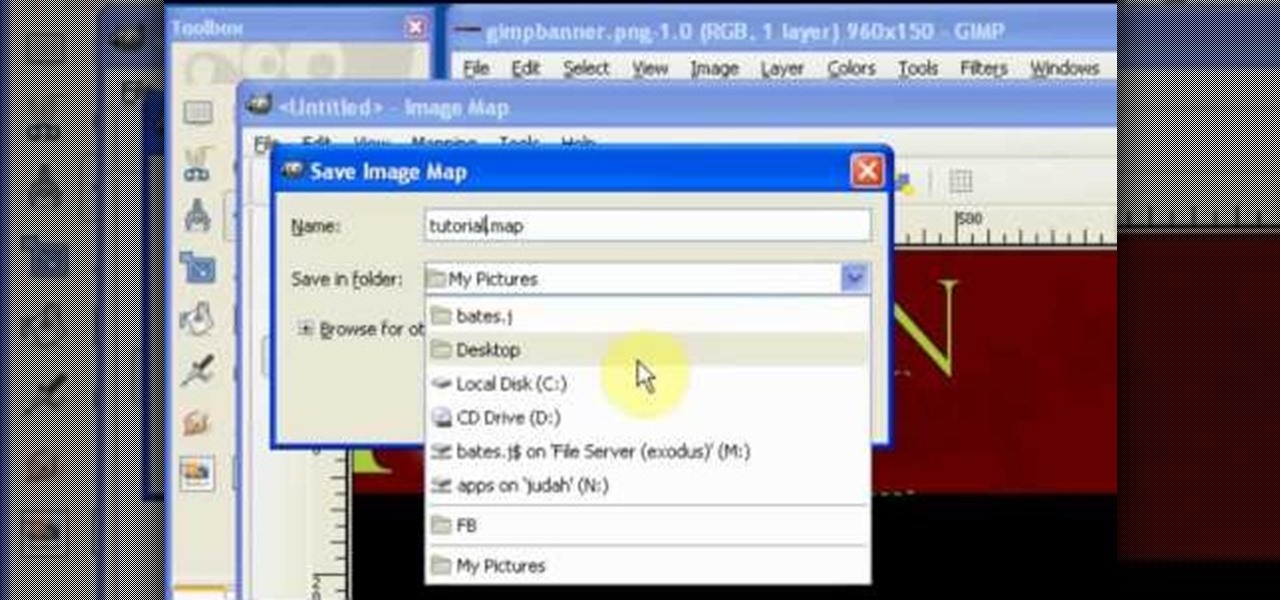
See how to use GIMP to generate a HTML image map in minutes. This mimics the slice function from Photoshop. Whether you're new to the GNU Image Manipulation Program, GNU's popular free graphics editor, or a seasoned designer just looking to pick up a few new tips and tricks, you're certain to enjoy this free video software tutorial. For more information, including detailed, step-by-step instructions, and to get started chopping up digital images yourself, take a look.
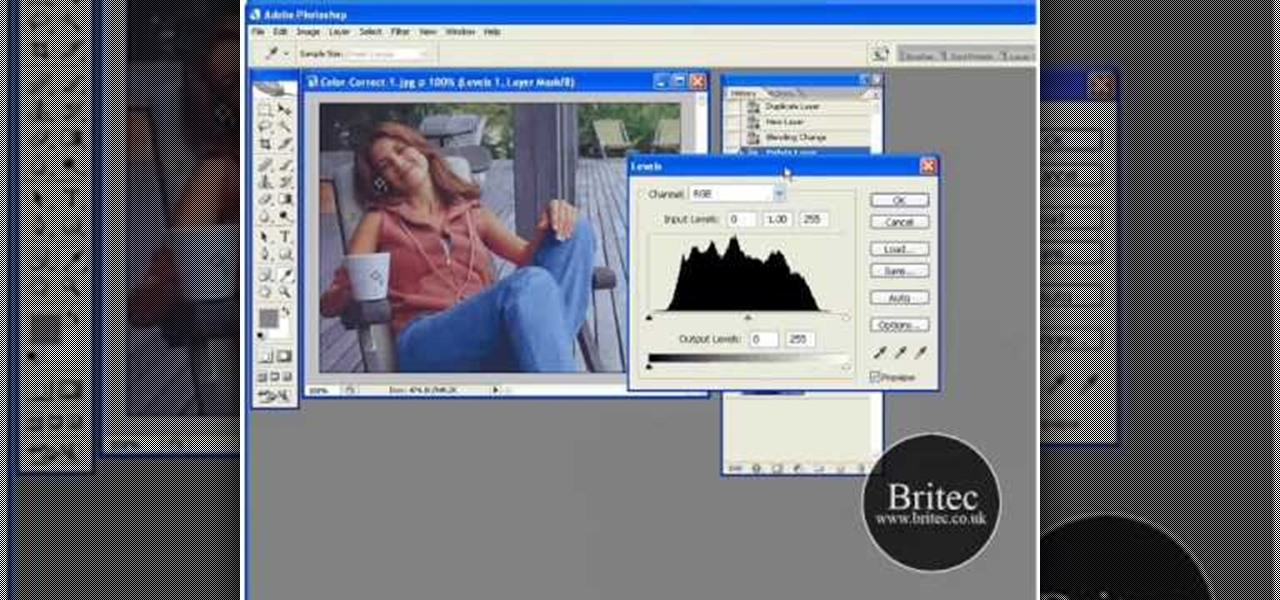
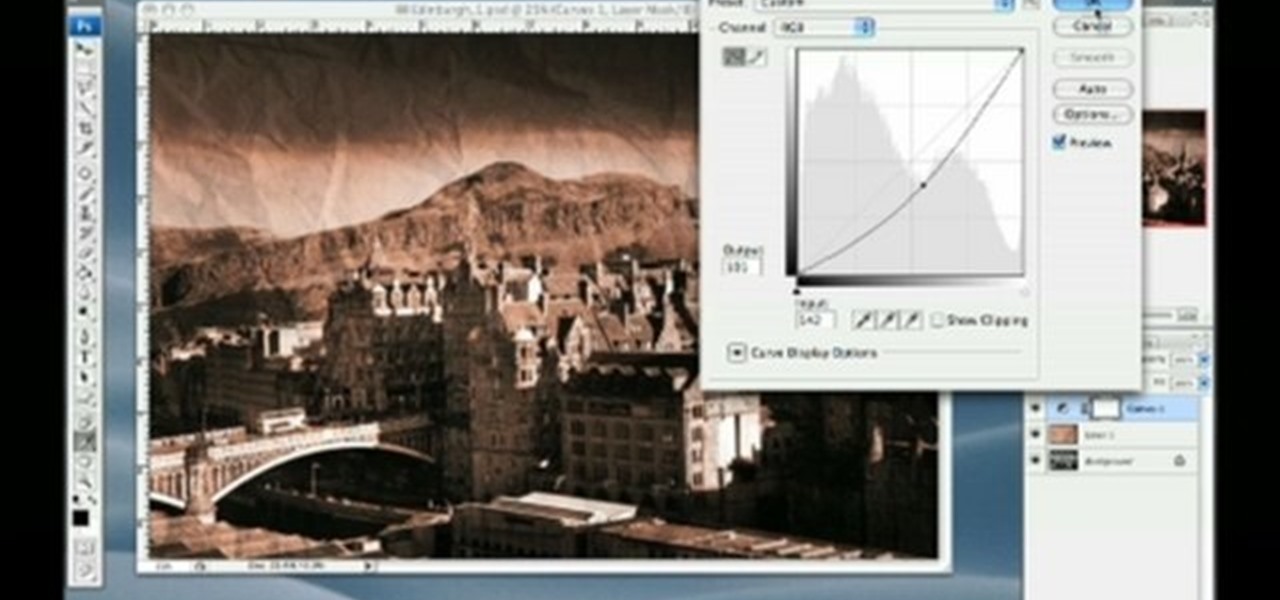
Want to color correct a digital image within Adobe Photoshop? Whether you're new to Adobe's popular image editing software or simply looking to pick up a few new tips and tricks, you're sure to benefit from this free video tutorial from the folks at Britec Computer Systems. This video offers a step-by-step guide on how to color correct images using Photoshop's curve adjustment tool.
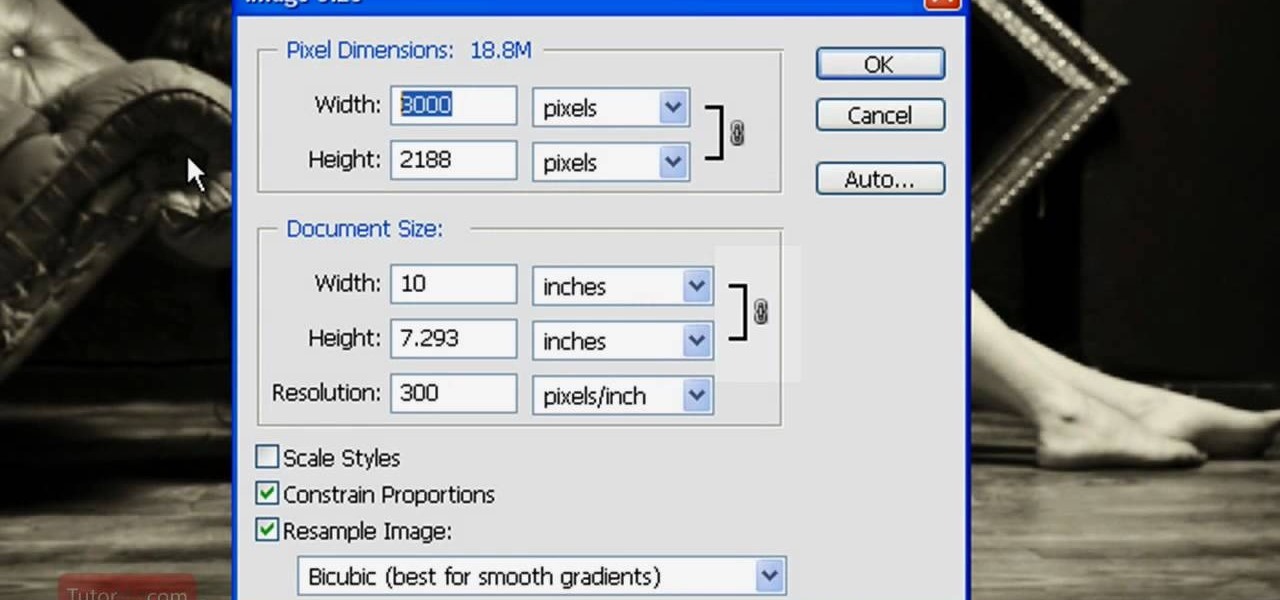
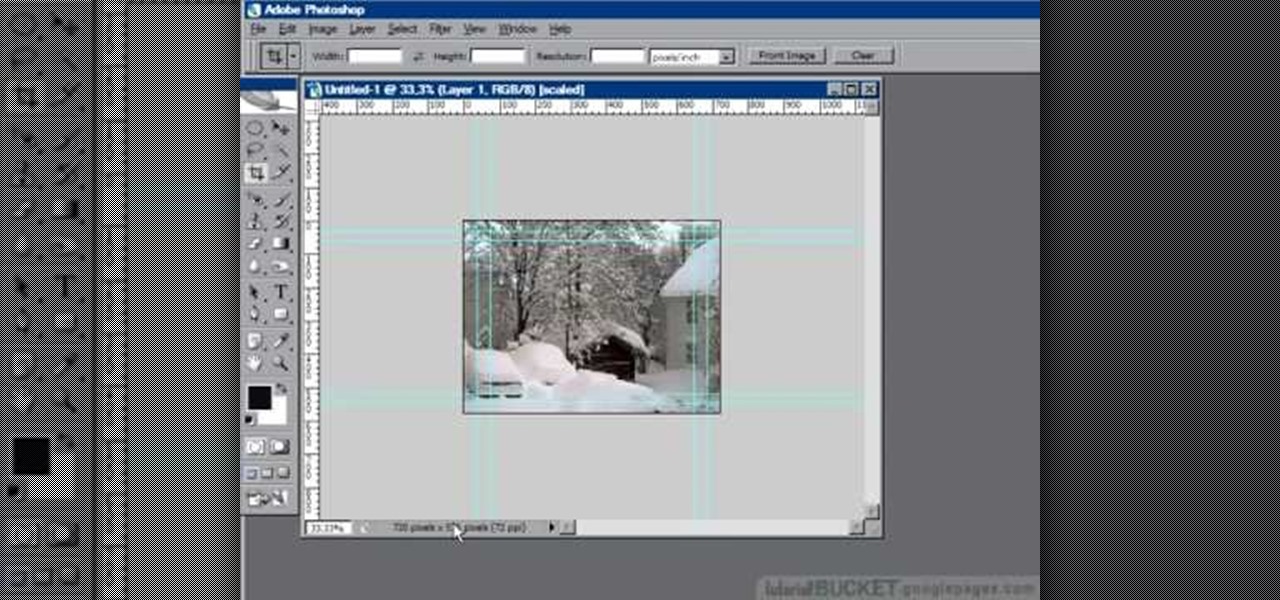
In this Software video tutorial you will learn how to resize a custom image using Adobe Photoshop CS4. Select your image. Click on ‘image’ tab and select ‘image size’ from the dropdown menu. In the ‘image size’ box you can change the height and width pixels. But, if you check the box ‘constrain proportions’, then when you change one pixel dimension, the other will automatically change. Similarly, for resizing drop shadows proportionately, check the ‘scale styles’ box. The ...
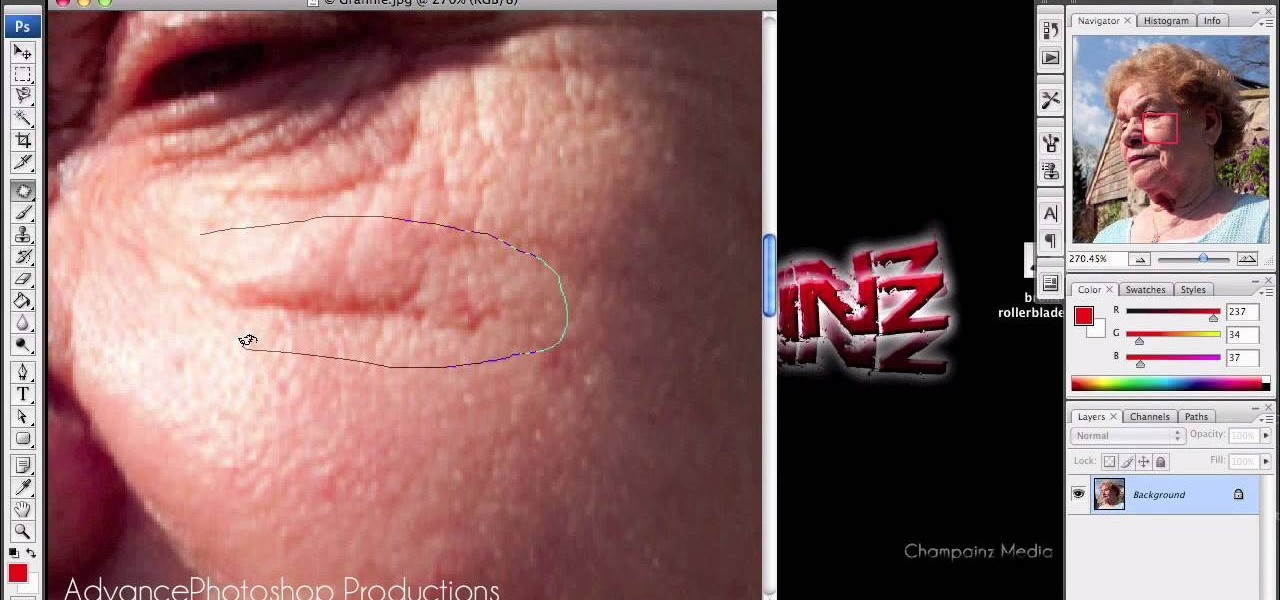
In this video, we are given ways to clean up an image, or remove unwanted objects in an image using Adobe Photoshop. The first tool that we are shown is the clone stamp tool. It allows you to clone a certain sample of an image, for you to use to paint over the object in the image you don't want anymore. In the video, the narrator shows us how to seamlessly take a man out of an outdoor setting. The next tool that we are shown is called the patch tool. In the video, the narrator uses the patch ...

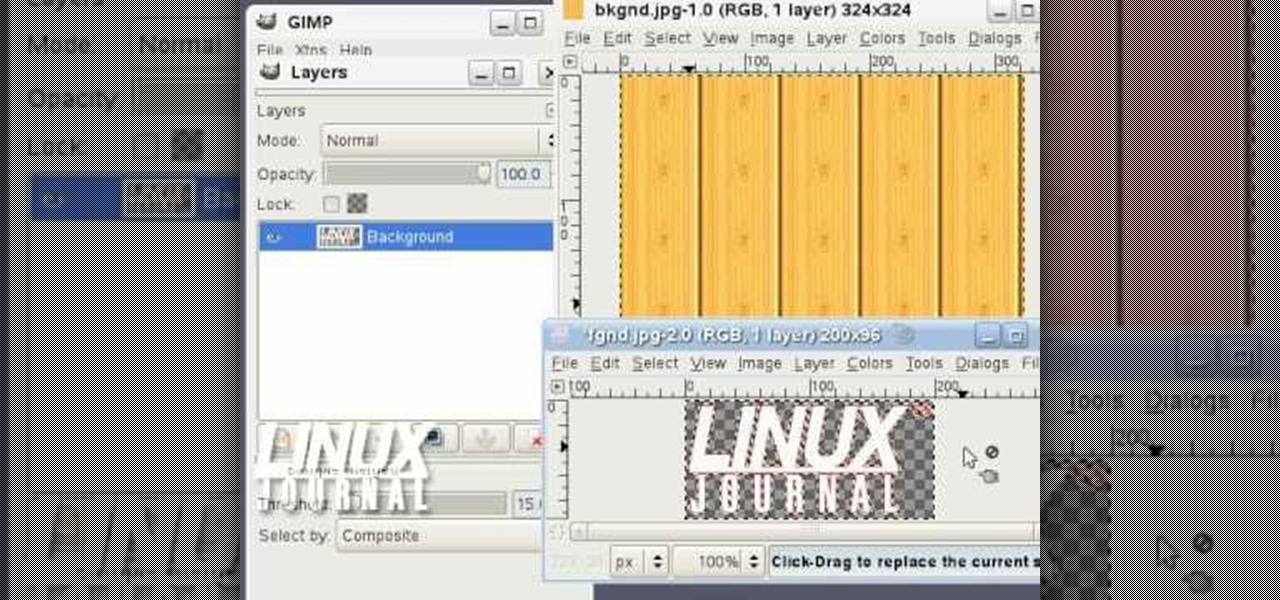
Learn how to add a new background to an image using Gimp. 1 Open the original image and the new background in Gimp. 2 Open the layers dialog and then click on add an alpha channel. 3 On the original image choose 'Select by color' from the menu and then hit delete. 4 Copy the image. 5 On the new background, select 'Add a layer'. 6 Paste on the new background. 7 Save and you are ready to go.
In this Adobe Photoshop tutorial the instructor shows how to prepare pan and scan images. To prepare an image by panning and scanning is quite different than preparing an image normally for using in your video. These images should be extra sized as you would perform special effects on the image in your video. This is also called as "Ken Burns" effect. Now go to the file, new menu and select the video format that you want to use according to your requirement. Enable the correct pixel aspect ra...
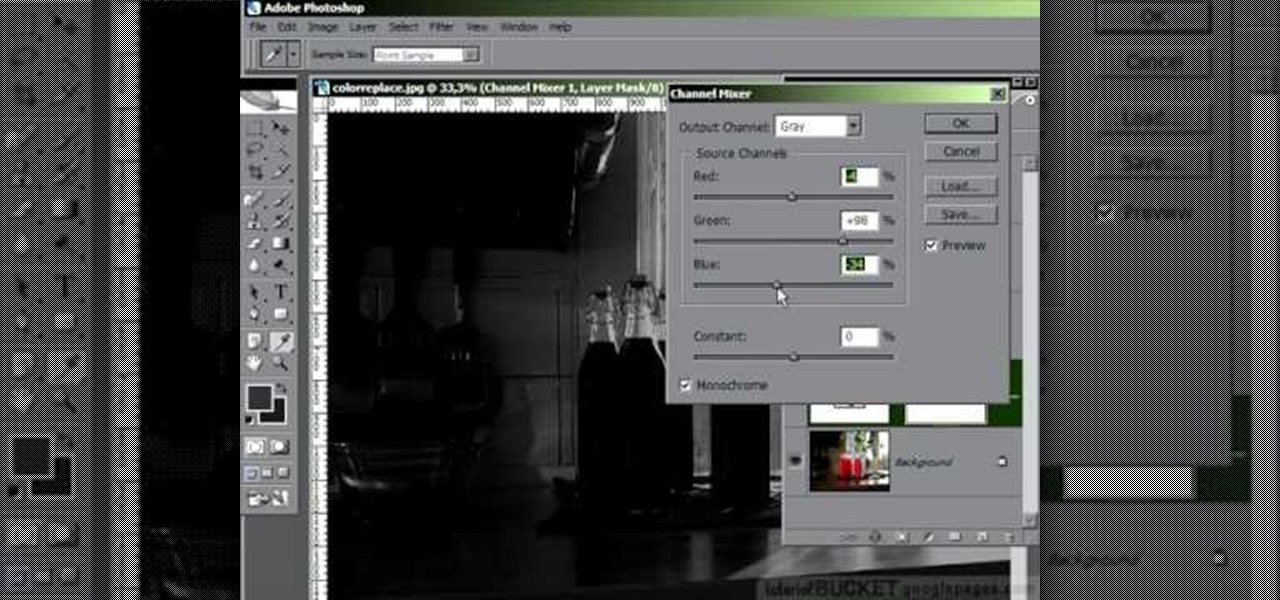
In this video tutorial, learn the several methods to get black & white images from color originals in Photoshop. The first method is the simple desaturate by going to image > adjustments > desaturate and it will wipe out the color from your image. The second non-destructive way of doing this is going into the layers palette, adding a new adjustment layer, choosing hue and saturation and dragging the saturation slide all the way down to minus (-) 100. The next method is going to the channels p...
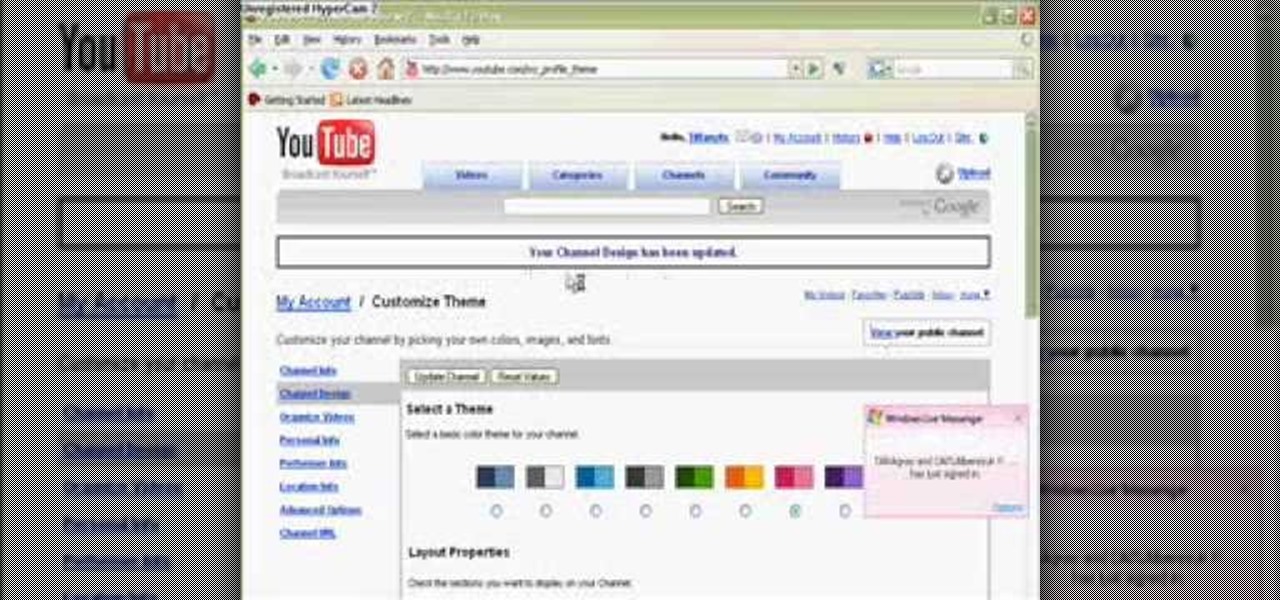
In this video from Tiffany0x we learn how to change your profile background on youtube. First she goes to google, then clicks on images and type in whatever image you're looking for for your background. Then copy the image's link in your browser. Then go to youtube. Click My Account. Then you'll see Channel Settings. Click that, then click Channel design. In Advanced Customizations you'll see a place where you can put in a Background URL. Paste the URL into that box. Once you have done that, ...
Need some high quality images to work on? High resolution images are those that are at least 300 dpi (dots per inch)... In layman's terms, high quality. When an image is less than 300 dpi, you will notice a loss in quality and an add-in of pixelation when printed.
This image editing software tutorial will show you how to pump the color back into images in Photoshop CS3. Extend your knowledge in the use of the variations tool to create a color rich image or fix faded photographs in Photoshop CS3. This tutorial is best viewed full screen.
In this software tutorial Lindsay Adler will show you how to add an extra dimension to your images in Photoshop: texture. Adding texture to images can help create the appearance of an image being old, tattered or worn. Texture can also add an emotional dimension to a photograph, making it moody and more expressive. Watch this tutorial to see how easy it is to add textures to your images and make them look older using Photoshop.
If you plan to do a lot of modeling in Maya, you will find it is easier if you set up reference images on image planes. This tutorial shows you how to create and set up image planes in Maya.
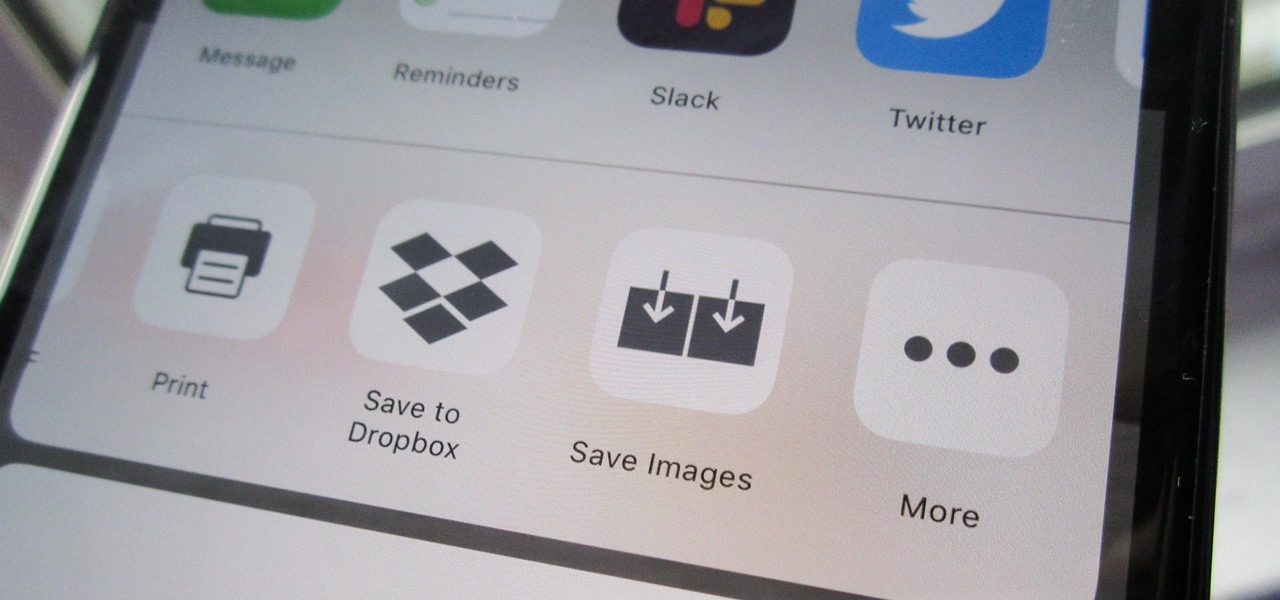
Some websites block image downloads on their webpages so you can't save them for reuse. That means long-pressing or force-pressing on protected images in Safari on your iPhone will not do anything or will omit the "Save Image" option. Taking a screenshot is the obvious solution to bypass restrictions, but you won't get the best quality. Thankfully, there's another way.
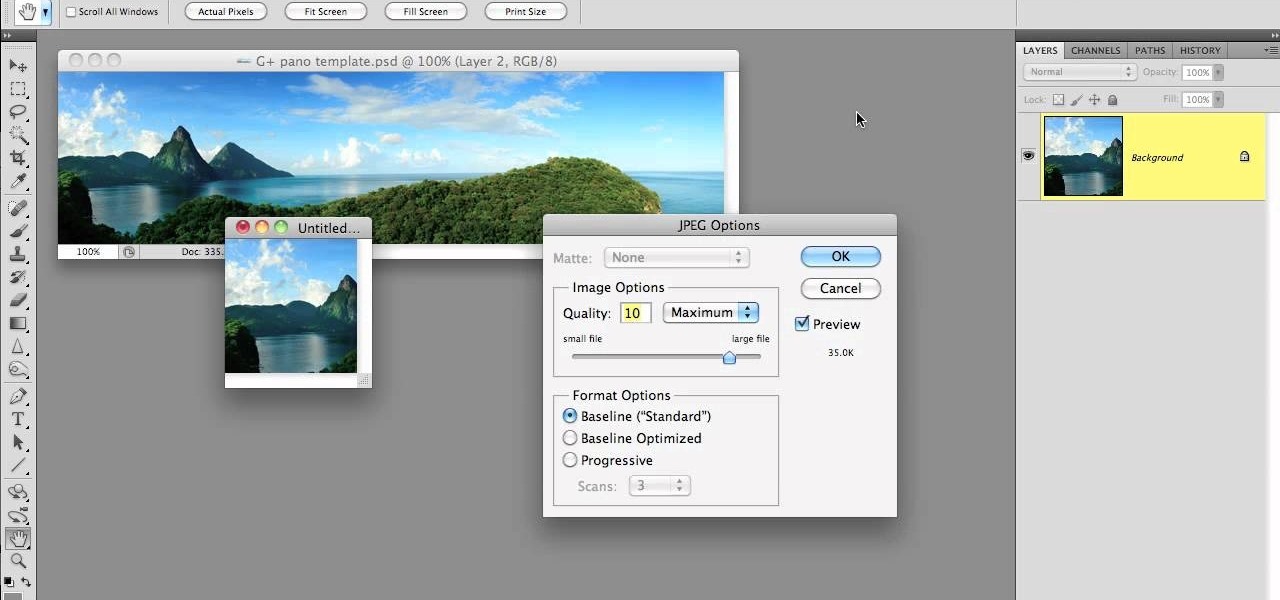
Much like Facebook, the five picture frames located at the top of each Google+ profile can be repurposed to display a panoramic picture or pano. This tutorial will show you how to break up a single image in Adobe Photoshop that combines at the top of your Google+ page to show a single image.
Create crazy looking images by 'unzipping' a person or object using Adobe Illustrator to create the zipper and then adding it to an image in Adobe Photoshop. Your tools in Illustrator will be the basic shape tool, the brush pallet, and a transform filter. In Photoshop you'll need to use the select, puppet warp, and paintbrush tools.
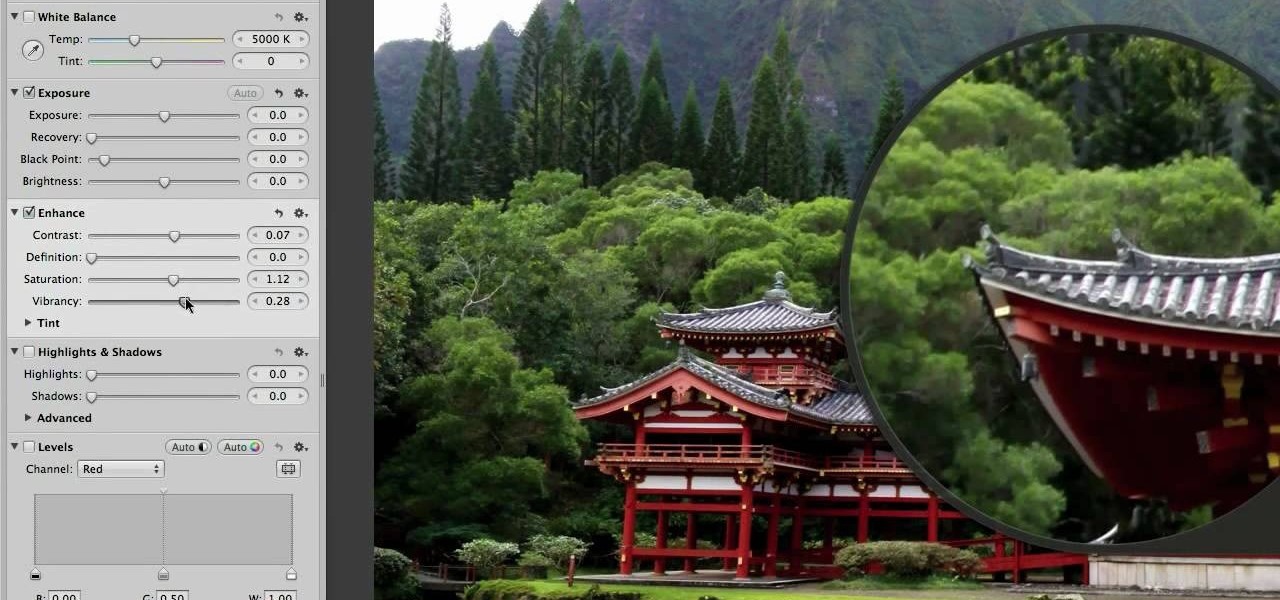
In this clip, we learn a basic digital photography workflow, one which will enable you to enhance your favorite digital photos with both ease and speed. (Note: To follow along, you will need to have the application installed. Learn how to download and install the Mac App Store here.)
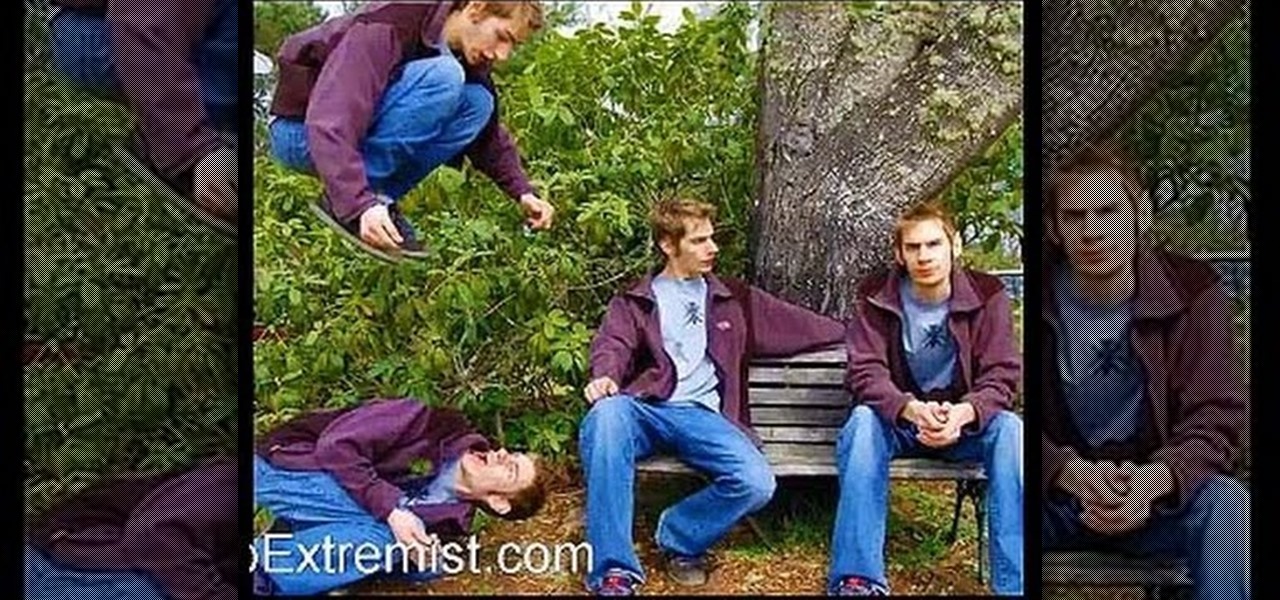
Multiplicity photography is a type of photography where you take multiple images of the same subject in different parts of the same frame, then combine them digitally to create a photo with multiple different images of the same person, animal, or object in the same setting. This is also called sequence photography when it's used in sports. This video will show you how to do it with a digital camera and Photoshop, creating amazingly cool-looking results.
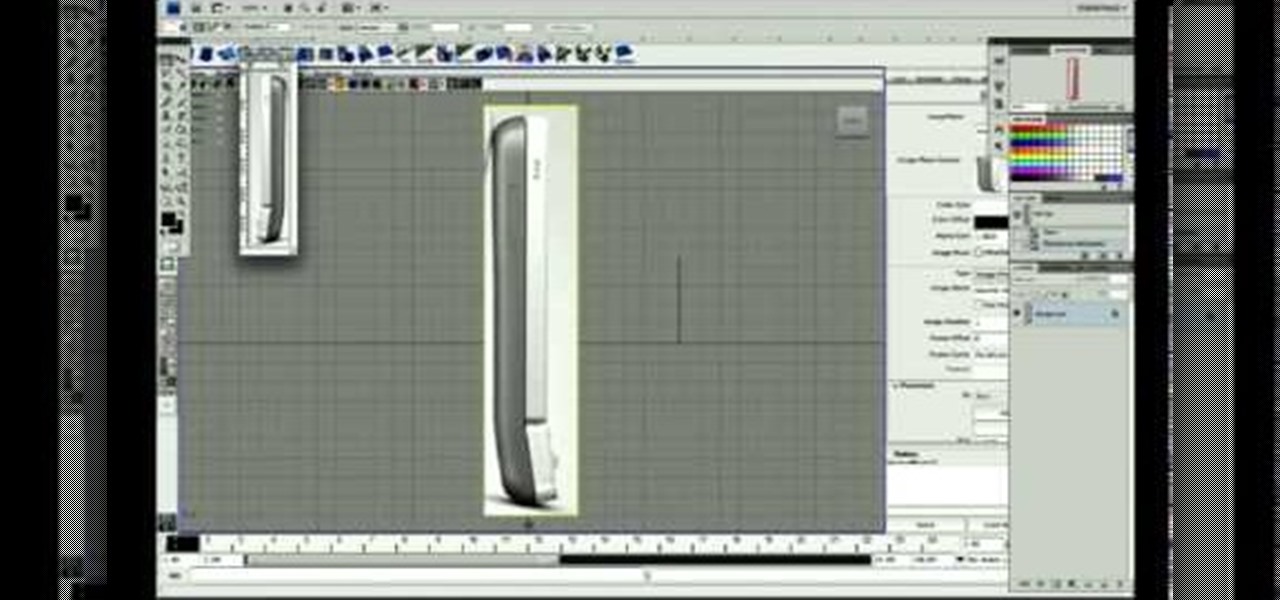
This video from accredited Maya 3D instructor Andrew Klein is a part of his wonderful series of videos covering different aspects of 3D digital art. It covers how to use Photoshop and Maya together to create, align, and sync image planes properly. Take some pictures of your cell phone and get started!
Accidentally stick a time stamp on an image file? Get rid of it with Photoshop's touch-up tools. Whether you're new to Adobe's popular image editing software or simply looking to pick up a few new tips and tricks, you're sure to benefit from this free video tutorial from Tutvid. For more information, and to learn how to get rid of digital photo time stamps yourself, watch this digital photographer's guide.
Want to preserve an old family photograph for posterity without also preserving the physical imperfections of the print? Touch it up with Photoshop. Whether you're new to Adobe's popular image editing software or simply looking to pick up a few new tips and tricks, you're sure to benefit from this free video tutorial from the folks at Britec Computer Systems. This video offers a step-by-step guide on how to restore images within Adobe Photoshop.
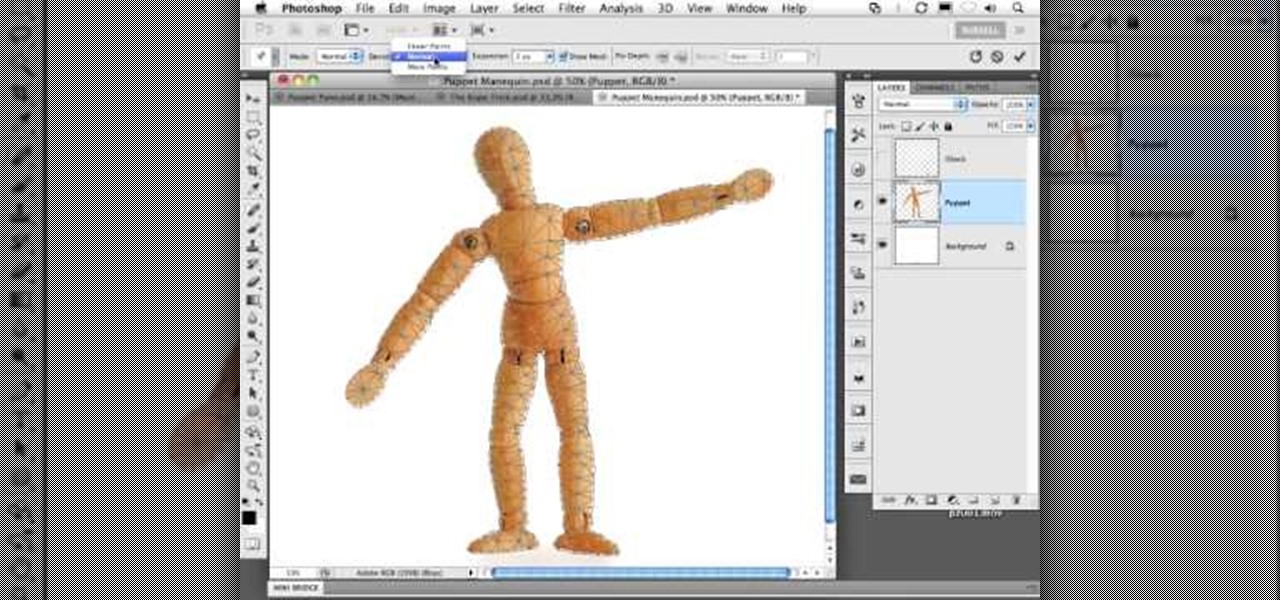
CS5? When?!? Soon, very soon. Yep, that's right. With the Adobe Photoshop CS5 almost here, Adobe felt a sneak peak was necessary. And in this video tutorial, they show you how to use the new Puppet Warp tool in Photoshop CS5.
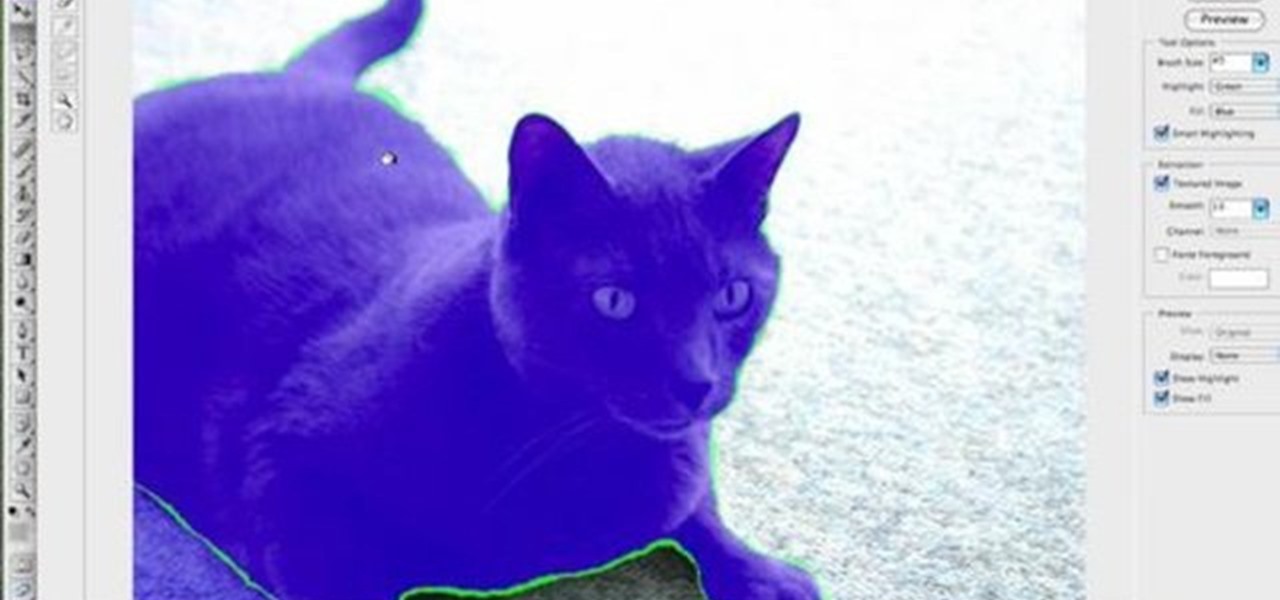
There are many ways to remove an image from its background in Photoshop and using the filter tool is probably the easiest way to do the job. In this detailed video you will learn to use the Extract Filter in Photoshop to take a portion of an image and remove it from the background.
dekePod, a tutorial show on computer graphics and digital imaging from O'Reilly Media, Inc., shows us how to fake an HDR (High Dynamic Range) portrait in Adobe Photoshop. What's HDR? An HDR image packs more pixels than normal into a picture creating billions of color variations and razor-sharp detail. Think your camera can do that? Well, it's possible with special software, but here's how to fake it (good) equipped with only your drab jpeg image, Adobe Photoshop, and this tutorial.
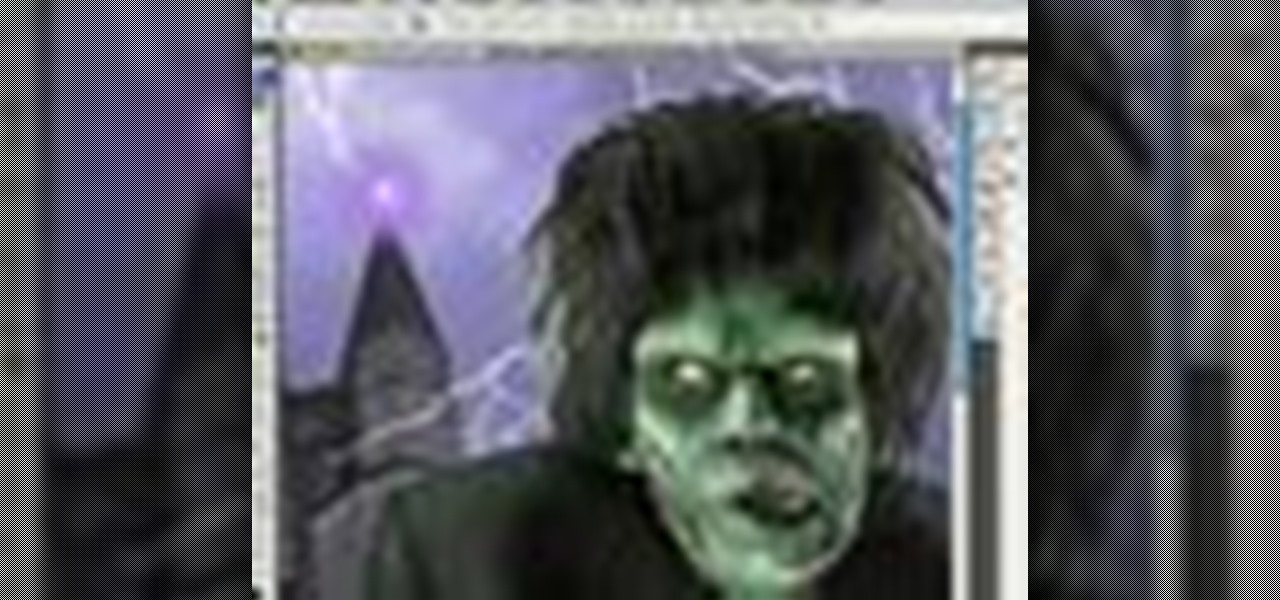
This image editing software tutorial teaches you how to remove fringe left over from masking on a monster image in Photoshop CS3. Discover three distinctive ways to remove the ugly fringe that can ruin any good masking project. These Photoshop techniques are specially designed for working with detailed hair (like a monsther!), in Photoshop masking projects.
Aperture allows you to easily sort the images in the browser pane in several different way. By default, images are sorted by creation date.
Aperture 2 includes new vignette and devignette adjustments that allow you to add soft, shadowed edges to your images for an artistic effect or to correct for unwanted darkened edges of images.
You can add keywords as metadata to your images to enable you to search images by common characteristics or subject matter and to keep your library organized.
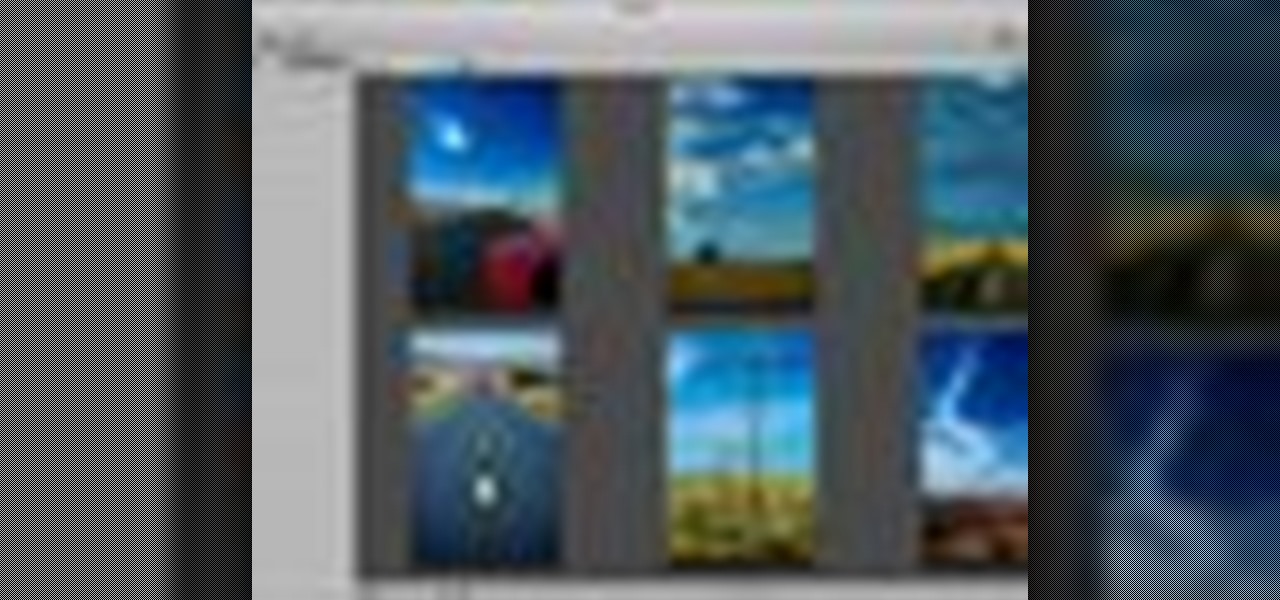
When creating an aesthetically pleasing image, sometimes more is more. Blending images together and blurring the edges is a great method for creating desktops featuring multiple photos of hottie Sam Worthington, or simply for creating a pretty website background.
Pixlr.com is a free image editor, but how can you save your image with a transparent background? This is a quick tutorial that shows you how to save your image file as a .png, which will retain all the data you need.
In this tutorial, we learn how to burn .iso image files to a CD in Windows XP. To start, you will need to first burn the image with Image Burn 2.1. Decide if you are going to use a CD, DVD, or multiple CDS. If you don't already have Image Burn 2.1, you can download it from this site: download.imgburn.com/SetupImgBurn_2.4.1.Â0.exe. Once it's installed, you can make a copy of your image and then verify it when it's finished. It will go through the burning process, which will take from 2 minute...
ISO recorder is a freely downloadable software that can be used to create ISO images of CD's DVD's. The very format of these images allows for easy replication, storage and virtual mounting using appropriate software.
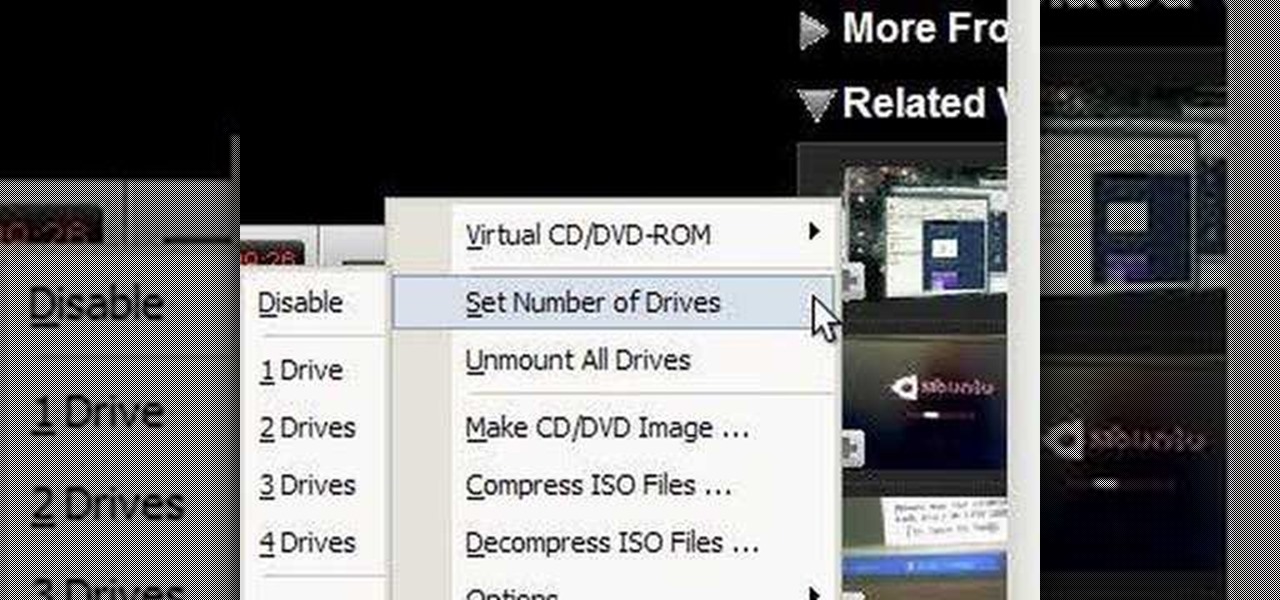
Download the software from Imgburn. Choose mode, build, advanced, bootable disk. Go to allbootdisk to get a bootable image of your operating system. Choose from Windows 95 through Vista. Download the diskette image. Name and save to desktop. Choose volume and label. Click ok. Make the output burn to image file. Name the file and save it to the desktop. Download Sun Virtualbox. Test the image by choosing settings, storage, add device. Choose media manager. Select make primary slave. After test...
In this video, we learn how to use FastStone Image Viewer: the basics. After you have downloaded and installed this software, open it up. Now, go to the settings section of the software and move between the tabs to change and explore the different settings. When you select an image, it will automatically zoom in, you can move between different images, then you can set it as wallpaper, edit it, save it, and much more. You can upload picture and images by going through the file menu, then editi...
Resize your images and photograps in Adobe Photoshop Elements without losing content, having to crop the edges or ending up with a distorted image. There are several tools you can use in PSE which will let you resize the images, and this tutorial demonstrates how.
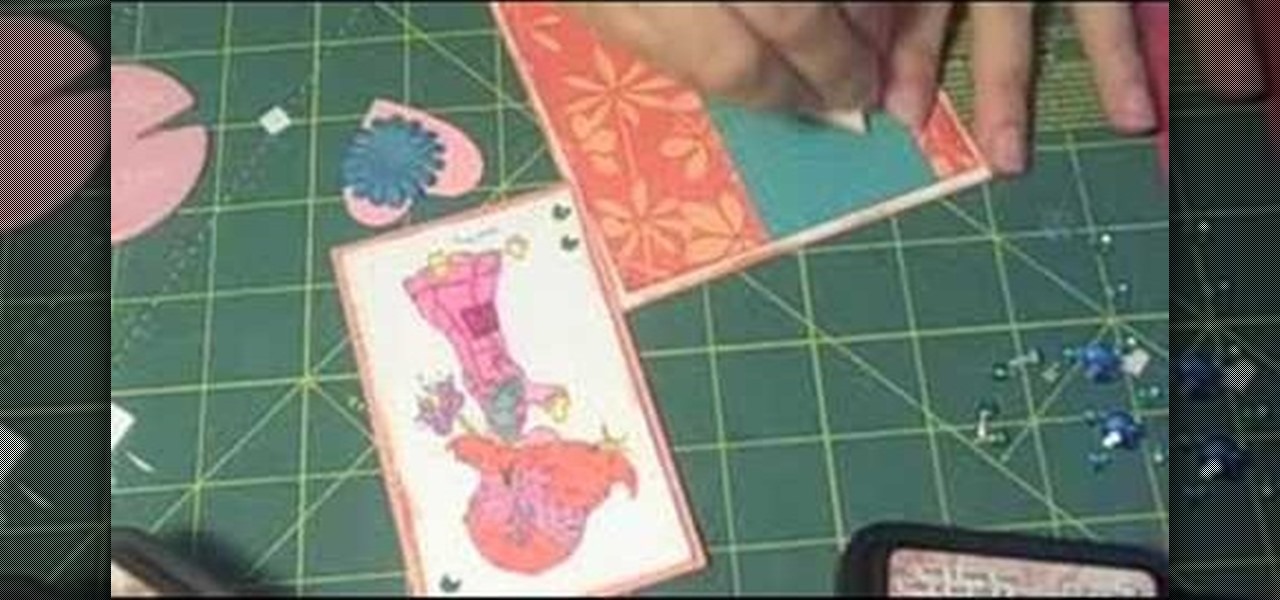
In order to make a pocket card out of an envelope, you will need the following: a used envelope, printed paper, adhesive, card stock, paper cutter, cuddle bug, an ink pad, stamps, markers, and crystals.
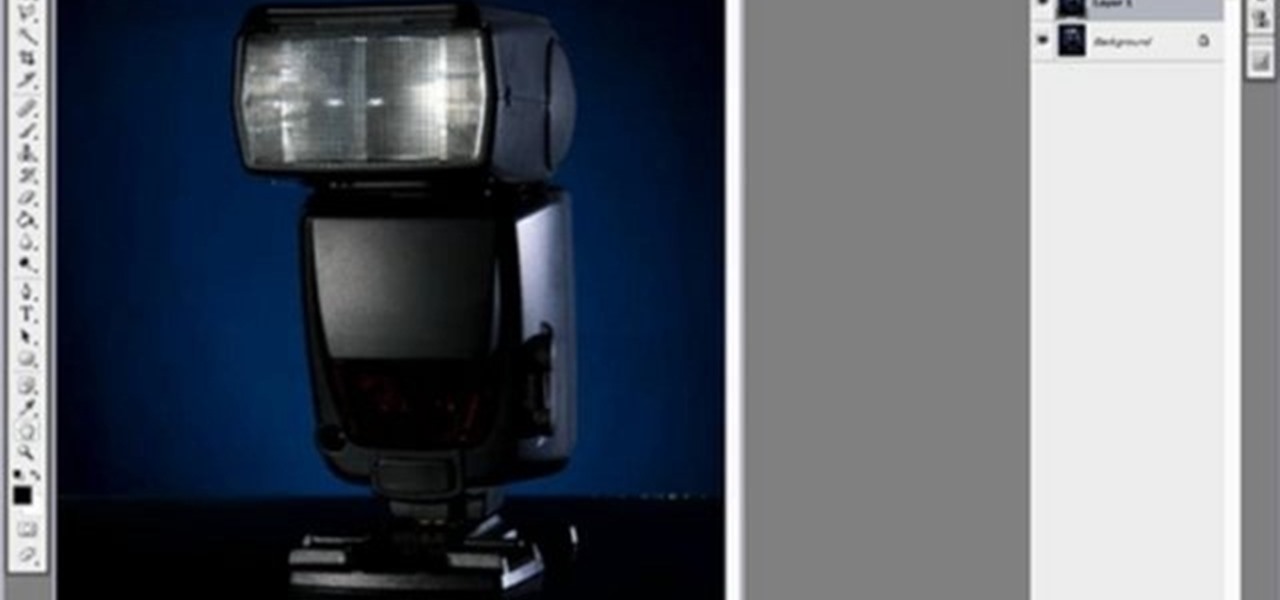
Yanik Chauvin teaches us how to color correct product shots in Photoshop in this tutorial. First, remove some of the black from the image by using your crop tool. After this, if your image is too wide, duplicate your layer and use the marquee tool to edit. Remove any dust spots from your image, to make it look more clear so you have an image that is impeccable. You can do this by creating a new layer and then adding a feather to the image. Continue to go through the editing tools available un...
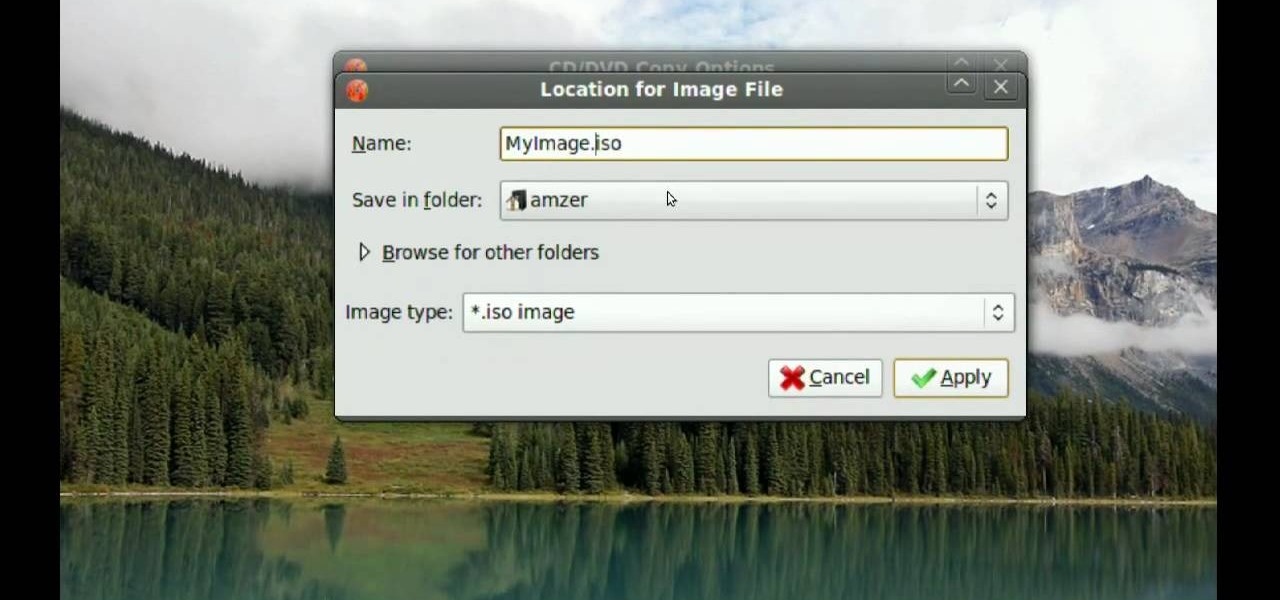
In this video tutorial, viewers learn how to make CD and DVD images in Ubuntu. This task is very easy, fast and simple to do. Begin by right-clicking on the disc icon of the computer and select Copy Disc. When the CD/DVD Options window opens, click on Properties. Now name the disc, select a save folder and choose ISO image for the image type. When finished configuring, click on Apply and wait for the disc to finish copying. This video will benefit those viewers who use a Ubuntu computer, and ...
In this video tutorial, viewers learn how to use the zoom tool in Adobe Photoshop. To select the zoom tool, click on the magnifying tool in the toolbar. Users are also able to press the "Z" key to select the zoom tool. Once selected, users are able to zoom into the image by left-clicking on the image. Users are then able to select the hand tool to move around the image. To zoom out, right-click on the image. This video will benefit those viewers who use Photoshop to edit images, and would lik...