How To: Adjust images in camera RAW w/Photoshop - PixelPerfect
PixelPerfect teaches you everything you need to know about being a digital artist. Learn tips and tricks to turn your regular vacation photos into works of art worthy of museums.

PixelPerfect teaches you everything you need to know about being a digital artist. Learn tips and tricks to turn your regular vacation photos into works of art worthy of museums.
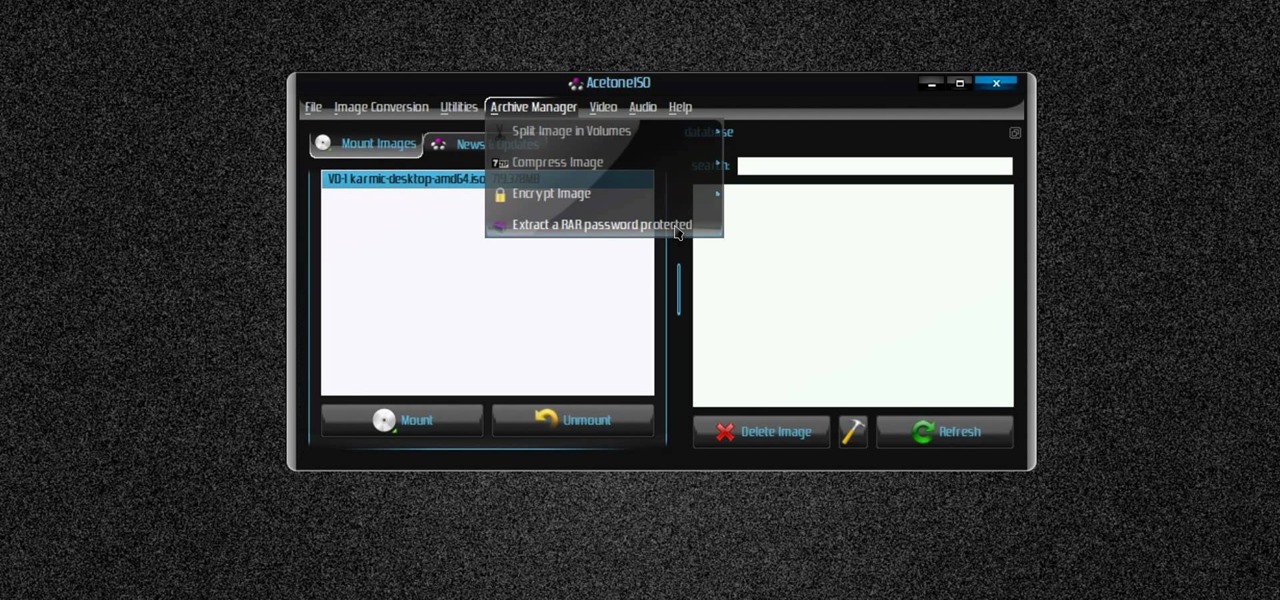
New to Ubuntu Linux? This computer operating system could be a bit tricky for beginners, but fret not, help is here. Check out this video tutorial on how to manage CD/DVD images with ease on Ubuntu Linux.
In this web development software tutorial Paul Wyatt shows you how to use repeat images for Dreamweaver backgrounds. You’ll learn how to use AP (absolutely positioned) Divs in Dreamweaver, and create tiled backgrounds with ease. If you don't know how to use repeat images for Dreamweaver backgrounds, this tutorial will explain it all.
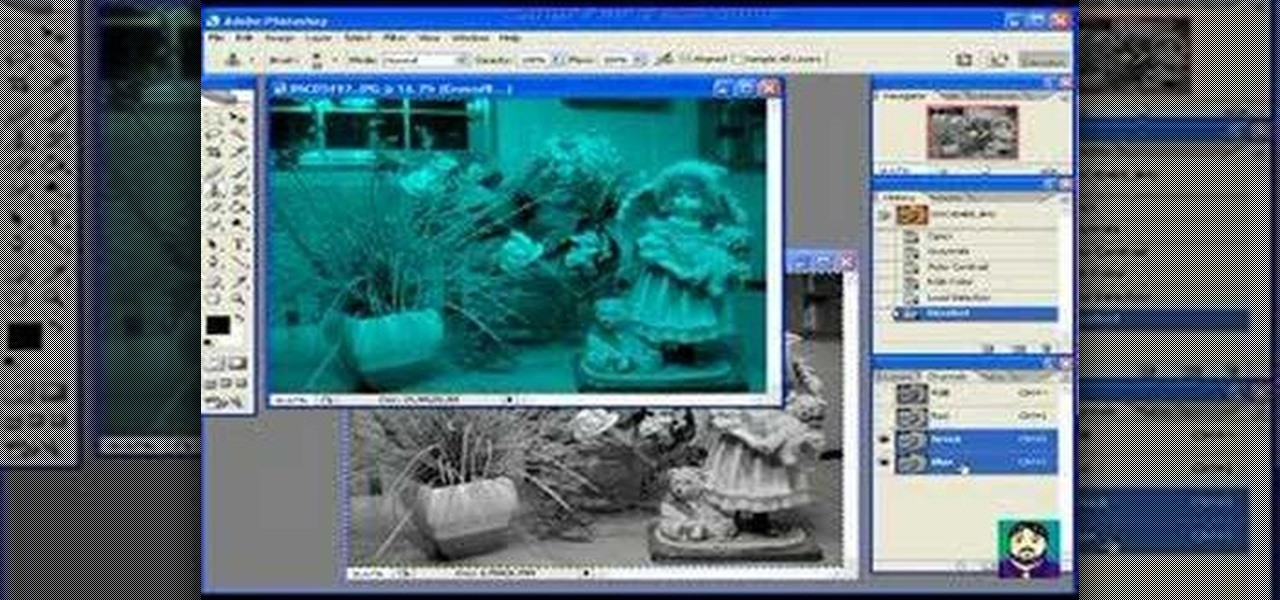
Learn how to create a 3D anaglyph image (the kind of 3D image you see with 3D glasses) using Adobe Photoshop and a digital camera.
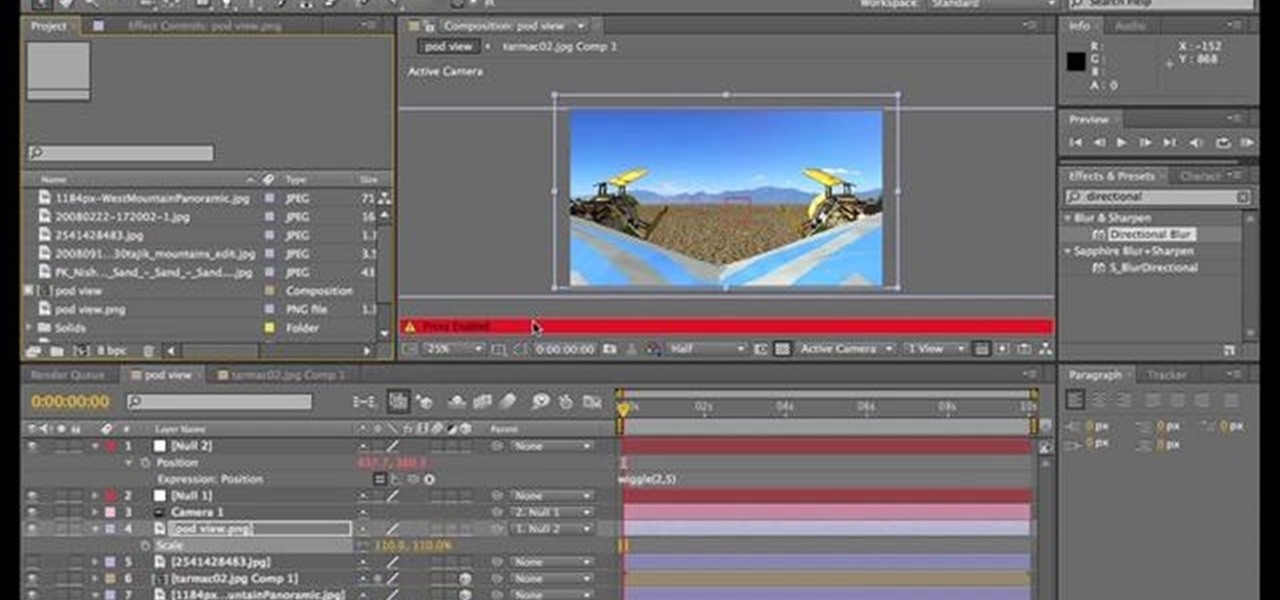
In this tutorial, After Effects is used in actual realtime to create a video comp that simulates a forward three-dimensional movement. Several images are arranged into a layered, three-dimensional composition, and a single image is tiled into a surface pattern that is offset tilted and scrolled forward indefinitely. Several additional elements are also mentioned to add realism and depth to the forward scrolling movement, including foreground elements, background images, camera shake, camera p...
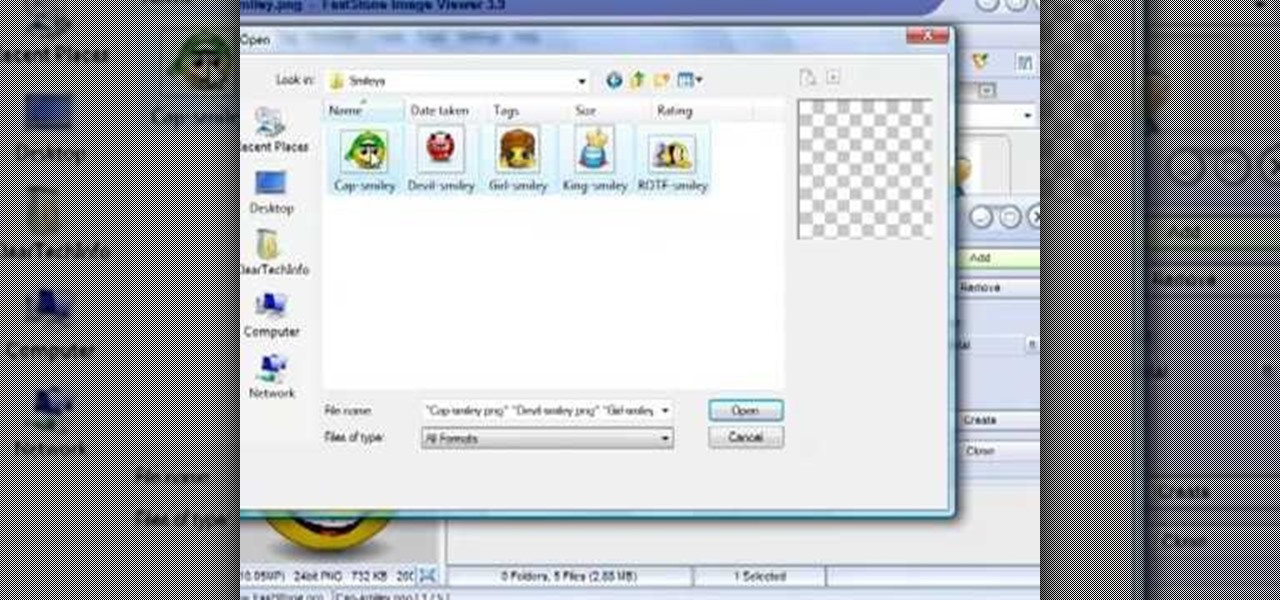
In this tutorial, we learn how to make an image strip using FastStone Image Viewer. First, open up the images that you want to have inside the strip. Then, open up Fastone Image viewer and find the location of the images. From here, go to "create", then "image strip builder". This will bring up the builder window where you can add in the images you want to see on the strip. When finished, click on the "create" button. Now, the strip will come up on your computer in a new image and you will be...
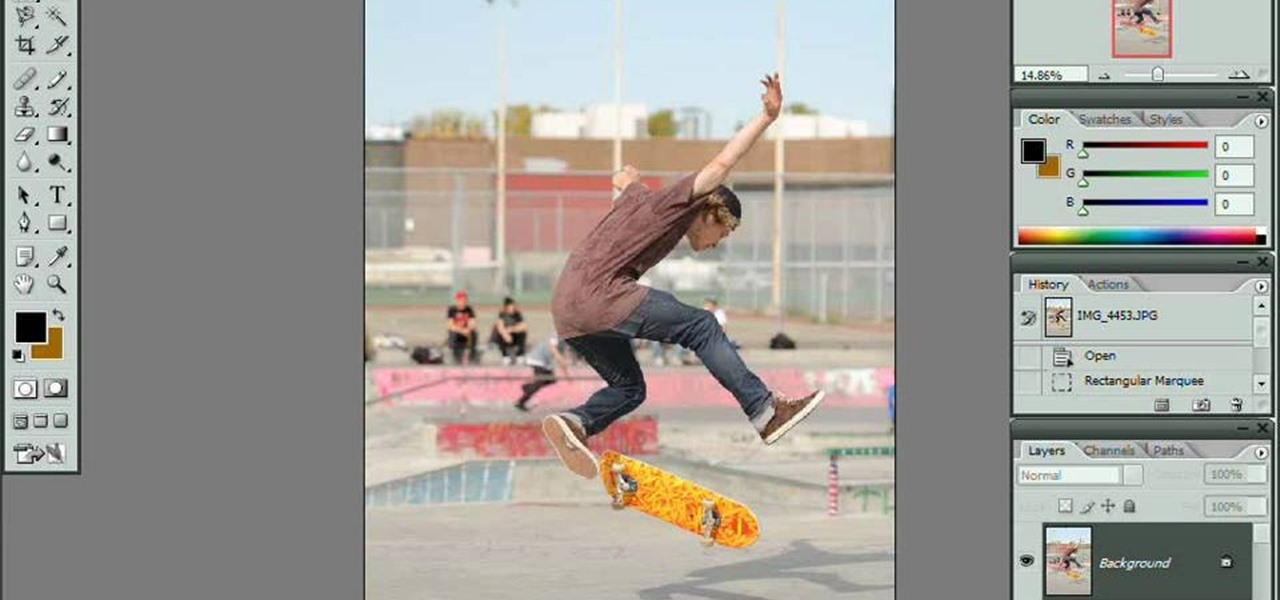
Here's a complete tutorial on all the controls, tools, functions and processes at your disposal when you edit photos or images in Adobe Photoshop. Starting with the basic toolbox, this tutorial series takes you on a tour of the program and demonstrates all the nifty things you can do to get started editing your own images!

This video tutorial is in the Software category which will show you how to "Photoshop' someone into an image. It is like cutting and pasting one image over another. First open both the images. Ctrl and click the person's image that you want to move over. Drag the cut out image over the other picture where you want to superimpose it. Then click "edit', resize, rotate and position the image where you desire. Then go to "Image Adjustments' and adjust the brightness and contrast to match with the...

In this video tutorial, viewers learn how to make an animated image on a Mac OS X computer. Users will need to download the GIFfun program. Once downloaded and installed, open the program and drag the images into the program. Then set the time delay for each image, amount of loops and configure the options. Once your finished configuring the image, click on Make Gif. The image will be produced in the small square window below. Then simply drag the image onto your desktop. This video will bene...
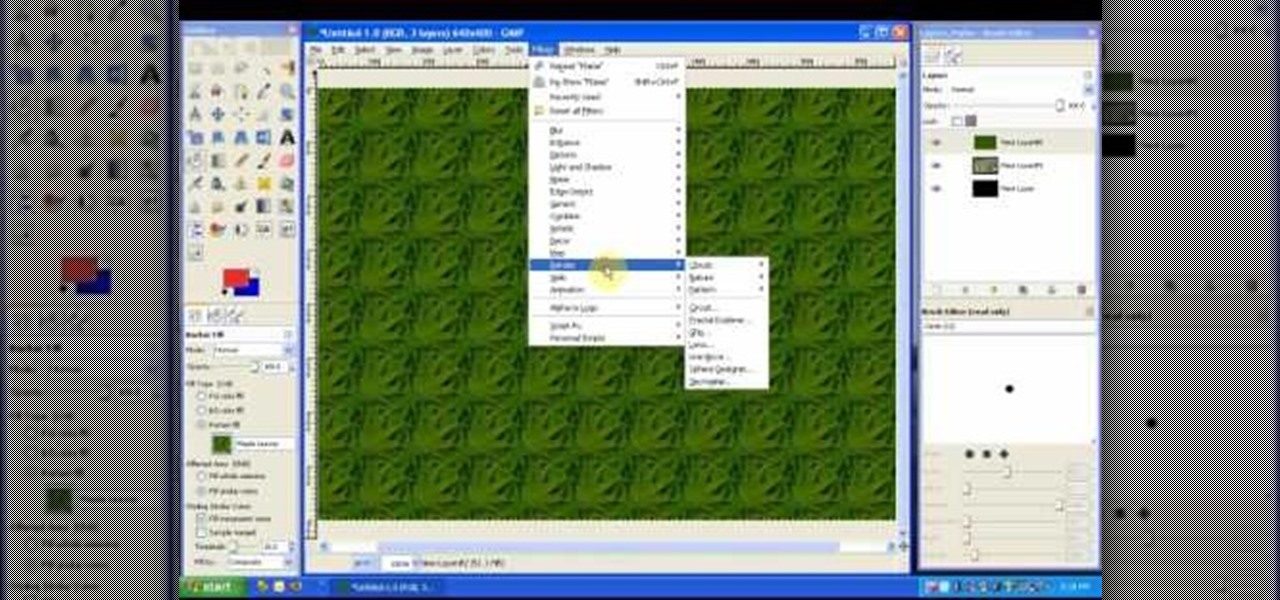
In this tutorial on GIMP, the render-flame tool is looked over in detail. GIMP (the GNU Image Manipulation Program) is a free software raster graphics editor. It is primarily employed as an image re-touch and edit tool. It not only offers freeform drawing, but can also accomplish essential image workflow steps such as resizing, editing, & cropping photos, combining multiple images, & converting between different image formats.
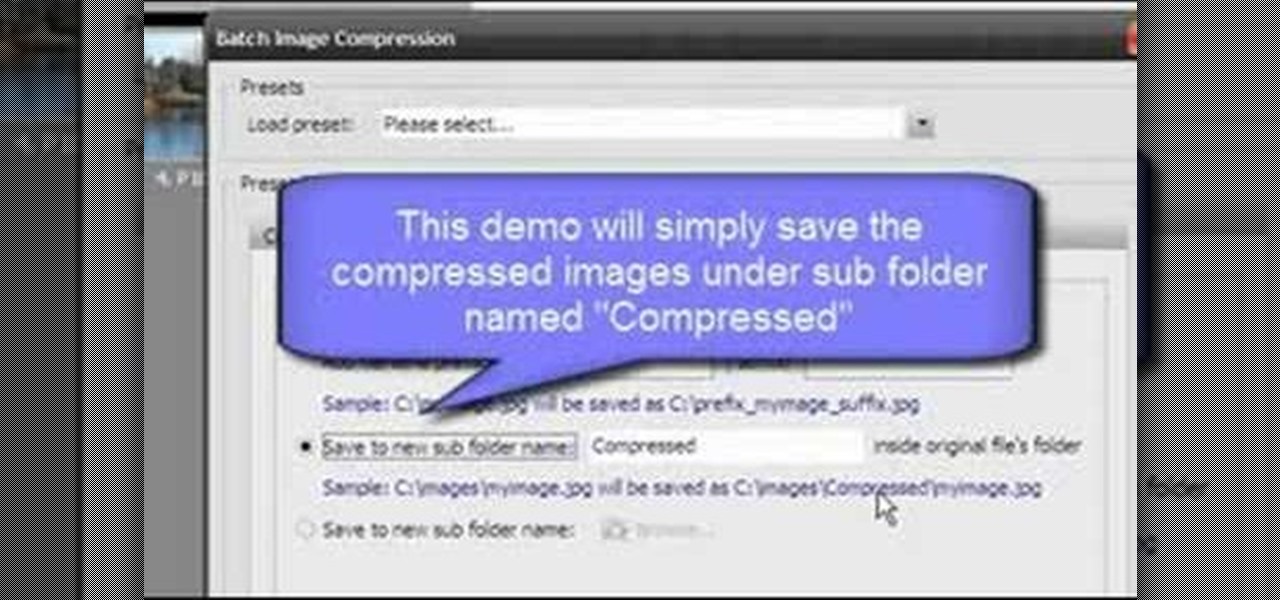
Open Image Compressor 2008 and go to the Image Tray. Pick the images you want with the image selector and click on them to add them to the Image Tray. If you want to add every photo in a certain folder, you just click on the Add All button. Once you have the photos you want, you can batch compress them. You can go to File>Batch Compress to start the process, or just click on the Batch Compress button in the toolbar. Then, pick the compression options you want, or edit the images. You can also...
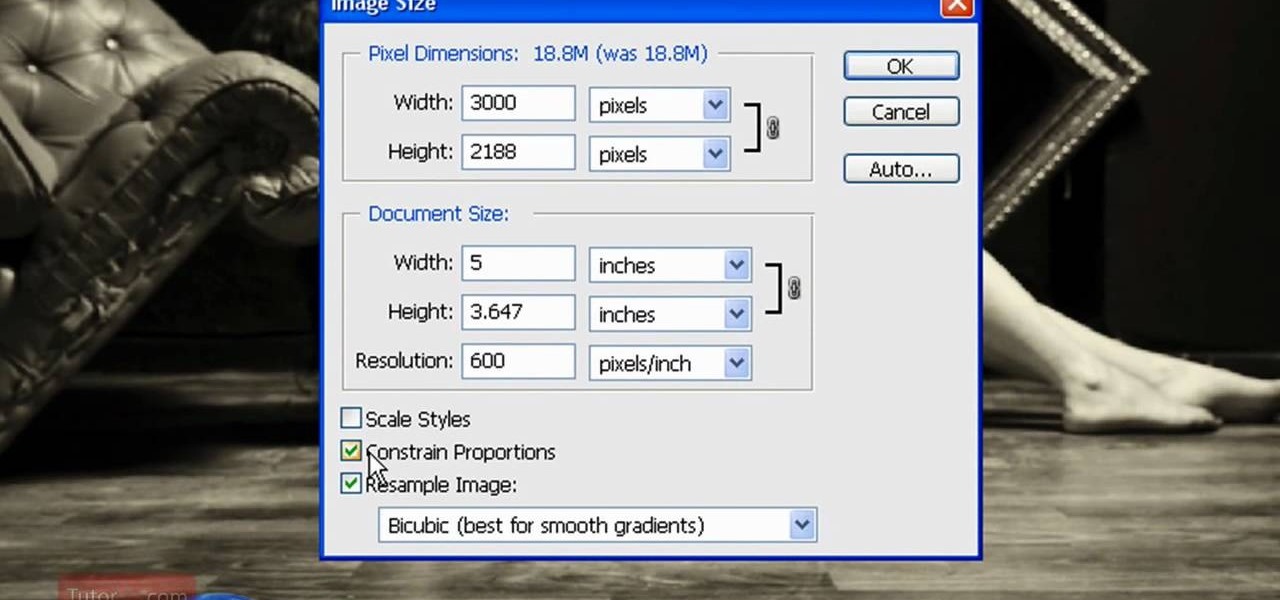
In this how to video, you will learn how to re-size an image for printing using Photoshop. First, open the image you want to re-size in the program. Next, go to image and select image size. From here, you will see the current size of the image. You can change the units of the sizing. The resolution is the number of dots printed per inch. De-select re-sample to change the resolution of the image only when printing. 300 is the standard resolution. When you re-size the image, make sure constrain...

In this video tutorial, viewers learn how to apply a digital tattoo using Adobe Photoshop. Begin by adding the image and tattoo image into the program. Then drag the tattoo image over the image. Now in the layer menu, change Normal to Modify. Now re-size the tattoo image to a preferred size (PC: Control and T, Mac: Command and T). Now right-click the tattoo image and select warp. Form the image so that it is perpendicular to the skin and decrease the Opacity. This video will benefit those vie...
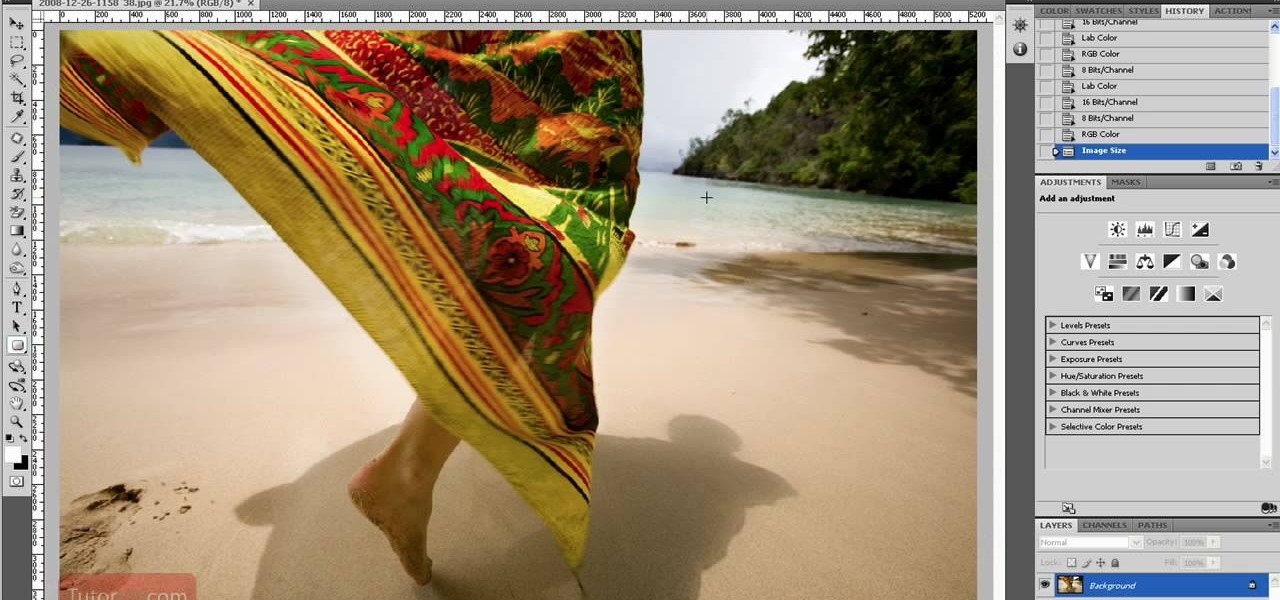
In this how to video, you will learn how to re-size any image in Photoshop to submit to Alamy. You will need the file to be 48 megabytes and uncompressed. First, open the image in Photoshop. At the bottom, you will see the current image's file size. Now go to image and image size. Increase the size by two or by five percent. Make sure re-sample image and constrain proportions are selected. Make sure bicubic smother is selected at the bottom of the window. At the top of this window, you will s...
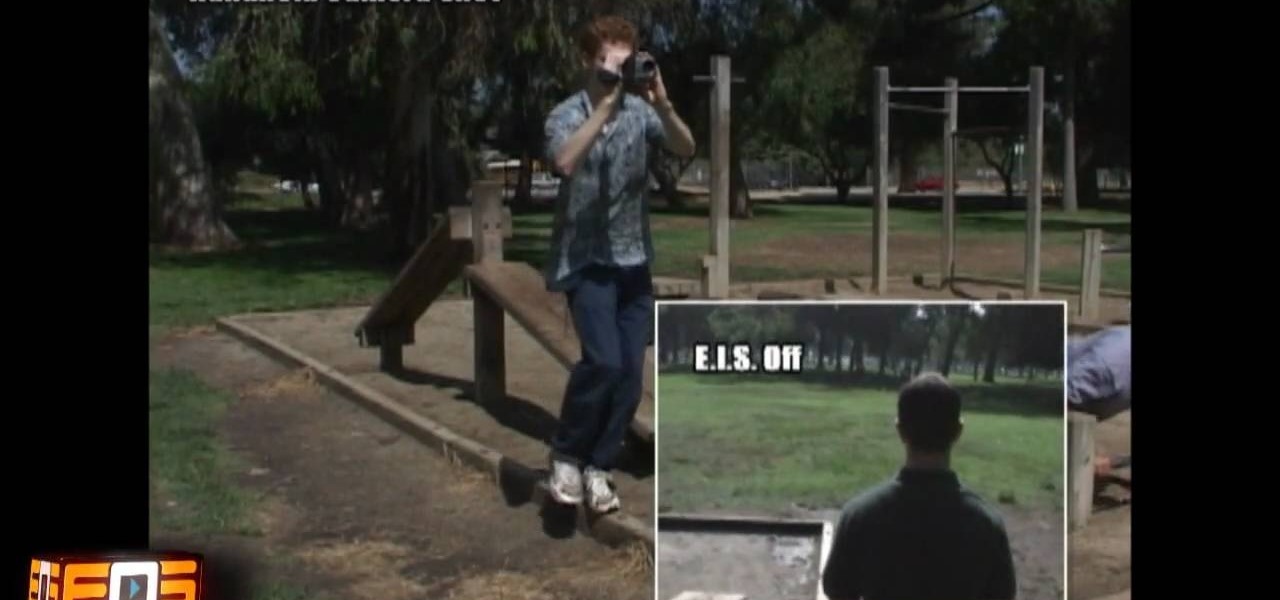
This is a video that is showing its audience how to use the electronic image stabilization or digital image stabilization on their digital cameras. Image stabilization is a good function to have on when movement is involved while taking a photo. The video goes over terms such as image stabilization, shutter speed, and contrast. It adequately defines image stabilization and digital stabilization and goes over the problems that consumers might have with the image stabilization mode on their cam...
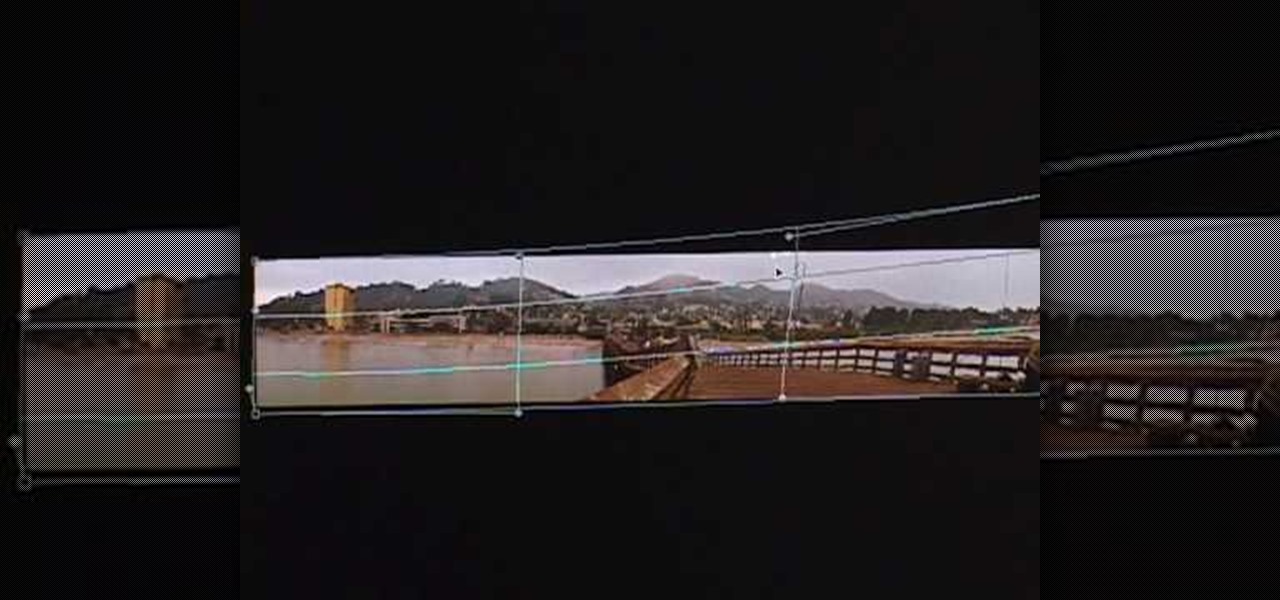
This video in the Software category will show you how to create simple panoramic images in Photoshop. This video uses only five images for this effect. Select the five images and put them in a folder. Go to File -> Automate -> Photomerge. On the Photomerge page select ‘Folder’ and browse. Find and ‘choose’ the folder you created. Under the layout panel on left hand side of the page, select ‘cylindrical ‘option and click OK. Now the panoramic image will appear that will have some blank areas. ...
This video is a quick lesson on how to make an image map for free without the software. You use image mapping if you are creating a website or you are a partner with http://youtube.com. From your PC or Mac you go to http://www.image-maps.com and that is where most of the free image maps are available. Then you click on "start mapping my image" and you will see a preview, and then you follow the steps in the tutorial. The video was very informative and precise on a step-by-step process to do t...
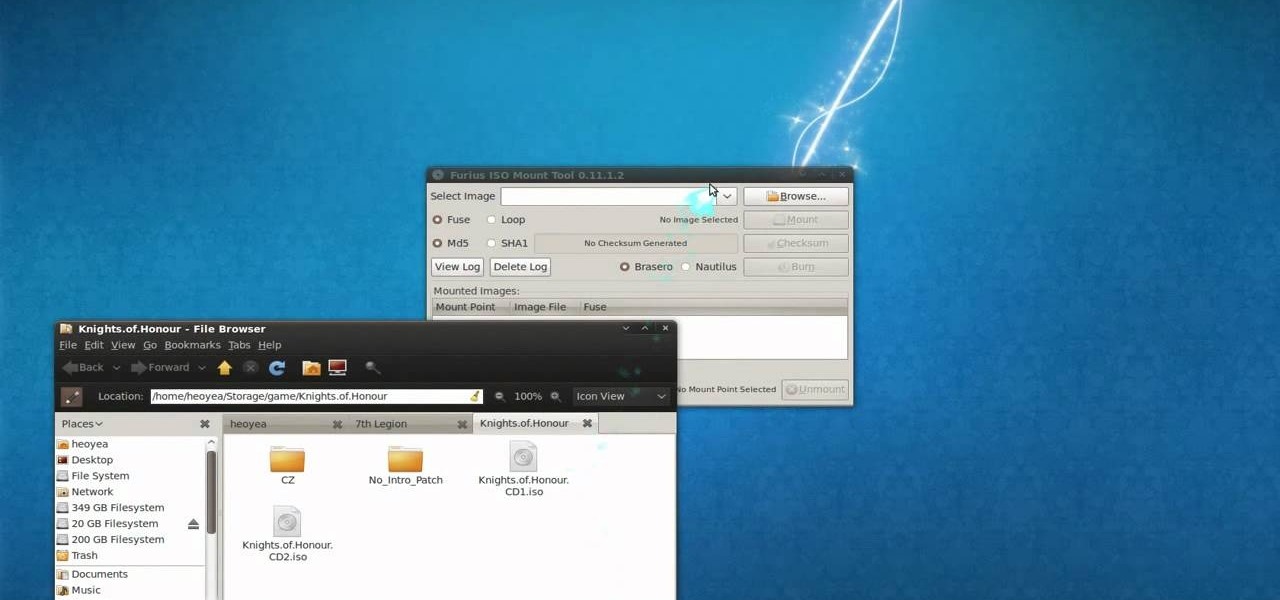
This is a tutorial video on how to use a virtual CD/DVD drive software tool called Furius ISO Mount. Furius ISO Mount is an .ISO, .IMG, .BIN, .MDF, and .NRG image management utility, that allows you to automatically mount and unmount disk image files. This utility application will allow you to mount multiple images at once, burn image files to optical disk, and create MD5 and SHA1 checksums to verify the that the image files are not corrupted. This program also automatically creates mount poi...
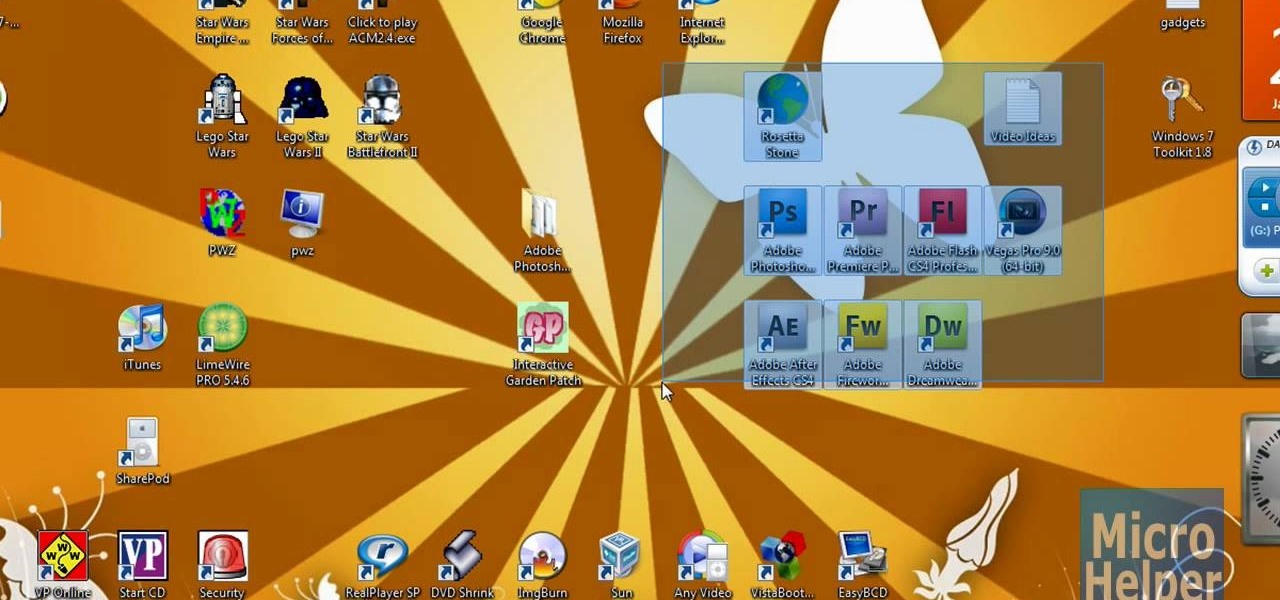
In this video the instructor shows you how to mount ISO images. You can use your ISO images of CD or DVD with out burning them on to real disks. Using this you can play a DVD with out a DVD player. Use DVD shrink to extract the copy of ISO image from your DVD. Go to internet and install Daemon tools lite program. After installing you will see an icon in the tray which says daemon tools. Right click on it and select the Virtual Devices option for the menu. Inside it select the virtual drive yo...
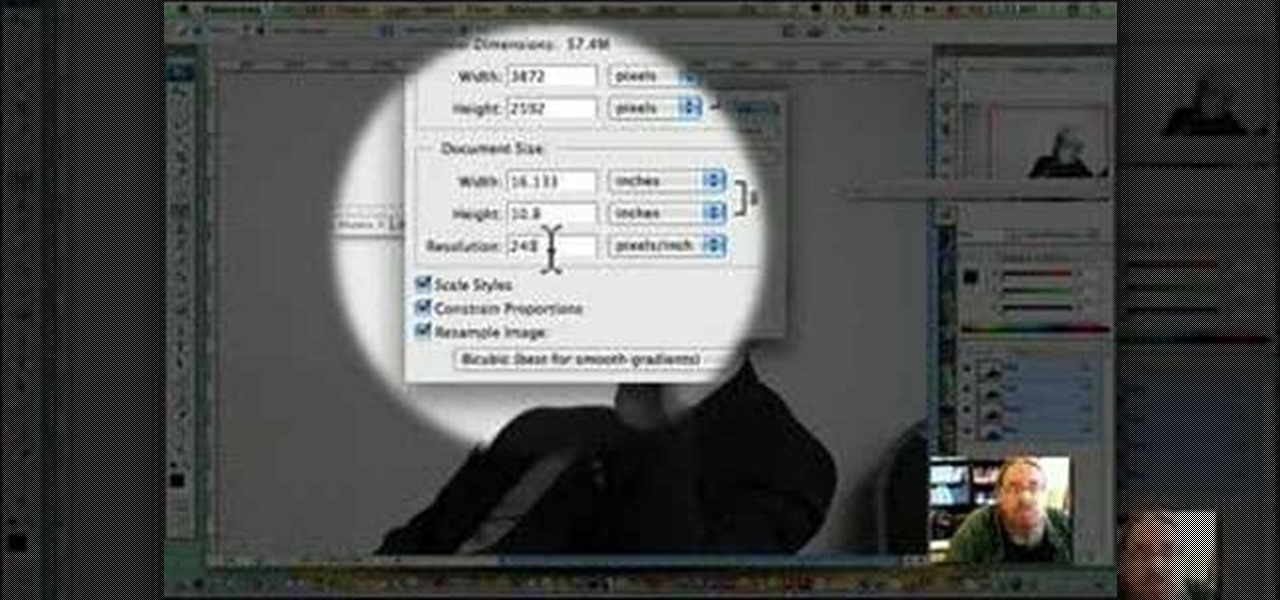
This video will show you how to resize an image using Photoshop. Select the image you would like to resize and follow these steps: See what size your image is by clicking on "image" and "image size". Play around with your resolution, and see what happens. Uncheck the "Resample" option and not how your pixel dimensions stay the same. Select the size you want your image to print, and check the "Resample" option. If you click on "print size" you will be able to see the actual print size on your ...

How to resize the background image in Xara3D6? First go to windows>frame size. Go in Sara and change the size of the image to the frame size. Make the image transparent. Then export the image as a PNG format. Now go back to Xara3D6 and go to view>background texture and open the previous image which was saved. That’s it; the image is resized to that particular document properly. It will help in resizing photos to be uploaded on the net.

This video demonstrates using Xara Xtreme to align and stitch two images. This is useful for putting together panoramic images. The presenter instructs us to look for similar points in the two photos. Once the points are found see how the images line up. In this case one of the images needs to be rotated. To find the correct rotation the presenter will make one of the images 50% transparent. With the image somewhat transparent he can rotate and position until the images match up perfectly.
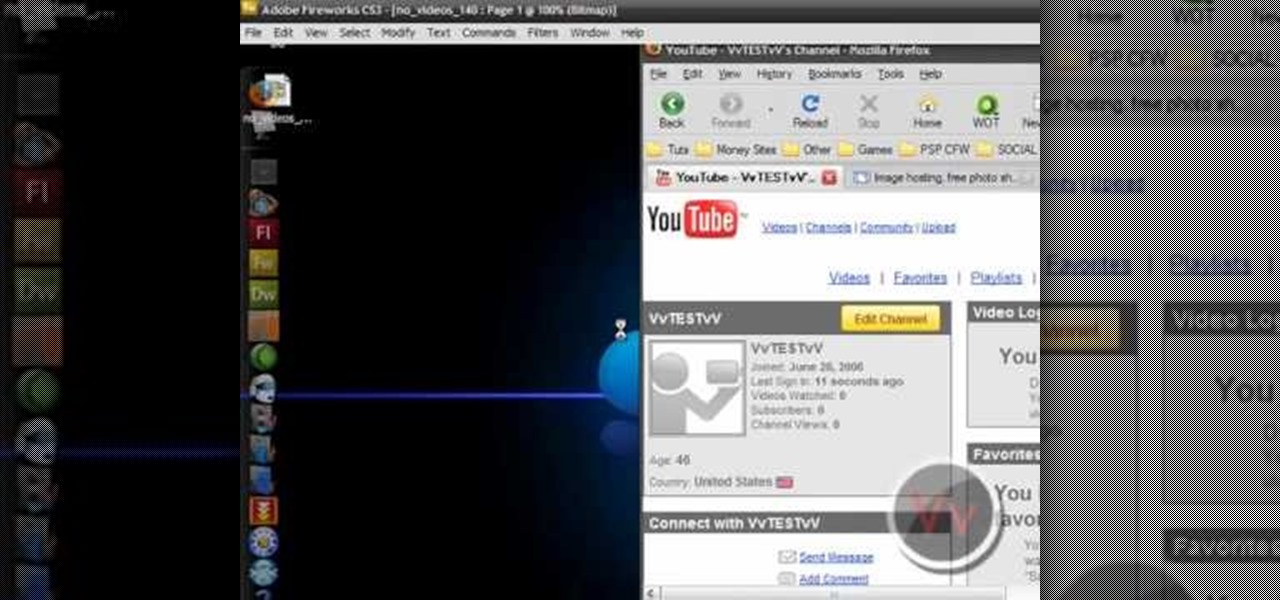
This video shows you how to give your YouTube account a background image. Basically what you do is take any image that you would like to have as your background and upload it to a image uploader of your choice. Once the image is hosted it should show a url link to the file, copy this link. Then under your YouTube account settings scroll down to channel design. From here you should see a box that asks for a background image url, paste the url into this box click yes for background image and up...
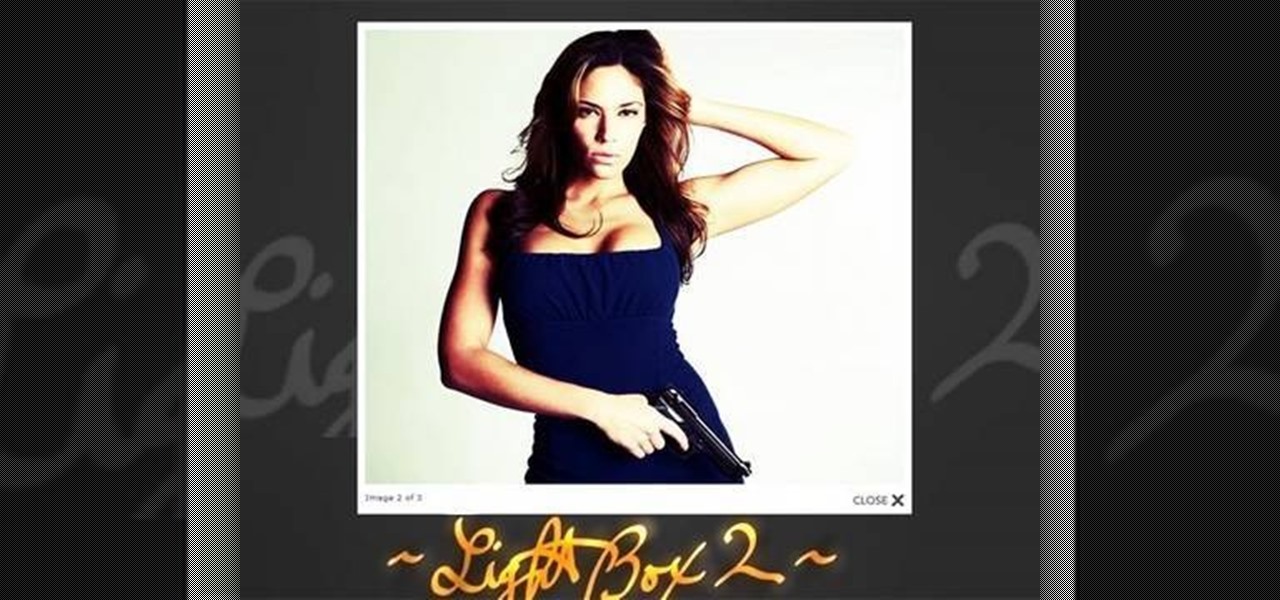
In this tutorial the author shows how to make a simple JavaScript image gallery. In this video the instructor shows how to set up a Lightbox tool. Lightbox is a simple image or photo gallery script which you can use on your website. It is a free tool and it is very easy to setup on your website. This tool has many features like when you click on an image the image enlarges and the rest of the background is darkened focusing your view on the image. Now the author shows the links to the Lightbo...
There are many instances when you may need to crop an image. Whether you need an avatar for a social networking site, or a specifically-sized image to insert into your website, Adobe Photoshop is an excellent tool to use. Learn how to bring an image into Photoshop and all the various tools one can use to crop the image in this video tutorial.
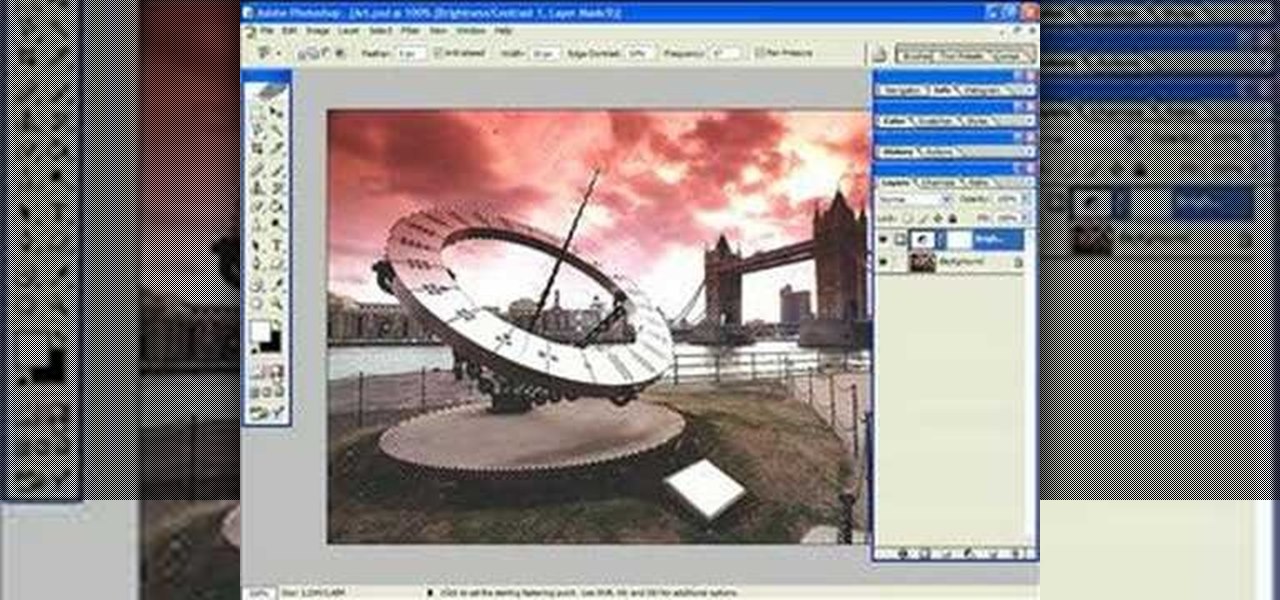
In this software tutorial you will learn how to manipulate images in Photoshop to remove the background and then bring that transparent background image into After Effects without loosing the transparency. The Photoshop section covers the use of the Magnetic Lasso tool and Quick Mask to remove a background. With the image adjusted, you will learn how to import your new image into After Effects with preserved transparency.
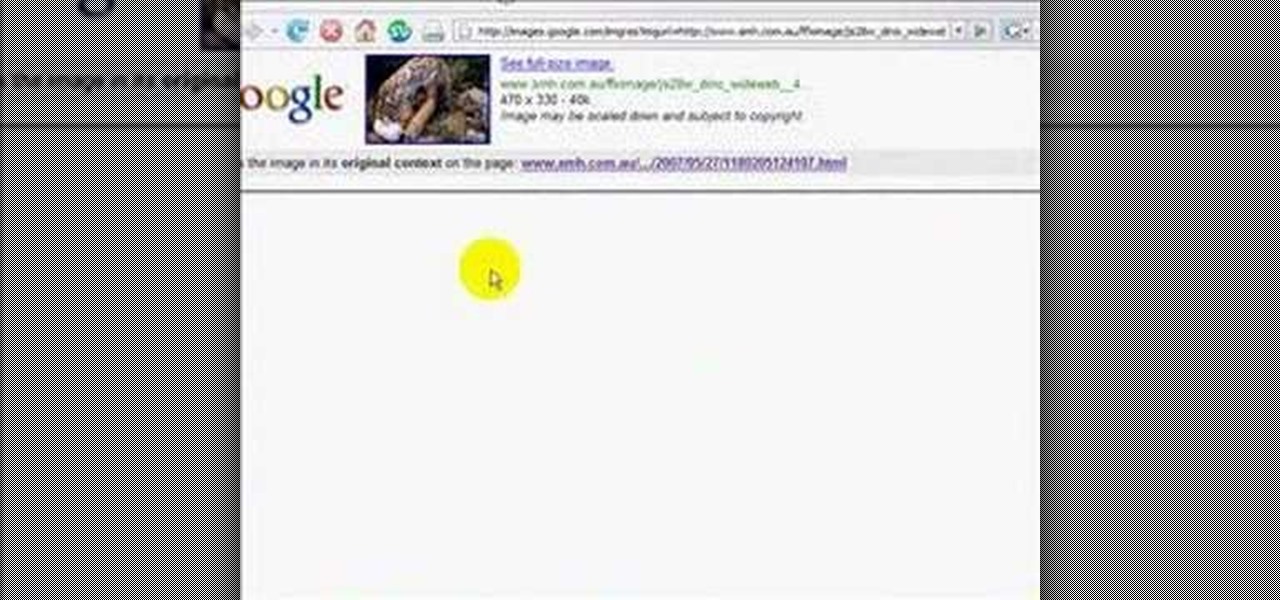
In this video tutorial, you'll learn how to use Google Image Search to find images much as you would use Google search to find webpages. For step-by-step instructions on using Google Image Search, as well a general overview of Google Images, take a look!

Photoshop is a great computer software program designed to help people manipulate images and text. Learn a tips for erasing manipulating and erasing images from a Photoshop expert in this free video series.
Photoshop is a great computer software program designed to help people manipulate images and text. Learn a few easy steps about Photoshop image manipulation from a Photoshop expert in this free video series.
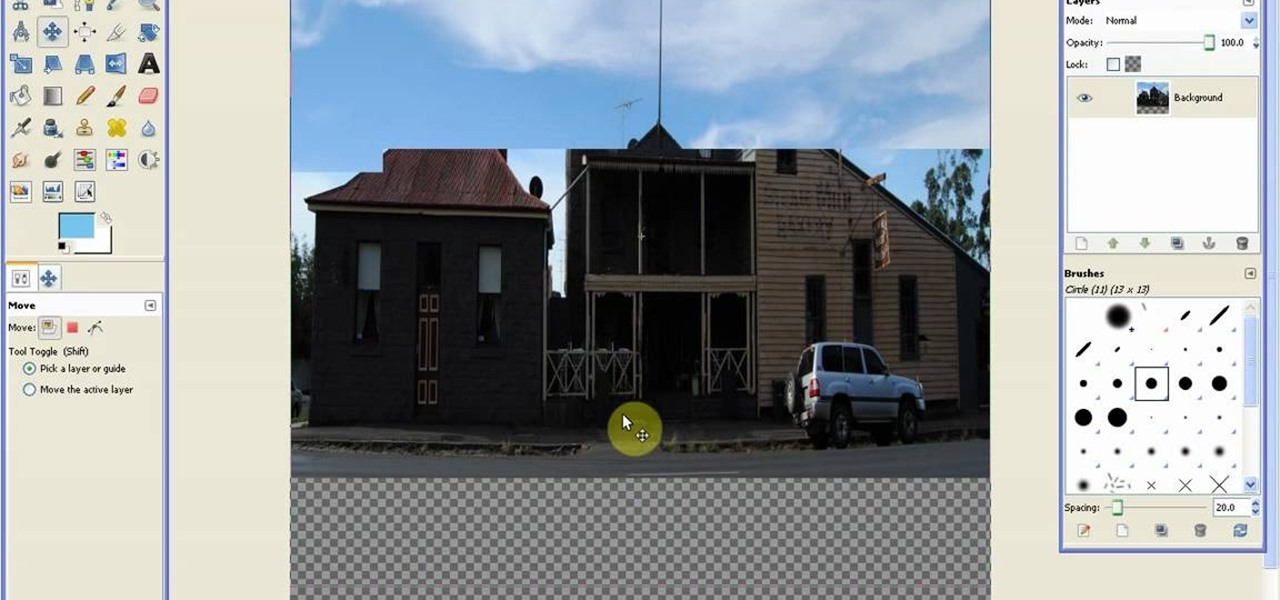
Polar panorama has images radiating out from the center of the picture. Starting with a regular panoramic image, this tutorial shows you how to use the free GIMP image editing software to create this 'polar panorama' effect for your next project.
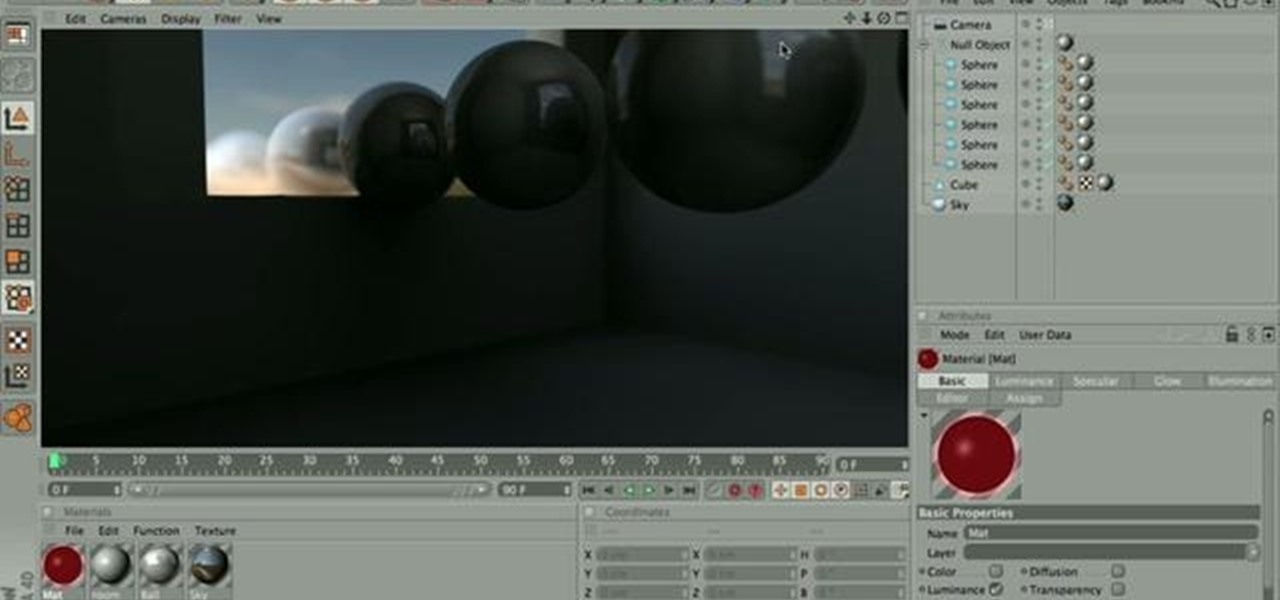
In this tripartite video tutorial, you'll learn how to create image-based lighting and depth-of-field effects within C4D. Whether you're new to MAXON's popular 3D modeling application or are just looking to get better acquainted with Cinema 4D and its various features and functions, you're sure to enjoy this free video software tutorial. For more information, including complete instructions, watch this 3D modeler's guide.
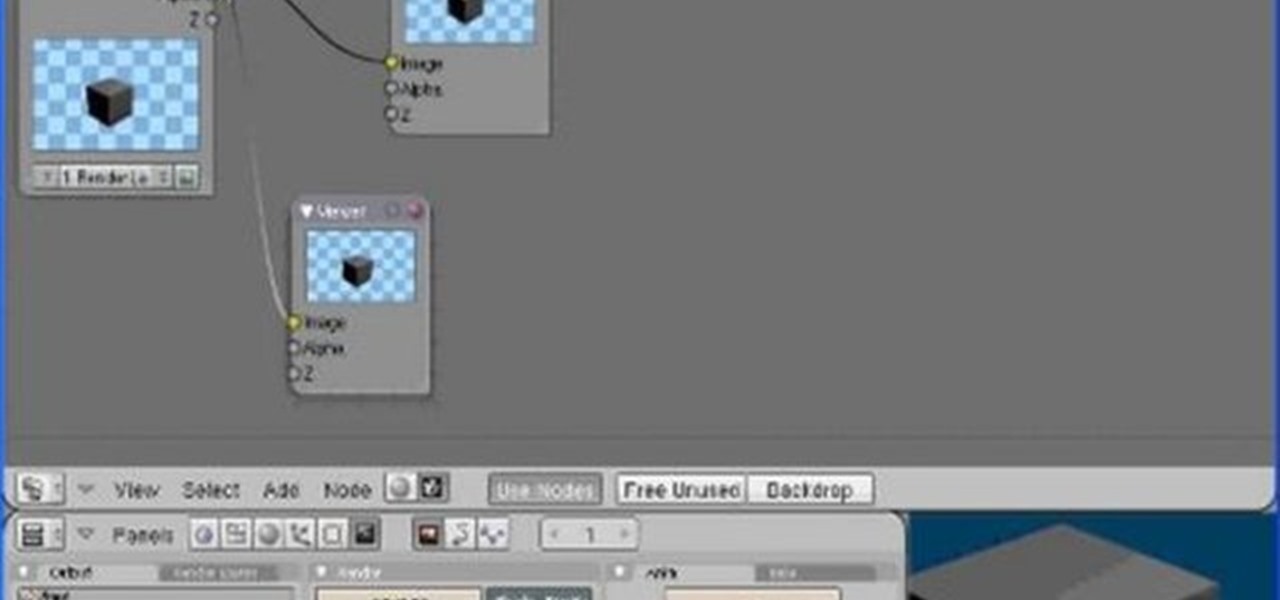
Conceptually, what is node-based compositing and what do nodes do? This clip uses the factory analogy to convey the concept. Blender can process video, images, sequences, and families of images in a directory. Then you'll fire up Blender and talk about threading nodes and how images are duplicated and routed through the compositing network ("noodle"), how threads are created between sockets. Creating threads, cut threads. The clip also points out common threading errors and misrouting threads...
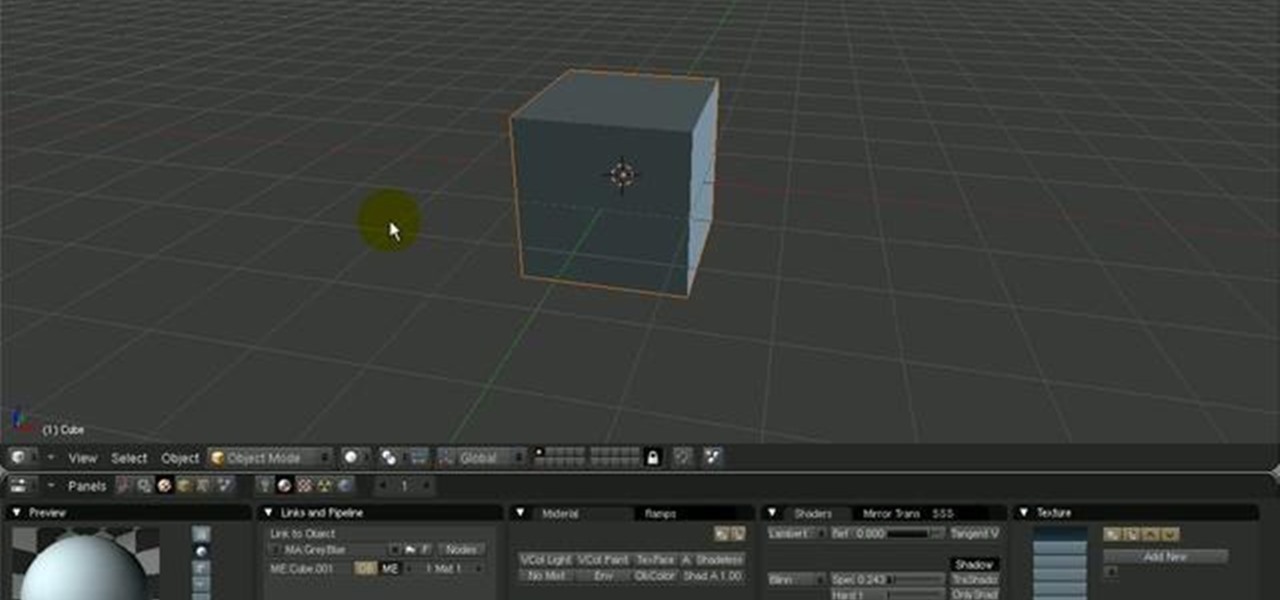
In this tip video, you'll see how to set the aspect ratio of a plane object to match that of the image mapped to it. This is important to prevent distortion in the mapped image. This knowledge will be helpful when using image planes for cutout trees and people, instanced image planes for particle effects, and any situation where you need non-distorted images on plane objects. Whether you're new to the Blender Foundation's popular open-source 3D computer graphics application or are a seasoned ...
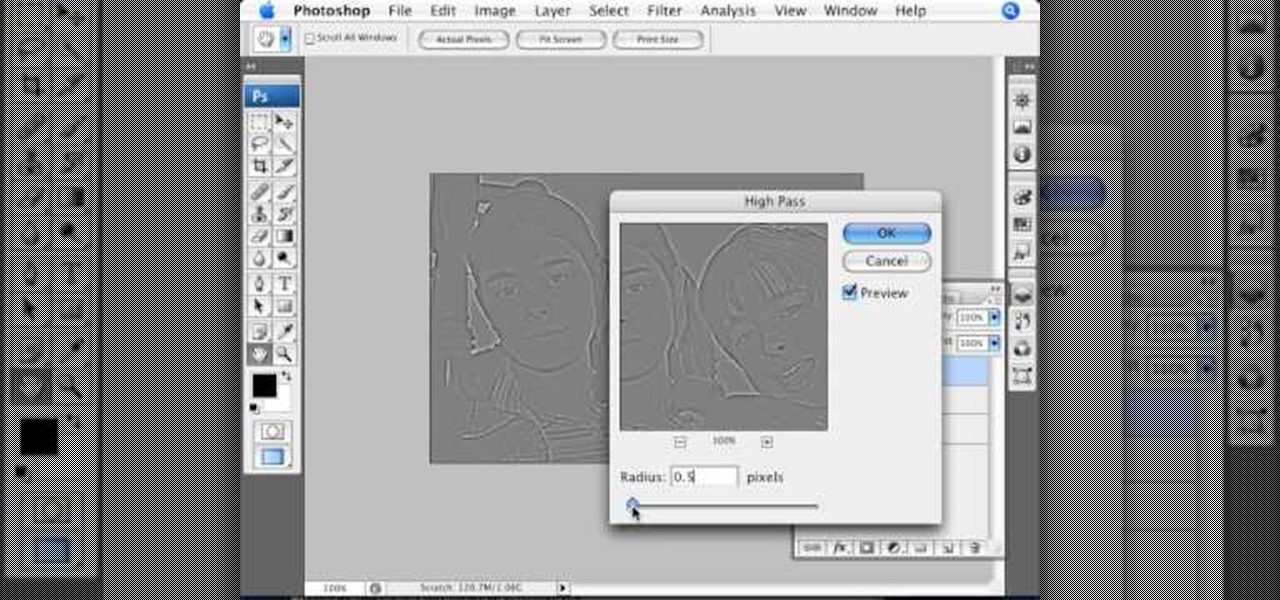
This Photoshop tutorial video teaches you how to make any photo look like it was hand drawn. The image selected should have a relatively simple background, because a too detailed image will not turn out properly. Use the high pass tool and the sketch paper tool and you pretty much have your hand drawn image. Follow this video for extra tips on how to get your image to look like hand drawn perfection.
Instead of using Photoshop, why not give Apple's Aperture a try? Aperture is designed more for post-production work for professional photographers, letting you cull through shoots, enhance images, manage massive libraries, and deliver stunning photos.
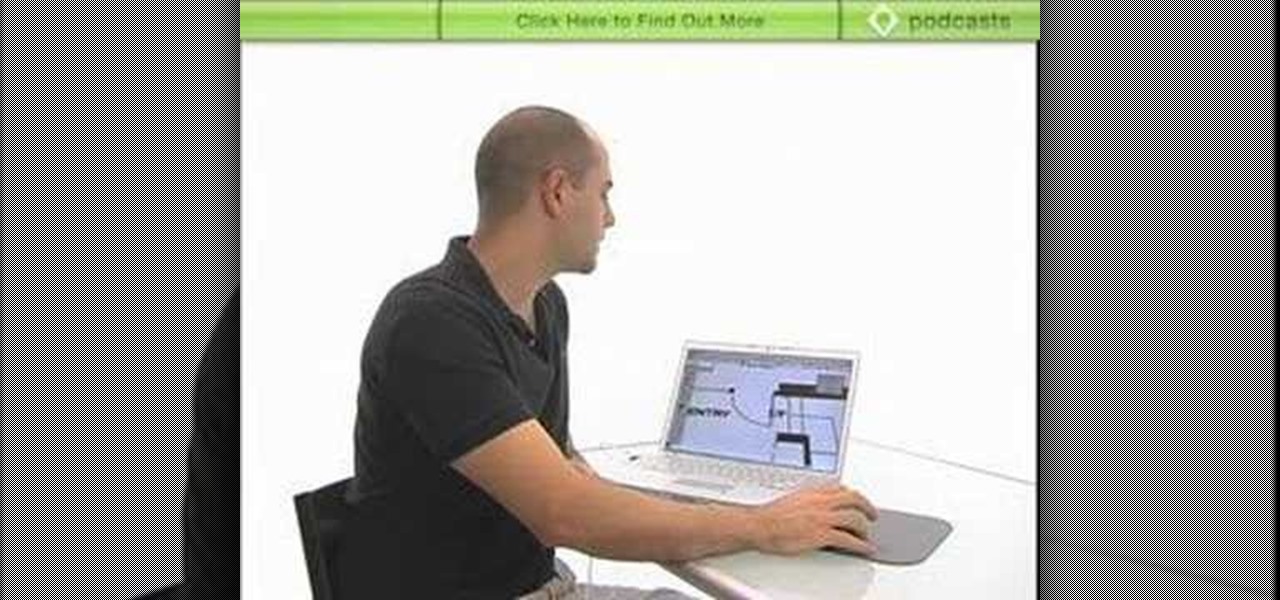
You don't have to have an authentic 2-dimensional CAD drawing to model a house or building in SketchUp, all you really need is a floor plan or good image. If you don't have a CAD drawing to use to create your SketchUp model, learn how you can take an image of any floor plan and quickly turn it into a house in SketchUp 6.
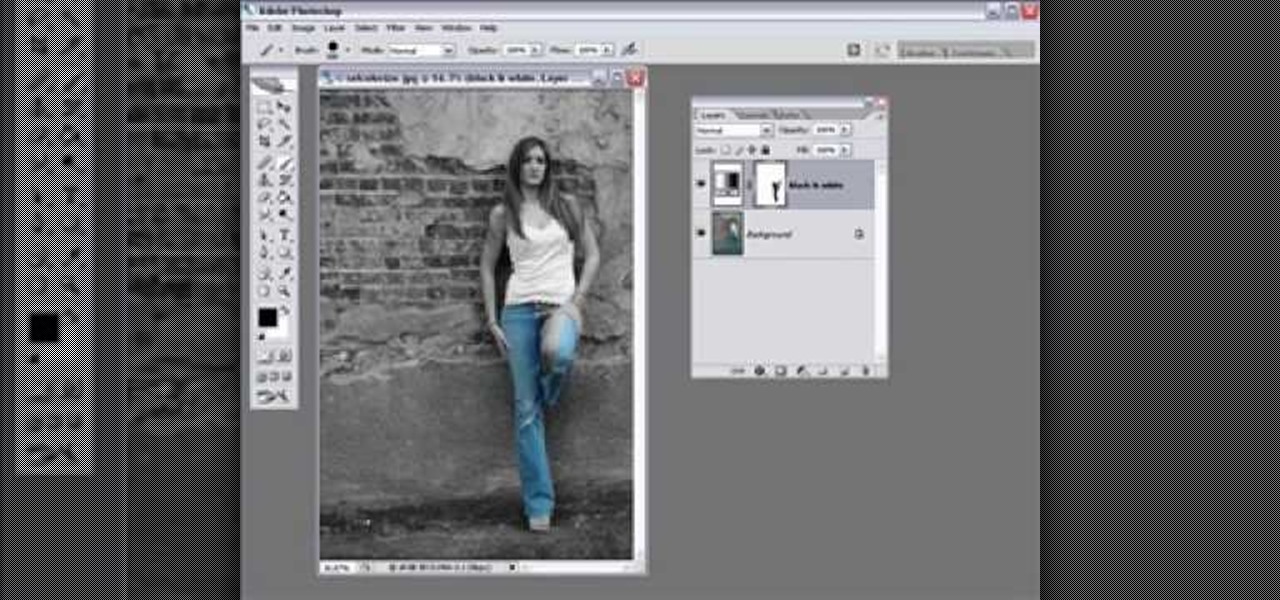
Learn one very simple way, using the mask of the Black & White Gradient Map Adjustment layer in Photoshop to conceal or reveal parts of the image in color and other parts as a black and white version.
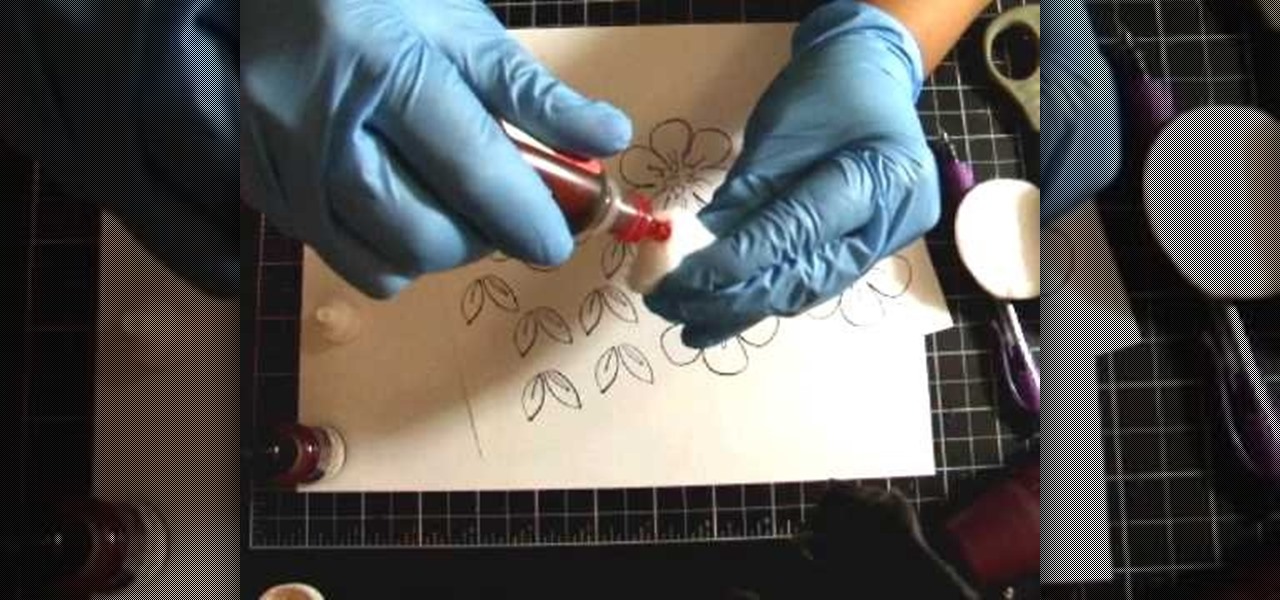
In this tutorial, we learn how to add texture to stamped images using rubbing alcohol. First, stamp on your image with a regular stamp to a piece of paper. After you do this, you will take a cotton ball and dip it into ink, then dab this on the images. From here, you will dip that into rubbing alcohol and then dab on top of the images as well. Allow this to dry and if you don't have time, blow dry it evenly. Then, use embossed ink to raise the images up from the page. When finished, you will ...
You can create an image gallery of any directory on your file system with Konqueror. If you are a KDE user and you need to see the images in any directory, but if there are any other stuffs beside images in that directory then you will see that stuffs too. So if you do not want this, you need to click on tools in Konqueror menu and choose "create image gallery" for the current directory. There will be many options like folder, look etc. so set your options as you like and click on create, it ...

The image slider is a very popular feature for websites, allowing users to look through lots of images in an intuitive way that doesn't have the slowness of a slideshow or a thumbnail gallery. This video will show you how to create one using jQuery, the popular and easy-to-use Javascript library. The creator was also nice enough to include links to the code for many of the features that you'll see here: