
How To: Write Italic lowercase letters in calligraphy
Calligraphy looks great for wedding and party invitations. Learn more about forming letters in calligraphy and how to write using the art of calligraphy in this free online video series.

Calligraphy looks great for wedding and party invitations. Learn more about forming letters in calligraphy and how to write using the art of calligraphy in this free online video series.

An annotated bibliography is very important when writing a scholastic paper or essay. In this tutorial, learn how to create an annotated bibliography, step by step.
In this Fine Art video tutorial you will learn how to write the letter Q in calligraphy copperplate. Hamid Reza Ebrahimi shows you how to this using a Brause & Co No 86 nib, Persian traditional black calligraphy ink, Brause marbled penholder and Persian leather pasteboard and Steinbach pasteboard. To write the capital "Q", dip the nib in to the ink, then starting at the 2nd horizontal line, write upwards touching the top line. Then continue writing downwards till you touch the 4th line and no...

Hamid Reza Ebrahimi demonstrates how the Z and z are written in copperplate. For this video, Hamid used a Brause & Co. No. 86 Nib Persian black calligraphy ink. Also, he used a Brause marbled penholder along with a Persian leather pasteboard and Steinbeck pasteboard. Hamid writes the letter Z at 6 centimeters tall and the small z at 2 centimeters. The video shows how the Z is written, starting off with a loop from the top line on a ruled paper and moves on a slant to the left down to the bott...
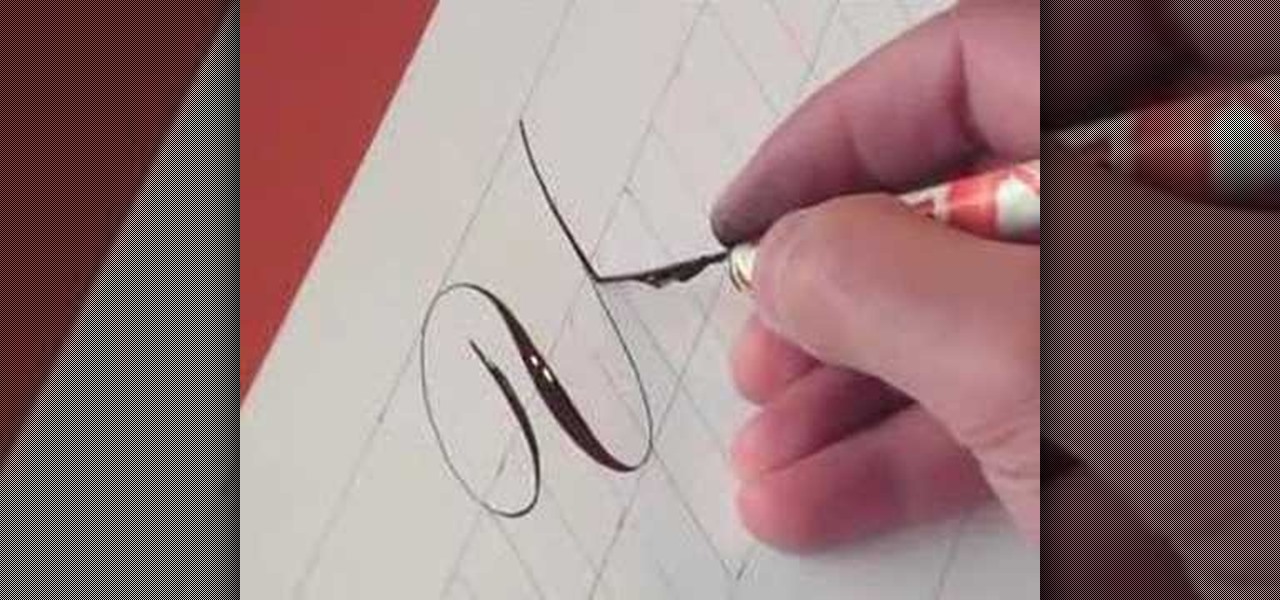
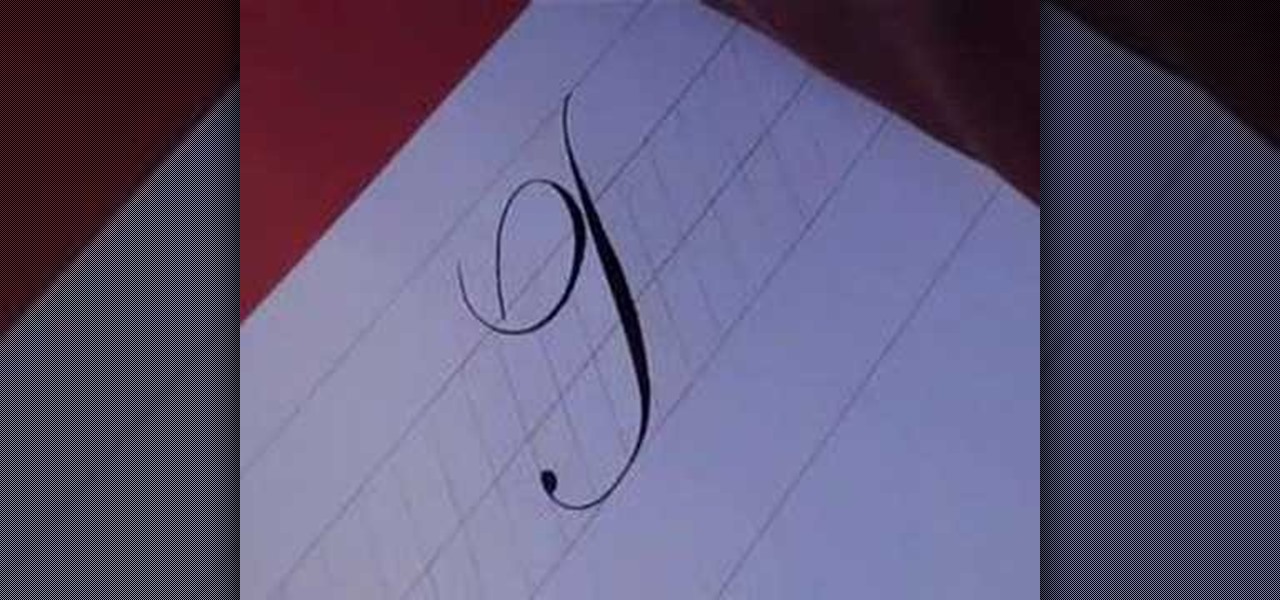
This video demonstrates the procedure involved in writing an uppercase "G" and lowercase "g" in Copperplate. You will need a writing utensil and something to write on. In the video, a nib and black ink were used on lined paper. The letters should be written slowly and carefully to avoid errors. The video may be useful for people who want to learn how to write a "G" or "g" in Copperplate style. After watching this video, a viewer would know how to correctly write a "G" or "g" in Copperplate.
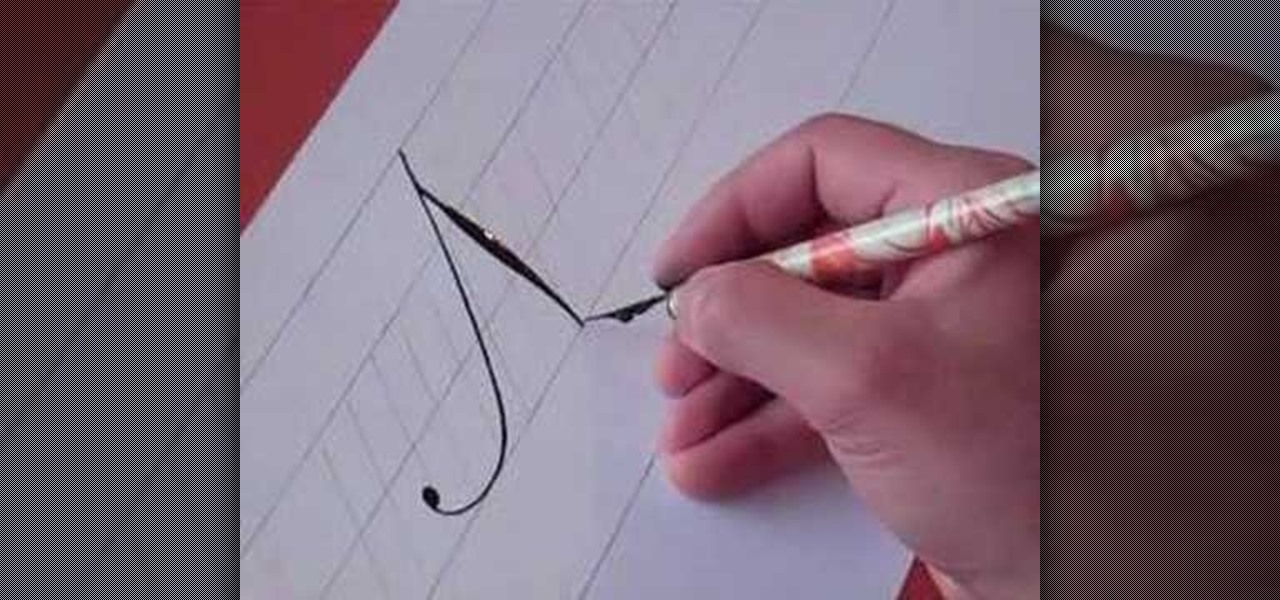
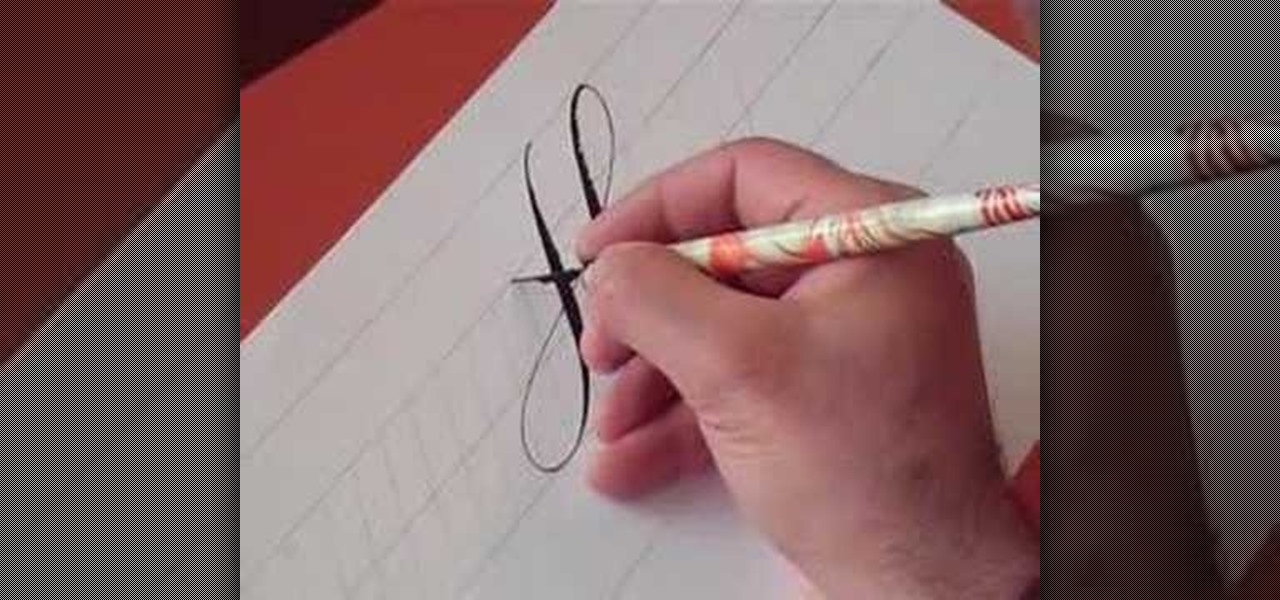
Learn to write the letter “I” in calligraphy copperplate with this video. First, we need a book and a pen suitable to write in calligraphy. The pen's tip has to be bendable. First write the capital "I". It looks like a long "g". When half way from the top, the nib of the pen bends to give a thick feel and again it fades out to a thin one. The small "i" looks the like the actual "i" itself with minor changes. This will help you in your writing (font) style.

In this video, we learn how to write numbers in calligraphy copperplate. To write the number five, you will simply make the shape of the number, but add in a thick edge to the bump and curved edges to the end. To write the six, use a thick line on the side of the number and a thin line for the circle in the middle. To make the seven, the top should be curved and thick, and the lower line should be very thick with a straight edge. To make the eight, draw the number so that the left edge is thi...

In this video, Hamid Reza Ebrahimi indulges the viewers in the world of copperplate writing through a short tutorial on how to accurately form the shapes of capital and lower case V. The video requires that the viewer has some previous experience with copperplate writing since it is not accompanied by instructions. Mr. Ebrahimi does a great job and the final result is honestly a true work of art. This video is an inspiration to anyone interested in learning how to write copperplate or just im...
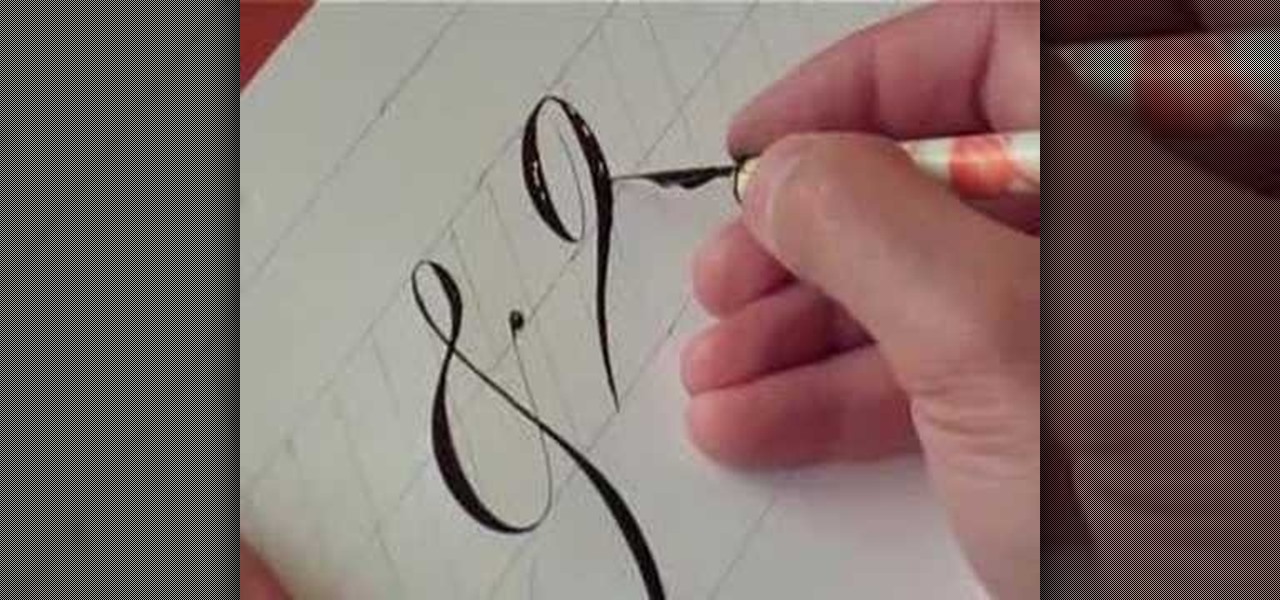
Have you ever tried to write in calligraphy copperplate?Let's start with the basics-punctuation marks. First we nee a book and a pen to write in calligraphy. The letter '&' looks similar but has a long tail. The question mark,exclamation mark and brackets look similar like in a normal font except all have the similar properties of calligraphy i.e., the variation in thickness. This will add a unique style in hand written documents as well as to add some charm in your letters.
How should you write in copperplate? Hamid will show us how write E and e in copperplate. First we need a book and a pen specially to write in copperplate. This type of font has letters with narrow edges and it gets broader in the middle. For capital 'E', it will be in curved form with the font's unique style of thickness. The small 'e' more looks like a 'c' with a closed loop. It will help in improving your handwriting style and add some grace.
This video tutorial with Hamid Reza Ebrahimi, shows you how to write the letter N in calligraphy copperplate. The video illustrates step-by-step how to write this letter in the most accurate way possible. To begin, you draw a thin slanted downward stroke with a moderately curled tail. Then you create a stoke tangent to the first stroke with a tapered thickness in the middle. To complete the capital N you draw a tangent line upward that is thin and has a large looping tail. For the small case ...

Fiction books are often cited as being more entertaining than non-fiction books as you get to travel to exotic, sometimes alien worlds and the characters can sometimes be supernatural, with cool powers like flying or being able to heal instantly (vampires, anyone?).

In this video, we learn how to write the letter "S" in calligraphy copperplate. First, dab your calligraphy into ink, then start to writ on a your paper. Make a large half bowl shaped curved line, then make a loop and go down, creating a curved line with a dot at the end. To make the lowercase letter, make a thin line, followed by a thick outer line that curves into the large line making a lower case s. When you are finished with both of these, you will have beautiful letters that look great ...
A topic which is taught during school days: The slope - intercept equation of a line in a 2 dimensional space.
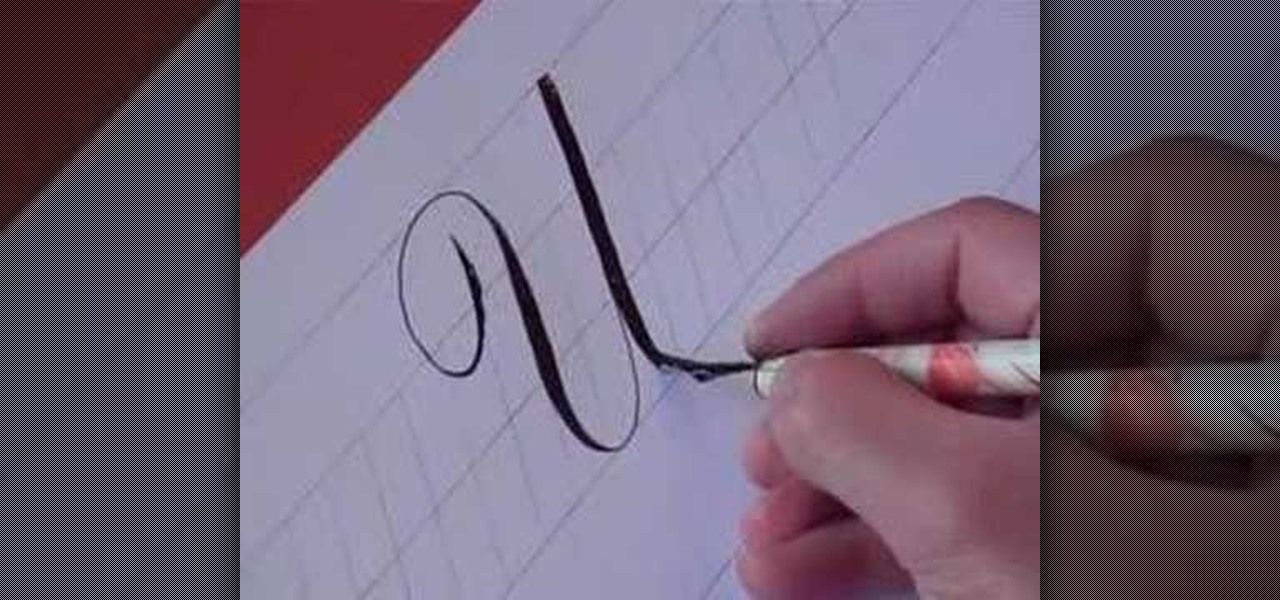
In this video, you will learn how to write the letter U in calligraphy copperplate. Capital U: Take the calligraphy pen with black ink and scaled calligraphy paper. Make a narrow, looped curve to start the "U". After the loop, make a broad brush stroke down. Narrow the brush on the up stroke and broaden again on the down stroke. Narrow the brush on the final upstroke.
In this video, we learn how to write the letter H in calligraphy copperplate. To make the upper-case letter, start off drawing into a thick line, with a curve at the end of the letter. Make the curve end touching the line, then draw it out to the right side of the letter, bringing it back down to a line to make the "h" shape. Next, draw a line across the two lines with a curve at both ends. To make the lower-case letter, start by drawing a thin line to make a loop at the top, then bring it do...
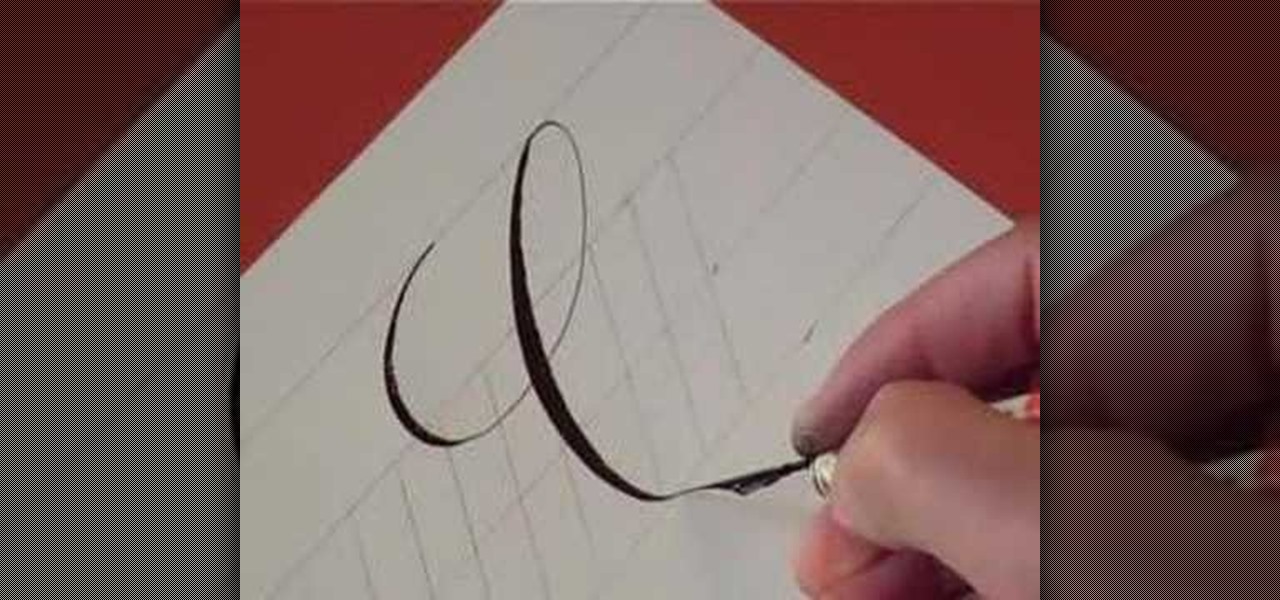
In this video, we learn how to write the letter "c" in calligraphy copperplate. First, dip your calligraphy pen into ink and start out making a large half circle on the paper. Dip the pen into ink again and make a loop with the top of the letter, then drag the pen down, making the "c" shape. End the letter with a loop on the bottom that isn't touching the inside of the letter. Make the lower case "c" by drawing the basic shape of the letter and adding a ball filled in with ink to the top of t...
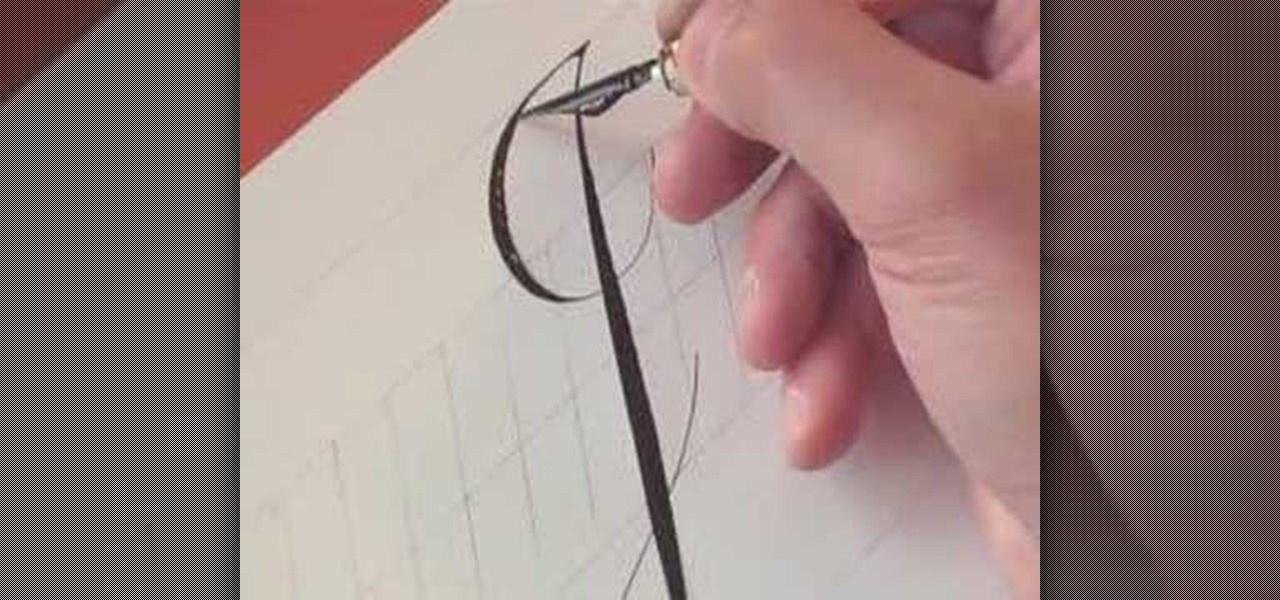
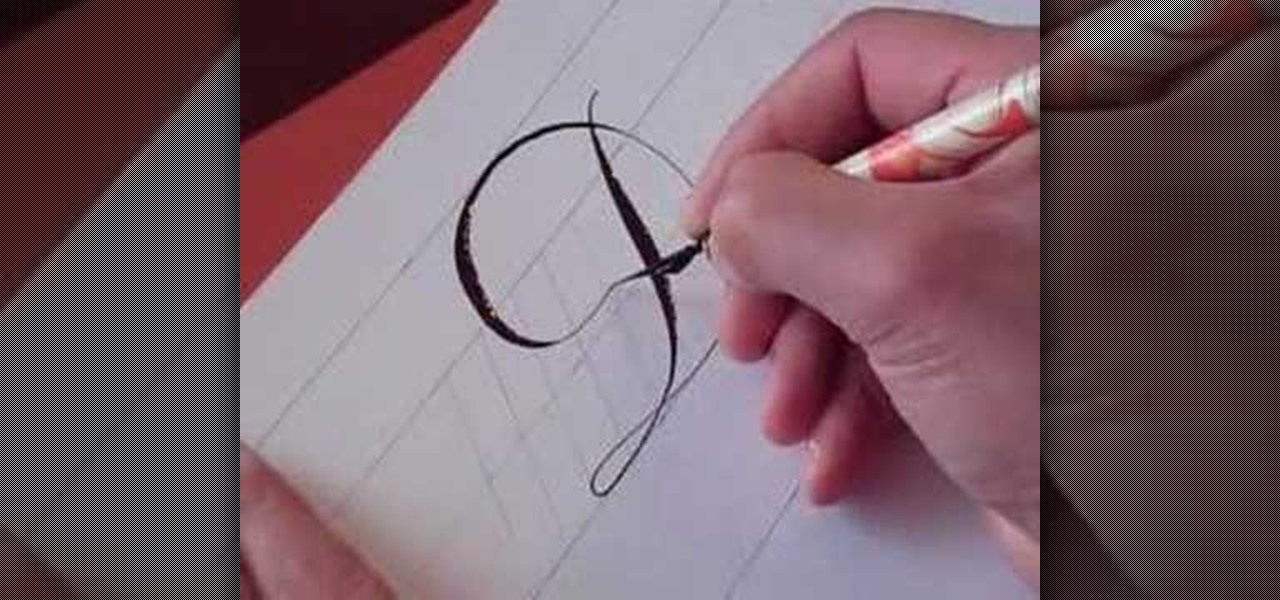
In this video, we learn how to write the letter J in calligraphy copperplate. For the uppercase letter, start by grabbing your calligraphy pen and drag it down so you have a thick black line with a thin line at the top. End the letter with a loop around it, then bring the top line to the left and loop it around, making a semi-thick line with it. To make the lower case letter, make a thin line going diagonally to the right, then dip the pen in ink and bring the pen down in a thick line down. C...
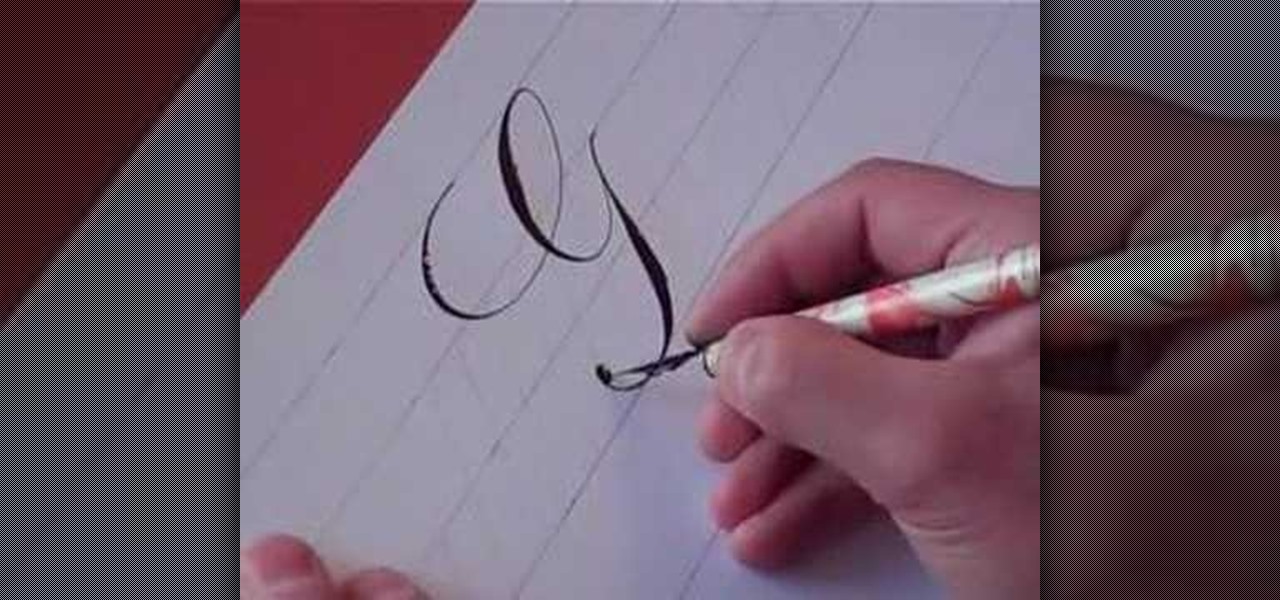
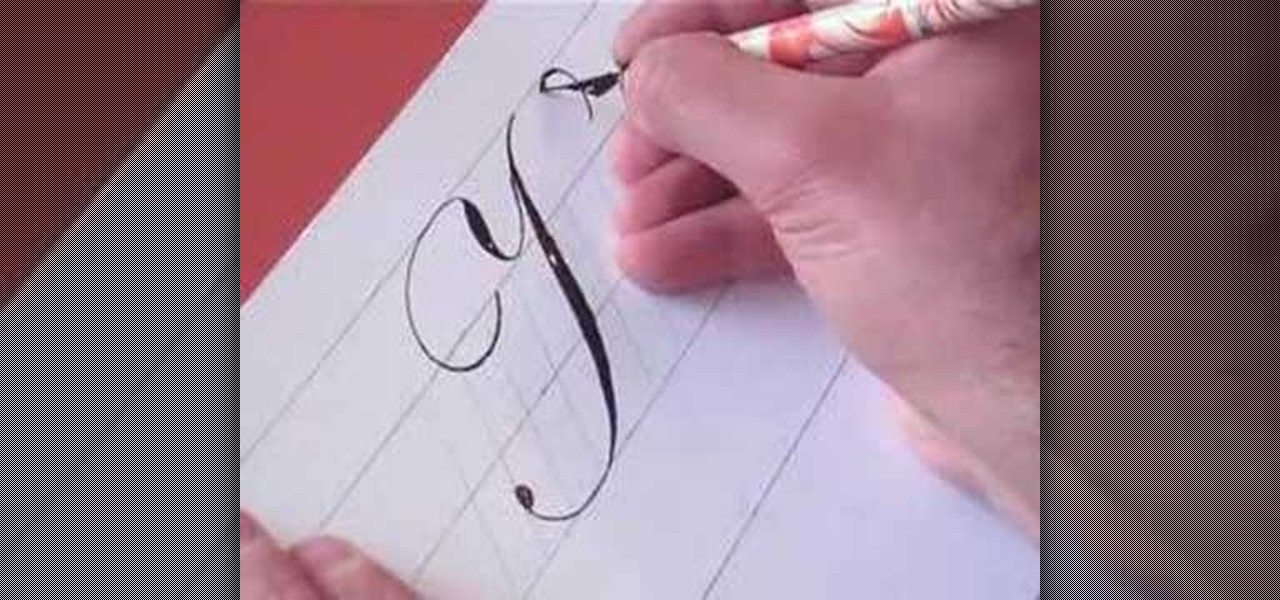
In this tutorial, we learn how to write the letter Y in calligraphy copperplate. First, make a thin line with the pen, going thicker as you go down, make a loop and then come back down. Make a "u" shape, then connect a curved line to the other side finished with a dot on the bottom to complete the letter. To make the lower case letter, make a small thin hump, then drag the pen down to a thicker line. Make a new line on the other side, making a thicker line and connect it with the other shape ...
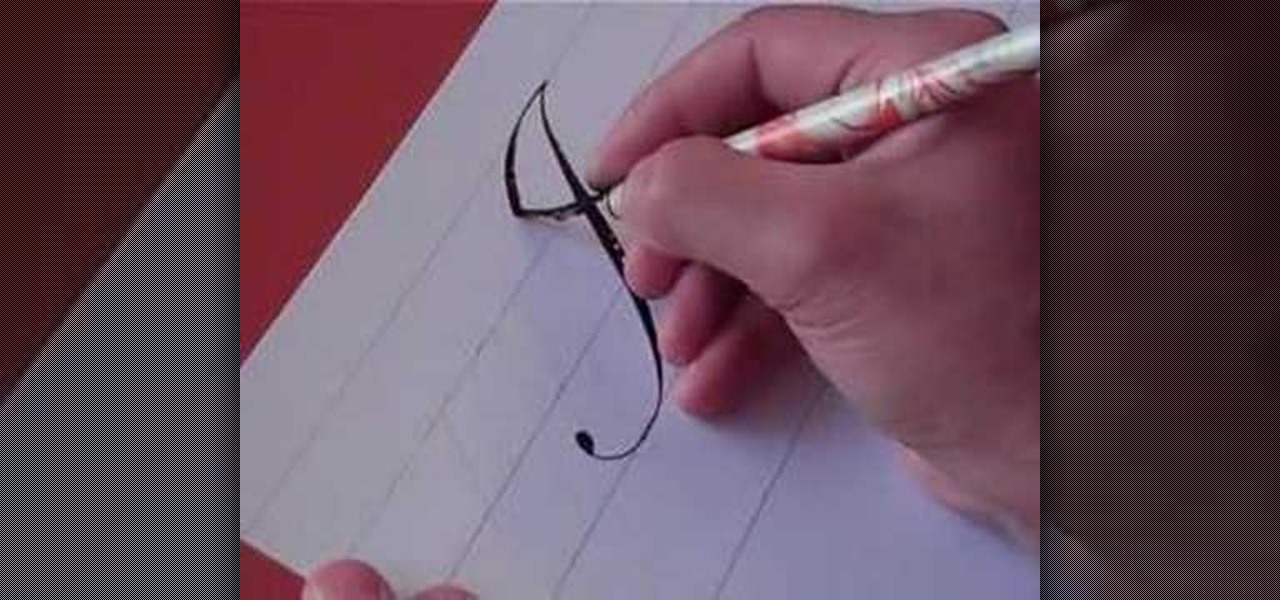
In this video, we learn how to write the letter T in calligraphy copperplate. Start by drawing a thick line that follows out a loop that curves to the left hand side. After this, create a loop at the top of the line, on the left hand side. Draw this out and cross the line over the top to make the T shape, ending with a slight curve at the end. To make the lower cased letter, draw a thin line, then draw a thick line over it, then cross a thin line across the top middle of the letter. Now you w...
In this video, we learn how to write the letter K in calligraphy copperplate. Start by running your calligraphy pen on the paper going from a thin line to a thick, making a line curved to the left ending with a dot at the end of a small loop. Next, make a loop to drag out across the top on the right hand side and curve it down to make the K letter. Do the same to make the lower case letter, except making a loop for the top of the letter instead. When finished, let the ink dry and you've got y...

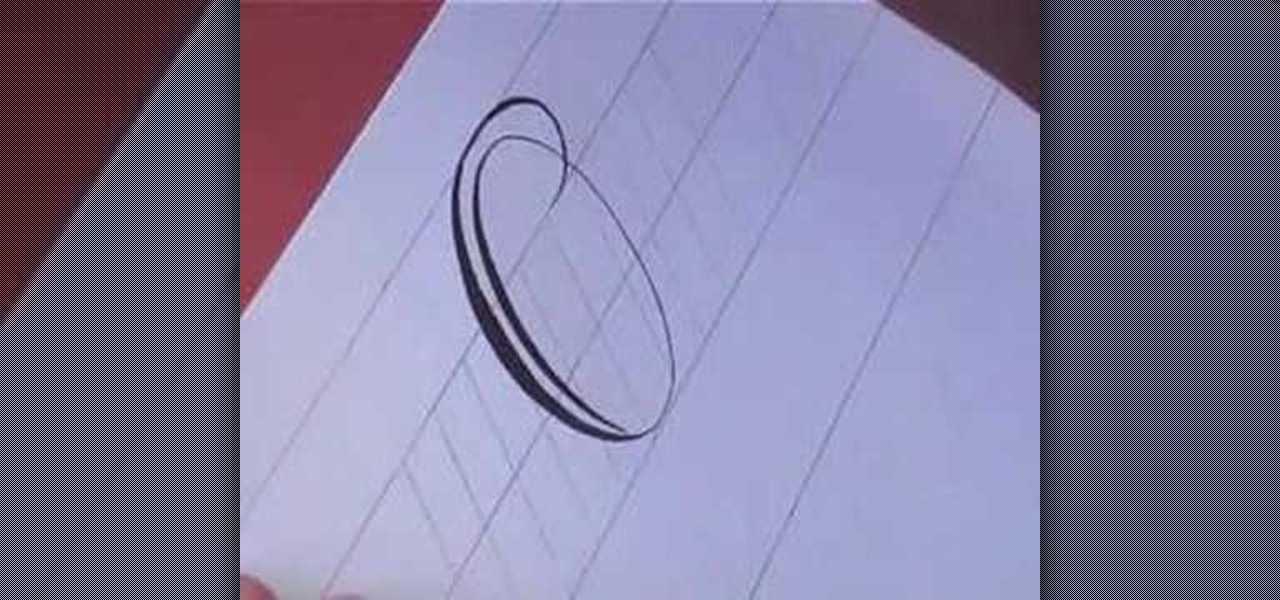
In this video, we learn how to write the letter O in calligraphy copperplate. Take your calligraphy pen and make a medium thick half loop at the top, dragging it down into a thicker line on the left side of the word. Then, continue onto the other side of the O with a lighter touch of the pen making a very thin line, finishing with a loop in the middle. Make the smaller O just like normal, making the thick line on the side and finishing with a small loop bending out to the right at the end. Wh...

In this video, we learn how to write the letter "r" in calligraphy copperplate. Start out by dipping your calligraphy pen into ink, then creating a curved line with a dot at the end of it. Next, fill in the line so it is smooth and there are not ragged edges. Next, draw a large swirl on the left side next to the curved line, then draw it over to make the initial loop on the "r". After this, create a loop in the middle, then draw it back down to make the end hump of the "r". After this, draw i...

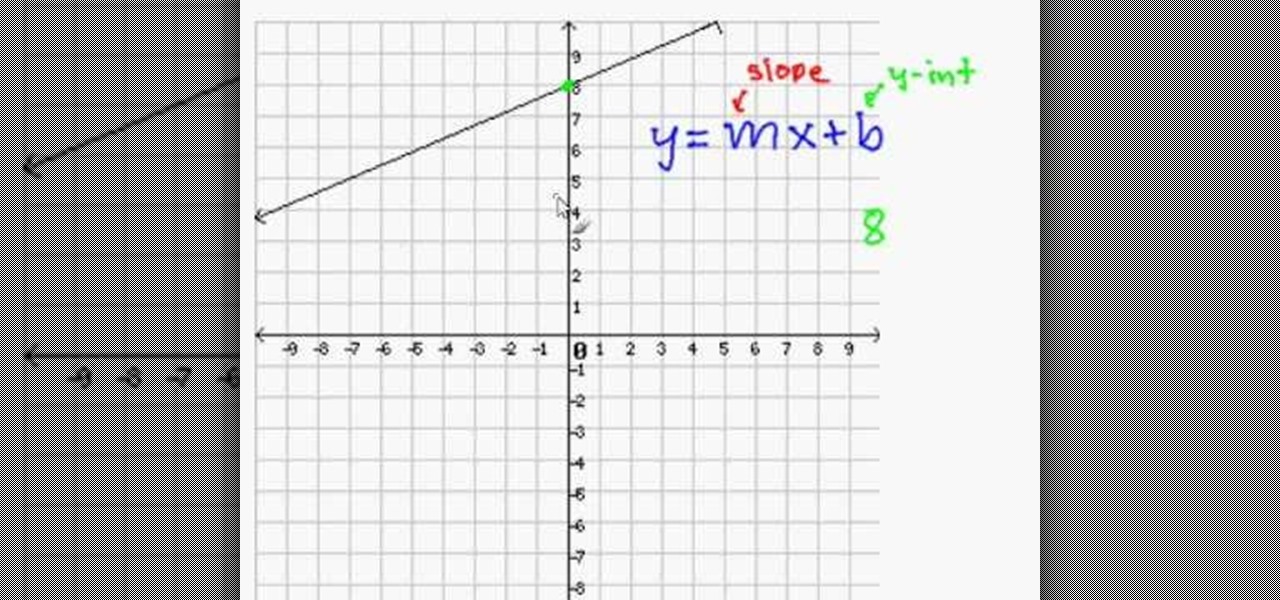
This video teaches us the method to write an equation in slope intercept form and to graph it. The equation of line is y = mx + c. m is the slope and c is the y intercept or the point where it crosses the y axis. Let us find the equation of line if it crosses (8,6) and m=1/2. Substituting the values of x,y and m we get 6=(8)(1/2)+b. Simplifying we get b=2. Substituting the values in the equation of line, we get y = m/2 + 2. Suppose we want to find the x coordinate of a point on the line given...
Mr. Hamid Reza Ebrahimi has shown a demo on how to write the character W & w in a calligraphy copperplate. The single pen like brush was used by him to complete that fine art. He started drawing with a thick impression and then used the same brush with the thinner impression. We need to learn how to handle the brush before starting with the art work. His art work has accentuated our eyes. Viewer should learn to be calm while doing such art works. It will give you peace and calmness.
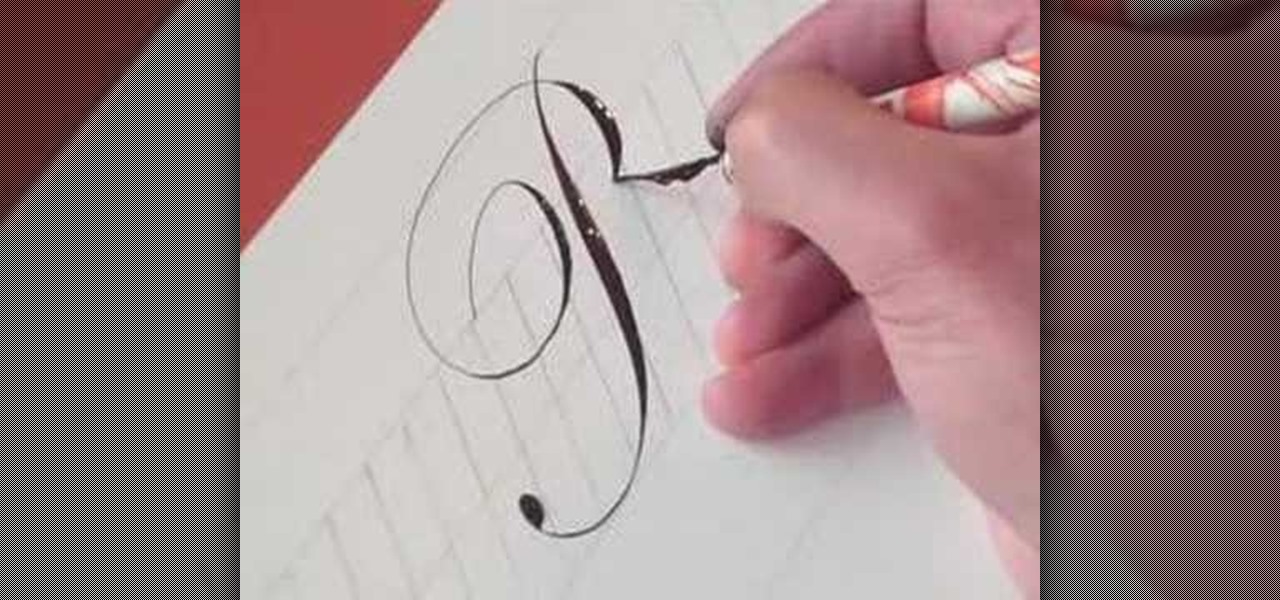
This video demonstrates how to write the letter P in calligraphy copperplate. The technique that is illustrated in this video show you the proper way draw the letter P effectively and beautifully. The video first shows you how to draw the capitalized letter P. The first step is to create a slightly S-curved stroke downward from the top margin to the bottom-middle margin--thickness in the middle. You end the line with a curled tail. To complete the letter you then have to draw a looping, curle...

Your conclusion paragraph is incredibly important to a research paper. This is where you get the chance to sum yourself up and really make your point hit home for the reader. The last paragraph is your last chance to really make your paper stand out and be memorable. In this video, you will learn exacly how to craft a fantastic conclusion so that your reader is left on a powerful note, instead of a boring one.

Italic hand calligraphy looks great for wedding and party invitations. Learn more about forming letters in calligraphy and how to write using the art of calligraphy in this free online video series.

The art of inking script numbers in calligraphy. Learn italic numerals in calligraphy and how to write using the art of calligraphy in this free online video series.

Calligraphy is often used to add a unique and artistic look to different forms of text. Learn how to write letters 'A' through 'M' using calligraphy in this free art video from a calligrapher.

Calligraphy is often used to add a unique and artistic look to different forms of text. Learn how to write letters 'N' through 'Z' using calligraphy in this free art video from a calligrapher.

In this video from KatiesTeachings we learn how to write an annotated bibliography with 4 easy tips. Katie Mitchell gives this tutorial. Once you find your sources you need to record the bibliographic information like who wrote it, when they wrote it, and when it was published. Next you need to summarize the source. Third, you want to assess the source. In doing this you want to answer questions such as was it good and is it valid. Finally the last step is to reflect on the source. These four...
This video shows you how to write calligraphy copperplate. This is a work with the word "Aria" with "Hamid Reza Ebrahimi" and he made it possible with Persian traditional black calligraphy ink. The words were written with meticulous care and it seems like drawing. Hamid will provoke a desire in everyone who watches the video to write like this at least once, with this style and with this ink too. It will be a great inspiration to the people even who feel lazy to write.

Oktay1979 takes a look into writing an annotated bibliography. Learn the steps such as citing a source, summarizing your reading, accessing your source, documenting your authors credentials, and reflecting on your source. Each bibliography is usually 150 words long and done in new times roman. You can also get a form to show you how to format the bibliography correctly. Make your writing process unique and accurate. Make sure you're doing your bibliography right by following the correct steps...
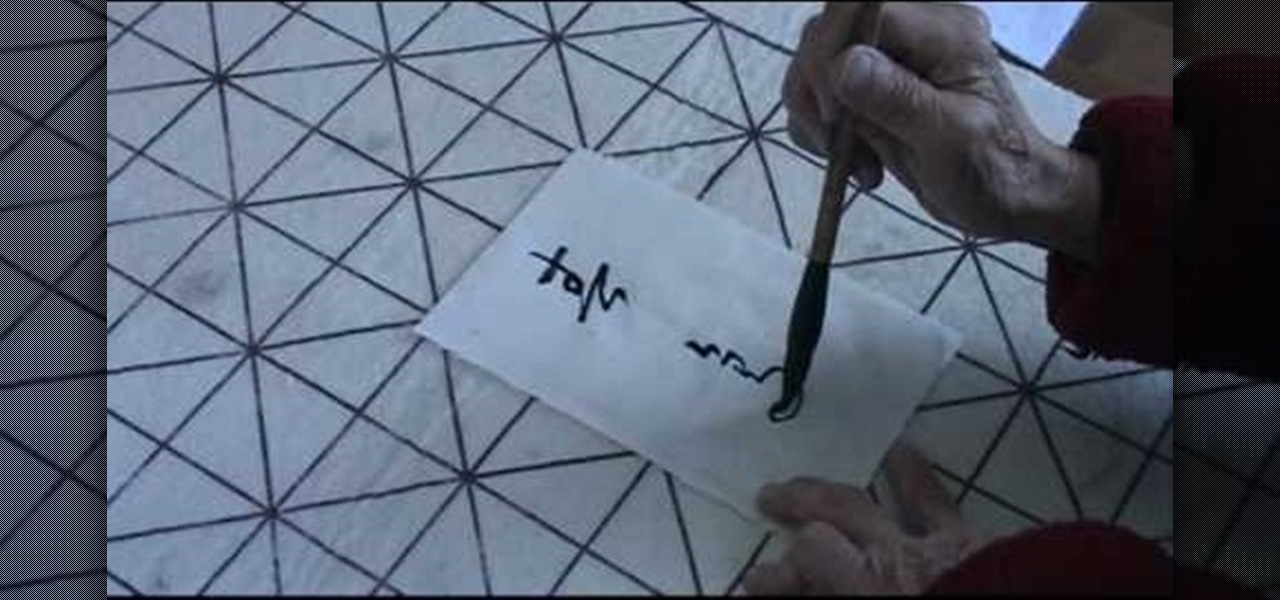
This video features an old Chinese woman demonstrating how to write some Chinese calligraphy phrases. These phrases can be used to adorn paintings of some traditional Chinese painting subjects, which often feature such calligraphy. We are left to wonder how the host feels about deferring the teaching to his mother-in-law.
In this video, we learn how to write the letter D in calligraphy copperplate. Start off by drawing a thin line down the paper, pressing on the pen harder to make a thicker line in the middle, then thinning out at the end. Drag the line to the left making a thin line, then loop it around to the front of the line and make the D shape. After you make the shape, bring the line to the back of the original line and loop it. Do make a lower case letter, make an oval shape with a thick line on the le...

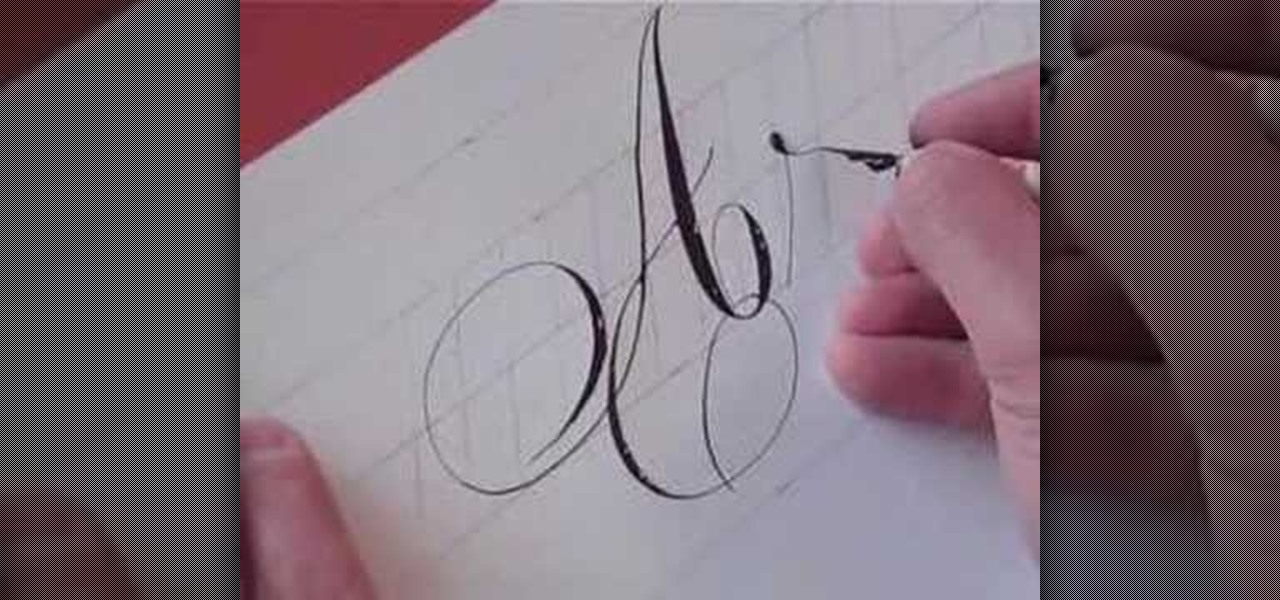
In this video, we learn how to write the letter "b" in calligraphy copperplate. Start off with a piece of lined paper and your calligraphy pen. Create a smooth curved line going down, with a dot that is at the end of the line. After this, create a swirl on the left hand side of the line, then curve it out to make the top of the letter of the humps on the "b". Make sure you grab ink often, especially when you want to make a bolder line. Continue down to make the humps of the letter, then when ...
Calligraphy makes an art from out of writing styles. Learn the uncial calligraphy alphabet and how to write using the art of calligraphy from an expert in this free online video series.
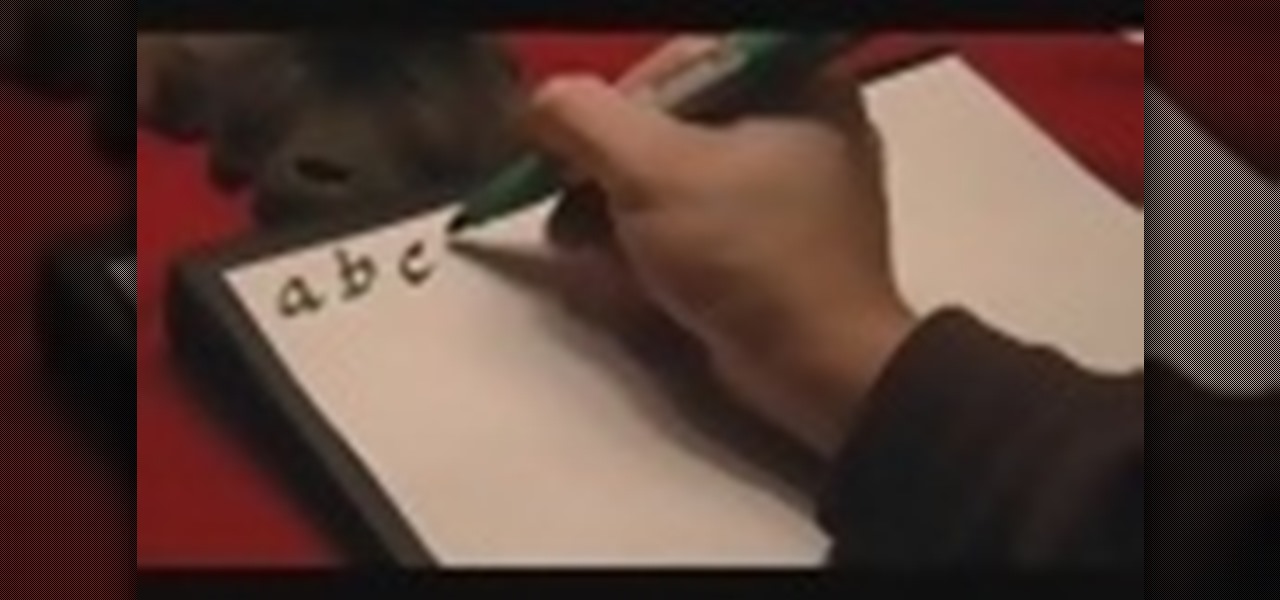
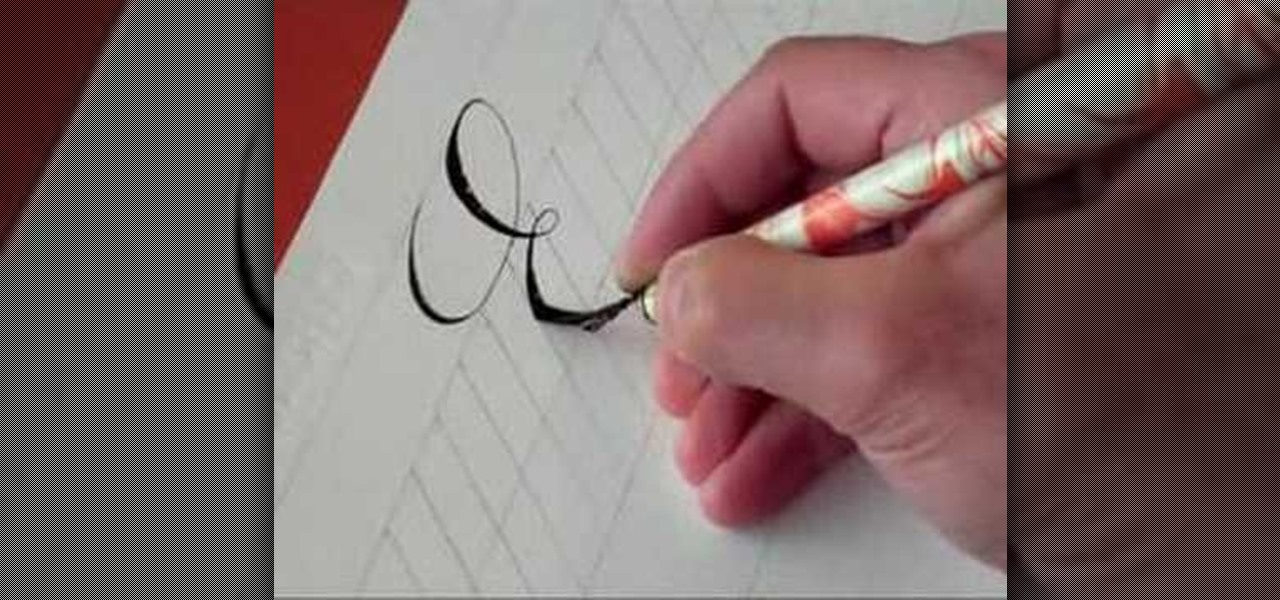
In this tutorial, we learn how to write in lowercase calligraphy letters. To begin, you will write in lower case letters just use a more find edge then you do when writing normally. The letters will all have a twist to the edge of them to make them look more fancy than normal. There are no straight lines, all the lines have a slight curve or curl at the end of them. Practice doing each letter on a piece of paper with a calligraphy pen or marker. The letters will look very similar to the usual...
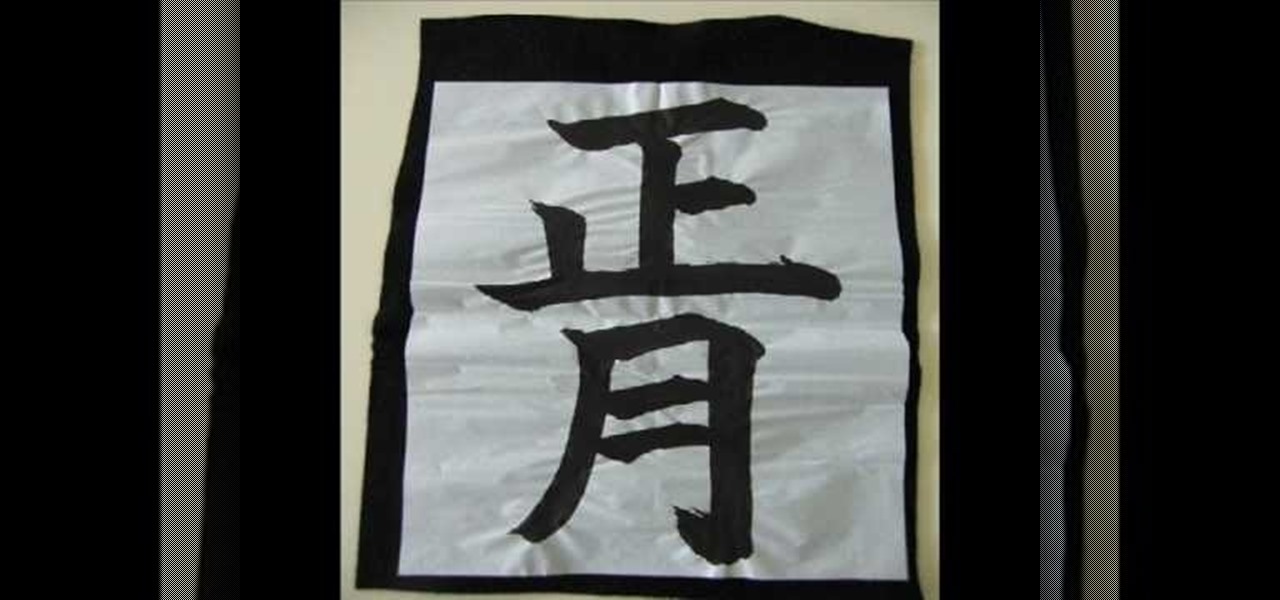
Maki and Miho demonstrate how to write with a Japanese calligraphy brush. To write with a Japanese calligraphy brush, first position the paper to the left side of the brush with the ink on the right side of the paper. Rub the ink stick in the ink well with a little water. Then, soak the brush in the ink. To write Japanese characters, be sure to make the strokes in the correct order. Also, write slowly or your characters will not come out well. Use a long, flat paperweight to hold the paper in...