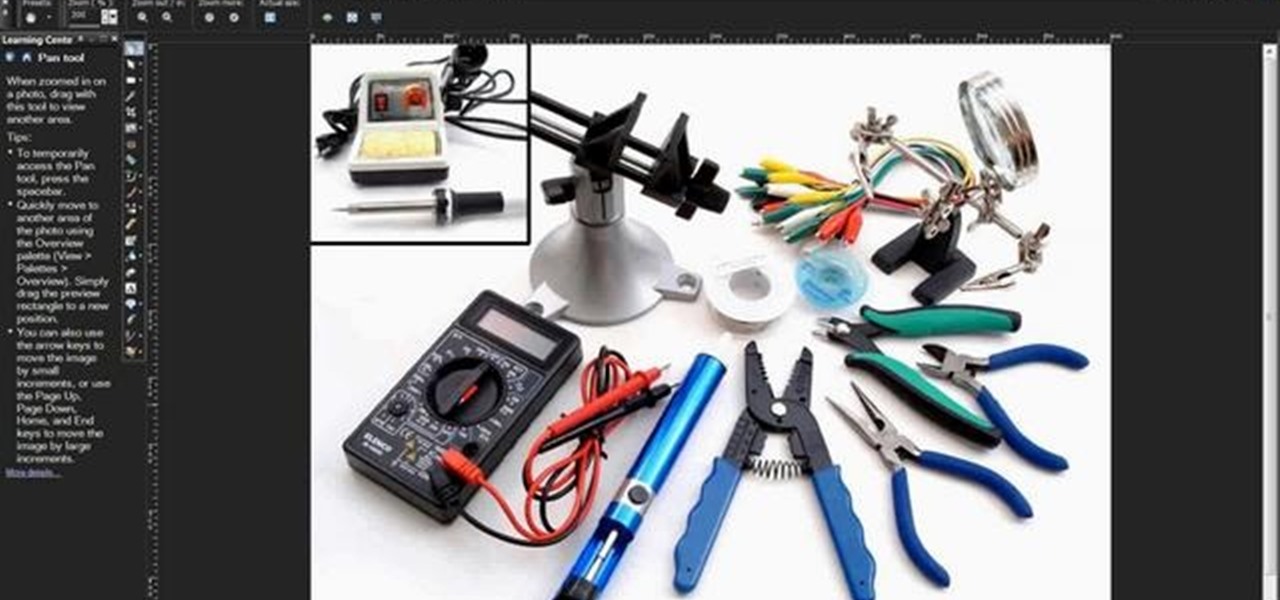
Electronics are the most important new thing people have created in the last hundred years, and learning how to use them will make you much more able to function in modern society. If you want to learn about electronics without going to a class or anything so formal, this excellent video series will teach you everything you need to know to get started. This video, the first in the series, will teach you about the basic tools and components you'll need to work on electronics projects, includin...

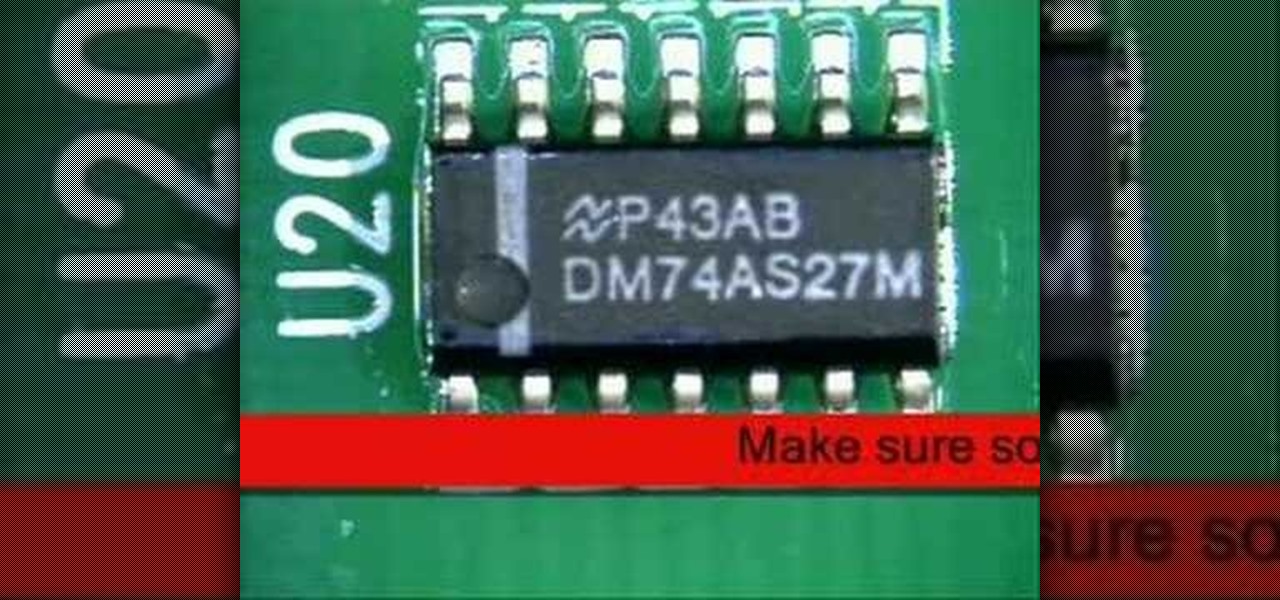
Hand soldering a QFN component is almost impossible unless you have the right tools. Among these tools is the SchmartBoard|ez prototyping board. Here we hand solder a .5mm QFN component.

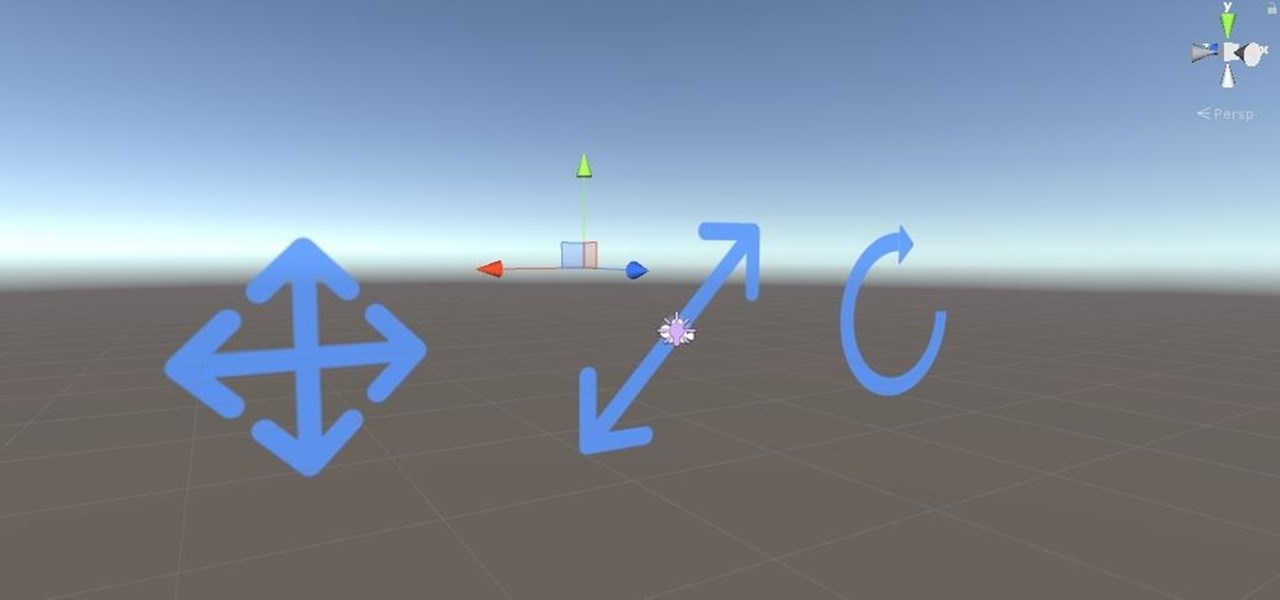
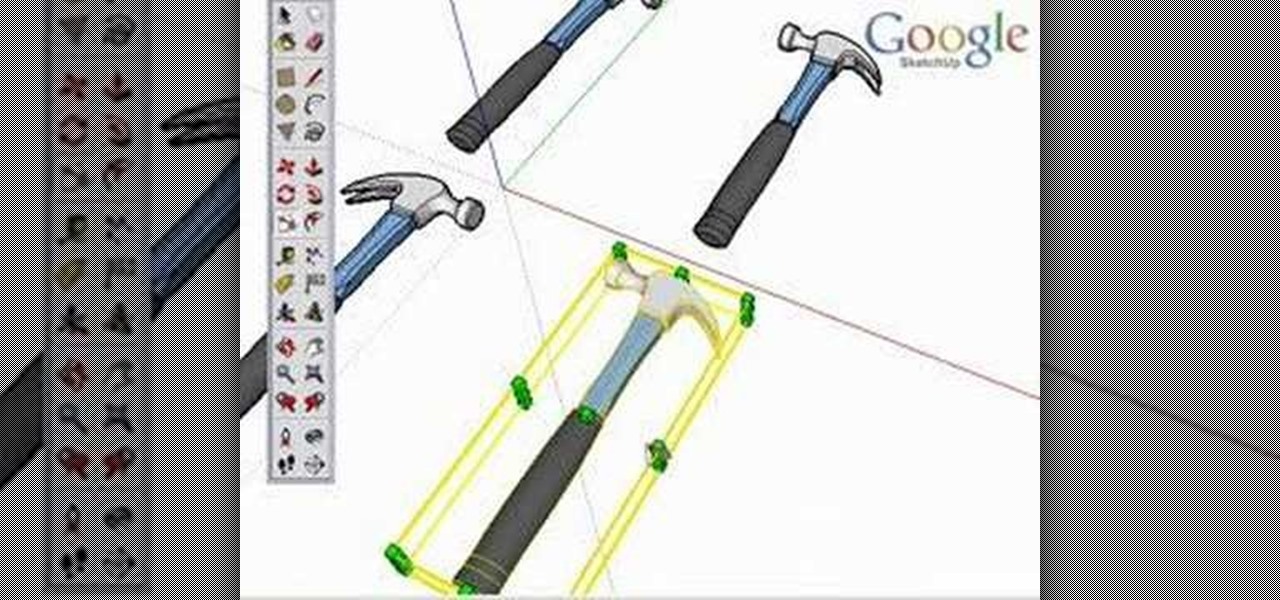
Dynamic components, such as a staircase that knows it's a staircase, can add a bit of intelligence to your Google SketchUp 7 project. Add pickets to a fence or shelves to a bookshelf when using SketchUp by making use of the 'interact' tool.
Although there isn't an actual mirror tool in SketchUp, it is easy to mirror anything with the scale tool. Take a look at this instructional video and learn how to use the scale tool for mirroring purposes in SketchUp. This tutorial covers, how to mirror objects using the scale tool, how to use modifier keys, and mirroring symmetrical components or shapes for efficiency.
The Text Area Component is a tool available to website developers who are using Adobe Flash CS4 to build their website, and it designates a specific area of your field as text-based. You can also set up these fields as either editable or non-editable.
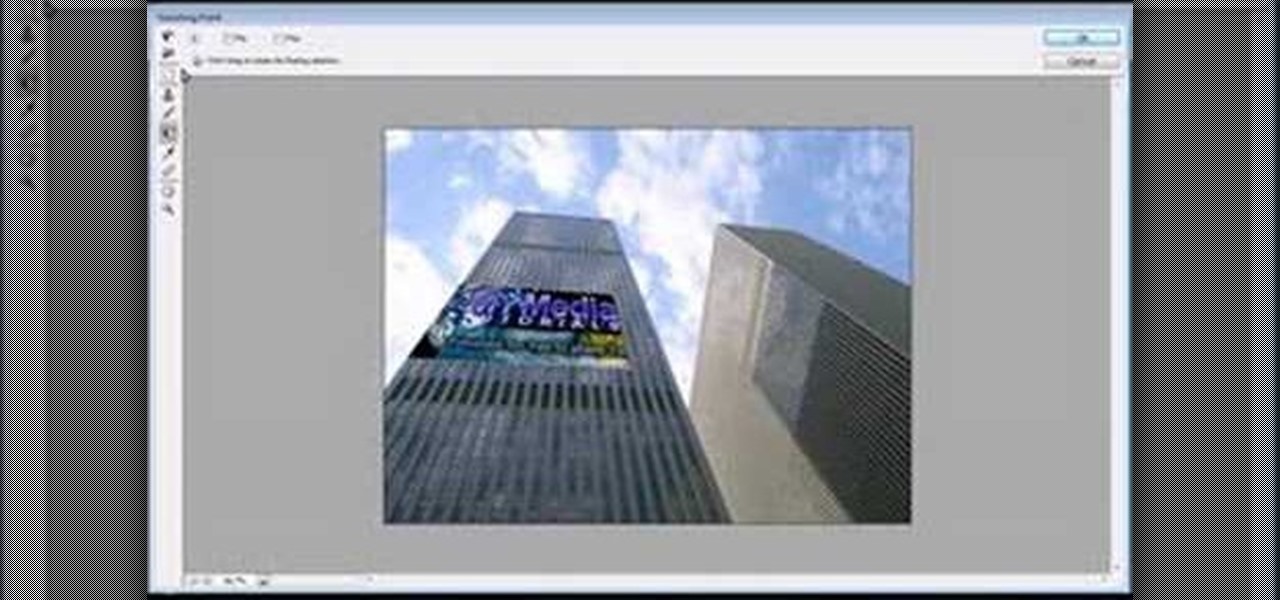
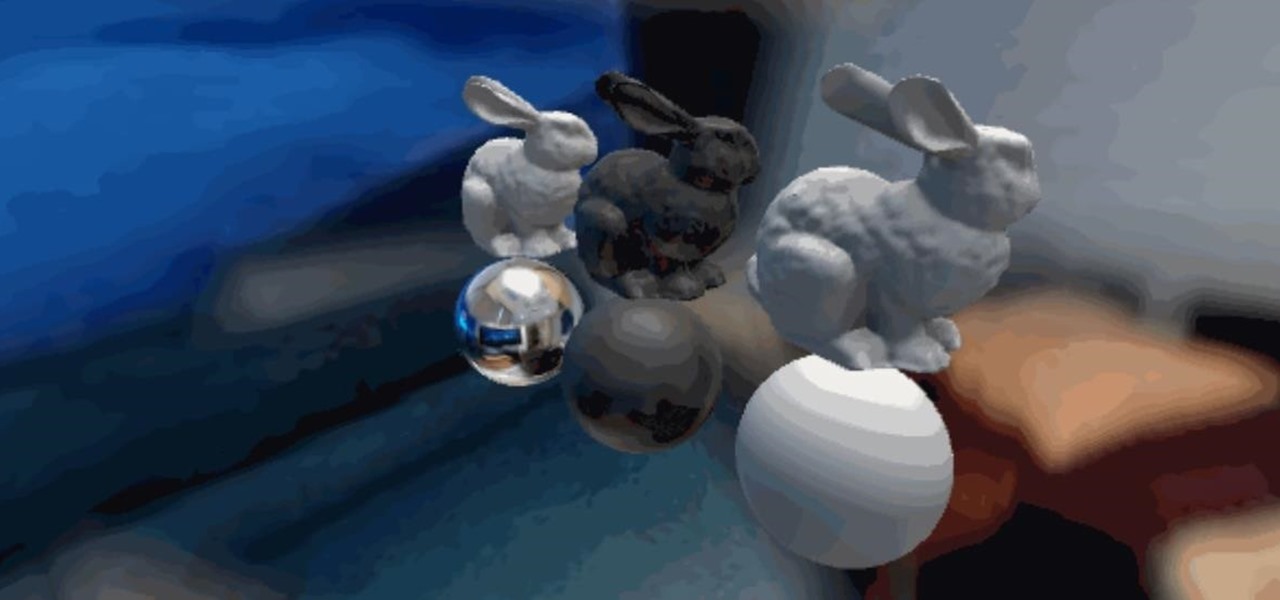
Jordan shows how to use Vanishing Point - a useful tool is Photoshop! The vanishing point tool is Photoshop's way of allowing you to create images that look 3-dimensional and allows you to add components and lighting to an image while maintaining the proper perspective. So check out this Photoshop tutorial on the vanishing point tool and prepare to add some cool 3D effects to your photos.

Welcome to part 2 of robotics teacher Scotty's introduction to electronics! the first video taught about the basic tools and components we need to start working with electronics. This one will cover the basics of electronics, from a primer on electricity and how it works to making a basic circuit and working with breadboard, the canvas of circuitry.
In this video tutorial, viewers learn how to read a micrometer. This tool allows the user to accurately measure components. They have the ability to measure dimensions accurately to within one hundredth of a millimeter. Micrometers are designed with a wide variety of styles and sizes for normal or specialized applications. Micrometers are able to measure the internal or external dimensions of a component. They are the most important basic measuring instrument used in the metal industry. There...
A CNC router machine is probably the most useful tool a hobbyist can own, but the price for a CNC machine on the market is way more than the average hobbyist is willing to spend. You can build your own CNC with very basic tools, little knowledge of machinery, mechanics, or electronics, but be warned, these machines are inherently dangerous, so wear the proper protection and use common sense. At the very least, read the instructions and precautions on every tool you use.
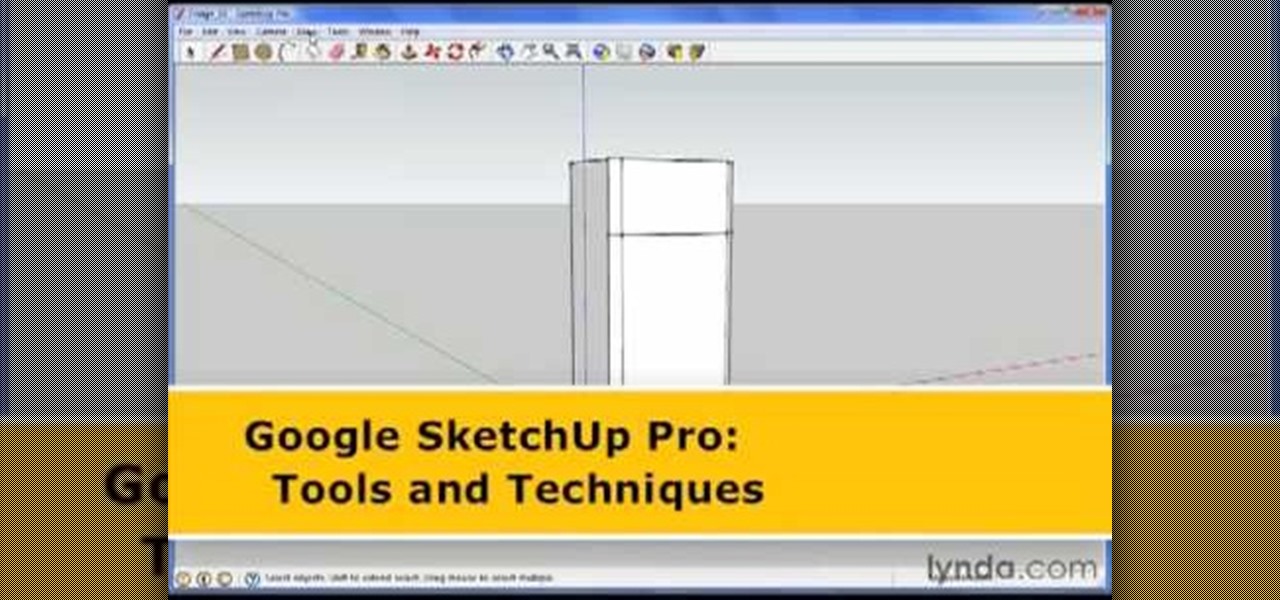
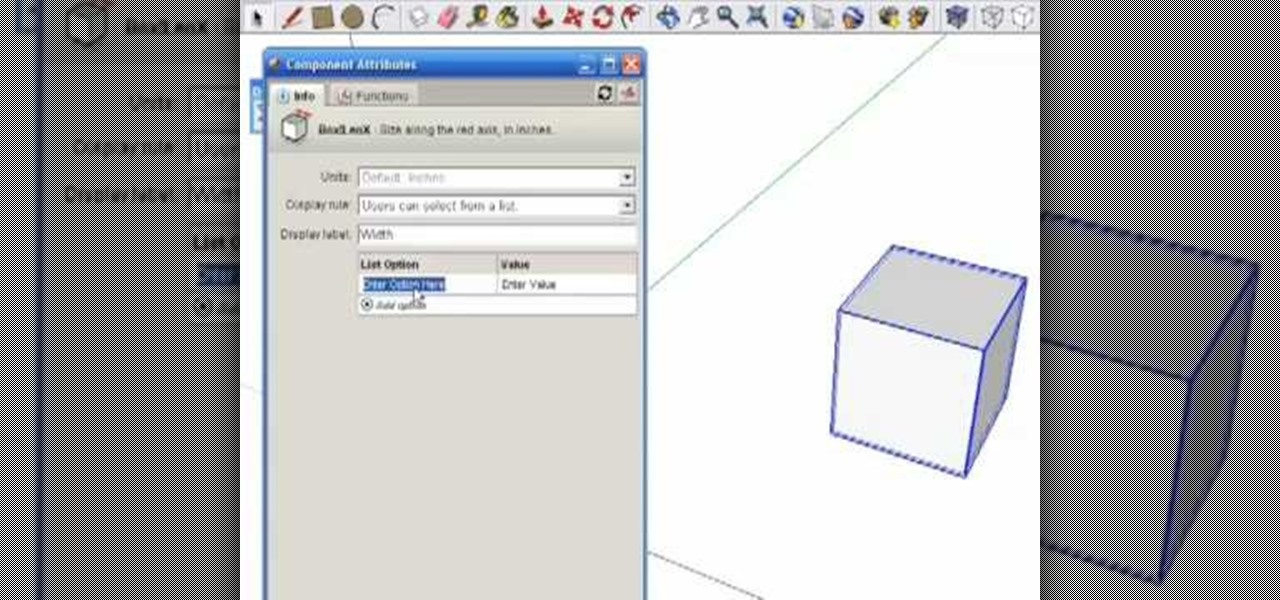
George Maestri from Lynda shows how to add interactivity in Google SketchUp Pro using a variety of tools in the program. Adding interactivity allows for added dimension and interaction with an object. The example used in the tutorial was that of a fridge, which after adding interactivity, allowed for the doors and drawers of the fridge to be opened. To utilize this technique, the object's file (without interactivity) should be opened. By selecting the fridge and then going to component attrib...
Google SketchUp offers a new feature in the most recent version of their program - dynamic components. Dynamic components add a certain intelligence to objects within your project, as well as make interactivity easier. This series shows you how to alter your component and take full advantage of the dynamic component feature.
In this how to video, you will learn how to use Daemon tools lite. First, download the program and install it on to your computer. Click, next and agree to the terms. From here, select what components are going to be used. Click next until you are finished installing. Now you can run the program. It should be on the system tray. The virtual drive should automatically be installed and be called device 0. You will see it if you right click the icon on the system tray. Now you can mount ISO file...
This is a how-to video demonstrating the procedure to change the battery of the car PT Cruiser from Chrysler.
A CNC router machine is probably the most useful tool a hobbyist can own, but the price for a CNC machine on the market is way more than the average hobbyist is willing to spend. You can build your own CNC with very basic tools, little knowledge of machinery, mechanics, or electronics, but be warned, these machines are inherently dangerous, so wear the proper protection and use common sense. At the very least, read the instructions and precautions on every tool you use.
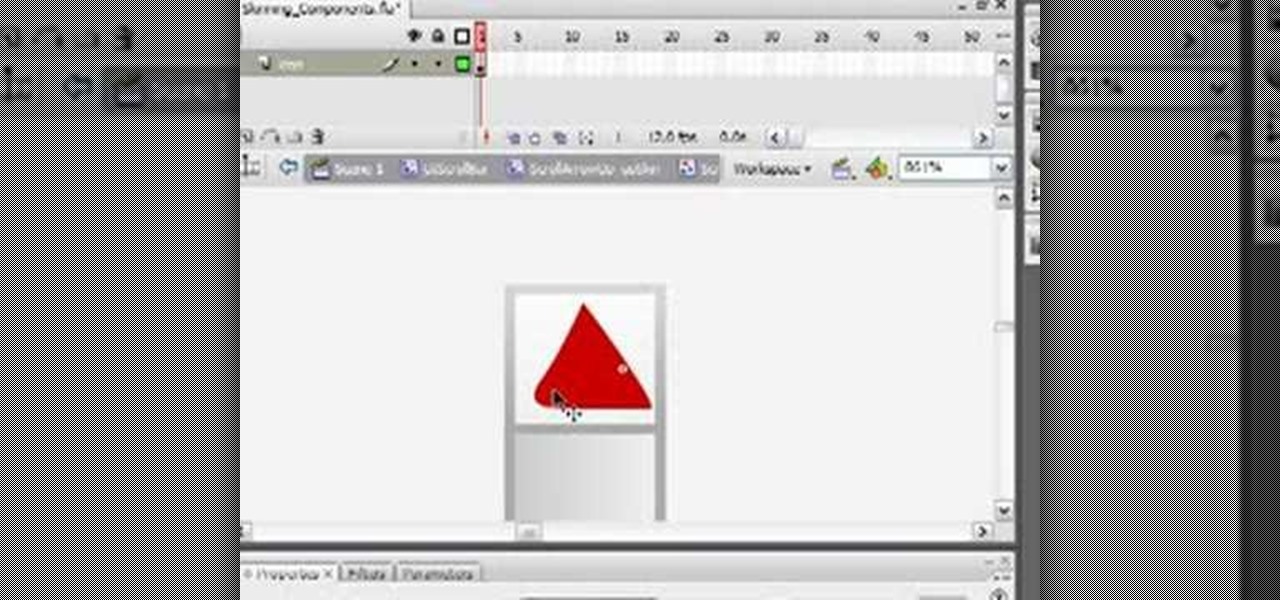
This video illustrates to create the skin components in Flash CS3. The procedure to create the skin components are, If you set an FLA to export for Action Script 1, or Action Script 2, the components panel will automatically refresh with the components that you are familiar with from Flash 8 Professional. If you change the file to export for ActionScript 3.0, you will see the new components. Flash will always show you all the components that you are able to use given your export target. In Fl...
Take a look at this instructional video and learn about the basics and functions of components in Google SketchUp. The difference between components and groups being that groups have no relation to each other. Any of copy of a group is a completely separate entity. This tutorial covers components versus groups, how to edit components, and the component browser.
Alright MacGyver, for this week's assignment, you're going to need a picture of a chair, and SketchUp. And maybe some duct tape. We're going to show you how to use Photo Match to create a chair component from a digital image in this SketchUp software tutorial. It's one thing to use Photo Match in SketchUp to adjust perspective with buildings, but you can also use it to work with components, as you'll learn in this video.
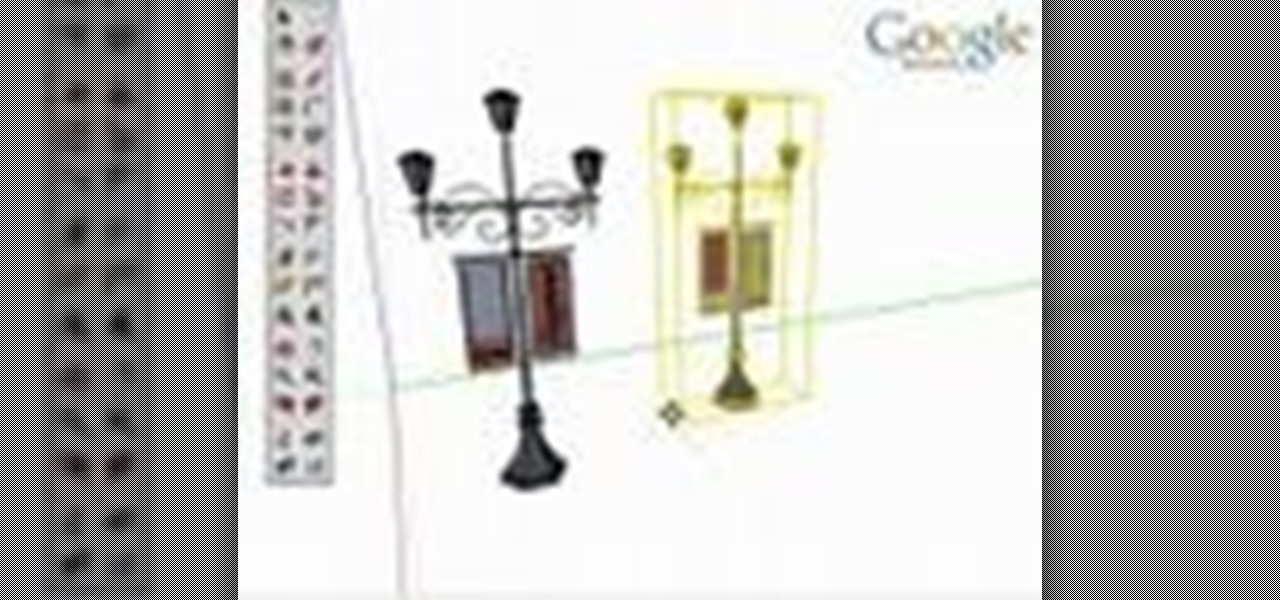
This tutorial shows you a few ways to use images to make custom face me components in Google SketchUp 6. Mike demonstrates how to make your own custom Face Me components in SketchUp, using some pretty funny pictures. You will need Photoshop or some soft or image editing software as well as SketchUp to follow this Face Me tutorial.
Create your own loader component to incorporate into your Flash-based website or other Flash application. This component will increase the ability for users to interact dynamically with your website and create more user-friendly content. This tutorial shows you how you can work with the UI loader component using Adobe Flash
Jewelry wire components are quick to make at home, not to mention cheaper and more customized. To make a wire component for jewelry, you'll need practice wire jewelry, a flush cutter, fine step jaw pliers, nylon jaw pliers, and a jewelery making jig with metal pegs. Learn how to make wire components by watching this video jewelry-making tutorial.
In this two-part soldering tip video brought to you by BEST, Inc. Norman Mier demonstrates the placing of a J-leaded component on a PLCC circuit board using lead-free solder.
With any continuously active software, it can start to become fairly complex after a few years of updates. New features and revisions both get layered into a thick mesh of menu systems and controls that even pro users can get bewildered by. If you are new to a certain application after it has been around for many years, it can be downright intimidating to know where to begin.
Alright, calm down and take a breath! I know the object creation chapter was a lot of code. I will give you all a slight reprieve; this section should be a nice and simple, at least in comparison.
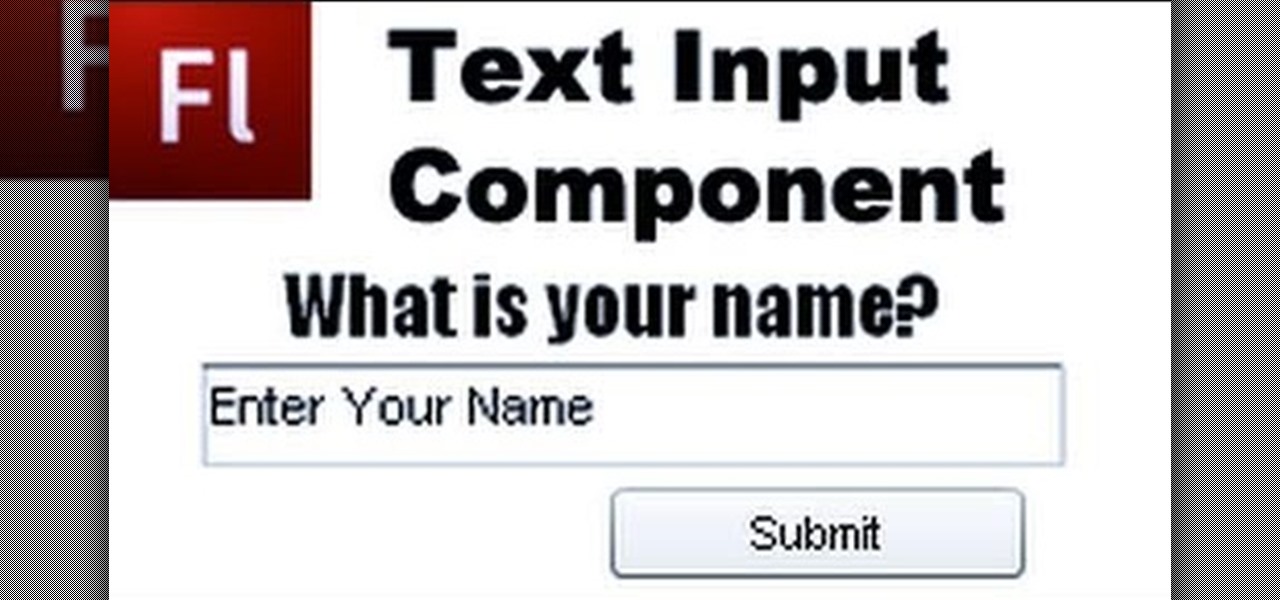
Add extra interactivity to your website by incorporating the Text Input component. This tutorial shows you how to build your own component and customize it for your website's needs. Text input allows your users to interact with the website by typing in information - like names or email addreses.
The Numeric Stepper component in Adobe Flash CS 4 is a small but very useful feature which allows users to select any number in a particular quantity - such as giving a birthday or indicating how many of a particular product they want to buy. Watch this tutorial to learn how you can use the Numeric Stepper component for your own projects.
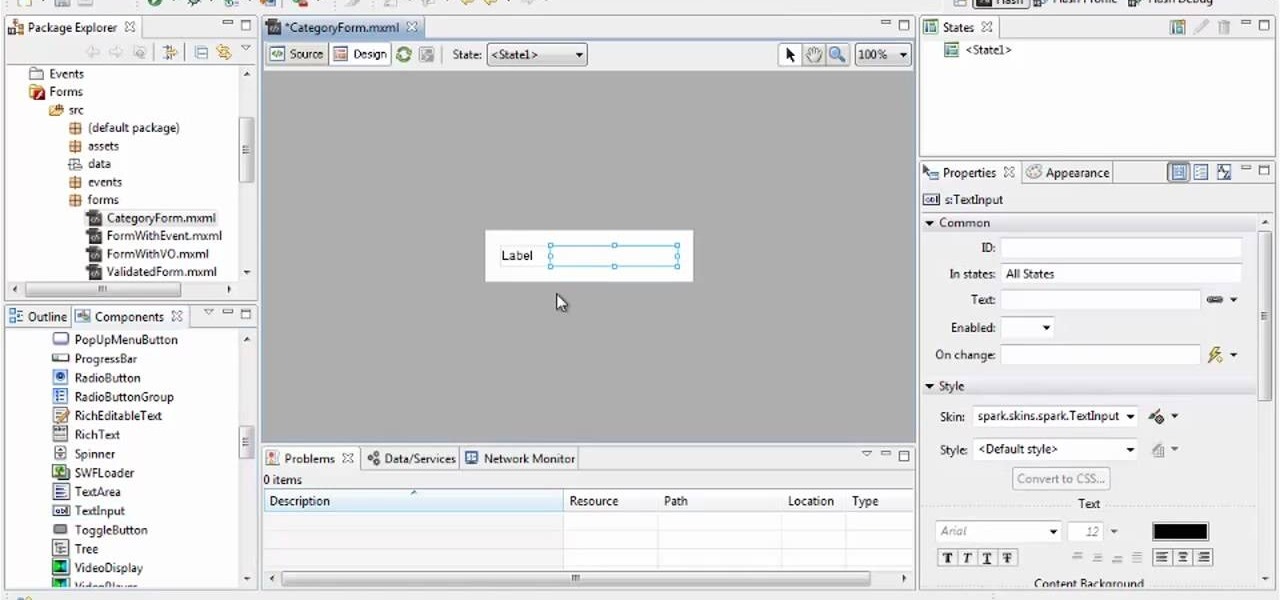
Add to the functionality and user interactivity of your website or other project constructed in Adobe Flash CS4 by incorporating the Label component. By using this component and Action Script 3, you can allow visitors or users to interact with graphics and images on your website.
Use ActionScript 3 and Adobe Flash CS3 to add in a slider component to the website or project you're building in Flash. A slider component can allow users to do things like change the size of animations on your website.
A numeric stepper component is one which you can add to your website to allow users to select numbers or from a list of avaiable items - useful, for instance, if you wanted a webstore which allowed for a quantity function. This Adobe Flash CS3 tutorial shows you how to create and use a numeric stepper component.
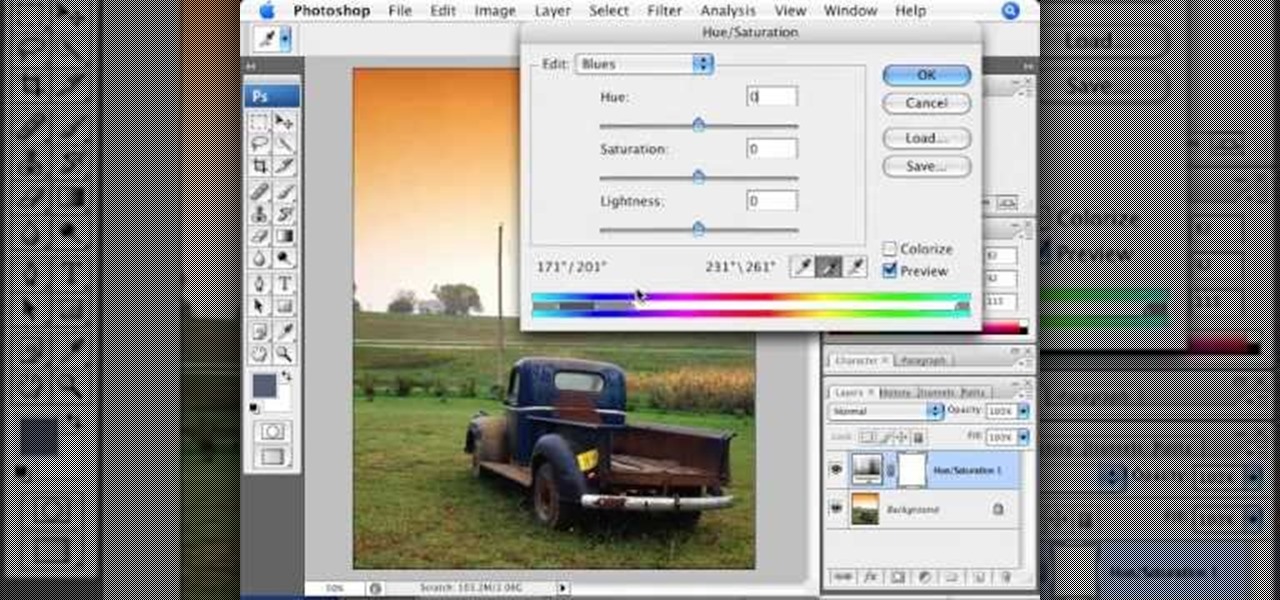
Adjusting the color of specific objects within your images in Photoshop is crucial. Sometimes fine tuning the color of just one component in an image is required. While an image may be adjusted globally at once, this approach lacks flexibility. This tutorial will show you the proper steps from the creation of an adjustment layer to the appropriate and functional calibration of the hue and saturation options. Get the most out of these tools and maximize your productivity in Photoshop.
We're still weeks away from a probably HoloLens 2 release, but Microsoft's immersive computing team is still hard at work on other aspects of its "mixed reality" ecosystem.
This video describes how to take apart a first generation iPod. To open the iPod, the video recommends using a putty knife or similar flat tool to gently ply open the casing. The presenter recommends being especially careful if this is the first time opening the casing. Once you have the first side open slightly wide work your way around the casing, making sure the entire casing is spread evenly around. Once all the sides are loose, the back casing just slides off. There are then two componen...
Check out this two-part video tutorial on learning some components and polyprimitives of vertices in Autodesk Maya 8.5. You'll get the best info on geometry for 3D animation in this 3D modeling video. See how to scale, rotate, and move vertices of your built animated character in Maya.
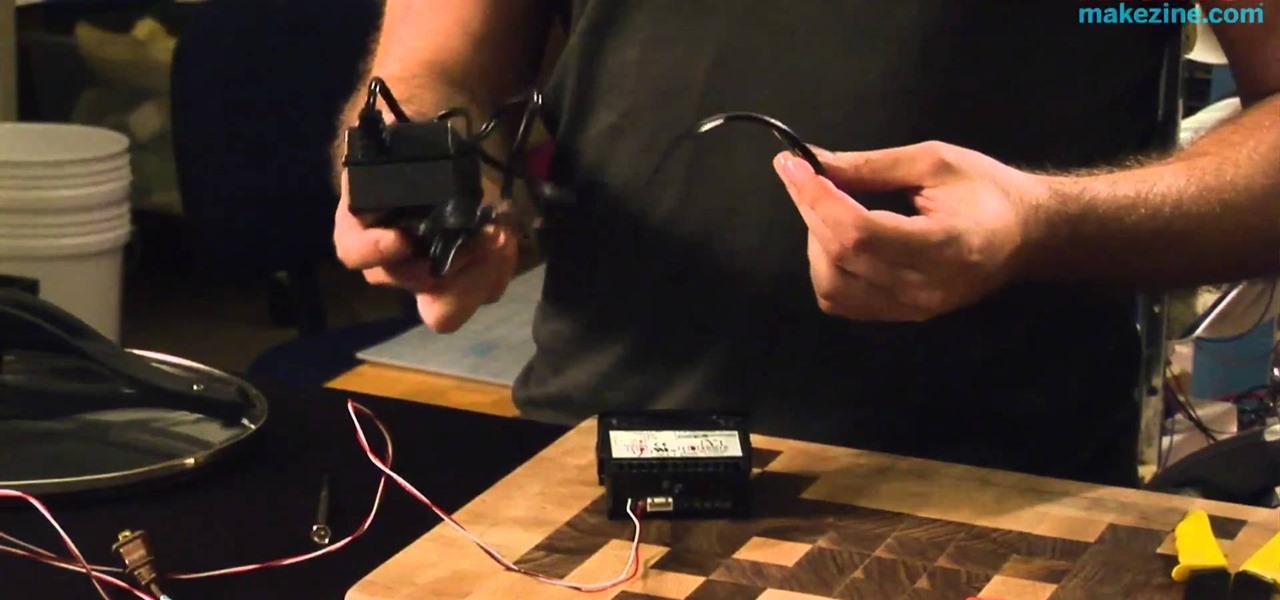
Sous vide, or ultra-low temperature poaching, is transformed into a safe and precise science when you create your own rig in this informative video from Cooking With Geeks entrepreneur Jeff Potter. The essential components of this cooking device are a slow cooker, a thermocouple and a temperature controller. Watch the video to see these components combine into a DiY sous vide rig.
Need a little bit of help figuring out how to build custom data entry form components in Flash Builder 4? This clip will show you what to do. Whether you're new to Adobe's popular Flash IDE (previously titled Adobe Flex Builder) or simply wish to become better acquainted with the program, you're sure to find benefit in this free video software tutorial. For more information, including specific, step-by-step instructions, take a look.
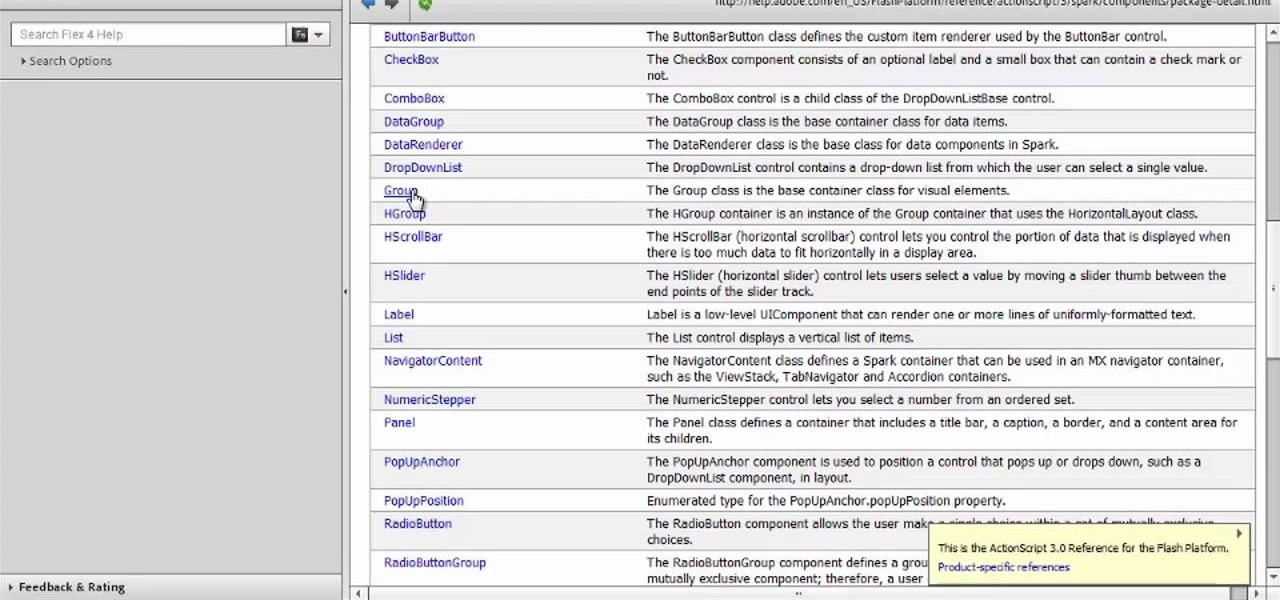
Need an introduction to Adobe Flash Builder 4's Spark component framework? This clip provides just that. Whether you're new to Adobe's popular Flash IDE (previously titled Adobe Flex Builder) or simply wish to become better acquainted with the program, you're sure to find benefit in this free video software tutorial. For more information, including specific, step-by-step instructions, take a look.
In this soldering tip video brought to you by BEST, Inc. Norman Mier certified master instructor for Soldering Skills demonstrates removal of solder bridges on gull wing leading components.
In this soldering tip video brought to you by BEST, Inc. Norman Mier demonstrates the installation & soldering of SOIC14 gull wing lead component using a point-to-point soldering technique.
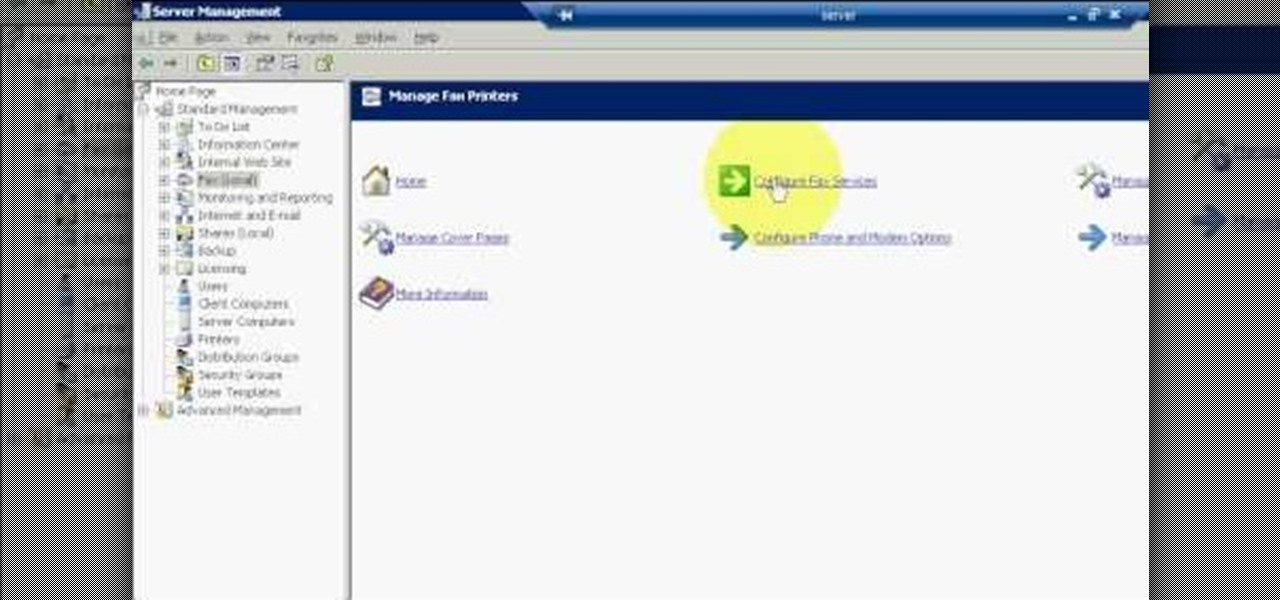
The first step to create a fax using Outlook 2003 and 2003 server. Using add/remove windows component make sure your fax equipment is properly installed. Under the start menu select the printers and fax option and select the share option. Then under administrator tools/users/new/users/fax to enter your password to turn our fax information transfer on. You must now select fax user and select advanced settings and double check to make sure the fax is able to see the object it needs to send the ...
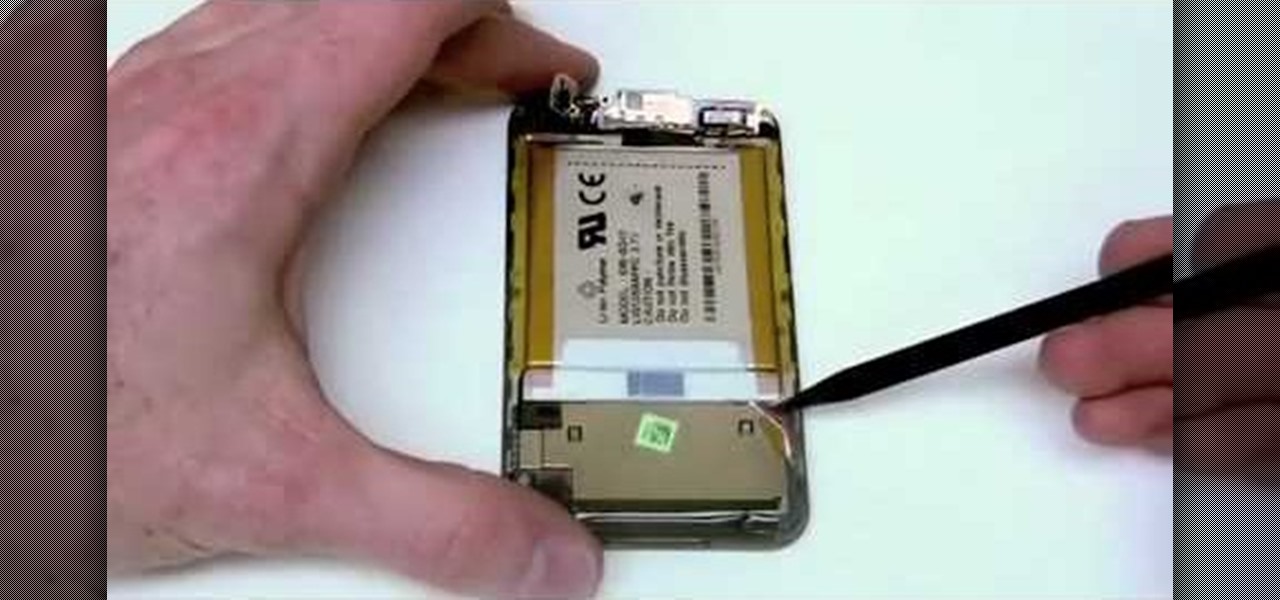
This video teaches you how to replace a LCD screen for the 5th generation iPod. The tools you will need are a soft cloth, a mini screwdriver, a plastic or metal putty knife, and of course your iPod. First, pry your iPod open with your putty knife. Place the knife in between the metal base and white case and pull the knife around the iPod, to undo the clips holding the case together. Once open, lift up the hardware, remove the headphone assembly, and take out the screws on the side. Take the e...
In this how-to video, you will learn how to dismantle an 80GB Microsoft Zune and remove the hard drive. You will first remove the cap at the end. Remove the screws at the bottom. Next, unclip the sides, top, and bottom of the Zune. You can use a prying tool to help you with this. Do this slowly, as you might damage the Zune. Once you can remove the back cover, you will have access to the internal parts of the mp3 player. Remove the tape holding the components together. Next, remove the screws...