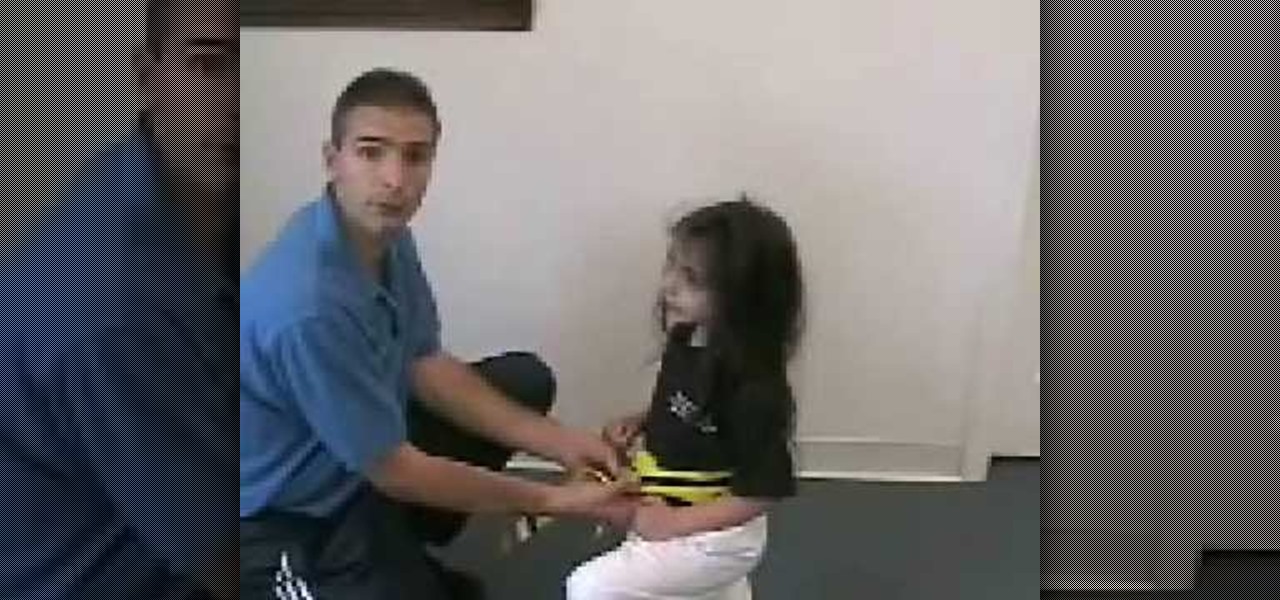
In this how-to video, Mark Denino will show you how to tie a karate belt tightly and safely onto a child. Have the child kneel down for you to tie the belt on. Unfold the belt and hold the middle. Place that section around the belly and wrap the ends around. Cross the ends over and pull one end under both strands. Take the other end cross them over. This will create a knot. Pull tightly so that it fits snugly on the child. Make sure the ends are about the same length. Viewing this video will ...
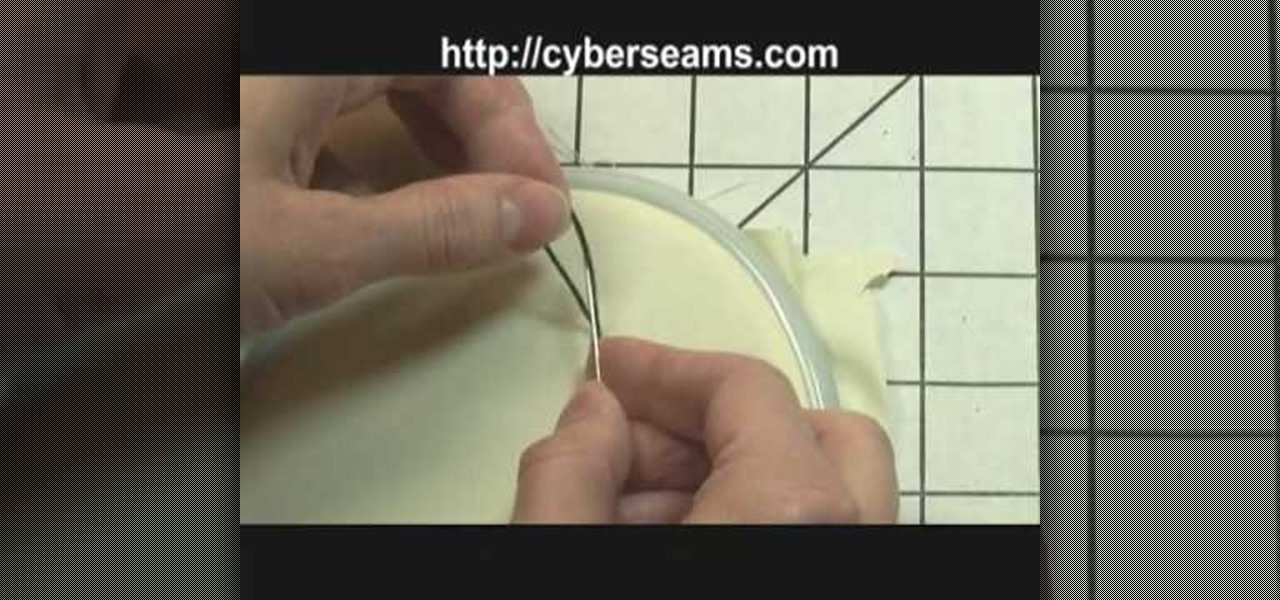
In this video, we learn how to tie off when sewing by hand. First you want to sew your fabric and complete your desired project. Next, you will push the needle into the bottom of the fabric where you won't be able to see the tie off from the front. Now, loop the thread and push the needle with thread through it, before you finish, push the needle through one more loop. Now, pull tightly until there is a tight knot at the bottom of the thread. Now, take your scissors and cut tightly next to th...
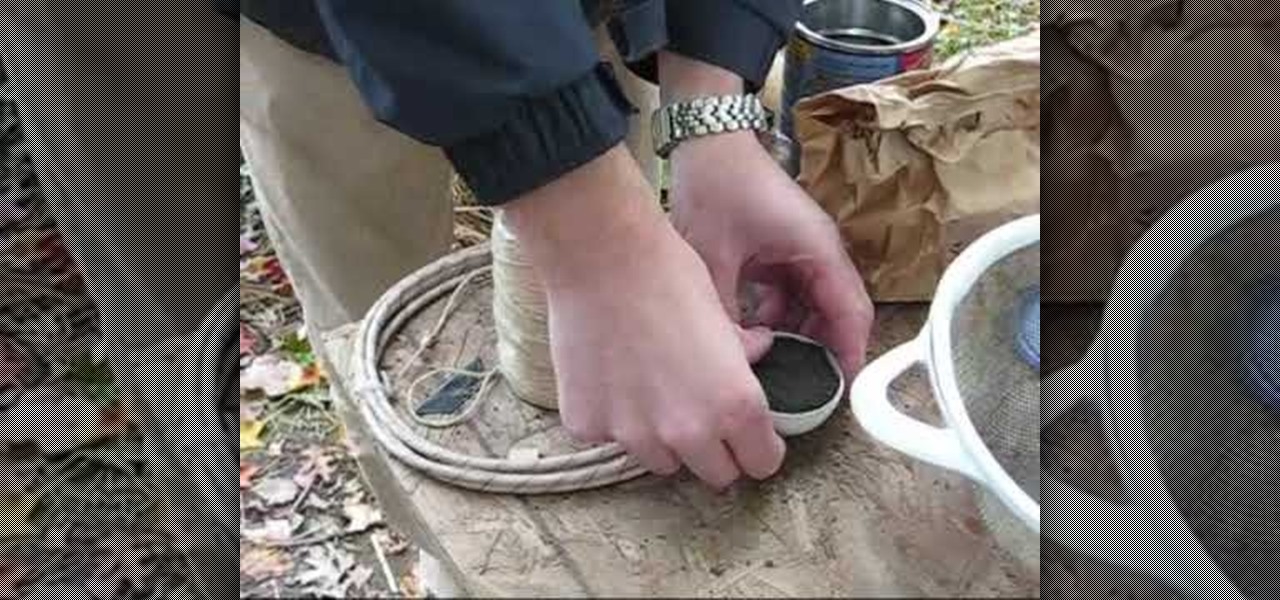
In this tutorial, we learn how to build bar shells and other explosives. First, you will need to pack up the explosives into a container tightly. Then, you will need to wrap it up inside of string tightly and tie it shut tightly. Apply a piece of thick paper over the explosive and then tie it shut again. Once you are finished, you can place all of these inside of a large tub and carry out to use as explosives. Make sure to do this carefully and don't light these when you are close to them, or...
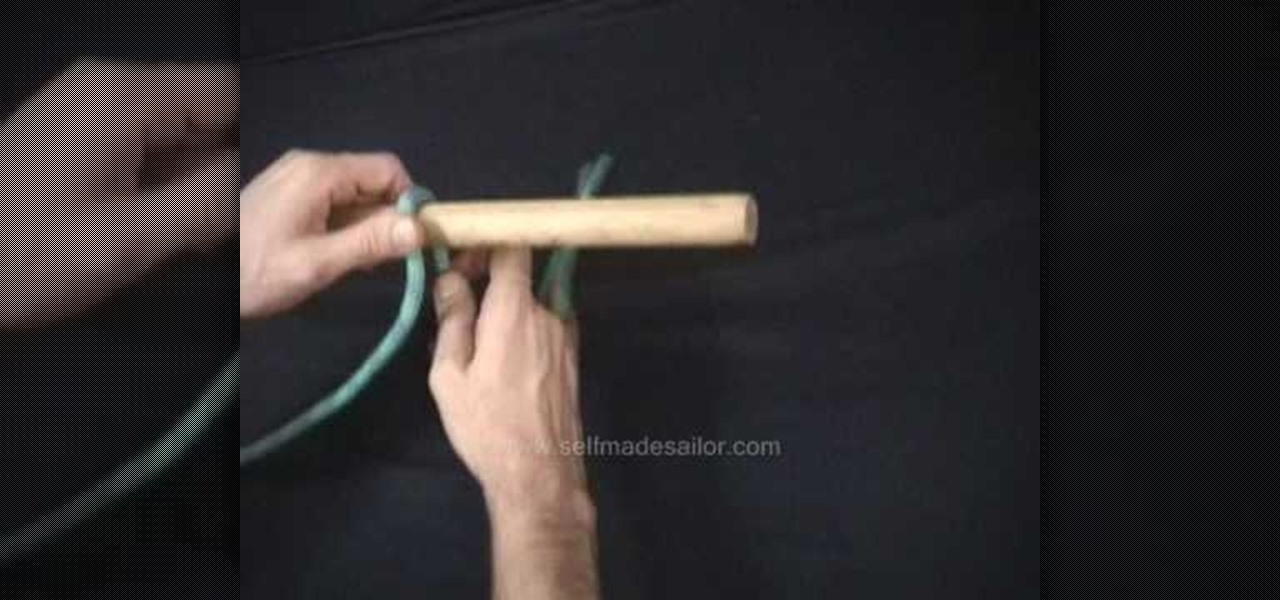
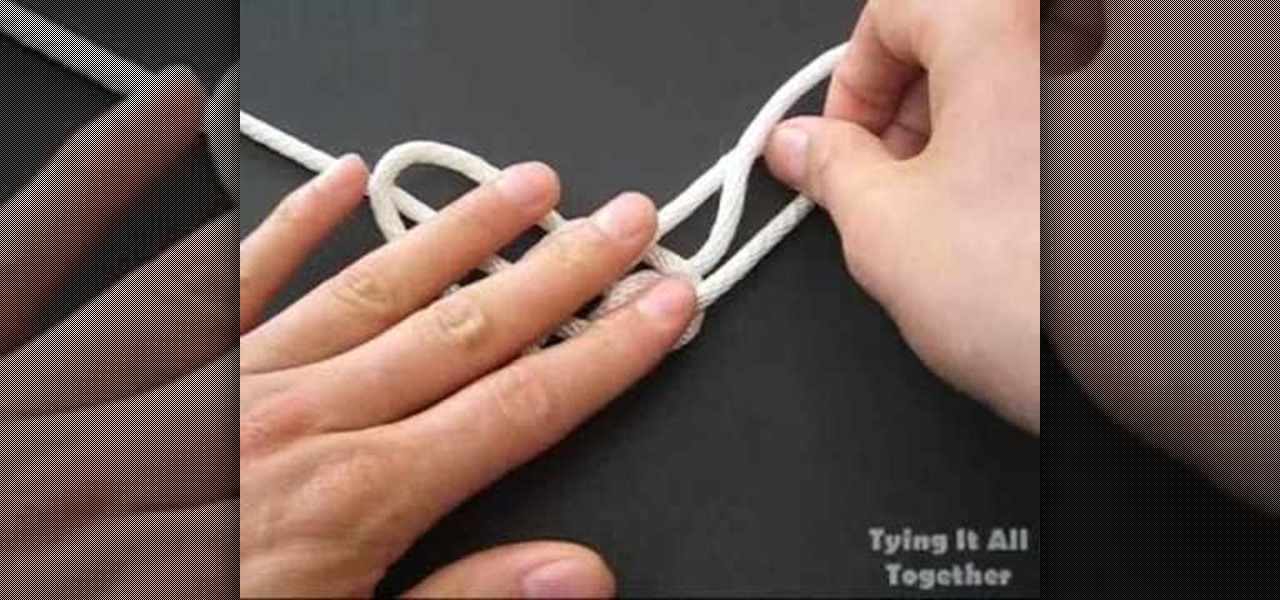
Learn how to tie a Constrictor Hitch - a great knot for tying a binding or bundle. It holds incredibly tightly and can be slipped for easy untying. This is a good knot for sailing, boating, general outdoors and even bondage.
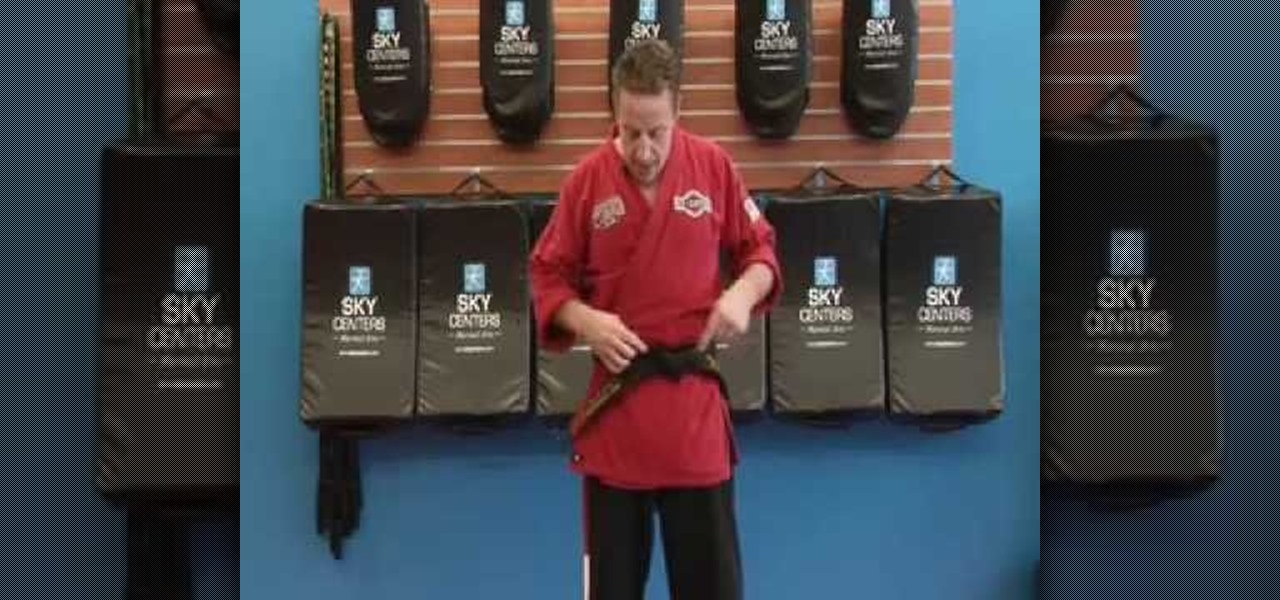
To tie your karate belt tightly and efficiently you only need to follow a few simple steps. First, find the center of the belt; do this by putting the two ends together. Put the center on your belly button, and wrap completely around yourself, now finding the two ends in front of you. Bring the left end over the right, and grab both pieces with your left hand. Now tuck the left end under. From there, place the right side over the left. Now take the bottom flap and wrap it around the right pie...
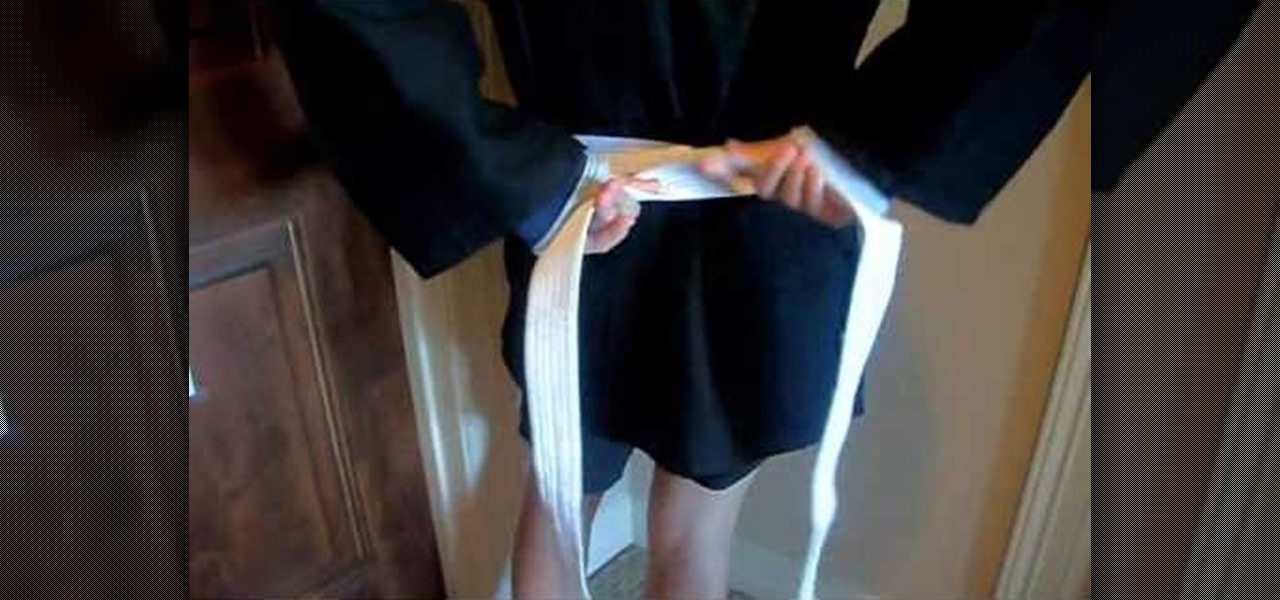
This video demonstrates how to tie a karate belt in a proper manner. Take the belt and fold it in half. Place the fold in the middle part of your abdomen where you need the knot. Cross the ends of the belt behind your back. The end in your right hand should be on the top and tuck in the end in the left hand underneath till the front. Take the end on the top and tuck beneath the belt, bottom to top on the other side. Pull the ends tightly, the two ends should be of almost equal length. Cross t...

In this video, we learn how to tie a tie in ten easy steps. First, you will need to put the tie on and put the wide end in your right hand and the thin end in your left hand. After this, place the wide end over the top of the narrow, then put the wide end back over top the narrow end. Next, put the wide end through the loop made with the tie and your neck. After this, put the wide side through the front loop of the knot and pull the wide end down tightly. After this, hold the knot and pull th...
In this tutorial, we learn how to tie dye an oval style shape. Start with a square piece of a shirt that is damp, then fold it in half. Then fold it in half again, then in half again. After this, fold the shirt accordion style, paying attention to where the main corner of the shirt is. Once finished folding, tie two knots in the bottom, then fold the fabric up until you reach the ties. Now, tie or secure this bundle tightly with rubber bands. Apply your favorite colors of die on the shirt, ge...
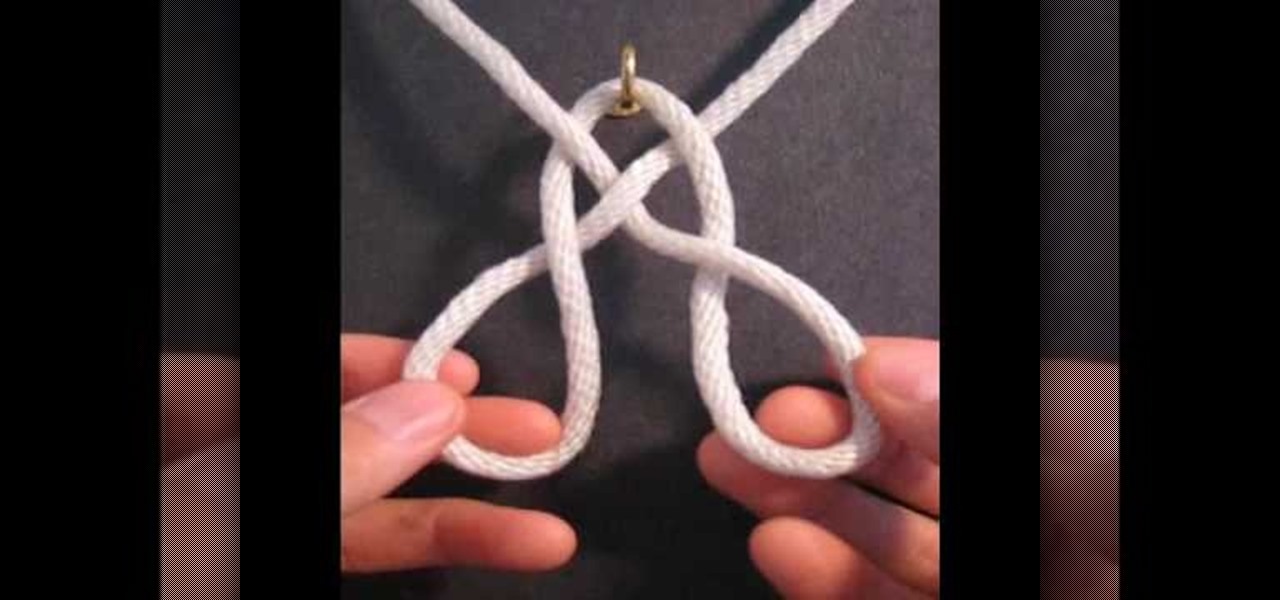
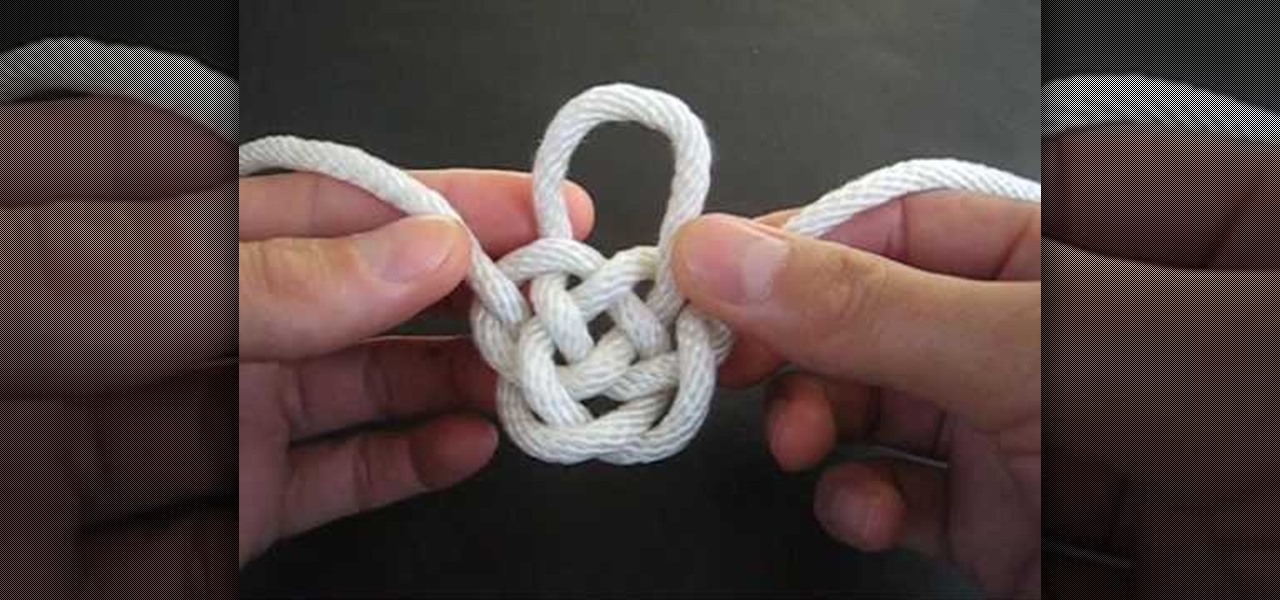
In this tutorial, we learn how to tie the Basket Weave decorative knot. First, hook your string to a hook, then tie a loop that is wide. After this, bring the strings to the top and make a heart shape. Now, twist the two loops on the side and twist them around each other. Now, bring the right string through the right loop and up through the left. Do this for the left string except using the opposite loops. When you are finished, pull on this tightly and release the string from the hook. Make ...
This video teaches you how to tie a blood knot which is used to tie two lines together in a very strong knot. Fly fisherman use this knot for making their own fly leaders. Wrap the right line around the left line five times. Take the end of the right line and put it in between the left wrapped line and the back of the right line. Wrap the left line around the right line five times, repeating the earlier procedure. Make sure you bring the line up through the hole that is created in front of th...
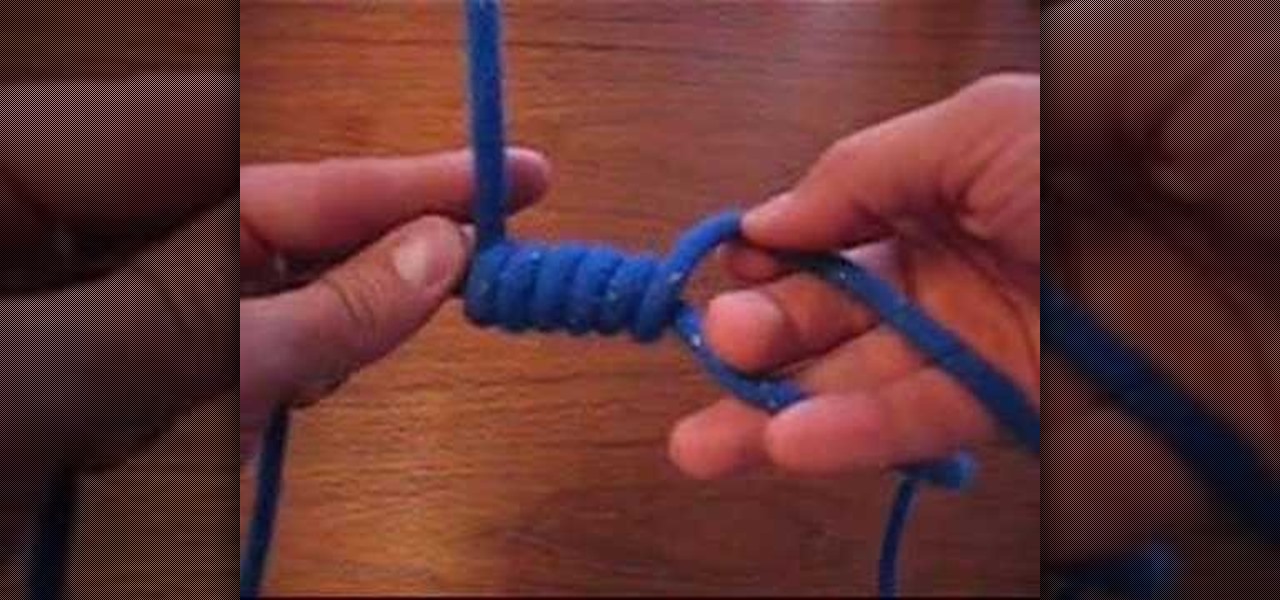
In this video, we learn how to tie a left half knot spiral for hemp jewelry. First, get two bead carriers in the center and have one strand in each hand. Then, take the left hand and place it over the bead carrier. Then, take the right hand and go over the cross section. Tie these up to the top loop tightly and then repeat doing this. This will make the spiral shape once you have created enough of the knots. As you are working it, you will have to spin it a bit in order to keep it curving rig...
In this tutorial, we will learn how to make a simple beaded hemp anklet. Start off by measuring six 34" strands of hemp. Now gather the hemp strands and tie them into a knot at the end, pulling the strands tight. Clip the end into the clipboard and start to tie your hemp strands into a braid. When you reach the bottom, tie a knot and pull tightly. Now, add wooden beads onto your anklet and keep braiding in between these on other anklets. When you are finished, you can give these to friends as...
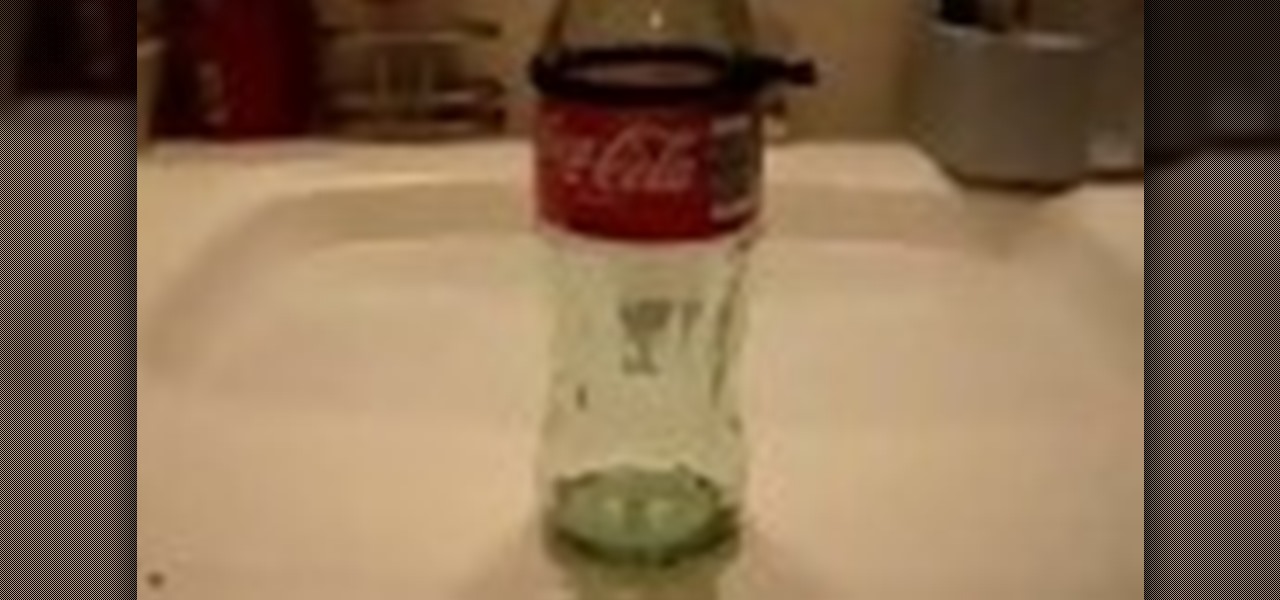
In this tutorial, Tony Vo teaches us how to cut a bottle. You will need: a glass bottle, yarn, lighter, sink of cold water, and acetone or alcohol. First, take your glass bottle and tie a piece of yarn around the part you want to cut. Wrap the yarn two times around, then tie it tie it tightly. Now, take the acetone and drop it onto the yarn until the entire piece is saturated. Next, take your lighter and burn the yarn on the bottle. As soon as the flames die down, place the bottle into a sink...
The "halyard hitch knot" is a very tidy looking knot that binds tightly under a load.
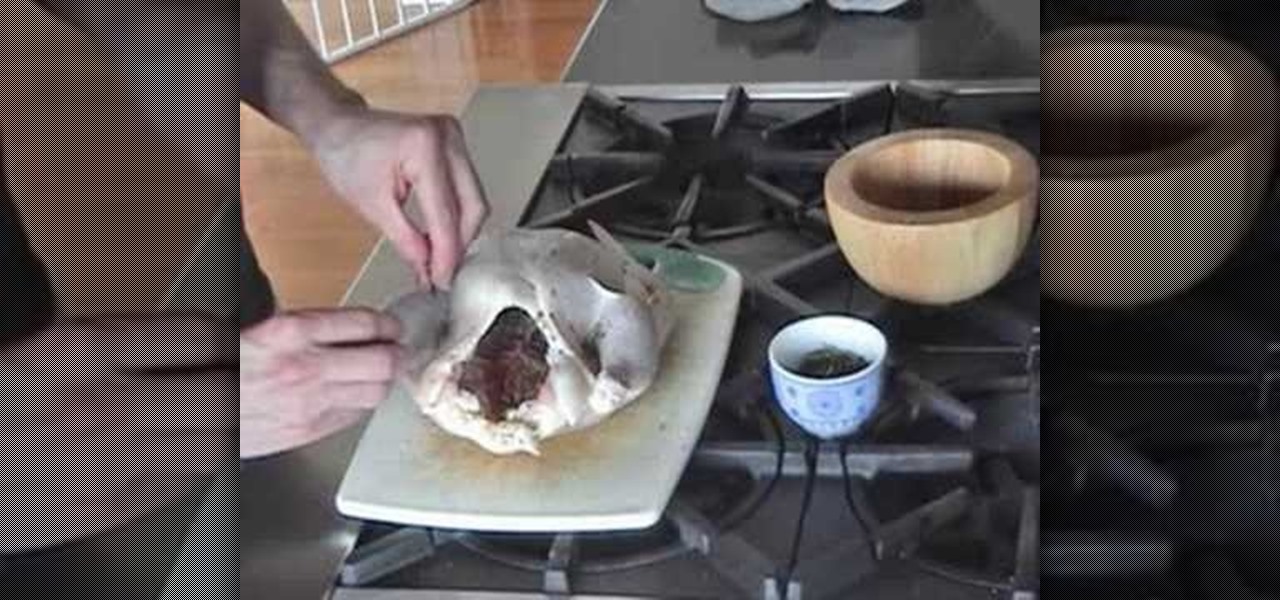
In order to make Oven Roasted Chicken, you will need the following ingredients: a whole chicken, butter or oil, salt, pepper, thyme, rosemary, and garlic.
In this tutorial, we learn how to tie the Djinn bottle decorative knot. First, make a loop on the left side of the string, then bring the other side around it and pull the top up. After this, twist the two strings underneath the bottom of the knot and push the right string through the side of it. Then, push the left string into the left side of the knot through the back. Pull on the top, then twist it into a loop and push the left string through the back, making a loop, then pushing the right...
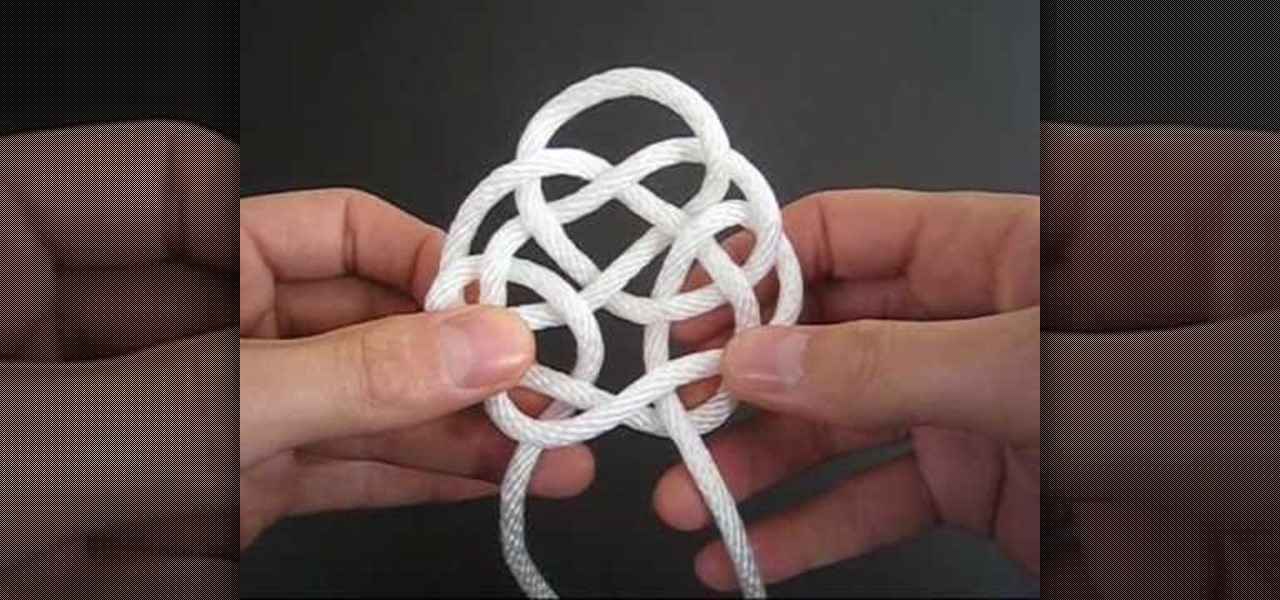
In this tutorial, we learn how to tie the rising sun decorative knot. First, loop your string on the left side, then pull the right side over the top. Now, bring the bottom of the right side over and place the end into the first loop going over the other string. Next, remove the string from the last loop it was in, then bring the right over to the right loop and push through to the bottom. Next, bring the right string over to the left side and thread through the left loop closest to it. Next,...
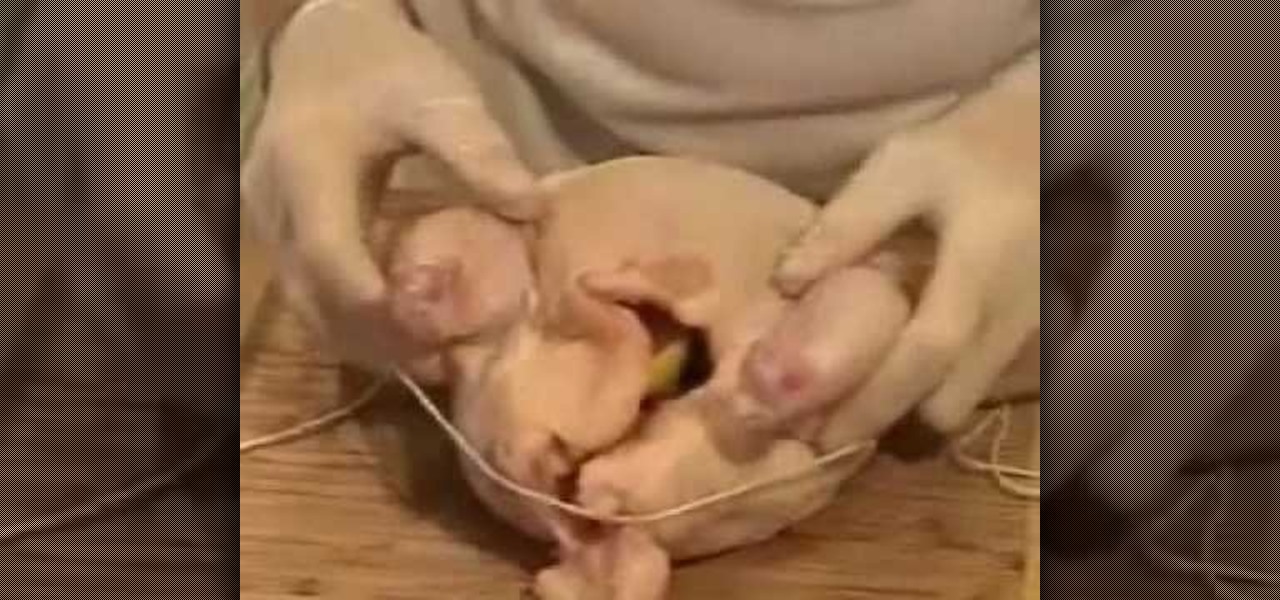
This video explains how to truss chicken. First, it is explained that trussing is the process of tying a chicken such that it is better suited for cooking. One benefit is that trussing keeps the tips of the chicken's wings from burning during the cooking process. Another benefit that is explained is that trussing a chicken allows you to stuff the cavity of the chicken with something like onion or lemon while the chicken cooks. A figure eight pattern is made around the end of the drumsticks wi...
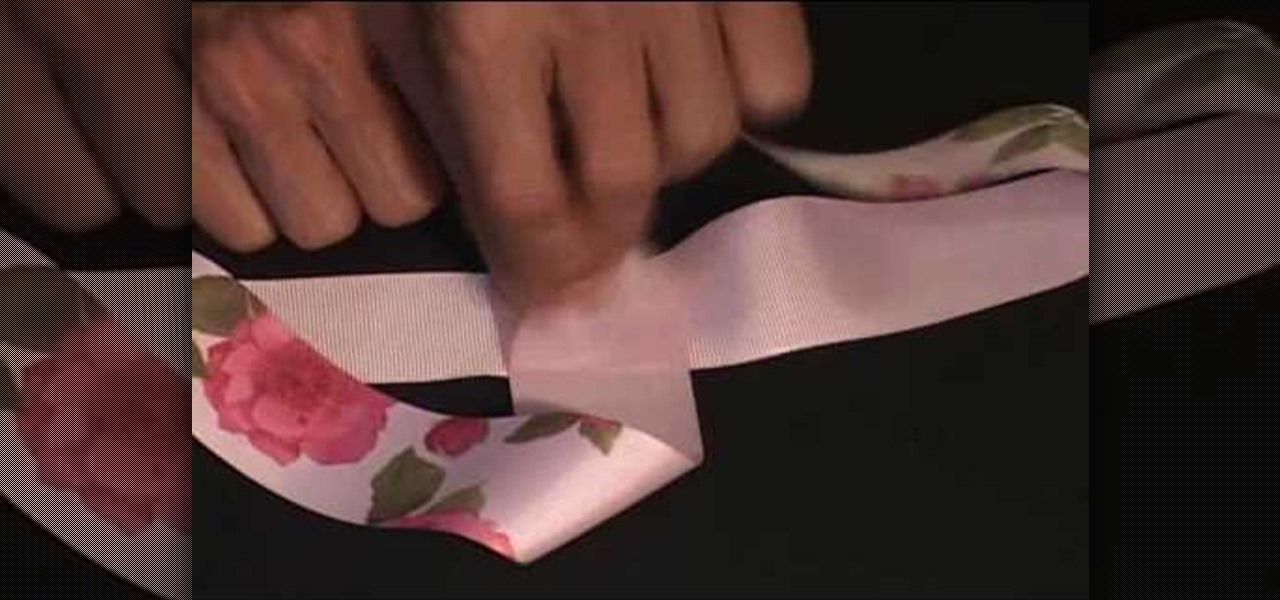
get a long piece of ribbon, put the ends together and make a crease at wear the ribbon folds, that'll be your center point. Now get one end of the ribbon, and without it flipping over, bring the end to the center of the ribbon and lay it perpendicular to the direction of the ribbon. Also bring the other end of the ribbon to the center of the ribbon but from the other direction. Hold the ribbon together using a gator clip. Obtain a piece of string or plastic strip, tie the folded ribbon tightl...
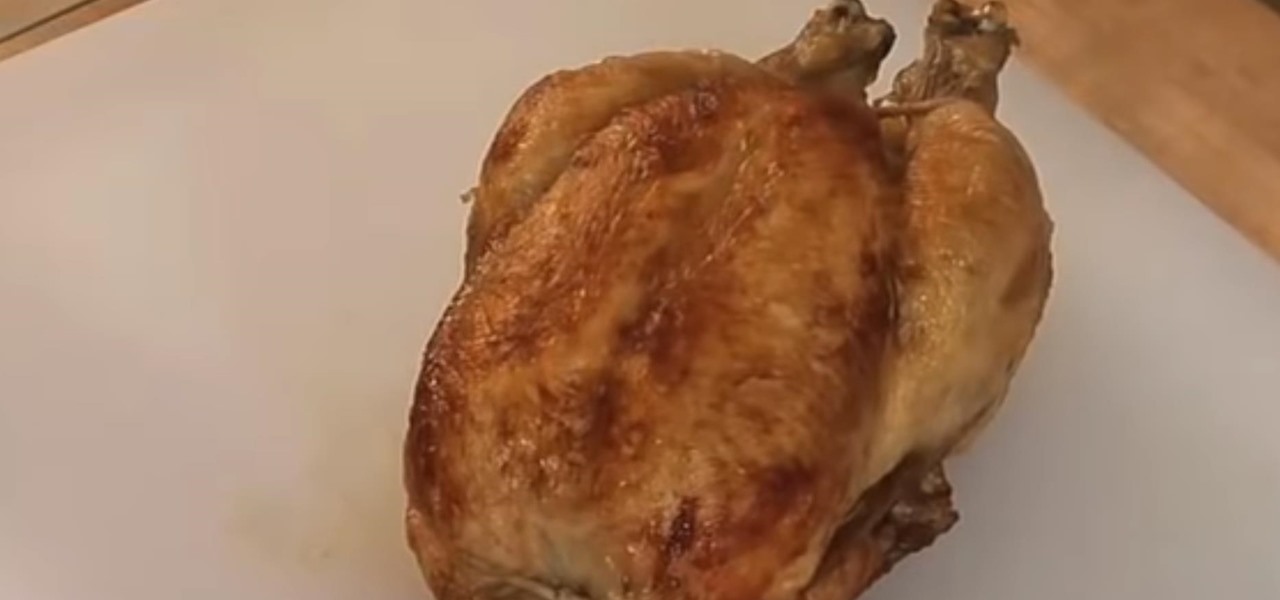
This video by Matt Wright will teach you the easy way on how to truss and roast a chicken. Matt likes his roast chicken with a lot of pepper and salt on the outside. He seasons the insides of the chicken with a generous helping of fresh chopped rosemary, coarsely ground sea salt and freshly ground black pepper. Then the joints of the chicken are rubbed with the seasoning. The chicken is trussed up by bending the wings backwards on the body and tying a string across the breast and over the win...
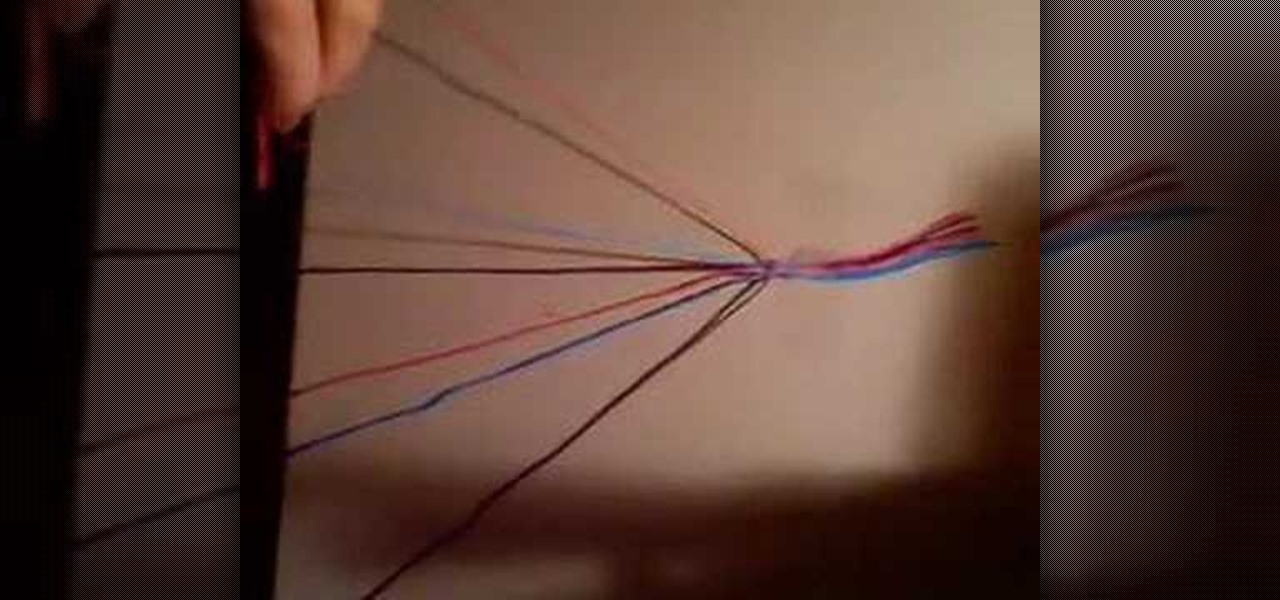
In this tutorial, we learn how to make a simple friendship bracelet. First choose three colors and then cut two strands of each 3 ft long. After this, tape the strings together at the end and tie a knot. After this, start to tie the strings, one underneath each other. Make sure after you do each color, you pull on the string tightly. As soon as you finish wit all the colors of the bracelet, continue to the bottom of the bracelet and tie it at the end. When you are ready to wear it, tie it aro...
In this video, we learn how to tie the longhorn knot. First, make a spike with your rope, then push the rope around it and through it, making a circle. Then, push the loops on the bottom down and make a pretzel shape with it. Bring the left hand side string down and pull it through the loop, then do the same with the other side. Next, pull the strings on the top up to make larger loops, then pull the string through the left loop. Now, do this to the other side of the rope as well. To finish t...
We need a pen, thread or twine, small stick or wooden skewer, and scissors to make a mini bow and arrow.
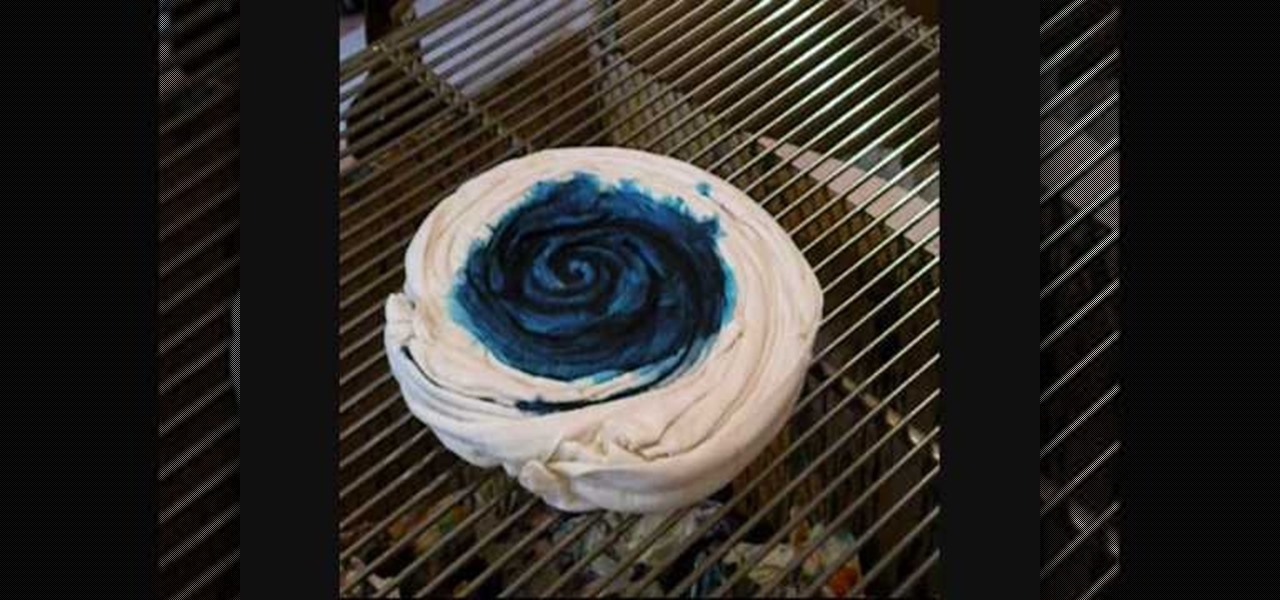
This video shows the viewers how to create a wicked spider pattern on a tie dyed shirt. Our instructor starts by demonstrating on a square piece of fabric. Start by folding your shirt in half sleeve to sleeve. Next, choose the placement of your spider design by picking the twist point, either in the center or slightly higher. Then, start twisting your fabric into a tight spiral using either your fingers or rotating around your table. After tightly tying your finished spiral, prepare your dyes...
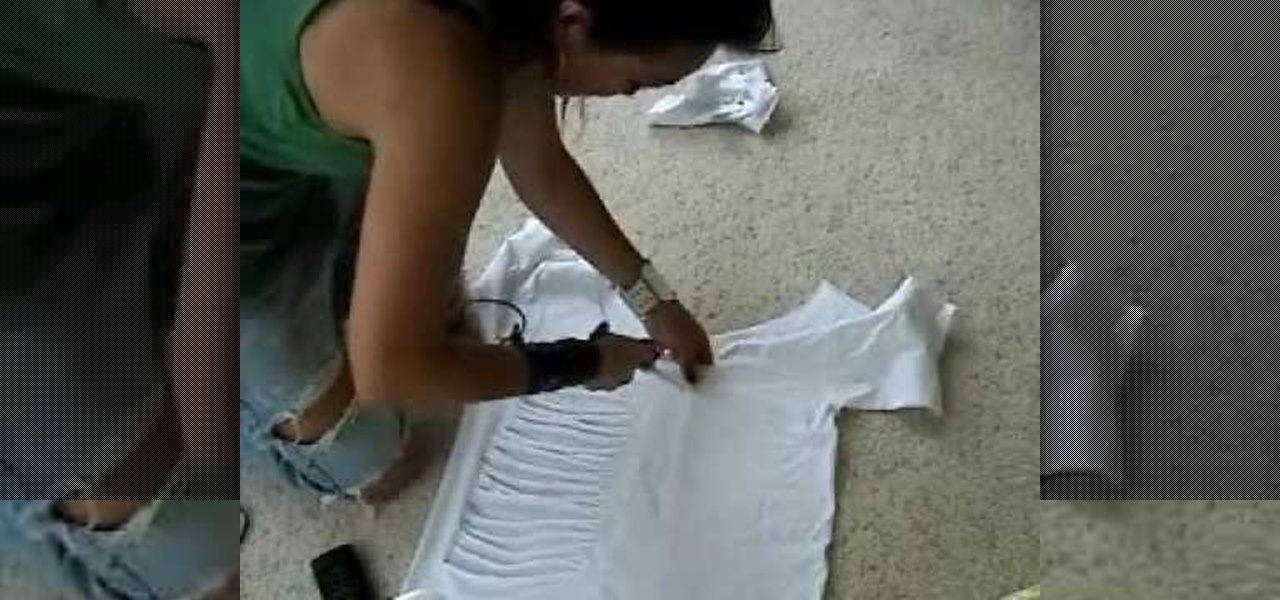
This video is a demonstration of how to cut up a T-shirt, inspired by 80's rock band fashions. Use a regular white T-shirt and start by cutting a deep scoop neck out of it, starting about an inch outside the neckband. Turn the shirt over and fold it in half Snip horizontal lines down half of the shirt all the way down. Then stretch out the thin strips. Cut the other side of the shirt the same way. Cut the sleeves off completely so it's more like a tank top. Wear the shirt over another tank to...
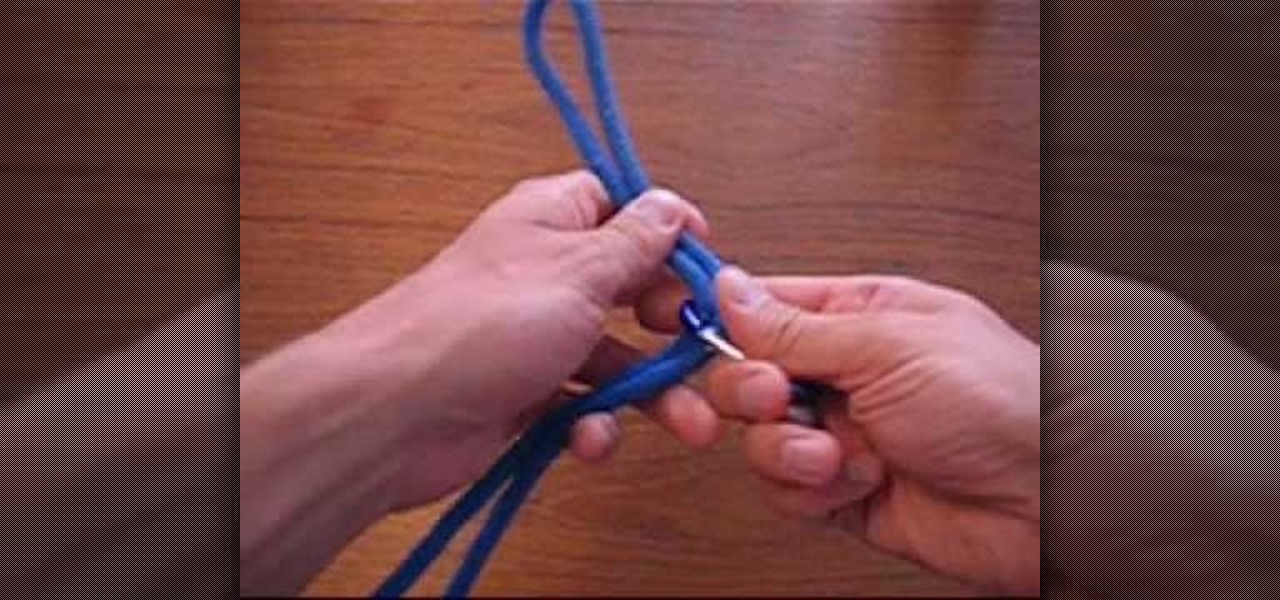
He explains how to tie a "blood knot" and what the blood knot is used for, which is joining two separated rope/string ends. He demonstrates the knot, which starts by taking the two lines and lining them up one on top of the other, so they are parallel to each other. Then, start winding one end around the other, at least 3 or 4 times. Do the same with the other loose end as well. Then, place the first end through the wound part of the two ropes where you started. You pass the other end through...
The Pin-Up Sweet Shoppe teaches how to do this cute hairstyle. Start by parting your hair down the middle and make an angled part from your ear to the back of your head. Tie all of your ponytails tightly. Combing your hair into a smooth, even ponytail, use a hair-tie the color of your hair. Clip your top ponytail to the top of your head. This will keep it out of the way while you make a second ponytail under it. You can also use a hair-tie to match whatever outfit you're wearing. Repeat on th...
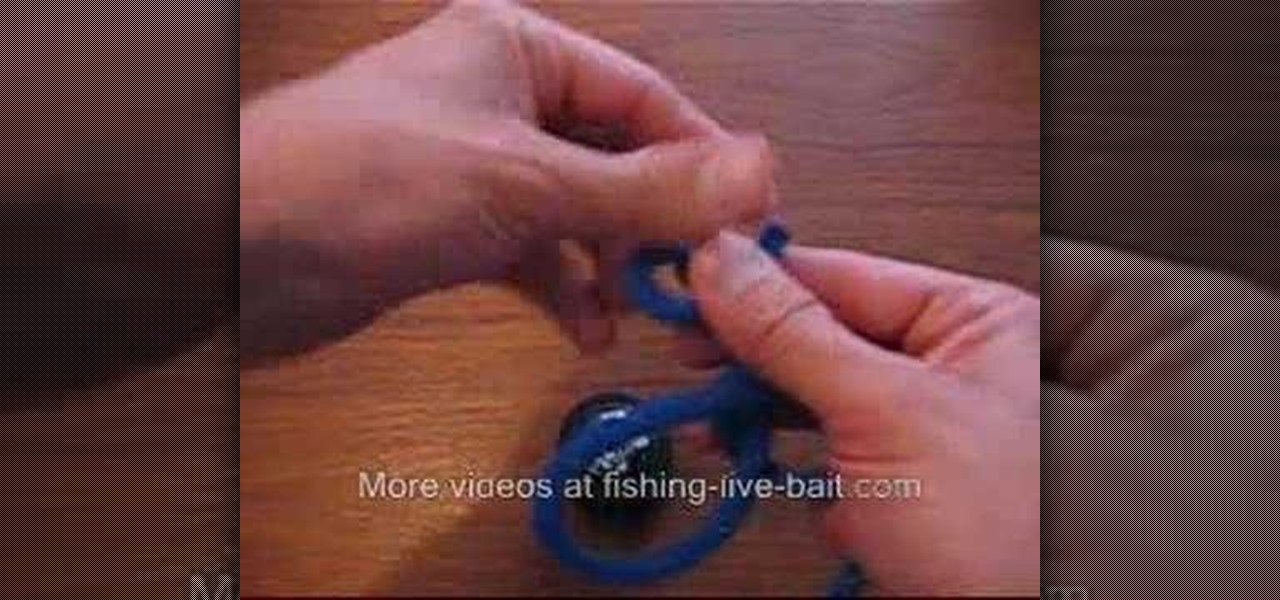
This video shows us how to tie an arbor knot for fishing. Here a blue rope is taken to explain how it is done but actually the fishing net is used to tie such knots. The rope is taken and is made a loop, and the line is made to pass through the loop to make the first knot which is actually a very basic knot. Then the rope along with the knot is wind around the reel and the line is made to pass through the knot which was previously done. But the line may come out of the knot so for that, anoth...
Use 12 inches of fishing line and a fishing hook. Make a large loop, folding the fishing line in half and put the fishing hook through it about a quarter of the way down the fishing line. Take the loop under the hook, draw it through the hole that was created. Pull to tighten. Next, take the small, loose end of the loop and place it around the fish hook. Pull the fishing hook through. Pull the end of the fishing line tightly so that the knot is firm and secure. Watch the video for more inform...
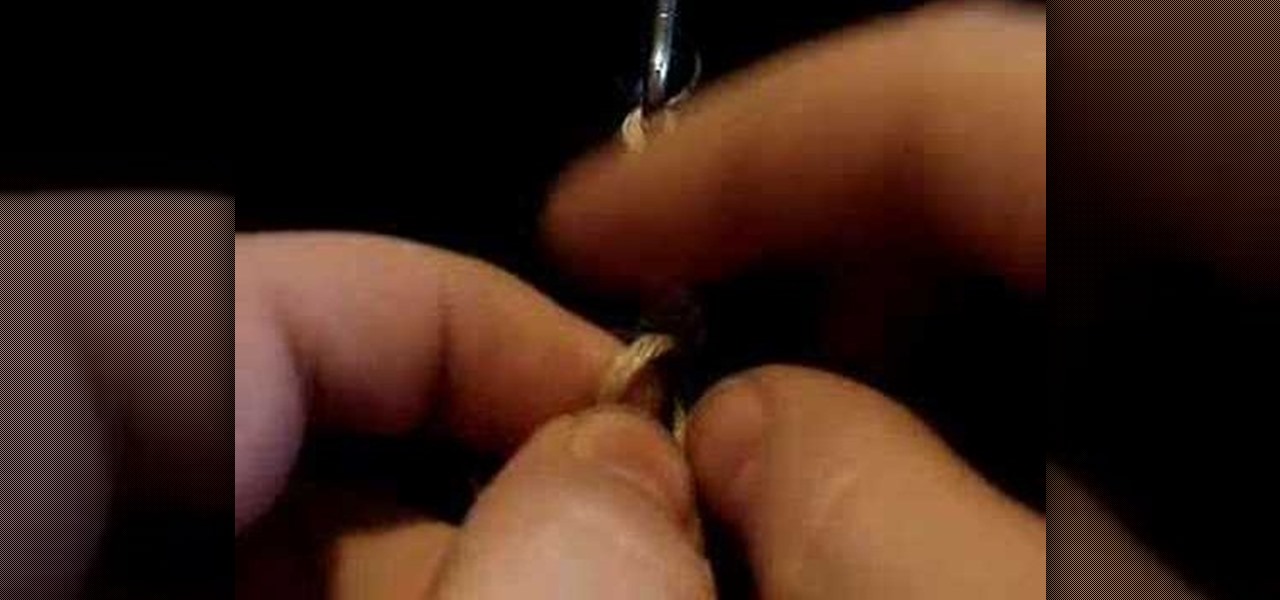
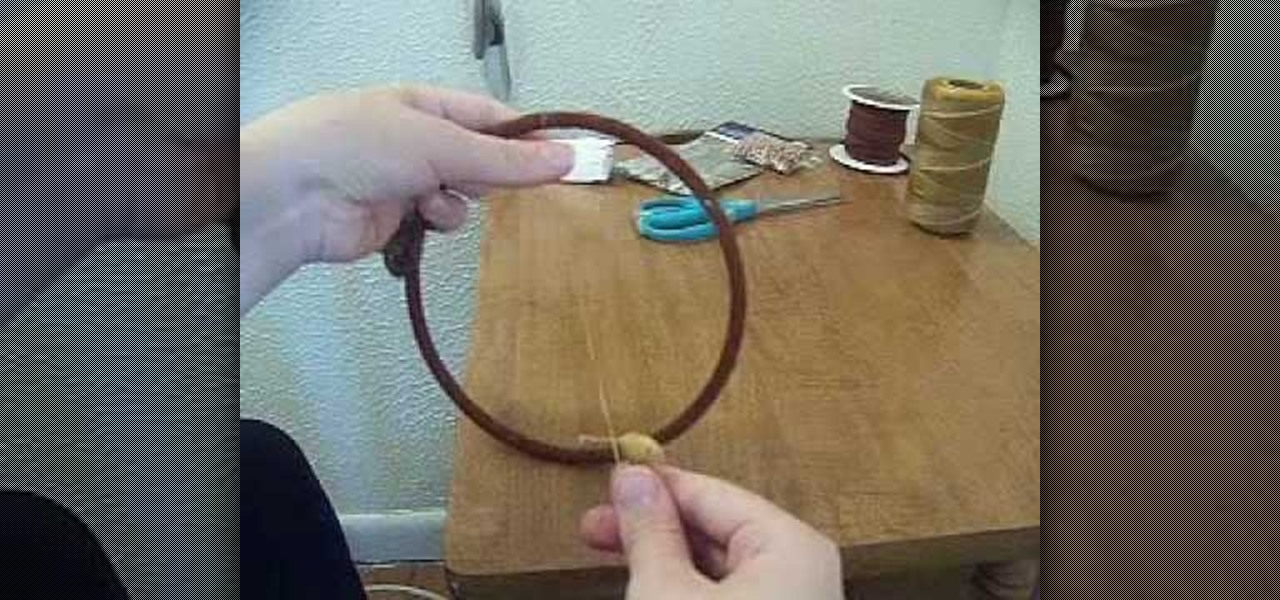
In this tutorial, we learn how to make a dream catcher. You will need: 1 metal ring, leather, sinew, decorations, scissors, and a clothes pin. First, wrap the leather tightly around the ring. Clip the clothes pin on the top so you don't have to hold it as you go around the circle. After this, remove the clothes pin and cut the leather off. Then, tie it at the bottom with a double knot. Next, measure the sinew to 3 yards, then pull it apart. You will be left with very thin strings. use a folde...
In this video, we learn the basics of Irish dance. First, you need to tie your shoes onto you tightly, then make a cross and go underneath your foot with the strings. You will see a lot of pointing with the toes when you are dancing, and you should never be able to see in between the legs. Your arms should be right by your side and not flared out. When you lift, bring the other right in front of it immediately. Another popular movement is to do a skip with a hop and a jump in between. After y...
In order to poach an egg, using plastic wrap, you will need the following: eggs, a bowl, plastic wrap, and a saucepan.
This video demonstrates how to make a funky yarn pom pom. Take a yarn of your choice that matches your scarf. Take one end of the string and start winding it not too tightly around your fingers. Leave back enough string for the pom pom for the other end. Cut the string using a pair of scissors and set it aside taking care not to mess the ball. Cut another piece of string with appropriate length that goes around the ball of string kept aside. Place the cut string over the table and place the b...
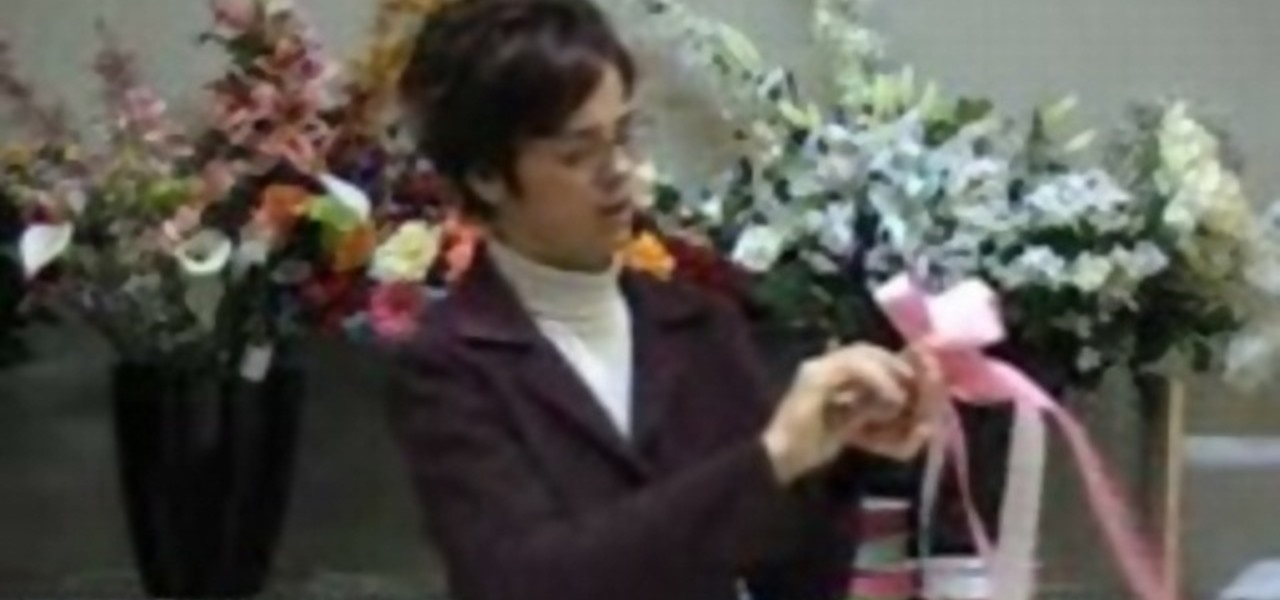
In this tutorial, we learn how to make a double bow with Sandy. First, take two satin ribbons of different colors and place one on top of the other. Leave a long tail, then make a large loop and scrunch it in. Make a loop on the top and a loop on the bottom. Each should get a half a twist and be opposite of the one you made before it. Practice with a single ribbon before you do this one. After you have six loops, create four more to make a bigger bow. When finished, you will have six large lo...
In this video, we learn how to save space while packing using 3 household items. You will need the following items: garbage bag, vacuum, and rubber band. First, fold your clothes and stack them on top of each other in a pile, then place a garbage bag around them. Now, take your rubber band and tie it around the bag, then stick the hose of the vacuum into the hole. Now, turn your vacuum on and let it suck the air out of the bag, and you will see the bag shrink within just a few minutes. Keep s...
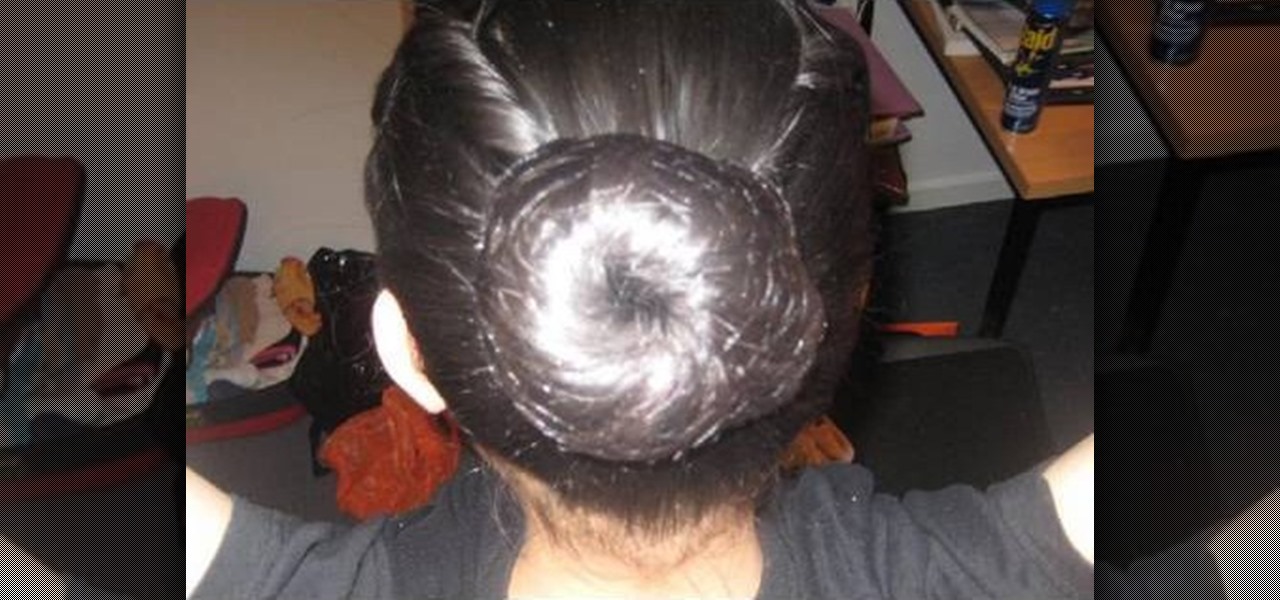
The classic French twist is incredibly elegant, and it’s so easy to do. You Will Need:
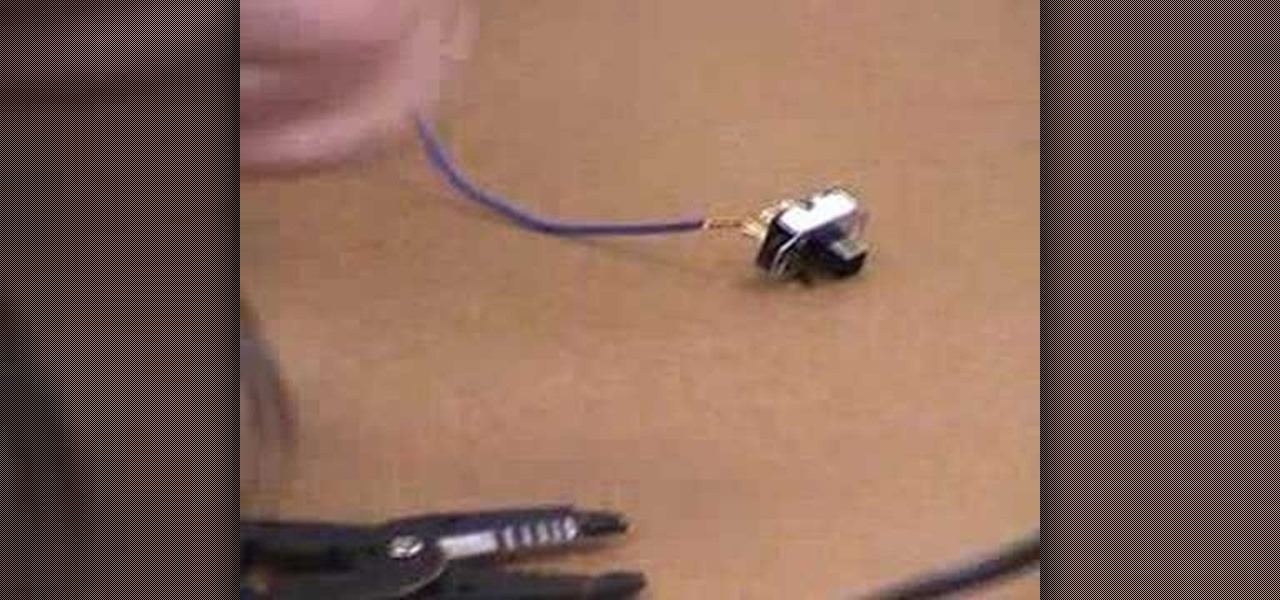
This is an instructional video featuring Doug Prime, founder of the Future Engineers Center at the University of Massachusetts Lowell. Strip the wire and make sure the wire is tied on tightly before soldering. Don't drip balls of solder. Make sure the tip is clean. Then hold it on the joint to be soldered for 4 seconds. Then poke the solder on the surface and it will melt with the heat.
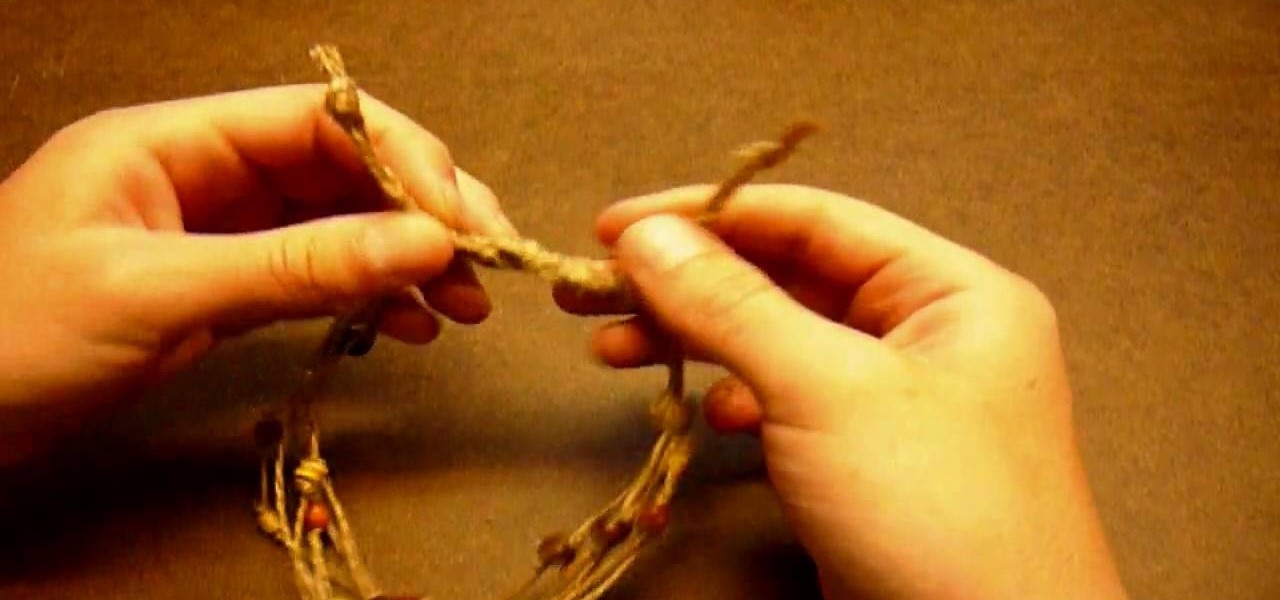
John Campbell, from azbushman, demonstrates how to make a quick bow and arrow in the wilderness by collecting natural materials and constructing them with cord. He starts by finding seep willow (also called coyote willow) that grows in clumps near rivers. He cuts ten willow sticks and ranges their lengths from about five feet down to about one foot, each a couple of inches shorter than the next.
In order to begin, you will need the following: Three hair tiesBobby pinsHair spray or spray gelRat tail combHair net
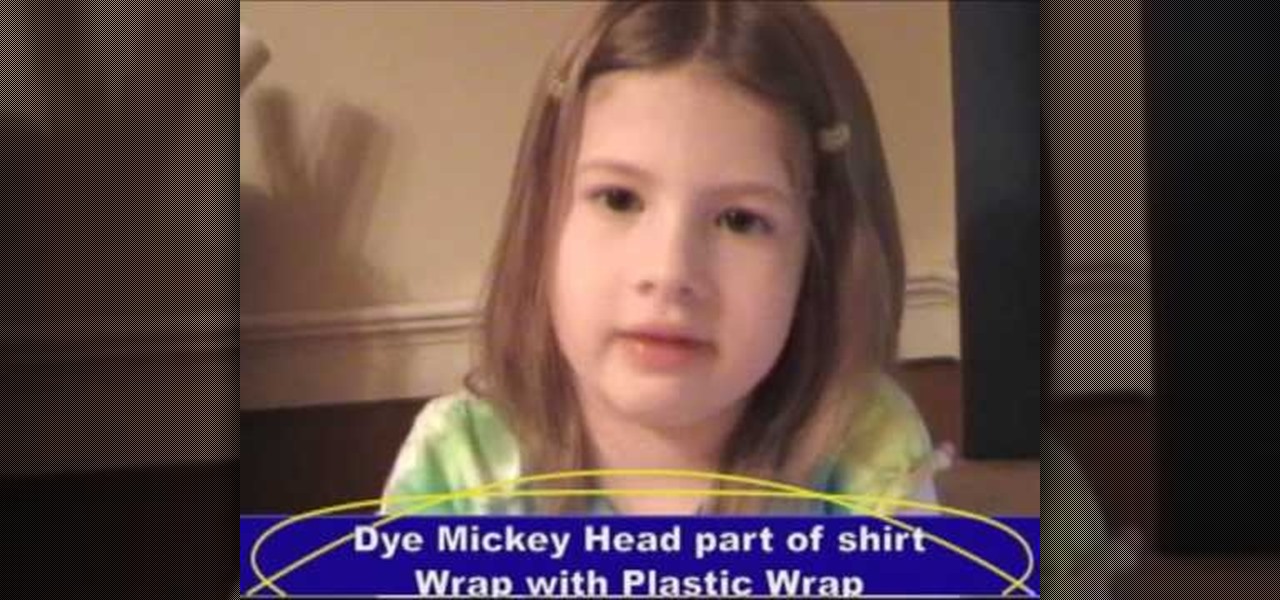
Making a Mickey Mouse tie-dye shirt is as easy as can be. First trace a Mickey mouse outline onto a plain white shirt with a pencil. Using plain dental floss and a needle, sew around the tracing you've just created. For optimal results soak the shirt in soda ash (this step is optional). On the final stitch, pull on the dental floss until Mickey's head "pops up". You will need several rubber bands for the next few steps. First tightly wrap some rubber bands around Mickey's head. Add additional...