Drawingnow.com not only shows you how to draw the moon, but also shows what could be described as, drawing everything but the moon. Since your paper is white and so is the moon you will start off by drawing your circle and adding light shading in the bottom half of your moon. Now you can start with your black marker, pastel or drawing instrument of your choice, blacking out the rest of the paper around the moon. With the rest of your page blacked out, it really accentuates your moon and almos...
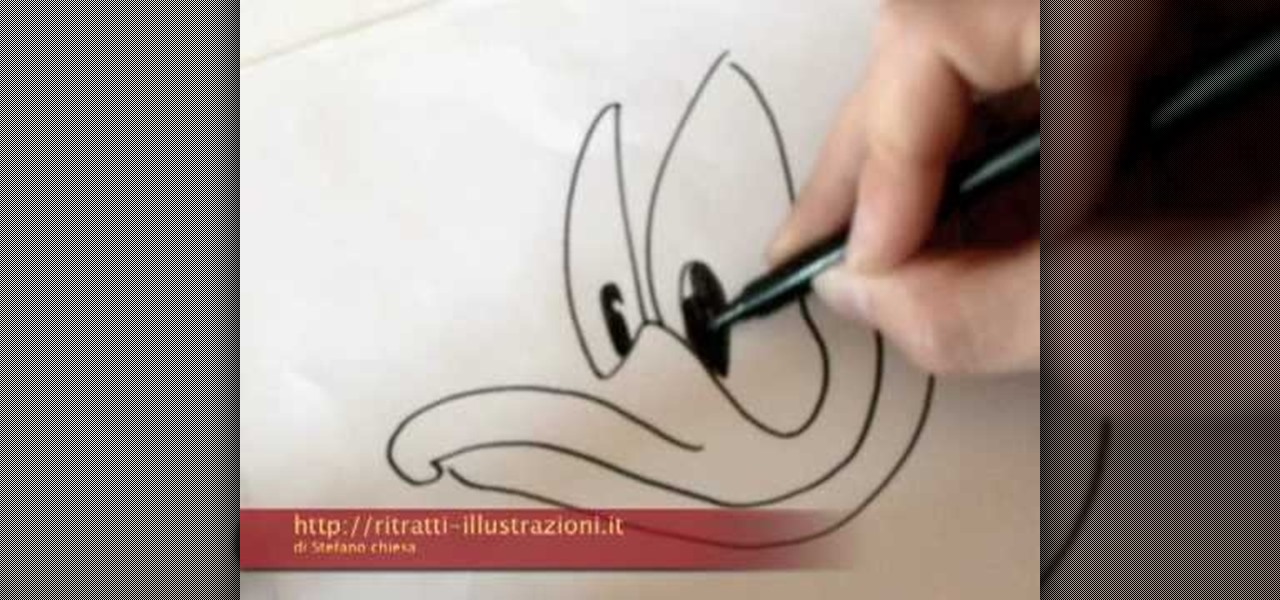
There are many types of flames you can draw, this video will show you how to draw some long, wavy flames. You can start by coping what is done and then as you recreate them you can start to create whatever style flame you would like . You might want to do the long and defined flames or a fast and sloppy overlapping flame.

Miandza teaches you how to draw a complex room. You will start with two rectangles, one smaller than the other. Also draw 3 perspective lines - one horizontal and two diagonal, meeting in the middle. After that, start creating objects and pieces of furniture. Also add walls, doors and windows, according to the perspective lines. Use a darker pencil when you're sure of the things you are drawing. Now you start working on details. Don't forget about the floor and ceiling and add details and obj...

In this tutorial, we learn how to draw the cartoon vampire character Alucard. Start out by drawing the outline of the face, along with the hat and the collar as well. Then, draw in a cross in the teeth, with just the upper teeth and fang showing. Then, draw in all the details of the face, along with the hat details. After this, color in the skin and then the rest of the clothing around the face and on the body. Color in the background as well, with black and reds to create an eerie glow with ...

In this tutorial, we learn how to draw Naruto 4-tails. First, draw the outline of the characters and the four tails. After this, draw in the rest of the outline in the final stages using a darker stroke of the pencil. Start to add in the details of the figure of the body and then add in the shading around the sides. Make sure you draw in the hands and the fingers as well as the facial features to make it look more realistic. Add in any more details that you would like to make it unique, then ...

In this video, we learn how to draw a realistic skull. Start off by using a pencil to draw out the basic outline of the skull. After this, add in further details, such as shading on the side of the head to show that it is hollow. Also add in the sockets for the eyes and show where the nose is at. Draw in the jaw bone as well as the teeth and the jaw line around it. Draw on cracks to the face at different places to make it look more realistic. Add in shading and darker lines where you feel nec...

In this tutorial, we learn how to draw a husky puppy. Start off by drawing the head, don't use a straight line at the top, make it look like it has hair. After this, continue and draw teeth and a tongue hanging out of the dog if you want it to look happy. Next, add ears to the top of the head and eyes to the face. Give the dog markings and pupils on the eyes. Then, add the nose on with a button shape at the top. Draw out the collar and chest of the dog, then add on the two front feet, the bel...
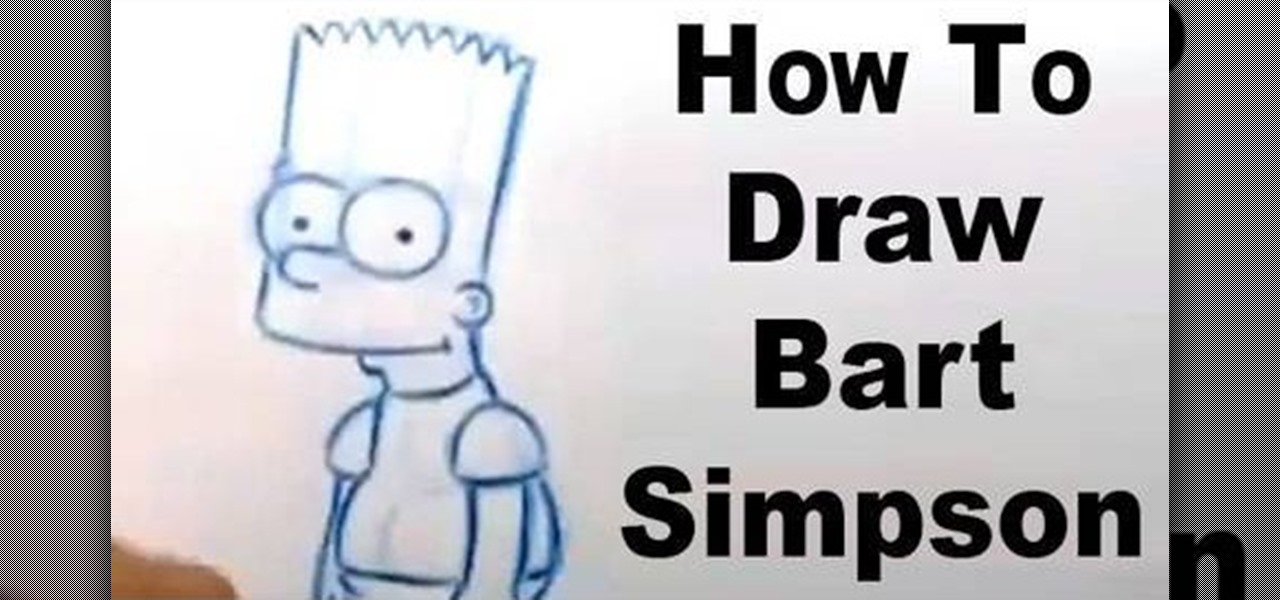
Chance Raspberry shows us how to draw Bart Simpson in this video. First, start by drawing his head, which is in the shape of a soda can. Next, draw his neck which is the shape of a can of tuna. After this, draw a center line on his head, then another line on the side of the head where his eyes will go. Then, cut the head in half so you know where the top and bottom of the eyes go. Draw his eyes in, then draw on his nose and ears. To draw the hair, draw nine spikes on the top of his head drawi...
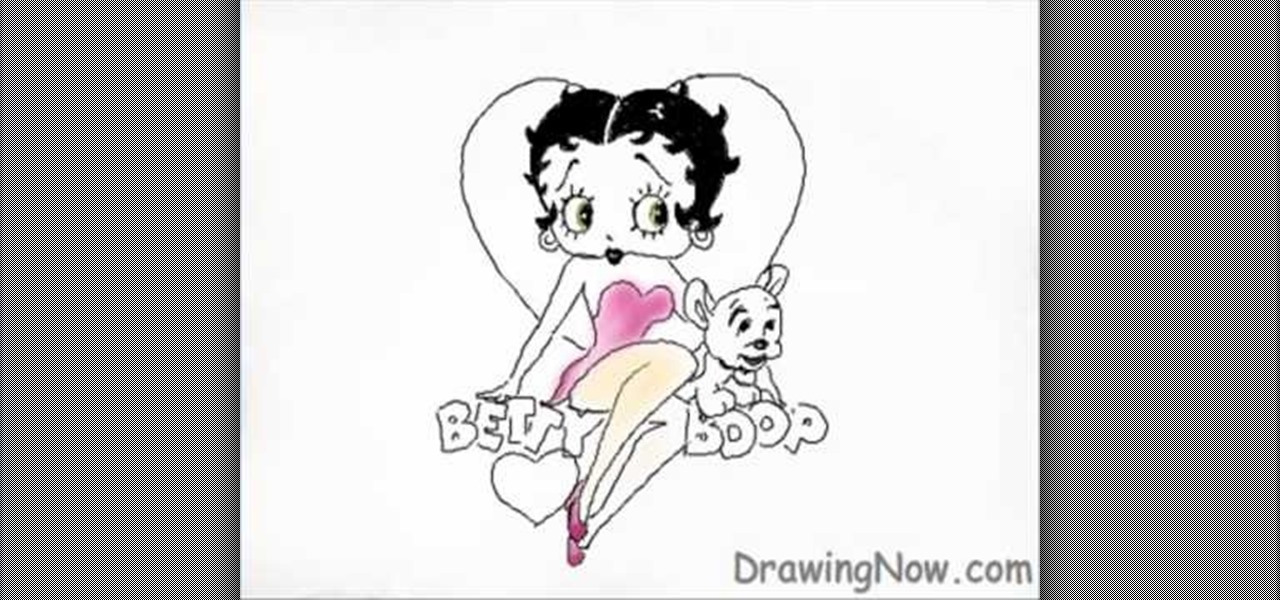
Drawing Now presents this simple video tutorial on how to draw Betty Boop. Begin by drawing an apple shape for her head. In the center of her head draw her part and extend the curved line down to her cheek finishing off with an upturned curl. Next draw the other half of her part and the front curved line of her hair. Then add two circles for her eyes. Inside these circles, shade in small half circle areas so it appears she is looking to the side. On the opposite side of the eye, add an accent...
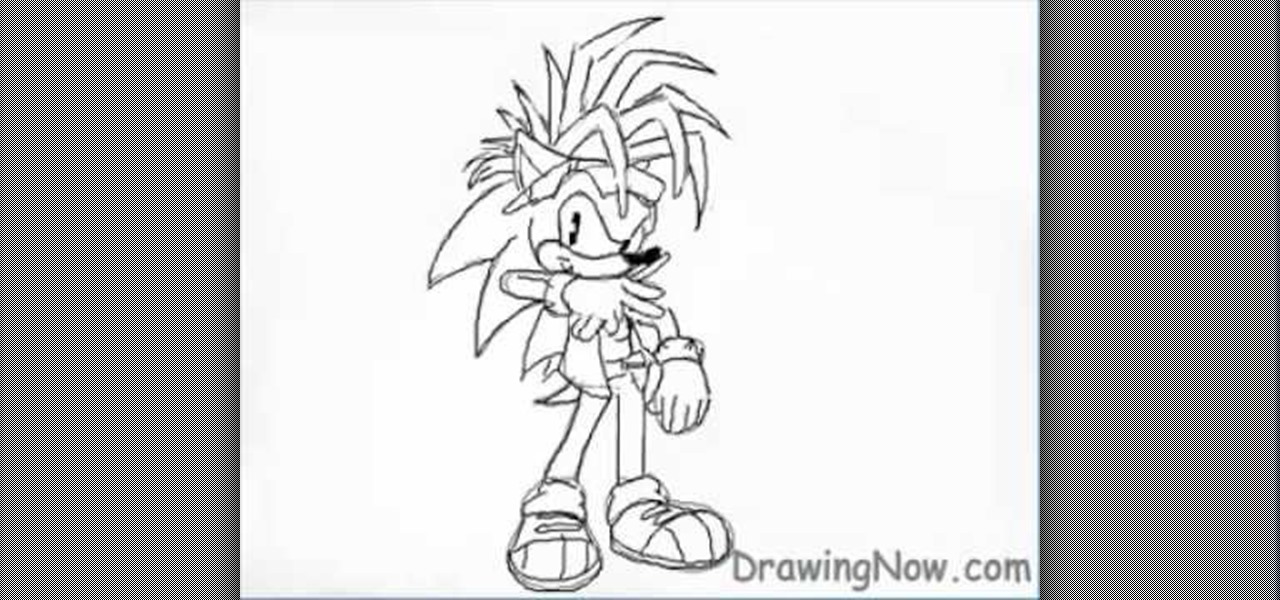
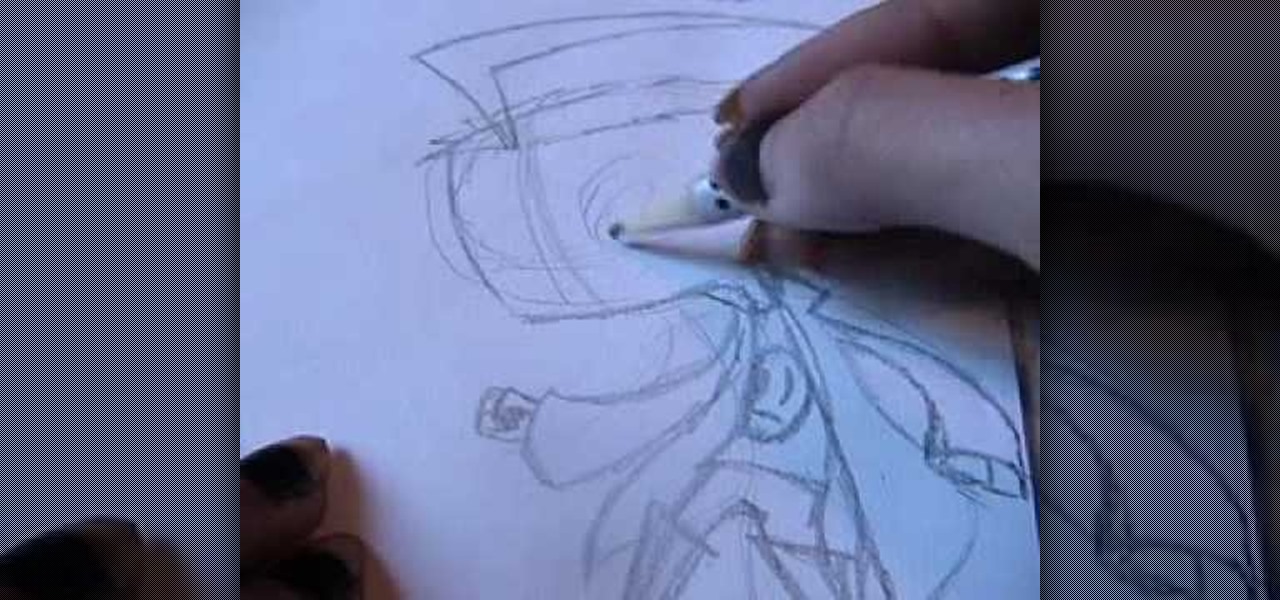
To draw Manic the Hedgehog, you should start by sketching a rough outline of the body, including Manic's hair. Once you have your sketch outline, start drawing over the outline with a darker line, including details like the eyes, nose, mouth, arms, hands, clothes and shoes. Once you have your final outline, go back and erase your initial rough sketch, so that your line drawing looks clean. Now that your line drawing is ready, you can start filling in with color! Start with Manic's green areas...
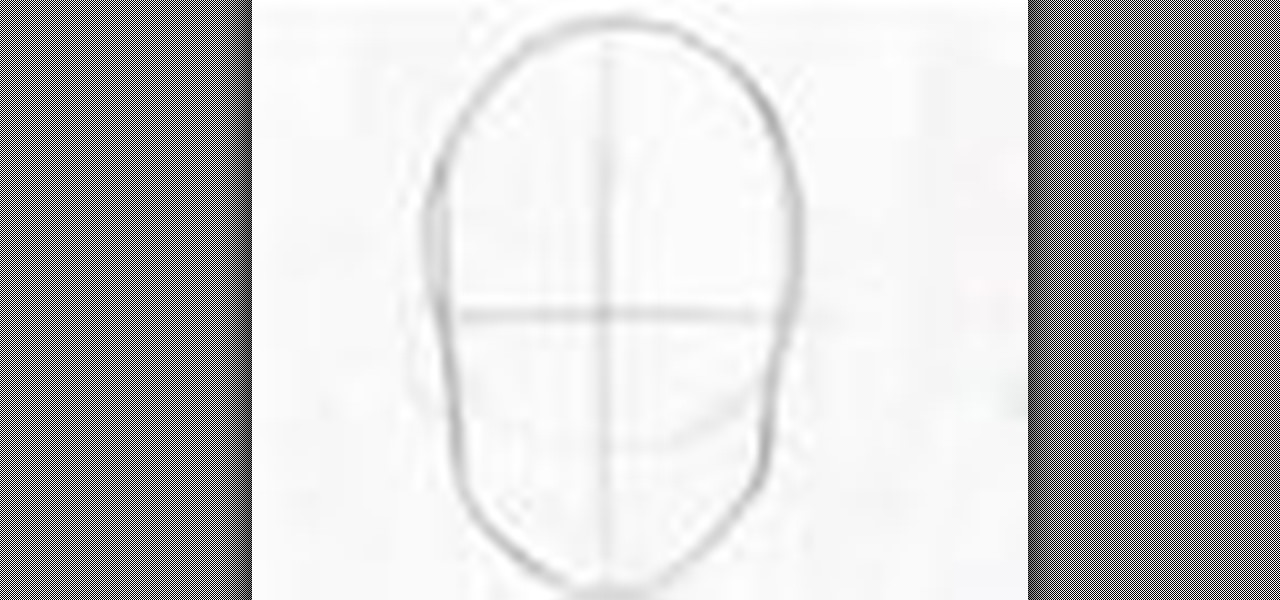
Concept/ 3d character artist, Xia, teaches viewers how to draw an old man's face. Draw an elongated circle that will serve as the face. Make a horizontal line on the upper portion of the face and draw the eyes. Draw the nose and the eye brows accordingly. Achieve an older look by drawing creases along the nose. Draw the ears right along the same level as the eye line. Add more creases on the forehead for a more aged look. Draw deep cheekbones. Start drawing the beard. Add more creases below t...
This is a video posted by a happy emo girl, like its nickname says, which describes how to draw Dib from the well-known American animated television series, Invader Zim. The drawing is very simple if you watch the video carefully. She starts drawing the head, then the haircut which is very funny. The music is annoying and loud, and the voice is not very clear, so you'll have to be attentive at those messages which appear on the screen because they are very useful instructions. If you'll follo...
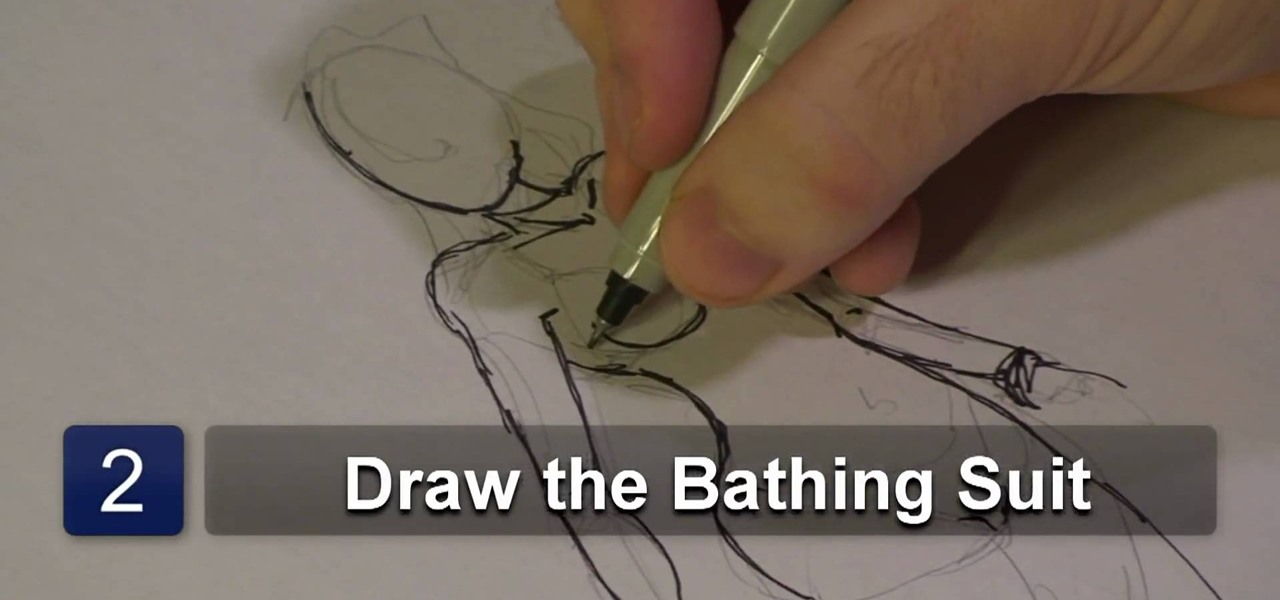
Michael Weisner, a graphic designer and computer animator teaches us how to draw a one piece bathing suit. He starts off by drawing the basic body shape of the bikini. He drew a basic outline of the bathing suit in order to save time, and for the rest of the video he uses a marker to highlight his strokes. In this video, Michael does not narrate much but rather he slowly draws his strokes as to make it easy for the viewer to follow.
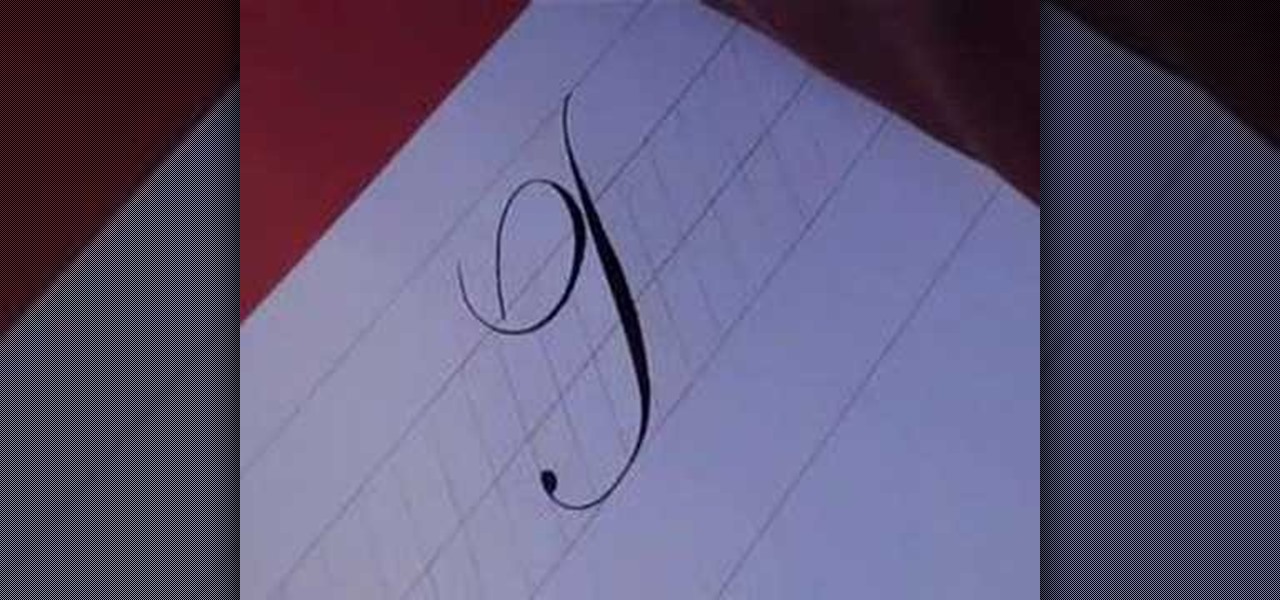
In this video, we learn how to write the letter T in calligraphy copperplate. Start by drawing a thick line that follows out a loop that curves to the left hand side. After this, create a loop at the top of the line, on the left hand side. Draw this out and cross the line over the top to make the T shape, ending with a slight curve at the end. To make the lower cased letter, draw a thin line, then draw a thick line over it, then cross a thin line across the top middle of the letter. Now you w...
In this tutorial, we learn how to draw Ironman. Start off by drawing the feet to Ironman, making sure to pay close attention to the detail that is on the outside suit. Make sure to include bolts and screws to make the picture more lifelike. Use shading on the outside of the sides to make it darker and more realistic. Continue working your way up on Ironman until you reach the torso and the rest of the upper body. Then, draw the head onto the top followed by the large mechanical arm and the he...
Mark demonstrates how to draw flapping flags or scrolls. He starts with a paper in a binder but any paper will work. In this demonstration he uses a pencil to create his drawing but any pen or pencil will do. He draws the flagpole first starting on the left side of the page. He draws multiple circles creating cylinders that you may have learned how to draw in a previous lesion by Mark Kistler. He uses shading to create the effect of a curve and depth of the flag. He shows how to create the ef...
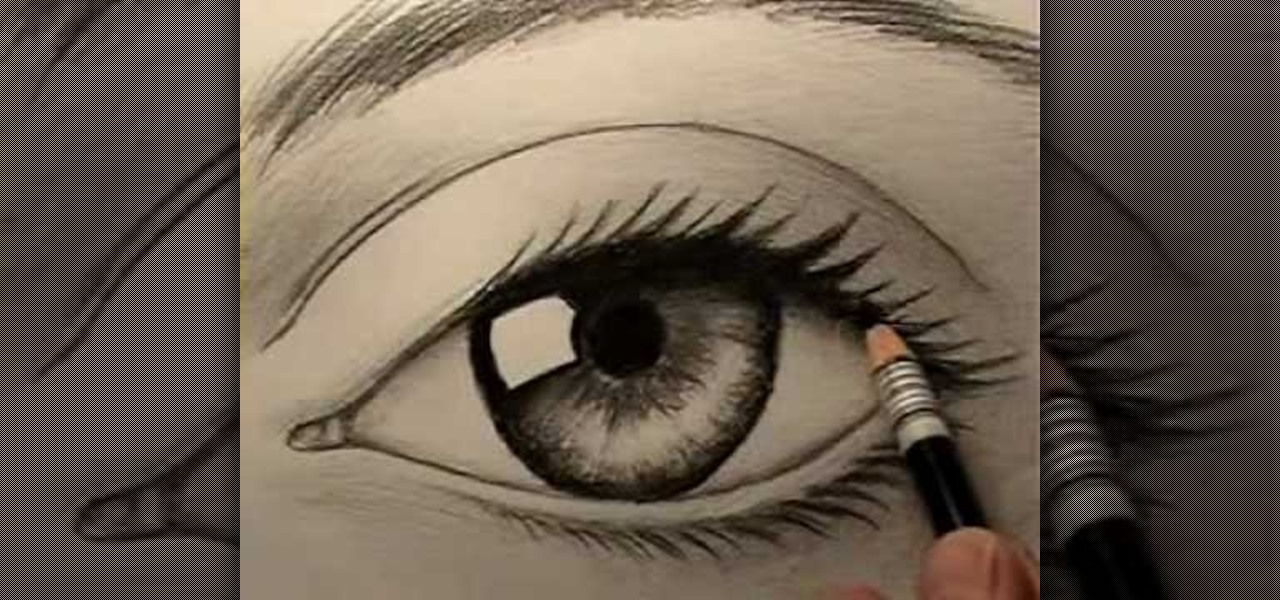
In this video tutorial, "Miki Falls" manga artist Mark Crilley shows us how to draw a realistic eye. For any artist who aspires to draw realistically, it's essential to get eyes right. The eyes, after all, are the "window to the soul," and if something's off with a drawing of an eye, we will always notice.
"Miki Falls" manga creator Mark Crilley presents a tutorial on how to draw manga or anime hair. The first character's hair is drawn entirely in real time, with continuous spoken explanation. Drawing hair is one of the most important components of anime and manga figure drawing, this video will show you how.
In this tutorial, we learn how to draw a vintage car. This car will take a lot of detail, so make sure you take your time with it. Start out by drawing the hood of the car, then work your way to the back of it. Once you have the basic outline of the car finished, add in the details! Don't forget the windshield, side mirrors, paint, wheels, tires, etc while drawing. To finish this up, start to shade with the pencil and then use the eraser to create a shined appearance as well. Add in colors if...
In this video we learn how to draw a nose using simple methods. Use a grid to start sketching out your drawing. Note the dark and light areas by outlining them on your paper. Then, crosshatch the first layer using whichever method works the best for you. Then, use a tissue to blend the pencil marks in with each other and create a lighter shade. Grab your darker pencil and mark on the darker areas of the nose, then start to shade in darker then before. To finish, use your pencil to add in the ...
1985rey teaches you how to draw SpongeBob Squarepants on your computer, using Paint. To start with an existing picture of the character to get the look and feel, use the brush tool, using black and make a large spongy head. Add circles on the side to make it look like 3D. Draw the eyes, eyebrows, nose, cheek and mouth with teeth and tongue. Once you're done with the head, continue drawing the body, with legs and pants and also the hands. Now you can start coloring in with a yellow for the who...
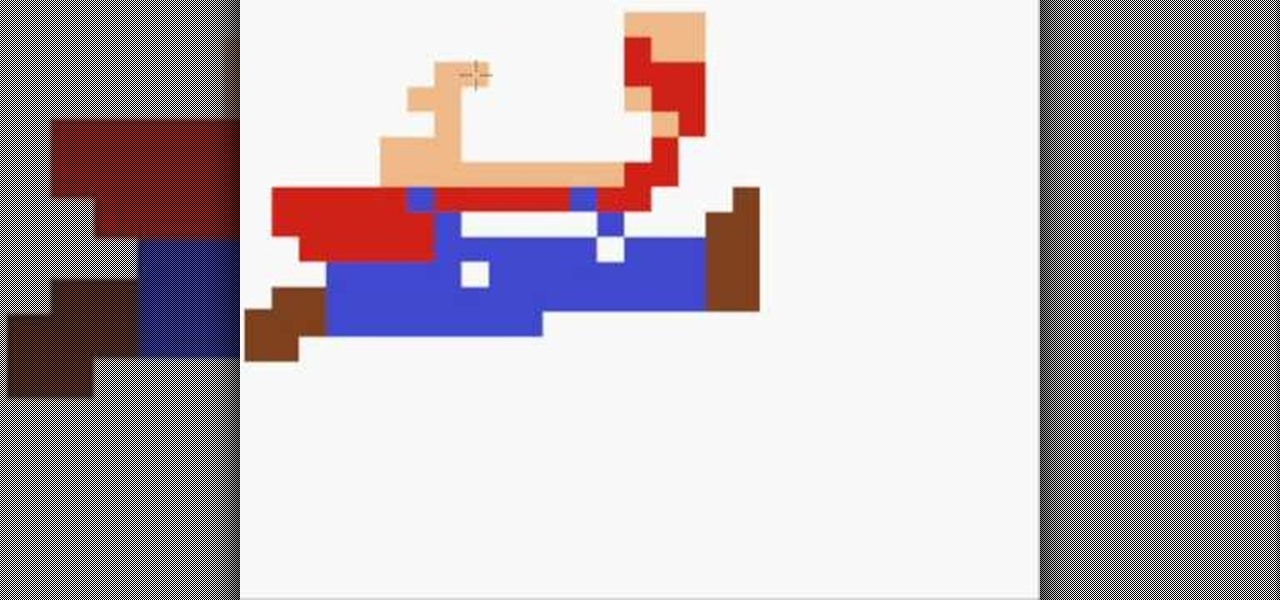
In this video, we learn how to draw an 8-bit Super Mario jumping. To start, you will use a square paint tool on your computer to create rectangles on the blank sheet. Use red, tan, brown, white, and blue to create the character. Use the square too to draw in the shape of Mario, making his legs spread apart to show he is jumping. Use white to create open space and make sure to show the edges of the squares to make the drawing more realistic. When finished, add in any additional details, then y...
In this video we learn how to draw a KTM X-BOW "ROC" car. Start out drawing the outline of the car, adding in the details for all the areas. After this, shade in around the tires and on the hood, back, front, and sides of the car as well. Then, add in dark shading to the areas that you originally shaded. Fill them in completely so it's black, then use the eraser to crease a highlight on the different areas of the car. When finished with adding details, you will have a great drawing of a uniqu...
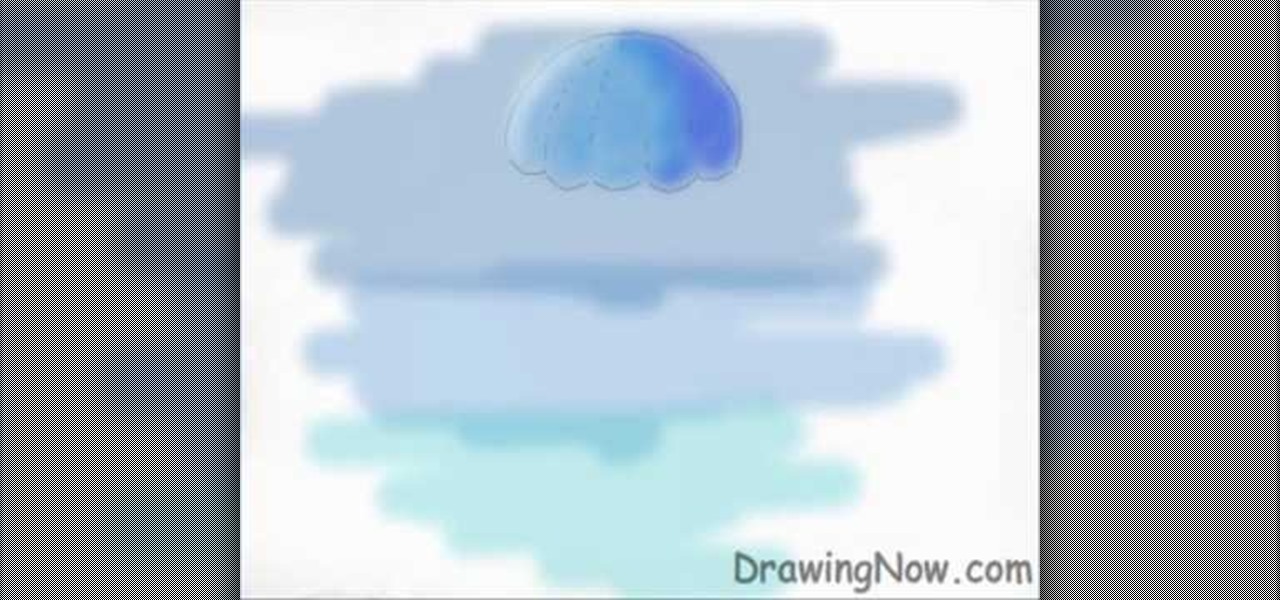
Drawingnow.com shows us how to draw and colour a jellyfish. First make an outline of the body of the jellyfish by drawing a dome with verticl sections like a parachute or an umbrella. Join the sections at the bottom of the dome like a skirt. Colour the background blue in three sections from top to bottom. Darker blue is used for the top-most section, a medium blue used for the middle section and a lighter blue for the lower section. Next colour the umbrella mass of the jellyfish in a blue ton...
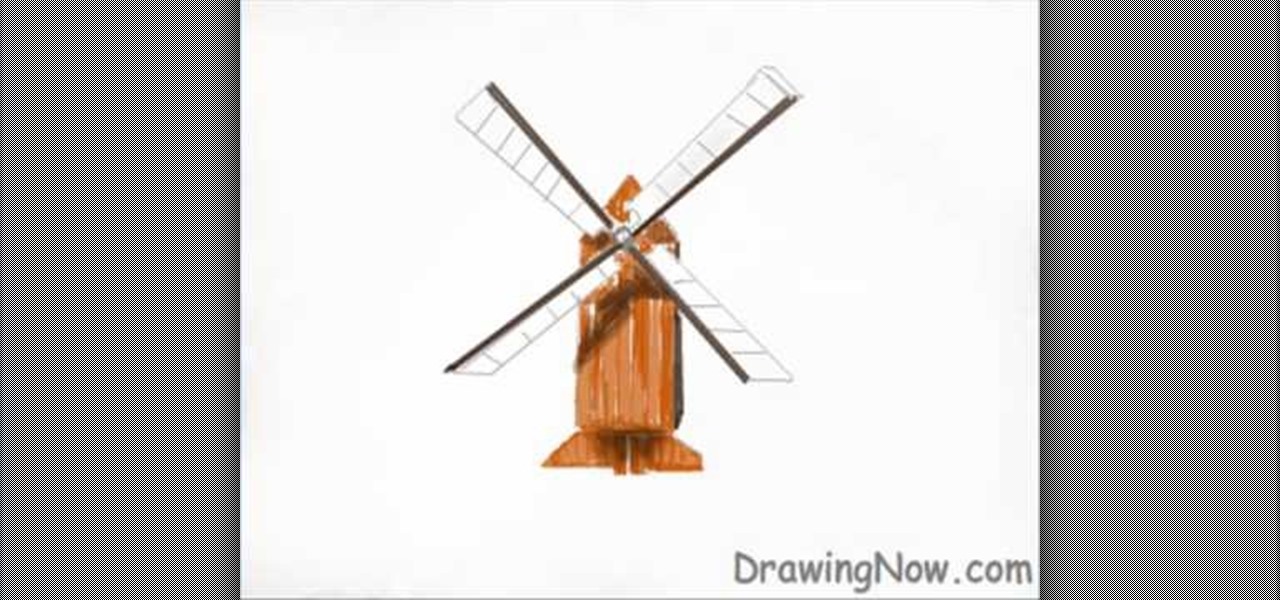
In this how-to video, you will learn how to easily draw a wind mill from scratch. First, start off with the building of the mill. Next, draw the arms of the wind mill. Include the flaps on the arms. Next, fill in the smaller details such as the center of the rotation. Next, you can fill in the color of the building. In this case, brown was used. Next, fill in the arms of the wind mill. Add appropriate shading on top of the building. You can also add shading to the arms. Next, fill in the back...
This video shows rather than tells you how to draw a cartoon figure. There are no words of explanation. It starts with a simple Mario game character already drawn on the paper. Then you see a hand with a pencil come into the frame. This hand draws the eyes first, then the nose and a mustache. Then it does the outline of the face and the ear. The perspective is slightly to the side of the face, not directly in the center. The outline of the hat comes next, with the emblem on it. The final area...
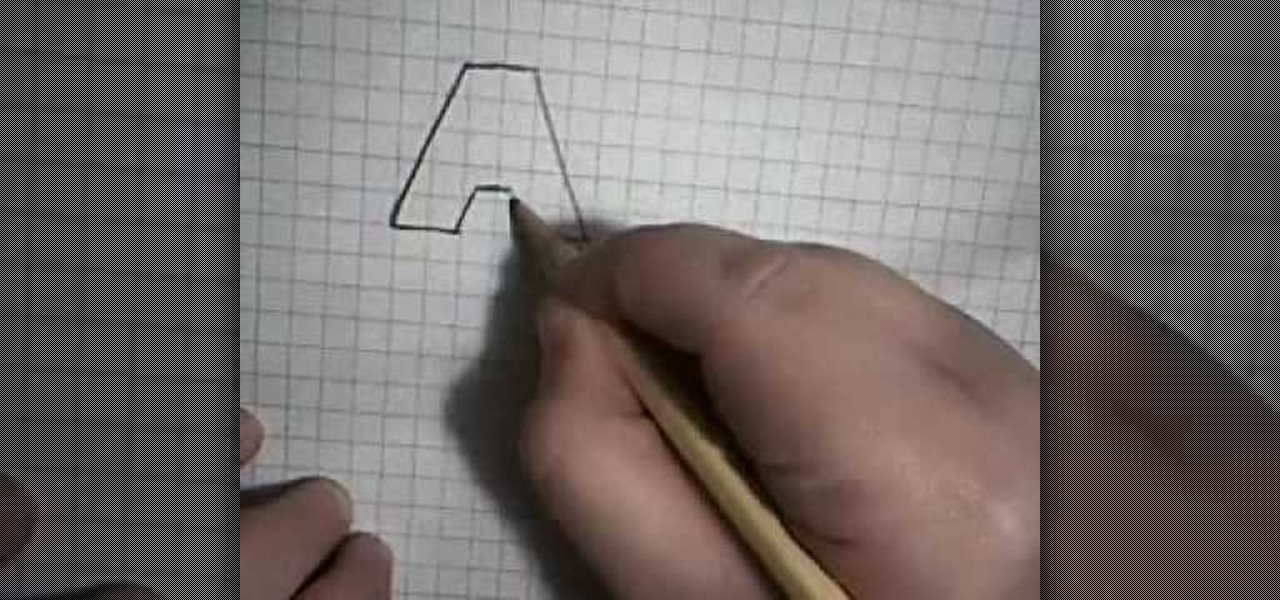
This is an upbeat fun video on how to draw 3D letters; and shows in detail how to draw them from A through L. Start out with a pencil drawing of the letter to make sure it looks how you want it, as you can always erase any mistakes. Then, using a black marker pen, trace over the pencil lines of the letter, then using a gray marker, fill in the 3D depth of the letter, leaving the face of the letter clear. This gives a nice 'cartoon' like effect, which looks great. Watch the second video to lea...
Drawing a manga body on your computer is not that different from how you might draw a regular person. Manga bodies tend be slim and long, having an appearance similar to a person you would say has a light build. The best way to begin is by sketching broad guidelines with a 30% black pencil. After that, you want to draw simple sticks for the arms, then intersecting curves to start the chest and a V for the stomach. Follow the example in this video to see the rest.
SpongeBob Squarepants has been a popular cartoon character for some time, but how do you draw him? This speeded up film accompanied by rock music shows, you will know exactly how to draw the character from start to finish. There is no narrative as the film is really self-explanatory. All you need is a pencil, an eraser, and a piece of paper and probably lots of practice. It looks as though the presenter has drawn this many times. If you follow what he does to the letter you should be able to ...
Do you believe in fairy tales and those wicked witches? Let’s draw our conceptual witch. First we need a paper and a pen. Let’s start with a hat (typical one).Then draw the basic shape of the head with eyes, nose and mouth as well as the hair curls. Then start with the detailing i.e.; shadows and highlights on the hat and the face. You can even do it with a pen. This will help in creating your sketching art work.
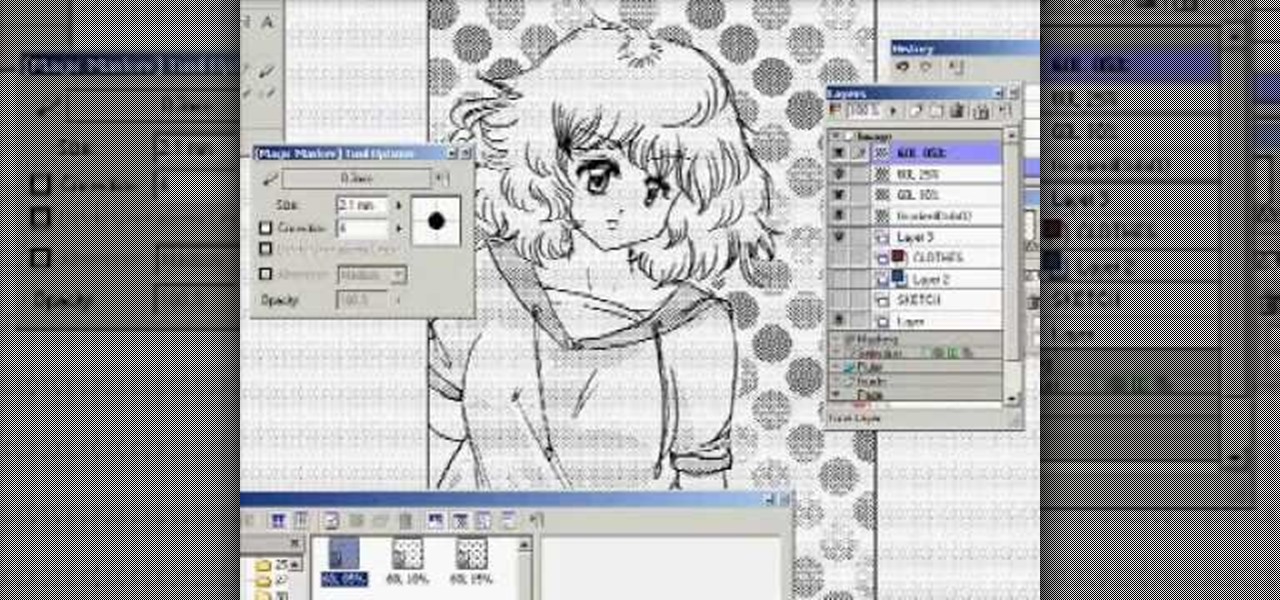
In this tutorial, we learn how to draw a manga girl. He uses a Photoshop-like program on the computer to generate this character. He starts off the picture by starting off with a basic shape for the body and face. He uses light sketching, before using more thick lines to create the details of her face and body. He draws a lot of lines, to make sure that the girl is symmetrical. He makes it look even more elaborate, to parts such as the hair and face, by layering multiple details.
This video shows you how to easily draw a Pokémon step by step. The first thing you have to do is draw 3 circles for the head, tail and body. You can always start off the ears with little circles, and then add the little pattern on the face, which consists in two circles, one near the other. Then, make the ears (please note that the ears are very sharpen). Then the face legs and belly. The front legs are kind of pointed, while the back legs are roundish. Draw the tail, which looks like an axe...
Anger is one of the emotions most prominently featured in manga, especially "boy" manga. Thus, knowing how to draw an angry male manga face is an important skill to master if you want to create your own manga-style art. This video demonstrates how to do just that in pencil, starting with the outline of a head. It offers detailed instructions that should enable any budding manga artist to replicate it themselves.
This video illustrate us how to draw Donald Duck. Here are the following steps: Step 1: First of all take sheet of paper, pencil and colors.
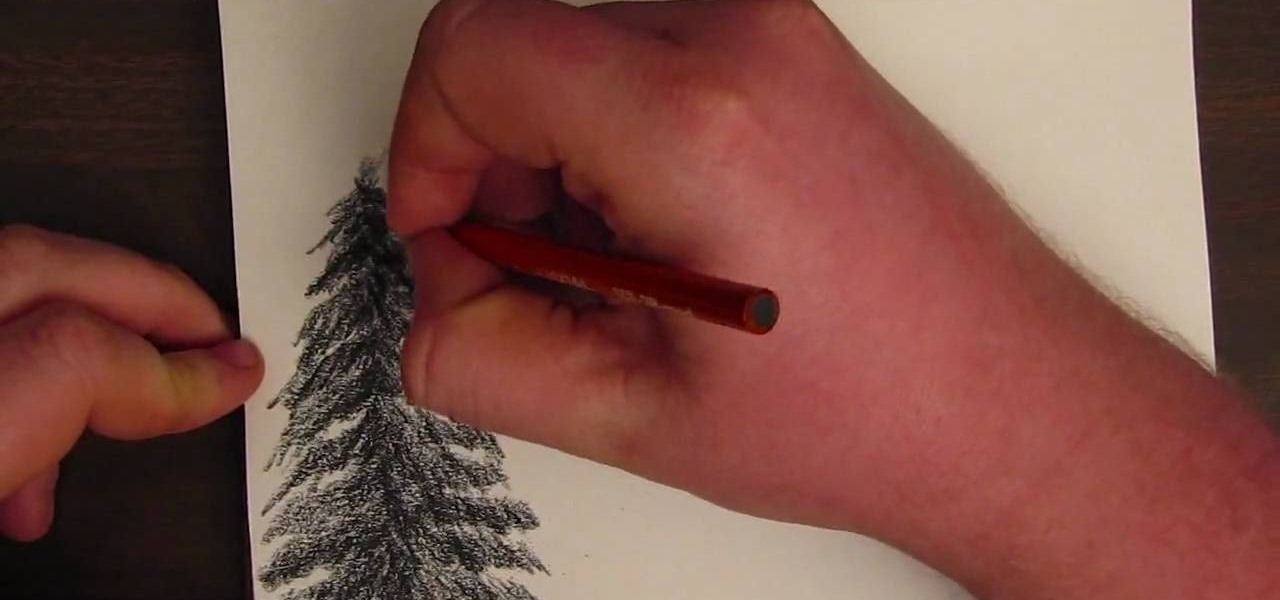
A pine tree is an excellent addition to landscape renderings. This video demonstrates how to draw stylized pine trees using a basic charcoal pencil. First start with the frame or trunk of the tree, then add slight branches. Using your charcoal pencil, shade in the branches with careful strokes to represent pine needles.
Learn to draw Pokémon Oddish with these simple and quick steps. Start your drawing project by placing the Pokémon Oddish name somewhere on the page. Oddish is a round or onion shaped object. Place this basic shape in the center of your space. Add the feet which are shaped like little shovels at the bottom of the Oddish body. Go to the lower central area of the body and add a triangular shaped tongue. For the eyes, use little circles placed proportionately in the upper central area. Place seve...
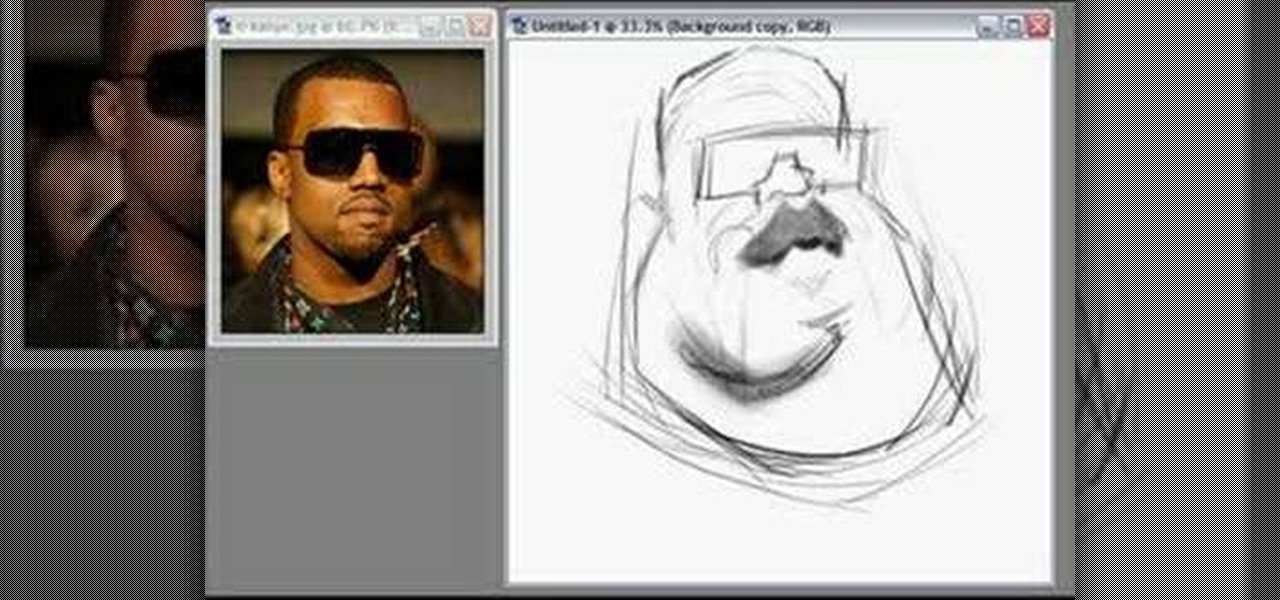
Joe Bluhm shows you how to draw a caricatures of Kanye West in Illustrator. The principles he covers are not related to illustrator but can be applied to other drawing softwares or traditional drawing and painting methods.
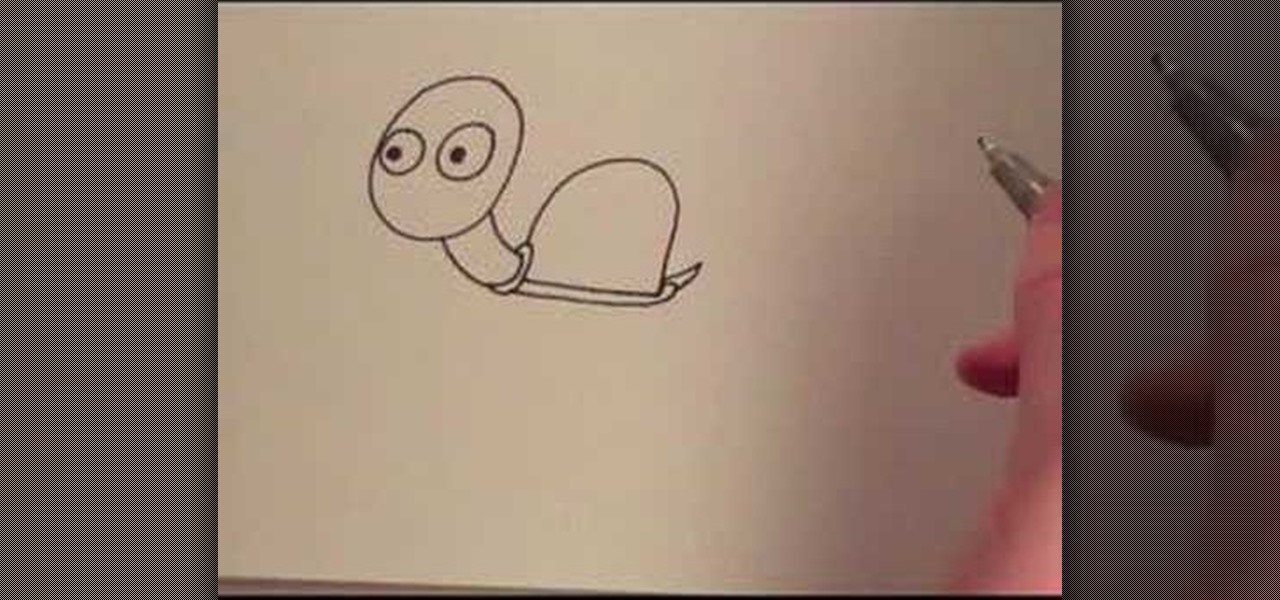
In this video, we learn how to draw a cartoon turtle. Start by drawing a circle with two large circles inside of it for eyes and a head. Next, draw a long neck for the turtle leading into a small shell. Make the bottom of the shell flat and a small tail sticking out of the back. Next, draw four feet coming from the bottom, then shade the back feet. Draw scales onto the shell, then draw a cute smile onto the turtle. Next, draw toes onto the feet and you will be done with your cute turtle. you ...
This video tutorial features all kinds of tips on drawing the human head; in this case you will learn how to draw Luke Skywalker and make starships out of simple shapes. Learn how to sketch Star Wars by watching this drawing video.
This video is a drawing lesson, demonstrating how to draw a garden starting with simple geometric forms and slowing elaborating them step-by-step until a beautiful final product emerges. All you need is a pencil, paper, and some patience to create this relaxing, perspective-laden image and improve your art skills.