It's true that a high quality digital SLR can take pictures 1000X better than any digital camera can without any previous experience from the photographer, but by understanding some digital SLR camera basics you can improve the quality of your photos greatly, and even take professional-looking ones.
Ever notice the dreamy quality of a British sitcom? How about the "shellshock" look used in war movies? And we're all familiar with the look of an amateur home video, which can be...surreal. Believe it or not, these effects are created in the camera's shutter speed, and very rarely in post-production.
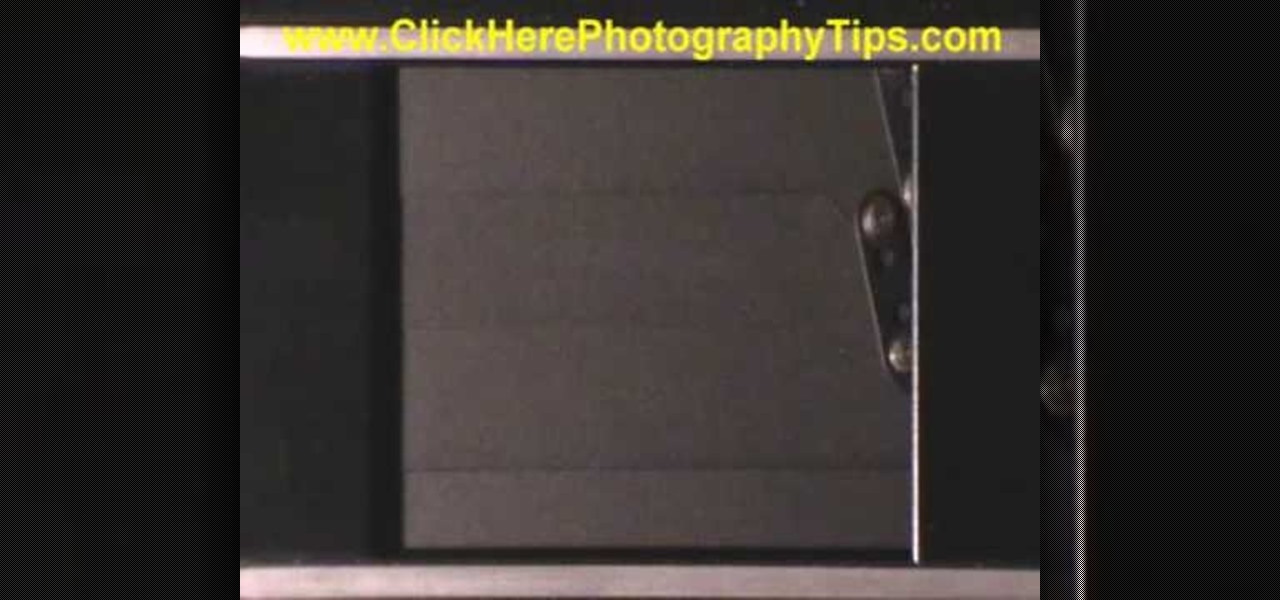
Have a passion for photography but know nothing about the basics? This video might be a great place to start on the topic of shutter speed. Shutter speed is the amount of time that the film, or your digital sensor, is exposed to the light. Whether it be outdoors, at night, or low indoor light, the shutter speed allows your camera to take a photograph with the correct amount of exposure in reference to how much light is readily available in your setting.
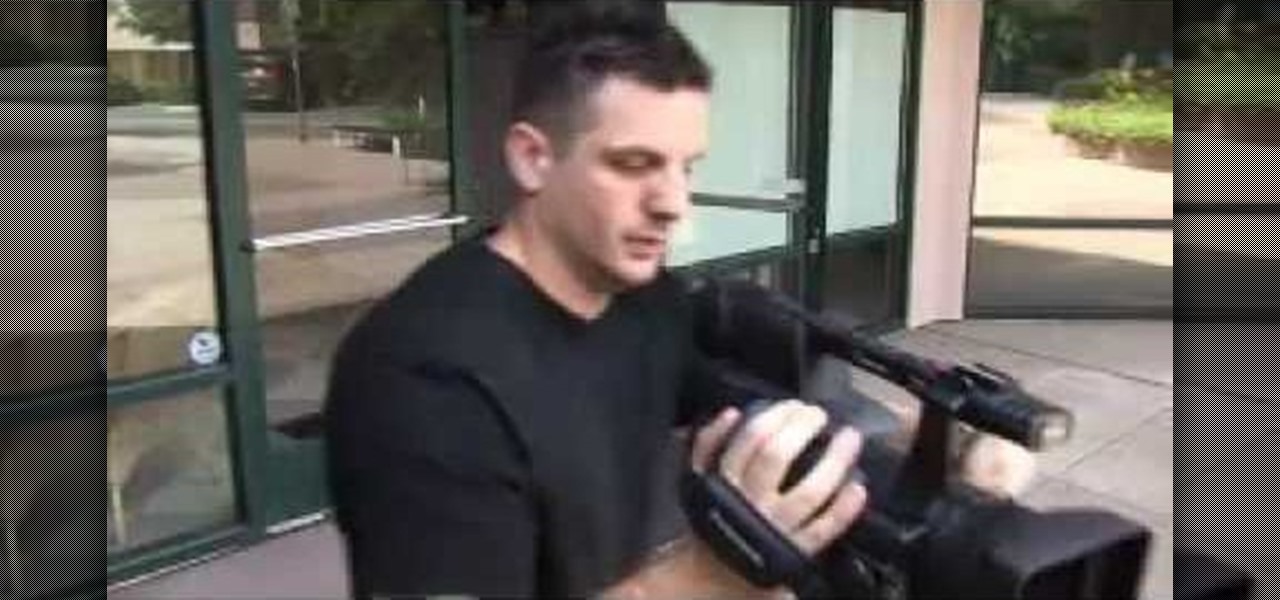
Israel Hyman is a weekend videographer headquartered in Mesa, Arizona. In this video, he demonstrates how to use “Shutter Speed” to make your digital video look better. A rule of thumb is: Set the shutter speed at a rate of 1/60 of a second for normal shooting.
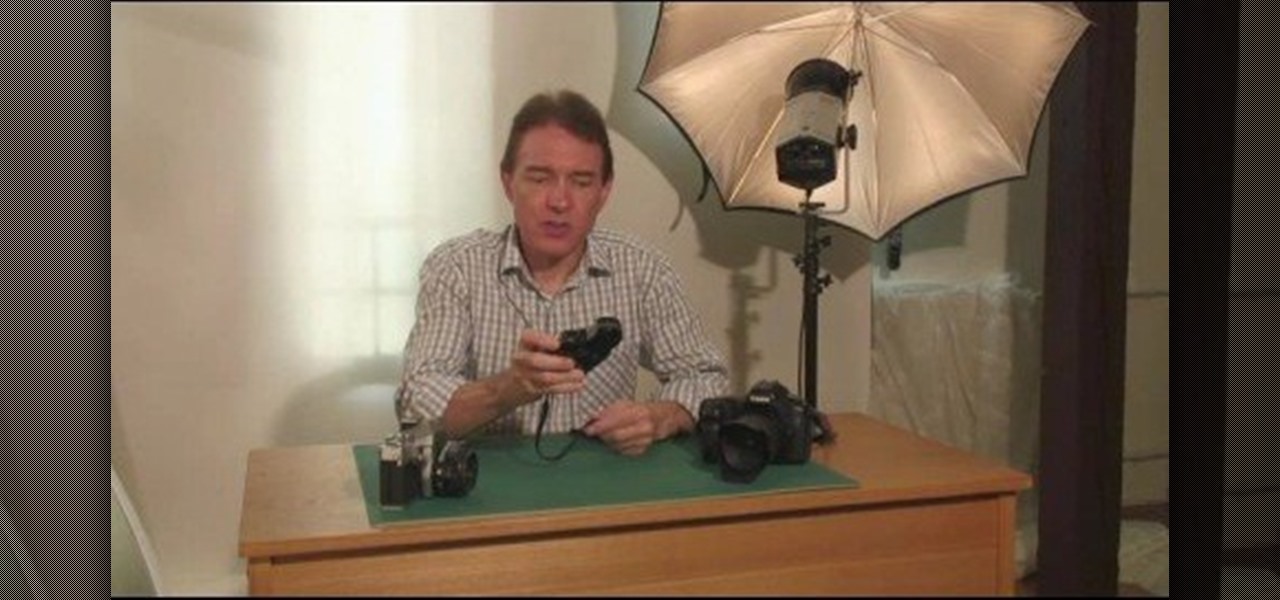
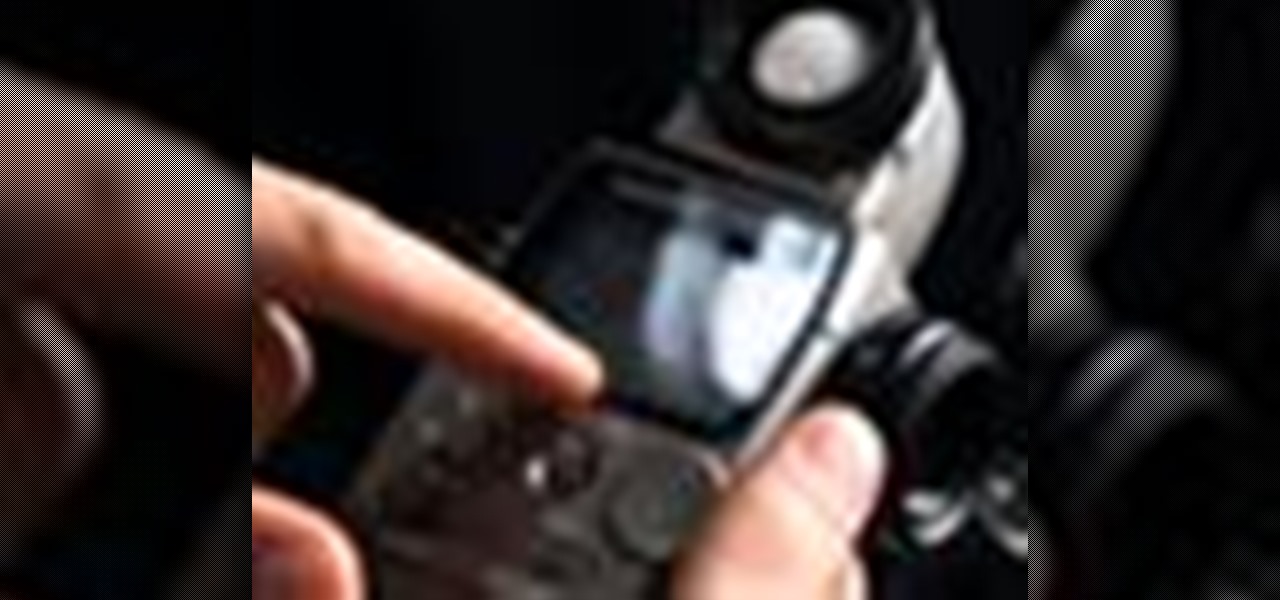
When setting the shutter speed and aperture of a camera, use a light meter to take a reading, then set the aperture or shutter speed, depending on which is more important for the photograph. Set the shutter speed and aperture of a camera with the tips in this free instructional video on photography tips from a professional photographer. For novice photographers, setting the shutter speed and aperture is an important first step in mastering the art of photography.
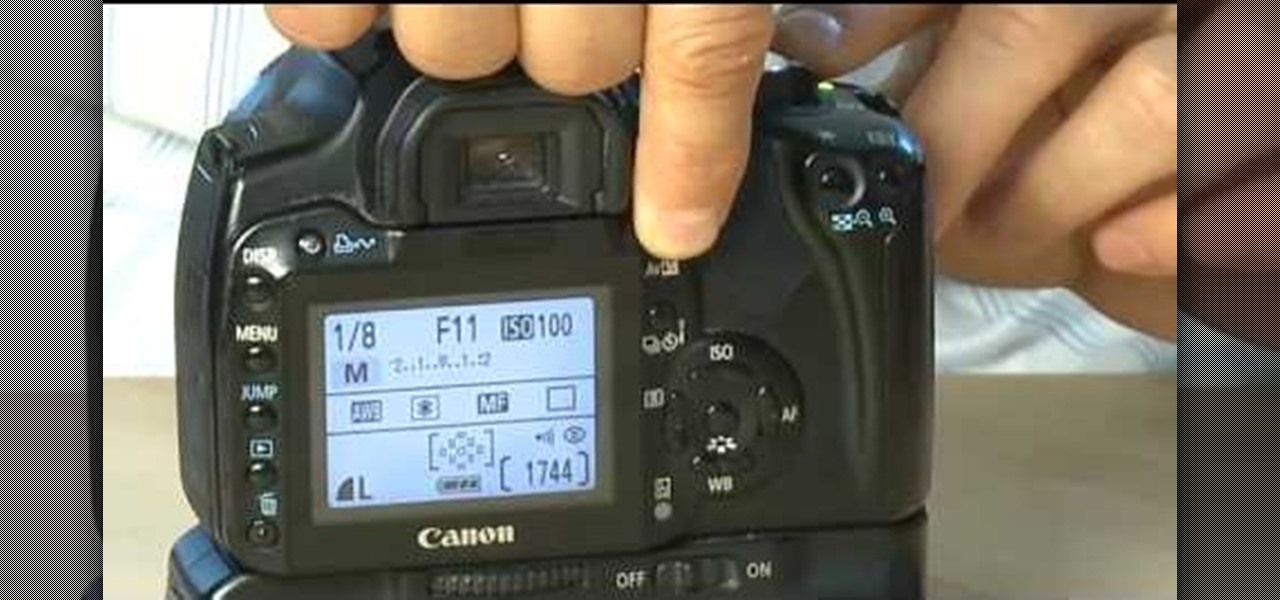
Looking for a quick guide on how to use the manual mode on your Canon t2i, 5D or 7D? It's easier than you'd think! So easy, in fact, that this free video tutorial can present a complete overview of the process in just over three minutes' time. For specifics, including detailed, step-by-step instructions, take a look.

This is a cinematography tutorial video that demonstrates how to control the aperture and shutter speed on the HV20 high definition camcorder. This is the PAL version, so it's basically the same except the NTSC version would have different shutter speeds. You will also need a miniSD card in your camera for this technique to work. Learn how to set the aperture and shutter speed on the HV20 high definition camcorder with this instructional cinematography video.

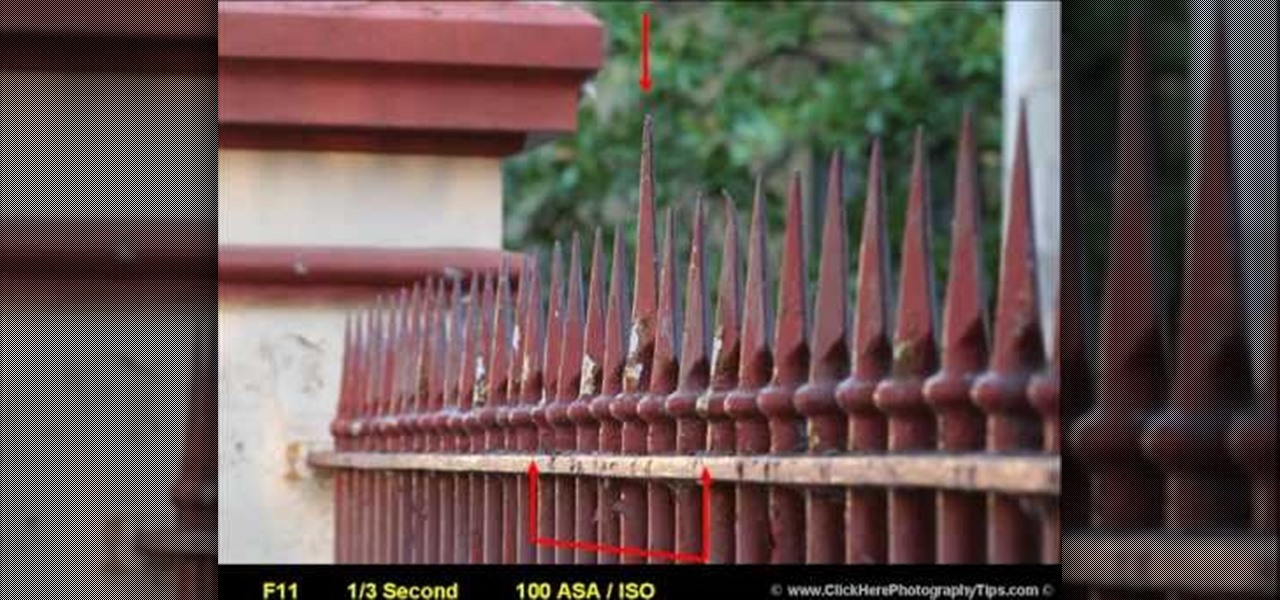
To understand and use depth of field you should realize that depth of field is the area behind and in front of your focusing point - the thing or object you are shooting. Depth of field is determined by apreture or f -stop, the shutter speed of your camera and the focal length of the lens. If you have the right combination of shutter speed and the f-stop, your picture will have the right exposure. If you change either the f-stop or the shutter, you need to remember to adjust the other! Differ...

This video gives viewers an overview on how to use the manual settings of your DSLR camera. Aside from the Auto setting, your DSLR camera has the P-mode which is the program mode, S-mode which is the shutter priority mode, A-mode which is the aperture priority mode and finally the M-mode which is the complete manual mode. P-mode or program mode is more like the Auto-mode in your camera. You can't control your shutter speed and f-stops (aperture) however; you can manipulate the other settings ...

In this video, Tom Skowron introduces the use of 24p and several important editing techniques. Using 24p can make your film projects look like genuine films. Another way to improve the appearance of your film is to adjust the shutter speed. You should set the shutter speed at twice that of the frame rate. This will decrease the level of motion blur and give the film a clean and crisp appearance. If you use 24p and adjust your shutter speed to the appropriate level, it will look like you spent...

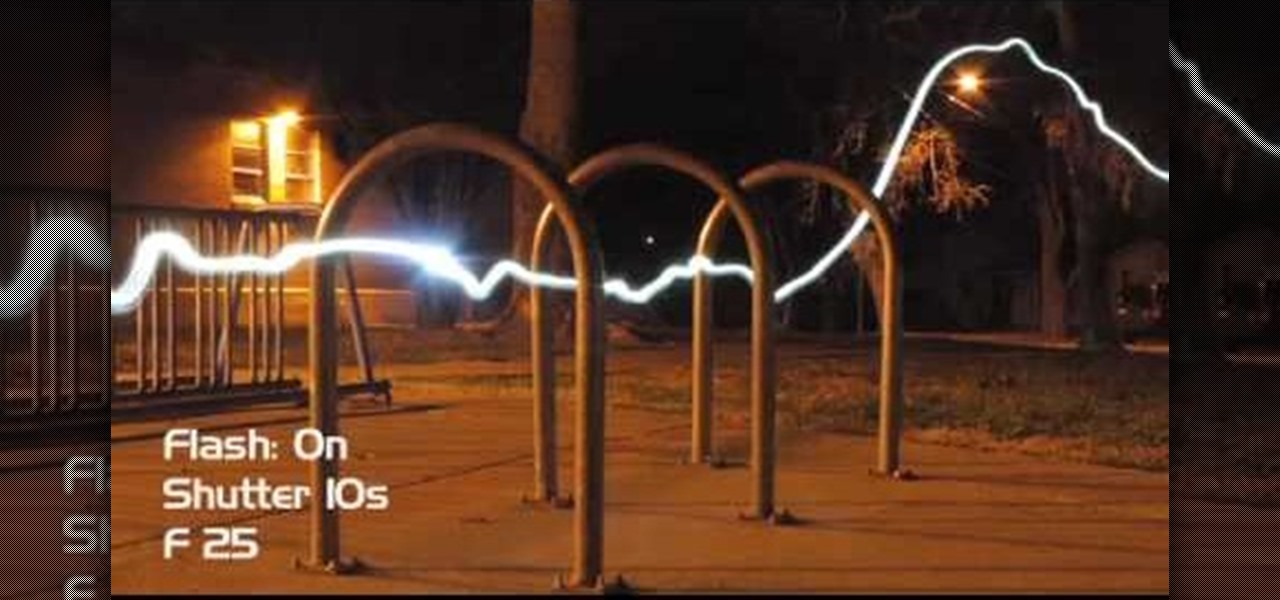
In this tutorial we learn how to take photographs using bulb photography. First, set your mode to manual and then you can adjust your shutter speed to thirty seconds. Once you go down this far, you an go into bold mode. When you hold down the shutter in this, it will constantly take this picture until you remove your finger. But, you don't want to do this for an entire 20 minutes. The easiest way to do this is to buy a remote control for the camera. This will allow you to press the shutter on...

Learn how to use depth of field with help from this photography tutorial. Although it may seem that depth of field is a confusing factor in photography, it's actually quite easy to understand & adjust once you've gotten the hang of it. Depth of field (or, DOF) is a great way to experiment with your photography & improve your skills as a beginner photographer. When taking your photograph using DOF, it is imperative to remember that the shutter speed and aperture (or F-stop) need to change at e...

Mark Wallace explains shutter speed, sync speed, and key shifting by explaining basic flash photography.

In this tutorial, we learn how to use AV mode & High Speed Sync (flash). First, go to AV mode and change the settings to 2.8. When you do this, your shutter speed will blink at 250. To fix this, hit the lightning bolt with the "h" and change it to the high speed setting. Now, your camera will be able to use the high speed shutter with the flash as well. Now, take some shots of your subject in the sun and you should be able to see a huge difference. The background should come in crystal clear ...

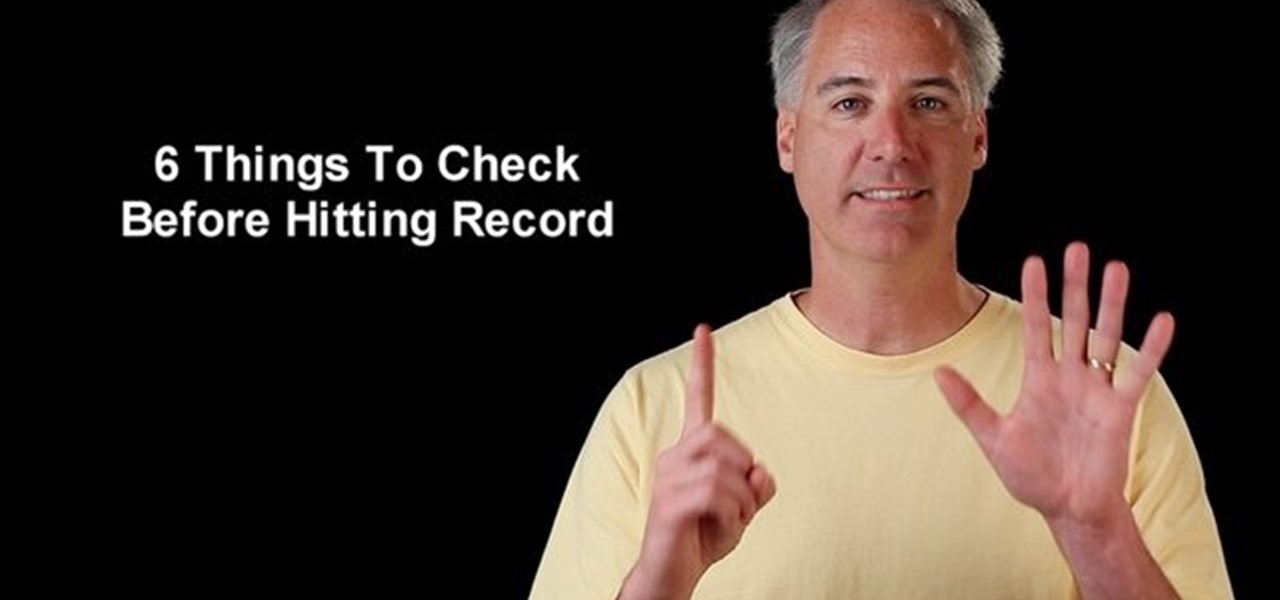
Go through a six-step checklist to cover shutter settings, white balance, setting your ISO (depending on indoors or outdoors), choosing a good picture style, picking an appropriate shutter speed and lastly, check your focus! Now that you've gone through this checklist, you are ready to start shooting!

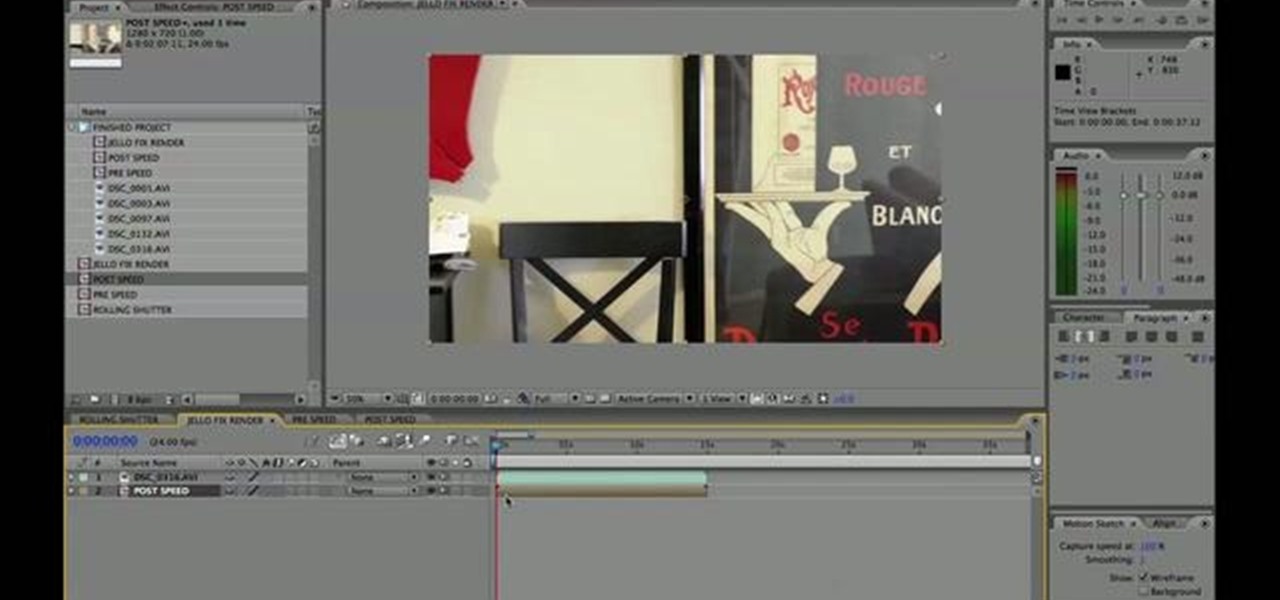
Is your digital SLR camera creating an unintentional "Jello effect"? Well, this is caused by a rolling shutter, which can be fixed in Adobe After Effects. This tutorial serves to help you eliminate your problems on your D-SLR caused by the CMOS's "rolling shutter".

Try "unfocusing" your photographs for some dreamy, evocative and somewhat abstract takes on life. Check out the two tutorials (here and here) from Michelle Geoga of Lights! Camera! Photoshop! for tips on unleashing the blur-power of your camera. You can see plenty of example images there to help you out.

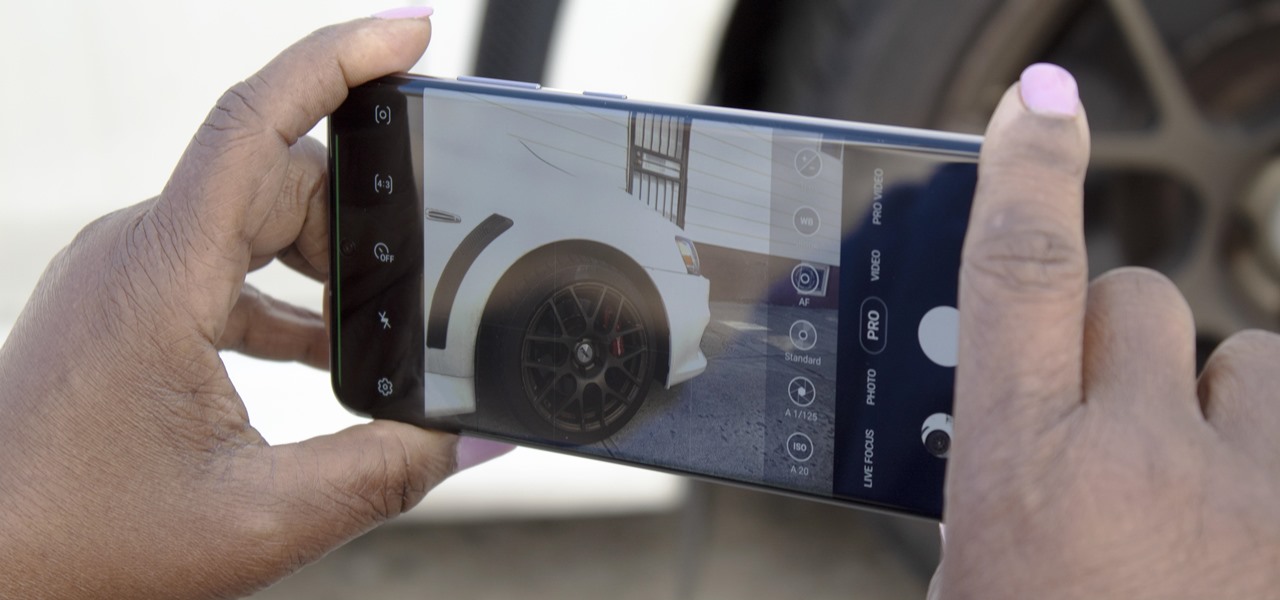
No matter how many camera improvements a phone adds, you're always better off using manual mode. Known as "Pro Mode" on the Galaxy S20, this feature can remove Samsung's pre- and post-processing from photos, putting you in total control.

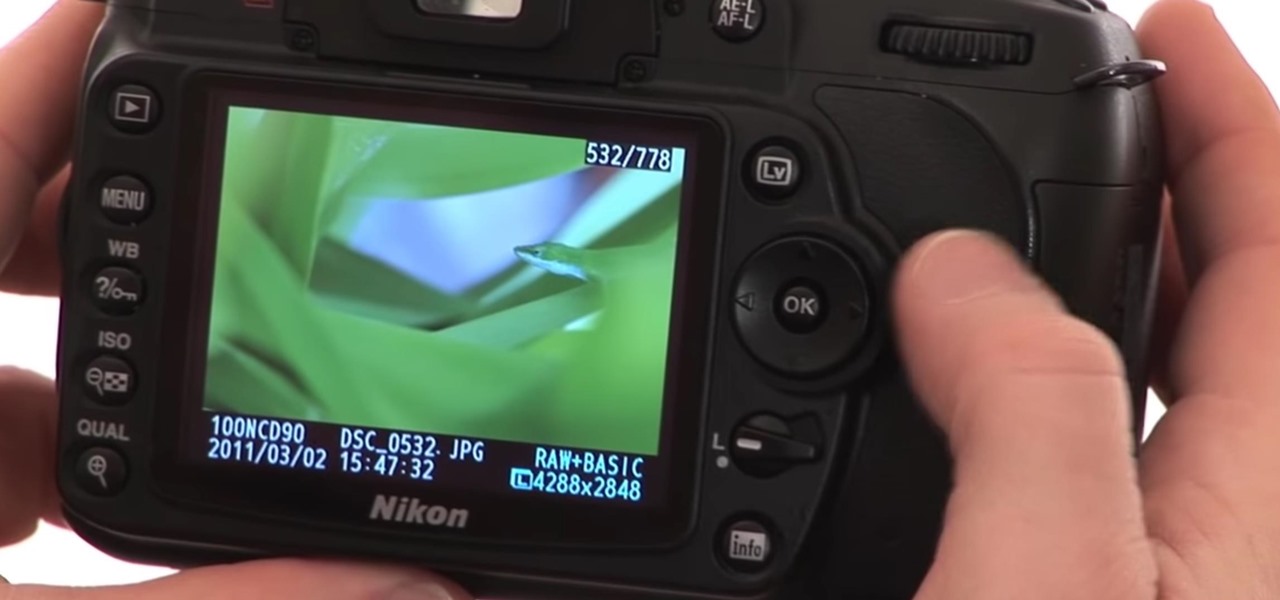
Watch this instructional video brought to you by Richard Berry to learn how to operate the Nikon D90. This Nikon D90 video tutorial demonstrates how to use the control dial (auto mode, scene modes, program [P], shutter priority [S], aperture priority [A], and manual [M]); read the display and viewfinder; adjust the aperture, shutter speed, focus, spot meter, matrix, exposure compensation, etc.; use the back command dial; and more. Use this Nikon D90 tutorial to familiarize yourself with your ...

A light meter can prove to be an invaluable tool on any film set, allowing you to quickly and efficiently set lights and know the correct exposure values of those lights. Light meters were initially designed for still photographers and cinematographers can easily calibrate them to a given film stock speed for shooting film. But what about today’s digital cinematographer? I’m glad you asked. In this video tutorial you'll see how you can use a light meter to quickly and efficiently light a scen...

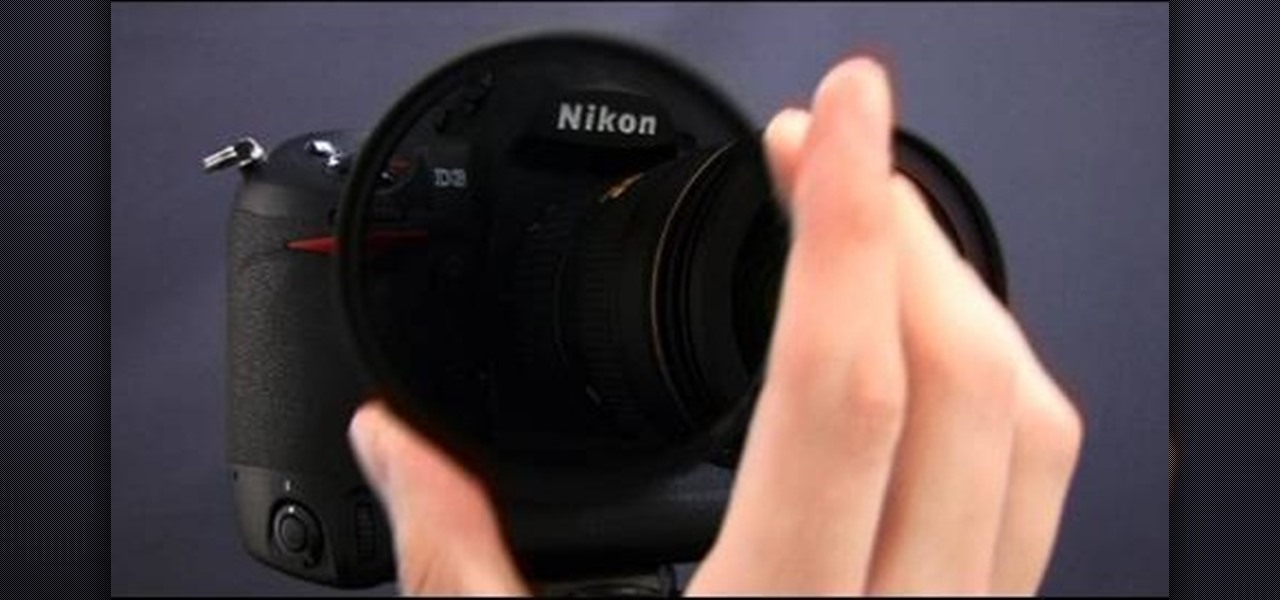
Photography is a fast growing hobby with the relative drop in prices of high grade equipment. The use of different filters in photography is a very common thing, and different filters have very different uses. The neutral density (ND) filter reduces the amount of light reaching the film or sensor. This allows the photographer to create different effects with the available light, allowing slower shutter speeds and larger apertures. The video helps explain the differences in shutter speeds and ...

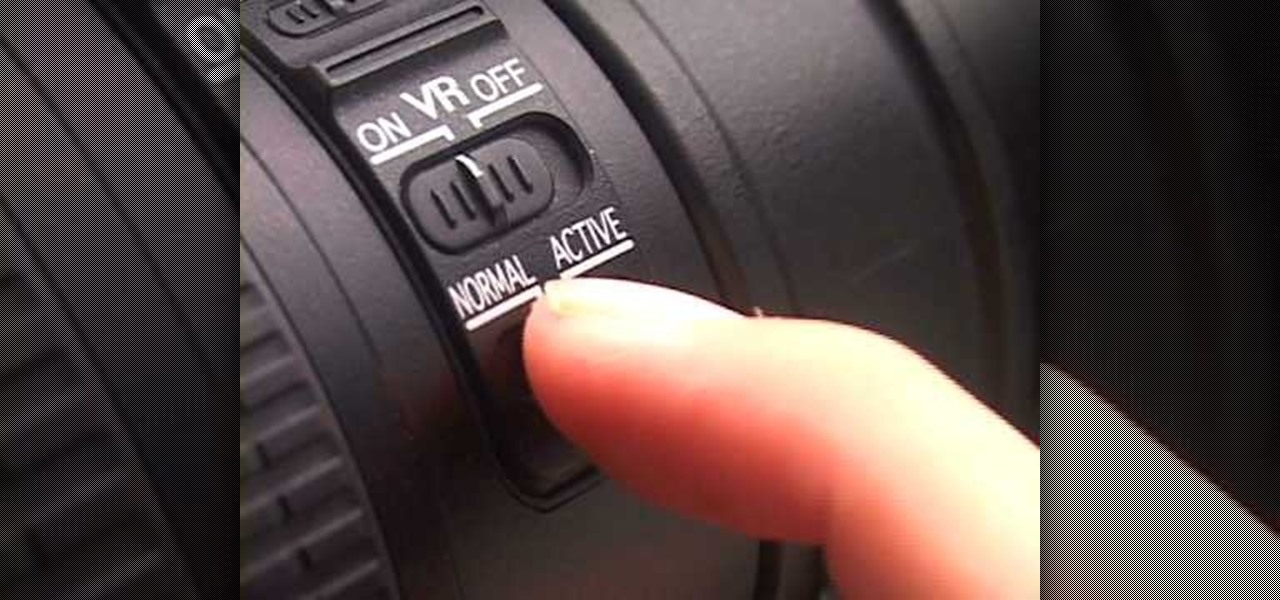
In this video tutorial, viewers learn how to use Vibration Reduction (VR). Vibration Reduction is the name if an image stabilizer engine that helps estimating unwanted blurriness when using slow shutter speeds or panning shots. VR has two modes: Normal and Active. Normal mode is designed for hand holding or panning shots where it estimates camera shakes when holding at a slow shutter speed. Active mode is designed for using on rapid moving surfaces. This video is very descriptive and gives gr...

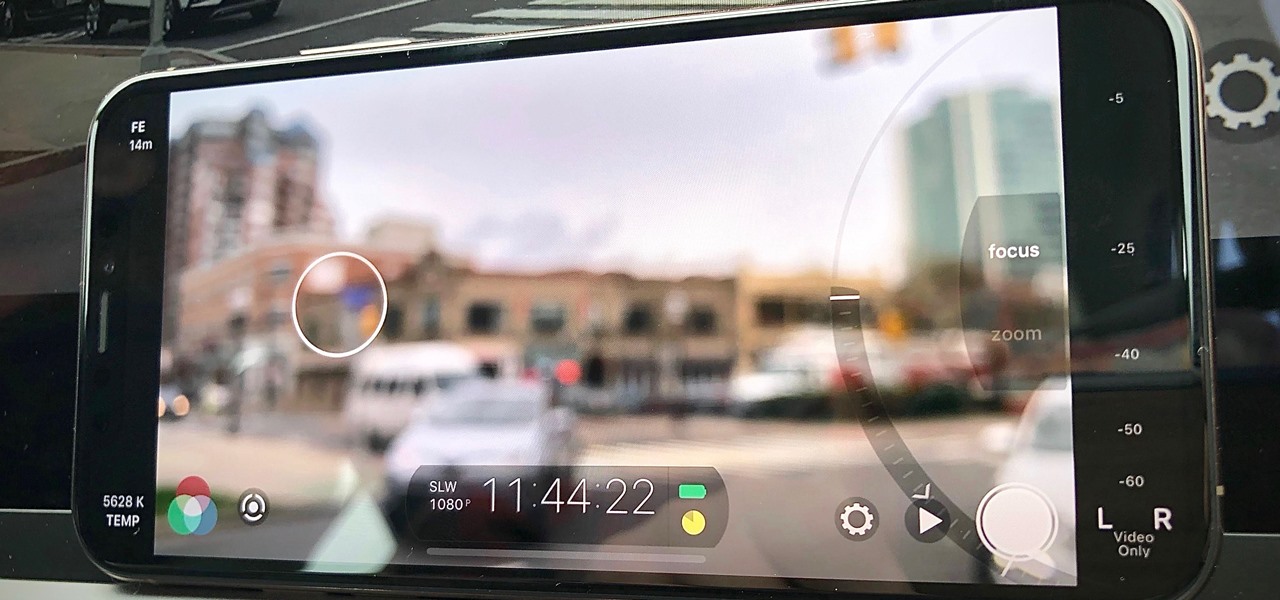
There are many reasons to use Filmic Pro if you're a mobile videographer. Chief among them is its automated controls, called "pull-to-point" sliders. These pull-to-point controls not only allow you to manually adjust focus, zoom, exposure, ISO, and shutter speed before and during the action, they also let you set start and end points to automate each function, leaving you free to focus on filming.

Smartphone videos get better and better each year. Seven or eight years ago, who would have thought iPhone and Android phones could support 4K video recording. Some phones can even shoot slow-motion at 960 fps. But no matter the resolution or frame rate, a phone's rolling shutter can make quick movements in front of the camera appear wobbly, distorted, or with artifacts.

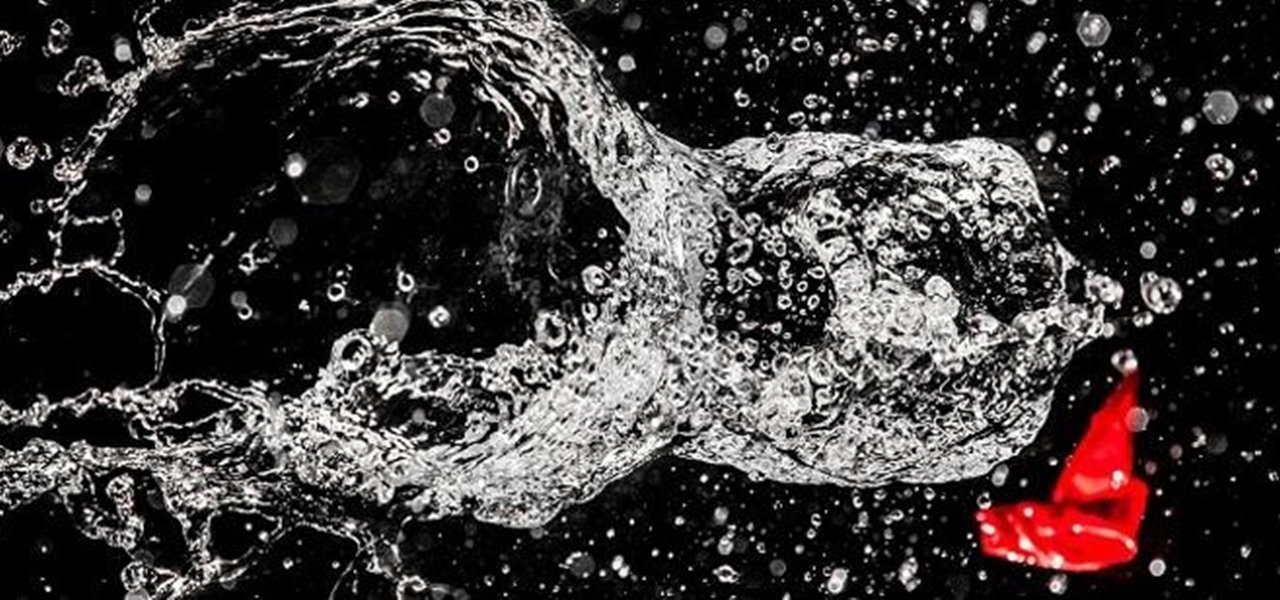
To freeze motion in photography, you need three things. First, you need a good camera, triPod, and a subject to photograph. One thing to keep in mind is your shutter speed. For example, if the subject is moving towards you, you want the shutter speed between 1/100th to 1/250th. If you are capturing the subject going from side to side, you want it set at 1/250th or more. Keep in mind that the more you increase the shutter speed the less light you will have in your picture. Next, move the camer...

There are four variables a digital photographer must keep in mind when shooting pictures to ensure correct exposure: ambient light, shutter speed, f-stop and ISO. Also, keep all your images crisp and sharp, even if you're shooting in a low-light setting.

Have you ever found your video images over-exposed? Or under-exposed?

Check out this video tutorial to show you how to use a Canon Rebel digital SLR camera. This video was made by the equipment room at CUNY Journalism School in New York.

This tutorial demonstrates how Twixtor Pro can be used to create slow motion special effects when editing video in After Effects. Learn beginner to intermediate VFX, specifically slowing down footage shot at a very high shutter speed. Twixtor allows the user to manage blur and warping when creating a slow motion effect.

In this video, we learn how to do night photography with your kids. Glow sticks. flash lights, and ghost images are great for night time! First, put your camera in the manual mode and then learn how to set the shutter once you're in manual mode. Put the pop up flash on your camera, then get started taking pictures! Use glow sticks to take pictures of the children, giving a cool effect on the photos. Use different shutter speeds on the camera to capture the sparks on the glow sticks and with s...

You need a flash to add light to dark photography settings, but a flash might make your picture look blown out or overexposed. Here are some good tips, like adjusting your aperture or manual ISO to maximize your available light. A tripod will also help you by allowing a longer shutter speed. Or, use a diffuser made over an old, translucent film canister!

There are some pretty incredible camera techniques out there, but the biggest problem that amateur photographers run into is that they don't have the equipment to try them. You can still get some great shots, but there are some things that are really hard to do if you don't have the money to drop on expensive lenses and accessories.

In this video brought to us by No Mac No Cheese, by Shannon Smith, he teaches you how to use AV mode and a higher ISO to bring more light into your pictures, especially when you are taking pictures indoors. He says you will need to go into the AV mode and raise the number of the ISO. What that does is make the shutter speed a lot slower so you get as much ambient light as you can.

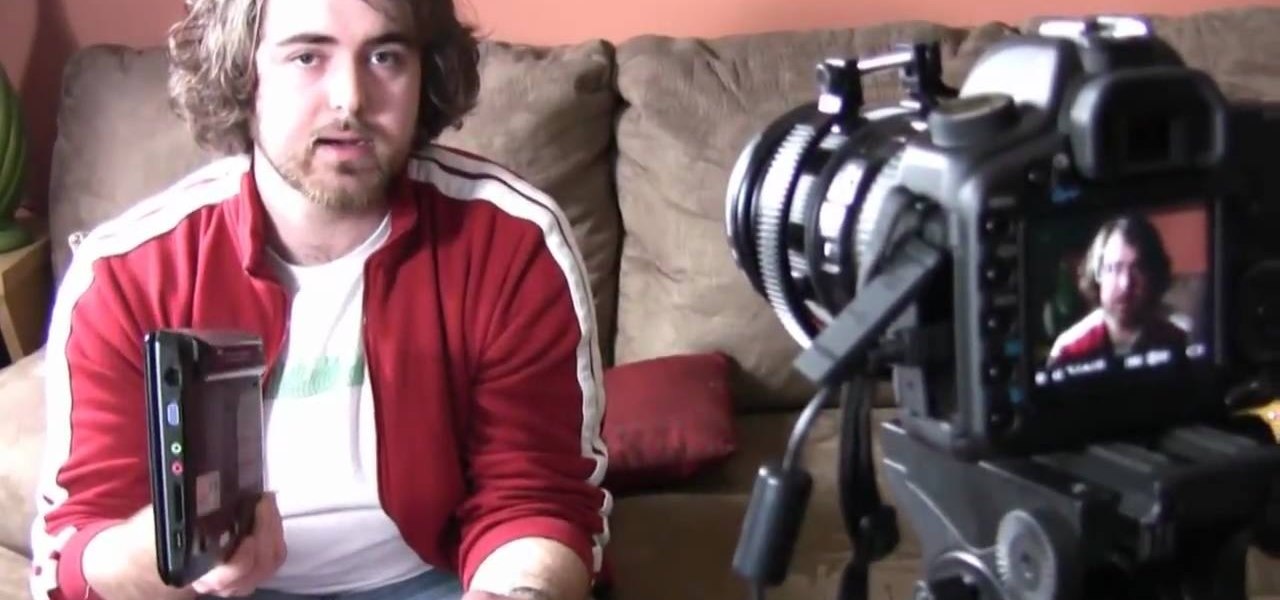
Tony Reale from Creative Edge Productions shows you how to use your laptop as an on-set monitor using the Canon EOS Utility software. Not only can you monitor your shots, but you can change focus, f-stop, shutter speed, ISO, and white balance. The feed is a little choppy, but it's a great and inexpensive fix in a pinch.

Learn how to make it look like the subjects of your photos are spinning by changing the shutter speed and making the background streak.

Are you tired of the auto settings on your digital camera? Break out of the norm with some of the advanced features and take your photos to a whole new level. Learn about shutter speed, aperture, and wide angle lenses and how you can manually adjust these to take better photos.

When shooting action shots such as runners, bikers, cars, or sports shots, a cool effect that you will see in a lot of professional photography where the person is nice and clear, but the background is blurred to give the intention of being in motion and having a lot of speed. A slow shutter speed is a part of it to capture the image while still showing motion in the photo. In this video you will get tips on how to create the panning effect that will create the desired effect.

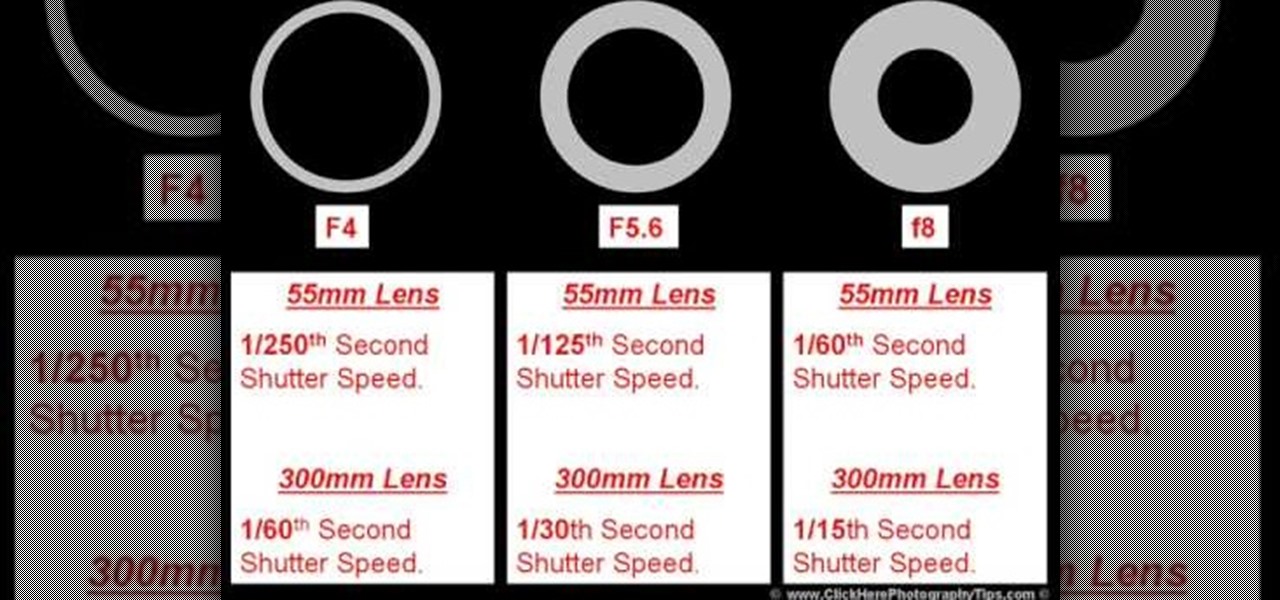
In this video from clickherephotography we learn how to take great photos by using depth of field. In a picture of a bird he used an aperture of about 5.6 which increased the shutter speed on a 300mm Canon lens. With depth of field you can blow your background out. If you used a higher aperture, a lot more of the bird would have been in focus and a bit of the background would have been in focus. By using an F-stop and this aperture, you really bring the bird or whatever object is in the foreg...

If your film camera shutter has stopped working, chances are that the shutter spring has become detached. This photography tutorial shows you how to disassemble the Lomography Diana Plus shutter assembly and re-attach the spring. You will need a small screwdriver to make this camera repair.

Systm is the Do It Yourself show designed for the common geek who wants to quickly and easily learn how to dive into the latest and hottest tech projects. We will help you avoid pitfalls and get your project up and running fast. Search Systm on WonderHowTo for more DIY episodes from this Revision3 show.


