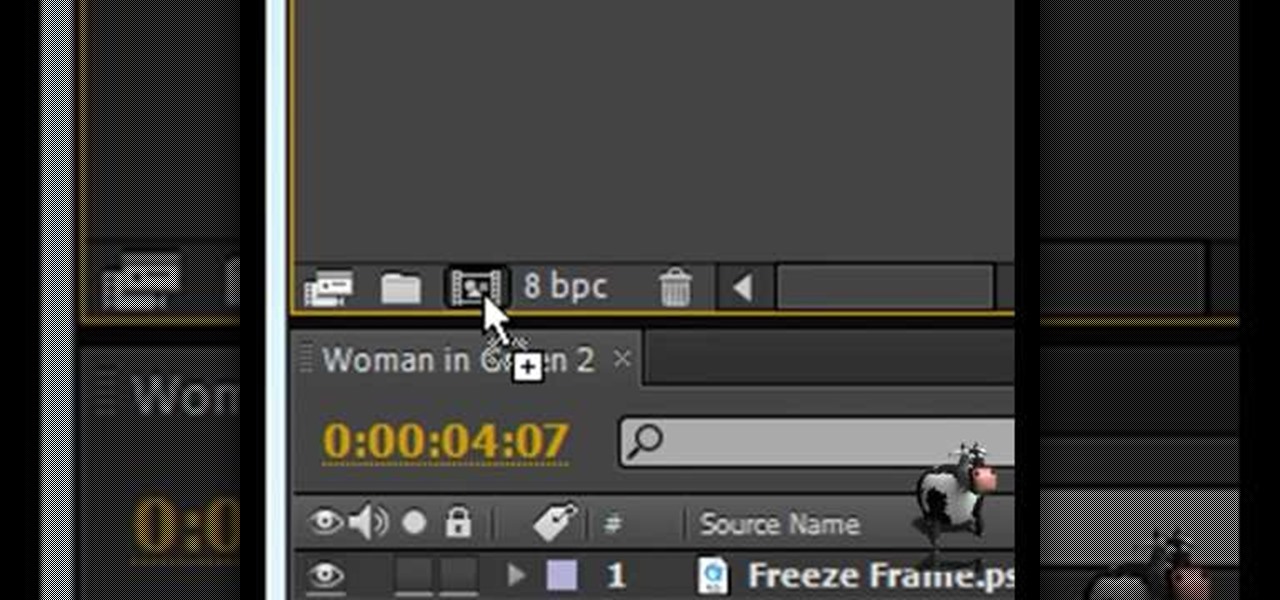
Themadcowmoo continues to show us how to create a shatter & disintegration effect in Adobe After Effects. In the second part of his two part video series he begins by getting rid of the extrusion depth in the shadow by changing the value to 0 (0.00). He then instructs on how to accomplish and even smaller disintegration effect by selecting the 'Shatter Map' tab, going to the fractal layer, choosing 'Fractal Noise' in the top right panel and then selecting '10' as the value within the 'Transfo...

Clicks are made on "Image",then "Adjustments", followed by "Brightness/Contrast" ; contrast is set to 30 and brightness is set to 60 to add more light to the picture. "Adjustment", "Variations" are clicked in that order and both yellow and red are increased. "Filter", "Render", "Lightening Effects" are chosen in that order and a new window appears; within which the style is set to "Soft Omni". The brightness is decreased ;similar to the way it was increased, and contrast is increased to 60. T...

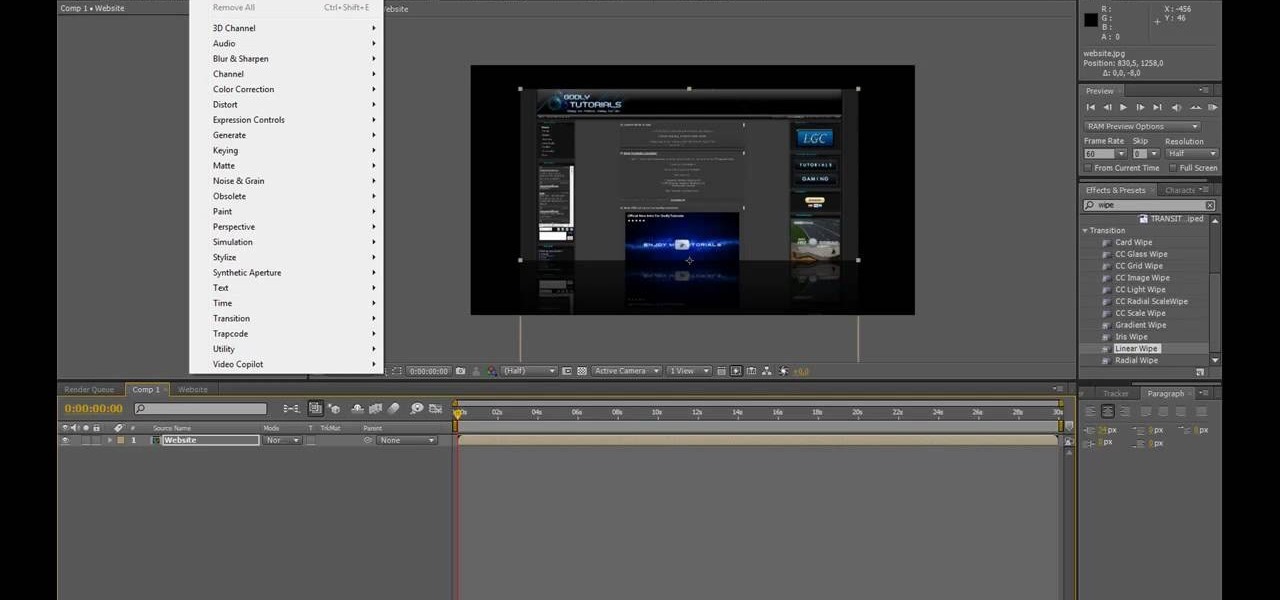
This video shows the way to work with 3D in After Effects. The video basically teaches three things. Firstly, it teaches the way to change the anchor point of the image. This is done by pressing the PAN Behind Tool icon. This changes the anchor point to the desired location. Secondly, the method to change the view is taught. This is done by clicking on the camera tools and selecting the XY Camera Tool or Z Camera Tool. This changes the view of the given image. Thirdly, the video teaches to ha...
Open After Effects. Create a new composition by selecting "Composition" and "New" from main menu. Use default NTSC DV preset. Keep 30-sec default duration unless you need more time for the video scene to edit. Import several video clips by selecting "File," then "Import" from menu. Navigate to video files you want. Import at least 3 different video files using Import File dialog box. Double click on 1st video file you want to add to your timeline. The file will now open in a video monitor win...
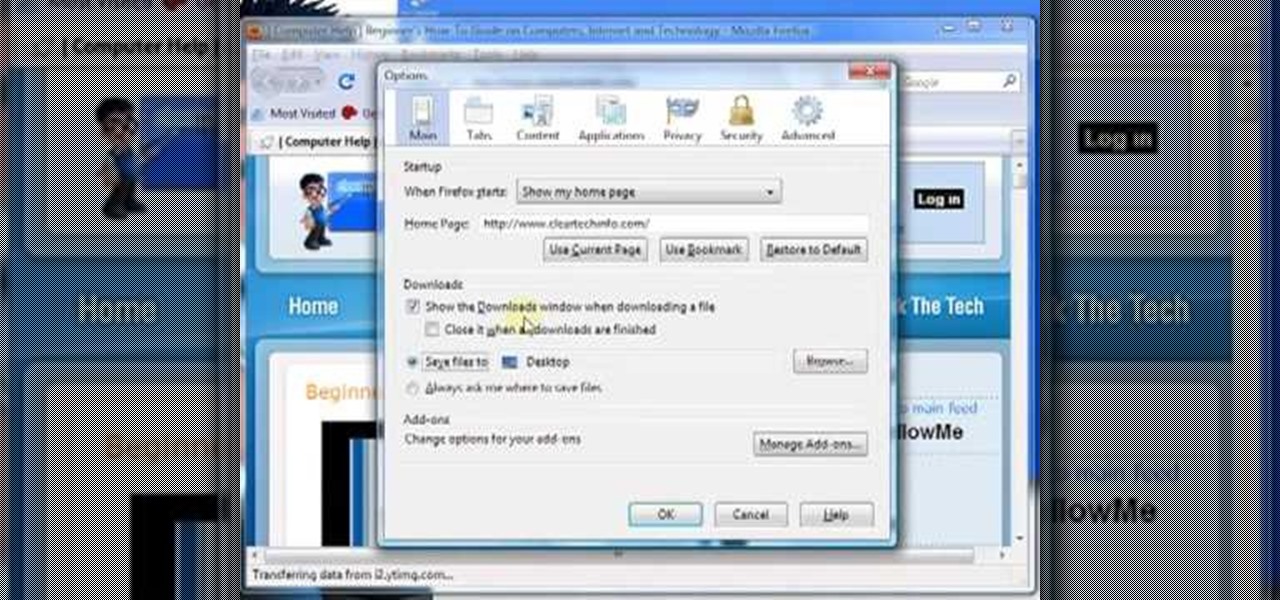
Firefox is the web browser which has many features and the Firefox Download Folder is one of those features. The following steps will tell you how to change the location of the Firefox Download Folder.

In this video we learn how to make a phone call with the Nokia N97. First, go to the main screen on your phone, then tap the dialer icon. From here, you will see a keypad with numbers on it. Enter in the phone number that you want to call, then press on the call key. The phone will then start dialing the number you chose. To hang up, press the end key. You can also call out from the contacts menu, by simply selecting the person you want to call, then pressing the call icon on your phone and u...

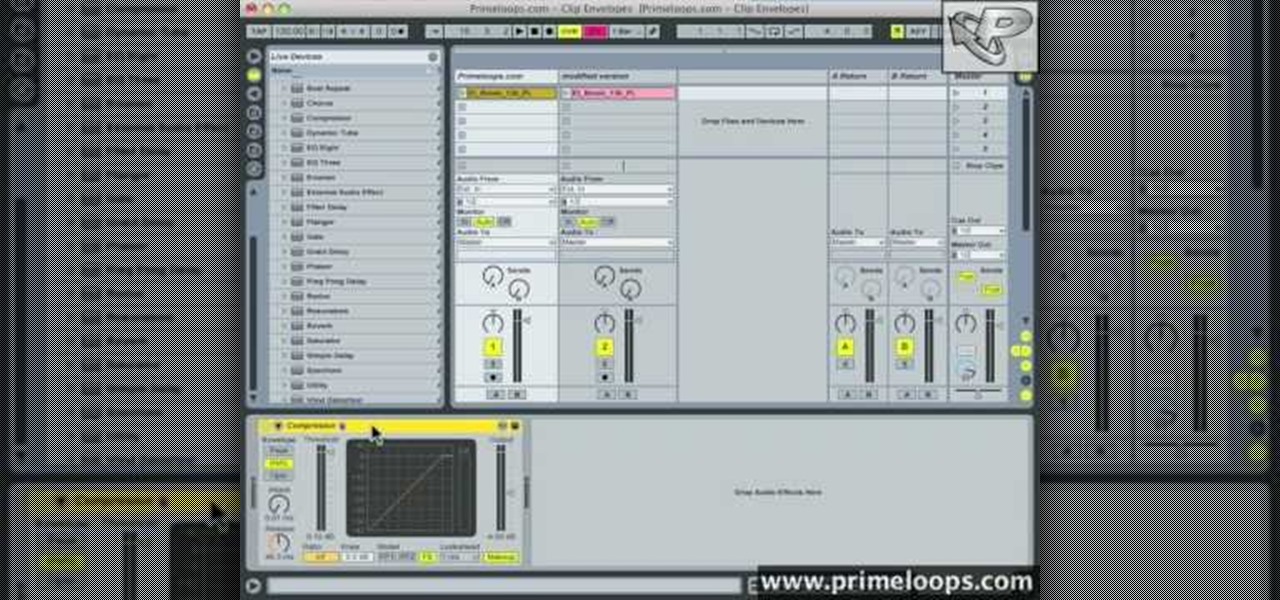
In this tutorial, we learn how to use clip envelope modulation in Ableton. This allows you to change parameters over time. You can access this by selecting your audio clip, then hitting the "E" button in the lower left hand corner. Now, you will see the envelope section where you will be presented with drop down menus. These will allow you to choose parameters and modify the tuning or position. This is an easy way to do extreme tuning changes in your audio. Continue to play around with the cl...
This video tutorial is in the software category where Kerry Garrison will show you how to use vignettes with Adobe Photoshop Lightroom. By this you can remove the dark corners in a photo created by some zoom lenses. Select the photo, kick in the vignettes and fade out the corners focusing on the main subject matter. For this, select 'lens correction' on the right hand side and with the help of the sliders apply the vignettes. You have the choice of applying either a light or a dark vignette. ...
In this video tutorial, viewers learn how to align and group objects, and use gridlines. Begin by clicking the Insert tab and select a shape from Shapes. To align the object, go to the Format tab and select the Align menu. From there, users are able to align the selected object in any direction. In the Align menu, users are also able to add gridlines by selecting View Gridlines. To configure the grid-line options, click on gridlines Settings. This video will benefit those viewers who use Micr...
This video tutorial is in the Software category which will show you how to insert or delete a comment in MS Word 2007. This video shows how to insert both text and audio comments in to your word document. Click on the 'review' tab on top, highlight a part of the text that you want add comment to and click on 'new comment' tab. Then you can insert the comment in the comment box. You can continue adding comments throughout the document in the same way. You can view the comments by selecting 'ne...
Learn how to adjust the mouse cursor size on a Macintosh computer, so that it is easier to see and locate. The cursor can be adjusted to your liking by accessing the "Universal Access" preferences window and then by selecting the "Mouse & Trackpad" option. Near the bottom of the control panel, you will be able to find a slidable bar that can adjust the cursor size to be smaller or larger, as needed. This option can help make the mouse cursor easier to see against a difficult desktop backgroun...
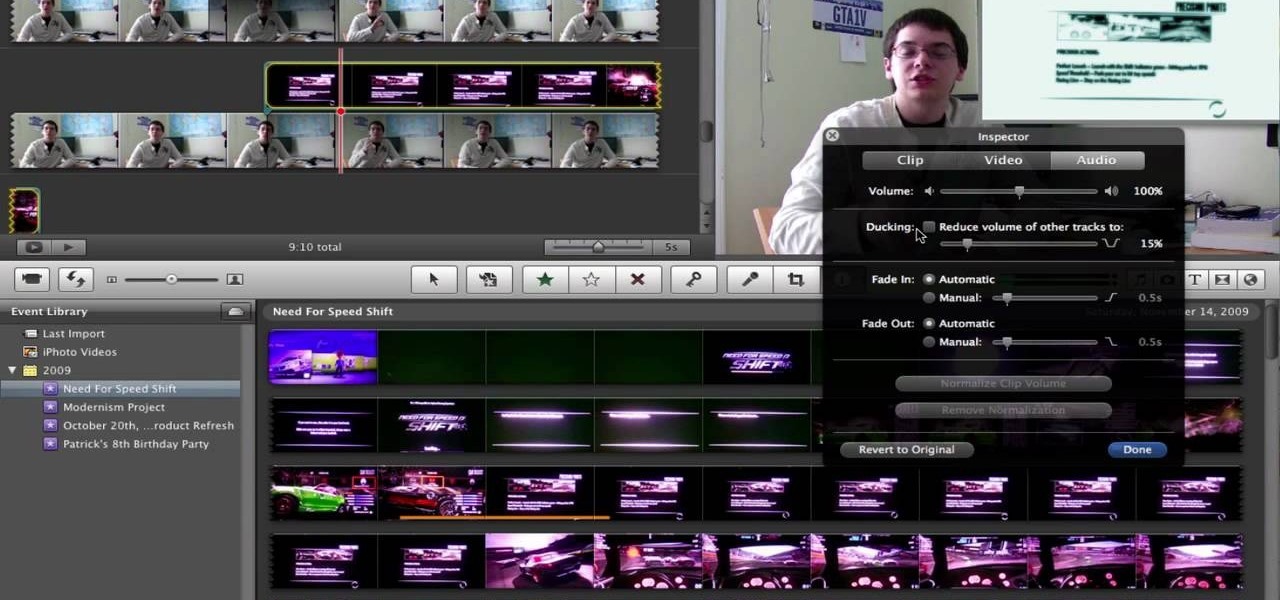
This video will show you how to take advantage of one of Apple's iMovie advanced editing feature, picture-in-picture effect. This feature allows you to embed either another video, or images into a base video. To enable this valuable tool in iMovie, go into the iMovie preferences by clicking on "iMovie" in the top left hand corner of your screen. Under the General tab make sure "Show advanced tools" is selected. Import a video from your event library by dragging it into iMovie and selecting pi...
Mike Callahan with Butterscotch demonstrates how to work with tables in MS Word 2007. Tables are useful for creating information charts and address lists. First, open up Microsoft Word. To create a table, click on the insert tab on the top tool bar. Highlight the elements that you would like to appear in the table by selecting the desired number of columns and rows. Pressing enter inside of a table, it will increase the side of the cell all the way across the table. It will not just increase ...
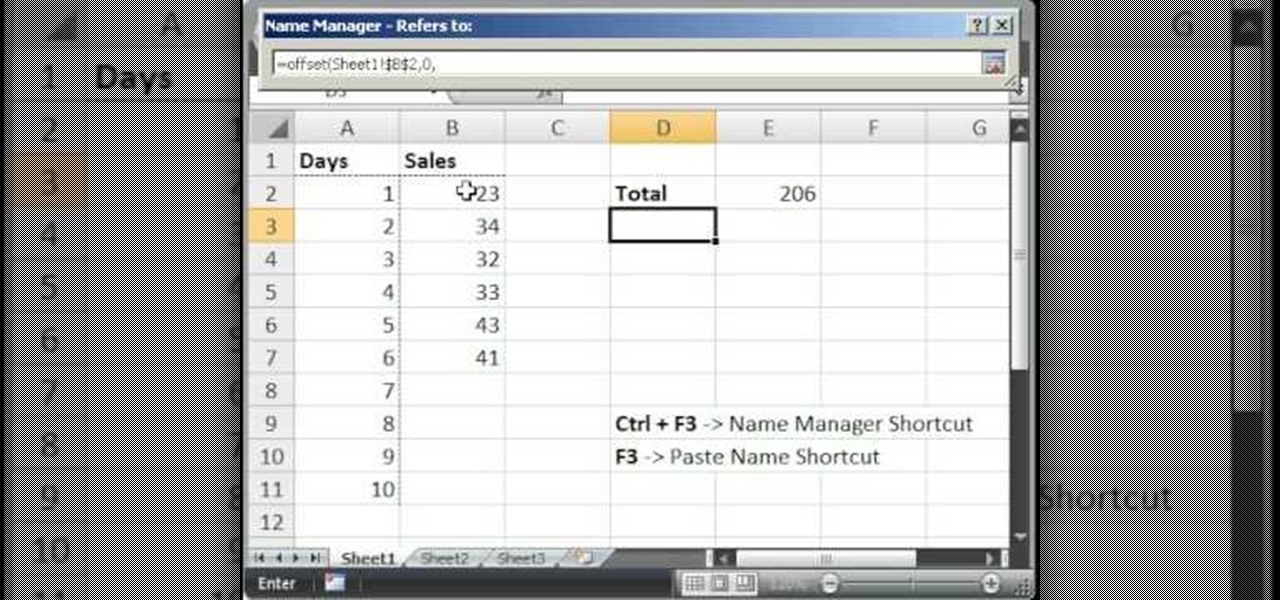
Teach Excel demonstrates how to make an Excel dynamic named range across multiple rows. Highlight the cells that you want to include in your named range and give it a name. You can then use that name in formulas. But it's not a dynamic named range so it won't account for added information. Ctrl + F3 is the name manager shortcut and the F3 is the paste name shortcut. Use the name manager and highlight the named range. Delete the absolute cell references and type in offset. Then, select the fir...
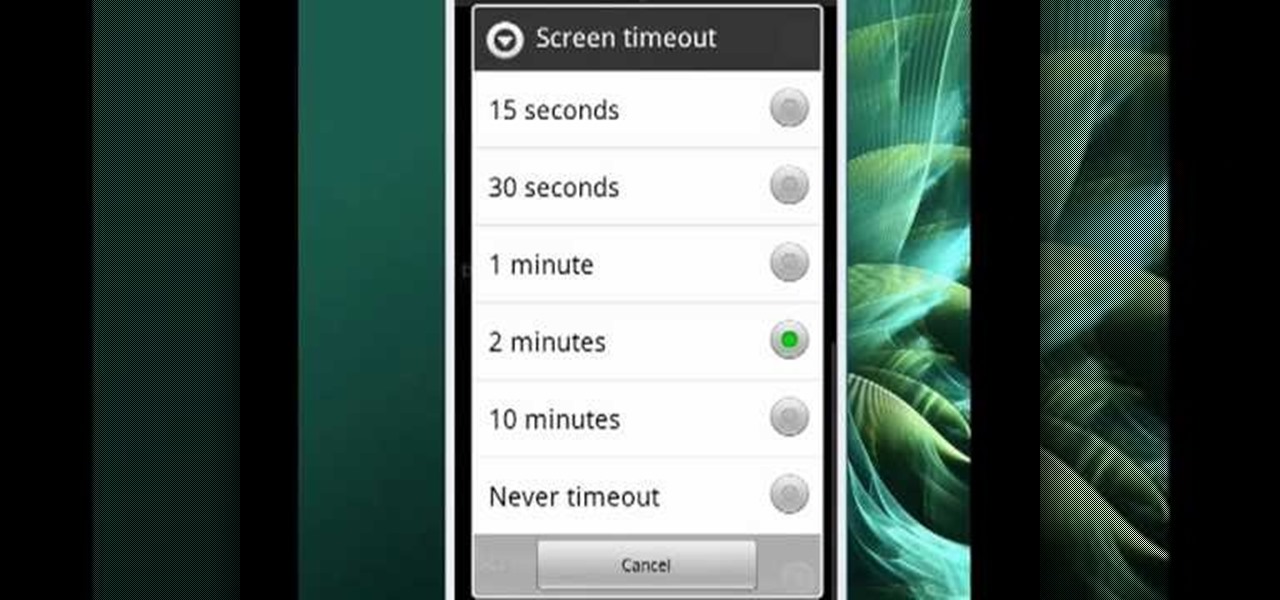
Mike Callahan will show you the tricky process of changing the screen timeout on your Android cell phone. While some people like their screen to black out right after they finish using it others prefer it to stay lit for a while. Mr. Callahan shows you how to change the setting regardless of how you like it. First tap on settings. Next, tap on sound and display. Then, you are going to want to scroll down until you get to screen time out. After selecting the screen time out option, you will ha...
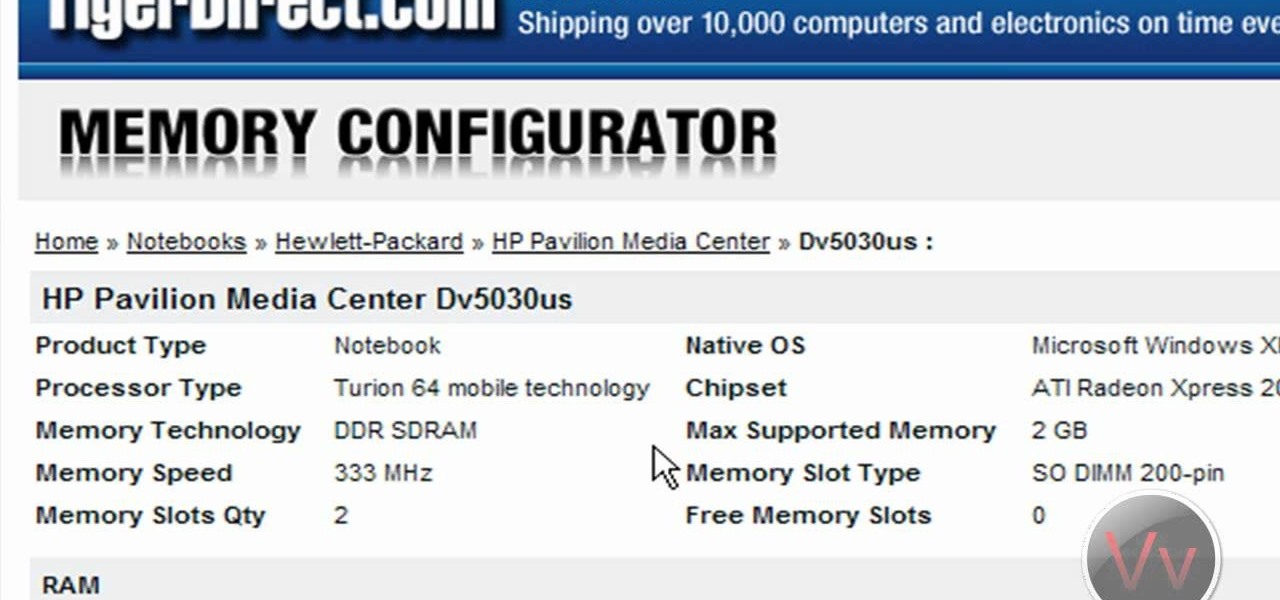
How to pick the right RAM for your computer
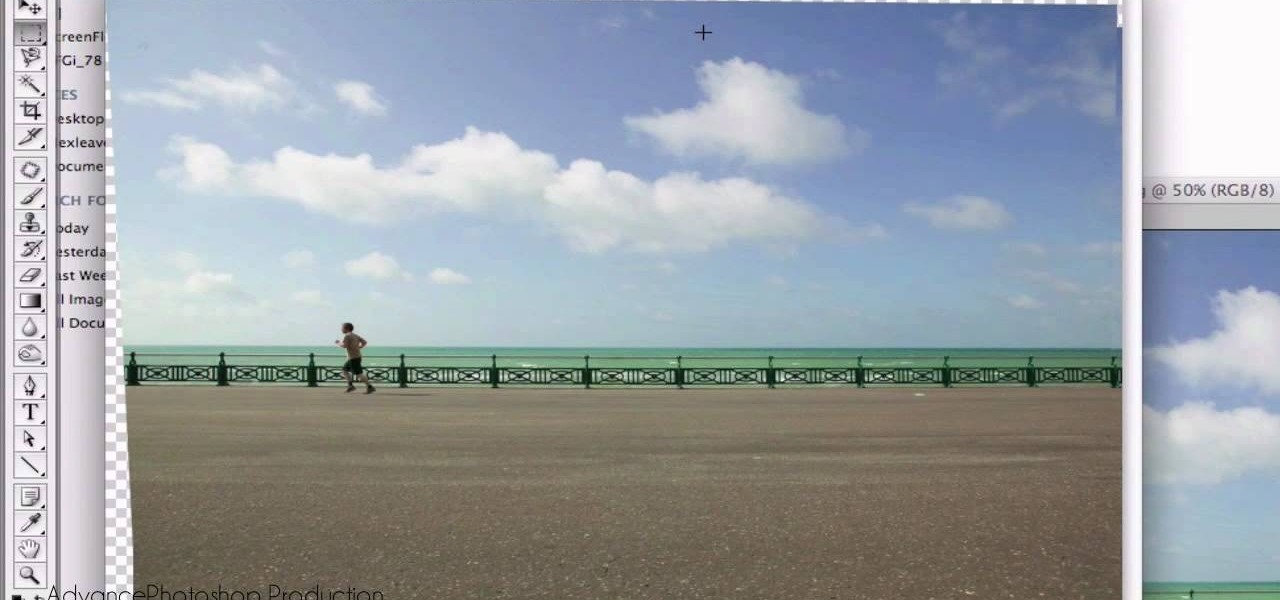
Open your first image and go to the rectangular marquee tool and select all of the image. Next click command or control C to copy image. Then go to your second image and click command or control V to paste the image. Select both the layers (hold down shift when clicking the layer), then go to edit, auto align layers and choose the top option then click ok. Last add a mask to your top layer, this is done by selecting the gradient tool (make sure its set black to white, the mode is normal and o...
In this video tutorial, viewers learn how to use the vanishing point filter in Adobe Photoshop. Begin by selecting the image you want with rectangular marking tool. Then hold Control and C to copy it. Now go to your 3D shape. Press on Filter and select Vanishing Point. Click on one of the corners and drag to each corner. Hold Control and drag it down to create another selection. Now paste the photo by hold Control and V. Then drag the photo to the selected shape area. This video will benefit ...
De-fragmenting a hard drive improves the performance of a hard drive and it is recommended to de-fragment your hard drive from time to time as shown in this video. In Windows 7 you can use the Disk De-fragmentation tool. To do this go to the start menu and open the Control Panel. In the right column select the Performance Information and Tools. Now in that window in the left hand column select the Advanced tools option. In that new window scroll down to the Open Disk De-fragmenter link. Click...
In this video the instructor shows how to format tables in Microsoft Word 2007. To know how to format tables in Word, you will first have to know how to create them. This video assumes that you already know how to create tables. When you click inside a table in Word, a new tab label, Table Tools, appears above the Design tab in the tool bar. In the Design tab there are a lot of options available that can change the look of your table with just a click. To the extreme left there are three chec...
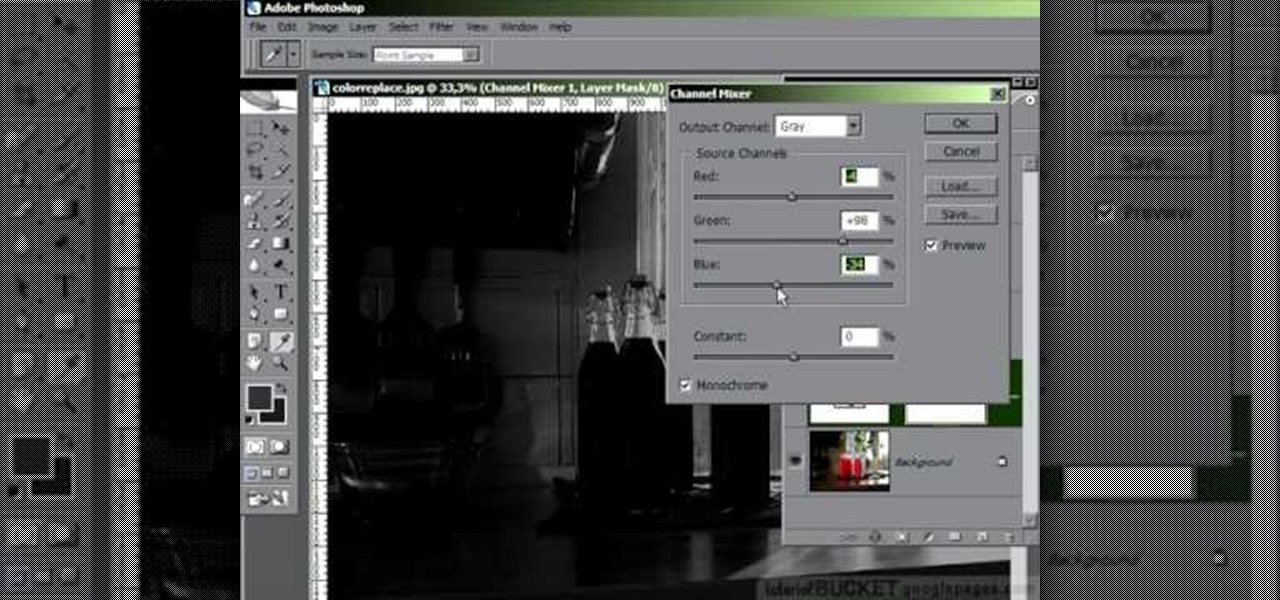
In this video tutorial, learn the several methods to get black & white images from color originals in Photoshop. The first method is the simple desaturate by going to image > adjustments > desaturate and it will wipe out the color from your image. The second non-destructive way of doing this is going into the layers palette, adding a new adjustment layer, choosing hue and saturation and dragging the saturation slide all the way down to minus (-) 100. The next method is going to the channels p...
Tasktutorial will teach you how to create a nice vector cartoon flower using Adobe Illustrator. Start by selecting Rounded Rectangle Tool, and draw a black rectangle. Then select multiple points and move it according to the video, using arrow keys. Then draw an ellipse with the Ellipse Tool, using the Shift key. Watch the video to see the remaining easy steps in creating a vector flower using Adobe Illustrator and also get some cool tips and recommendations for best results.
This video tutorial by tasktutorial shows you how to create stylish text in Photoshop. Launch Photoshop and select the type tool and choose myriad-pro font light. Create a text field and type in the text as indicated. Increase the font size and location as desired. Thereafter open the layer options, choose a gradient and create a new gradient by selecting the color as required. Apply a white color outer glow change the size, range and opacity. If you want to add more text create a new layer a...
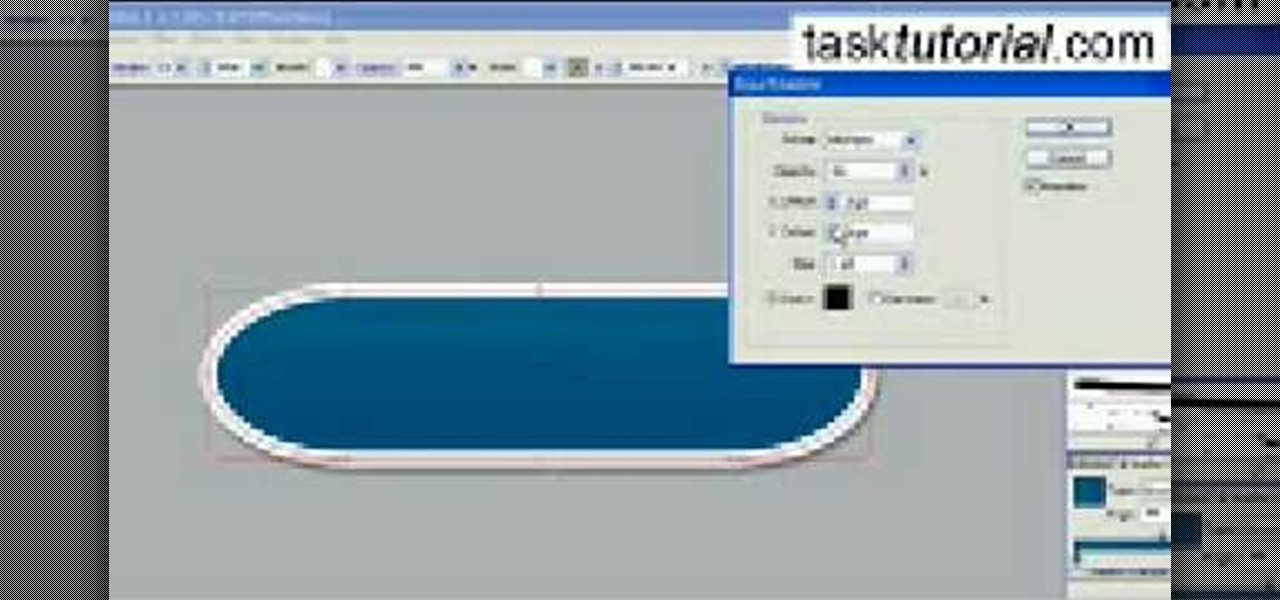
In this online video training tutorial, Task Training shows us, how to create a web button using Adobe Illustrator. The 1st step is to select the rectangular tool in Illustrator and set the size you want your button to be. The 2nd step is holding the shift key you can re-size your shape. The 3rd step is to give the button some color such as a gradient. The 4th step is to add a drop shadow to the button by going to Styles and then selecting Drop Shadow. The 5th step is add text to the button t...
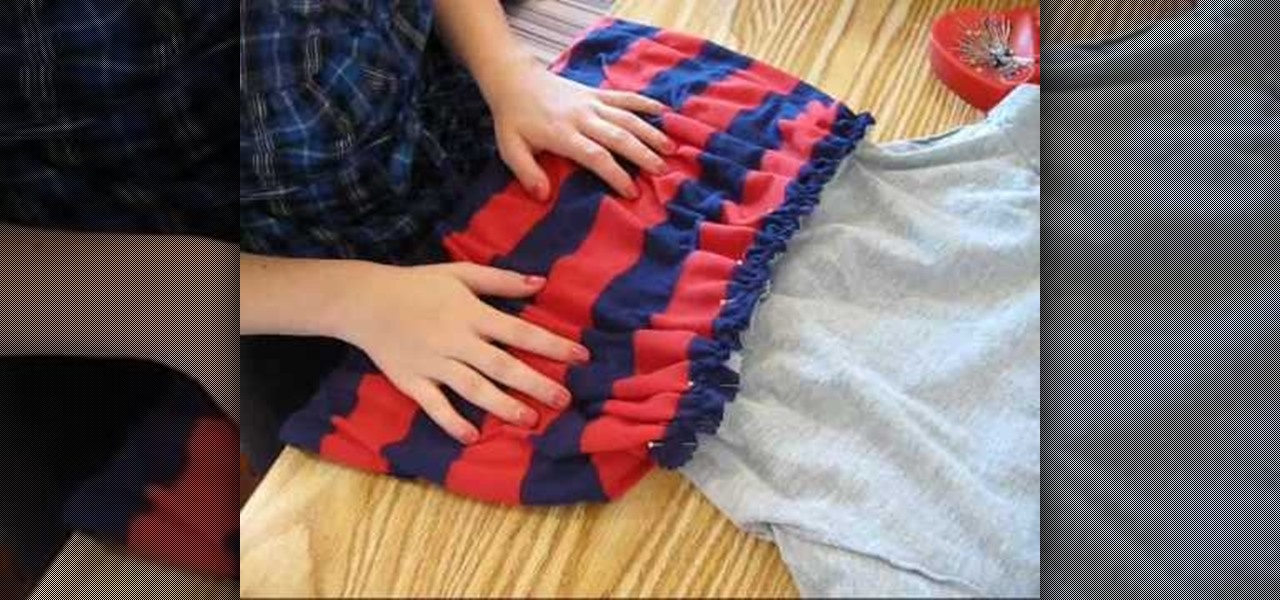
In this video, she shows you how to make a graphic tee into a baby doll dress or tee. She starts out by showing you where you need to cut the graphic tee for it to lay correctly. Then once you have that done, on to selecting a fabric for the bottom of the shirt or dress. She uses a stripped jersey knit and sews both of them together using a traveling stitch. She then shows you what the finished project would look like as a baby doll dress in the end.
Tasktutorial.com shows us how to create drag and drop functionality into a flash program. Start off by making a few shapes in flash and then add color to each of them, a different one for each shape in order to differentiate between them. After doing this select all the shapes by dragging the cursor over them, once done distribute the shapes into layers by going into the 'modify' drop-down button at the top, then timeline and there will be the option to distribute. Now we have to turn the sha...
From task tutorial.com that how to create an envelope icon on illustrator. First draw a rectangle change the angle to 90 degrees then select gray color, select pen tool draw a shape and then go to layer select duplicate then rotate the shape using left mouse button by selecting the rotate tool. Now using down arrow key move the shape to down ,choose select tool and resize the shape then select the path go to gradient and change it angle to 90 degrees. Finally select the layer and go to effect...
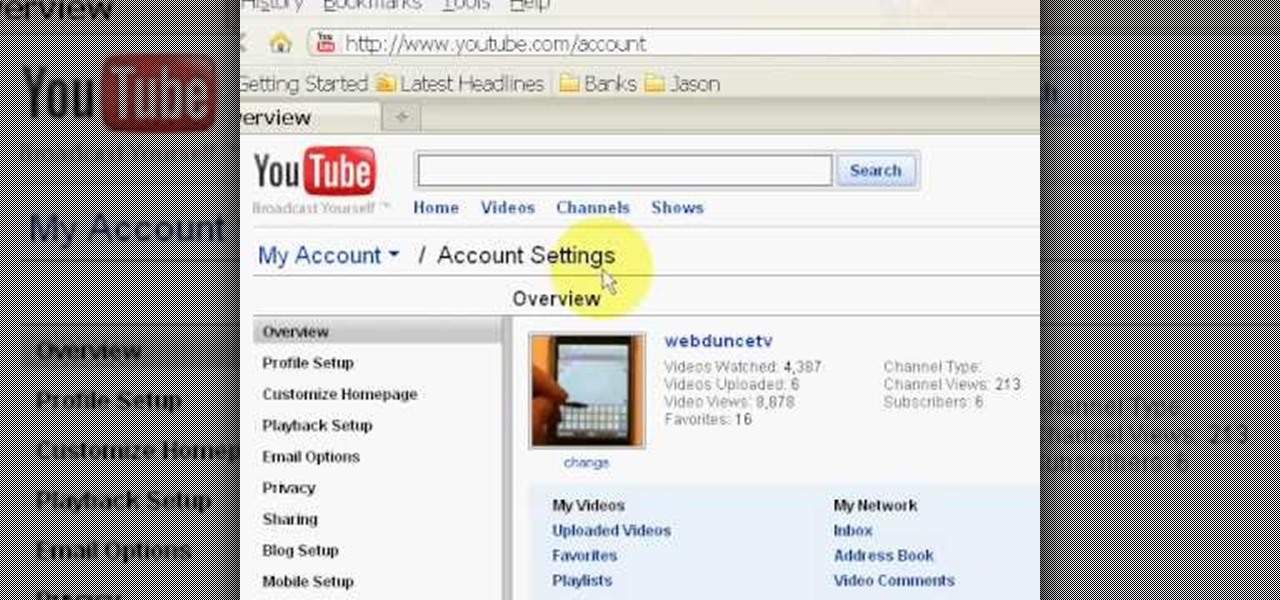
Want to change your YouTube Channel type? YouTube user webduncetv shows you how. After signing into your YouTube account hover your mouse over user name and click on the word "Account" from the drop down list.
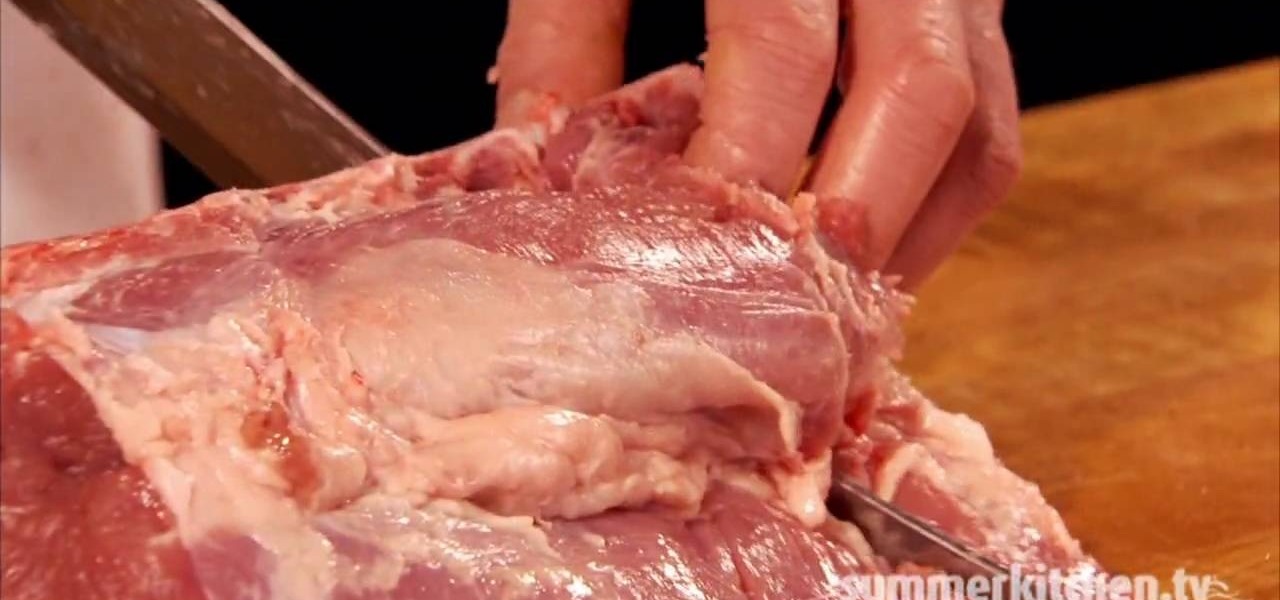
A pork chop is just a pork chop, right? Well, actually not. In fact, there are three different cuts of chops; the rib chop, the loin chop, and the sirloin chop. Each of the three cuts comes from the pork loin, which is the tender strip of meat that runs from the shoulder butt back to its leg (hip).
Beef has many primal sections; the chuck, ribs, short loin, sirloin, round, flank, short plate, brisket, shank, and beef is rated by the USDA. Prime has the most marbling, followed by Choice, then Select, which has the least.
With Adobe Photoshop on your computer, it's super easy to change or adjust the skin tone of somebody in a digital photo. The process uses some basic selection and color adjustment tools, and it's a fun way to make a friend's face nauseously green or lessen the effects of overly strong, sometimes even orange, makeup.
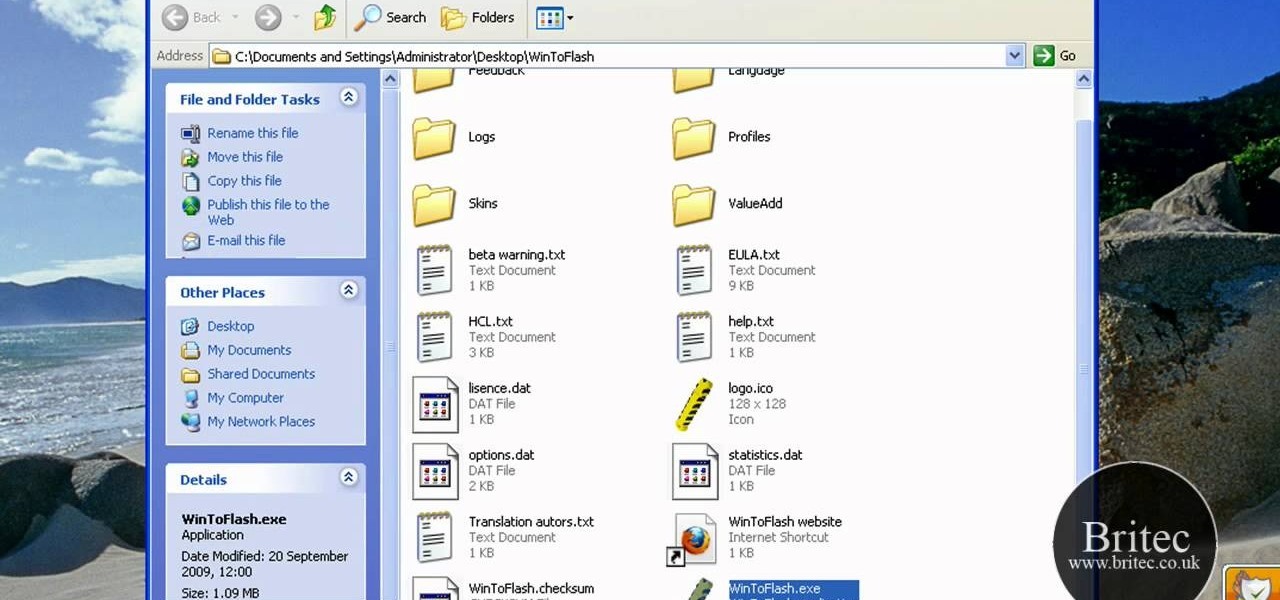
This is a how to video to prepare a bootable USB installer for windows 7/XP using wintoflash. Here are the steps to do.
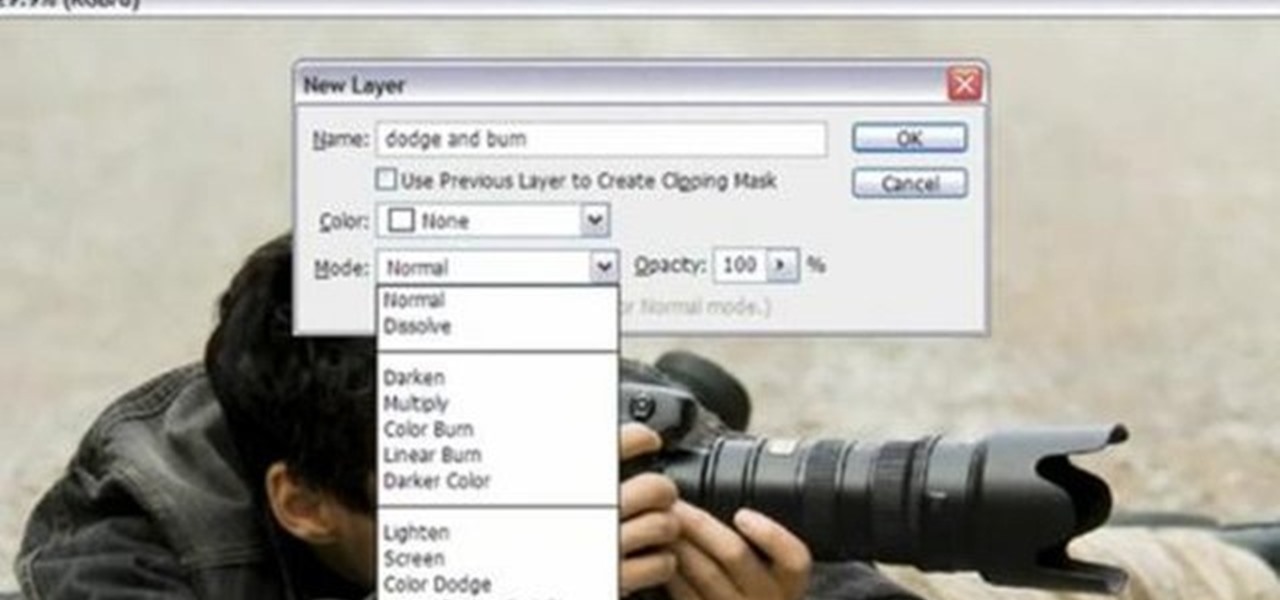
Yanik Chauvin demonstrates how to do Non Destructive Dodging (lighten) and burning (darken) of images using the tools in Photoshop. He shows the image of a man lying on earth with his camera. To start the work he wants to make a new layer which can be done in two ways either by clicking on the ‘layer’ button on top of menu or by pressing down the alt key and clicking on the new layer at button of the layer palette. It will bring up the dialogue box. He named it “dodge and burn” and from the l...
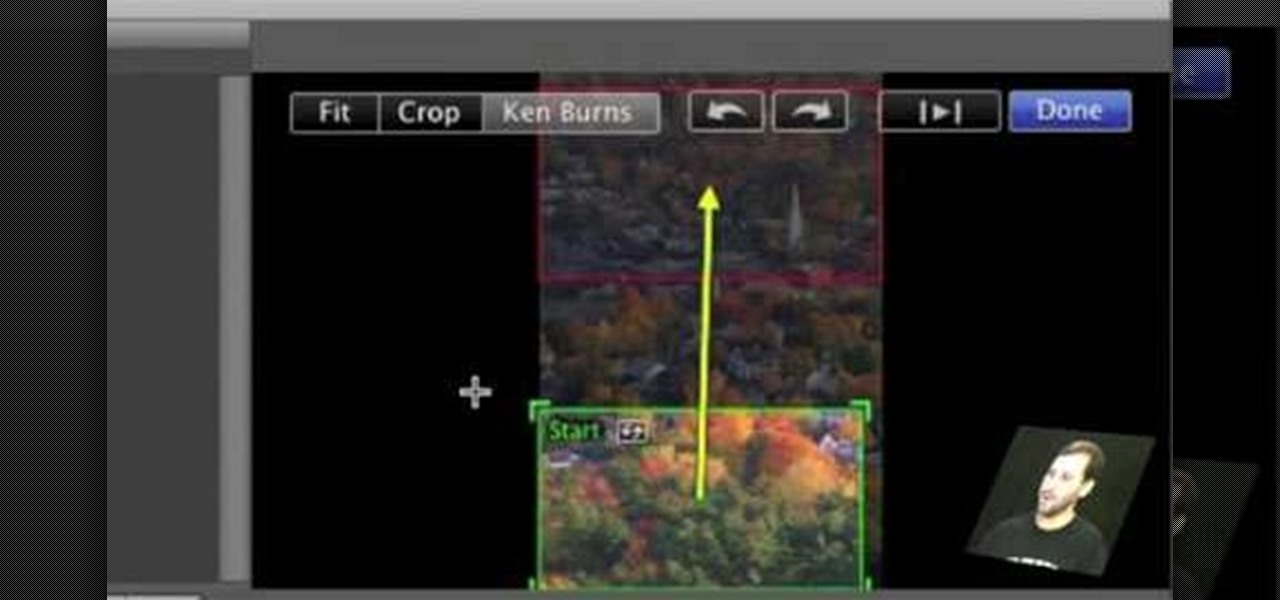
First open up the image by clicking on photo button or just drag the image from finder to the project area. Now click on the crop button or just press the c button, you will see a green and a red area in your picture. Now set the red area to where you want to zoom in and green area to where you want to start your zooming. Now set the green and red area in the picture as showing in the video and play it, you will see that the picture is zooming to where the red area was set. Now change the ima...
First double click on the image in layer window then name it and click on OK. Now if you use magic tool on the image and delete the background, it will also delete some of the image part. So to fix it you need to find that kind of places of the image and use brush tool to fill up that space. Now you can delete the background by selecting it with magic tool.
The iPod kids shows viewers how to covert movie files that are already on your computer into a format that will work with your iPhone or iPod Touch (2nd generation).
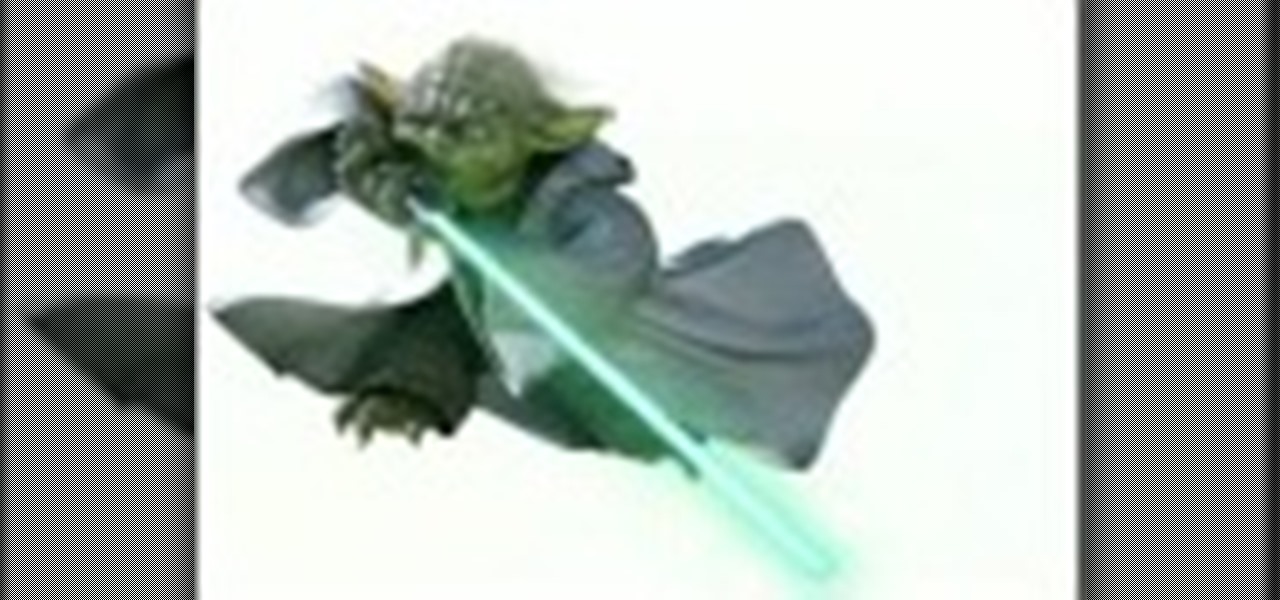
Select the image whatever you want from anywhere. For example, choose Google search and type high res yoda and select IMAGES choose the picture and save in your computer. Enter into rasterbator software. From the dialog box select the language what you know. Select the image using 'BROWSE..' button and we have to select '3D-Yoda.jpg' and click open button, and then click the CONTINUE button. We have to choose the standard paper size. Next press the CONTINUE button. In this dialog box we have ...
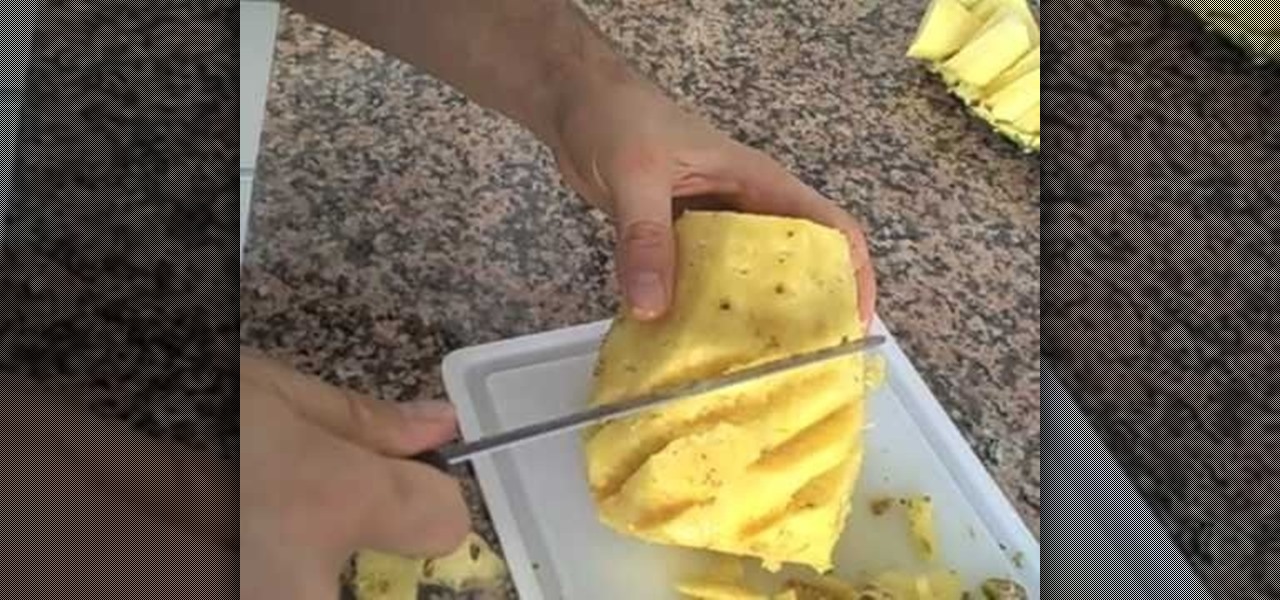
Frederic Patenaude demonstrates selecting and cutting a fresh pineapple. To select a fresh pineapple, he discusses that the color is not a great indicator. Instead he suggests looking at the bottom of the pineapple to make sure the base is yellow, indicating ripeness. He also smells the pineapple to make sure it smells ripe. he also checks for bad spots, softness or leakage around the whole fruit. He communicates that any tests with leaves are also not indicators. One way to cut a pineapple i...
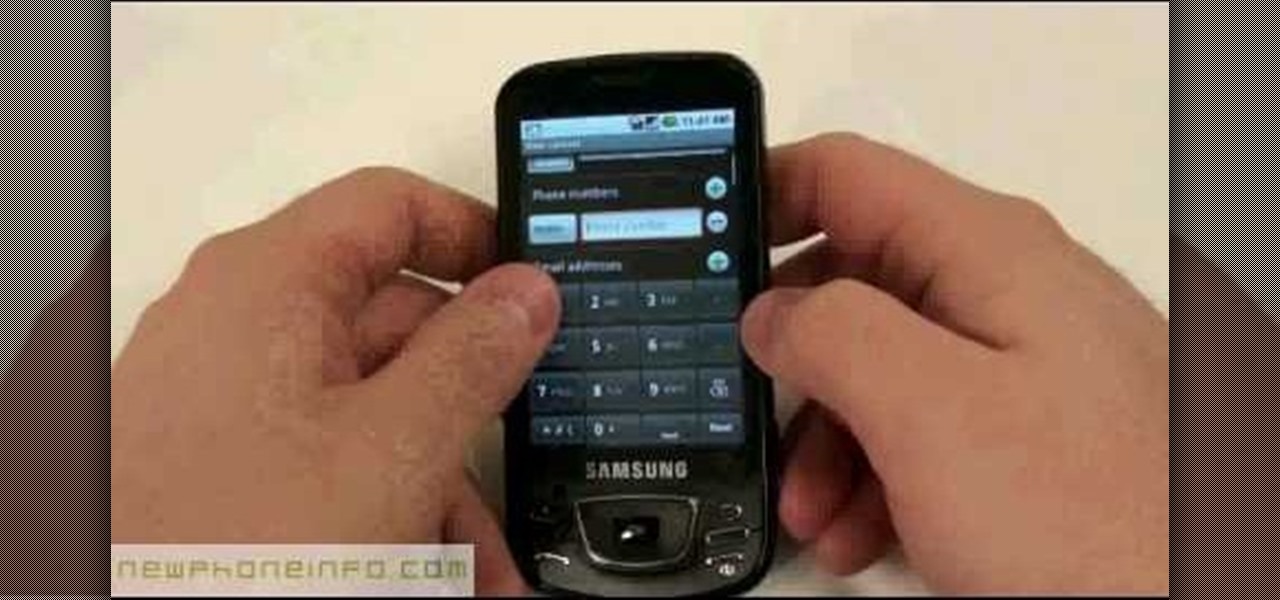
Watch this video to learn how to add a contact using the Samsung Galaxy I7500. To Enter a New Contact: 1. From the homepage, tap the Contacts icon, then the Menu key. 2. Tap "New Contact" and enter desired contact information. 3. Enter the phone number. 4. Scroll to the bottom of the screen and press "Done". To Edit an Existing Contact: 1. Press and hold the contact. 2. Press the "Edit Contact" icon. 3. Add an image if desired by tapping the image icon and selecting a desired image. 4. Press ...
Windows 7 has an interesting new feature by which you can pin your programs to the task bar and this video shows you how to do it. In Windows 7 if you have any frequently used program you can improve its ease of access by pinning it to the task bar. Now to do this first open the start menu, go to the programs, and now browse to any program and right click it. From that menu select the Pin to task bar option. When you do this the program icon will appear on the task bar. Now the program is pin...