Screwing hooks into a ceiling can be a real pain. In this how to video, home improvement expert Danny Lipford gives you a great tip on screwing hooks into the ceiling. All you need is an electric drill to easily install screw hooks into your ceiling.

When screwing two pieces of wood together there are three essential steps. In this tutorial, Darren Baensch demonstrates how to screw wood together properly. Screw pieces of wood together.

The temperature control onto hot and the fan is turned off. A bleeder is loosened with a 12mm screwing object. A funnel attachment is placed onto the cooling system and the actual funnel placed ontop. A pre-mixed liquid is poured into the funnel. The bleeder valve is then tightened. Another set of liquid is poured into the funnel and some is poured into a reservoir at about 3/4. The vehicle is started and druiven a few steps back and left on, to run at about 2500 rpm until the cooling fan com...
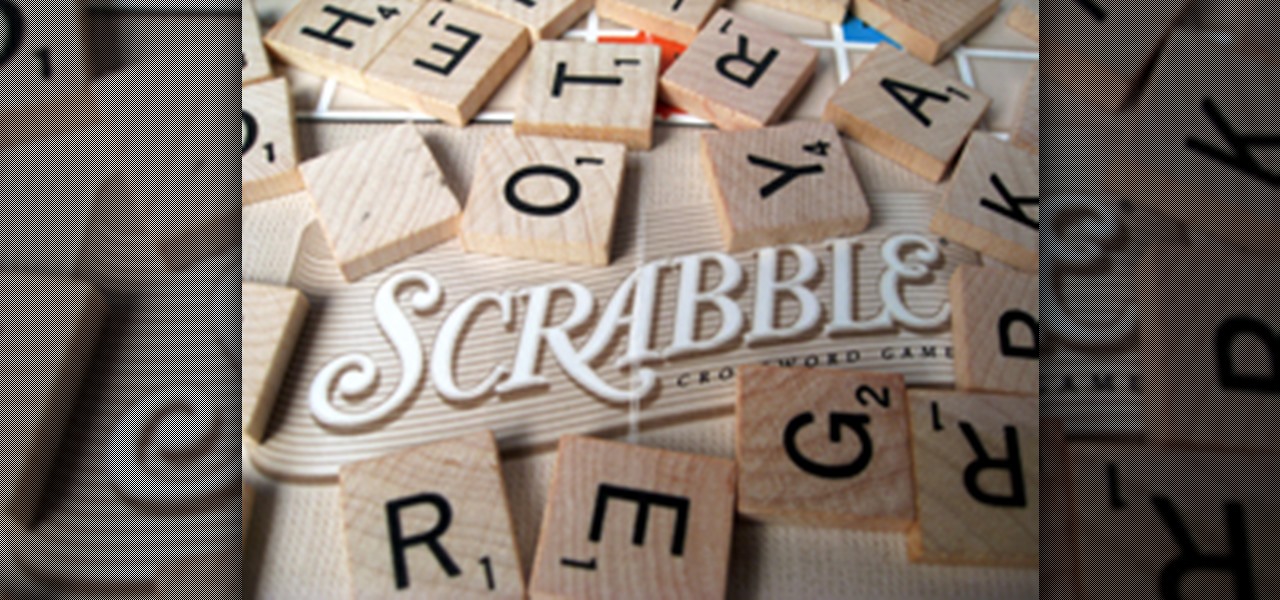
SCRABBLE. To some it's just a game, but to me it's life or death. Well, not really, but it feels that way anyway. On a normal weekend, a game becomes much like Jon Thomas' "friendly game of death Scrabble."
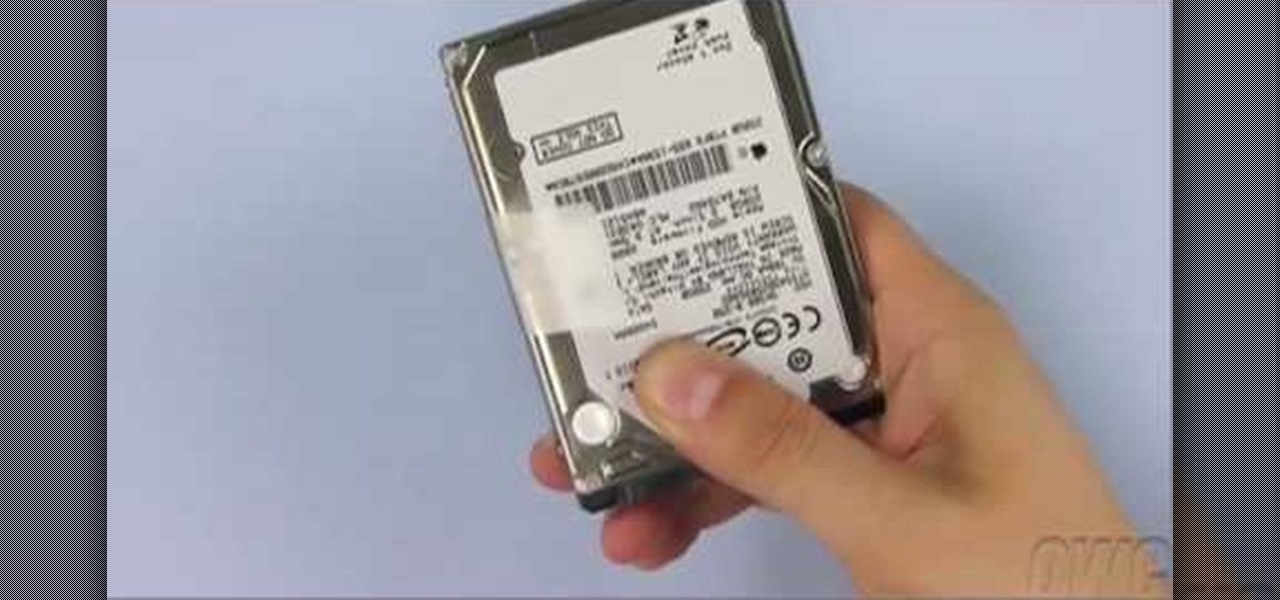
In this video from MacOSG we learn how to install a hard drive in a 15" Macbook Pro from around 2009. For this you need a #00 Phillips head screwdriver and a T6 Torx screwdriver. Make sure you use proper anti-static precautions with this. Transfer your data to the new drive before installing. To remove the hard drive, flip over your Macbook. Use your Phillips to remove the 10 screws. Remove the 3 at the right which are longer than the other screws. Then remove the left most screw which is the...
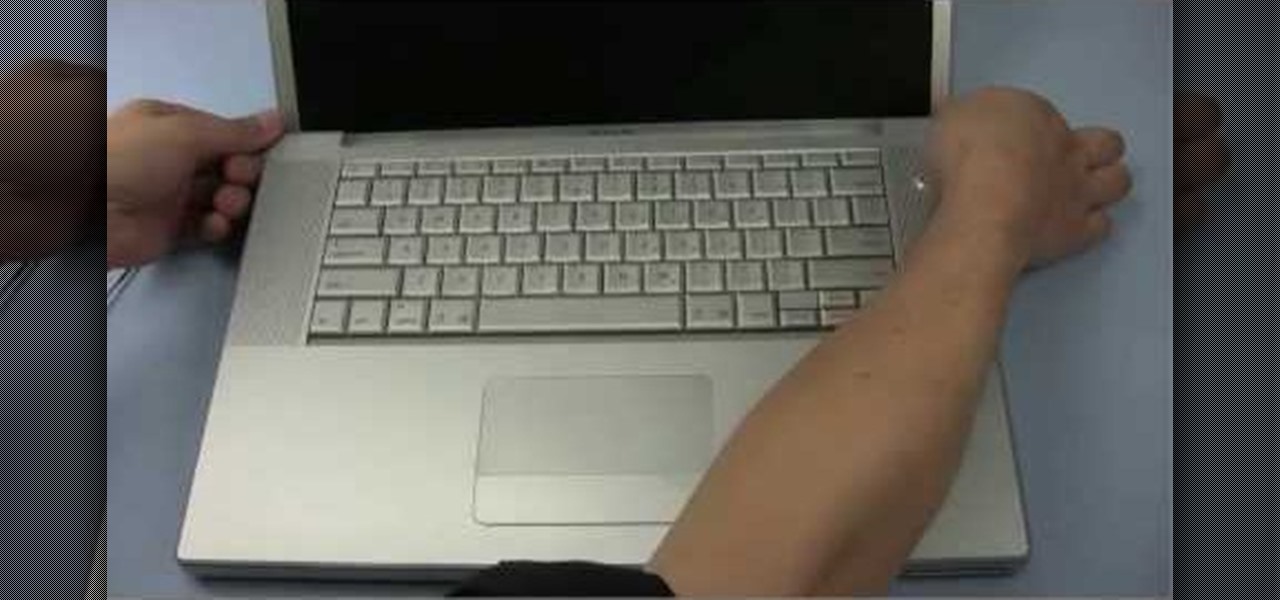
The video starts by informing about the basic safety precautions, tools needed and backing up data prior to hard drive replacement. There are a series of screws which need to be removed in the following order.1. Removing the battery from the back and then remove three screws thereby removing the RAM cover.2. Two more screws to be removed under the RAM cover.3. Two screws from inside front edge.4. Four screws from the bottom rear.5. Two screws each from the slim sides.6. Two screws near the hi...

Installing shelves in a closet turns dead space into useful storage. You Will Need:
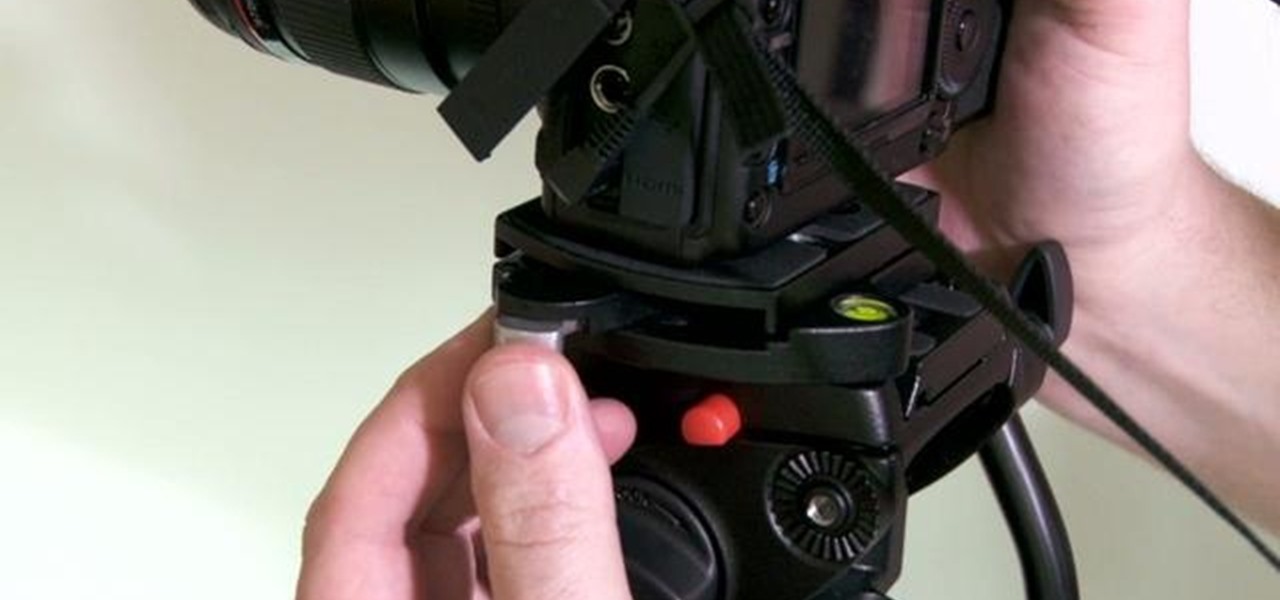
This tutorial shows you how to use the Mafrotto 394 quick release plates, which allows you to quickly move or change cameras on your tripod. This saves you a lot of time you'd otherwise spend screwing and unscrewing your camera from the tripod.
This how-to video shows a quick and painless way to put arrow wraps on arrows without getting bubbles or screwing up alignment. This is a very effective way to install an arrow rap, and saves you the pain and hastle of messing up.
In this video, we learn how to use extension tubes in place of a macro lens. First you will need to have your camera and a tube insert that will attach to your lens. Once you have this, you can attach it to the lens by screwing it on with your hands. Then, you can focus extremely close, much more than you would be able to do with a regular lens. After you have attached this, look through the camera and start taking shots close-up. Then, you will be able to see a better picture than you had be...
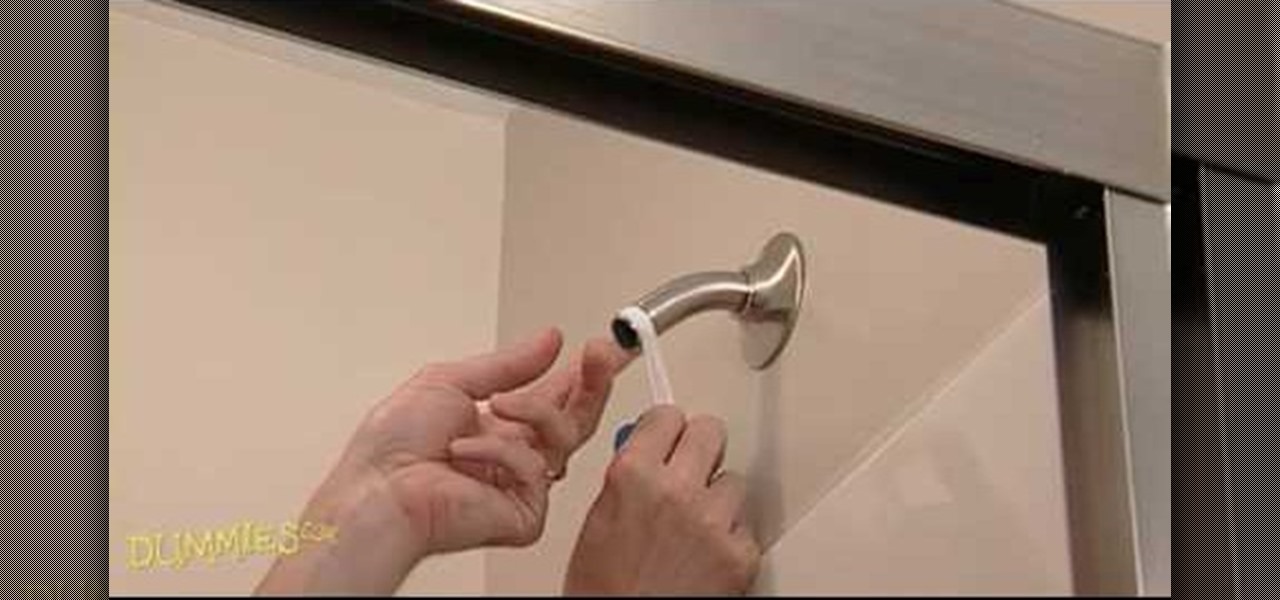
In this tutorial, we learn how to install a new shower head and remove an old one. You will need a wrench, toothbrush, rags, replacement shower head, teflon tape, and pliers. First, remove the old shower head with your pliers, wrench and cloth to remove it. Twist this counter clockwise until the shower head comes off. Now, clean the threads with the toothbrush and place the teflon tape over them. Now, screw your new shower head on by hand until it fits snugly onto it. Finish screwing this on ...
Compact fluorescent light bulbs, or CFLs, use about 75% less energy, give off 90% less heat, and last up to ten times longer than old-fashioned incandescents. Changing over is as easy as… well, screwing in a light bulb. This eco-friendly tip will save you some money & save electricity.
Impress your friends by "screwing up" an attempt to make a coin disappear -- and instead making an entire salt shaker go through the table! For this trick you will need a salt or pepper shaker, a stiff napkin, a coin, and a table. This magic trick takes a little bit of misdirection, but has amazing results. Watch this video magic tutorial and learn how to do a disappearing salt shaker trick.
This tutorial video will teach you how to make your own stink bomb in half the time with twice the smell. This stink bomb is a great tool for distracting people or just screwing with them. Use this as inspiration for one of your April Fools Day pranks!
In this video, we learn how to install a toilet seat. Start off by screwing the screws into the knots on the base of the toilet seat. After this, you will lay this down gently on top of the toilet and line up the screws. After this, you will go underneath the toilet. While you're down there, you will need to place on the screws to make sure that the toilet seat and the toilet are down securely. Once you are done, your toilet seat will be installed and it will be brand new and ready to use. En...
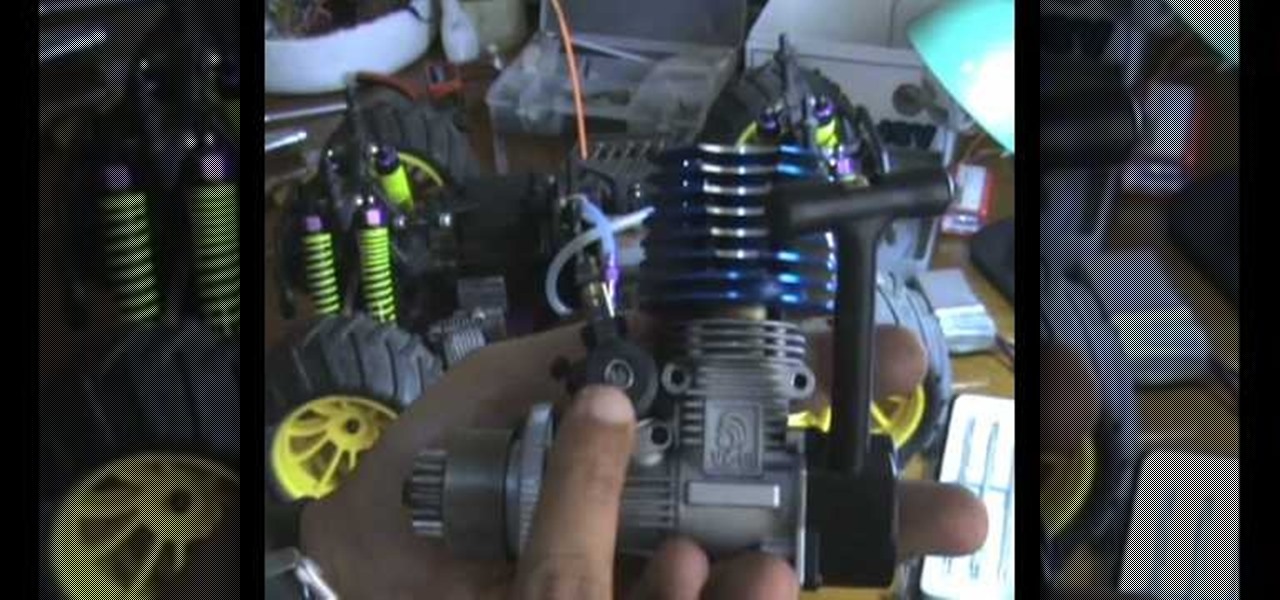
In this tutorial, we learn how to install a new engine in an RC Nitro Truck. First, fix the engine fly wheel and then fix the clutch shoes. After this, fix the drive gear by making sure the bearings are fit into place. Next, put the drive gear on, then make sure there isn't any friction. Now fix the lock, then fix the clutch shoe spring. Make sure the spring is locked and fit into place. After this, tighten the screw to lock the drive gear, then you are ready to use this engine. Place it into...
In this video tutorial, viewers learn how to make a toy car with CD wheels. The materials required for this task are: 2 thread spools, long piece of thing wood, 4 CD's, 2 screws, 2 washers and 2 bolts. Begin by drilling a hole in the spools and 2 holes in the wood. Then place a washer on the screw. Now place the CD on the washer. Then add another washer and secure it by screwing on a bolt. Now put the wheel through the first board of wood. Then put it through the spool and other wood board. N...
First, apply wax to the toilet hole so it doesn't leak. Next install the supply line. Set the bolts on the flange and attach a wax ring onto the bottom of the toilet. Set the toilet over the bolts. Next, stick the gasket to the bottom of the tank and put the tank on the toilet. Tighten the bolts on either side of the tank. Then, hook the supply line up to the toilet. Attach the toilet seat to the toilet by screwing it into place. Finally, turn on the water supply. Your low flow toilet is now ...
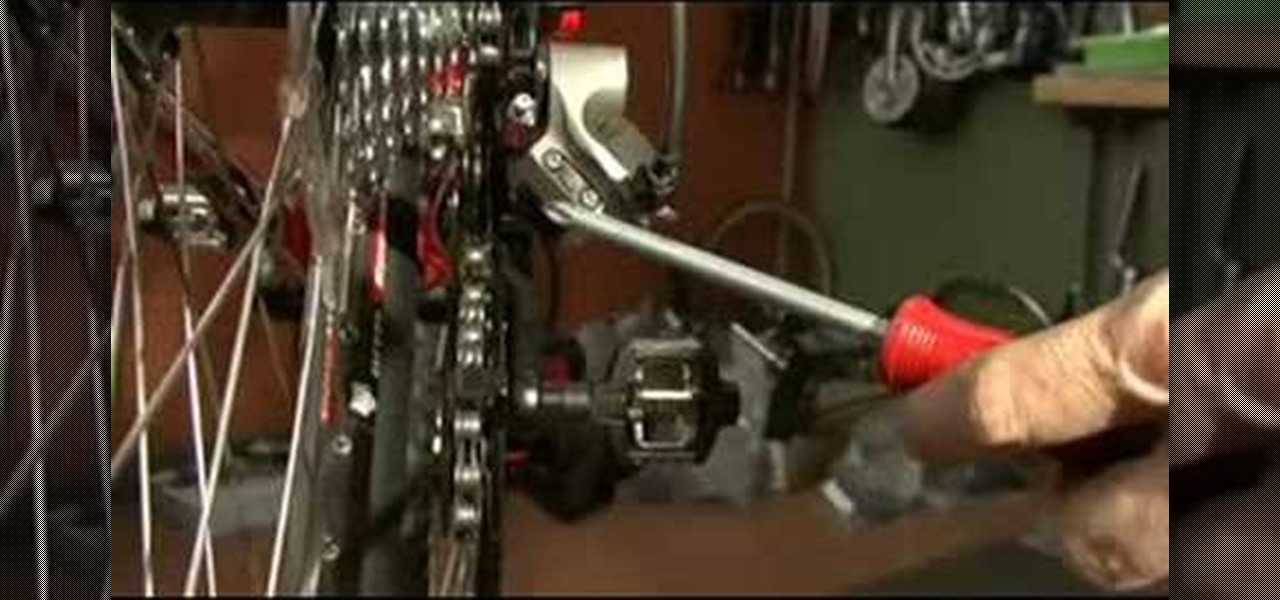
Use a 5mm Allen wrench and loosen the bolt holding the cable on the rear derailleur. Thread the shift cable through the cable stays and tighten it in the rear derailleur with as little slack as possible. Make sure that the adjustment screw on the shifter is in the mid point of the adjustment.
Team Member, Nacelle takes us through the process, showing us how to put a beautiful water feature for your garden which could be the reason for the envy of your friends.
Check out this video to see how to collect blood with the BD Vacutainer Eclipse Blood Collection Needle.
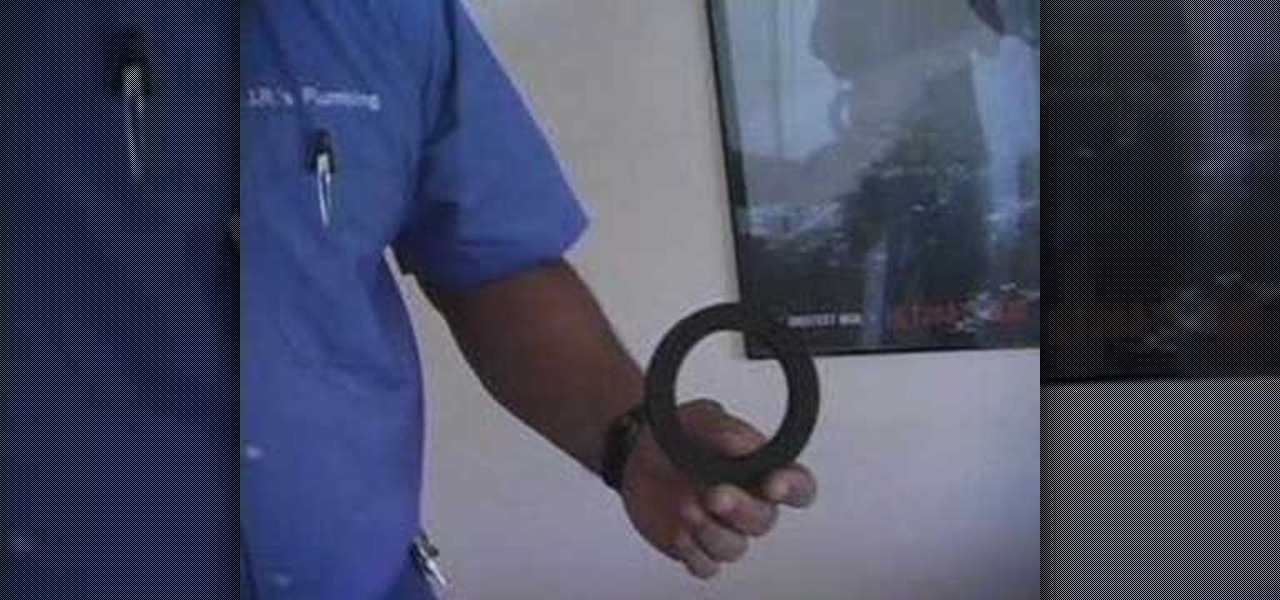
This video demonstrates how to install trailer lights on your boat's trailer. In order to determine what size replacement kit you will need, you must figure out the width of the trailier at the widest point. First, remove the old lights. Use a large slotted screwdriver to remove the cover. Don't forget to wear eye protection. Next, use vice grips and a wrench to remove the exposed stud. Using a wire brush, remove the salt and loose corrossion. Then grease the threads of the studs. You are now...
A CNC router machine is probably the most useful tool a hobbyist can own, but the price for a CNC machine on the market is way more than the average hobbyist is willing to spend. You can build your own CNC with very basic tools, little knowledge of machinery, mechanics, or electronics, but be warned, these machines are inherently dangerous, so wear the proper protection and use common sense. At the very least, read the instructions and precautions on every tool you use.
In this video Bob Schmidt shows you how to properly use nails and screws while nailing and screwing the drywall your hanging in your home remodeling project.
There's something missing on your brand new Samsung Galaxy S4, and if you're a softModder like me, you know exactly what it is already. If you don't know, keep reading, because you should—anyone who wants a better Android experience should.
Cassette tapes, much like the boombox, Walkman, and record player, aren't used much anymore. With the ability to put music on our smartphones, most of us don't carry tapes or CDs around because it now seems inconvenient.
Economists have long since known that people want to be rewarded for taking on risk. Investments are thus judged by their risk-adjusted returns (Sharpe ratios). A typical hedge fund has a Sharpe ratio of around 0.5. This means that its excess annual return over the risk-free rate is about half its annual standard deviation.
You can do a lot with liquid nitrogen, including freeze and shatter gummy bears, make homemade Dippin' Dots, and scare the crap out of your friends by dipping your hand in it! If you can't get your hands on any, you can even make it yourself. Or, if you want to try something a little more destructive, you can use it to make an explosion and send 1,500 ping pong balls flying.
Mobile wallet Curve just released a new feature that lets you correct past mistakes. Sounds incredible, right? Unfortunately, the mistakes you can erase aren't things like forgetting to do an assignment in school, screwing up a job interview, or, well, your ex. However, you can switch the card you want to use to pay even after you've paid with Curve, and that's still pretty cool.
Google has done it again—they've pushed another broken OTA update for the Nexus 6. Except this time, it almost completely softbricks your Nexus 6 instead of just screwing up Android Pay and SafetyNet. Apps are force-stopping left and right, making the phone practically unusable.
A flat soda tastes awful. It's almost as bad as drinking a room temperature milkshake. Of course, you can always opt to buy single-serving cans or 20 ounce bottles, but that's always going to be more expensive than 2-liters.
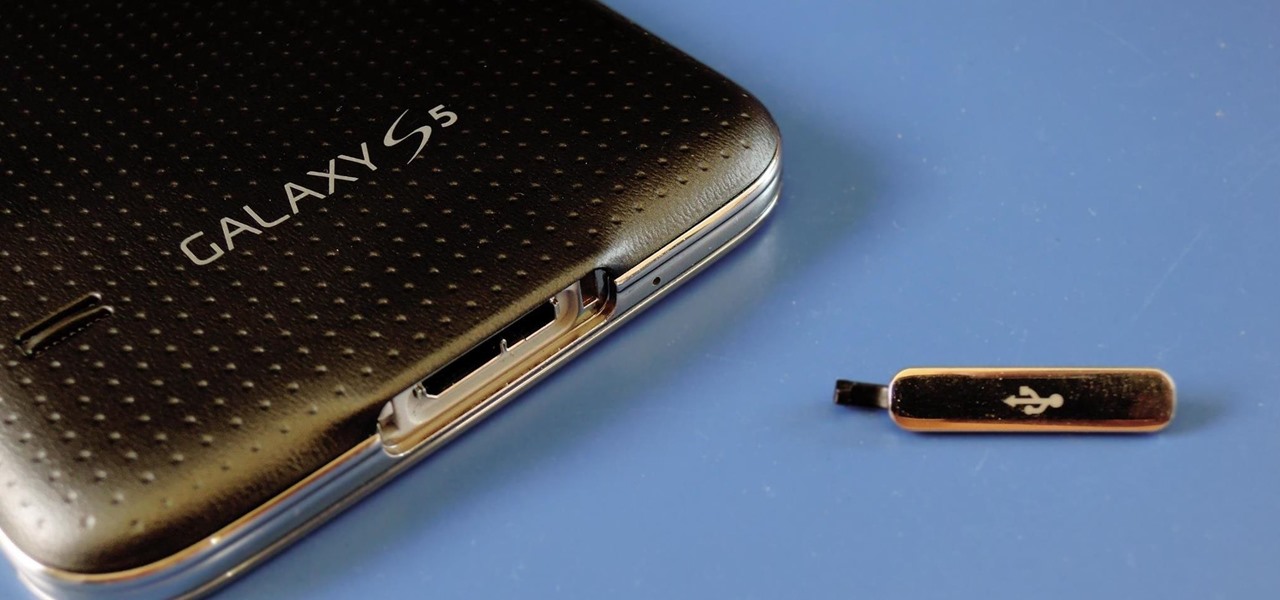
Having a dust- and water-resistant phone is truly useful, but it comes with a price. In order to achieve this functionality, Samsung had to literally plug up any holes in the Galaxy S5, and this included the charging port.
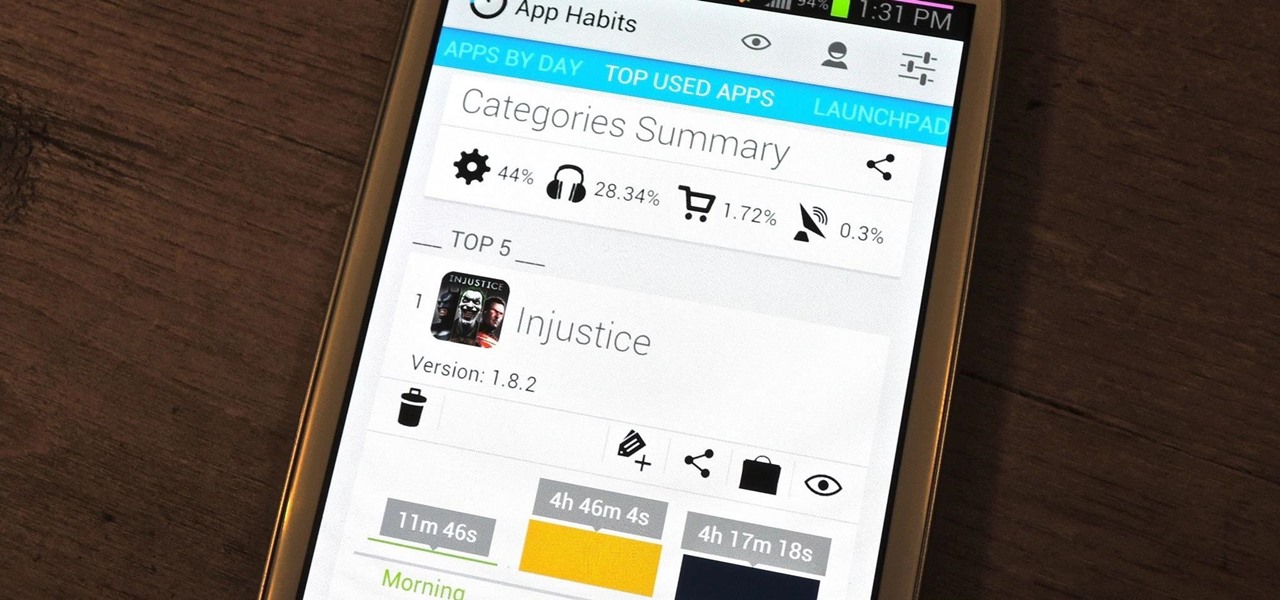
In today's dog-eat-dog world, every minute matters. Whether you're in school or working for the Man, a huge amount of your day is consumed by tasks, assignments, and other kinds of work. Then there's the time you spend playing video games, watching TV, or screwing around on your Samsung Galaxy S3.
How to easily build a raised garden bed out of wooden pallets for free! …Well almost free. Building a raised vegetable garden with pallets or reclaimed wood is a really rewarding experience. The garden bed idea out of pallets came about from the fact that l wanted to build a rustic looking raised garden bed. A vegetable garden bed that not only provides delicious food, but looks good at the same time. The recycled wood has come from hardwood timber pallets that have been sourced totally FREE ...
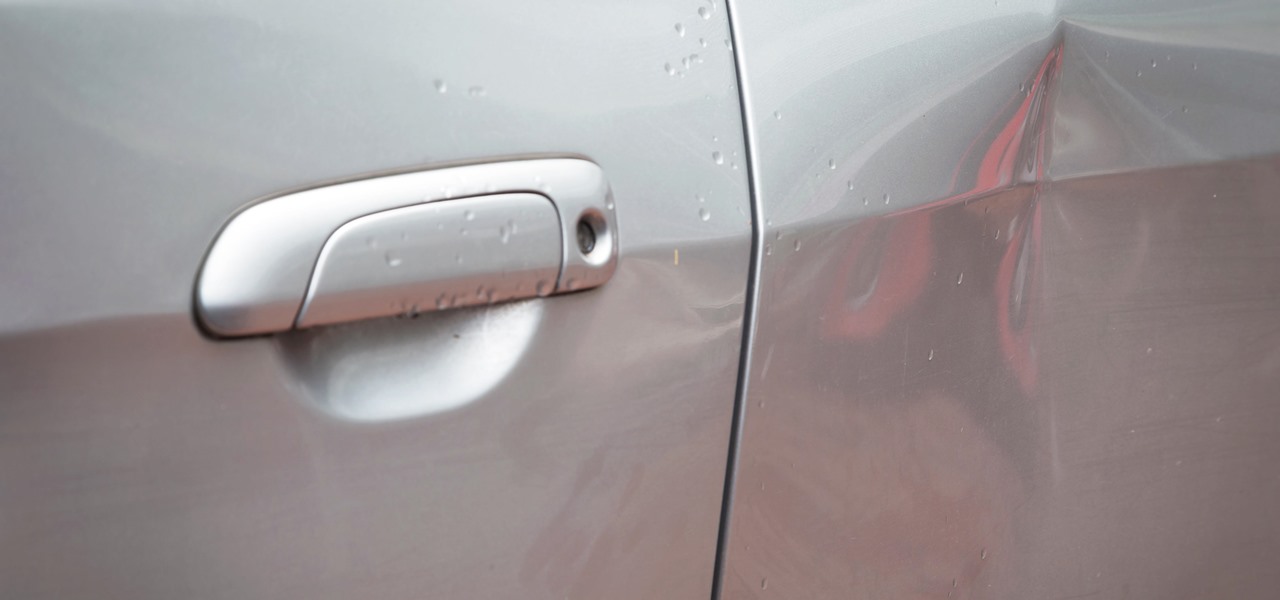
There are two options when it comes to a dent in your car — live with it, cringing each time it enters your view, or get rid of it. While the latter is obviously the best option, most of us will probably just live with dents and dings since spare money is better spent on the actual functionality of the vehicle. However, there is a way to knock out automobile dents yourself with relatively little cash in the bank.
The Pixel 2 is a solid upgrade when compared to the 2016 model, but we've reached a point where the latest generation of a smartphone is never leaps and bounds better than the last. It's hard to justify dropping nearly a grand on a phone when it doesn't improve your situation much — especially when a few software tweaks will give you most of the upgrade for free.
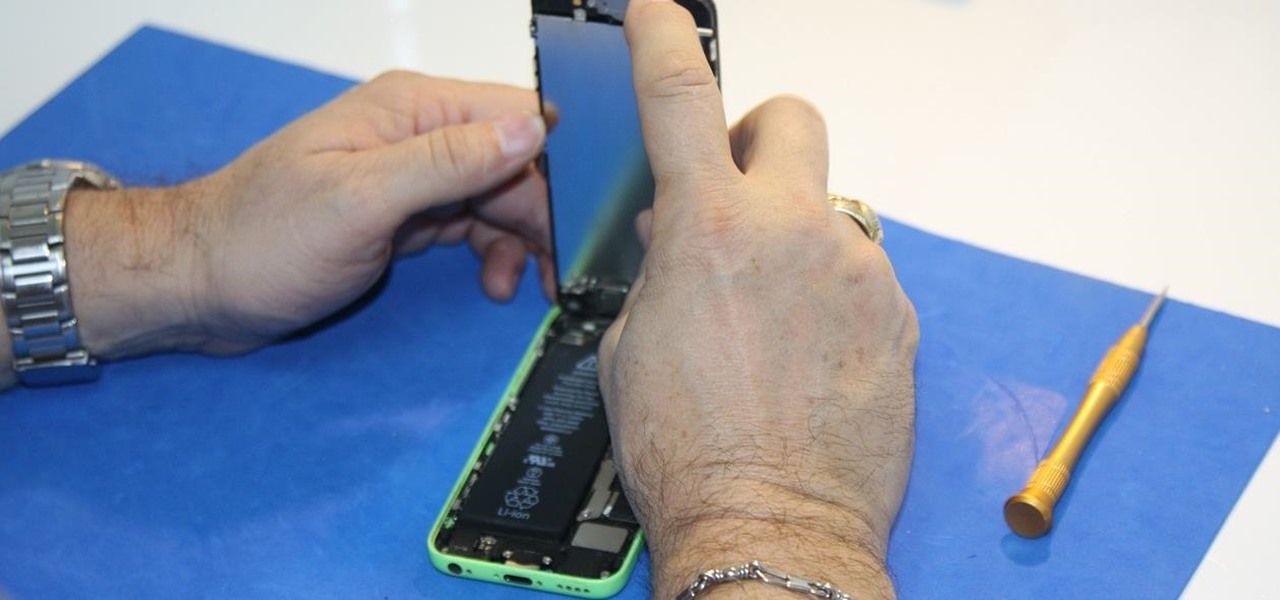
In my days as a hardware tech, I often came across motivated do-it-yourselfers who watched a video or two on how to repair a phone and thought that they'd give it a go. More often than not, they failed miserably and damaged their phones (and wallets) even more in the process.
Hi there, nullbytes :) I've recently seen many questions regarding VMs with Kali, and personally I prefer using a Live Boot USB to get Kali without removing my system (and for many reasons).
Steampunking Nerf guns by painting them is a pretty common practice among Steampunks, but unfortunately, the really amazing-looking ones involve literally taking the gun apart, painting it, and then screwing it all back together.
There's definitely a lot of new things to get used to in iOS 6, with over 200 added features, but which ones stand out about the rest? Well, it all depends on what device you're using. Some features will only work on newer models, but most of the hidden features are accessible to all.