A bodice pattern is very helpful for anyone who wants to design a T-shirt, blouse or other clothing top. This entails learning to draft up a basic bodice pattern. For a quick beginners t-shirt however, you can merely take a rough impression straight from your body. Demystify patternmaking by learning a more intuitive approach to clothing design. Lessons 1:, "How to Make a T-Shirt and Lesson 2: Adding the Sleeves.

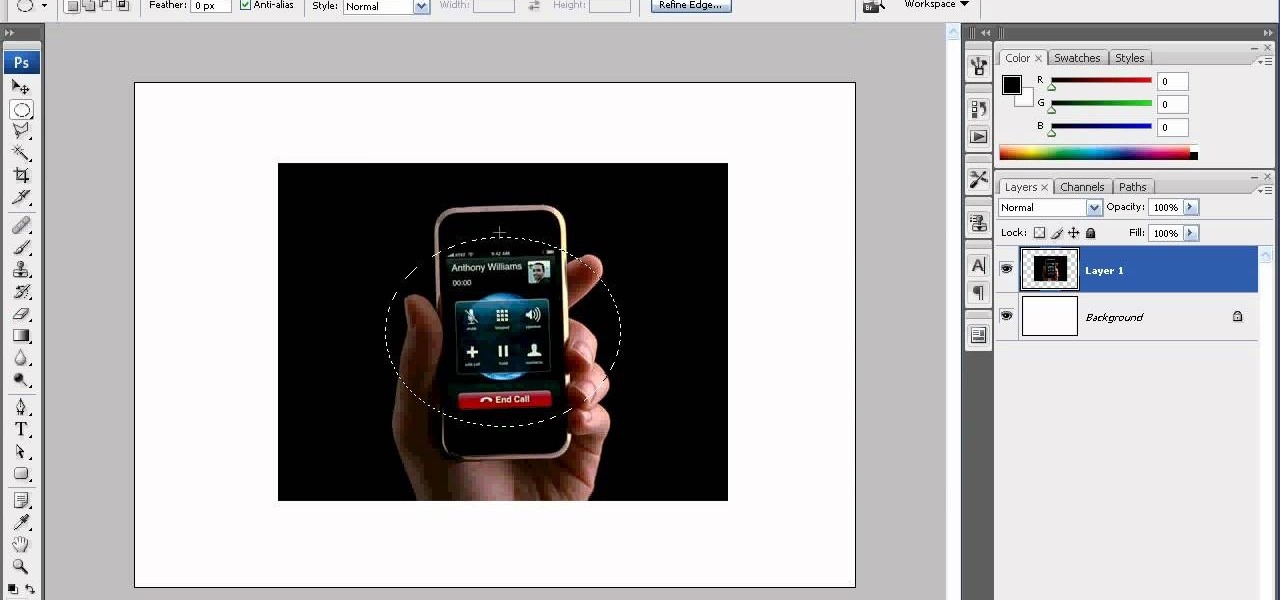
Adobe Photoshop CS5 brings a very welcome change to Refine Edge. Edge Detection will help with much more detailed selections such as hair or fur. Whether you're new to Adobe's popular image editing software or a seasoned graphic design professional just looking to better acquaint yourself with the unique features of Photoshop CS5, you're sure to find something of value in this free video tutorial.
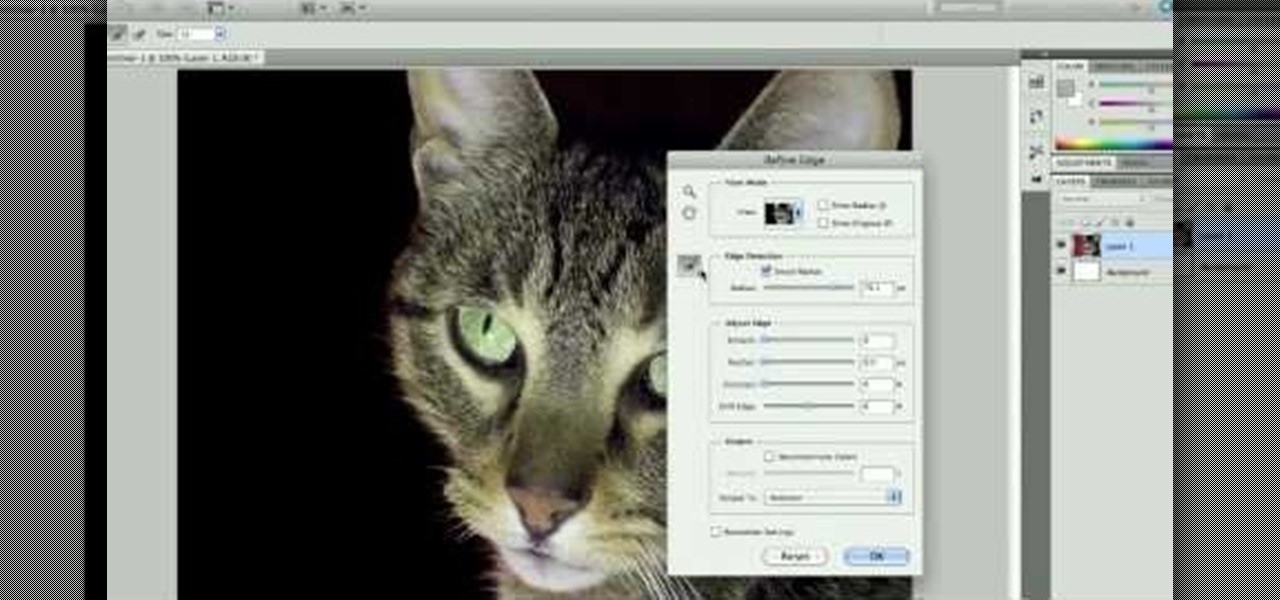
Take a look at some of the awesome new improvements to Refine Edge in Adobe Photoshop CS5. Whether you're new to Adobe's popular image editing software or a seasoned graphic design professional just looking to better acquaint yourself with the unique features of Photoshop CS5, you're sure to find something of value in this video tutorial. For more information, and to get started taking advantage of the new, improved Refine Edge tool, watch this video lesson.
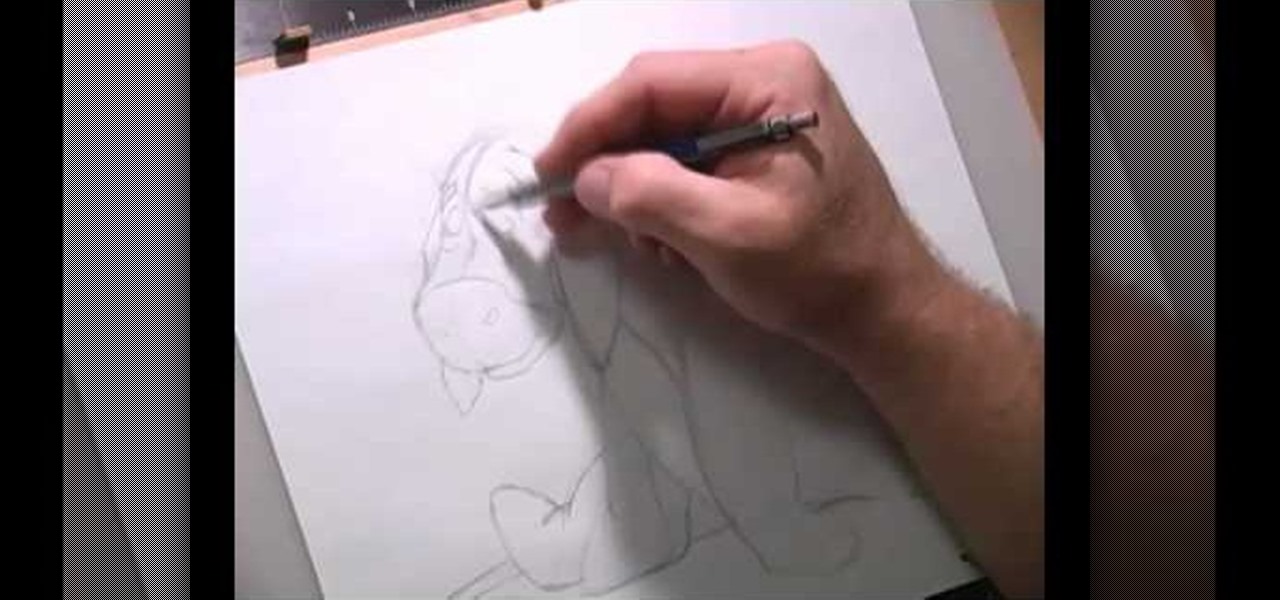
The user demonstrates how to draw Disney's Eeyore in this video. The first step is to draw a circle about the size of a 50 cent piece for his head and add construction lines to it, including one across the lower part of the circle to use as a reference. The user also suggests creating a mark below the "head" to mark where the end of Eeyore's jaw will be. Then, starting at the bottom cross line, he begins drawing the rounded area of his snout. Next, he draws a straight line from the other side...
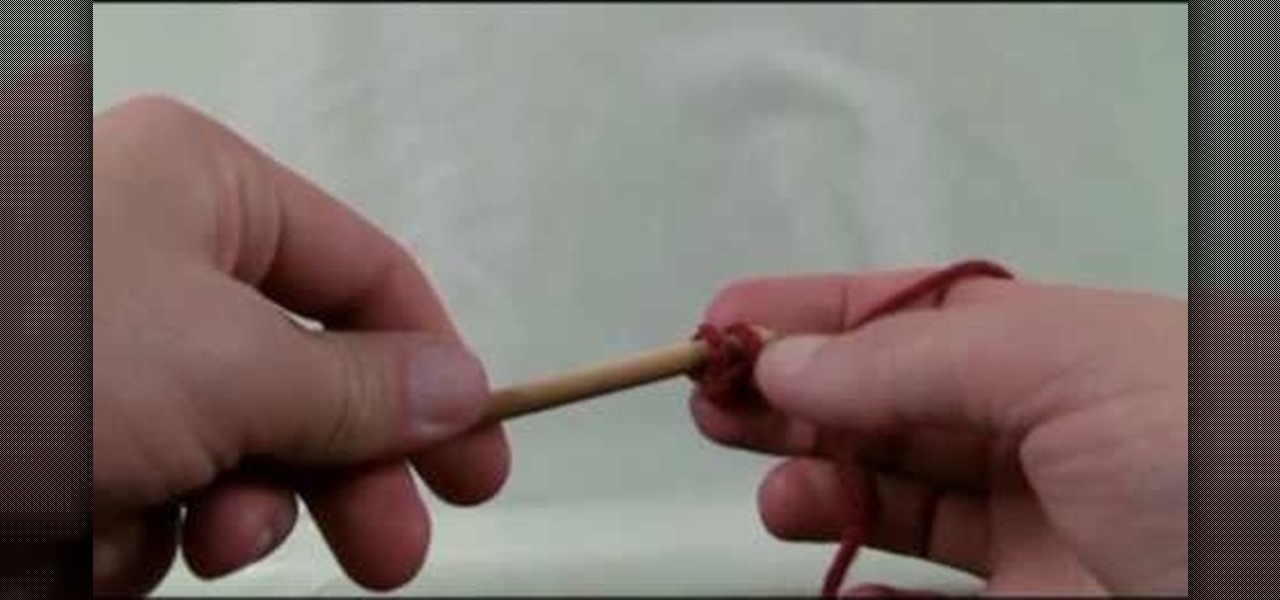
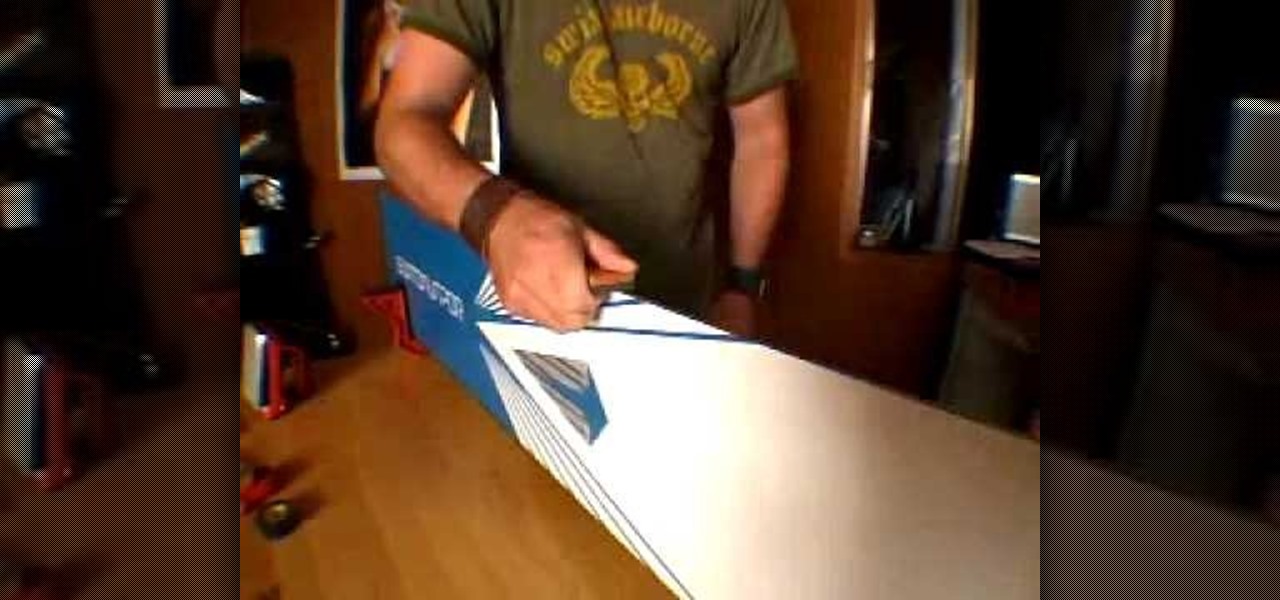
-Fold paper where you want it cut -Take a wet piece of string and insert it in the fold, pressing it firmly

This software tutorial is just a very rough overview showing the process of making a cutout animation using Photoshop and After Effects. The tutorial should give you enough ideas about the process to start creating your own cutout animations if you are familiary with Photoshop and After Effects.

This video tutorial shows how to make your own rough and ready headcam/helmet camera for shooting videos or taking photographs at work. To do this project, you will need a helmet, mounting plate, and a video camera. Start taking pictures and footage hands-free. Watch and learn how to make this simple headcam.
Sandblasting has a bunch of functions. It can be used to soften rough surfaces, roughen soft surfaces, take off unwanted surfaces, or shape a surface. If you're curious about the process and wish to try it yourself, you can check out this video to learn how to sandblast glass with experts at the Corning Museum of Glass.
If your golf ball is nestles down in deep rough around the green, the easiest way to recover from this nasty lie is to play the shot as if you would a splash from sand. Open up the clubface of your sand wedge, splash through the grass and watch as the golf ball pops up easily into the air and lands softly on the green.
Have trouble peeling those hard boiled eggs? This video will show you how to put a crack in the egg and blow the whole shell off. Audio is rough so pay attention.
We don't know why exactly, but somehow fading the edges of a photograph makes it look more sentimental. Maybe it's because faded edges remind us of old timey photographs that have yellowed and softened with age, or maybe it's because faded eges endow a sort of dream-like atmosphere to your picture.
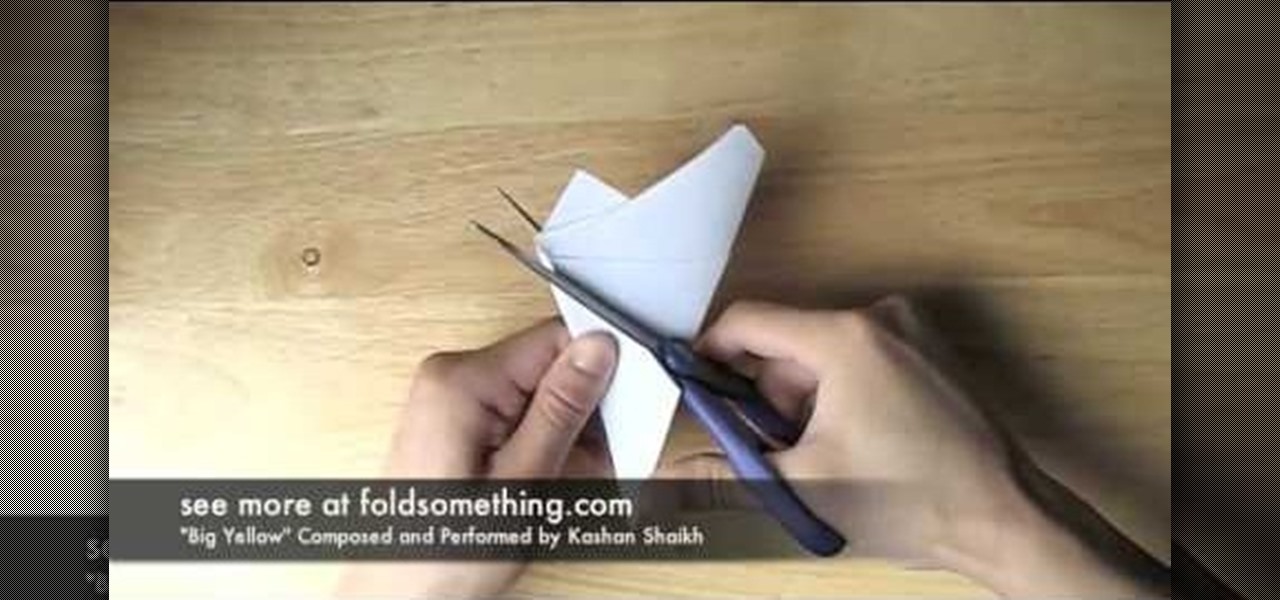
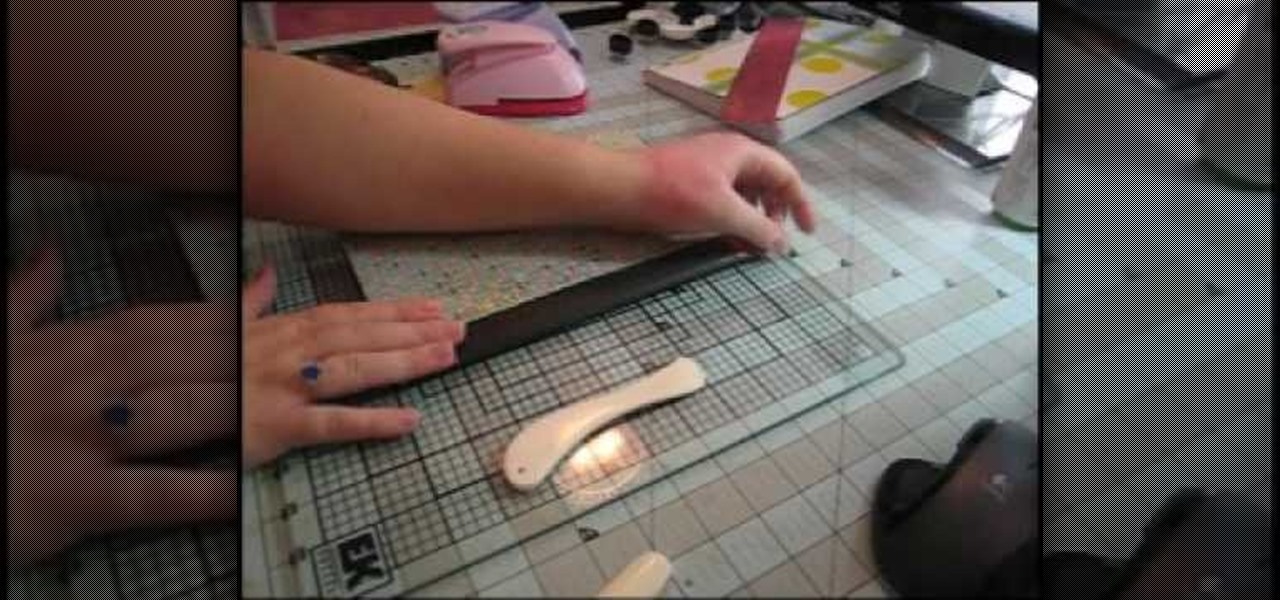
This is a video tutorial in the Arts & Crafts category where you are going to learn how to fold a five-point paper barn star. You will need a square sheet of paper. Fold it in half to make a rectangle. Take the right folded corner and fold it up to the left edge of the rectangle. Place the corner about 1/3 from the top edge and fold the sheet. Next take the left corner and fold it over the edge you just folded. Finally take the flap on the right and fold it over to the opposite side. Now cut ...
Crochet quilts, potholders, and mittens would just be endless jumbles of webs without the appropriate edges to finish them off and give them polish. There are many different ways you can create edges in crocheting, but the crochet foundation chain is among the more creative.
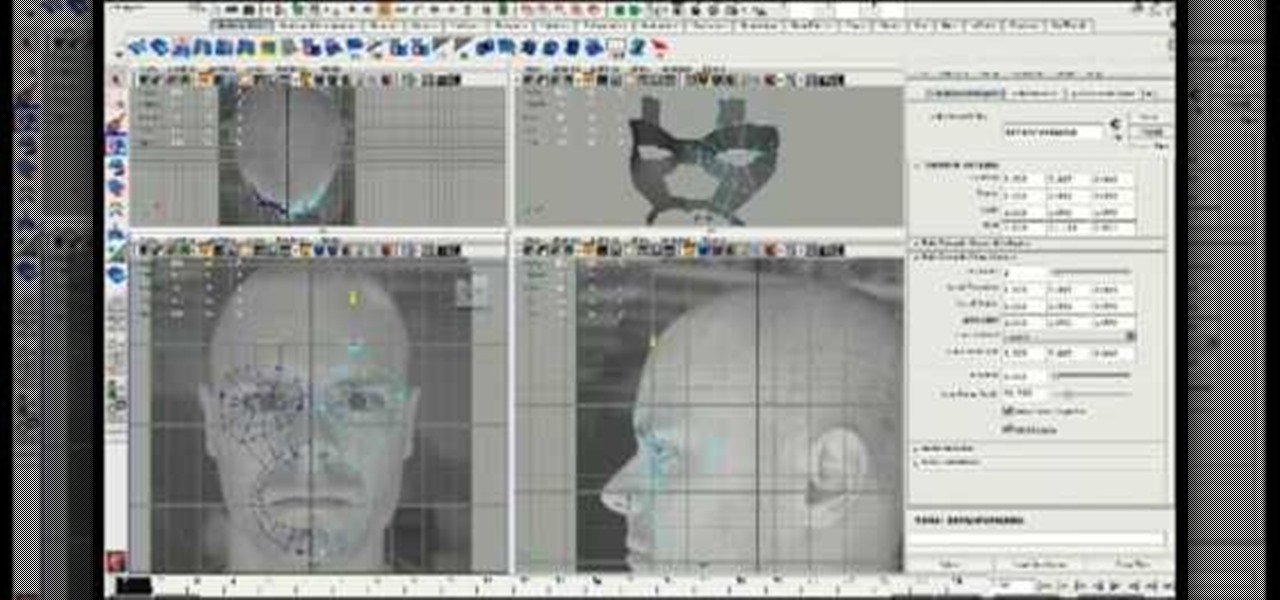
Modeling a face using Maya or any other 3D art program is tough to do without having the result end up looking like a zombie. See the film Final Fantasy: The Spirit Within if you don't know what I'm talking about. This six-part video will help you avoid this problem in your own 3D models by teaching you how to 3D model a face using the head extrusion method in Maya. You'll need a photo to start with (the creator does not supply the one he used here) but once you have that you should be able t...
Samsung is rolling out the Android 6.0 Marshmallow update for Galaxy S6 and S6 edge today, February 15th, and with it come some good improvements to how S6 edge users can utilize the handset's curved screen.
This video will give you a clear tutorial to learn a nice Doodle Art this is a speed tutorial. watch & learn :)
This video will show you an easy way to draw one of the most popular people on YouTube at the moment - Zoella! From drawing out a rough first sketch, all the way through to creating a complete, coloured-in illustration, this video will show you how it's all done. Hope you like it!
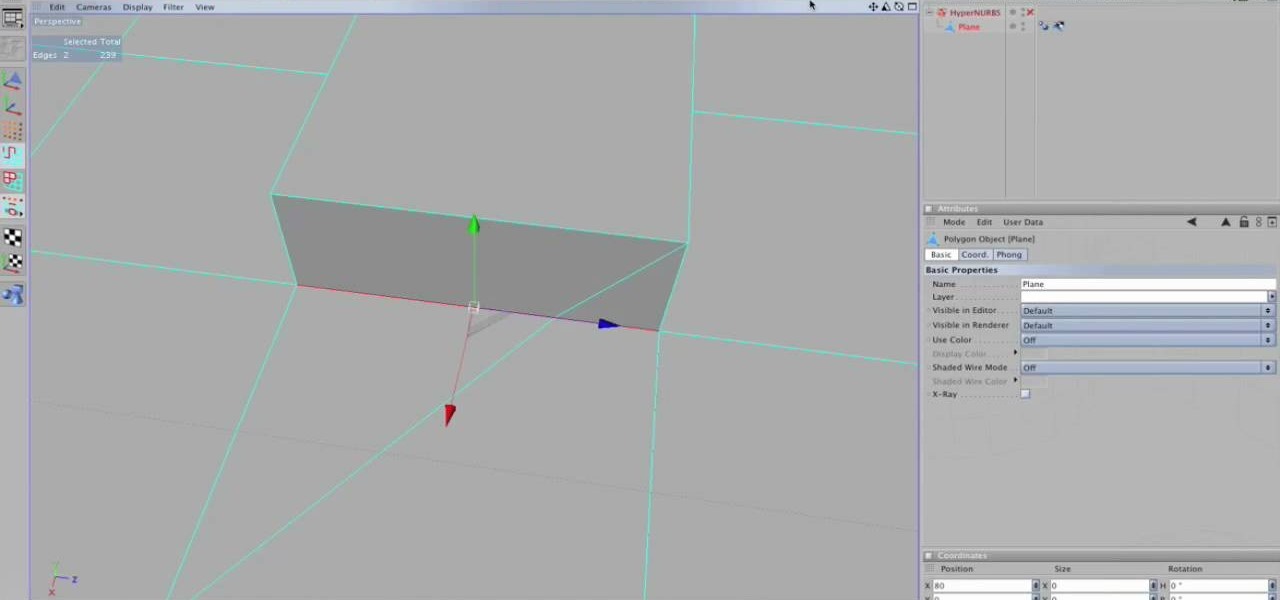
If you have Cinema 4D version 10 or below, then the lack of a spin edge tool has probably given you fits at some point. No more! This video will show you how to spin edges manually using mesh flow in Cinema 4D the old-fashioned way, without using the specialized tools in the newer software.
Watch how the F5 Networks BIG-IP Edge Client solution gets you connected automatically when you boot/start up your computer along with seeing the browser based version of the F5 BIG-IP Edge Gateway. Whether you're new to F5 Networks' popular network appliance or are a seasoned network administrator just looking to better acquaint yourself with BIG-IP, you're sure to benefit from this free video software tutorial. For more information, including detailed instructions, take a look.
First of all you have to draw the rough sketch using light color lines. You have to draw blocks to the size of helmet, chest, two arms, legs and boots. Now start from the helmet and draw the outline. Draw the glass for viewing. Draw the lines as shown on the helmet. Also darken the spots as shown. Now draw the chest guard. Draw the lines to make all the different straps and marks over the armor. You also have to draw a tank at behind. Make the arm and the gloves. Now draw the outline of a gun...
First of all you have to draw the outline using light color rough lines. Draw the face with beak and then draw the two wings hanging down. Also draw a tail at the back of the bird. Now you have to draw the outline by using a pen. Start by making the beak of the bird at the front. Make the wings with the feathers. Also make the outline of feathers to make the tail. Once the main outline of the bird is ready then you have to erase all the previous rough lines. Now you have to darken the body wi...
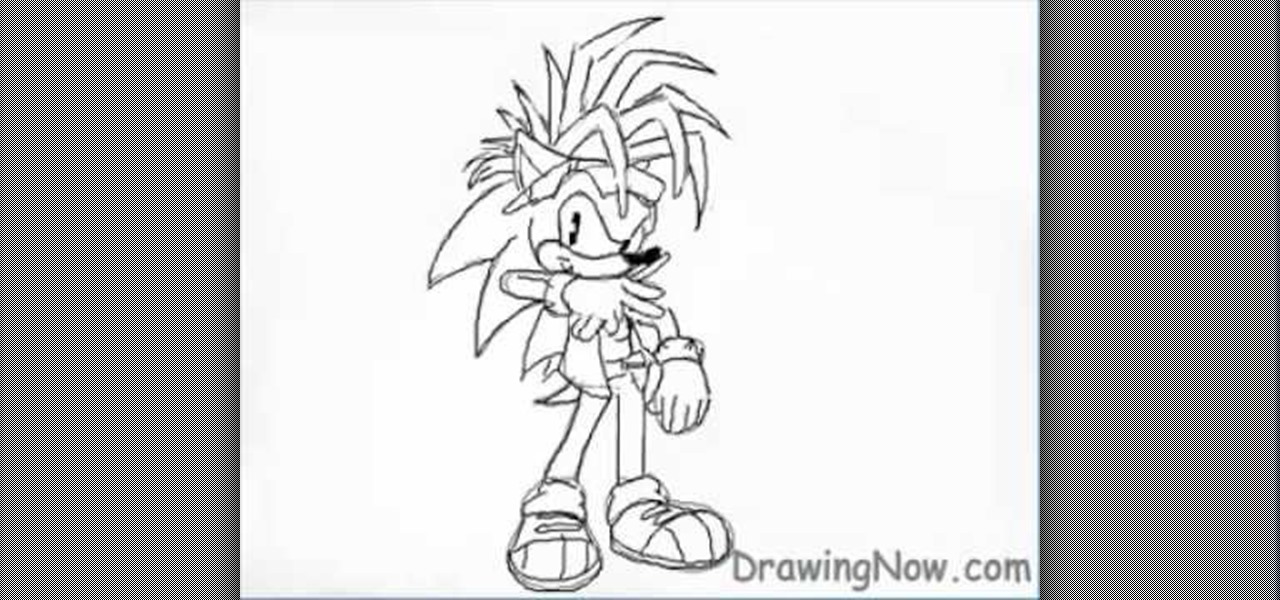
To draw Manic the Hedgehog, you should start by sketching a rough outline of the body, including Manic's hair. Once you have your sketch outline, start drawing over the outline with a darker line, including details like the eyes, nose, mouth, arms, hands, clothes and shoes. Once you have your final outline, go back and erase your initial rough sketch, so that your line drawing looks clean. Now that your line drawing is ready, you can start filling in with color! Start with Manic's green areas...
Fancy feet are a must for sandals and peep-toe shoes. Pamper yourself with a pedicure that’s easy and gets you back on your feet in no time.
Take a look at this instructional video and learn how to use the eraser tool in Google SketchUp. Keep in mind that the eraser tool only works for edges in SketchUp, and you won't be able to erase surfaces with the eraser tool. This tutorial covers how to erase single or multiple edges easily and how to soften or hide edges with the eraser.
Take a look at this instructional video and learn how to use the freehand tool in Google SketchUp. This tutorial covers how to use freehand to draw free form edges. To do this, simply click and hold the mouse button to draw with the freehand tool. Like other drawing tools, be careful not to cross over edges while drawing, and draw to and from existing edges to properly break surfaces.
How to use a jack or bench plane; get professional tips and advice from an expert carpenter on using tools for rough finishing and smoothing edges of wood in this free woodworking video.
This is a short Blender tutorial that illustrates how to move a vertex along an arbitrary edge of an object no matter how the edge is rotated in 3D space. This 3D tutorial is from Stage6 so check it out and learn how to control the vertices on your Blender models.
Add some pizzazz to your yard with some decorative edging. Watch this video tutorial to learn about the various garden fencing/edging options from Nature's Garden Magazine's editor James Baggett.
Improve you crocheting skills by learning different edging techniques. This how to video is a tutorial that will show you how to crochet a single crochet edging. Watch, learn and create your own decorative crochet edgings.
This video will show you two different methods of repairing the leading edge of a wooden aircraft propeller. Learn how to properly apply epoxy, clean the area of the repair, and make the edge look like it was never damaged!
Frank Crow talks about keeping the edges of your snowboard in shape. Edge maintenance is crucial to preserving your ride.
In this tutorial we learn how to edge a knitted piece with a single crochet. Start to attach the yarn to the right side, working in a forward direction. Now, work a slip stitch at the edge. From here, stick the hook in the fabric and pull through one loop. The, yarn over again and pull through both loops with the hook. After you do this, do it over again! You will repeat this process until you reach the end of the row. Once you're finished with the row, you will be finished with the edge and ...
In this video, we learn how to turn a composition book into a decorative notebook. First, measure your composition book, then measure out that same size on a piece of decorative paper. Next, put adhesive on the back of this on all four edges, then diagonally. Now, you will have a solid attachment for the paper to be placed on top of the composition notebook. Use a straight edge to push it down and it's completely flat. Then, use scissors to cut any excess paper off of the edges and corners. Y...
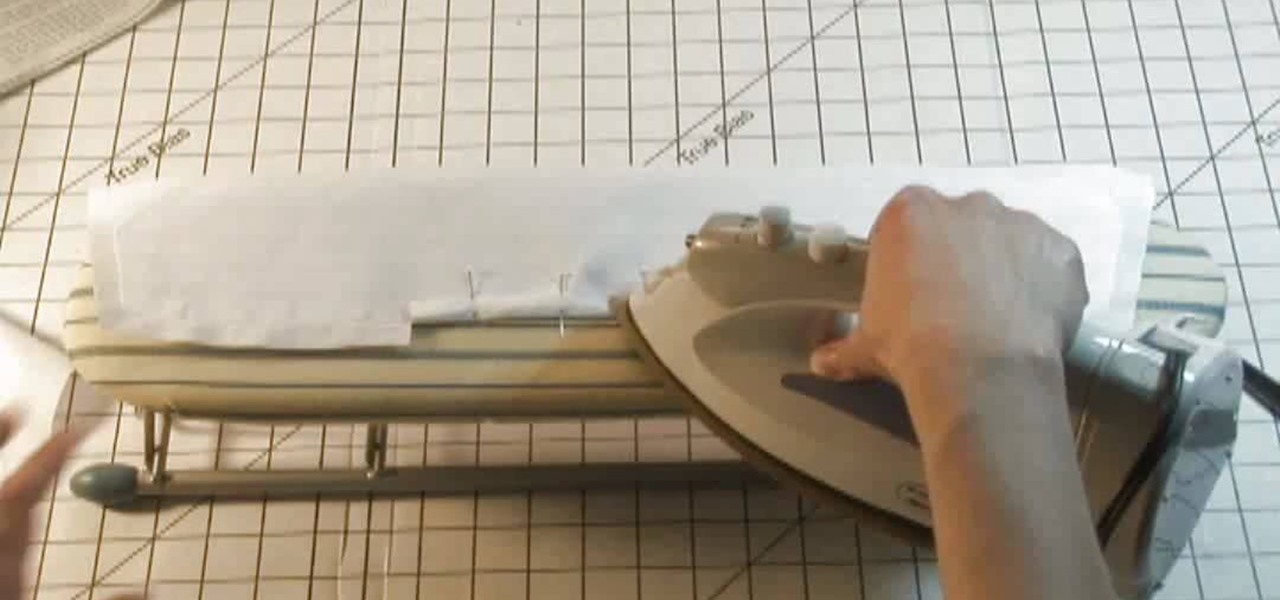
By using sewing pattern Simplicity 4670, the author of this tutorial video takes you through the steps needed to produce a great shirt collar. First you should attach interfacing to one piece of the shirt collar. Here you will be using fusible interfacing and taking the facing to the shirt collar iron the interfacing to the wrong side of the fabric. Sew a guide line that is 5/8ths of an inch wide along the notched edge of the shirt collar's facing piece. At the dot markings of the collar clip...
Missa shows how to ‘Distress Jeans’ in this video. She lays a pair of jeans to be distressed on a table. Next, the creases near the top, which are formed by bending the leg portion of the jean, are marked with a white pencil or chalk. A hard rock is then placed inside the jean, near the knee area. That portion of the jean is graded using sand paper to make holes. The pocket areas are graded next, using a nail file. A pair of scissors is scraped along the edges of the pockets to make cuts. (Al...
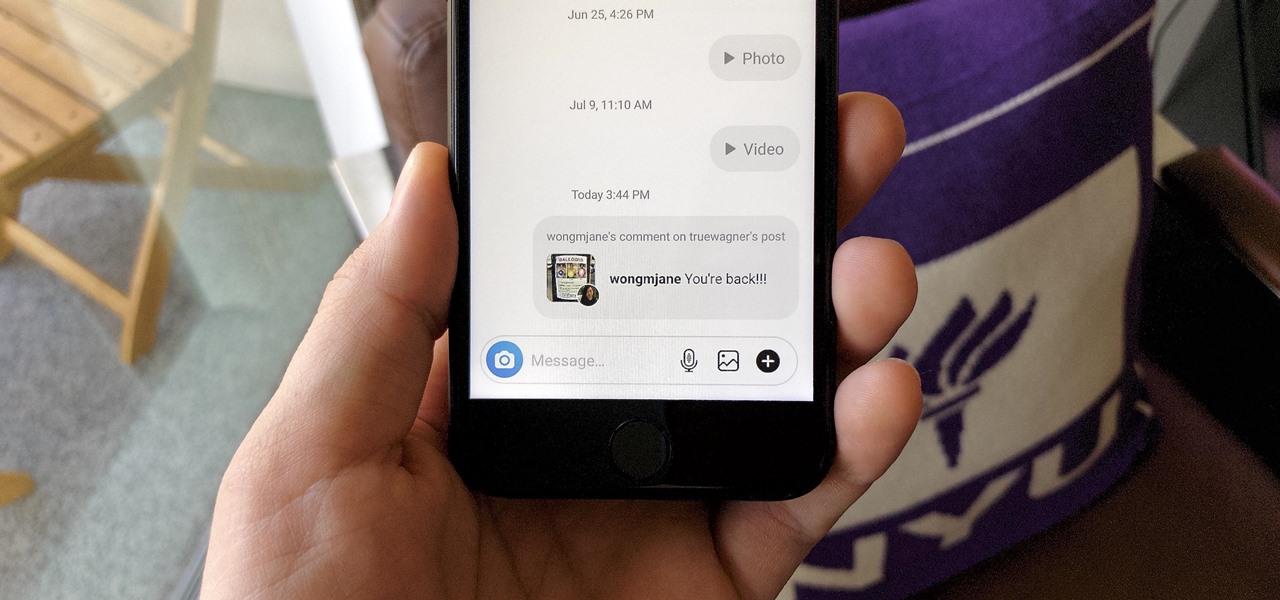
Sometimes, you'll see a comment on Instagram that you really need to share. Maybe it's something funny, possibly offensive. Whatever the case, the only thing to do is screenshot it and share that, right? Hopefully, not for long. Instagram is currently testing a feature that would allow you to share comments with others via a direct message and maybe even to stories and other apps.
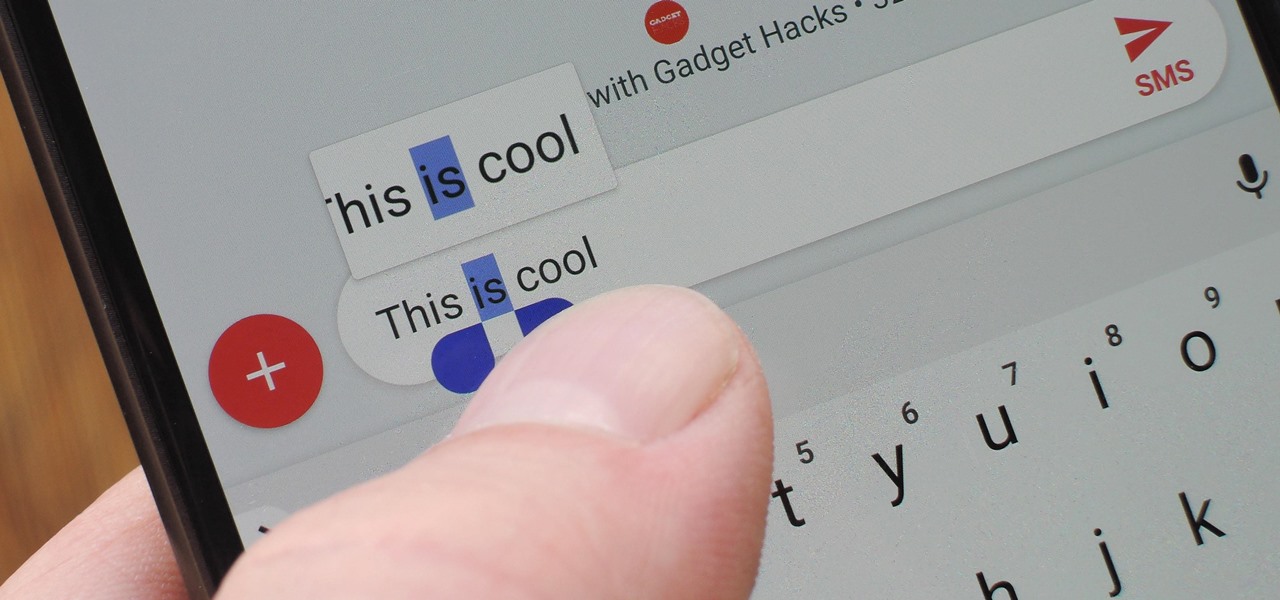
Regardless of the operating system, selecting a piece of text on a touchscreen device is never fun. Thankfully, Google has finally added a new feature to Android 9.0 Pie that will make it at least a little less annoying.
Apple released iOS 11.3 beta on Jan. 24 and the public stable release on March 29, and it didn't take us long to find plenty of cool new stuff. Aside from new Animoji, Health Records, and some upcoming changes related to the recent battery fiasco, most of the new features are about polish. One such feature we've found should make iPhone X users a little happier.
Now that we've had significant time with Samsung's Oreo Beta for the Galaxy S8, many interesting features have come to light. As we continue using the new software, we have uncovered more subtle changes. The home screen already received a few new customization features, it's only fitting that the edge screen get some love, too.
Deaf people primarily communicate through sign language, so understanding spoken languages can prove challenging. To bridge that gap in communication, the HoloHear team built a mixed reality app at a Microsoft HoloLens Hackathon in San Fransisco that translates the spoken word into sign language.