

Rough Edges Search Results
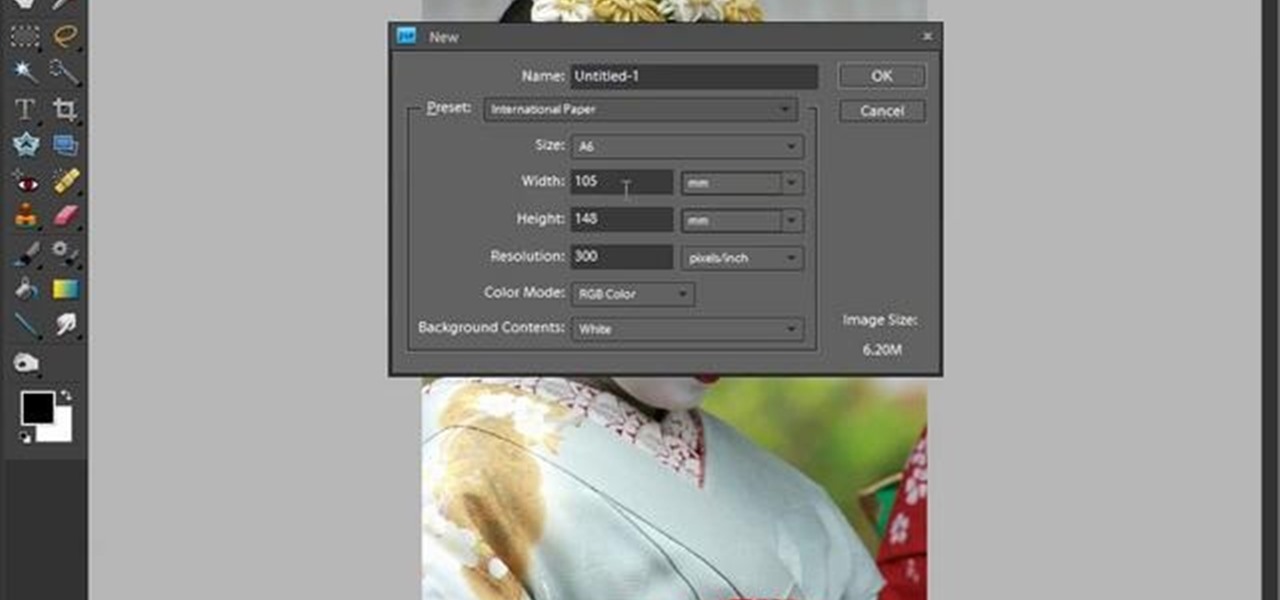
How To: Create simple rough edge masks in Adobe Photoshop Elements (PSE)
Want to create a rough edge mask in Adobe Photoshop Elements? This clip will teach you what you need to know. Whether you're new to Adobe's popular raster graphics editing software or a seasoned professional just looking to better acquaint yourself with the program and its various features and filters, you're sure to be well served by this video tutorial. For more information, including detailed, step-by-step instructions, watch this free video guide.
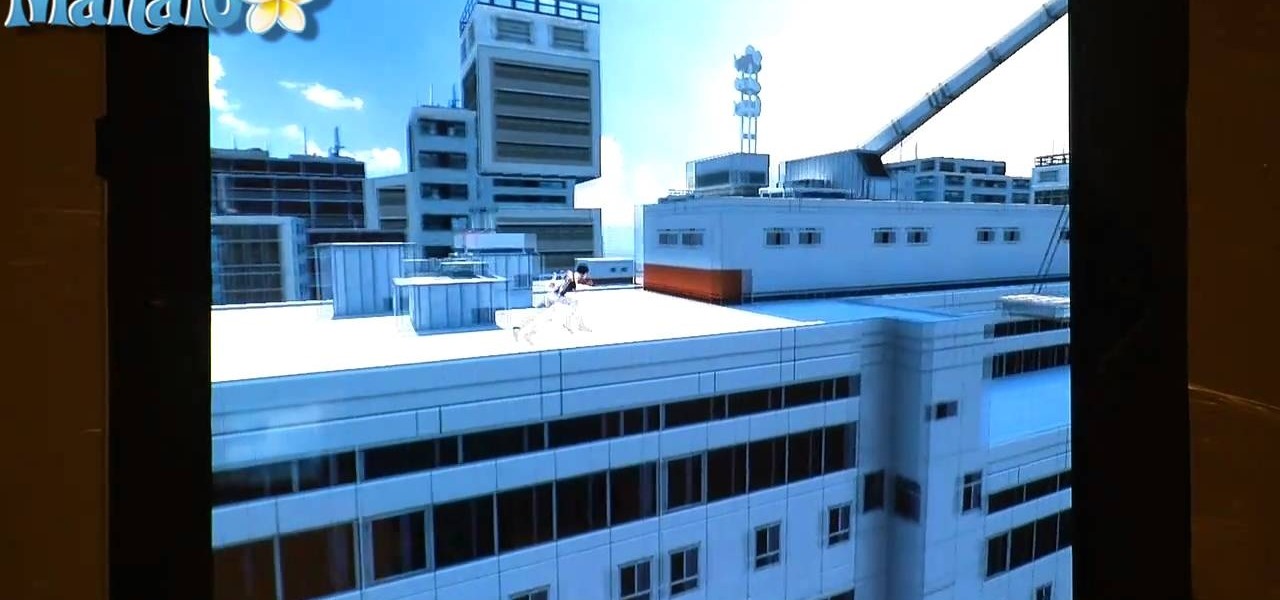
How To: Walkthrough Mirror's Edge on the Apple iPad (iOS)
Check out this video guide for Mirror's Edge on the iPad! Mirror's Edge is a single-player, first-person, action-adventure video game available for the PlayStation 3 and Xbox 360, but there's also a side-scroller version for iOS (Apple's iPad and iPhone), and that's what you're going to see the gameplay for here. Watch the complete walkthrough of all the missions and see if you can get more "Bags" than Mahalo.
How To: Rough out a small natural edge bowl
In this how-to, you'll learn how to rough turn a natural edge bowl from a piece of wood. (The wood used in the video is a Japanese wood called "Mukunoki.") The bowl is only about 8 cm in diameter and thus can be roughed out fairly quickly. Take a look!
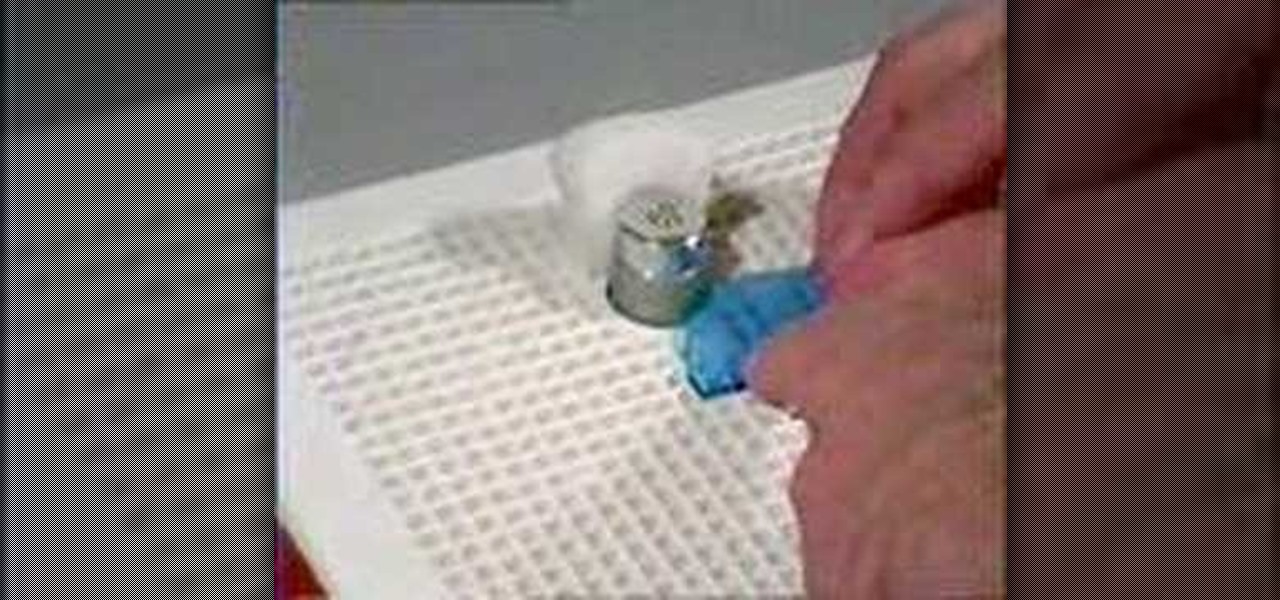
How To: Smooth rough glass edges with Power Max 2 grinder
Check out this video to learn how to use the Power Max 2 grinder from Diamond Tech to grind rough glass edges for mosiacs and stained glass projects.
How To: Feather edge paint to prepare a damaged car for primer
In this Autos, Motorcycles & Planes video tutorial you will learn how to feather edge paint to prepare a damaged car for primer. Feather edging is the process of feathering or layering each layer of coating in order to prevent a rough edge. Use a 6 inch DA and 150 - 220 grit sandpaper to feather edge the paint edge. Apply the sandpaper all along the edge of the paint till the edges are smooth. Feel it with your hand to ensure that all the edges are smooth. Feather each layer of paint at least...
How To: Cut a natural edge bowl with the Ci1 Easy Rougher
In this tutorial, you'll see how to rough out a natural edge bowl with a Ci1 Easy Rougher (using a suboptimal piece of wood). The wood used in the tutorial is "shinoki," which is a kind of oak, and the lathe is a Nova DVR 3000 wired for 200V. Watch this video to get started roughing out your own natural edge bowl.
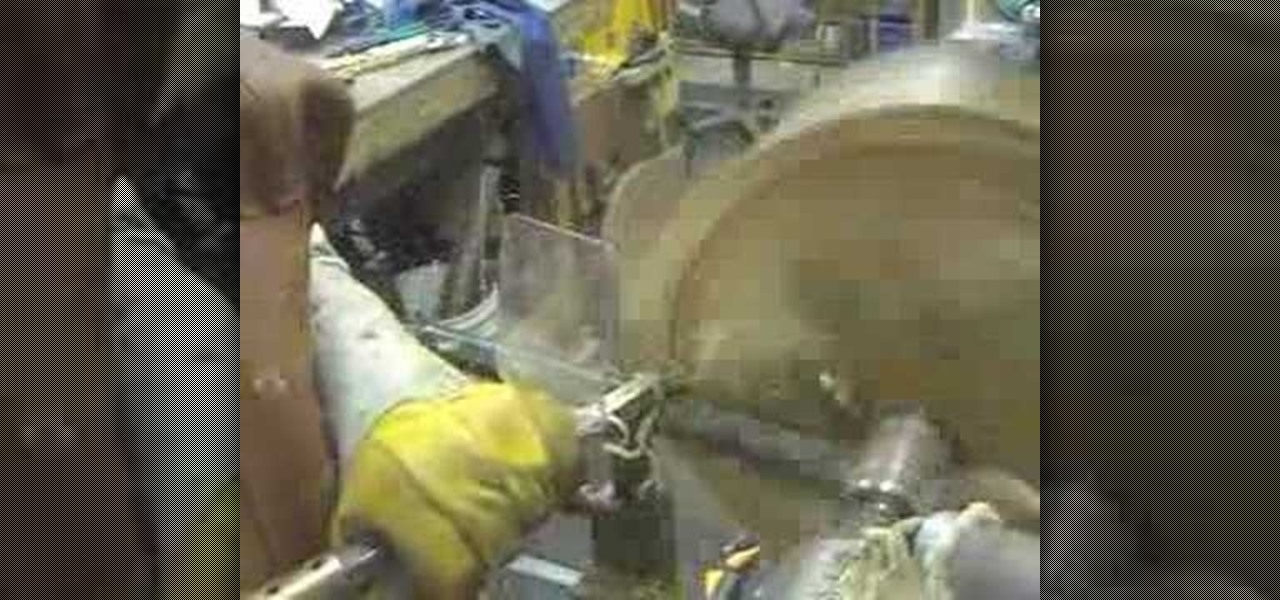
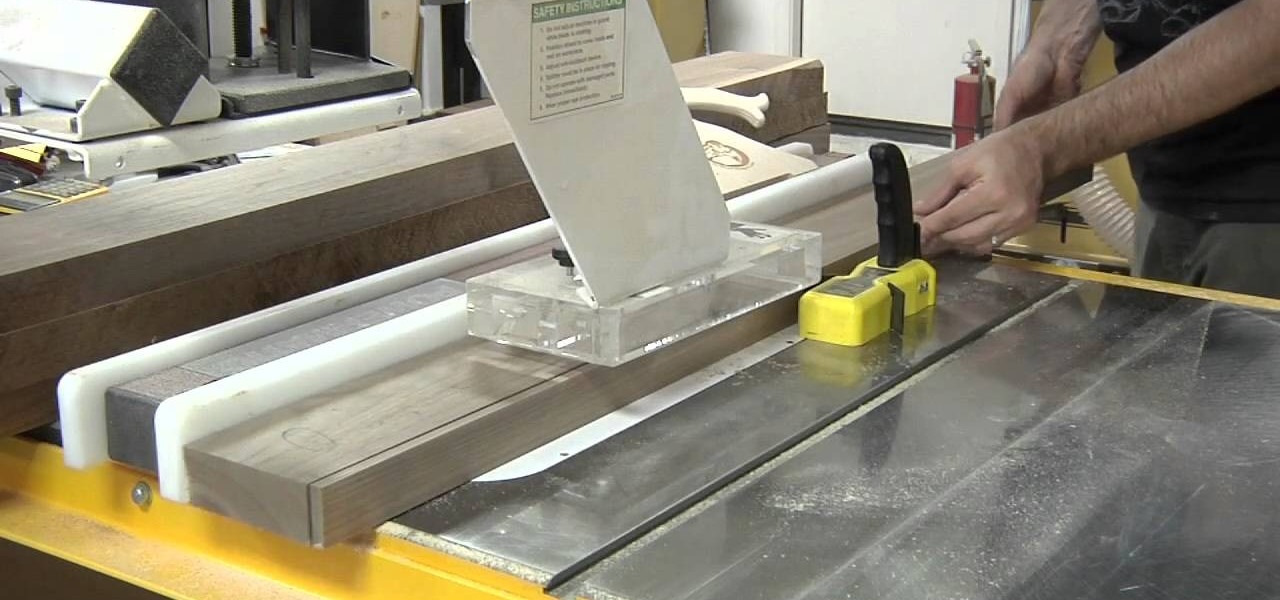
How To: Calibrate your jointer
You will to learn set up and calibrate your jointer for optimal woodworking and creating a clean and straight edge on a rough board to later use as a reference. You will also learn a system on how to set up your knives to achieve the perfect cut using a jig and how to select the best jig to work with.

How To: Draw a full wolf body step by step
Learn the right way to draw a wolf with its full body, by watching this video. The artist begins by drawing three circles faintly and connecting them with a line, representing the head and body of the wolf. Next, the skeletal structures of the legs are outlined. The tail and ears are faintly outlined next. The artist then begins outlining the face in detail, adding the eyes, nose, mouth, ears etc to the wolf’s head. The body is now outlined adding rough edges to indicate fur. The legs of the ...
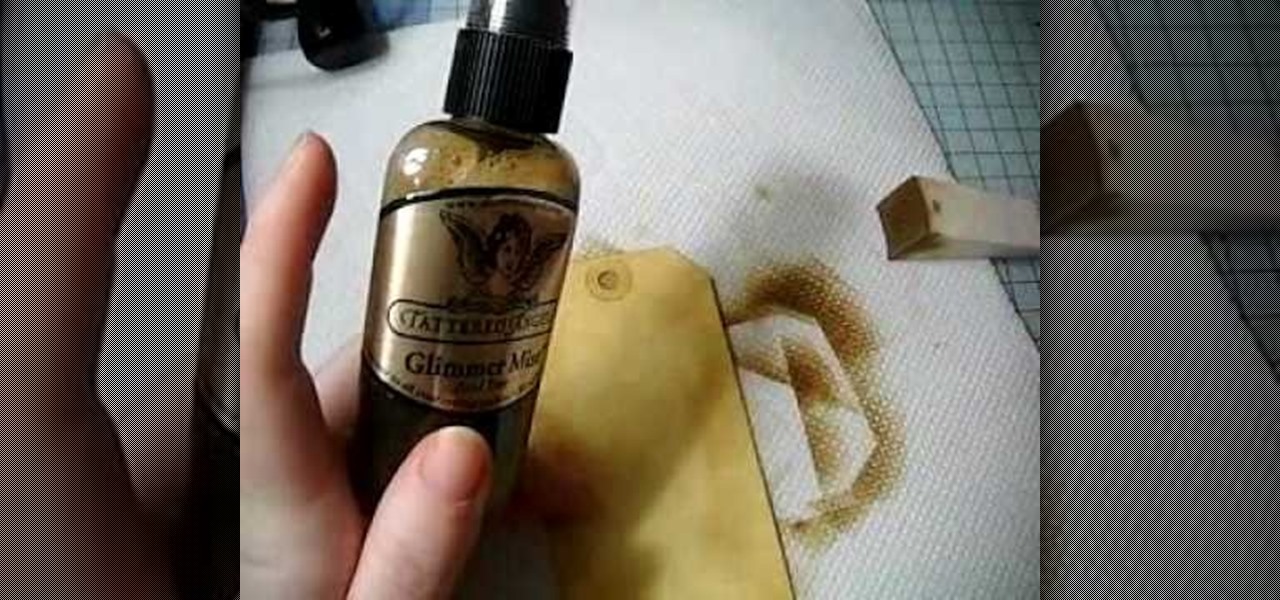
How To: Make a distressed scrapbook tag
In this Arts & Crafts video tutorial you will learn how to make a distressed scarpbook tag. Take two tags, one red color and one yellow color and strip the threads off. Take a light color ‘Distress’ ink on a sponge and dab one side of the yellow tag with it to give it a light rough look. Now take little darker brown ink on another sponge and dab the edges of the tag with it. Then place the tag in a box and spray Glimmer mist on the tag. Dry the tag with a dryer. Now dab some more brown in...
How To: Build a model paper plane
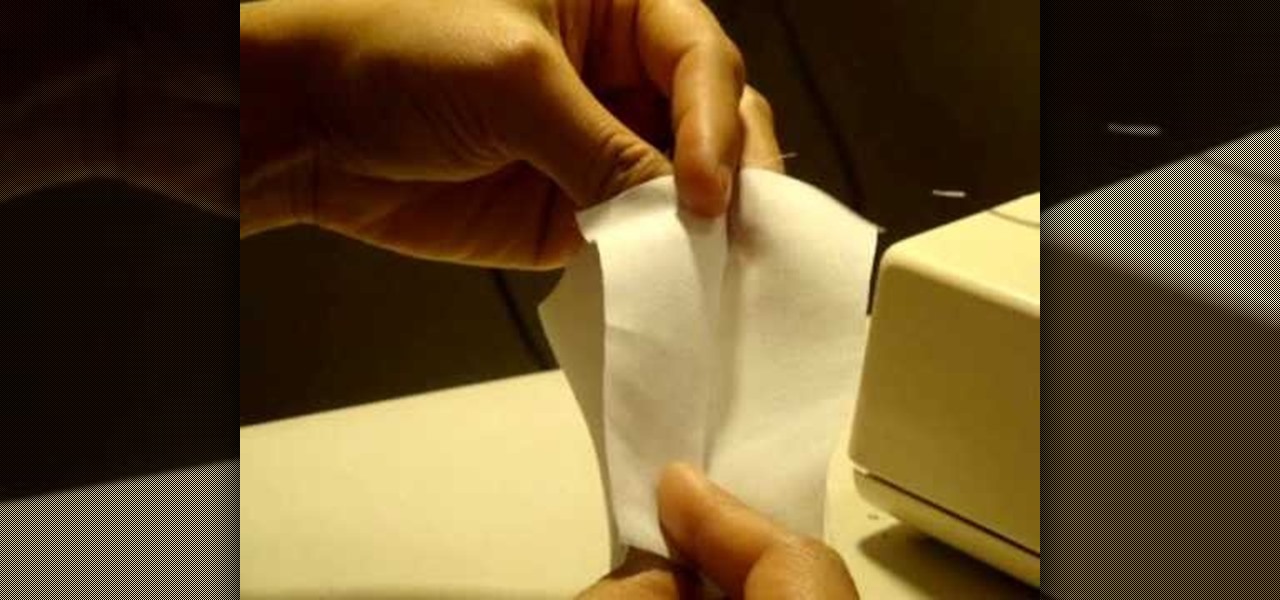
This hobby how-to video shows how to build a Paper Plane Model that is 2.5 by 3.5 inches. You'll need the back of a cue card, a hobby knife, paper glue and a kebab skewer. It takes about an hour to make, and a little longer to clean up the rough edges. Watch this instructional video and learn how to construct a model paper plane.
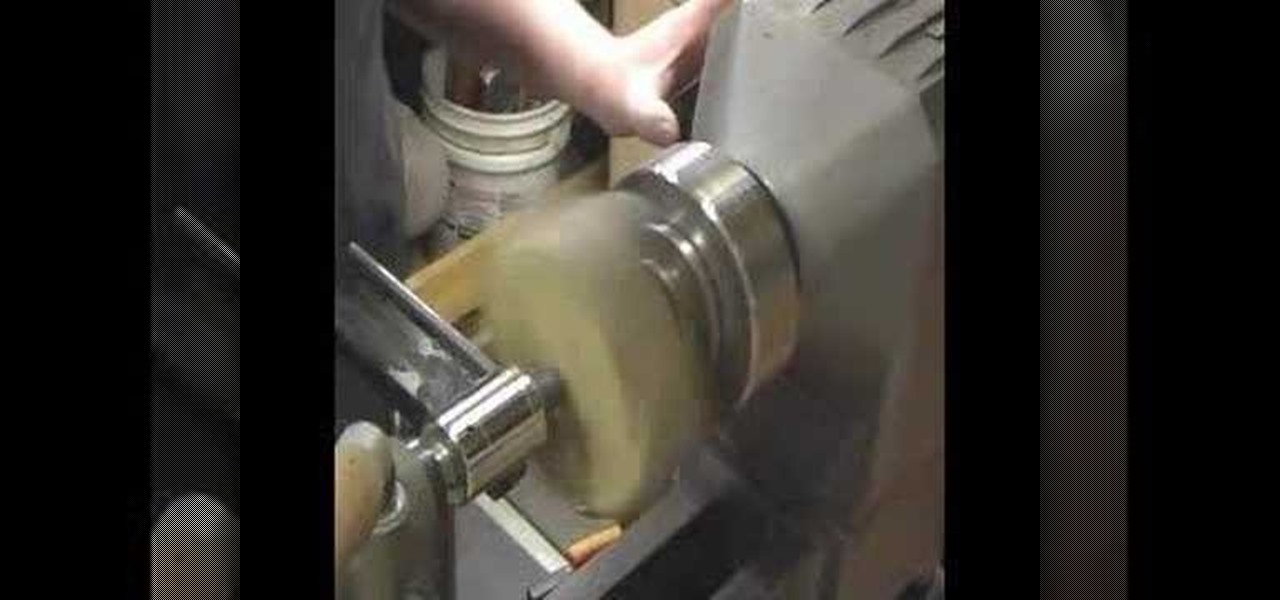
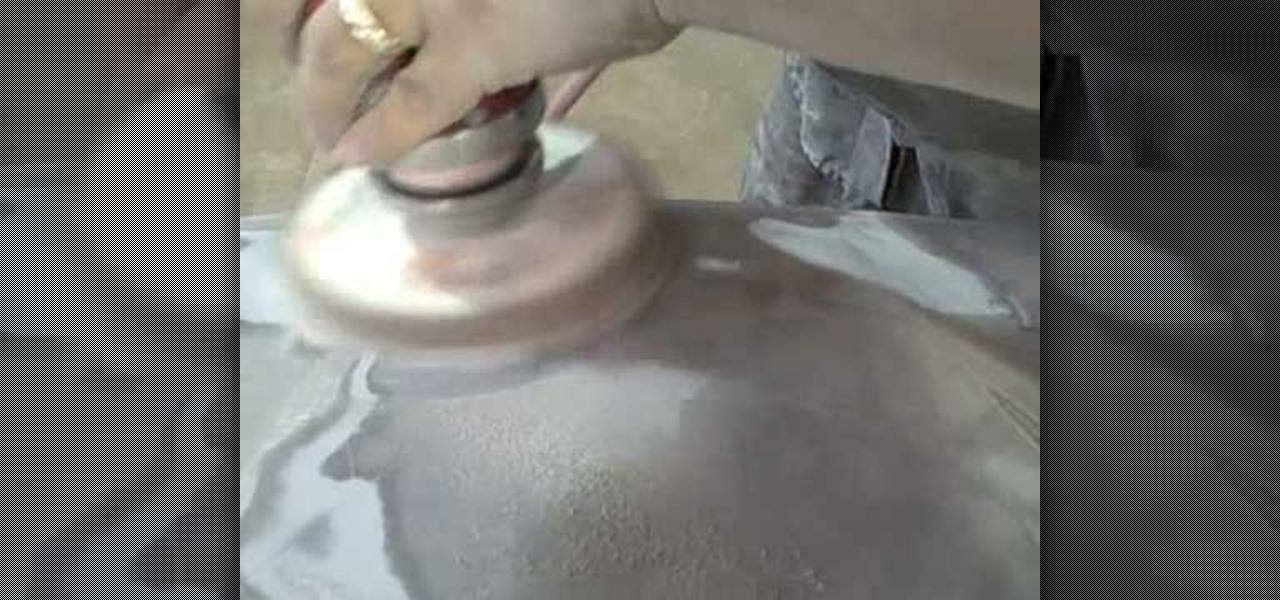
How To: Mount & rough blanks for woodturning
Woodturning is a hobby that involves wooden items like bowls using various tools on a lathe. Learn about mounting and roughing blanks from a woodturning expert in this free crafts video series.
How To: Woodturn a rough interior bowl
Woodturning is the process of creating items out of wood on a lathe. Learn how to rough out the interior of a bowl with expert woodturning tips in this free crafts video series.

How To: Draw and paint a female gypsy dancer
Impress others with your artistic skills by learning to paint a gypsy dancer on the computer. Construct a rough sketch line drawing of a girl dancing. Use a soft brush to airbrush some colors in. Use as few colors as possible. Don't worry about the value yet. This will be a basic map of what colors you want to use. Start adding darker colors in. Use a highlighter to add lighter colors. Use the soft edge brush to blend and a hard edge brush to define forms. Experiment to your liking. With this...

How To: Make leather string or thong from an old glove
You will use an old work glove to make the string. First cut the seems of the glove to the finger tips with scissors. Cut out the palm part of the clove. Remove the elastic off of the back with a knife. remove the hem with your scissors. Next, start cutting at the edge up around the shape of the glove. Keep going round until it starts turning into one long piece. Go back around the leather and trim up the rough edges and corners. He ends up with about seven foot of string. It's a cheep free w...
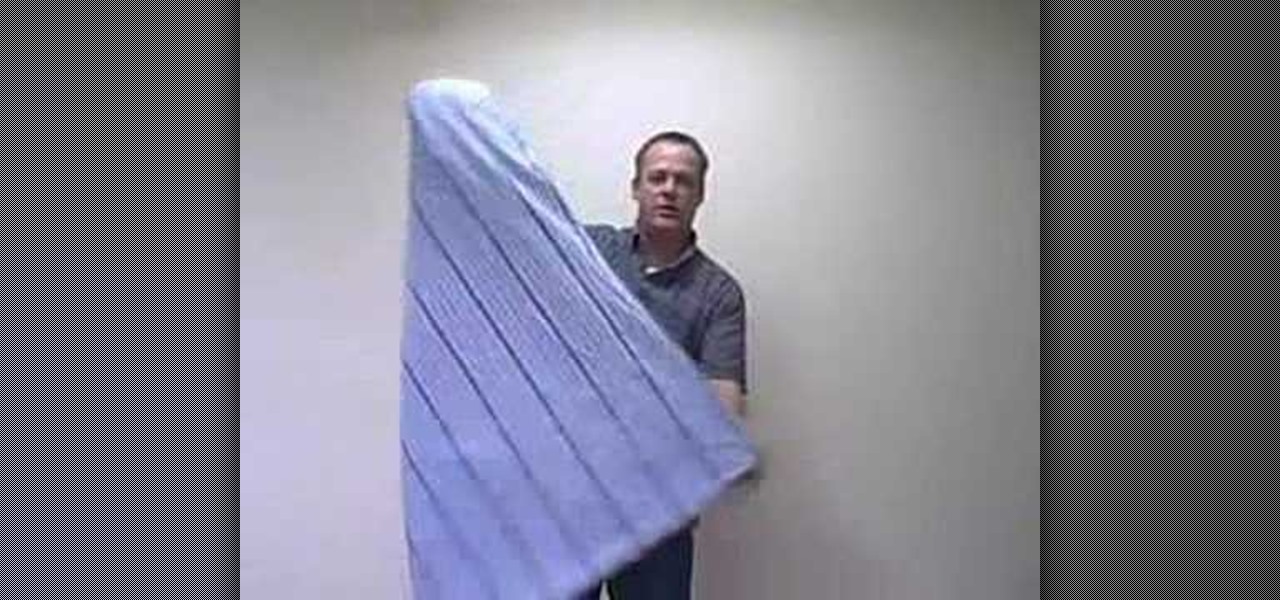
How To: Fold a fitted sheet for neater storage
This video is a crash course presented by Murphy, Sam and Jodi on how to fold a fitted sheet for neater storage. The guy presenting the video picks up a fitted sheet and shows you how your fitted sheet usually ends up - like a ball in your closet. He then takes you through the steps to fold it neatly. First you have to take the long side of the sheet and put your hands inside the cover on the sheet edges. Next, stretch your hands with the plain side of the sheet facing outside. When you have ...

How To: Tape a hockey stick like the pros
Before beginning to tape your hockey stick, take your desired cloth grip tape and score it in half with a knife making sure to not cut through the cardboard core. The purpose of this is to make thinner strips of tape. To begin the taping process, start at the top of the stick and go down the stick in a diagonal for about six inches. Then, back at the top of the stick, wrap with white (shin guard) tape around and around to make a knob. Now, we focus attention on the blade end. Run a thin strip...
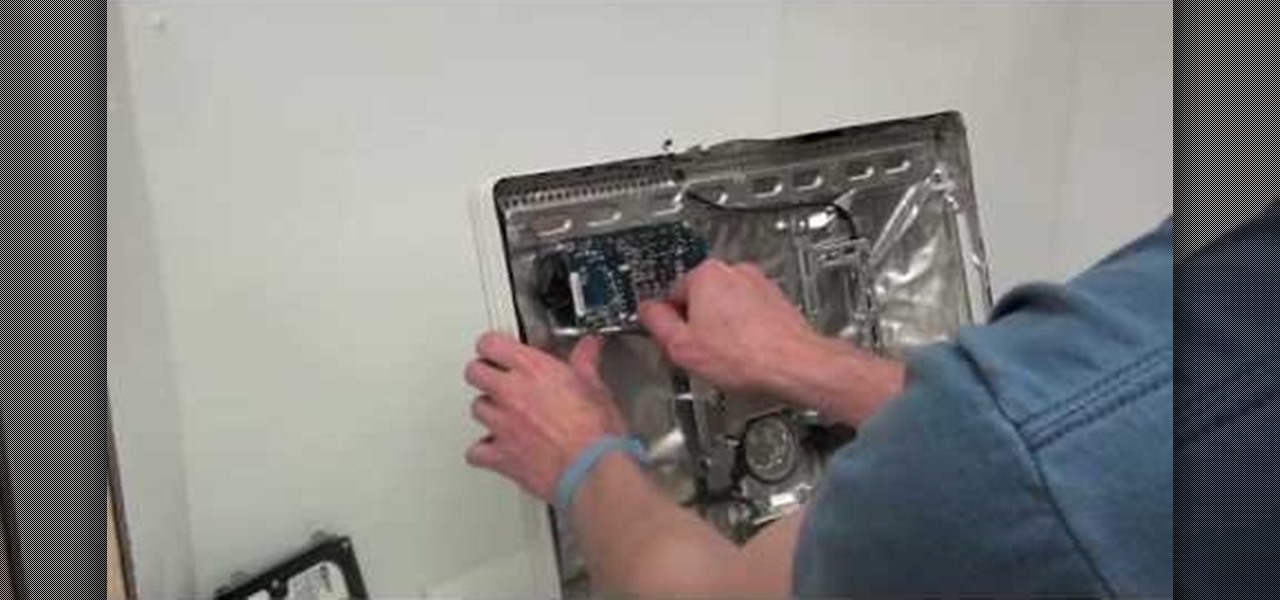
How To: Remove the power supply from a G5 iMac
Removing the power supply from the iMac G5 is a two step process. First, see where the power supply is located. Then begin the process of removing it. You can do using a very easy way described in this video. First unscrew the 4 torx screws that are located around the edges of the power supply. Be careful not to be too rough while doing so. Once you have unscrewed them, then gently lift or remove the power supply. However, we still have to unplug it from the iMac. Therefore, carefully unplug ...

How To: Move from notes to rough drafts of research papers
In this video, we learn how to move from notes to a rough draft of a research paper. First, you need to place all your notes in order and create an outline for your paper. Find out what important information you need, and filter out all the information you don't. After this, you can begin to fill in your outline and add any additional information into your outline. After you have this completed, you can start to write your rough draft using the outline you just created. Keep your notes around...
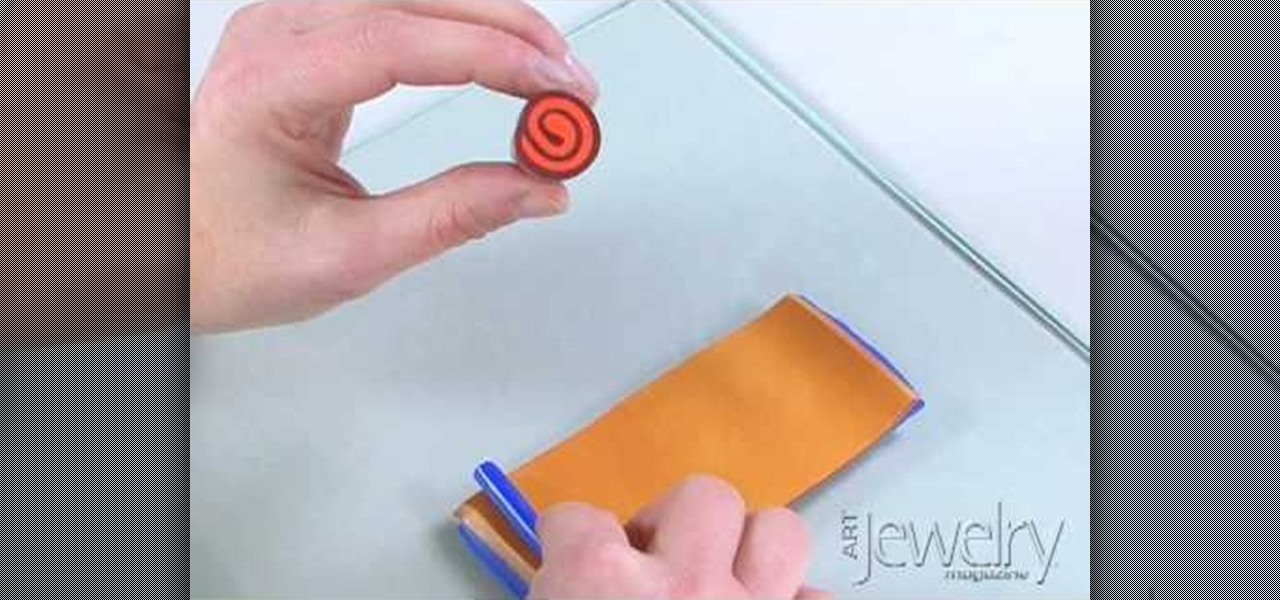
How To: Make a polymer clay jellyroll cane
Jill Erickson from Art Jewelry Magazine demonstrates how to make a Jellyroll cane with polymer clay. Condition two different colors of clay by running them through a pasta machine set on medium. Then, trim off any rough edges. Stack the clay on top of each other and place a little bit of pressure on it to confirm the two layers. Using a blade slightly bevel the edges. Slide the blade underneath the two layers of clay for easier handling. Place a think snake of clay in the contrasting color on...
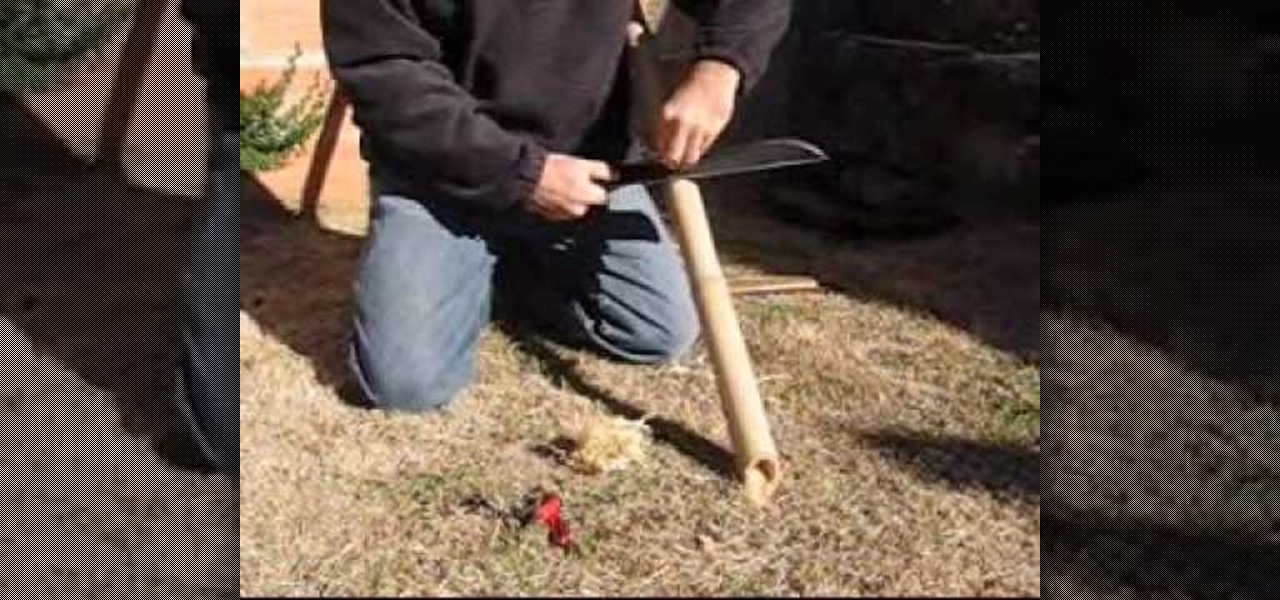
How To: Modify your machete for the bush
In this video, we learn how to modify your machete for the bush. First, you can sharpen your blade on a piece of wood. You will produce wood shavings that will produce fire as well. Push down on the sides of the knife as well as base and on the tip and middle. Make sure you slightly sharpen the back as well so you can use it to open up coconuts. Once you do this, you will have five useful edges on your machete that you can use for many different purposes while you are out traveling. You can a...
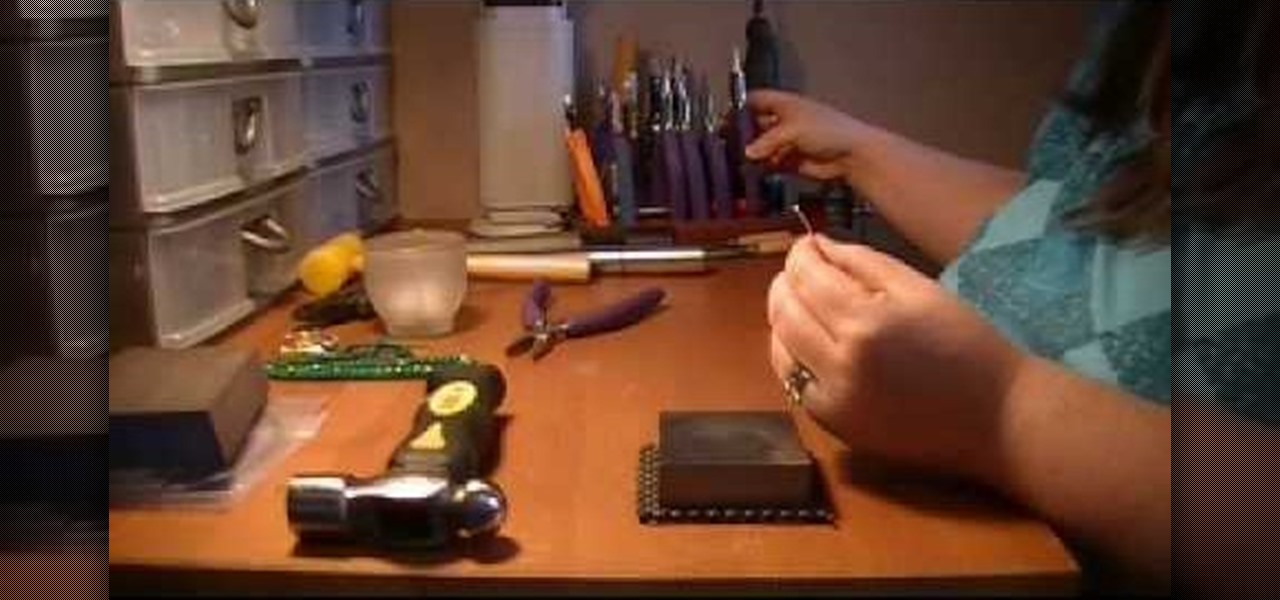
How To: Make fine silver ball earring wires
Make fine silver ball earring wires

How To: Make an ear wire earring hook
In order to make a hook for an earring, you will need the following: round nose pliers, a wire cutter, a nail file or sand paper, an ink pen, 20-22 gauge wire. With your round nose pliers, make little hook, in the end of the wire. Bend it, until it makes a little loop.
How To: Finish garments with a serger or French seam
The video shows how to finish garments with serger or French seam. If you have a serger sewing machine then you can straight away place the seam along the seam and stitch on the machine. The advantage of this machine is that it gives 3 fledge serger stitch at one go. If do not have a serger machine then you can use the French seam. First the rough seam is stitched on the wrong side of the fabric and frayed edges are trimmed. Now the fabric is turned over and ironed over the stitch and a strai...
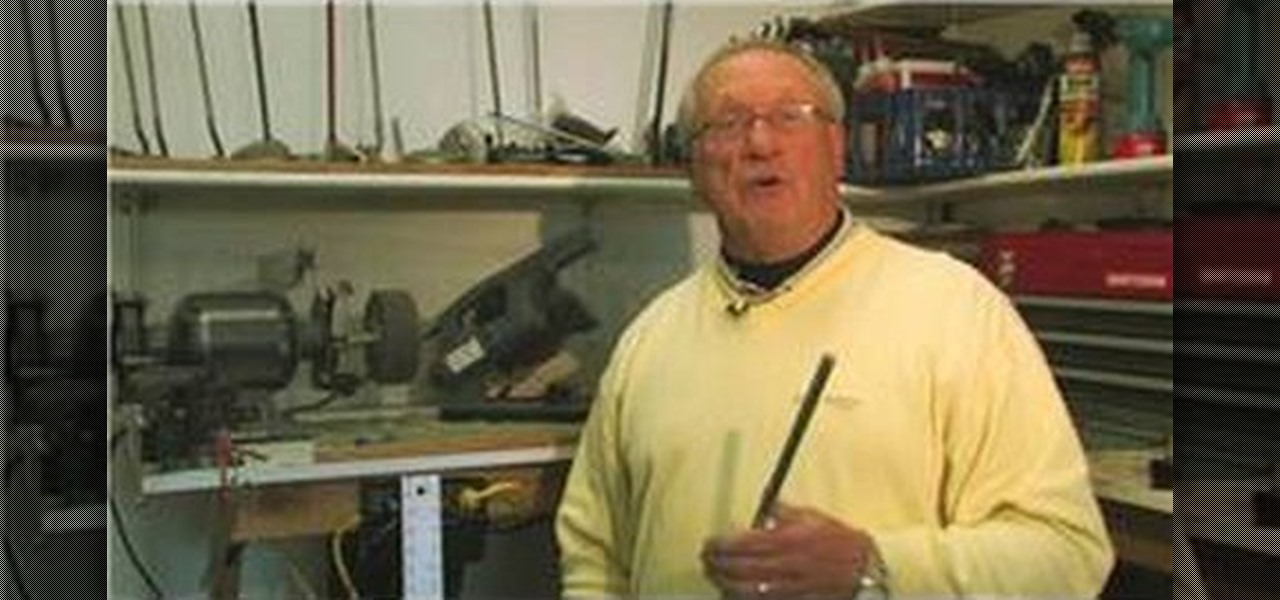
How To: Trim golf club shafts
In this video tutorial, viewers learn how to trim golf club shafts. The materials required are: a golf club, yardstick, marker, chop saw and grinder/buffer. Begin by determining how long you want your golf club to be. Measure and mark where you want it to be cut. Now place the shaft in the chop saw holder and tighten it. Make sure that it's lined up with the blade and cut the shaft using the chop saw. Now smooth the rough edge with the grinder/buffer. This video will benefit those viewers who...
How To: Make sterling silver hoop earrings
The video helps us to make sterling silver hoops earrings. It is one the popular style of earrings. These earrings can be made of different sizes, shapes, forms whatever we like. This art and craft work is shown by Natalie.
How To: Use tile grout to make a cosplay-inspired star
In this video tutorial from StudioMallory, learn how to take Mapei premixed adhesive and grout and turn it into a six-point star. Begin by cutting out the star shape in a piece of cardboard. You can use a stencil to make sure the shape is accurate. With your fingers, spread the grout onto the shape. After you are done shaping the grout, spray a little bit of water on the grout to help you smooth out any rough edges on your star. Set the star on a flat surface and allow it to dry overnight. Th...

How To: Create a torn photo edge in Photoshop
In this Adobe Photoshop tutorial the instructor shows how to make a torn image effect. He shows you a sample image of what it is going to look like after producing that effect. It basically looks like as if the photograph was torn to pieces and then put back together with the cracks visible. To do this first open the image in Photoshop. Now make a rough outline of the tear with the polygonal lasso. After generating the tear go to filter and in the distort sub menu choose the ripple. Now it ap...

How To: Use your leftover asparagus tips
Hetal and Anuja of Show Me The Curry think we are wasting too much asparagus. They give us tips on what to do with all the leftovers. -First make sure the tips are nice. -Wash it. -Take the thicker end at the bottom and simply snap it off. -Peel the outer edge of this piece. The outside is rough and chewy, but the inside is still good. -You can save this piece for later use, or throw it in soup. Follow these instructions to save asparagus and money!
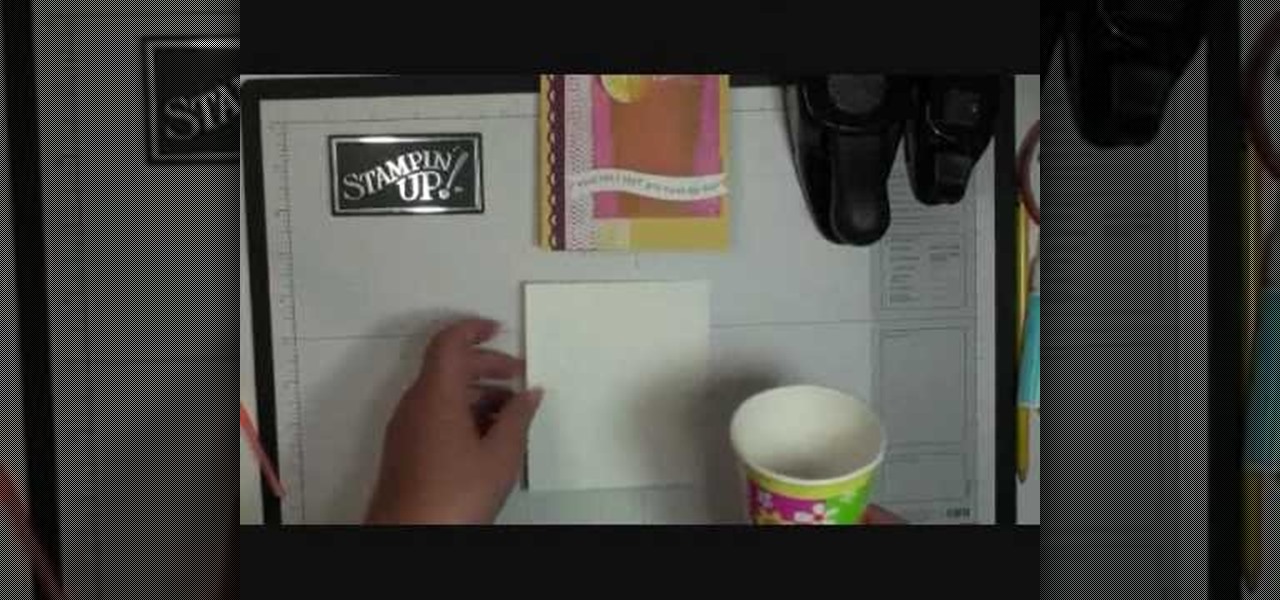
How To: Make a 3D lemonade cup card with Stampin' Up!
Dawn Griffith creates a cute card with a 3D lemonade glass embellishment from start to finish. Create a template by making a rough sketch of an 8 ounce paper cup onto a piece of white cardstock and cut it out. Take the template and either trace it onto a piece of vellum cardstock and cut it out, or use Dotto adhesive to attach the template directly to the vellum and then cut around the shape. Score each side at about 1/4", fold on the score lines and trim the overlap at the top. Apply sticky ...
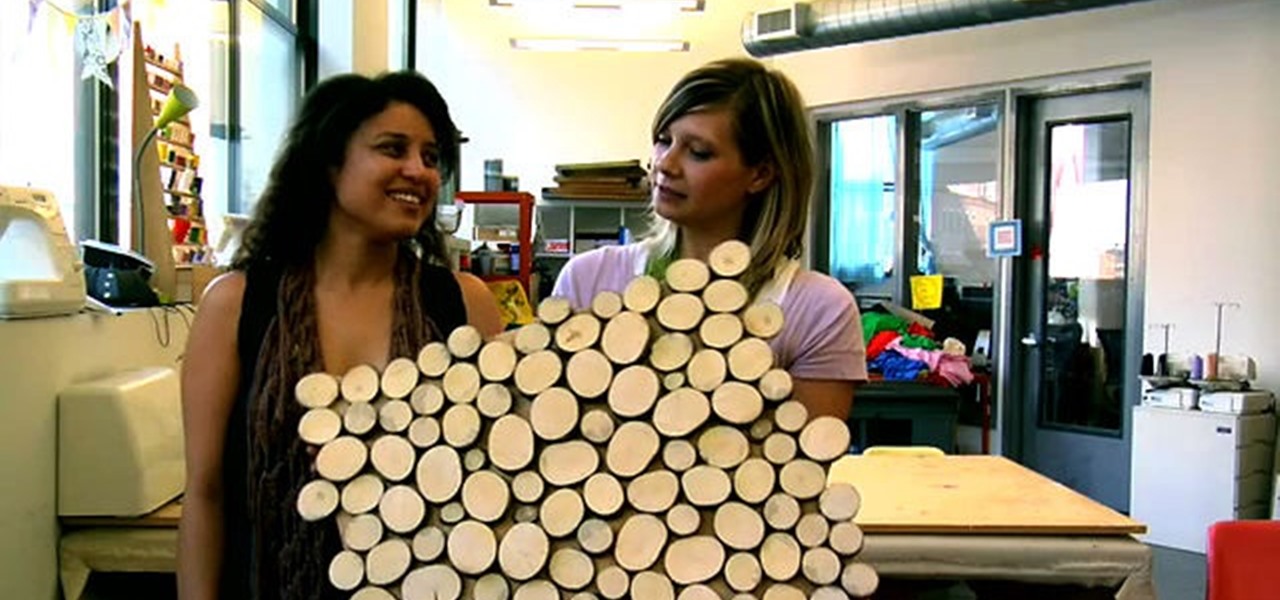
How To: Create a mid-century modern wood wall hanging piece
Remember summer camp? Remember the smell of the log cabins? The feel of the treated wood? Well, you can create something for your home that's perfect for a nostalgic summer camp aesthetic. Meg Allen Cole (recently of Threadbanger) was inspired to make this mid-century modern wall hanging piece made from a small wooden log (or branch) when she was at a relaxing, wooded vacation spot in Maine. And she shows you how to make one, too!
How To: Draw a professional rough layout for a wooden chest of drawers
With any sort of woodworking, you need to make sure that your rough layout looks perfect. Any slight mistake and you'll be crying all the way back to the lumber yard. This video will show you how to set up your rough layout and some tips on where to start your drawing and where not to draw.

How To: Draw a fox in Photoshop
In this video we are shown an easy way to draw a fox using Photoshop. First, start with a rough sketch on a separate layer. Rough in the head, ears, snout, and eyes. Make a new layer and outline your previous drawing. In this layer put in more detail such as the jagged outline of the fur and the details of the face. To colorize your fox, put in a new layer under the outline layer. The fox should be colored a dull orange, with dark brown shadows for the ears and white under the muzzle and on t...
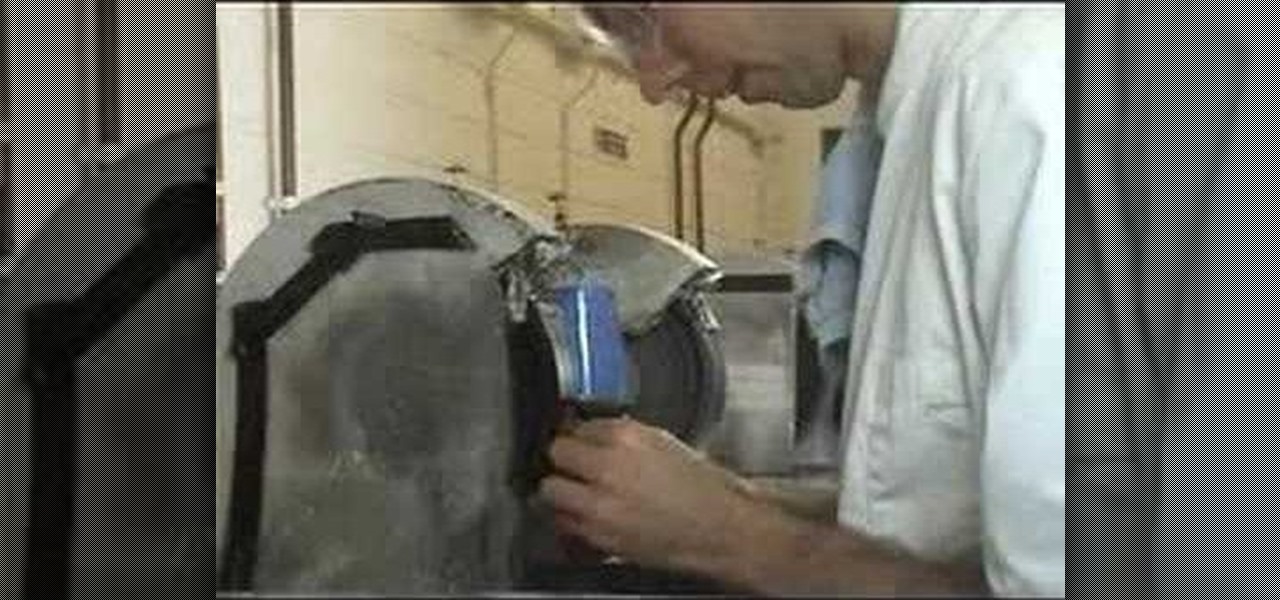
How To: Form rough agate into polished cabochons for jewelry
Learn how to turn rough agate into a beautiful drop shape cabochon by hand from a qualified lapidary at Holts, London. A cabochon is a gemstone which has been shaped and polished as opposed to facetted. The resulting form is usually a convex top with a flat bottom. Use this technique of forming softer stones into smooth oval shapes for fine jewelry.

How To: Grind and shape rough opals with a grinder
Check out this video on how to grind and shape rough opals with a grinder. You can grind and shape rough opals using basic homemade equipment. You will require a Bench Grinder, a cut down plastic bucket, a length of pipe for the water feed, and a green grit wheel, for a low cost.

How To: Draw a neighborhood using an imaginary box
In this tutorial, we learn how to draw a neighborhood using an imaginary box. First, draw a straight line and then the boxes should go around it. Continue to draw additional boxes around the line, then fill them in with the outline and further details. Draw in the roof, walls, windows, and doors. When you finish with the details, start to shade them in and then add in the street details. Make sure to give the ground some rough edges and also add in lights on the street. Add as many details as...

How To: Make a paper mache Venetian Mask
Do you need a Venetian mask but can't afford to buy a fancy one? This tutorial teaches you how to make a Venetian style mask by yourself with some basic supplies you can buy from a craft store. You'll need a blank mask or some plaster strips, decorations (like ribbons, crystals, feathers etc.) and basic construction tools like X-acto knives, scissors, and glue. First, you need to lay out the materials, add the trim with hot glue and attach the feathers to the top of the mask. The feathers wil...
How To: Plaster a wall in your home with Ron the Builder
Ron the Builder demonstrates how to plaster a wall. Mix the sealant with water to achieve the right proportions and spread evenly over the wall with a paint roller. Once the sealant is dry, you may begin plastering. Combine half a bag of plaster with the appropriate amount of water in a large bucket with an industrial mixer. Mix until the plaster is smooth. Pour the plaster onto a flat board. Using a trowel, scrape some plaster onto your hawk. Then, using a flick of the wrist, quickly scoop s...

How To: Hit a golf ball out of thick grass
This is an instructional video on how to hit a golf ball out of thick rough. The major issue that most people have with hitting the ball out of the rough is that they end up smothering the ball when they swing. This is caused by the grass catching on the shaft and closing the club face. They way to fix this is, at address you need to open the club face a slight amount. When you swing the club will catch and your club face will be positioned perfectly and the ball will shoot out of the rough l...

How To: Make realistic custom vampire fangs
Clean out the empty bottle that you are going to use. You can use a white dish-washing soap bottle or a cleaning agent bottle. Just make sure it is empty and clean. Use the pen to draw a wide rectangle that measures 3 inches long by 1/4 inch wide onto the bottle. The teeth you are making are going to stretch from either side of your canine teeth above and over your two front teeth. This will help them be more secure. Draw this onto a part of the bottle where it is curved. Draw two vampire tee...
Next Page
Prev Page