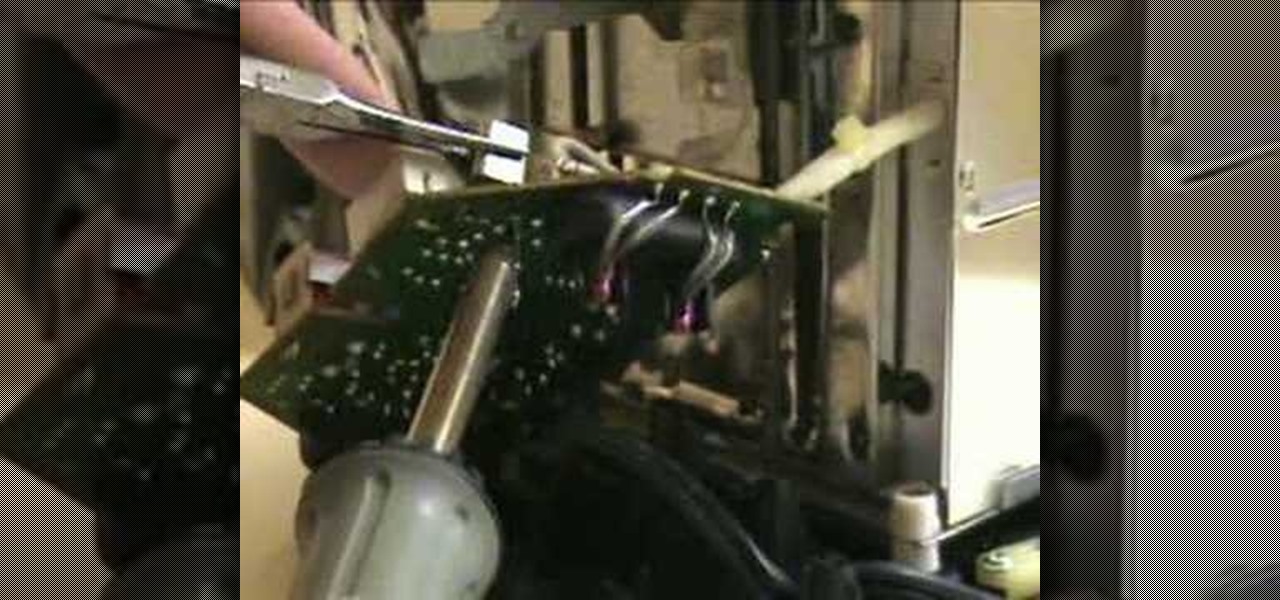
This video demonstrates a very simple way to broadcast your voice on the same frequencies that a drive-thru restaurant uses, enabling you to mess with the customers and employees. This hack will work on just about any fast food drive thru.
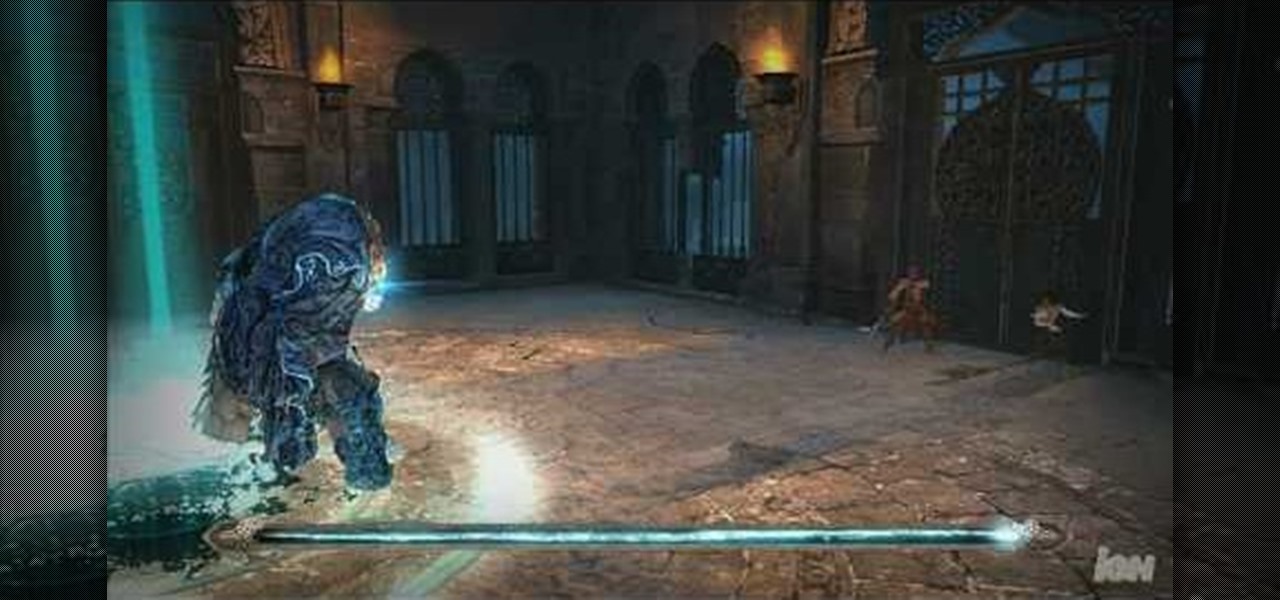
If you're having difficulty dispatching any of the Corrupted from 2008's Prince of Persia, this helpful battle guide from IGN might be just what you need. If forewarned is forearmed, this video tutorial will arm you to the teeth with the necessary knowledge to beat each of Ahriman's four lieutenants – the Hunter, Warrior, Alchemist & Concubine.
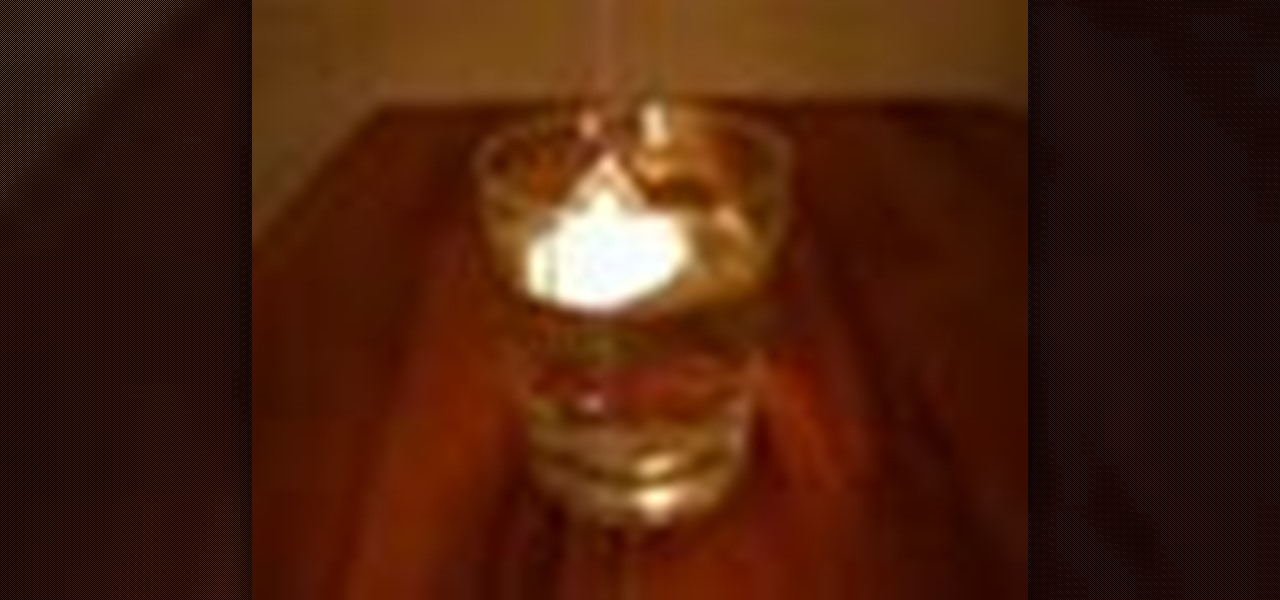
Have you ever seen a steam candle? It's essentially a simple-as-pie steam engine that revolves on top of a water surface. They are relatively easy to make if you know how to do it. Take a look at this instructional video and learn how to "hack" together your own steam candle.
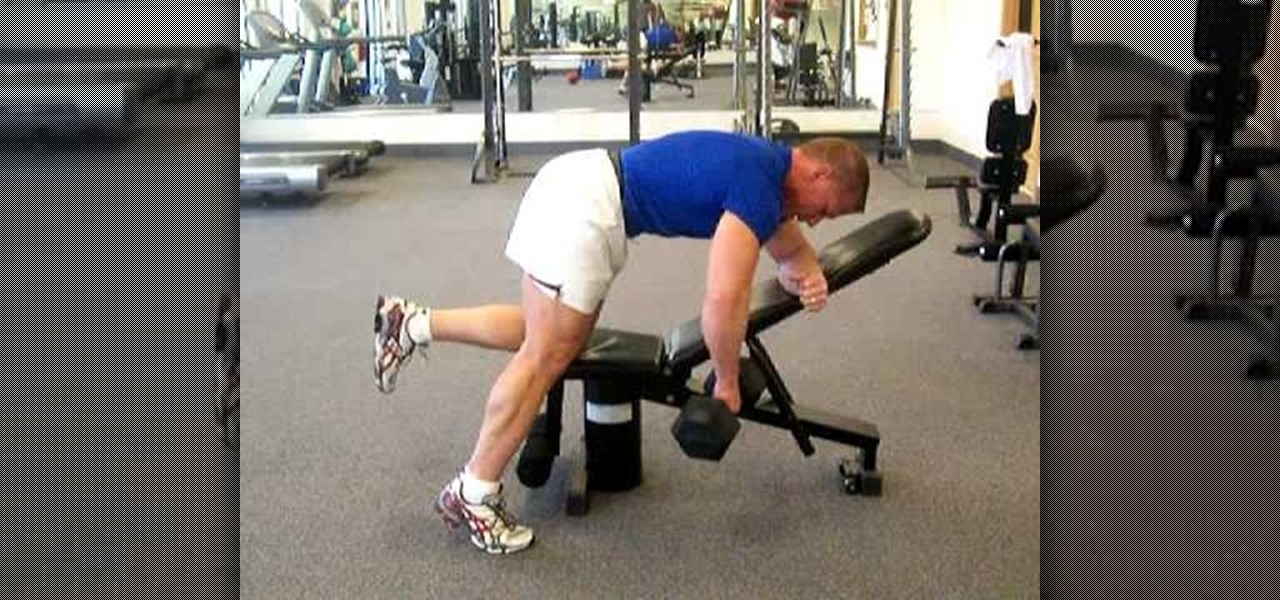
This may surprise you, but rowers weren't born with a perfect six pack of abs and Incredible Hulk-like shoulders. They happen to be in a sport that revolves around how fast they can move their arms from the front to the back with great water resistance.
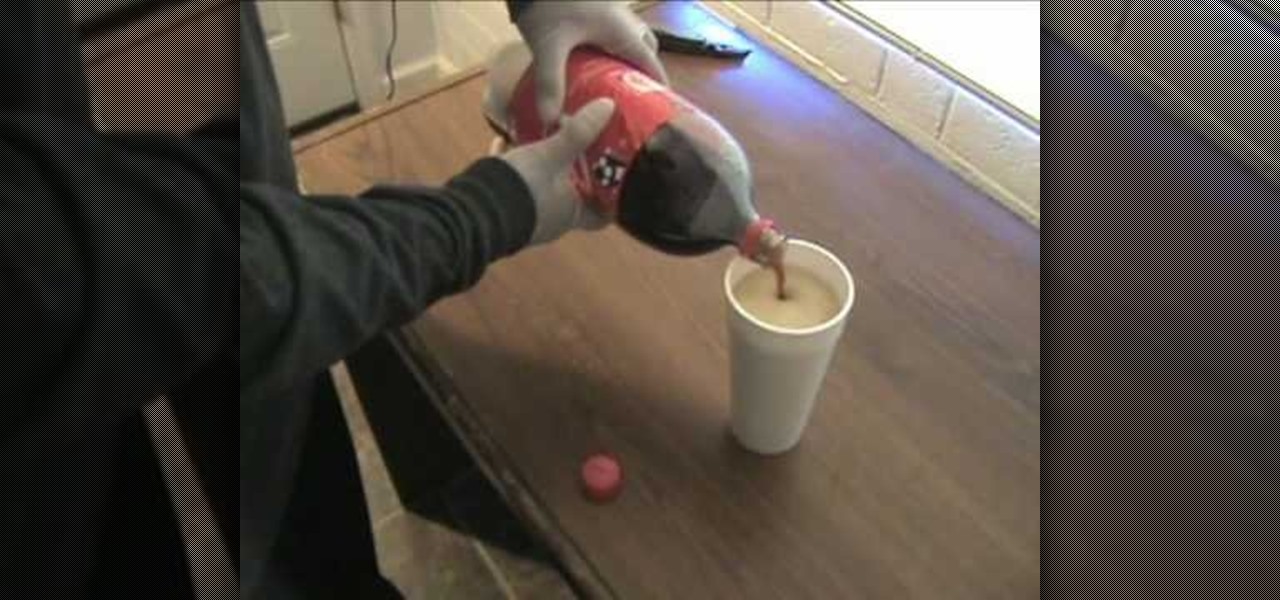
Imagine… your friend is drinking an ice-cold soda out of his/her styrofaom cup, and everything's fine, until… it's starts leaking everywhere! It could be utterly hilarious, or disastrously evil, depending on who your target is.
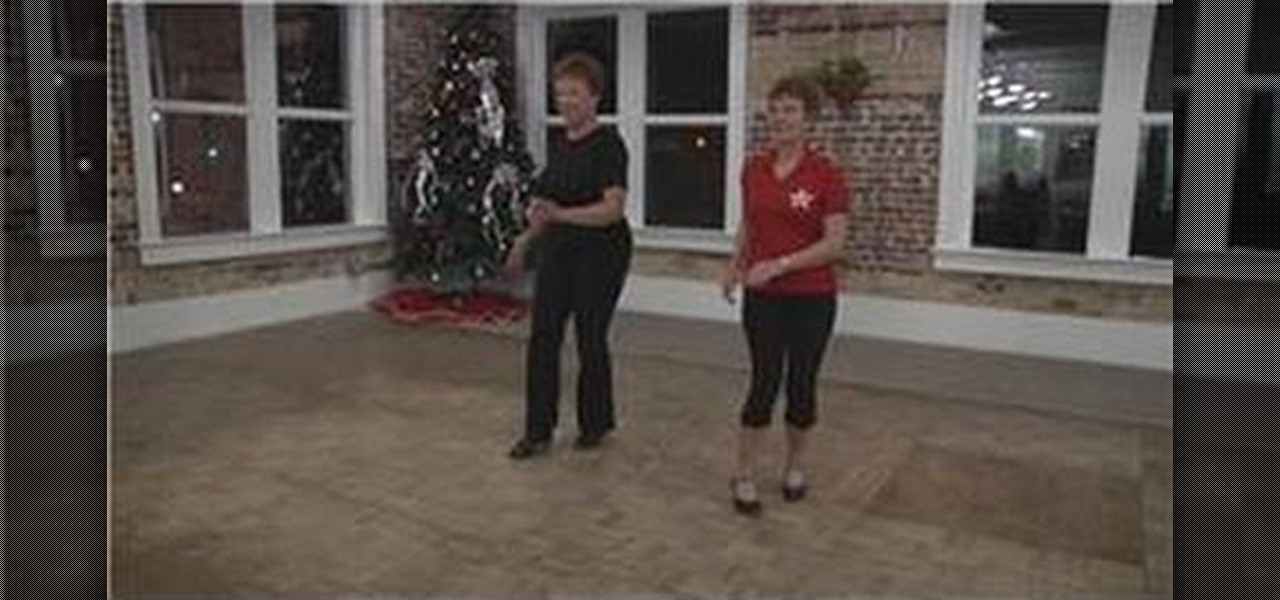
If you're starting to tap dance, know that it revolves around using the rythym of the music. The music helps determine what steps that you'll be making in your dance routine. It may seem like a difficult task, but with the right help and teacher it can be easy to pick up. So in this tutorial you'll find out some basic steps that are made in tap. They're easy to follow and will make you want to keep learning how to perform this energetic and fun dance. So good luck, be careful, and enjoy!

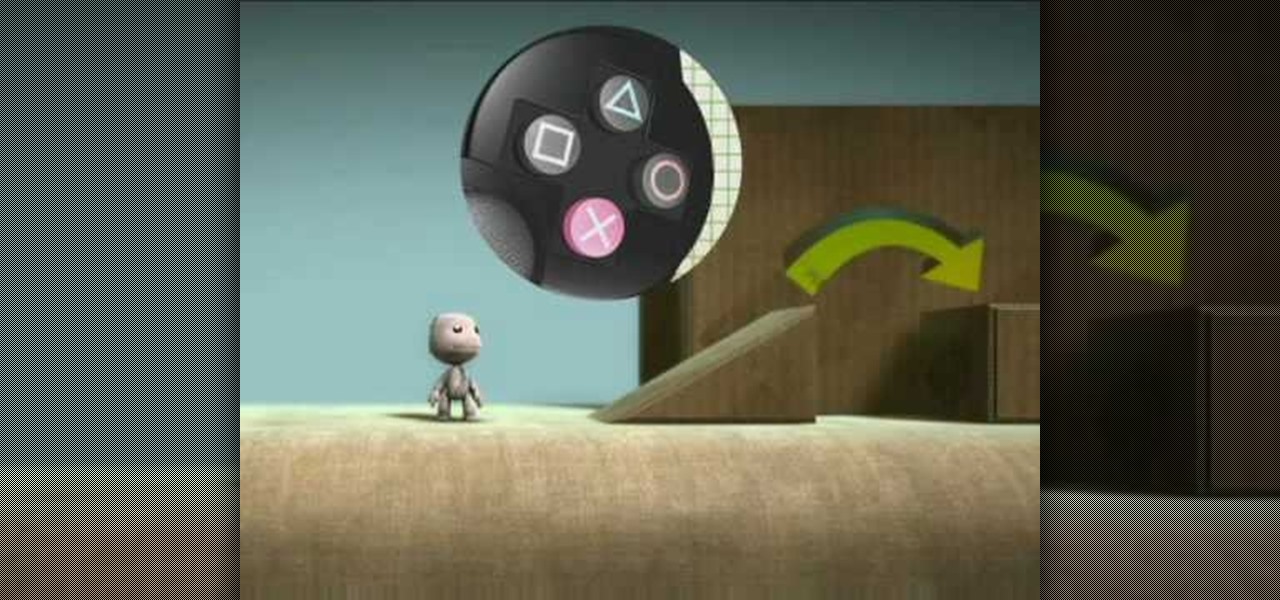
Get moving! Learn how to walk, run and jump your way through LittleBigPlanet. LittleBigPlanet exclusively for the PLAYSTATION 3. It lets you PLAY alone, or with friends, in a world of infinite possibilities. Run, jump, grab and swing your way thru imaginative levels and mini-games. If you're feeling creative, you can CREATE your own levels, enemies, obstacles and even storyline. Once done, SHARE them with our online community of thousands of User Generated Levels from around the world for
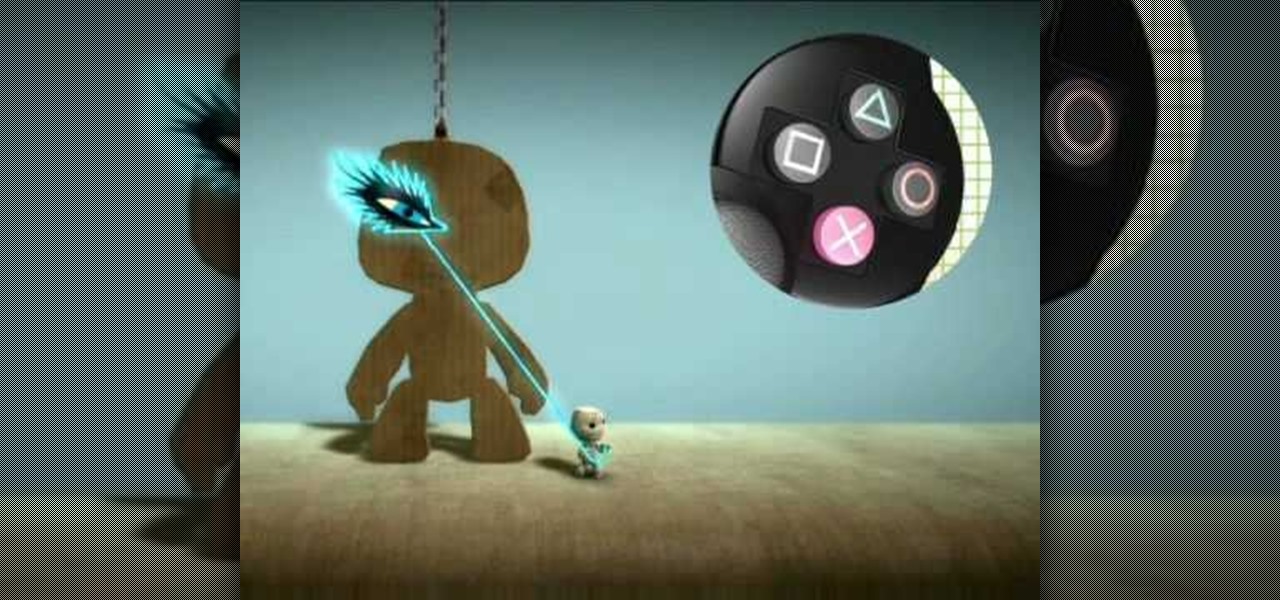
Stick it to them! Learn how to resize, rotate, and stamp your sticker collection in LittleBigPlanet.
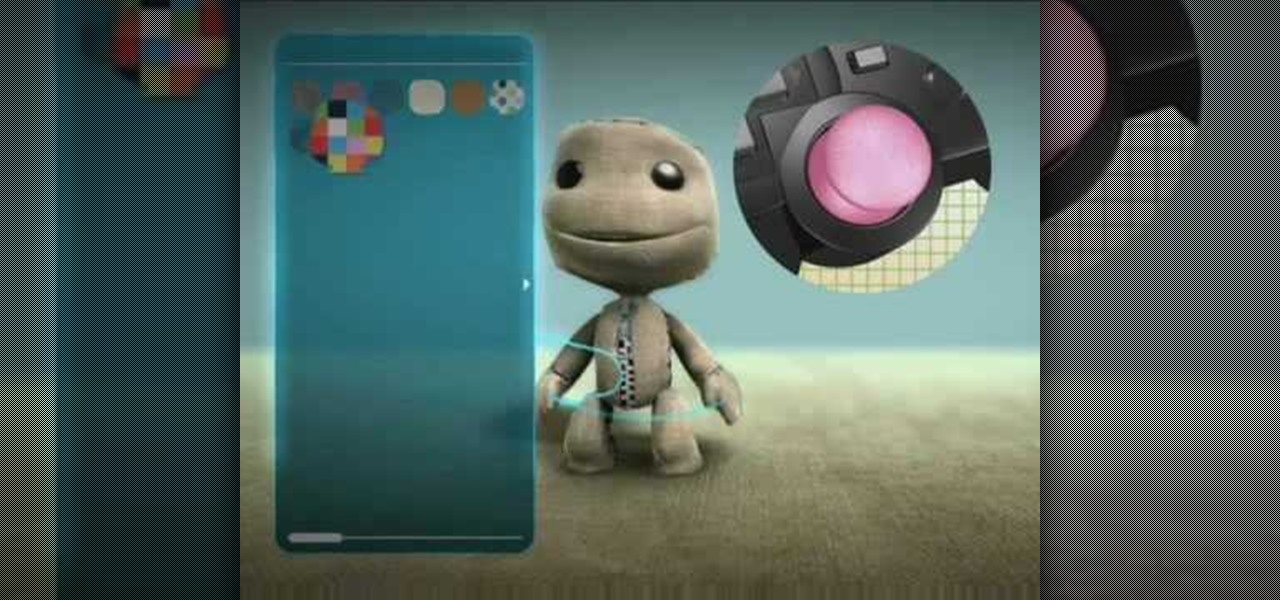
Get some clothes on! Dress up or Dress down, learn how to express your own SackFashion for Little Big Planet on PS3.
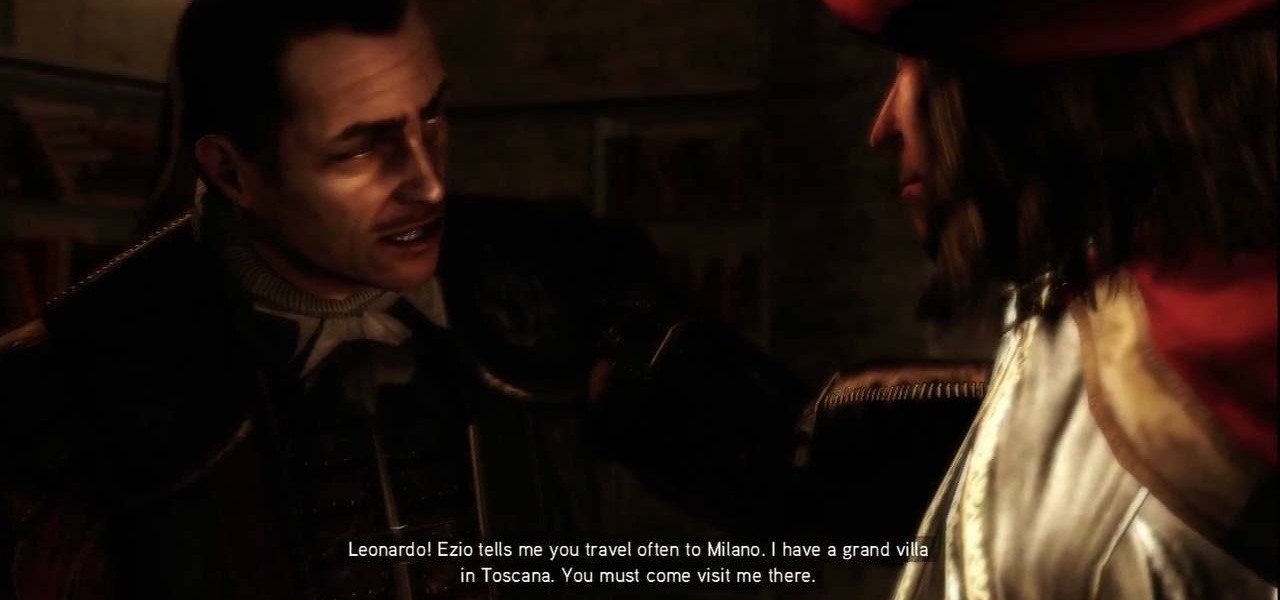
The Battle of Forli: This is downloadable content that fills in the missing pieces and has Ezio defending the town of Forli from the Orsi Brothers. There are six new memories and Leonardo's flying machine makes a return allowing players to fly it across Romagna. Ezio is joined by Machiavelli and Caterina Sforza to protect a Piece of Eden from the Templars. For more info, watch the whole gameplay.
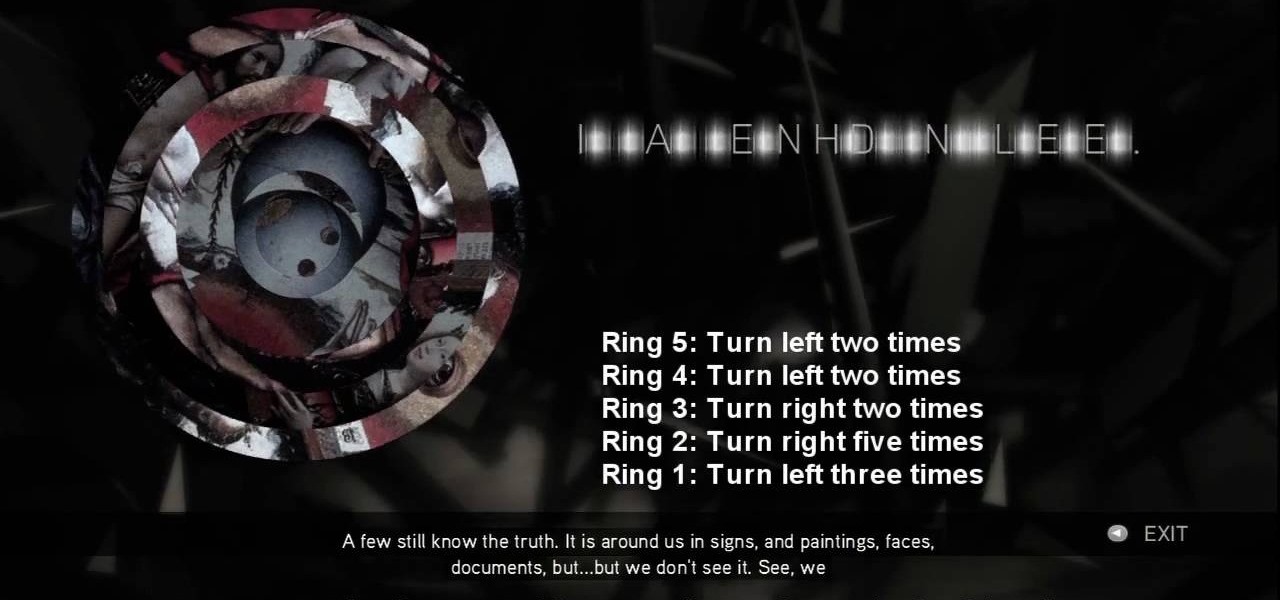
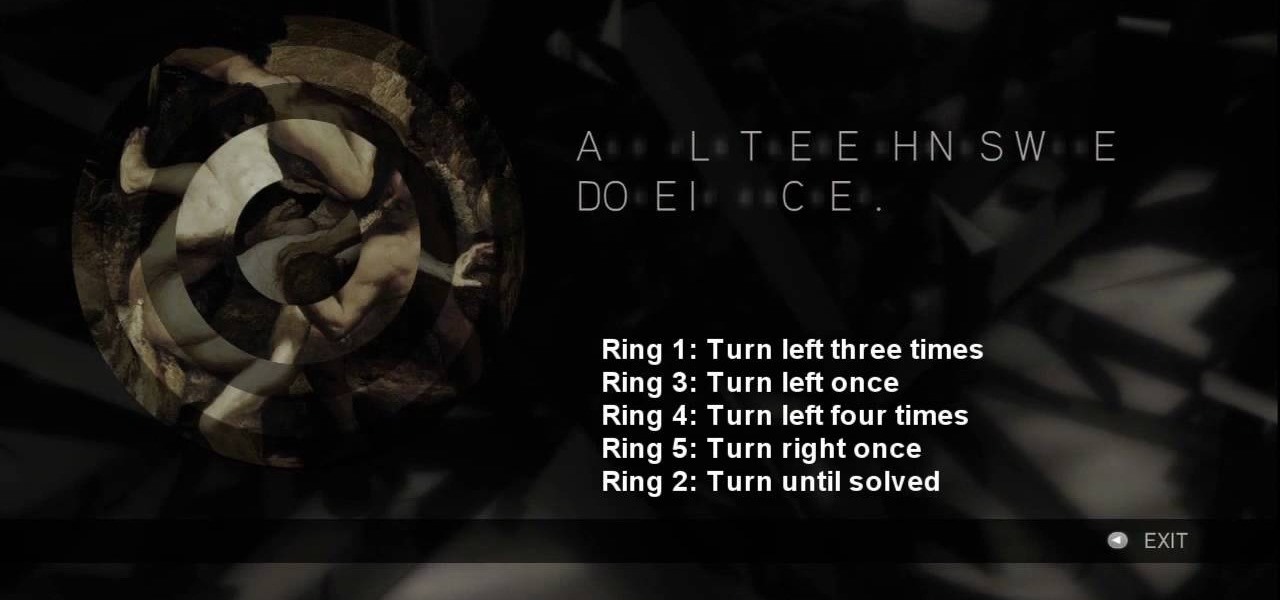
No need to figure out the 20th puzzle, entitled "The Origin of the Species", in Assassin's Creed 2. Here's the answers! Puzzle wheel: Start by turning the fifth ring right ten times, then turn the fourth ring left twice. Then rotate the third (and first) rings right twice, the second ring right five times and the first ring left three times. Image 1: Highlight the eye at the top of the painting. Code wheel puzzle: Ignore the numbers and focus on the Assassin motto: “Nothing is true, everythin...
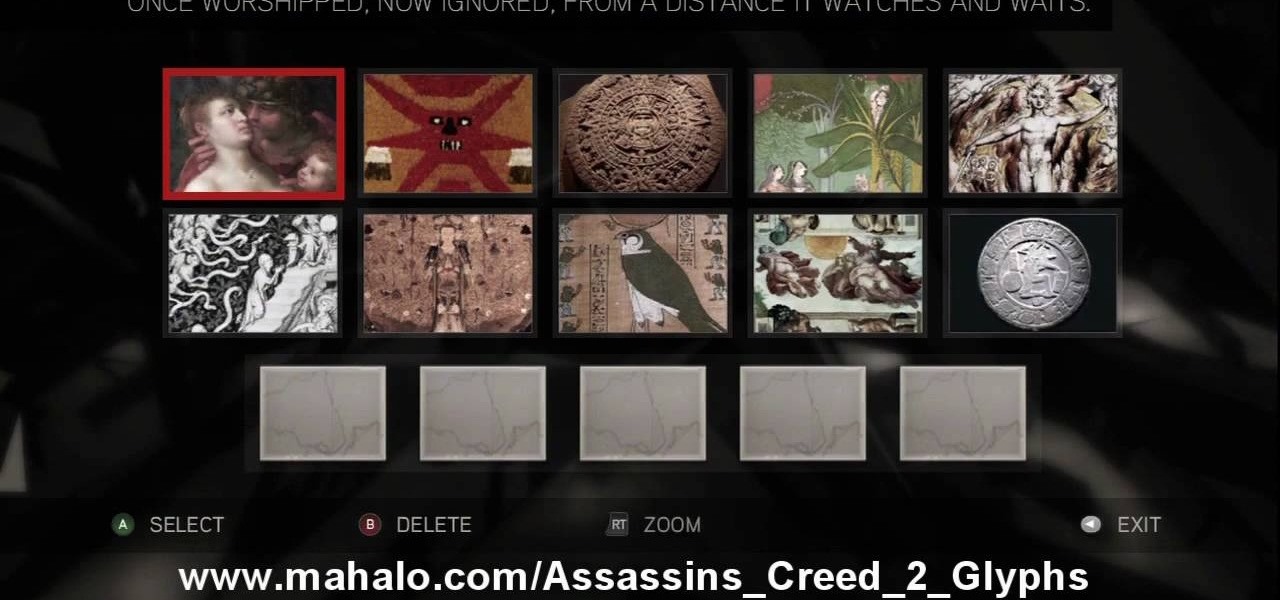
Here's the answers to the 19th puzzle, titled "The Fourth Day", in Assassin's Creed 2. Image set: What used to be worshipped by every primitive culture under the…? That’s right, the sun. Pick the five images that focus on it. Image: Find the tiny image of Earth in the lower-left quadrant of the sun. For more info, watch the whole gameplay.
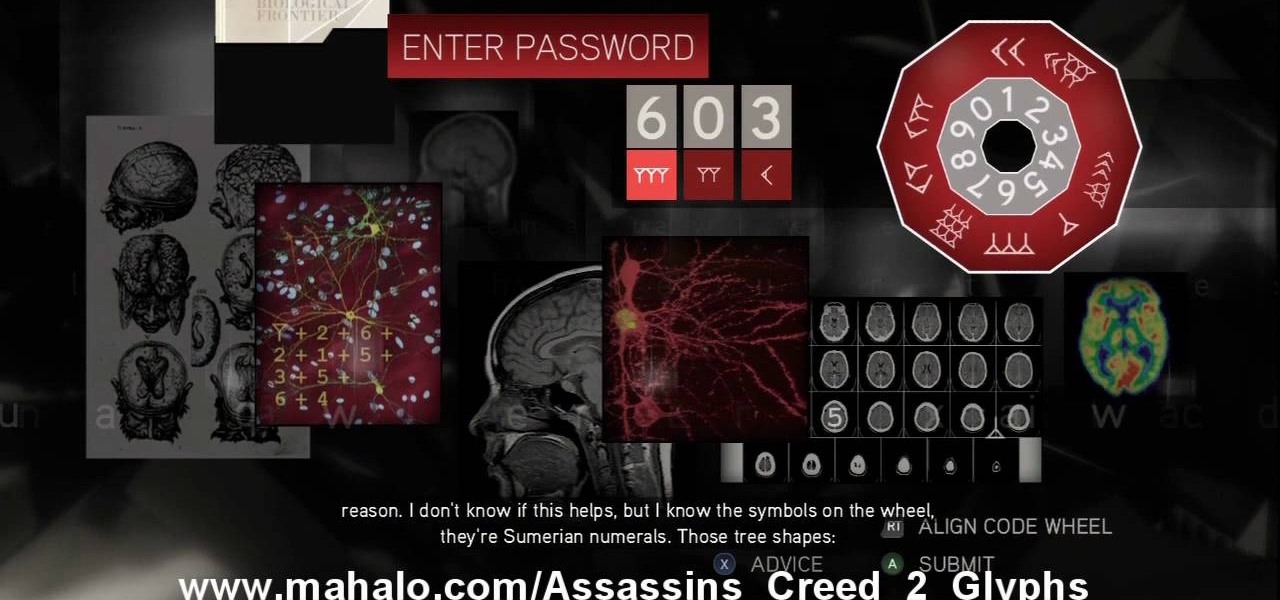
The 18th puzzle is called "Synapses". See how to solve it in Assassin's Creed 2. Code wheel puzzle: Your first clue is to line up 5 with a single tree-looking symbol. The key here is the weird-looking equation on the left, which offers a hint as to the progression of the symbols.
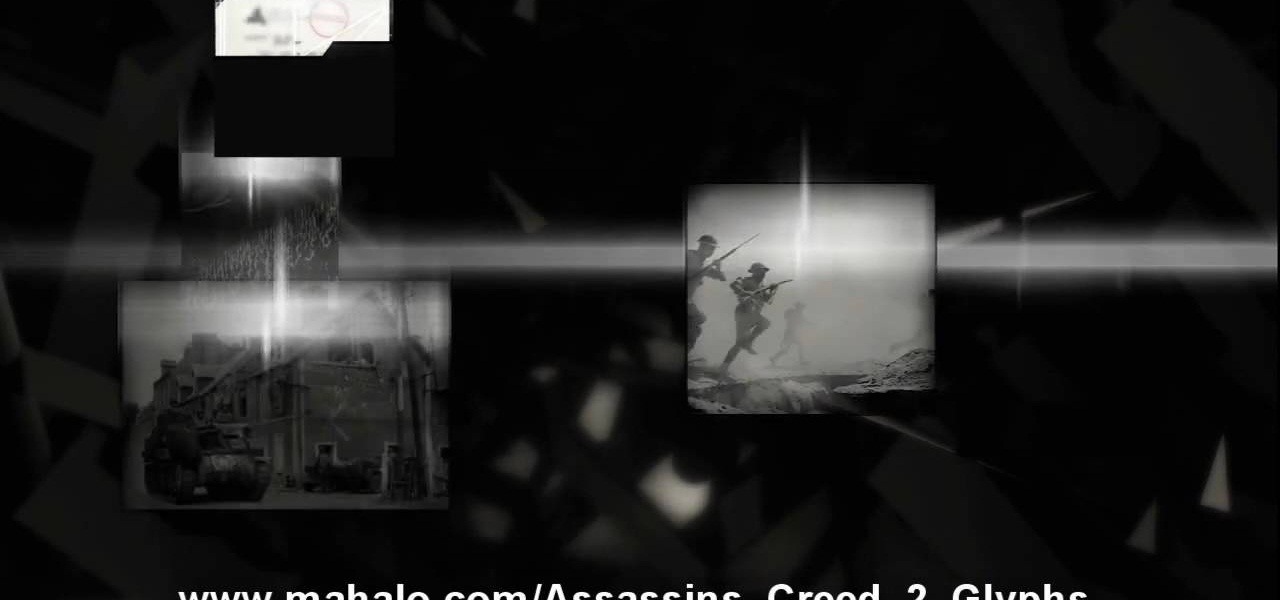
Figure out the 17th puzzle, entitled "The Bunker", in Assassin's Creed 2. Code wheel puzzle: Here’s a tricky one; your clues are “<” and “2,” and the only advice you’ll get from your handlers is that maybe there’s “something we can count” on the strange symbols. In this case that “something” is the number of times each symbol bends sharply. Don’t expect consistency across the wheel on this one; just take a look at what symbols flank the blank spaces and pick a shape with the number of bends t...
This one's pretty easy. Here's the solution to the 16th puzzle, entitled "The Cavalry", in Assassin's Creed 2. Image 1: Just move the cursor to the word “Tunguska.” Image 2: Move the cursor onto the staff and drag it onto Tesla’s photo. For more info, watch the whole gameplay.
Get all of the info on the 15th puzzle, entitled "Guardians", in Assassin's Creed 2. Puzzle wheel: Seemingly every other ring is linked here, so we’ll cut straight to the chase: Turn the third (and fourth) rings right twice, the fifth (and first) right four times, the fourth (and first) right five times, the fifth (and first) left five times and the second left five times. Finally, move the fifth (and second) rings right five times. Image: Another gimme – just move the Assassin logo over the ...
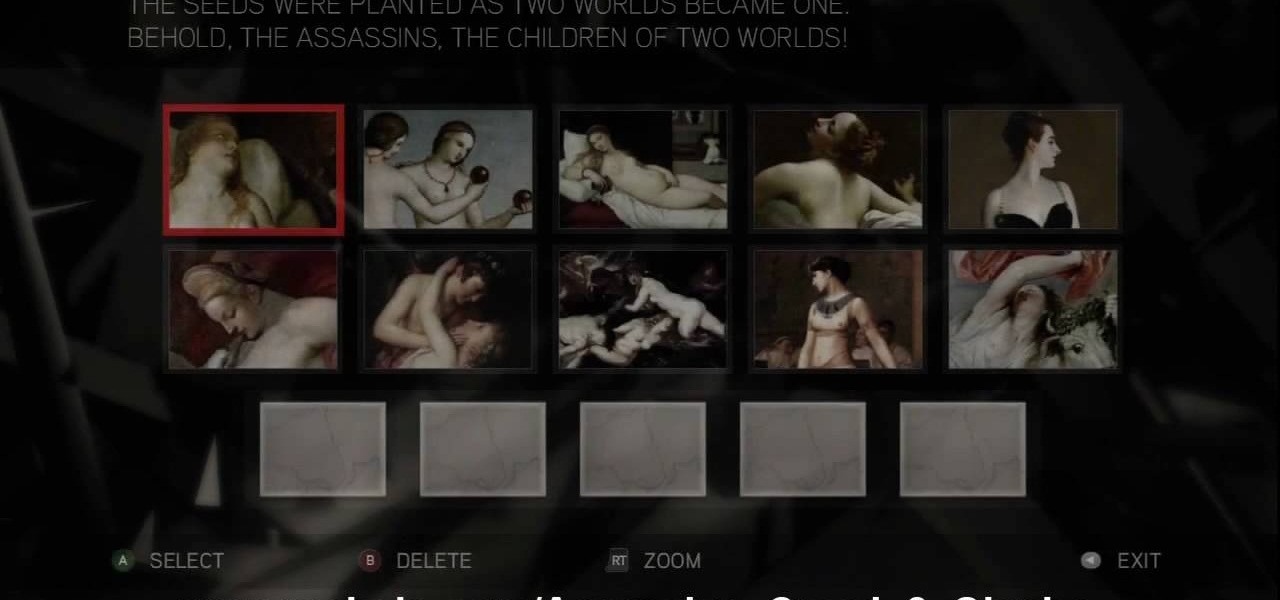
The 14th puzzle, entitled "Bloodlines", isn't really that hard in Assassin's Creed 2. Set 1: Highlight the images that depict women and gods in amorous entanglements (especially if those gods are disguised as animals). For more info, watch the whole gameplay.
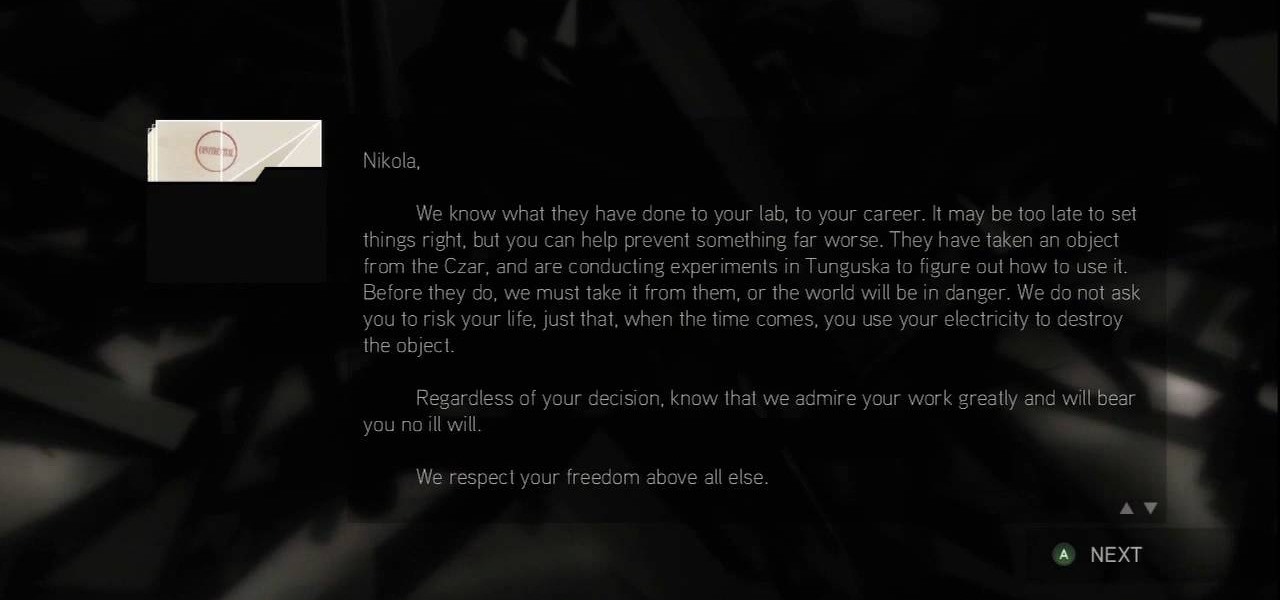
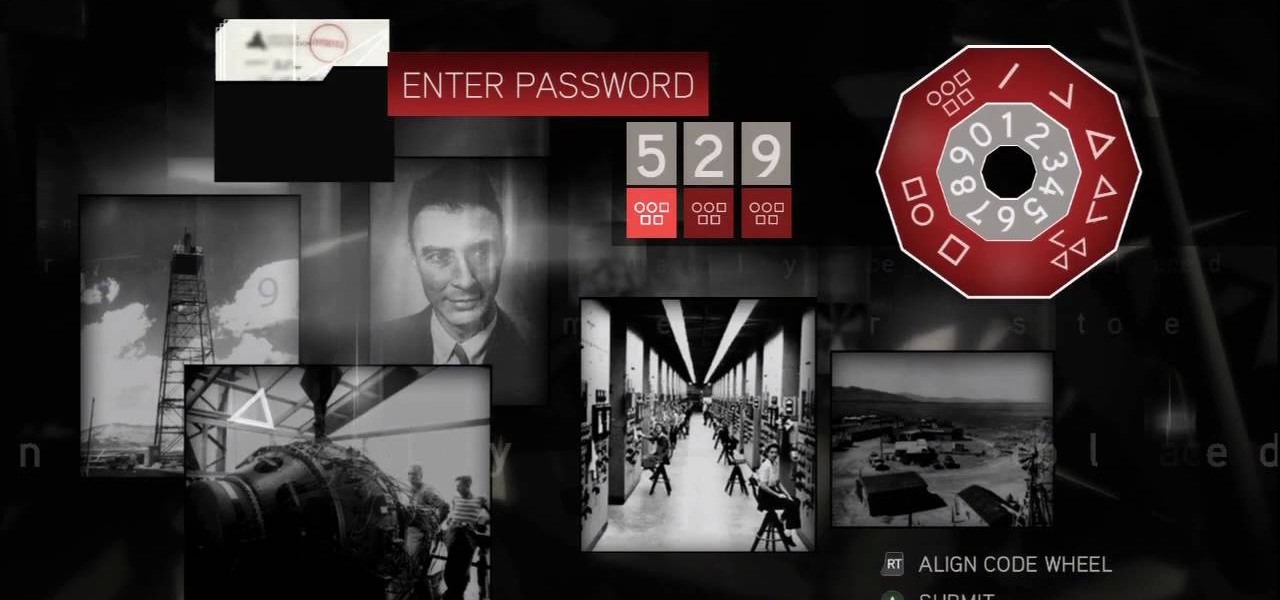
Solve the challenging 13th puzzle, entitled "I Am Become Death, the Destroyer of Worlds", in Assassin's Creed 2. Code wheel puzzle: This one’s even trickier than the last one; starting with the hint that 9 (next to the tower) equals “triangle” (up and to the left from the bomb), you need to figure out which symbols would fill in the blank spots on the wheel, going by the symbols next to them. Image 1: Just hit the button. It’s not hard. Image 2: Use the Geiger-counter clicks to guide you. For...
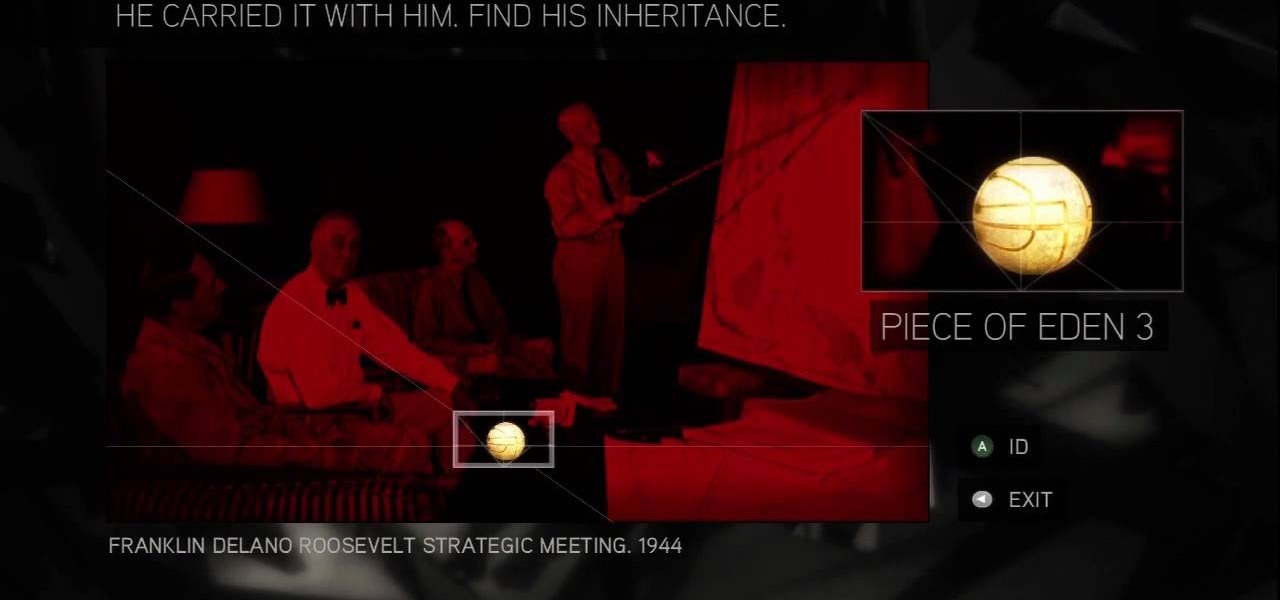
This is the 12th puzzle, entitled "Titans of Industry", in Assassin's Creed 2. Code wheel puzzle 1: The key here is in the “4=1” on the blueprint at the left of the screen. Line up the red 4 over the gray 1 and input the following code: 917240. Image 1: This one’s the opposite of the light-bulb “puzzle” from before – just move the dollar sign over the bulbs to extinguish them. Image 2: Highlight the glowing ball at the center of the image. Code wheel puzzle 2: Your hints here are the “2” on t...
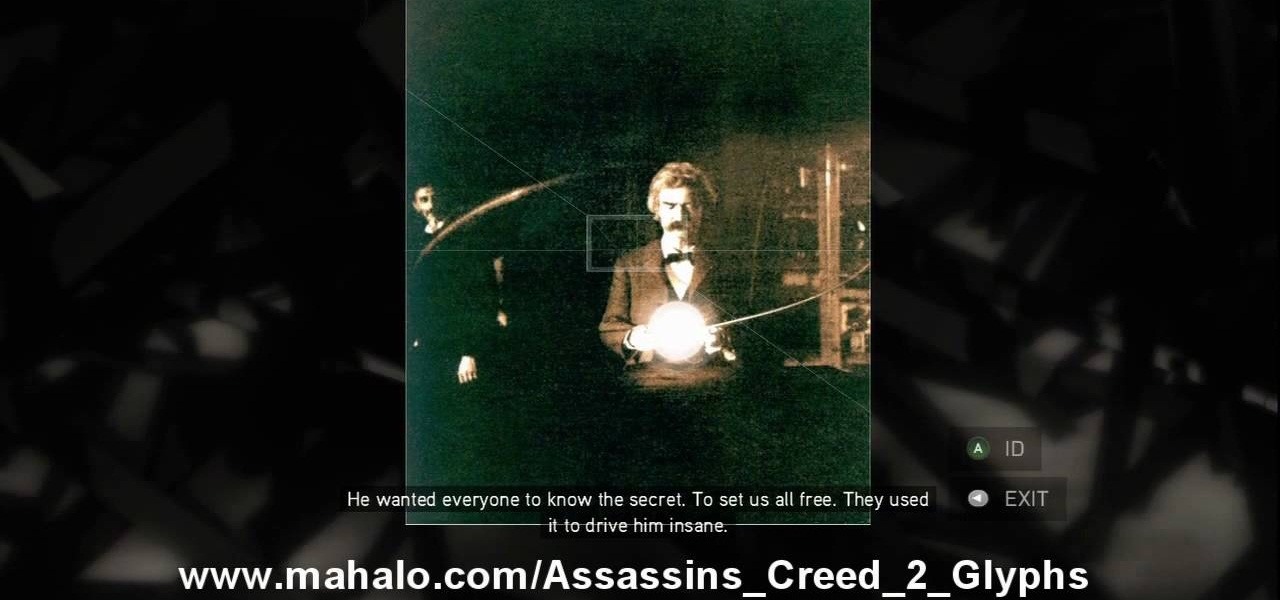
Find out how to solve the 11th puzzle, entitled "The Inventor", in Assassin's Creed 2. Image 1: Just move the lightning bolt over the bulbs to bring them to life. Image 2: Highlight the area just at the base of the tower, between the two windows, to find this hidden image. Image 3: Move the pointer onto Tesla’s lap. For more info, watch the whole gameplay.
Figure out the 10th puzzle, Apollo, in Assassin's Creed 2. Image 1: Highlight the lunar lander just down and to the left of the moon. Puzzle wheel: Another linked-ring rotation puzzle. Your job here is to align all the channels; do this by moving the fifth ring to the left six times, the second ring to the left four times, the fourth ring to the right three times and the third ring to the left five times. Then snap the first ring into place. Image 2: Move the cursor down between the flag and ...
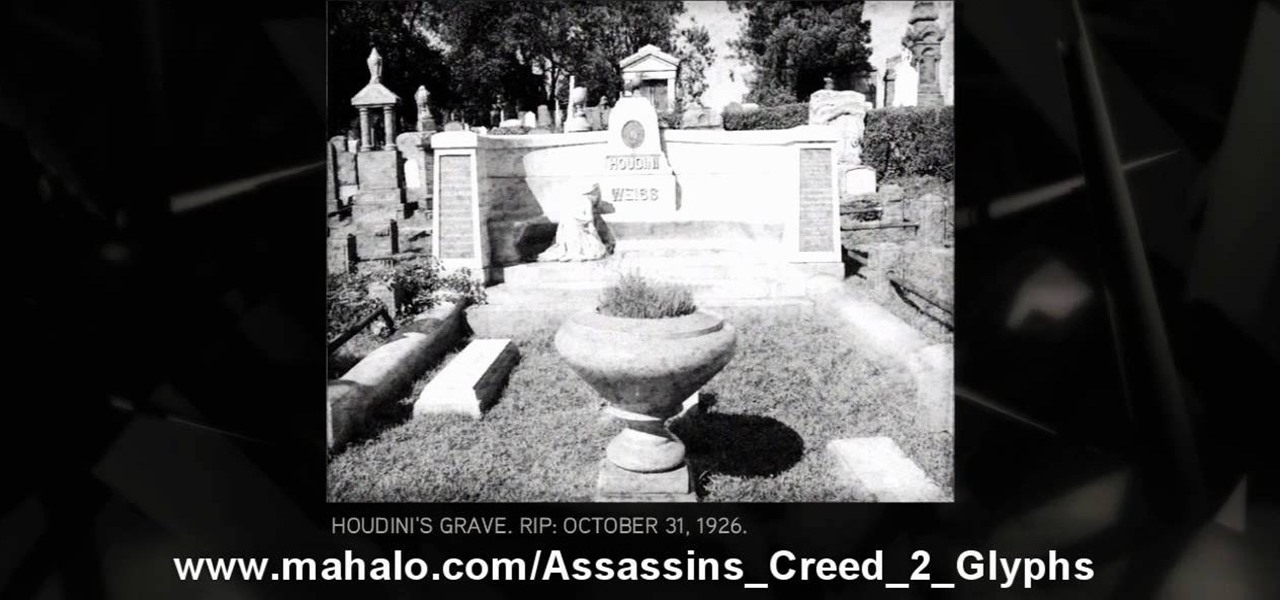
Execute the 9th puzzle, called Hat Trick, in Assassin's Creed 2. Image 1: Move the cursor onto Houdini’s torso. Image 2: Move the cursor over Gandhi’s heart. Code wheel puzzle: Your hint here is pretty obvious; there’s a big, glaring “6=1” next to Oswald’s picture. So move the red wheel so that the 6 is over the gray 1, and plug in the corresponding numbers. For more info, watch the whole gameplay.
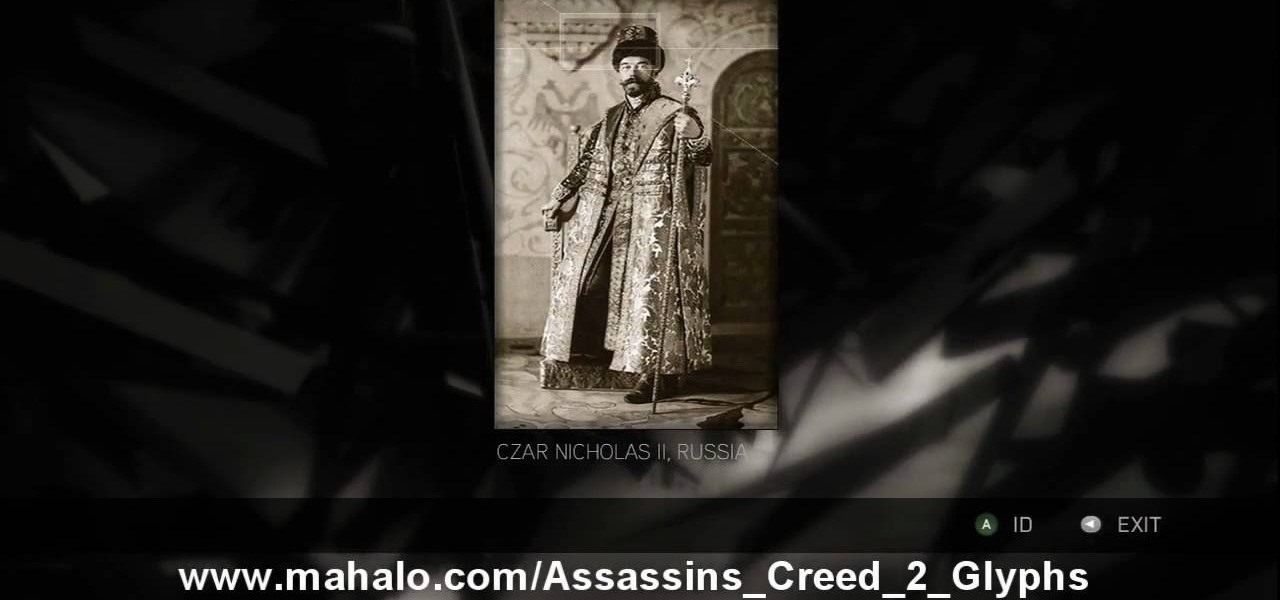
Learn about the 8th puzzle, titled Martyrs, in Assassin's Creed 2. Image 1: Highlight Czar Nicholas’ staff. Image 2: Highlight Joan of Arc’s sword. Image 3: Move the fireball to Joan of Arc’s portrait. Image 4: Move the photo of Rasputin onto Czar Nicholas’ portrait. For more info, watch the whole gameplay.
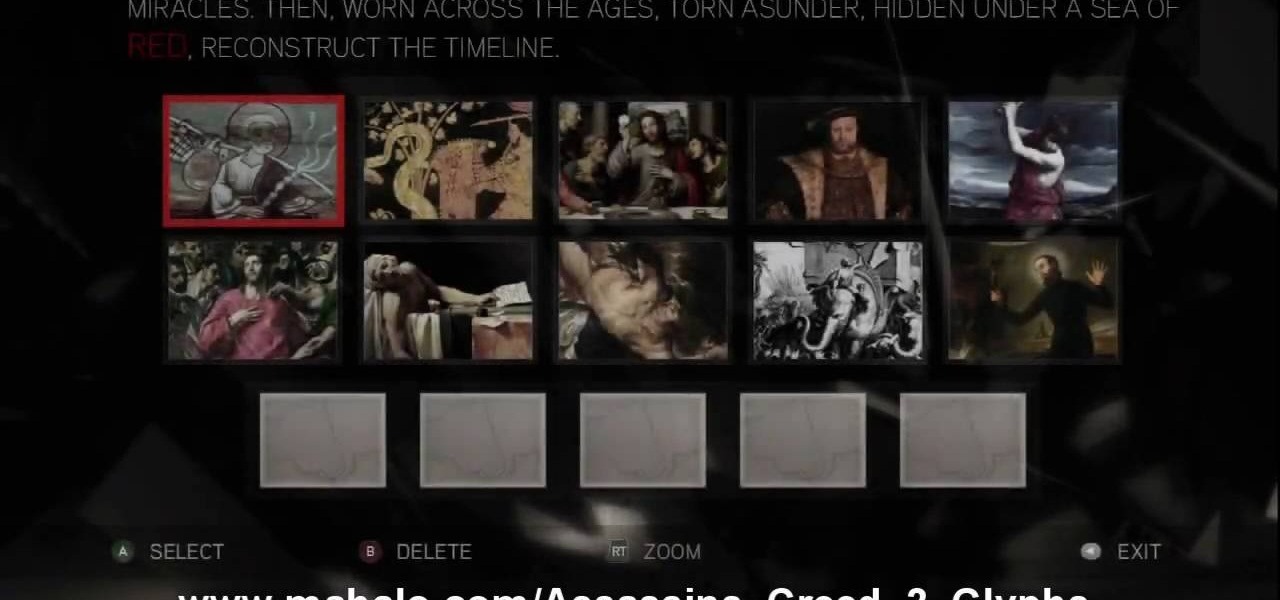
This is about the 7th puzzle in Assassin's Creed 2. Keep on seeking, and you should find… in the first image set, the key word here is "red", so pick the images in which that color shines the brightest. In the second image, highlight the area to the right of Jesus’ hips to reveal a Piece of Eden. For more info, watch the whole gameplay.
See the key to the sixth puzzle "Brothers" in Assassin's Creed 2. This is where things start to get tricky; while the first batch of ring puzzles were simple, these link some of their rings together, so that you can’t move one without moving another. For more info, watch the whole gameplay.
Find out the solution to the 5th puzzle in Assassin's Creed 2. For set one, the hint here is “cut,” so pick the five paintings that feature swords. For set two, what do the people in these paintings lean on? That’s right – pick out the images that feature staffs. For more info, watch the whole gameplay.
Get the answers to the 4th puzzle in Assassin's Creed 2. This is just another hidden-image puzzle. Find them in the barrel of the bazooka, on the helmet of the soldier crouching in the background, on a rifle held up just to the left of the officers, and in the hand of one of the monsters. For more info, watch the whole gameplay.
Find out about the third puzzle in Assassin's Creed 2. Another simple one – just highlight the spot in each image where the Apple is hiding. You can click around at random and maybe find a couple of hidden messages. For more info, watch the whole gameplay.
Try your hands at one of the first puzzles in Assassin's Creed 2. “Core?” “Pick?” That’s a dead giveaway right there. Just pick out all the paintings that contain apples. For more info, watch the whole gameplay.
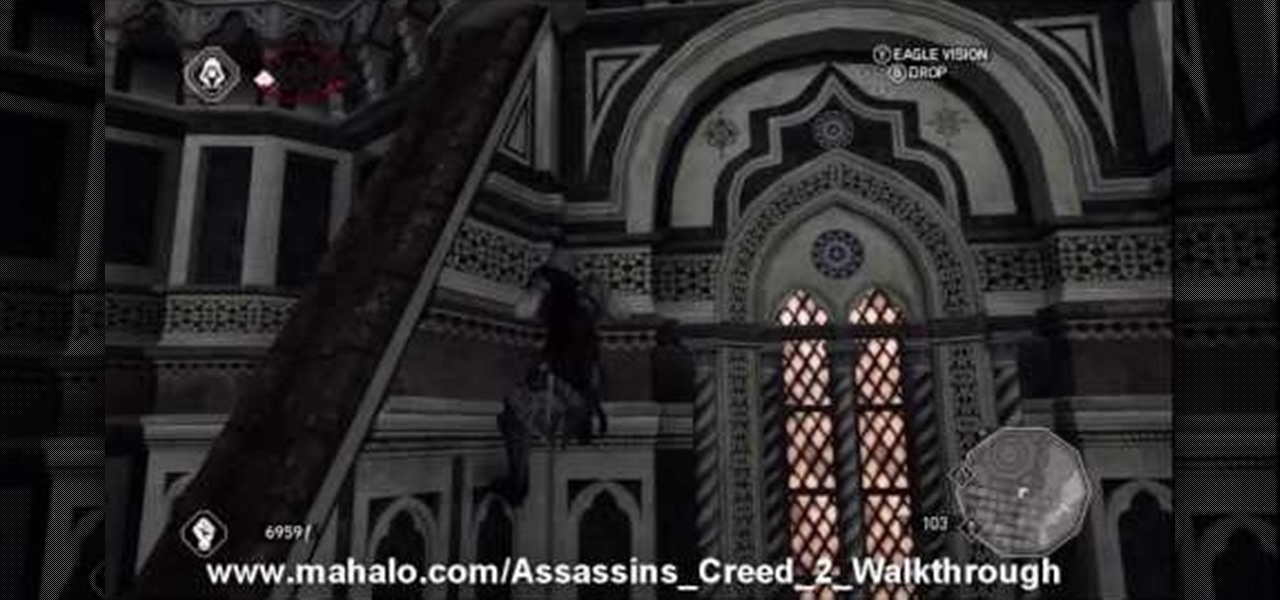
Visitazione's Secret: This is Tomb number 6. The grave of all graves. The entrance to the tomb is on top of the first level of the building's roof. You can pretty easily climb the building on the eastern face and then shimmy around to the north face and continue up. There's a small nook where the building's tower meets the first level of roof, and in there you'll find the entrance.
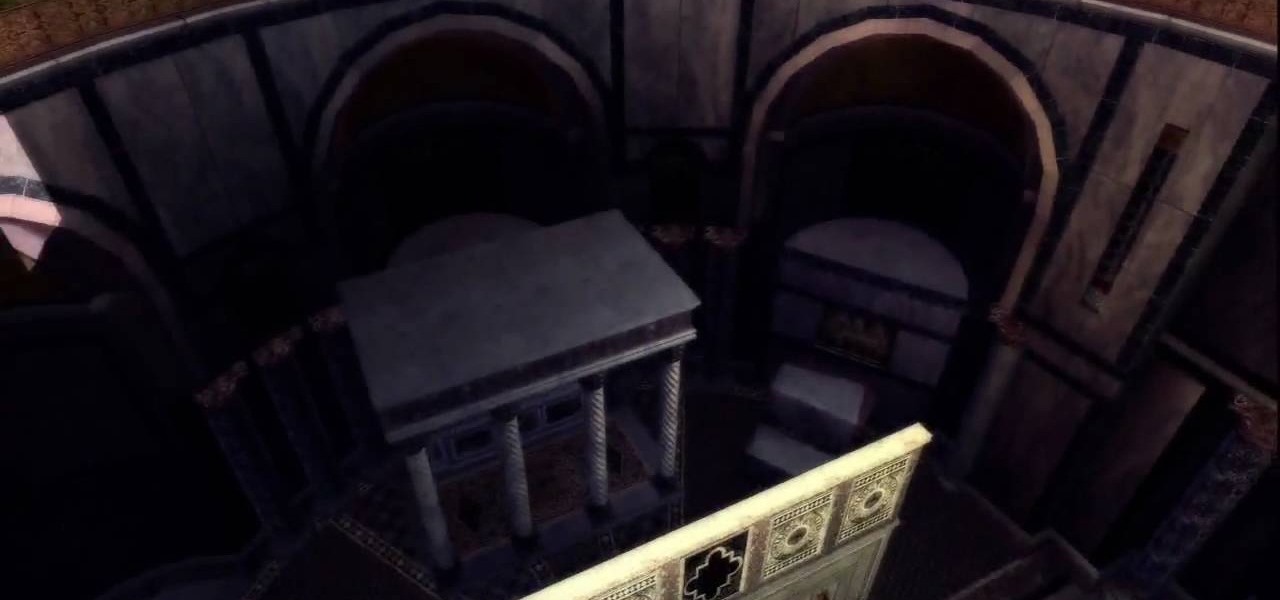
San Marco's Secret: Tomb 5 is not easy, so be careful. Getting into the Basilica without the use of Leonardo's flying machine is tricky. However, chances are that you've already penetrated the massive building's defenses in the mission If at First You Don't Succeed.... But if you haven't yet completed that mission, here's how to get to the tomb's entrance.
Ravaldino's Secret: The entrance is sort of tucked away behind a tower on the other side of the city's water way to the west. Jump in the water and swim around the north end of the tower and you should find the entrance pretty easily. It's just off the water.
Torre Grossa's Secret: The entrance is on ground level, and it's not hard to find. Look for a vaguely-narrow arched hallway just off the street and look for the entrance on the wall to the right.
Il Duomo's Secret: Super simple. The entrance is on the north end of the Basilica Santa Maria del Fiore. It's on street level, and really anyone could open it but only you're smart enough.
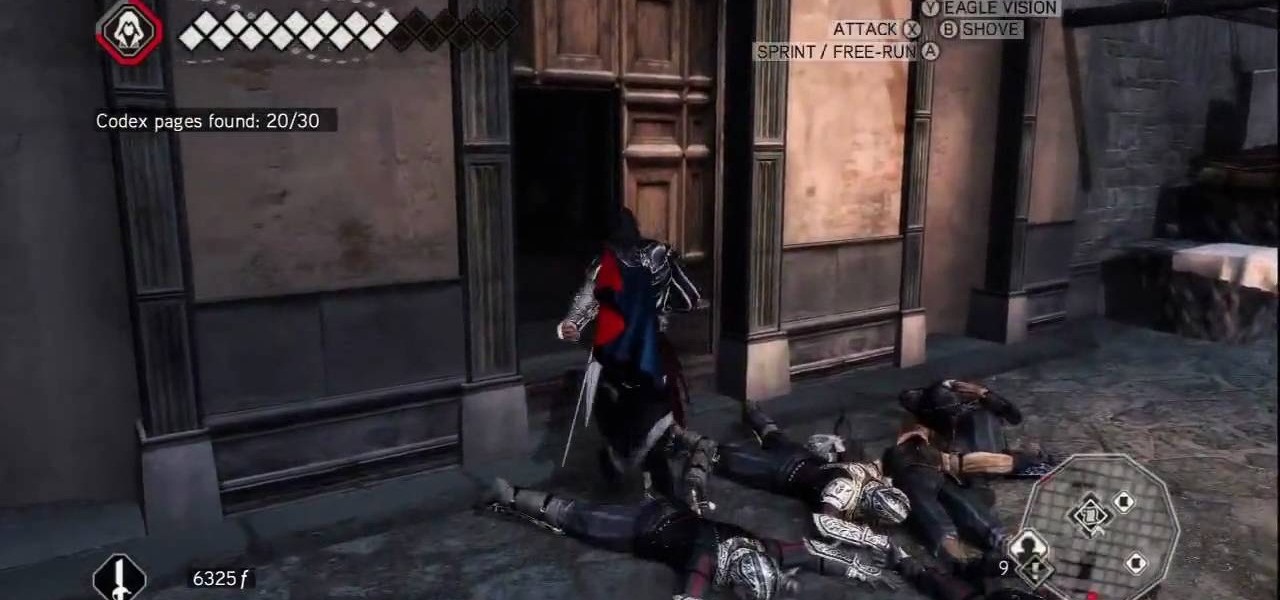
X Marks the Spot: Activate the odd glowing thing and then walk up to the wall of codex pages to bring up a puzzle. Use eagle vision and you can spot the faint red outlines of a picture. You need to rotate all of the pieces around into their correct positions in order to complete the picture. Start by going around the perimeter of the puzzle and arranging the border—it's the easiest. Once you've got the border in place, go for the inner pieces.
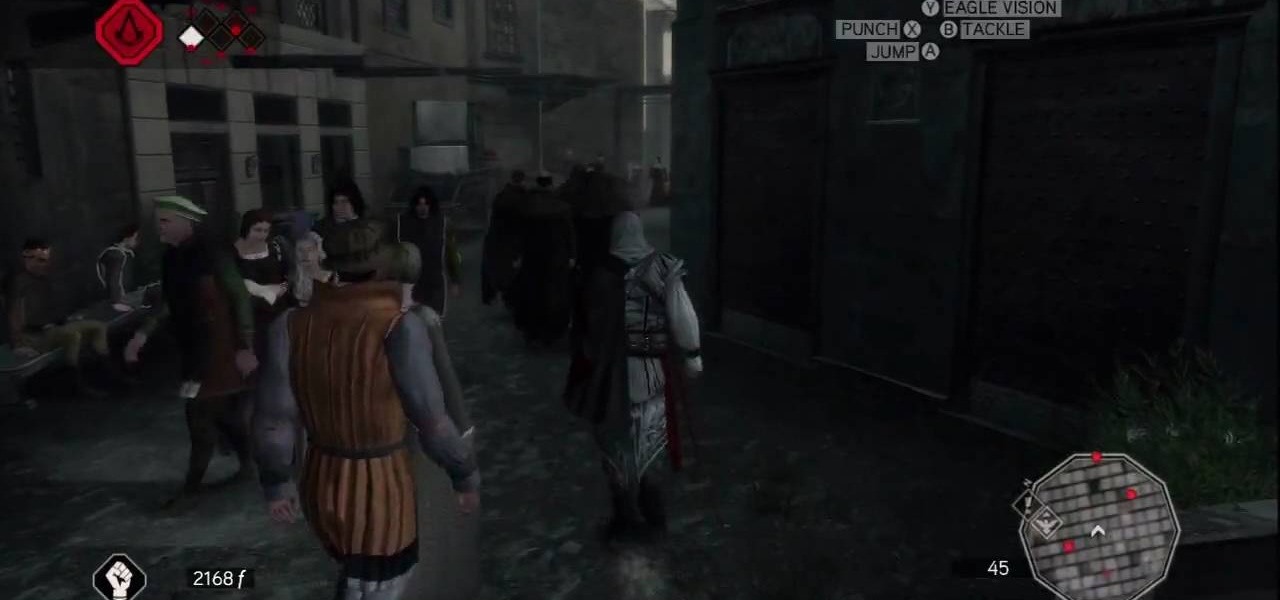
Play Along: At the start of the mission, you simply need to follow the leader through the city. Do your best not to bump into anyone, as Ezio will drop the chest if you do. Eventually, you read the end of the trail and a cut scene takes over.
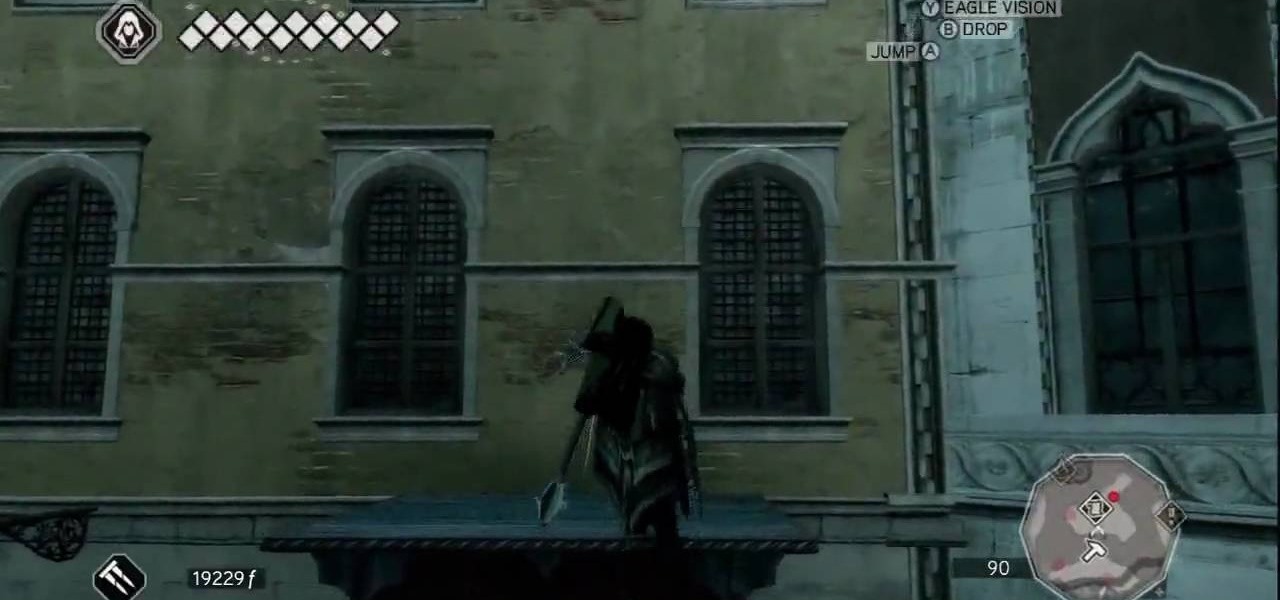
All Things Come to He Who Waits: After parting ways with Leonardo, break into the walled-off area to the northeast and trigger this mission via a waypoint on the parapet walk. After the cut scene, you need to trail a courier that zigs a zagging path through the city. Stay far enough behind him that he doesn't get curious, but also be sure to keep him in your sights. If he gets separated from you by a wall, a countdown timer hurries you to catch back up.
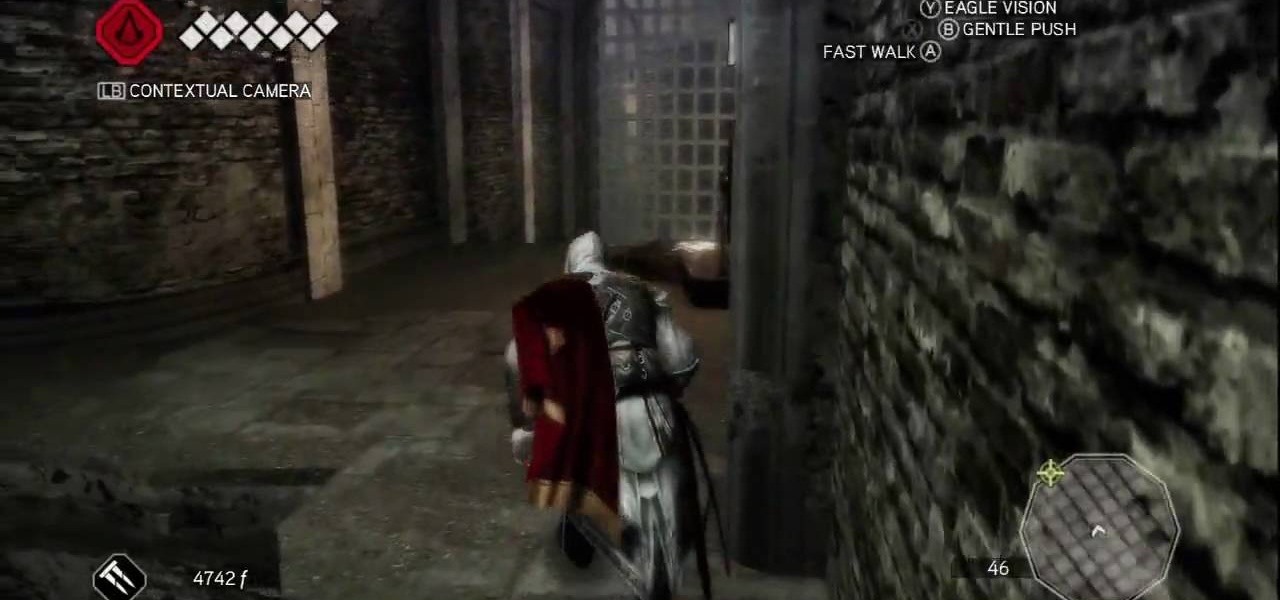
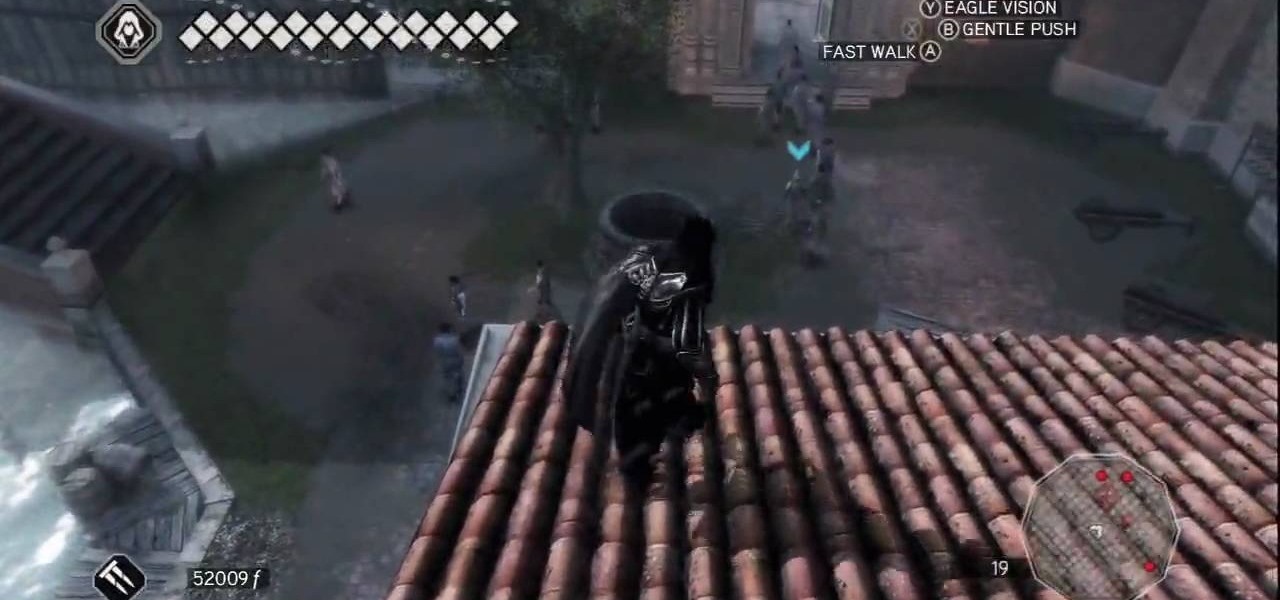
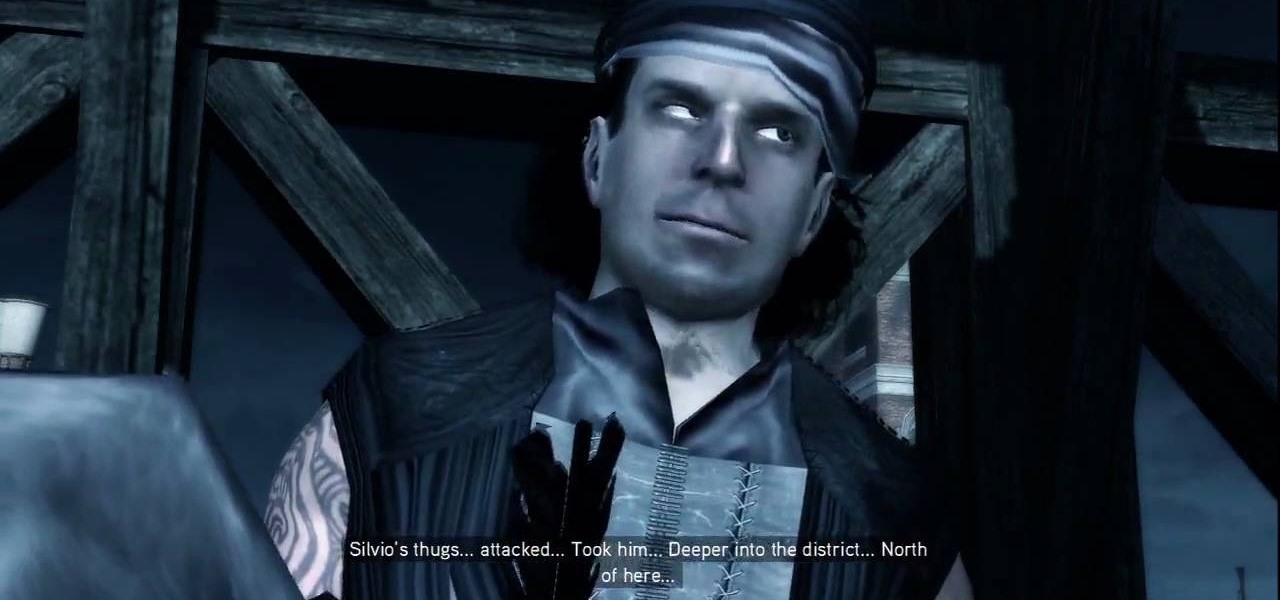
Caged Fighter: Make your way across town and you'll find an injured soldier on the rooftops that gives you some new information on finding Bartolomeo, who should in turn help you with Silvio. You get a large green area added to your map, but note that it's overlapped by a restricted area. Expect trouble.
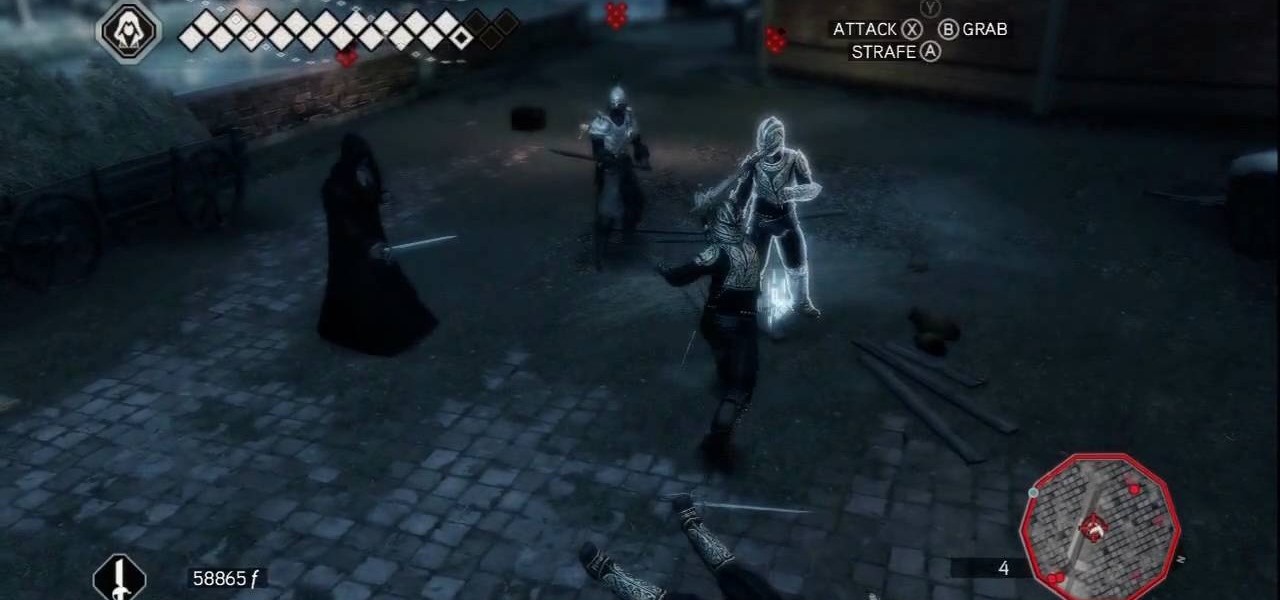
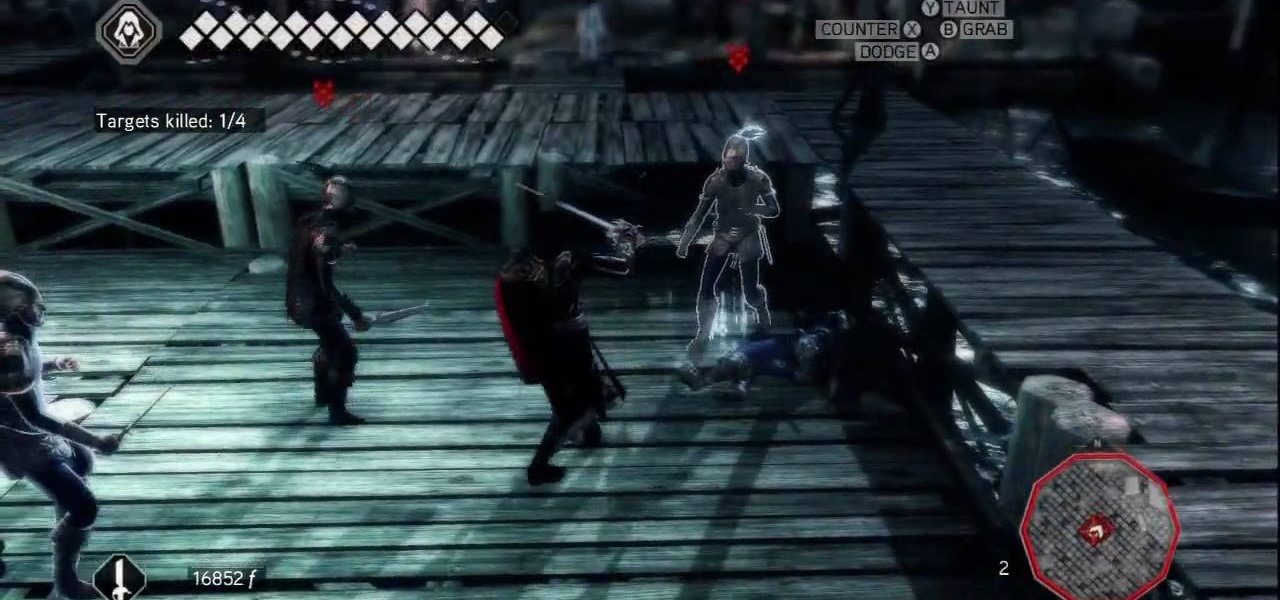
Cheaters Never Prosper: But they do get quite a reputation. This is a simple mission. You need to just fight off the opponents that come at you using your bare hands. Even though you've no weapon equipped, you can still use the typical counter ability. Though you won't always KO an opponent with the first counter, repeatedly make use of the technique and you'll eventually drop the opponent.
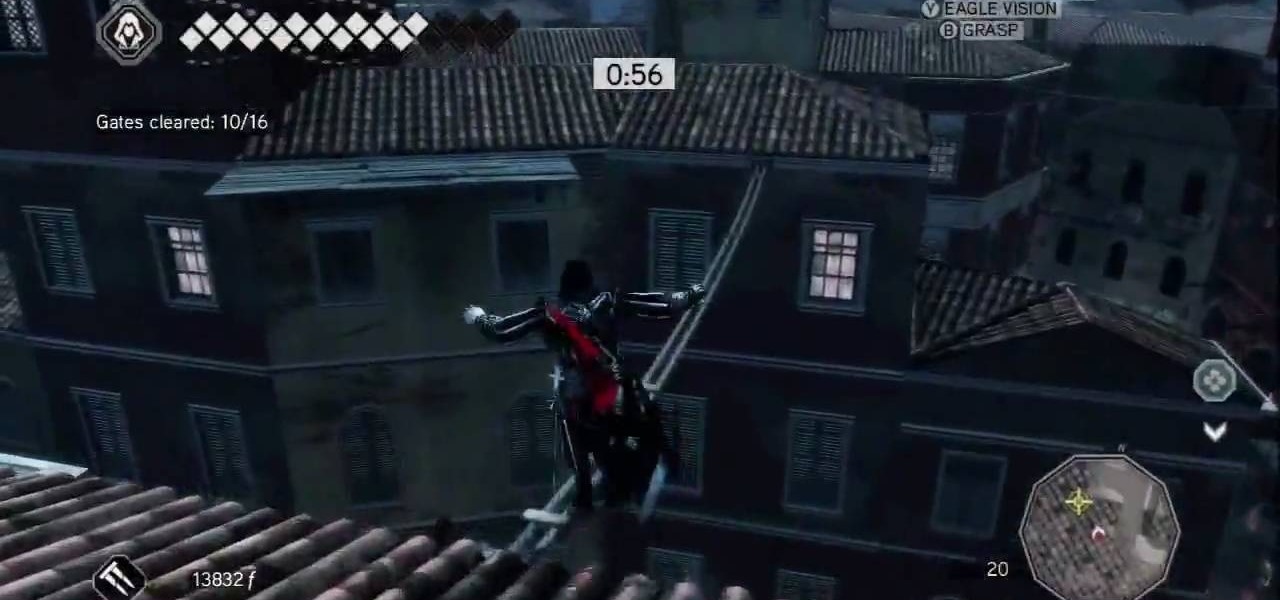
And They're Off: Time's crucial in this missions, so be careful. You've got a limited amount of time to complete this fairly challenging obstacle course. A series of waypoint show up one after the other, and you've got to run through all sixteen of them, quickly. The first four are on ground level, so you don't waste time climbing any buildings. The fifth waypoint will start you on an ascent up the side of a building, and from then on you can expect next bunch to require some careful platform...