
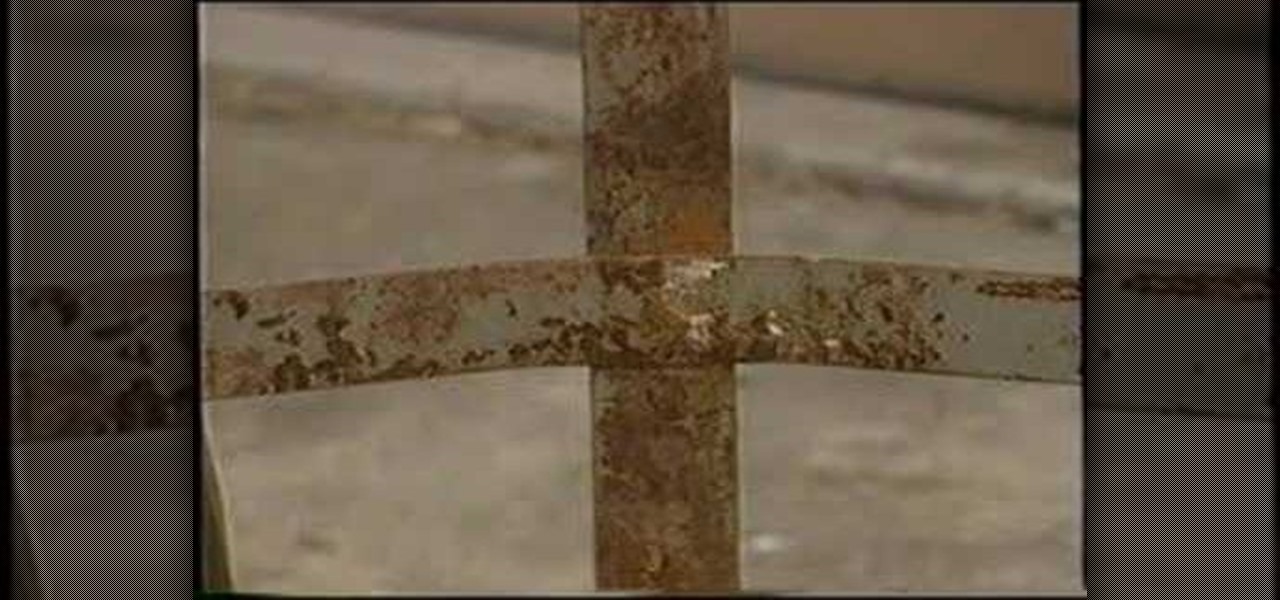
How To: Repair rusted metals
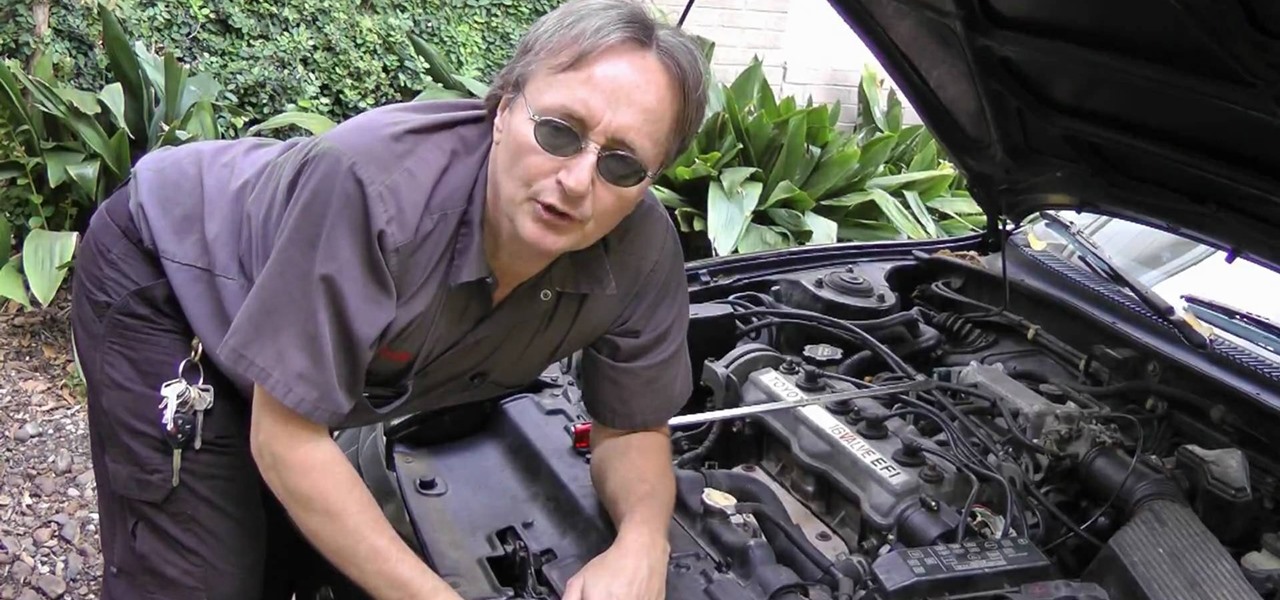
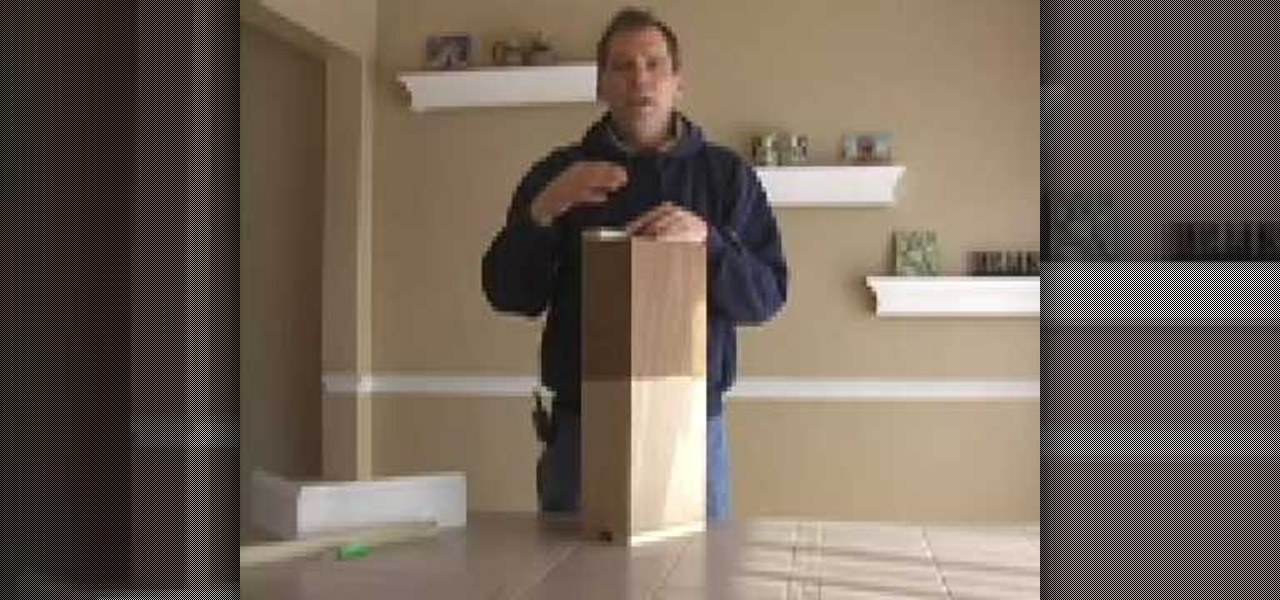
Tim Carter shares some tips and rust repair tools to help you keep your metal rust free. Very informative and educational video.

Tim Carter shares some tips and rust repair tools to help you keep your metal rust free. Very informative and educational video.
In this video tutorial, viewers learn how to repair a small hole in the wall. The materials needed for this process are drywall tape, water, patching compound, and a drywall knife. Begin by placing the drywall tape over the hole. Then mix some water with the patching compound and apply it over the hole. Use the drywall knife to spread the compound over the hole. Start from the middle and spread out. Finish by letting the compound dry and sand it using some sand paper. This video will benefit ...

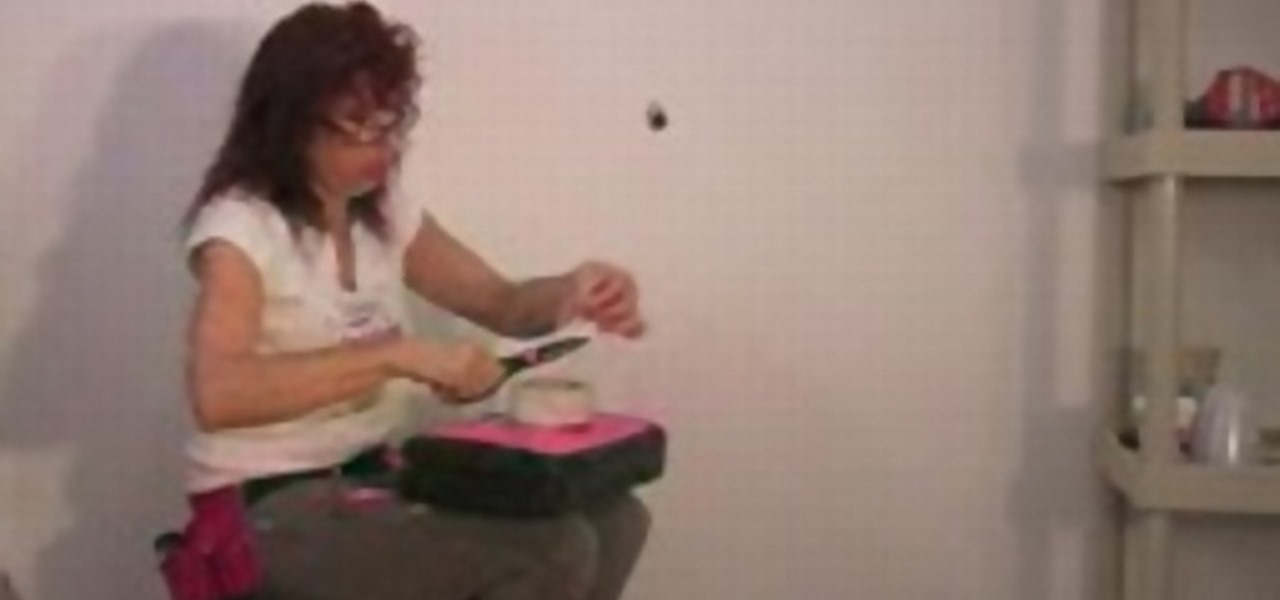
Watch this video to learn how to use silicone putty to repair a broken or damaged antique picture frame. Make a mold with the putty and make a reproduction. Great visual demonstration and detailed instructions!
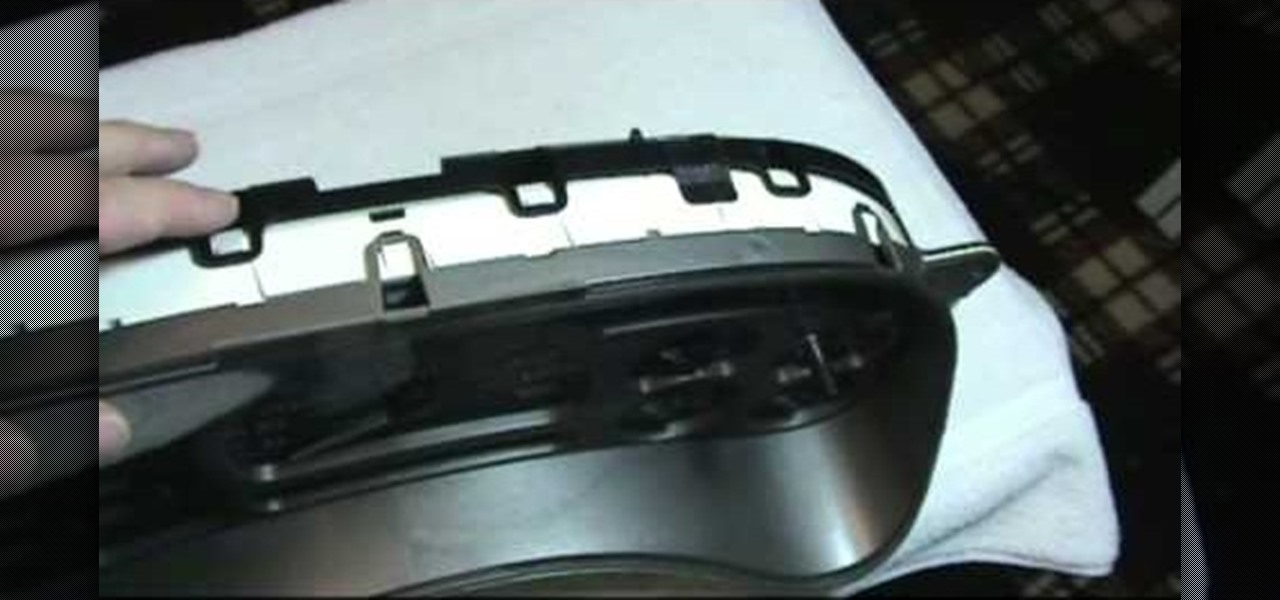
GM cars might be the flagship of American industrial production, but they are not very reliable for the most part. If something is wrong with one of the gages or instruments in your instrument panel cluster, you have to remove the panel and fix it. This two-part video will show you how to do that on most GM vehicles.
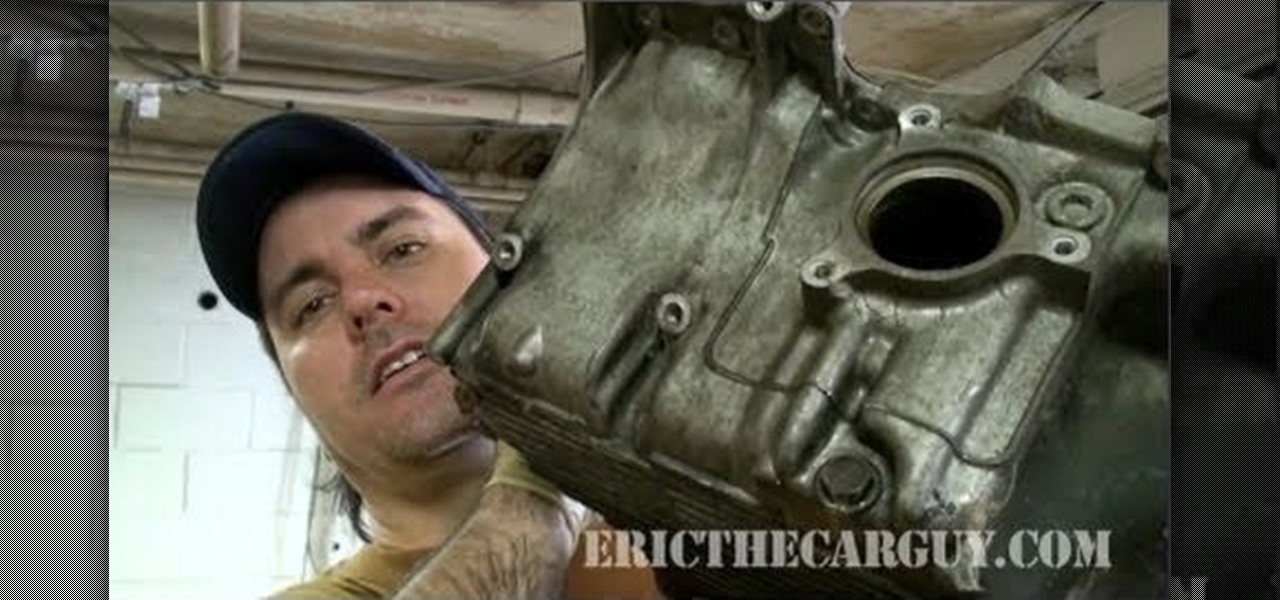
It happens more times than it should— negligent oil changes. This happens most often with aluminum oil pans on cars and trucks, because aluminum is fragile and should be treated with care and a gentle hand, not a torque power wrench. Using an air-impact gun will only cause damage when installing the bolts, causing the oil to leak from the pan.
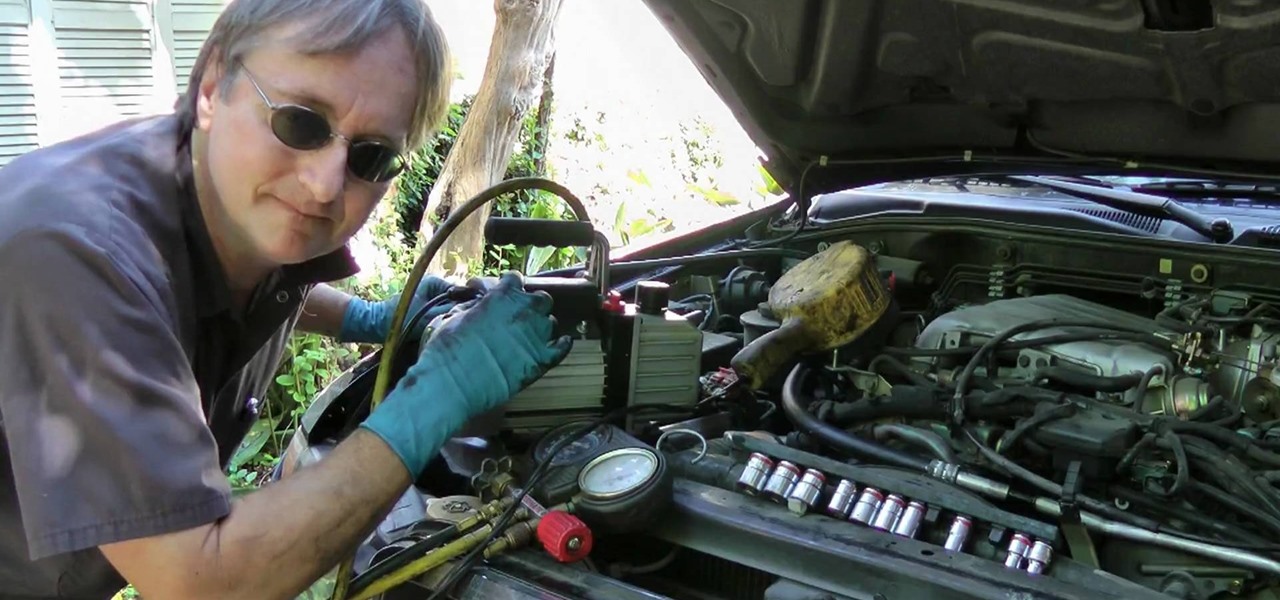
If the air conditioner in your car has stopped pumping cold air out, you probably have a refrigerant leak somewhere in the system. In this video you will learn how to find the leak in your A/C and fix it, keeping yourself cool and comfortable.

The radiator cooling fans on your car are vital to keeping the car cool enough to run and pretty simple to work with. In this video you'll learn how to diagnose problems with and fix the radiator cooling fans in most modern cars. Problems include the fan motor, the fuse, and the control switch
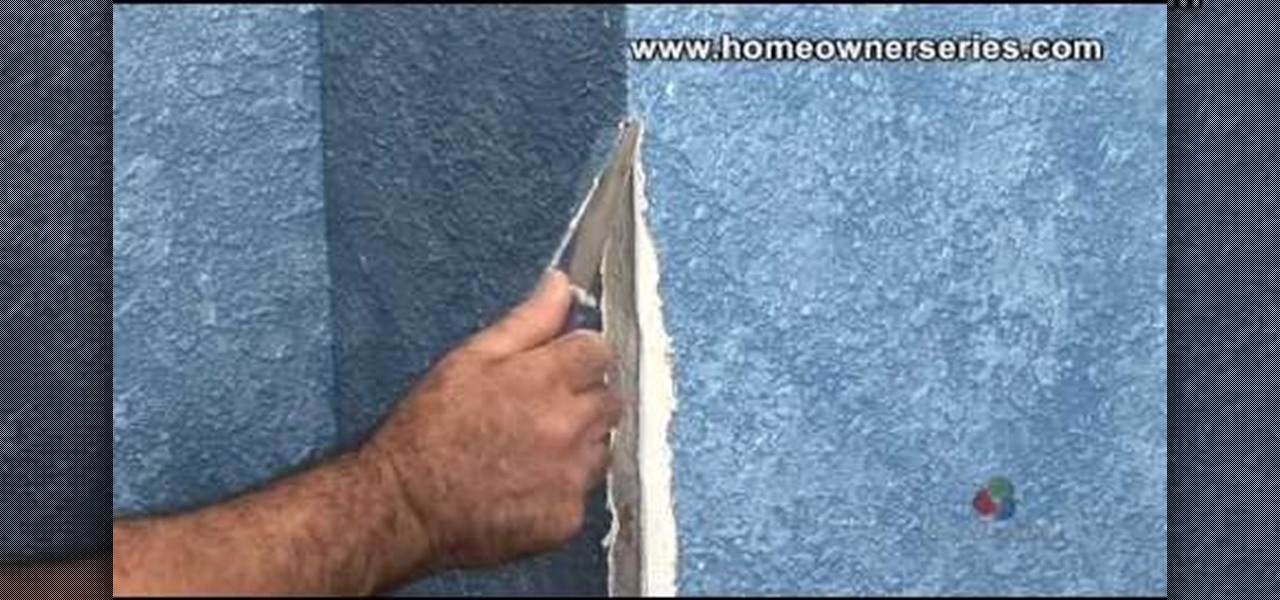
If you have a problem with your drywall tape being exposed or possibly cracking, it could have happened for many reasons. But no matter what that reason may be, it's an ugly sight to see.
In order to sand and repair drywall, you will need the following: 100 grit sanding sponge. After you have applied mud to the walls evenly, you will need to sand the walls until they are smooth. Hopefully, you minimized or mitigated most of the need for sanding in the application of the mud, by using feathering and thin layering. When the mud is completely dry, you will need to choose a good sander. It is recommended that you use a 100 grit sanding sponge. Place the sponge against the wall, an...

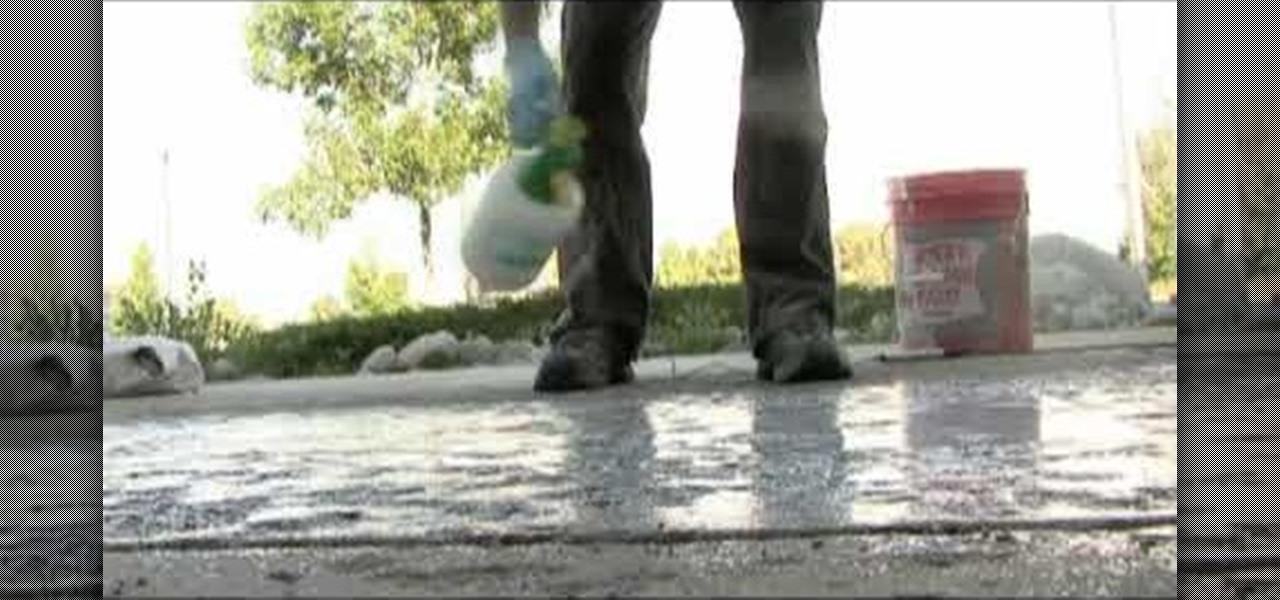
An asphalt driveway looks good when new but over time, wear and tear will show. This video by Lowes.com shows you how to clean, repair and reseal your driveway to maintain it and make it last. Before starting the job, check the weather for a few dry days. Tools and materials needed are listed highlighting safety equipment to be used and precautions to be taken. Weeds, stains and dirt are removed and a low pressure is used to rinse the driveway clean. Crack sealant is used to repair smaller cr...
Home repairs might seem foreign to some people, but it's not as hard as dealing with contractors. If you have to patch up some holes in your drywall but don't know how, let this video series be your guide. In these videos, lean how to fix a damaged corner bead on drywall.
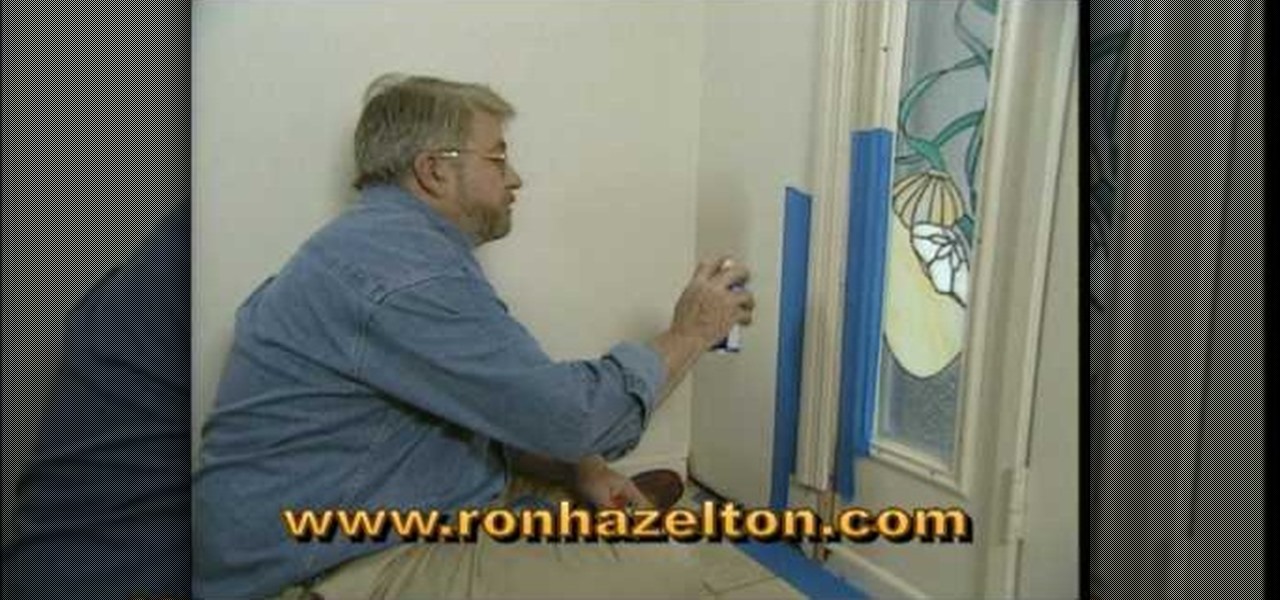
This video shows the viewer how to repair a section of damaged molding surrounding a door or window. The method shown uses WD40 and polyester resin. Firstly an undamaged section of the molding is sprayed with WD40 and then covered in resin. Once the resin has hardened the WD40 allows it to be removed and used as a mould. The mould is then sprayed with more WD40 and is filled with new resin. This is allowed to harden and then removed. The resin replica of the molding is then sanded and cut to ...
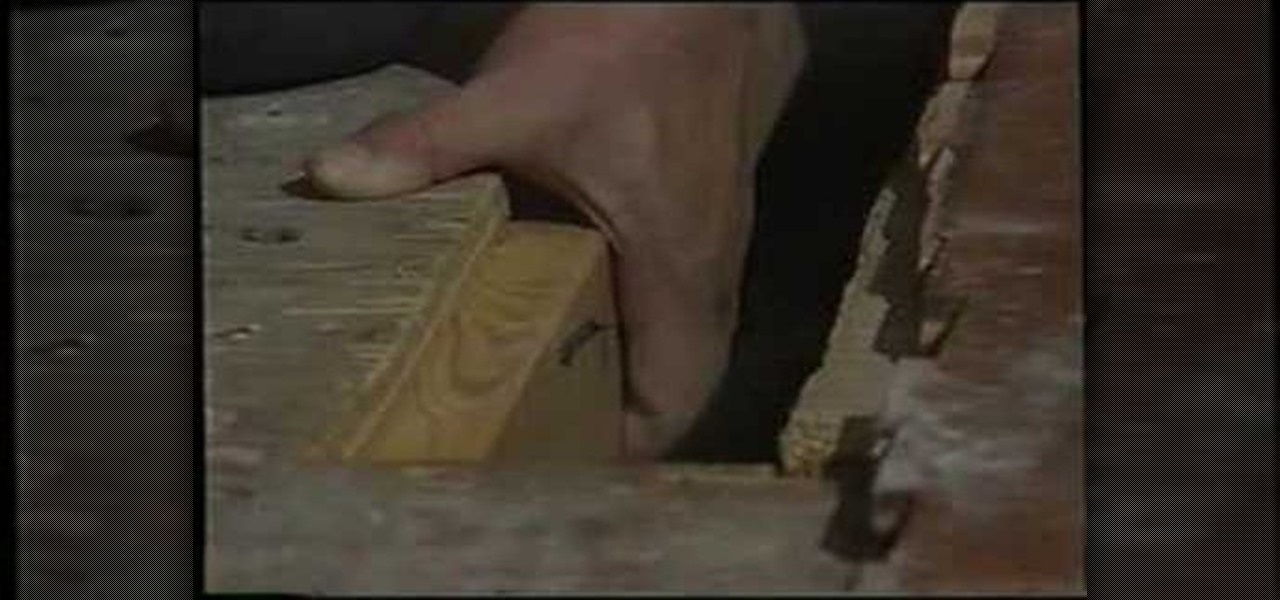
Tim Carter, of Ask the Builder, demonstrates a very simple way to repair a hard to reach subfloor by squaring up the opening. Watch and learn how to keep your house looking sharp.
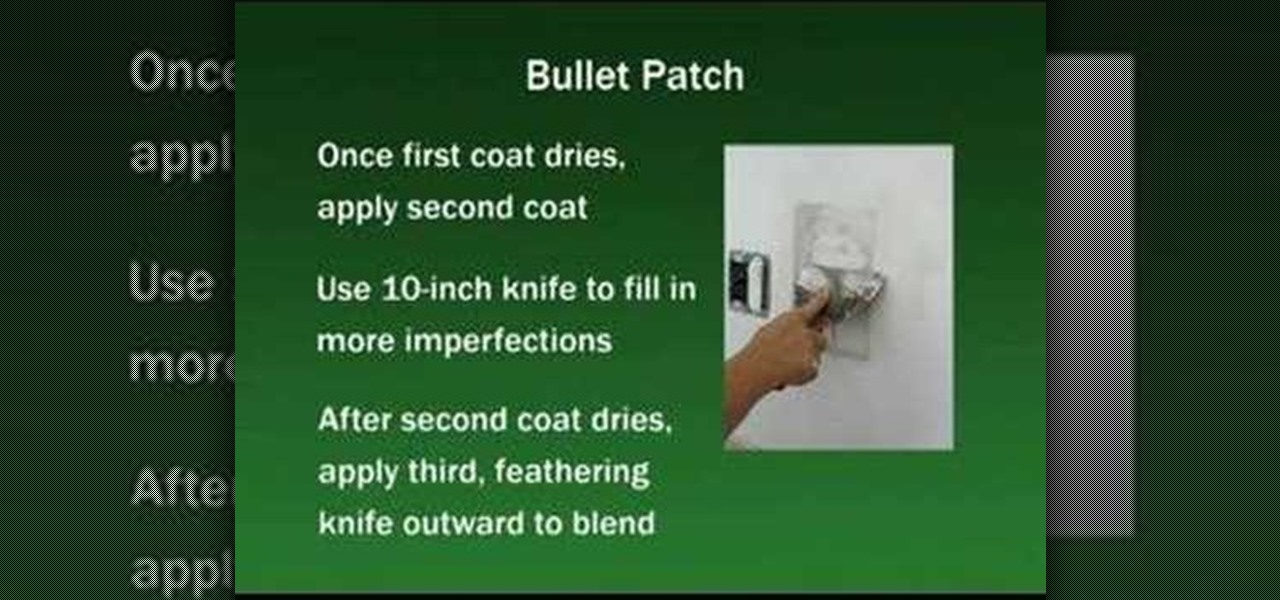
Here are some DIY drywall repair projects from Extreme How-To. Do a bullet patch or a batten patch. This is a great, and highly informative tutorial on doing it right! You'll see.
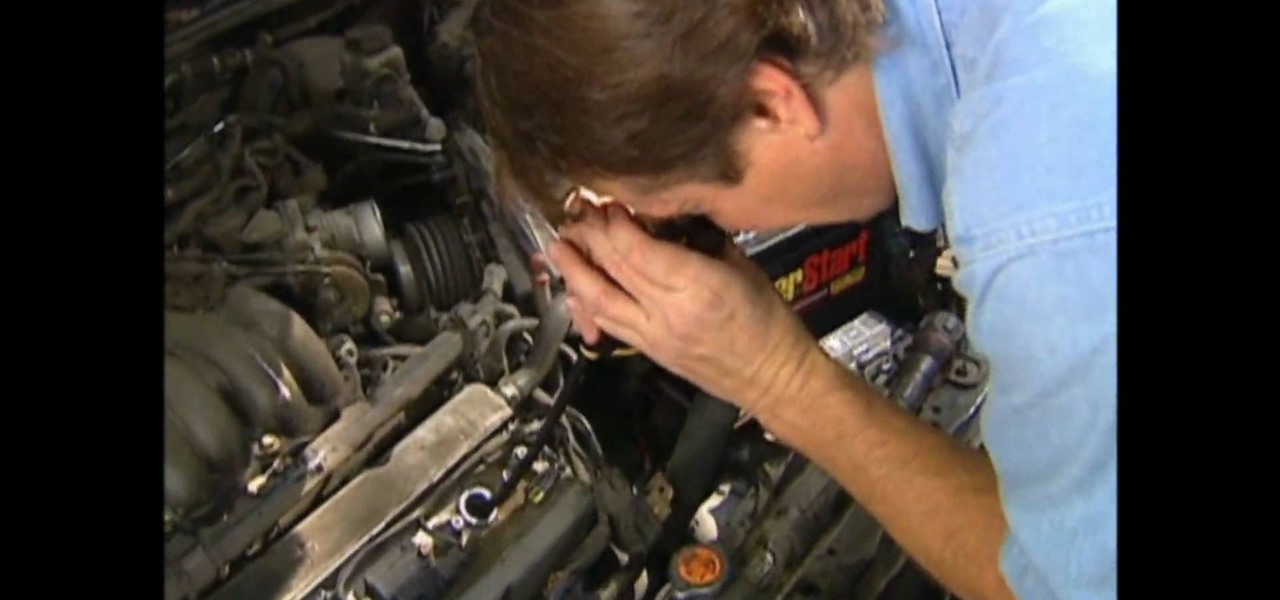
One of the trickiest parts of auto repair is getting access to the part of the car you actually need to fix. In this video, you'll learn how a new tool called a borescope allows you to inspect and repair sections of your car that were very hard to access before.
Does the clutch pedal in your car go all the way to the floor? You probably7 have a problem with your hydraulic clutch cylinders. This video will teach you how to diagnose the problem and then fix it yourself at home.
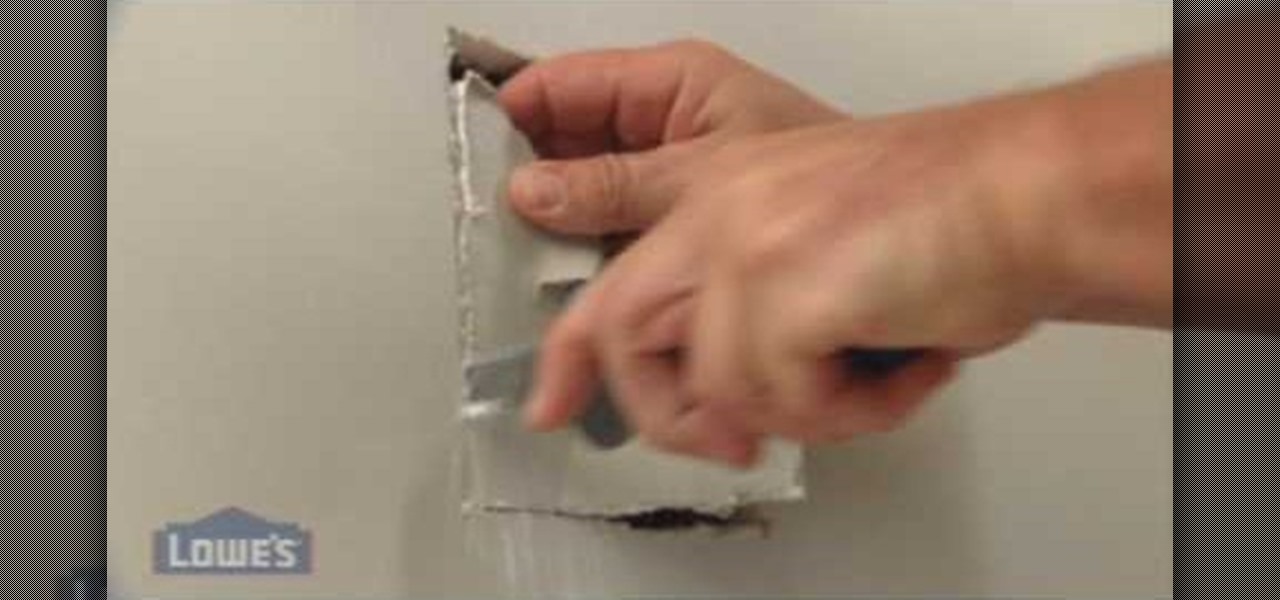
In this tutorial, we learn how to repair cracks and holes in drywall with Lowe's. Drywall can be damaged in a number of ways, but can be fixed easily. If you have a medium size hole in the wall, first place caulking on it and then smooth it out. If you have a larger area, you will need to use a sanding strip around it to smooth out the area and all around it. Use drywall compound to fill in the area that is empty. Then, smooth over it with a flat tool then paint over it with the same color pa...
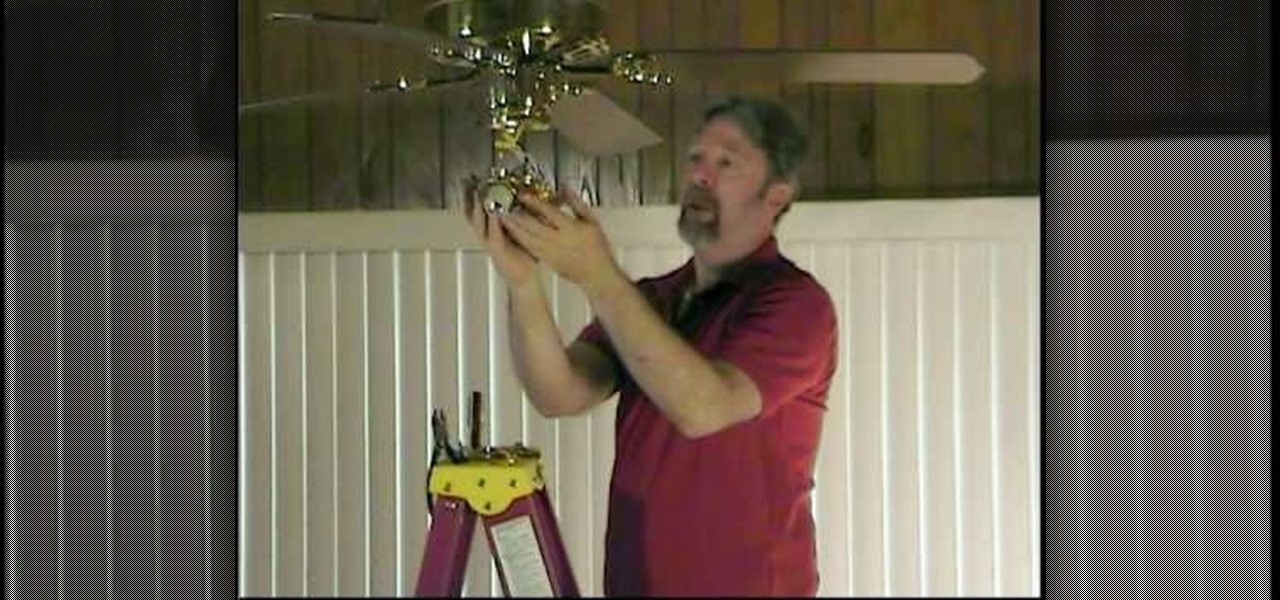
In this video, we learn how to repair a defective ceiling fan light switch with Richard Wright. There are two types of switches: two wire and three wire, grab the one you need and tools to help you replace your light switch. Now, disconnect the power at the breaker panel and get started by removing the weighted poles on the chain. Next, remove the globes and bulbs, then set aside. Get inside the light by inserting your screwdriver into it and pulling the light kit apart. The inner workings wi...
This video illustrates us how to repair spalled concrete. Here are the following steps:Step 1: First of all take cement and sand'Step 2: Mix it in the ratio 1:3 that is cement one part and sand three partsStep 3: Now add water and mix the mixture well.Step 4 : Now apply this mixture for filling the spalled concrete.Step 5: Polyurea can also be used to fill the crackStep 6: Let the repair work done dry.Step 7: After around 28 days apply a water proof primer on the repaired work to prevent furt...

This how-to video is about how to repair a leaky faucet. One of the most common problems with the faucet is the replacement of the rubber washer, which is located on the bottom of the valve unit. First, stop the water supply by turning off the stop valve at the bottom of the sink. Then, turn on the faucet until the water stops flowing. Next, remove the handle. To do this, we first need to remove the decorative cap using a screw driver or sharp pointed knife to expose the screw. Then, remove t...
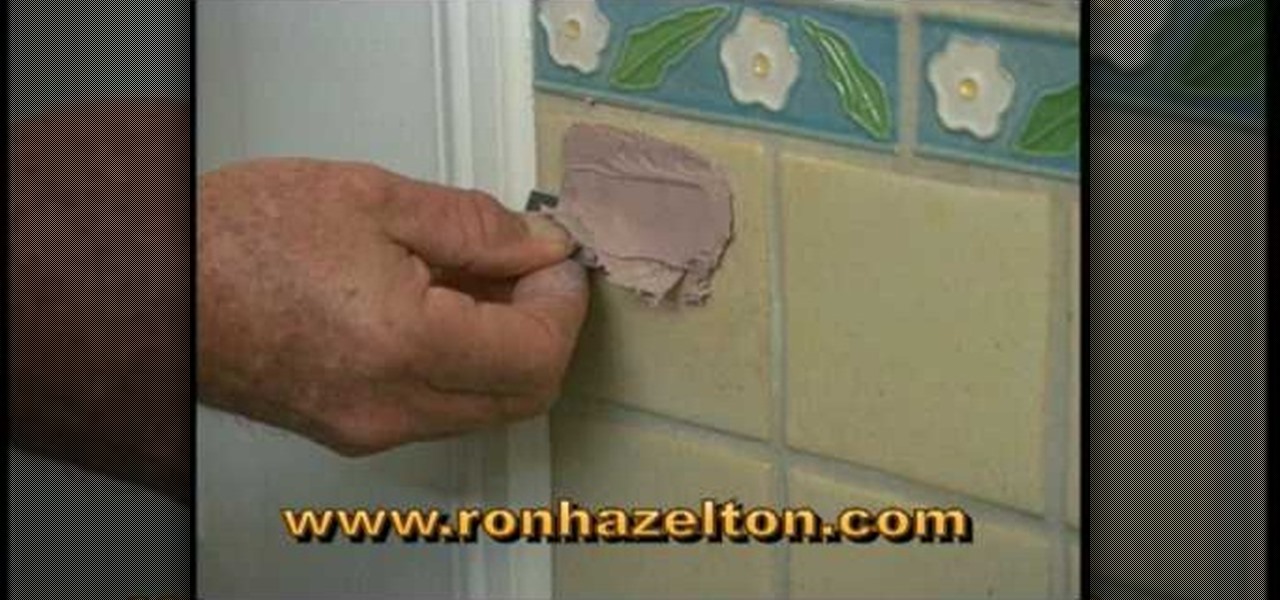
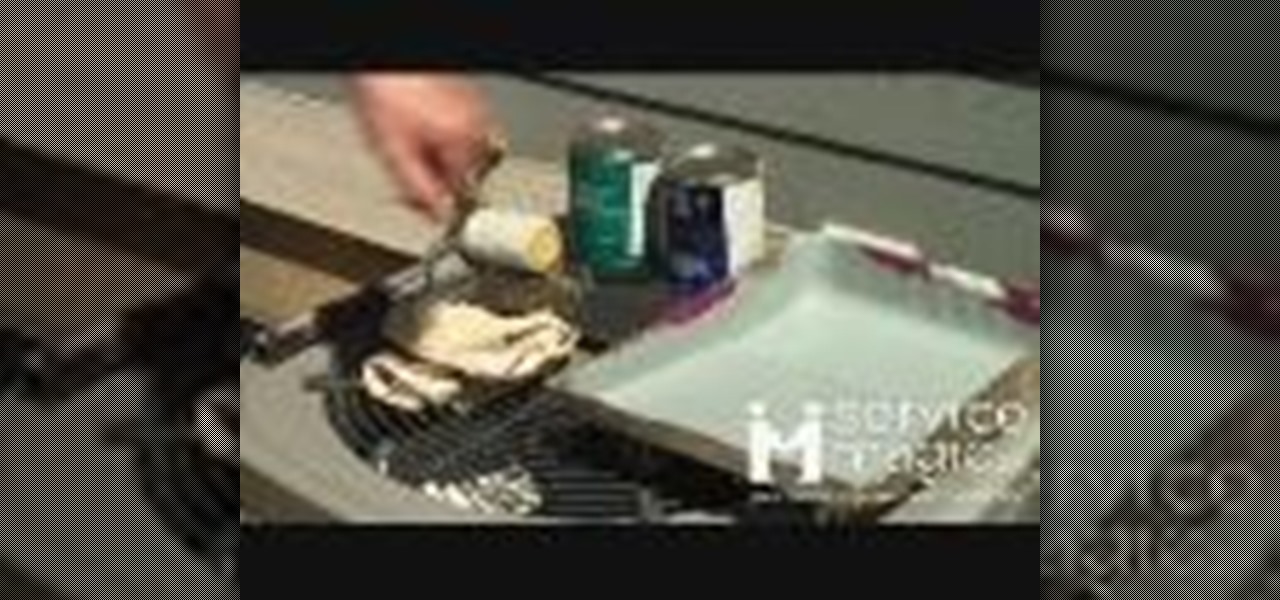
Fixing holes in glazed ceramic tile can be very tricky. This is a solution that may not be perfect but it will provide a big improvement to your situation. You will need some polyester resin, which is often used to repair car bodies. Mix up some of the resin and apply it to the holes in the tile making sure that you overfill the holes. As it dries but while it is still rubbery take a razor blade and trim off the excess resin. Take some 600 grit sandpaper and sand the resin smooth. Wet the san...
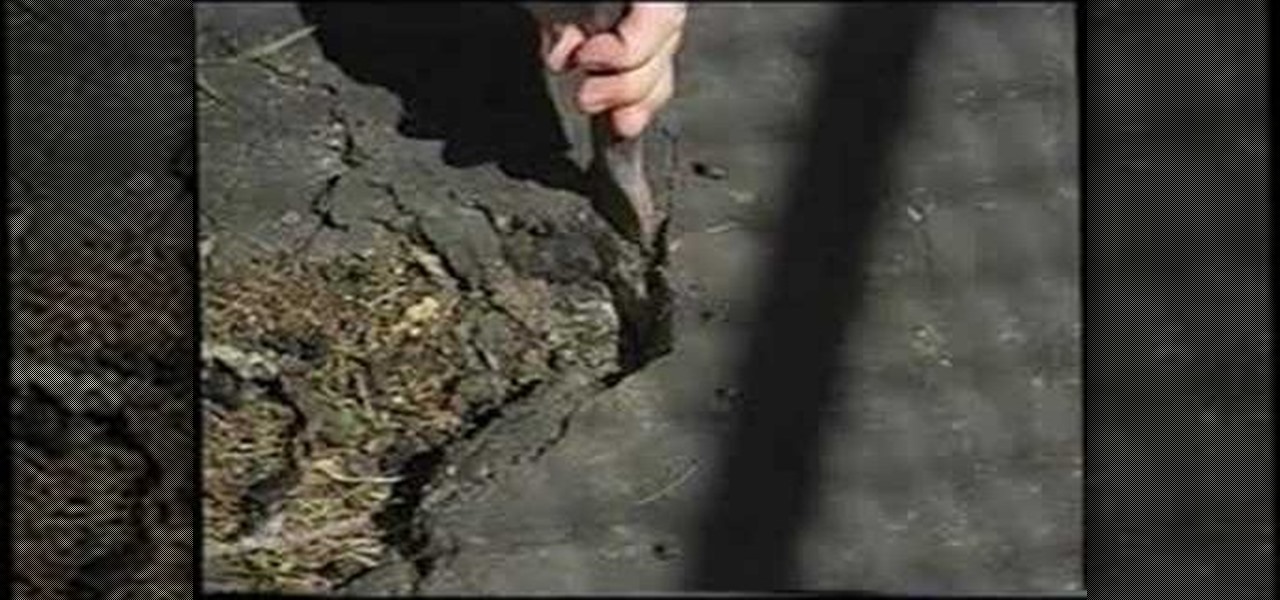
Tim Carter, of Ask the Builder, demonstrates a really easy way to patch a bad spot of asphalt road, sidewalk, or driveway on your home property. Your blacktop will thank you!
Deck repair is much cheaper than building a new deck and it conserves wood by reusing existing deck wood. Find out how to repair an old deck to look like new in this free video series.
Watch as a seasoned professional demonstrates how to use the Polaris 180 Pool Cleaner, including how to install the rebuild kit and each component, in this free online video about home pool maintenance.
Learn how to find and repair problems with your windshield washing system from an automotive repair expert in this free car maintenance video series.

In this series of diy car repair videos, our expert auto mechanic demonstrates the steps in repairing and maintaining the air conditioning system in your car.
Watch as a seasoned expert walks you through the steps of sliding screen door repair, from gathering your tools and buying the correct replacement parts to adjusting the newly-repaired door, in this free online video series about home maintenance.

In this auto body repair tutorial, learn from insurance adjuster Lyndon Graves how professional mechanics fix wrecked cars. Lyndon will show you how the pros evaluate the cost of auto body repair, how bent car frames are straightened, how to replace the inner panel of a wrecked car, how to pull dents out of a wrecked car, how car paint is matched to repaint a car, how a car is prepped for painting, and how the pros repair a car paint job.
Learn how to fix a car's thermostat housing with expert automotive tips in this free online car maintenance and repair video series.
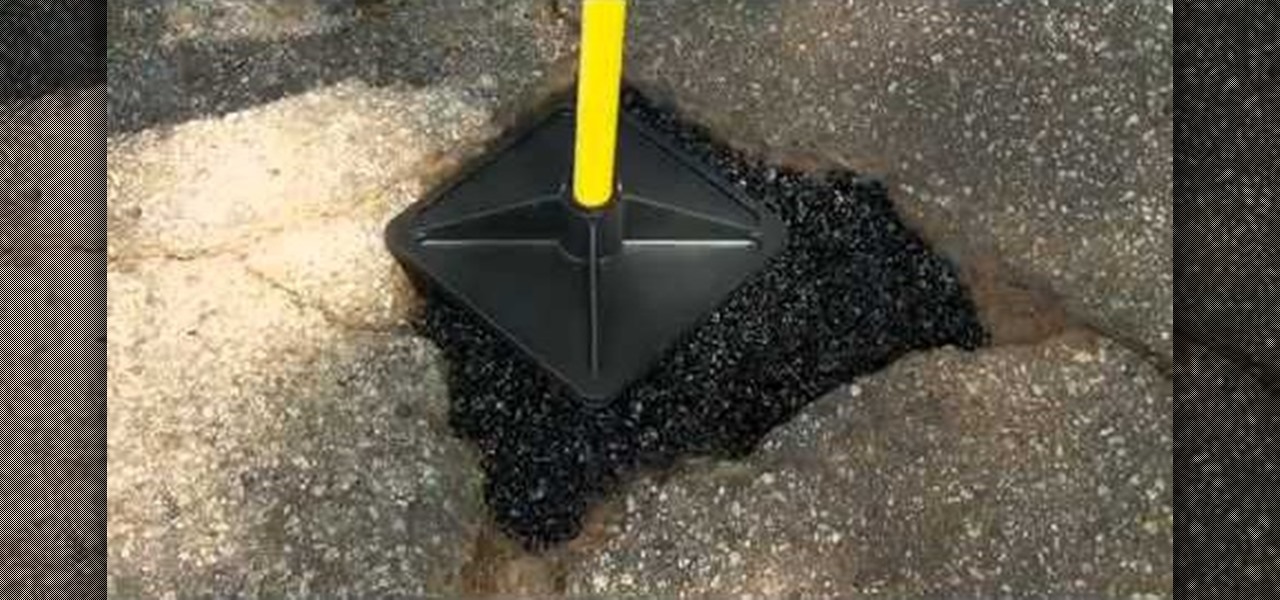
If you've managed to patch all of the unsightly and bothersome cracks in your home's driveway using QPR's Pavement Crack Filler, then you might have some bigger problems to repair— potholes. But don't worry, there's a super easy fix for that, too. QPR's Pothole Repair Products are permanent fixes for ghastly and embarrassing potholes in your driveway.

In this tutorial we learn how to repair a ceramic disc tap. You will need: adjustable spanner, flathead screwdriver, Allen key, and ceramic disc to do this. To start, you will prepare the sink by turning the water off. Then, remove the tap head using the tools that you grabbed. Once off, grab the cartridge from the inside using the wrench. Once you reinstall the disc tap you will replace all the parts back on top of the handle. When you're finished, turn the water back on and then see if the ...
In this video, we learn how to repair small cracks in wood projects with Bob Schmidt. Even though the cracks are small, they may catch your eye when you walk into the room. You can minimize this with just a little bit of work with a screwdriver. First, grab your screwdriver and rub the middle of it on the corner of two pieces of wood. This will rub out the two pieces without changing the stain on the wood. If you have a missing crack on baseboard, you can do the same thing, which will lessen ...
Over time, the siding of a home can become damaged and lose a bit of it's color due to many reasons. Weather, is usually a common factor, but whatever it may be, it's something that you don't want on your home. This can hurt the overall curb appeal to the outside of your home and can be taken care of easily.

Do you have a small hole in your walls at home? Is it bugging you to no end? Instead of hiring someone to come and fix it, why not fix the hole yourself? In this video, learn how to repair and patch a small to medium sized hole in a wall.
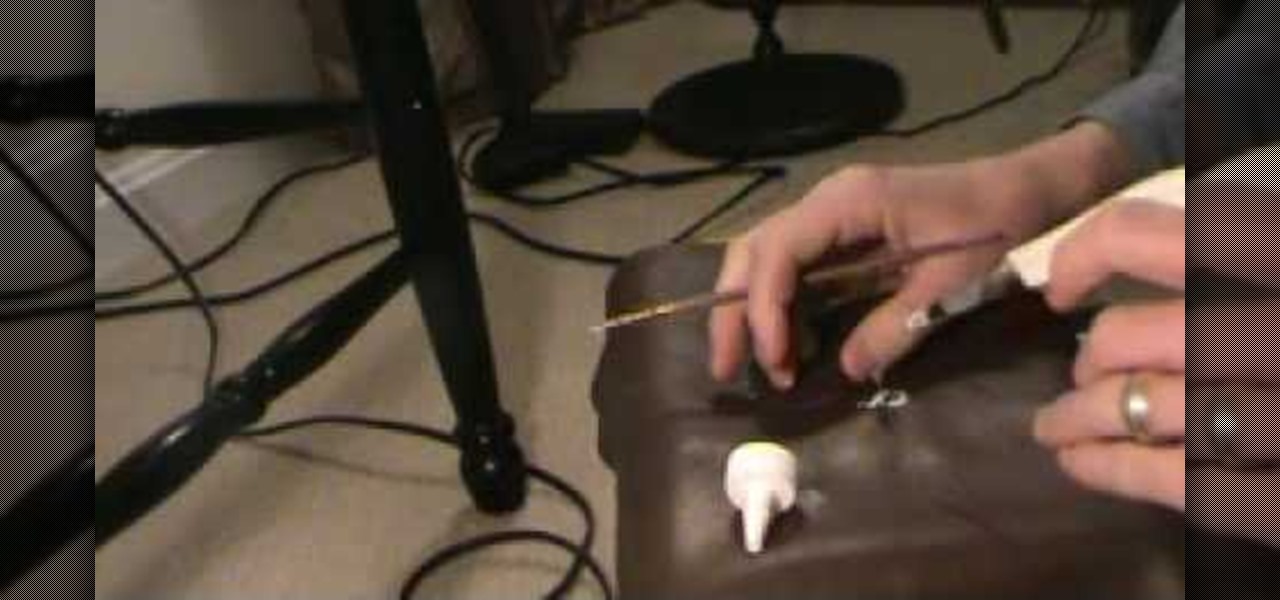
In this how-to video, you will learn how to make a repair in cut leather. This is useful if you have damaged leather you would like to repair yourself. Make a knife cut in the leather, and then cut and place a sew patch into the leather. Push it underneath the leather. Now, glue the sew patch in place with inexpensive craft glue. Rub it around the leather and edges of the cut. Wipe off excess glue with a damp cloth and wait until it dries. Place something heavy on it for a good amount of time...
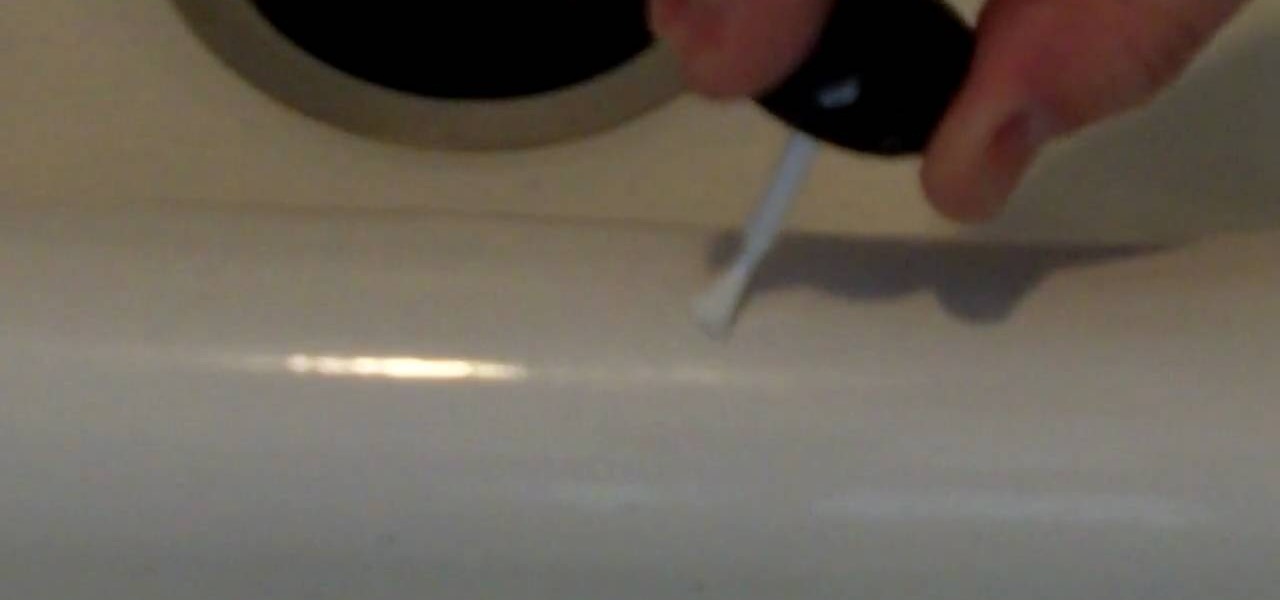
You can buy a porcelain patch kit to fix chips in your porcelain sink. You used to have to take two steps to repair it starting with a filler followed by a glaze to make it shiny. The video teaches how to use patch kits that you paint on like nail polish. To apply the patch you want to put on several thin coats and let each coat dry. When you apply the coats the key is to get the patch level with the rest of the sink. Then you can sand it with 220 grit sandpaper. After you have sanded the are...
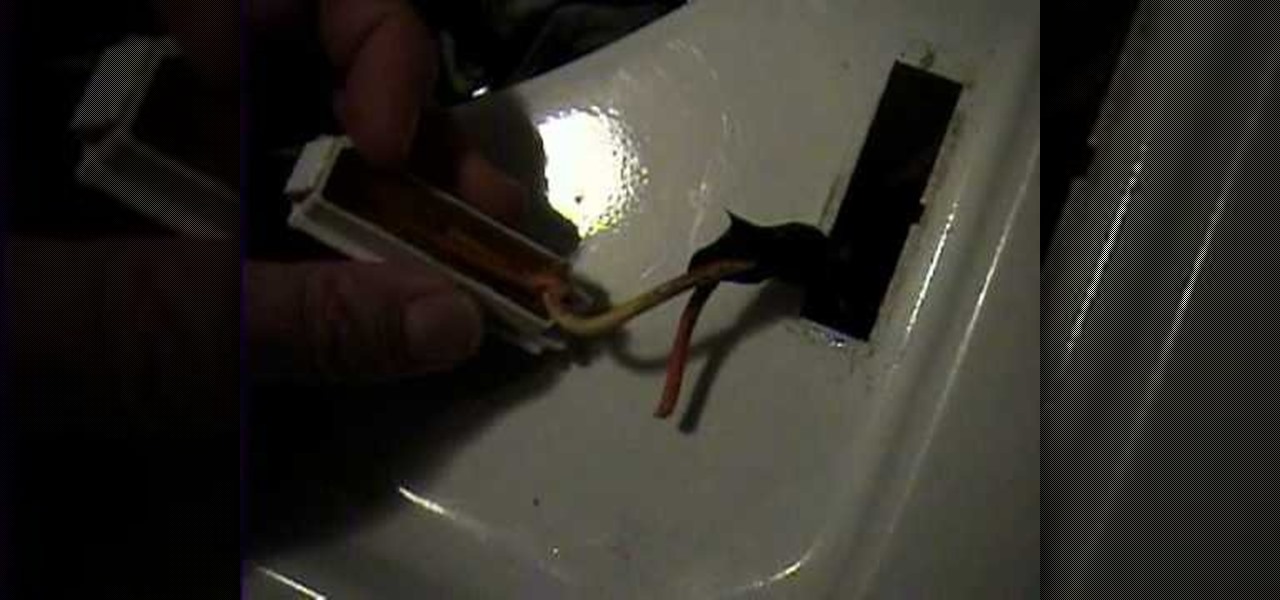
This Home and Garden video tutorial shows how to repair a wash machine lid switch. This video is on a GE Prodigy machine. Looking inside the machine under the switch, she finds that two wires are broken. Take a screwdriver and press down the clip of the switch from underneath. One end will come out. Then, pull out the switch. After that it is very simple. Cut off a bit of the plastic coating from the ends of the wires, connect them to the switch and put some electrical tape around them. Now y...
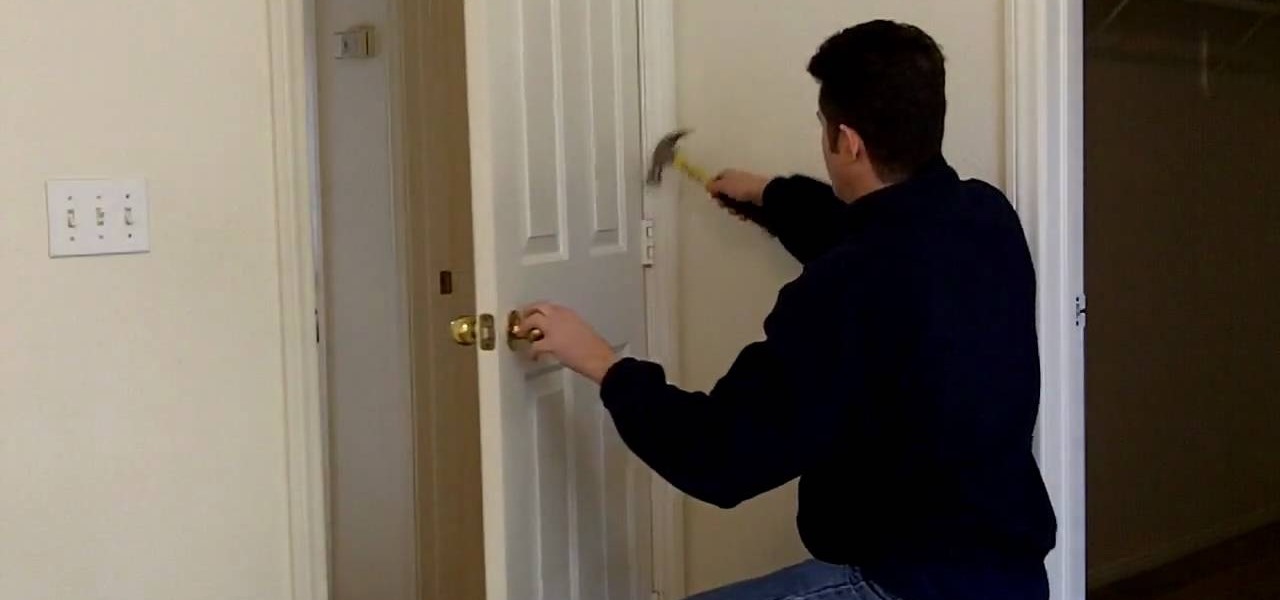
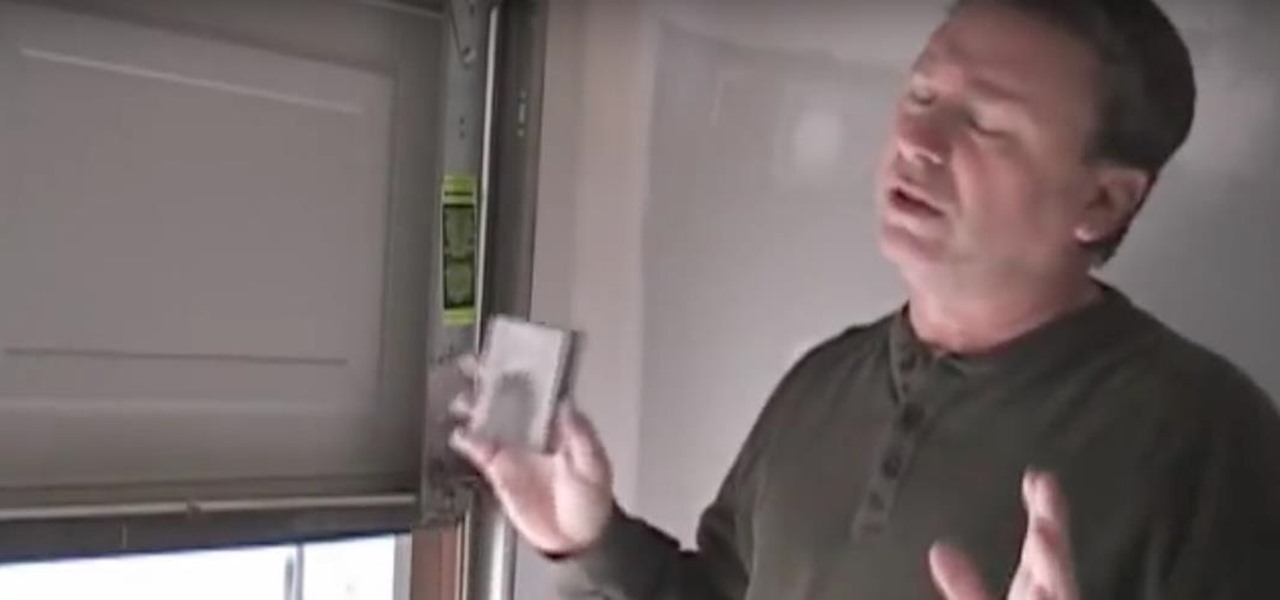
This video is about fixing self-closing doors. Doors close by themselves when they're not hung plumb, and gravity closes the door. The solution is to remove the hinge-pins and to roughen the bottom of the hinge-pins to create friction, keeping the door open. One removes the hinge-pin with a hammer and small screwdriver. Tap the bottom of the hinge-pin against a cinder block or rough, hard surface. If using this "friction-ized" hinge-pin does not solve your problem, try repeating this process ...
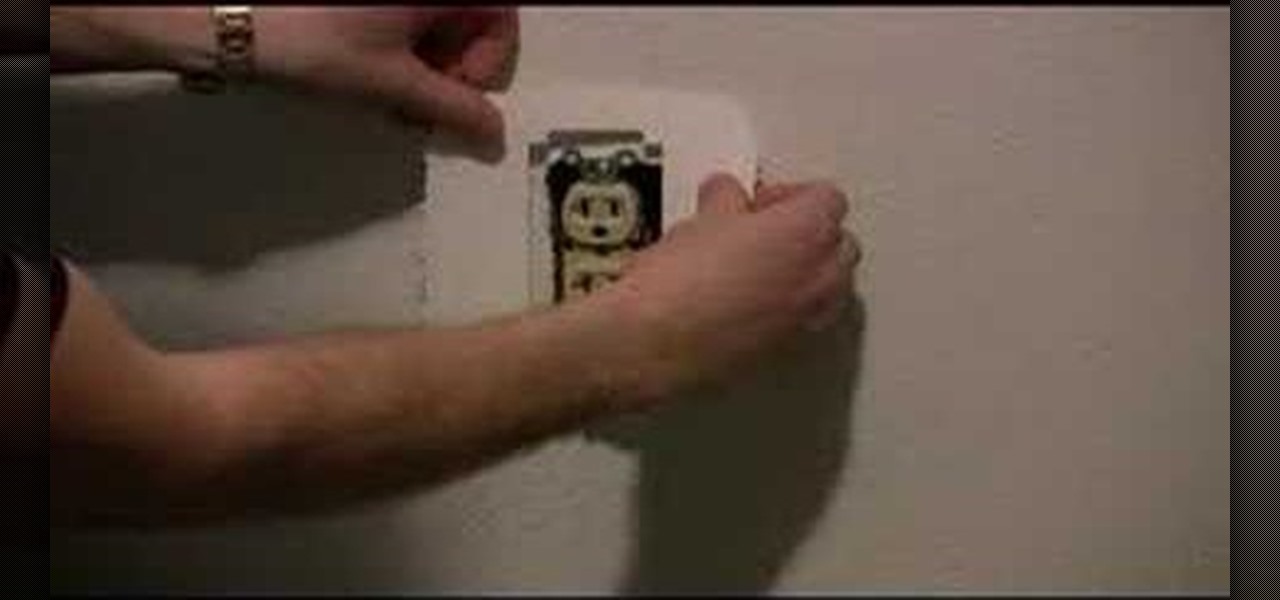
This Home and Garden video tutorial is going to show you how to repair damage around wall elements such as outlets. The video demonstrates how to repair a gap around a socket that was created due to a miscalculation on the part of the mason. The simplest way of repairing this would be to take the cover off, get a patch which is pre cut to the correct dimensions, peel it off, place it correctly over the opening in the wall and press it on. You could paint the area with matching color. Then put...
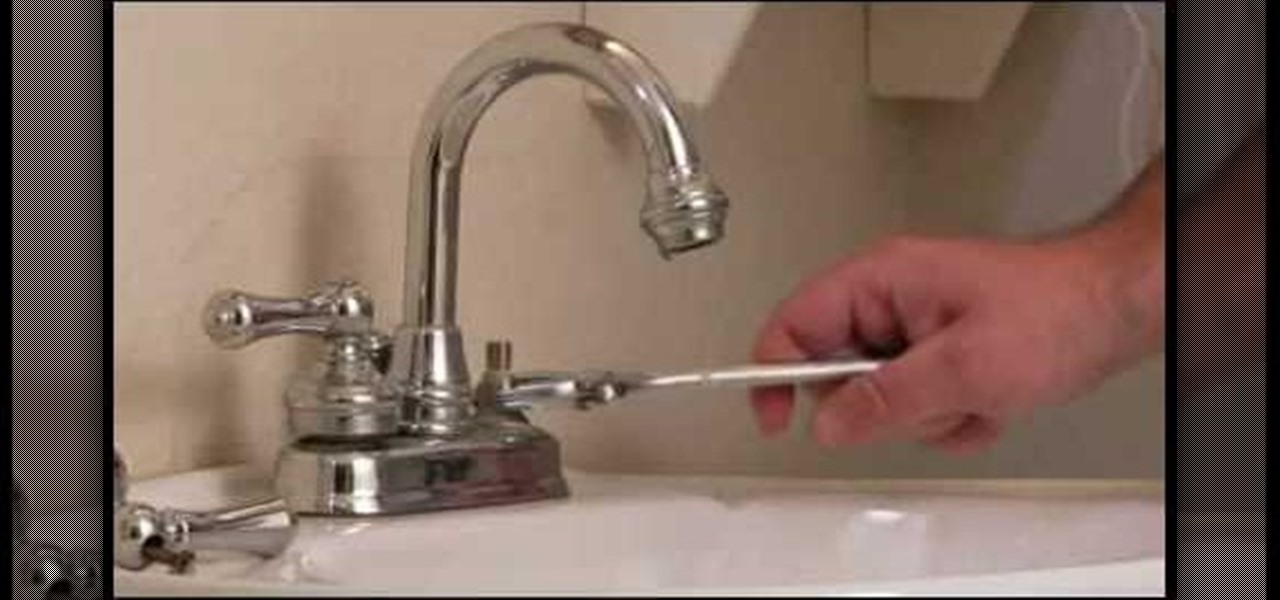
James from J&C Home Repair explains how to fix a bathroom faucet. He shows how to turn off the water supply to the faucets and tells you exactly what tools you will need. He demonstrates how to remove the faucet handle and the valve using common household tools, and recommends taking the parts to the hardware store to make sure you get the correct replacement parts. This video shows that repairing a faucet is a simple job that anyone can do. You don't need to call a plumber for this!