

How To: Light a portrait for photography
Portraits come in all shapes and sizes, but follow a few basic guidelines and you'll set the scene for a beautiful and professional shot.

Portraits come in all shapes and sizes, but follow a few basic guidelines and you'll set the scene for a beautiful and professional shot.
Companies are already clamoring to figure out strategies for integrating augmented reality into their advertising platforms. AR is going to become a huge asset to marketers, and Apple's ARKit is only going to help that along. Mixed reality producer Bilawal Singh Sidhu has given us a sneak peek of what the world of advertising could be with the ARKit.
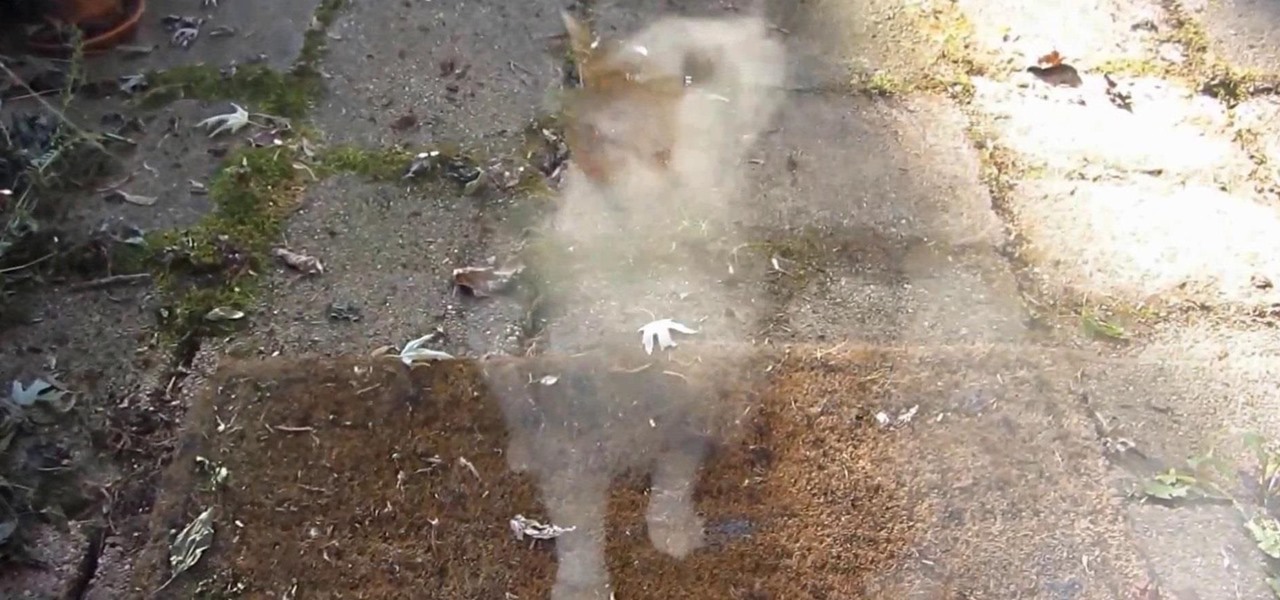
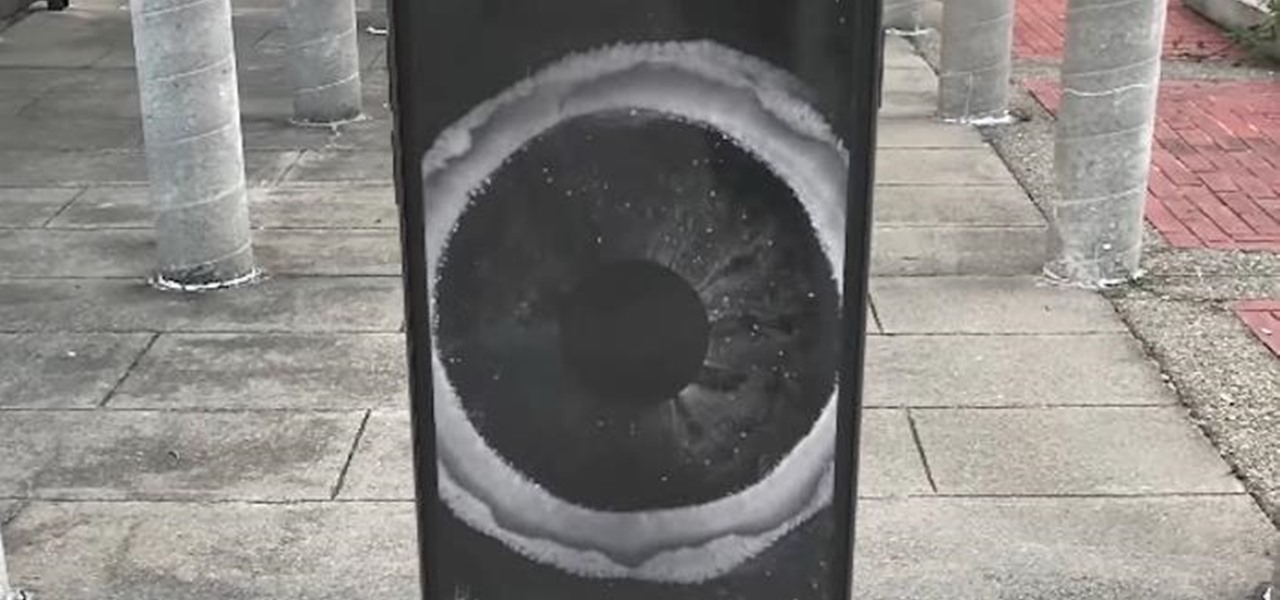
Photographers have been using the Pepper's Ghost Illusion for over a century to play up the level of creepiness in their photos. Many of the pictures that claim to be real "sightings" use this technique to project a ghostly figure into the background of their images. Today, it's still used in theatre, "scary" rides at amusement parks, and haunted houses all over the world, which makes it a great photography trick for Halloween time. As shown in the tutorial below by Make's Jason Poel Smith, t...

In this video we learn how to draw a nose using simple methods. Use a grid to start sketching out your drawing. Note the dark and light areas by outlining them on your paper. Then, crosshatch the first layer using whichever method works the best for you. Then, use a tissue to blend the pencil marks in with each other and create a lighter shade. Grab your darker pencil and mark on the darker areas of the nose, then start to shade in darker then before. To finish, use your pencil to add in the ...
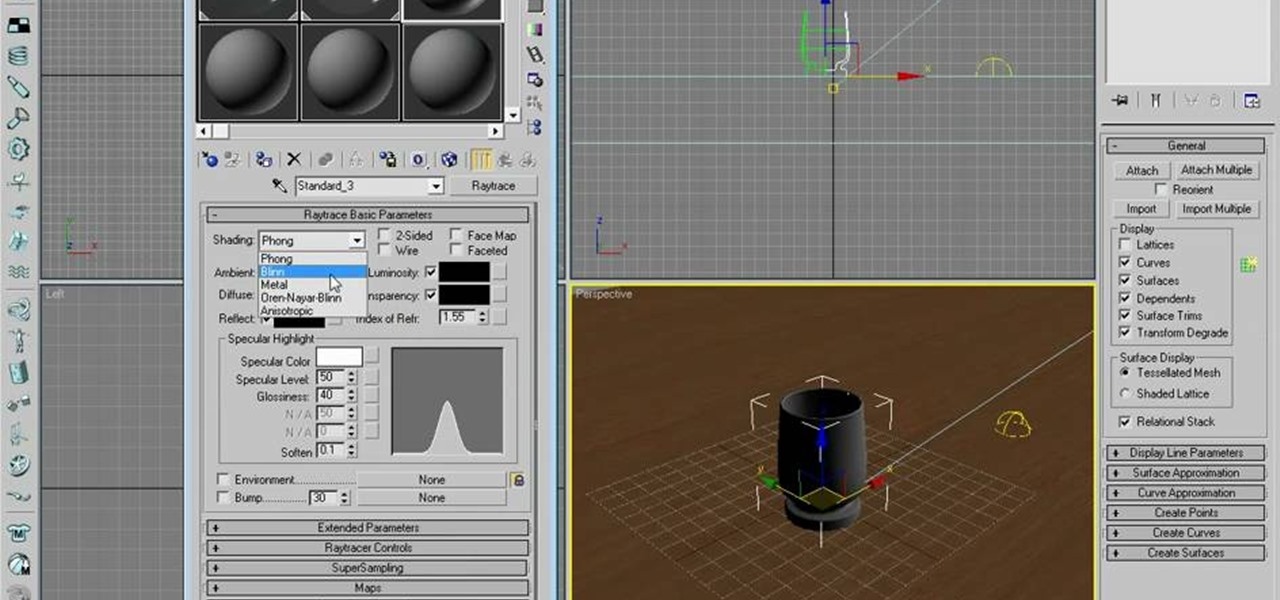
Dave shows you how to produce a glass three different ways in 3ds Max in the video tutorial. Put two panels away, then concentrating on sensor one press m on the keyboard to bring up the materials editor. On the material editor go to the first sphere, choosing a slight blue color, bring up the specter level, bring up the glossy level, click on two sided and bring down the last two to about four. Look to see it is fairly transparent, in a test window. This is glass one, put on hide. Go to glas...
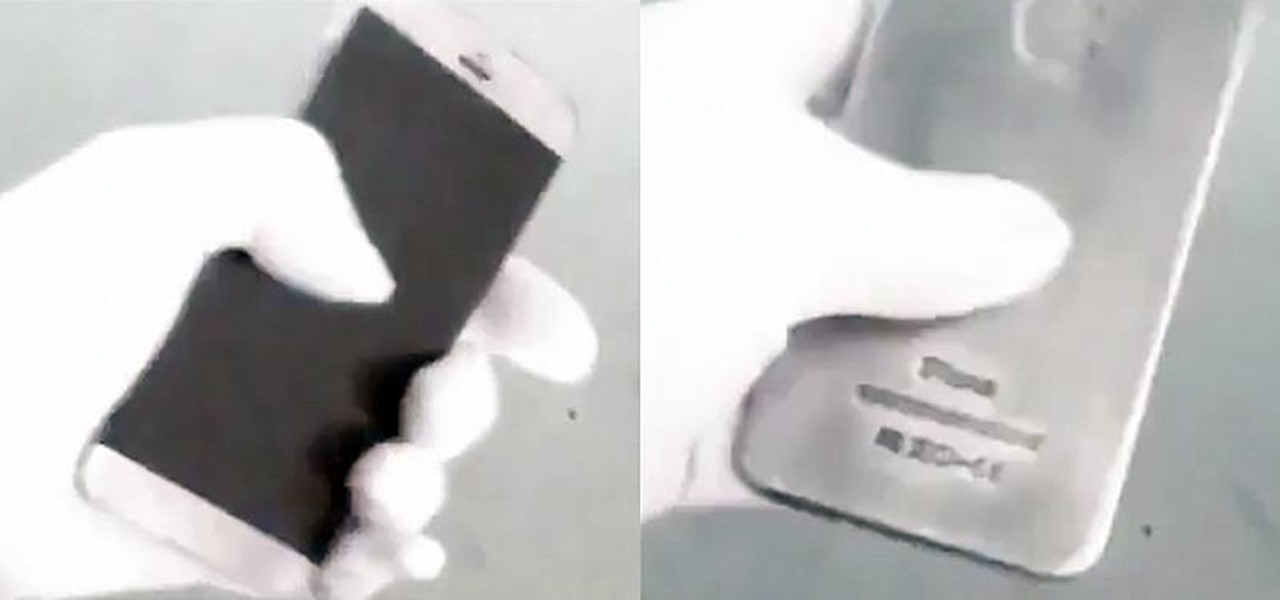
A video showing what is alleged to be the new Apple iPhone 7 has appeared online. The uploader of the video claims that it was shot on one of Foxconn's assembly lines.

From day to day, it can be difficult to remember everything that's required of you. I tend to forget exactly where it is I'm supposed to be during my busiest moments, and it's even easier to delete each day's events out of your brain when there's so much else that dominates your mind. Yet taking the time to remember exactly what it is that happens during each of our days can be a vital part of our memory—and with nothing more than 15 minutes, we can strengthen our brains and remember more tha...
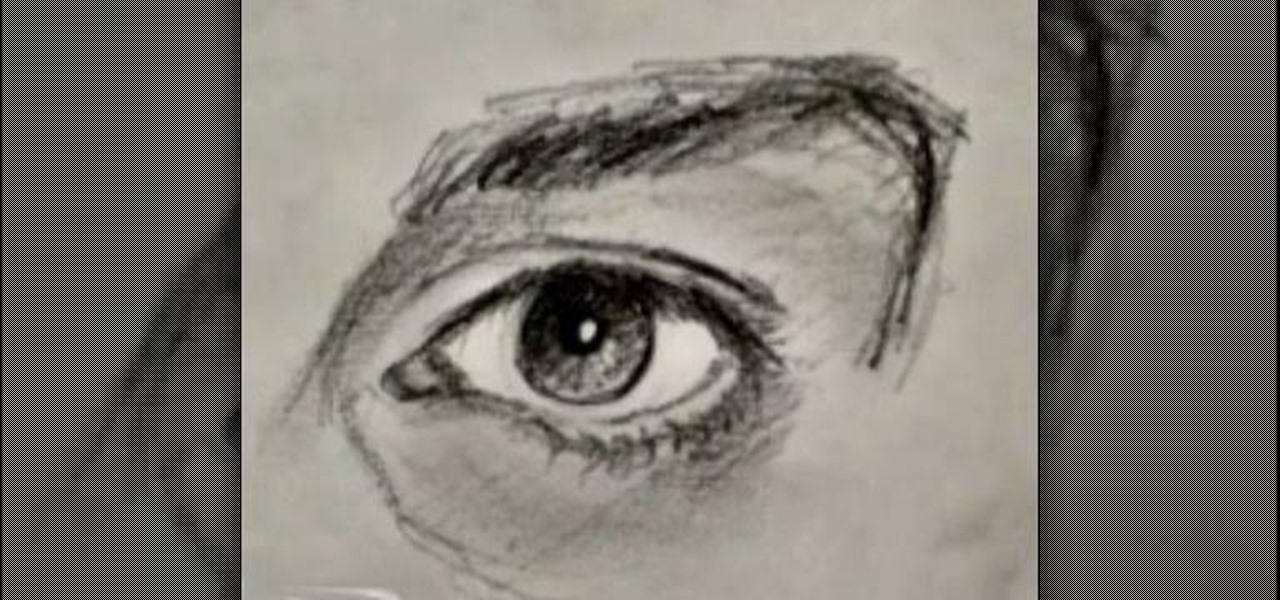
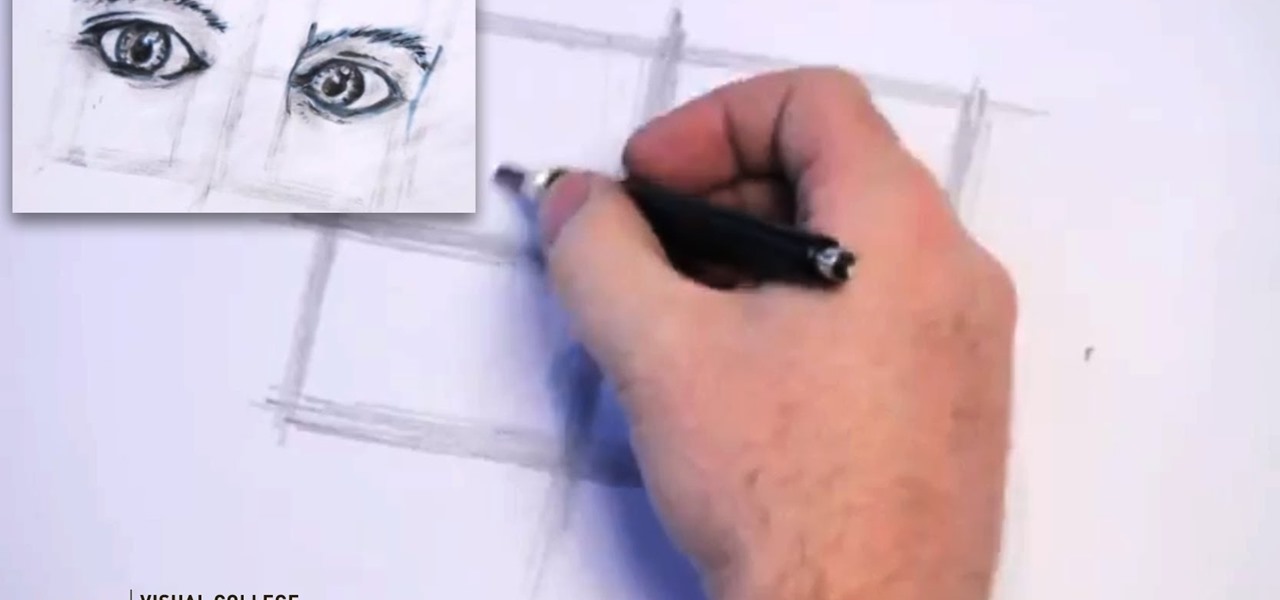
Watch this fine art video tutorial to learn how to master drawing a human eye in two minutes.
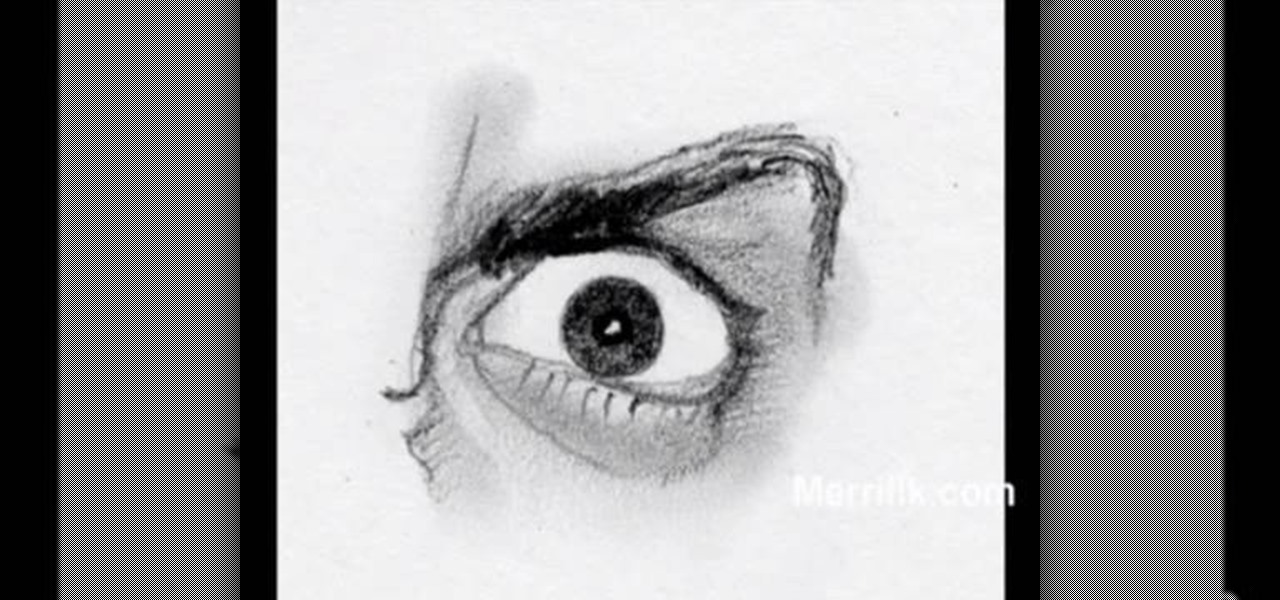
Watch this fine art video tutorial to learn how to master drawing an angry human eye in two minutes.

Getting angry makes you look weak, especially in an argument. Defuse your temper with these helpful tips.

Tired of being limited with your right-click options in Microsoft Windows? There's a program that could help you out, and it's called Right-Click Extender. Insert many different additional items to the right-click context menu.

This short video tutorial will outline the process of making acoustic wall panels using a simple wooden frame and rockwool insulation. These DIY broadband acoustic panels, or bass traps for treating music studio rooms, performance rooms or home theater rooms, will save you tons of money.

In this how-to video, you will learn how to remove the front case of an iMac G5. First, lay the case on its back. Remove the screws in order to get the ram bay cover off. Once this is done, pull on the release tabs to remove the ram modules. Next, remove the torx screws on the bottom side of the casing. Once these are removed, work your way around the casing to remove the front from the back. Do not pull too far as you might damage the wires to the camera. Unplug the camera once you are able ...
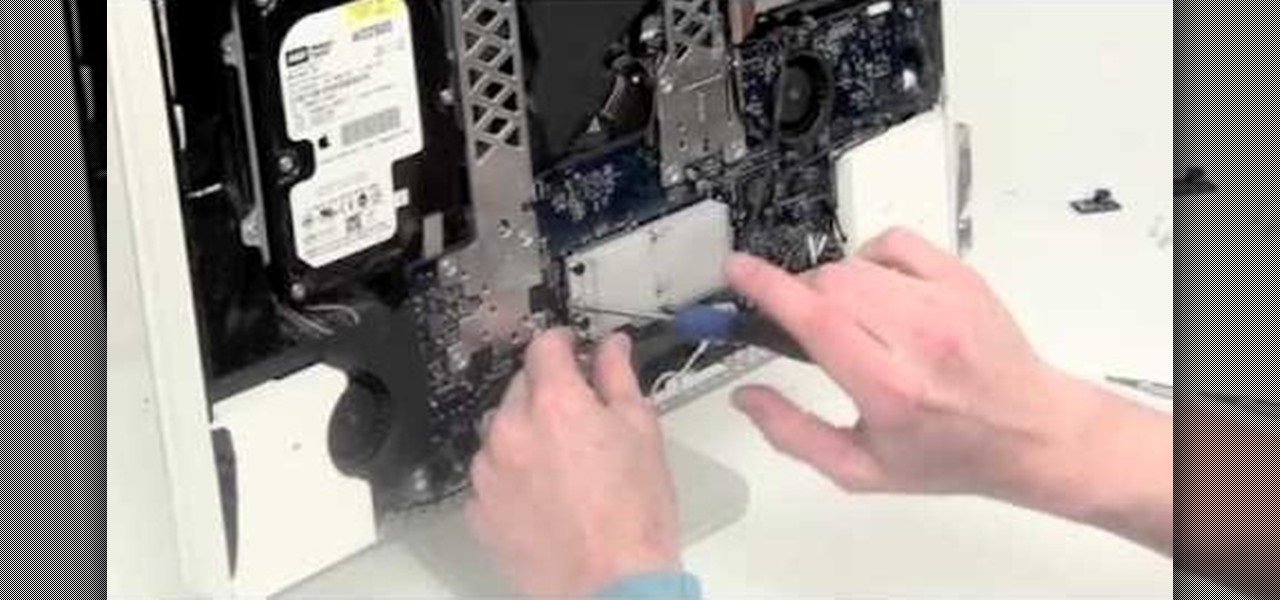
In this video tutorial, viewers learn how to remove the speakers on a G5 i-Mac computer. In order to remove the speakers, user will need to first remove the ambient light sensor. Remove the 2 torx 6 screws and remove the middle bracket. Now on each speaker, users will need to remove 2 torx 8 screws. Once the screws are removed, the speakers simply slide out of place. Under the right speaker, there will be a cable that will need to be unplugged from the logic board. This video will benefit tho...
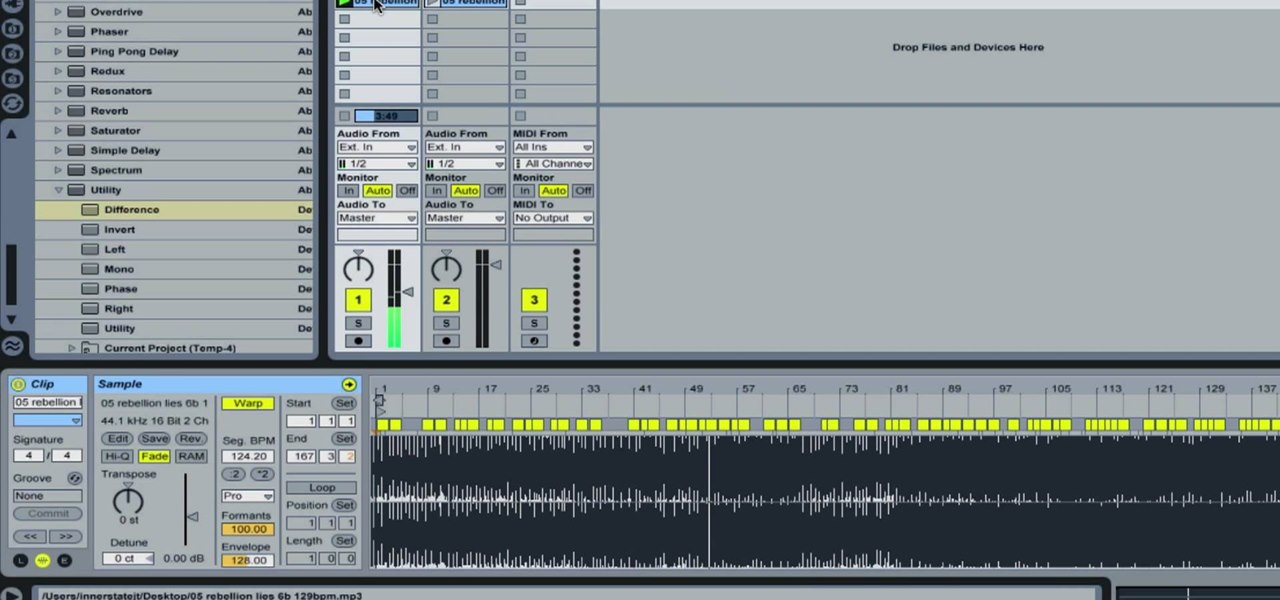
In this how-to video, you will learn how to remove the vocals on songs using Ableton. First, open the tracks you want to remove the vocals from. Go to utility and select the preset difference. Drag it to the audio track. This will remove vocals.
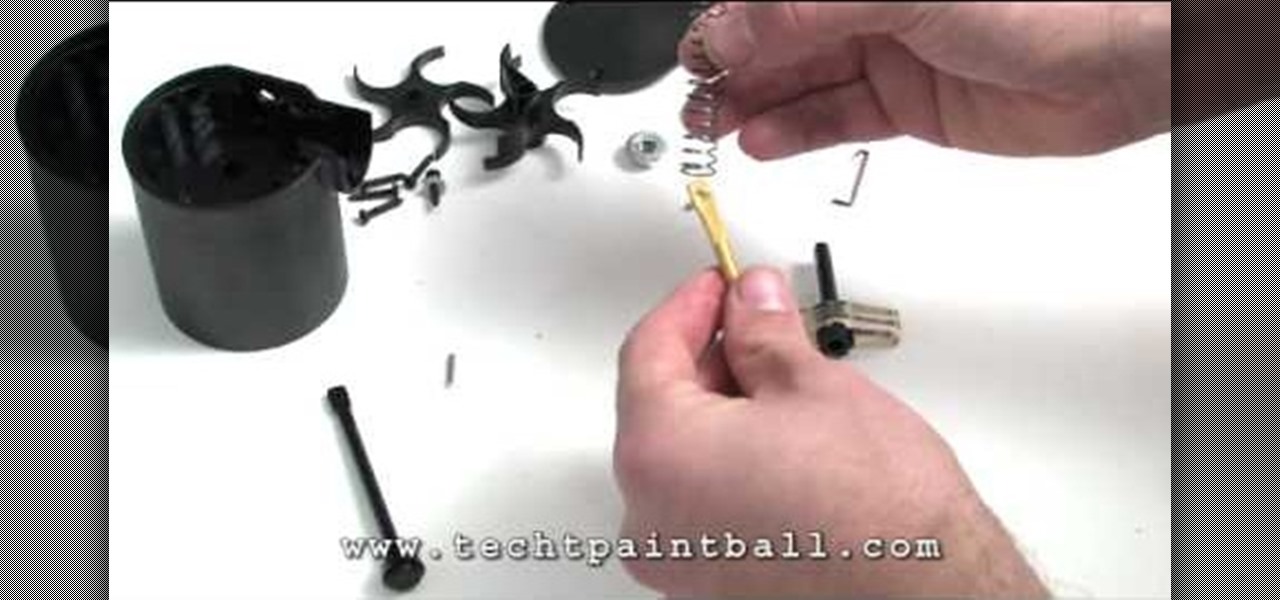
In this video, our author, KRASHARPSHOOTER, shows us how to install a TechT Lightning Rod. First we remove the screw on the underside, and turn it over and remove the four base screws. Now lift up on the piston housing and remove it. Then, remove the nut and the tension guide. Now you can remove your ratchet axle and rod. Now remove the pin that hoods the ratchet rod and axle together.

Pixel Perfect is the "perfect" show to help you with your Photoshop skills. Be amazed and learn as master digital artist Bert Monroy takes a stylus and a digital pad and treats it as Monet and Picasso do with oil and canvas. Learn the tips and tricks you need to whip those digital pictures into shape with Adobe Photoshop and Illustrator. In this episode, Ben shows you how to apply light sources to 3D projects in Photoshop.

Pixel Perfect is the "perfect" show to help you with your Photoshop skills. Be amazed and learn as master digital artist Bert Monroy takes a stylus and a digital pad and treats it as Monet and Picasso do with oil and canvas. Learn the tips and tricks you need to whip those digital pictures into shape with Adobe Photoshop and Illustrator. In this episode, Ben shows you how to create a soothing pastoral scene in Photoshop.

Pixel Perfect is the "perfect" show to help you with your Photoshop skills. Be amazed and learn as master digital artist Bert Monroy takes a stylus and a digital pad and treats it as Monet and Picasso do with oil and canvas. Learn the tips and tricks you need to whip those digital pictures into shape with Adobe Photoshop and Illustrator. In this episode, Ben shows you how to create cloud over a sea in Photoshop.
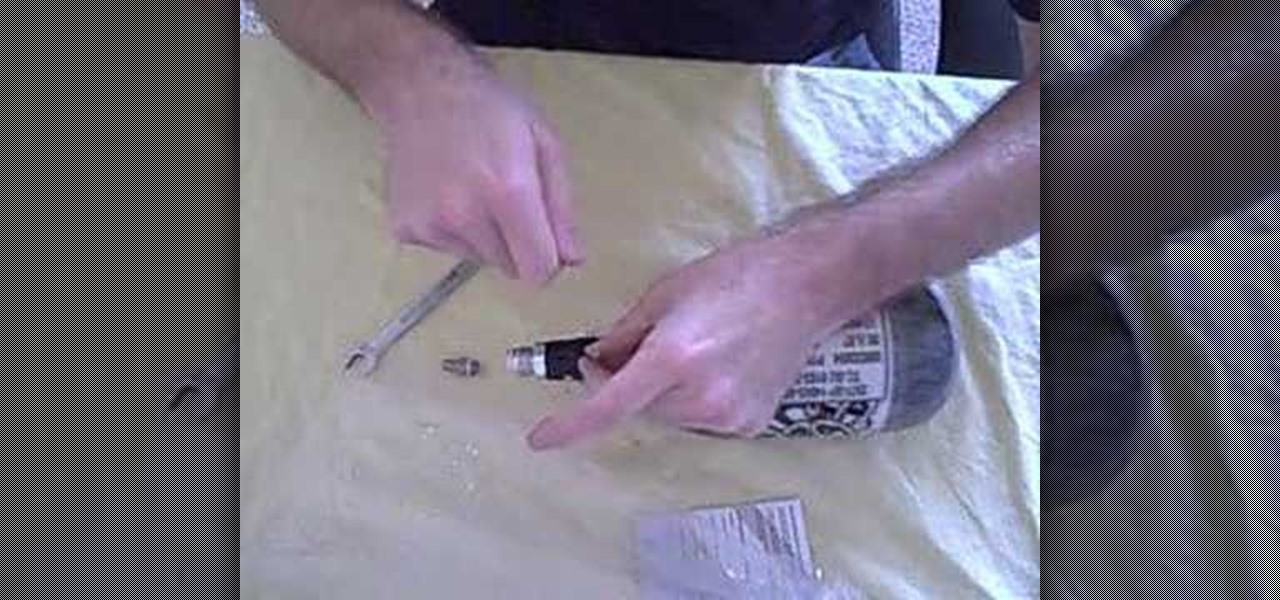
Custom Products Paintball Tanks come with a fill nipple filter. This causes the tank to fill up EXTREMELY slow. To remove the filter, simply remove your fill nipple, and tap out the filter.

When you remove the multifunction switch from your Saturn S-series car, be sure to disconnect the battery and remove the airbag fuse so that you can safely interact with the switch.
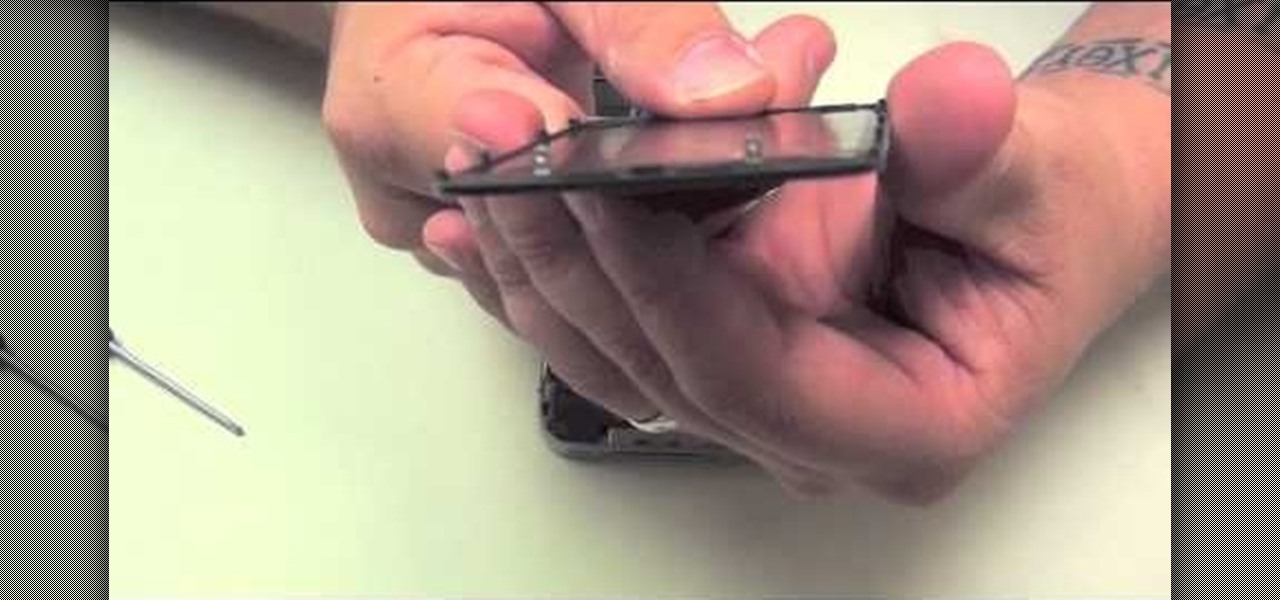
Well, Apple may not want you to do it but you just can't help yourself, you want to get inside that beautiful iPhone 4 and see what's inside. This clear, detailed guide shows how to remove the back panel, safely get inside your iPhone and remove your battery as well.
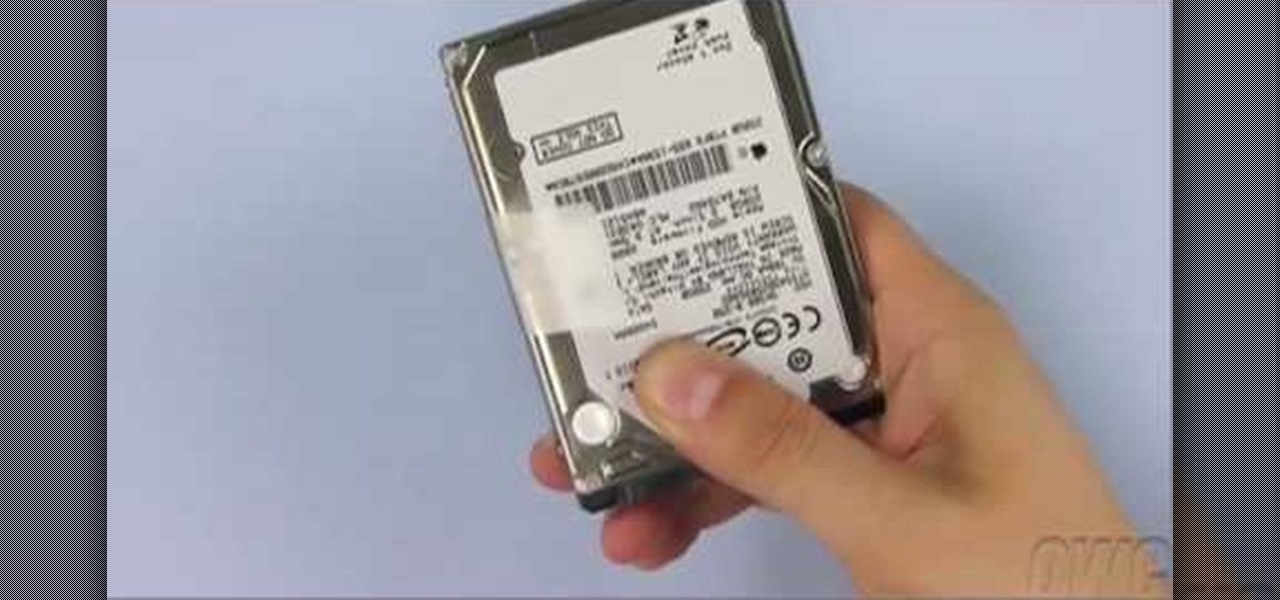
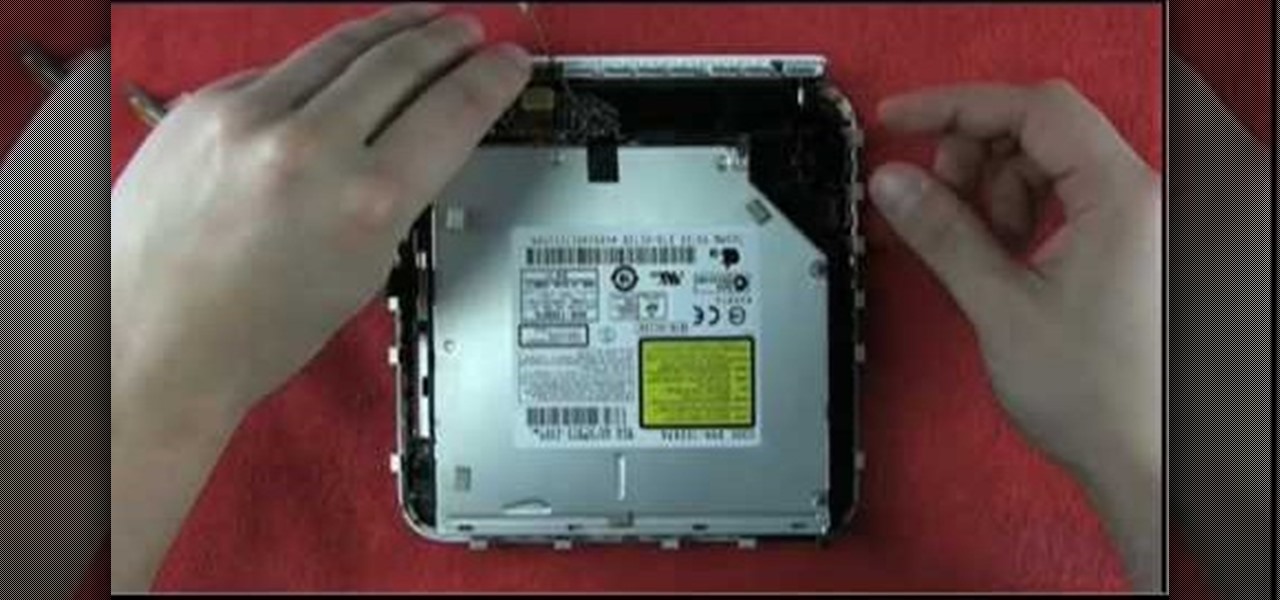
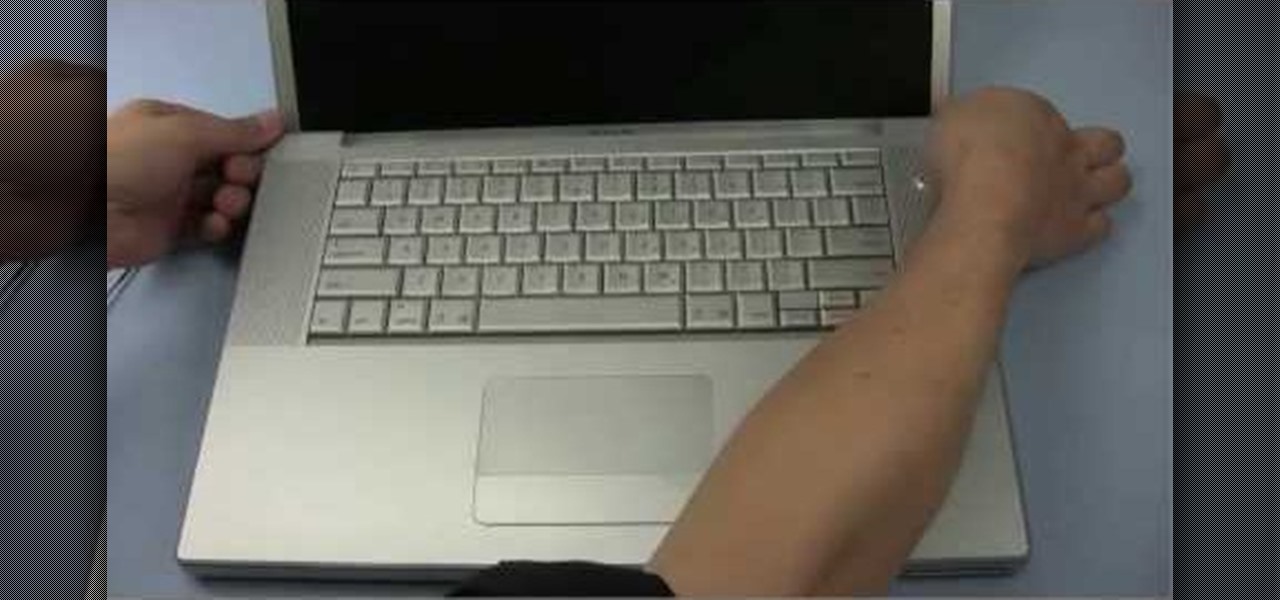
In this video from MacOSG we learn how to install a hard drive in a 15" Macbook Pro from around 2009. For this you need a #00 Phillips head screwdriver and a T6 Torx screwdriver. Make sure you use proper anti-static precautions with this. Transfer your data to the new drive before installing. To remove the hard drive, flip over your Macbook. Use your Phillips to remove the 10 screws. Remove the 3 at the right which are longer than the other screws. Then remove the left most screw which is the...
This video demonstrates how to install memory step by step in a Mac mini (2009), as it is a complicated method; it is advisable to watch through the process then attempt to do the same. First step is to remove the old memory from the Mac Mini. Shut down and unplug the Mac mini and place it on a soft cloth to prevent any scratch. Turn-over the mini to get into it using a small buddy knife. Carefully place the buddy knife between the inner and the outer case. Try to detach the inner clips using...
The video starts by informing about the basic safety precautions, tools needed and backing up data prior to hard drive replacement. There are a series of screws which need to be removed in the following order.1. Removing the battery from the back and then remove three screws thereby removing the RAM cover.2. Two more screws to be removed under the RAM cover.3. Two screws from inside front edge.4. Four screws from the bottom rear.5. Two screws each from the slim sides.6. Two screws near the hi...
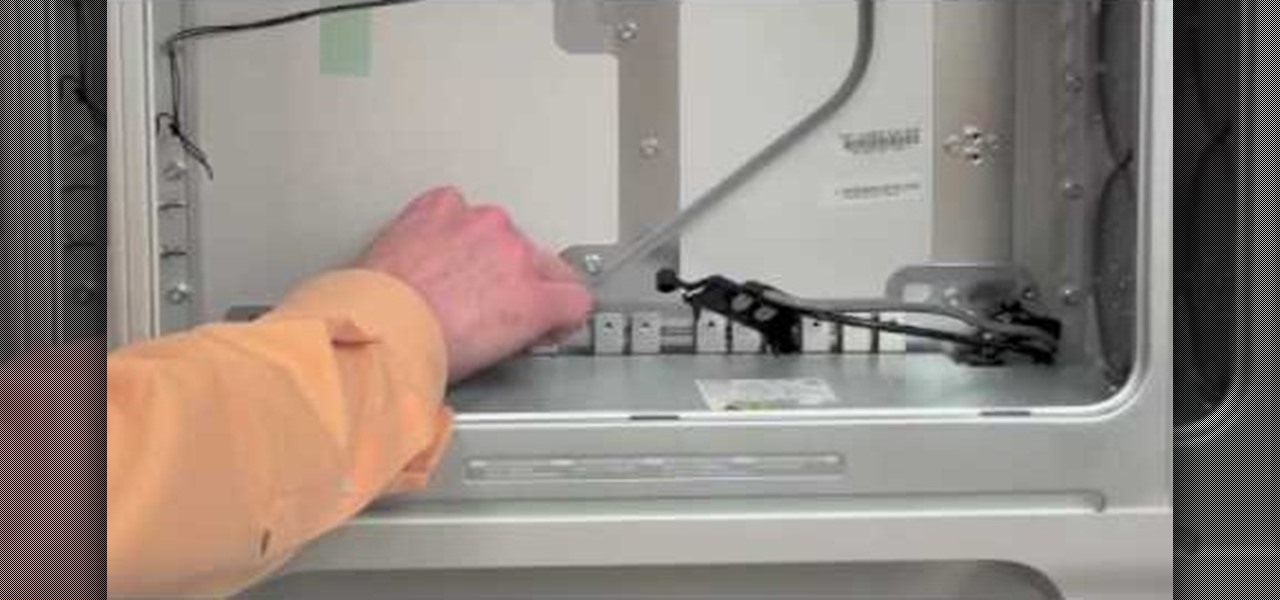
Your power supply on the bottom of your Mac may need to be replaced. If you're not sure how to remove it, no problem. See how to remove the power supply from the Power Mac desktop computer.
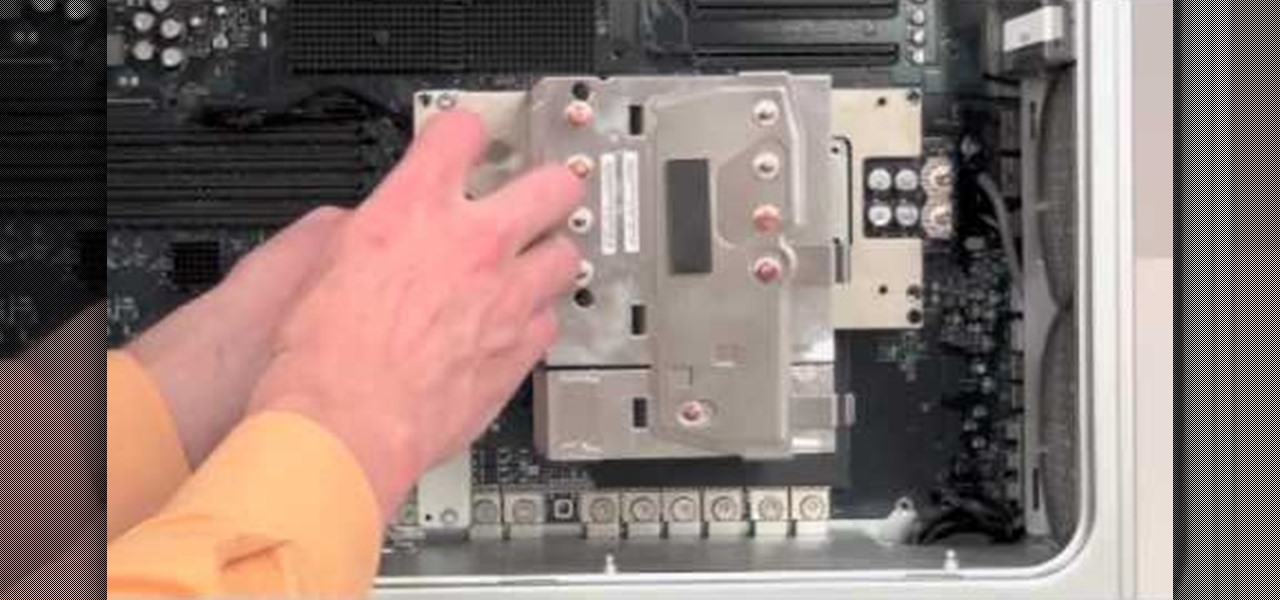
For some reason or another, you might have to remove the processor from your Power Mac. If you don't know how, see how to remove the processor from the Power Mac desktop computer right here.
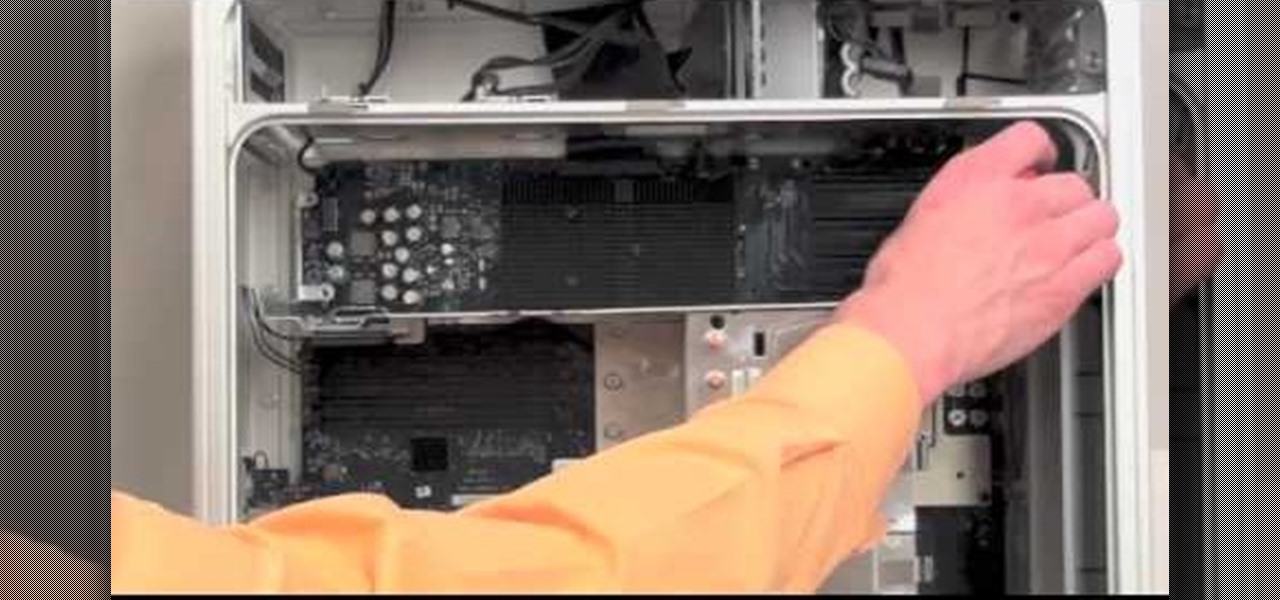
To remove your airport card from your Power Mac, you're going to have to know what you're doing… see how to remove the airport card from the Power Mac desktop computer.
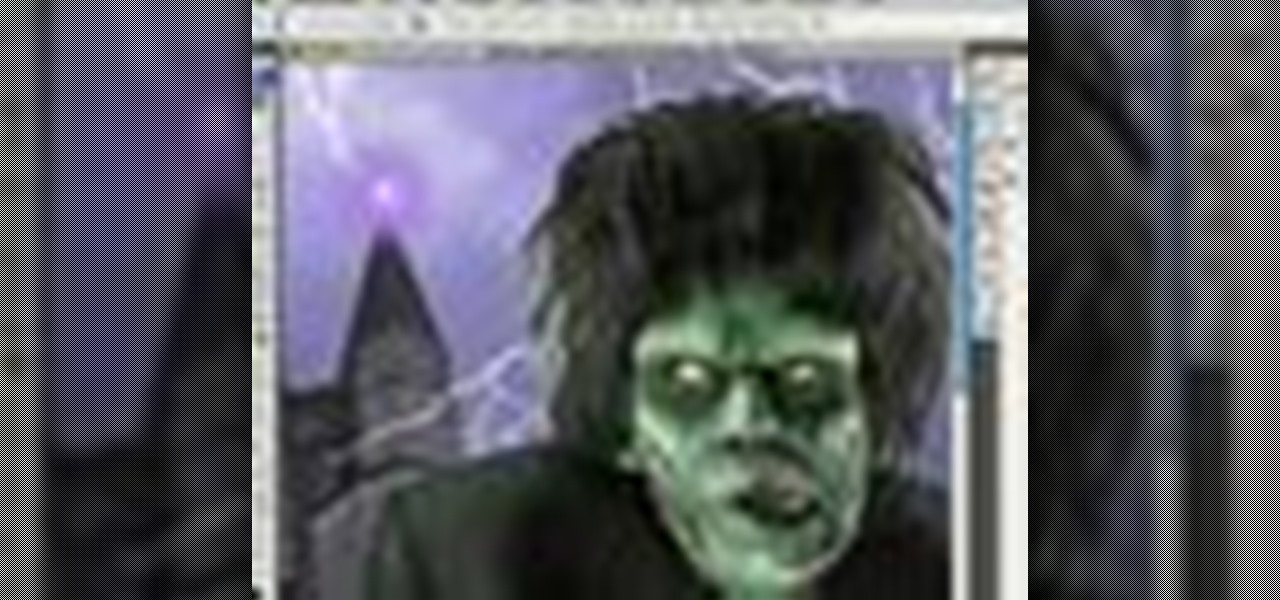
This image editing software tutorial teaches you how to remove fringe left over from masking on a monster image in Photoshop CS3. Discover three distinctive ways to remove the ugly fringe that can ruin any good masking project. These Photoshop techniques are specially designed for working with detailed hair (like a monsther!), in Photoshop masking projects.

In this video tutorial, viewers learn how to remove a BMW E46 ignition/valve cover to access ignition coils. Begin by removing the center section of the factory strut braes. Then remove the 3 twist locks, take the cover off and remove the cabin air filter. Before removing the housing, users will need to remove the plastic cover that holds the positive cable. At the bottom of the cabin air filter, users will need to remove the 4 screws. Now users will be able to remove the entire cabin air hou...
Swimming season is here! Learn how to treat the water in your swimming pool when opening it for the summer season in this pool care video from our swimming pool expert.
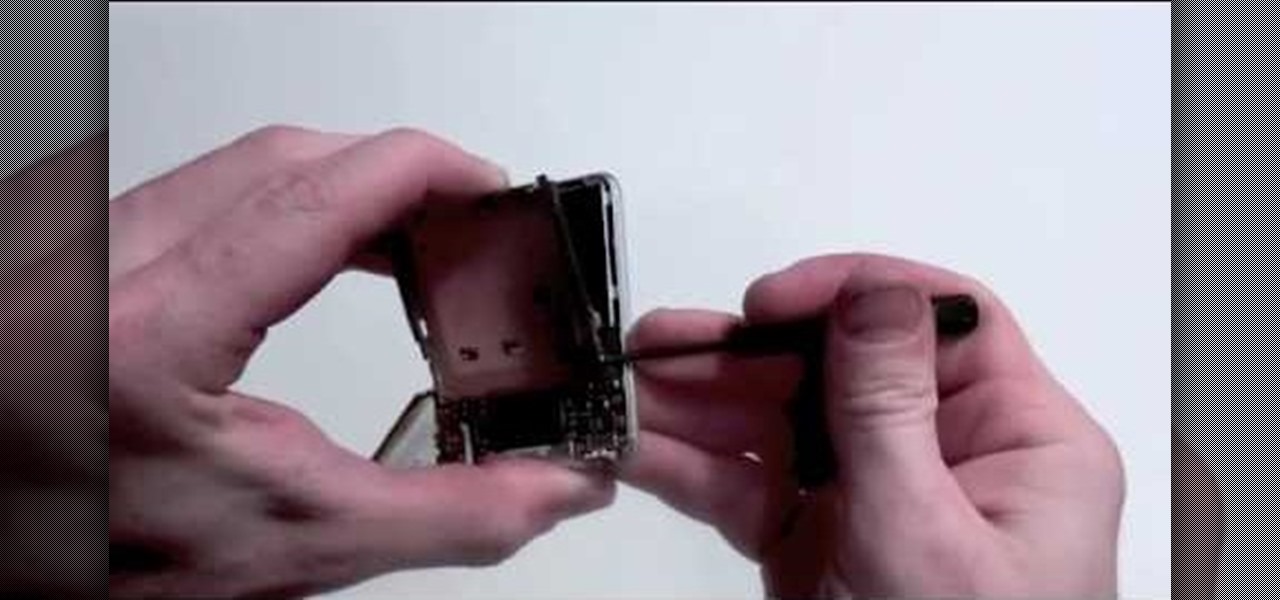
In this tutorial, we learn how to take apart an iPod Nano 3rd generation for repair. First remove the back casing using a guitar pick. Next, use a flat tool to lift up the battery carefully and remove it from the casing. You will see three wires that lead to the launch board, which are soldered into place. Now, use the flat tool to remove the back of the battery casing from the device. Now, remove the logic board by removing the 6 small screws inside of it. Next you will remove the LCD by lif...

Repairs Universe demonstrates how to replace the LCD screen on the LG Xenon GR500 cell phone. First, remove the battery and the SIM card from the phone. Then, use a small phillips head screwdriver remove six screws from the back of the phone. Next, use a safe pry tool to release the clips by running it along side of the phone. Remove the back layer. Remove the two screws on the inside of the phone. Also remove the volume key, the hold button and the camera button. Slide the phone to the side ...
This video shows you how to replace the LCD screen on a third generation iPod nano. Using a plastic safe pry tool, run it along the edges of the iPod, releasing the clips. Once the clips have been released, you should be able to remove the back cover. There are six exposed screws on the bottom of the inside back cover, remove all of them. Next remove the click wheel ribbon cable from the jaw connector. To do this, use the pry tool to lift the connector. Use a pair of tweezers to gently remove...
Video: . Video: .

If you're in a show choir like the kids on "Glee," then often times you love how a song sounds but in order to sing along with it you need to remove the lyrics.

See how to remove Personal Antivirus from your Windows PC. The Personal Antivirus malicious software is a tricky malware to remove. This is the easiest way to remove Personal Antivirus from your home computer, so watch and get rid of it!
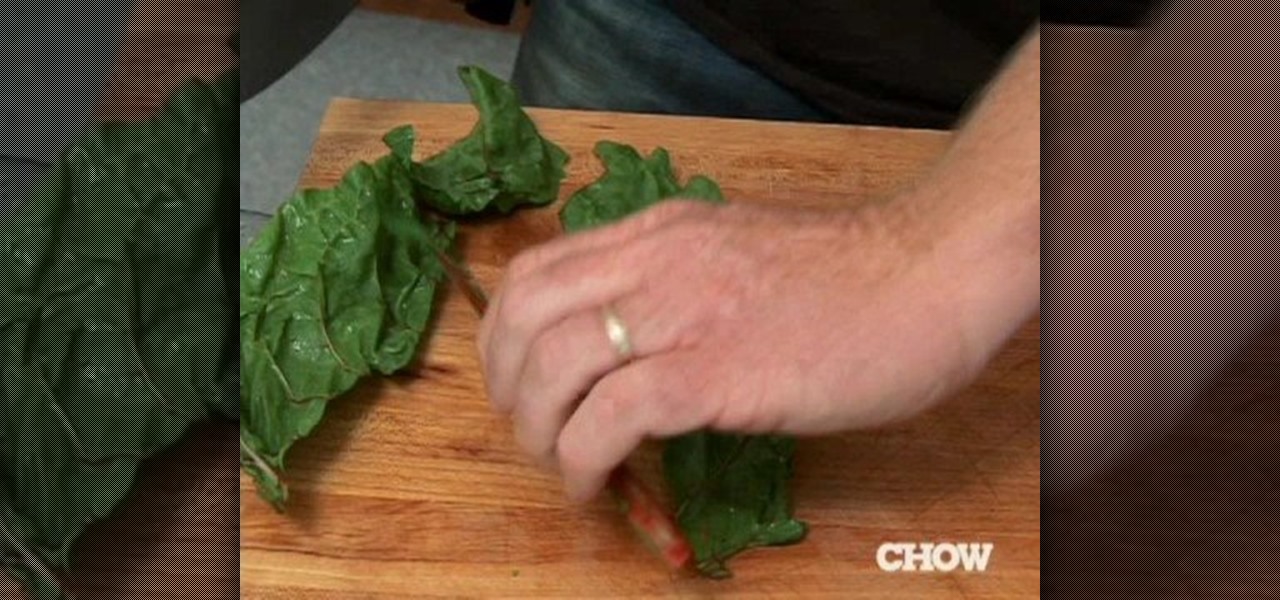
Daniel Duane removes the stalk in the fastest way possible. He shows you how to remove the ribs of leafy greens by stripping them like a zipper. Follow along with this cooking how-to video to learn how to remove the ribs of leafy greens without a knife.
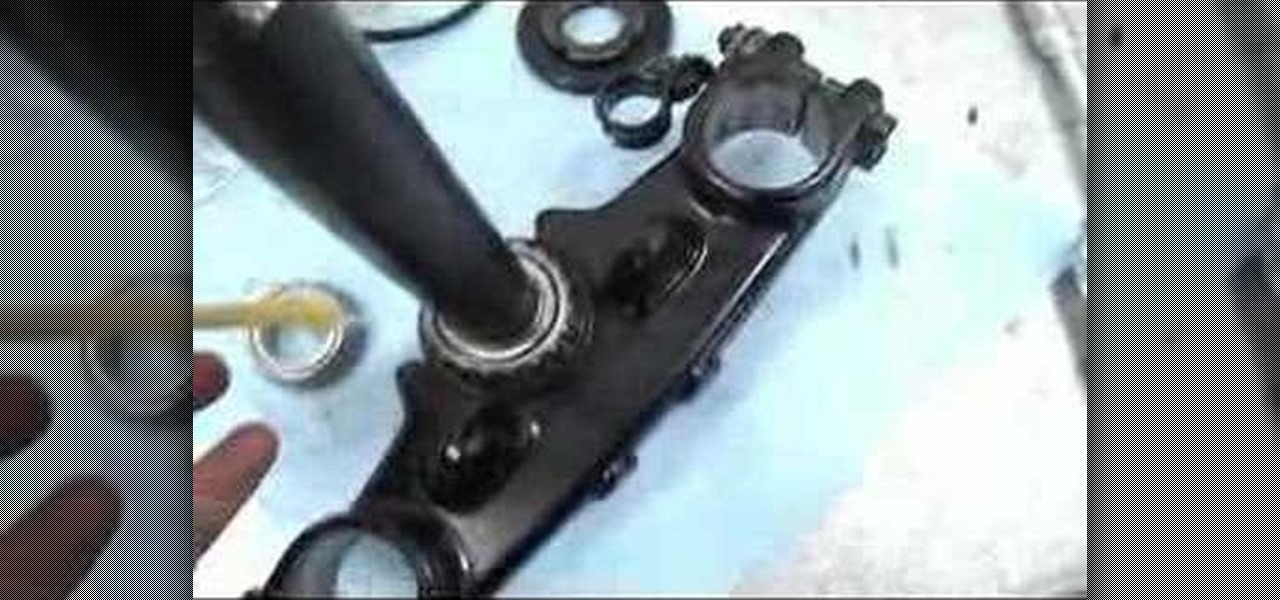
This motorcycle parts tutorial shows you how remove the steering stem (fork and triple tree) on a Kawasaki KLR650 bike. If you are replacing the steering stem or just doing work on your KLR 650 and need the steering stem off, this video will show you how to remove the steering stem. Make sure the front wheel is removed before starting.
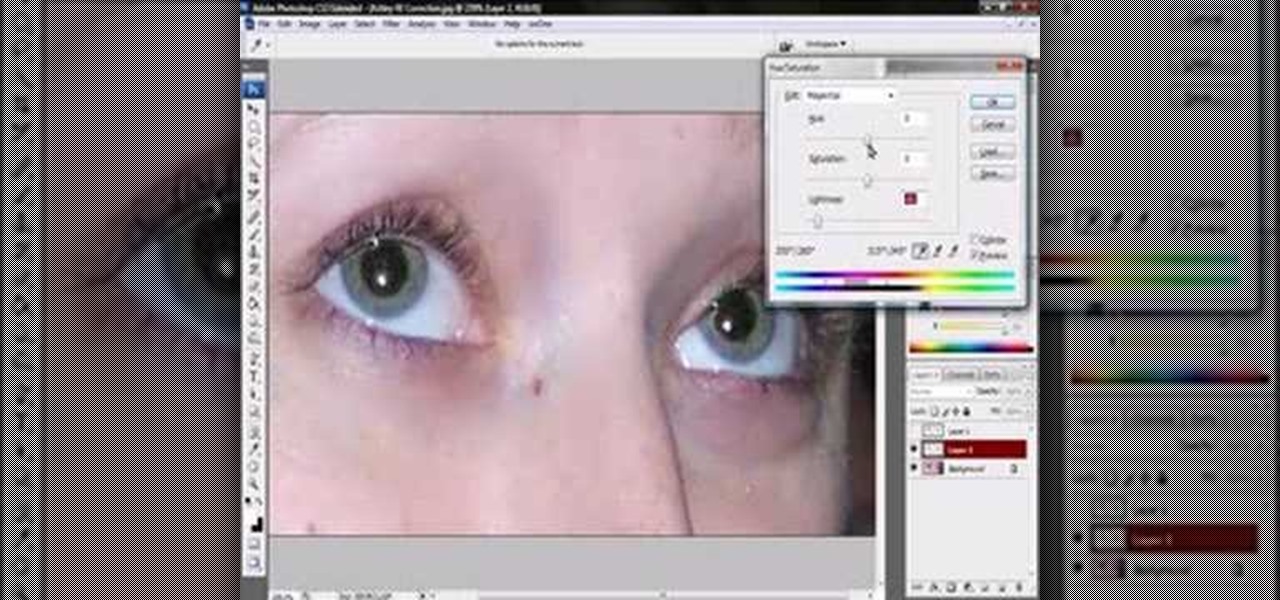
Jordan shows us a simple way to remove the red eye created by the flash of a camera using Adobe Photoshop. No matter where the red eye came from, you can remove it easily from any picture after watching this Photoshop tutorial. There are many ways to remove red eye and some are dirtier than others, but this method will give you a nice natural looking pupil in the end.