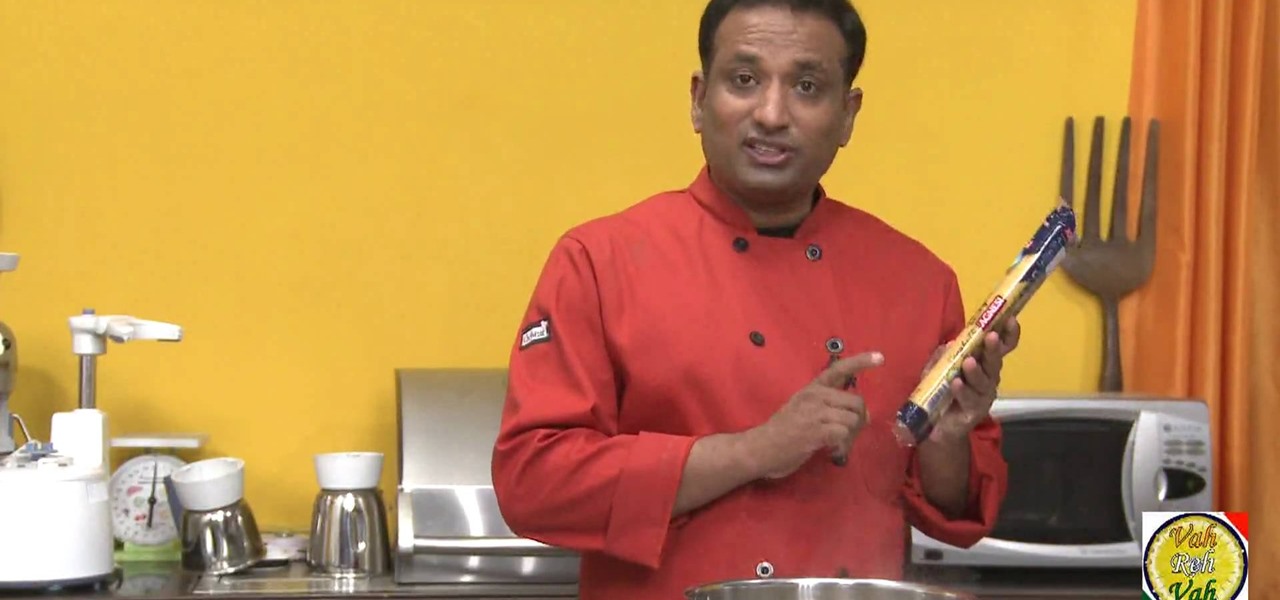
In the video Boiling Pasta we are taught that there is actually a recipe for how much water to boil per pasta being prepared--1 liter per 100gm--and also what amount of salt--10gm salt to 100gm pasta, after boil. Most people preparing pasta may not know that adding oil while pasta is being boiled will cause it to not adhere to sauce. The video provides many useful tips in preparing pasta, most important of all when it is done just right.
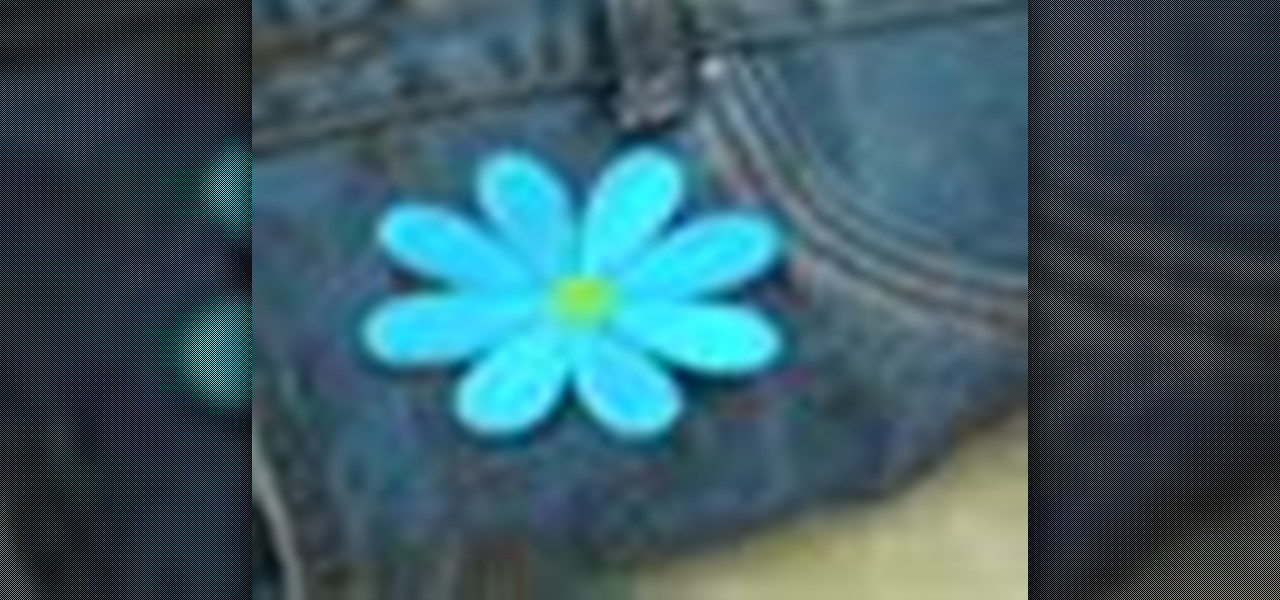
Is you favorite pair of jeans suffering from a hole in the knee? No problem. Extend the life of your clothing by using patches to cover worn or torn areas, or to embellish tired items and give them a fresh new look.
Lets keep this short: you can't control the sun, so it's best to adhere to (or slightly manipulate) it. The perk about natural, outdoor light is that it's free, and lights pretty well.
In order to make a floral ribbon corsage, you will need the following: floral tape, leaves, springs, flowers, wristband, and clippers
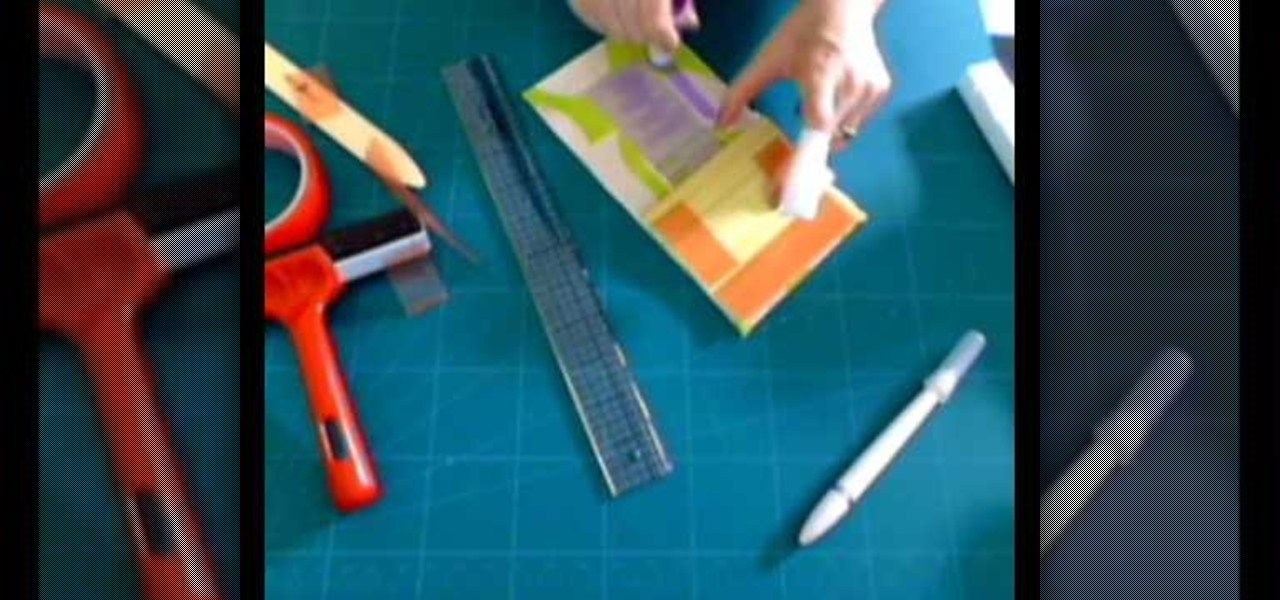
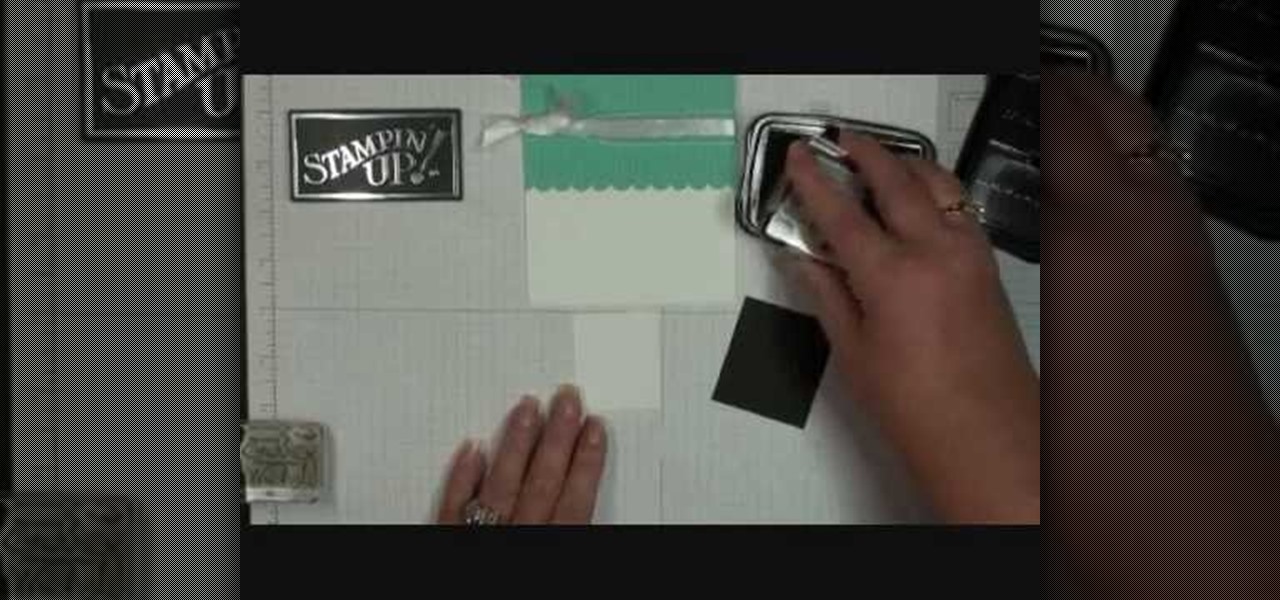
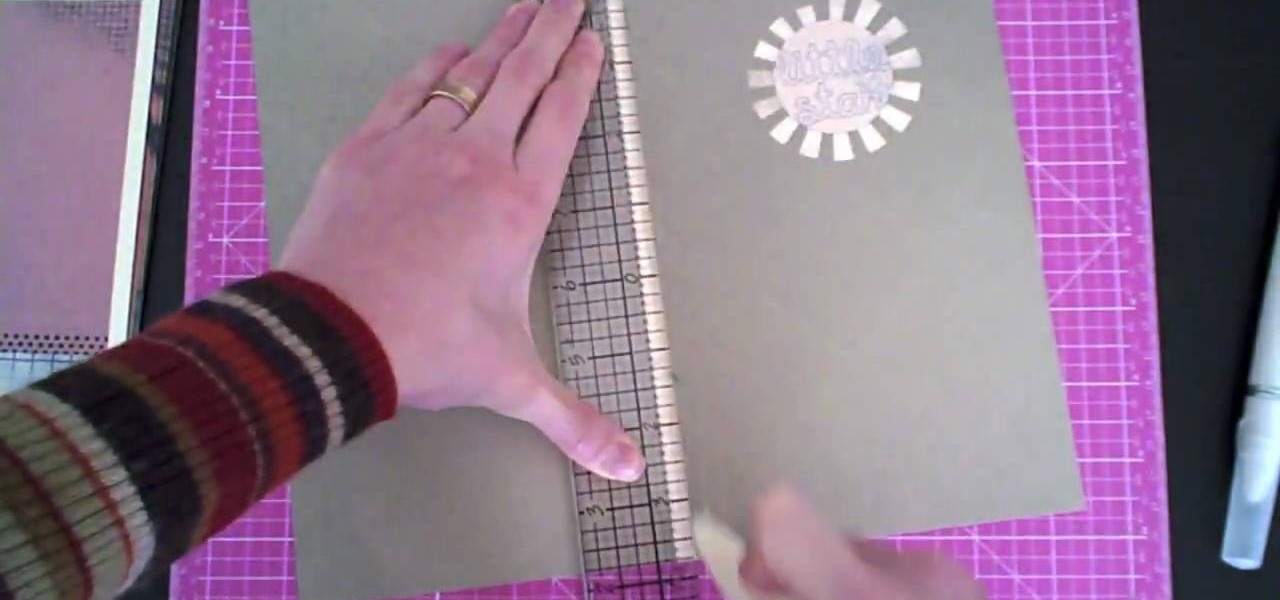
In order to make a Cuttlebug Smoosh Card, you will need the following materials: card stock (at least 3 different prints or colors), a ruler, distress tool, double sided tape or glue, distress ink, watermark stamp pad, decorative accessories, and scissors.
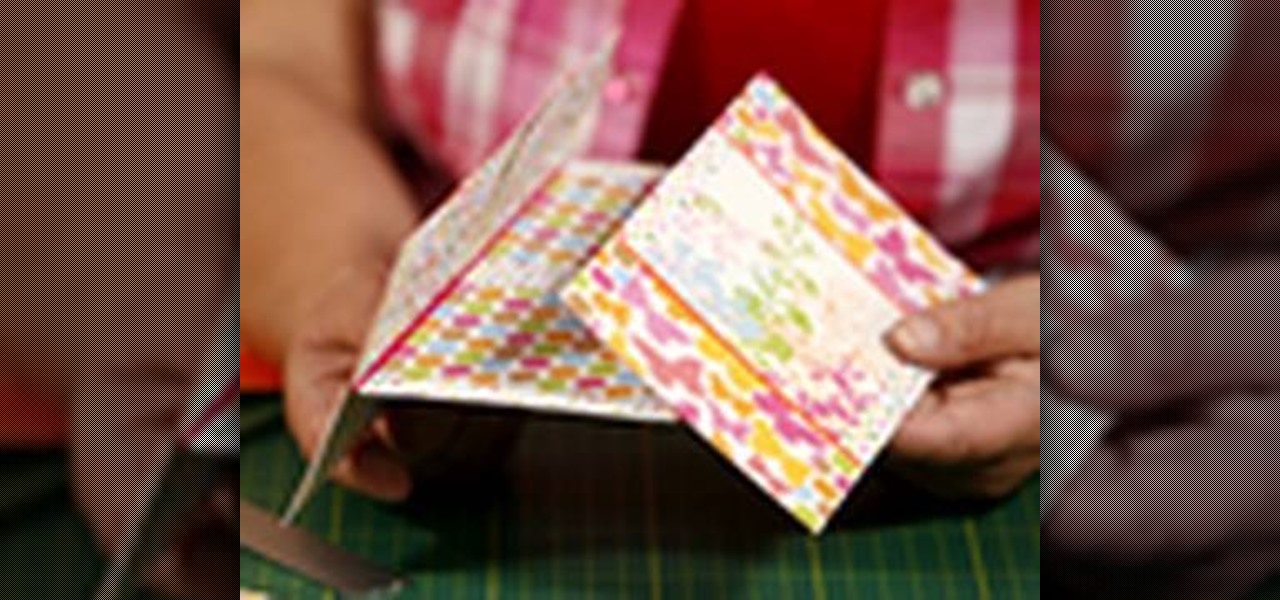
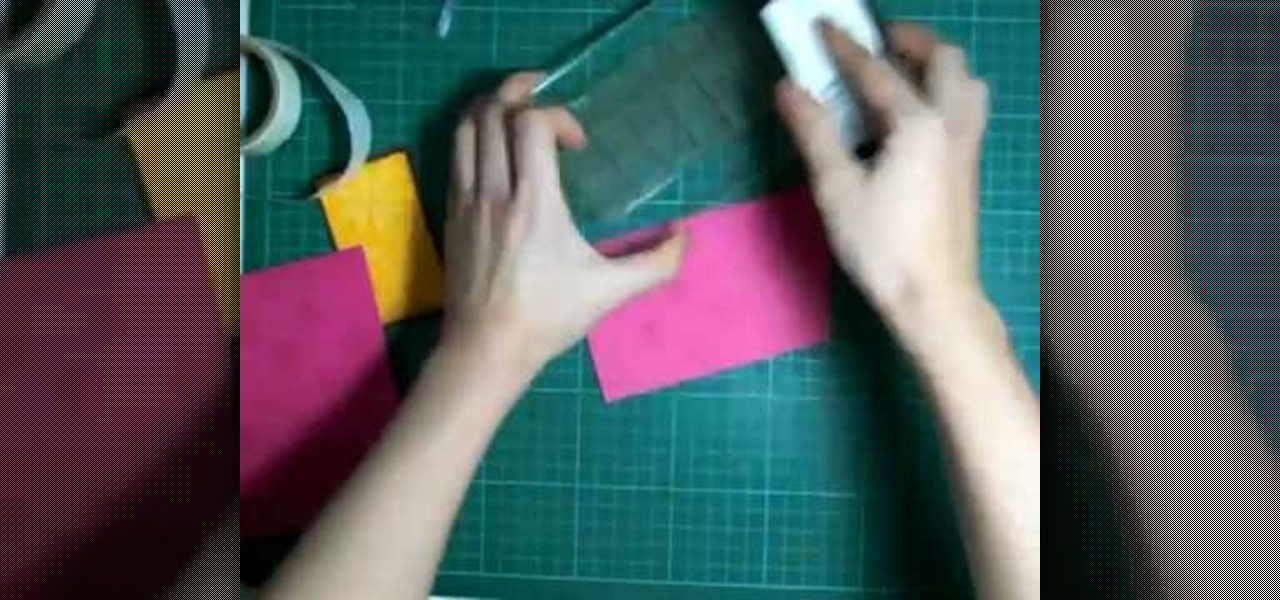
Creativity Prompt demonstrates how to make a hybrid board book. First, select printed paper of your choosing. Cut off the excess paper with a cutting blade and crease the paper for the spine. Fold and burnish the paper. Apply a generous glue stick layer to a recycled board book and adhere the paper to it. Burnish the paper with a brayer to strengthen the adhesion. Let the glue dry and trim off the excess paper. Cut the rest of the paper for the board book pages. Cut out photos and titles for ...

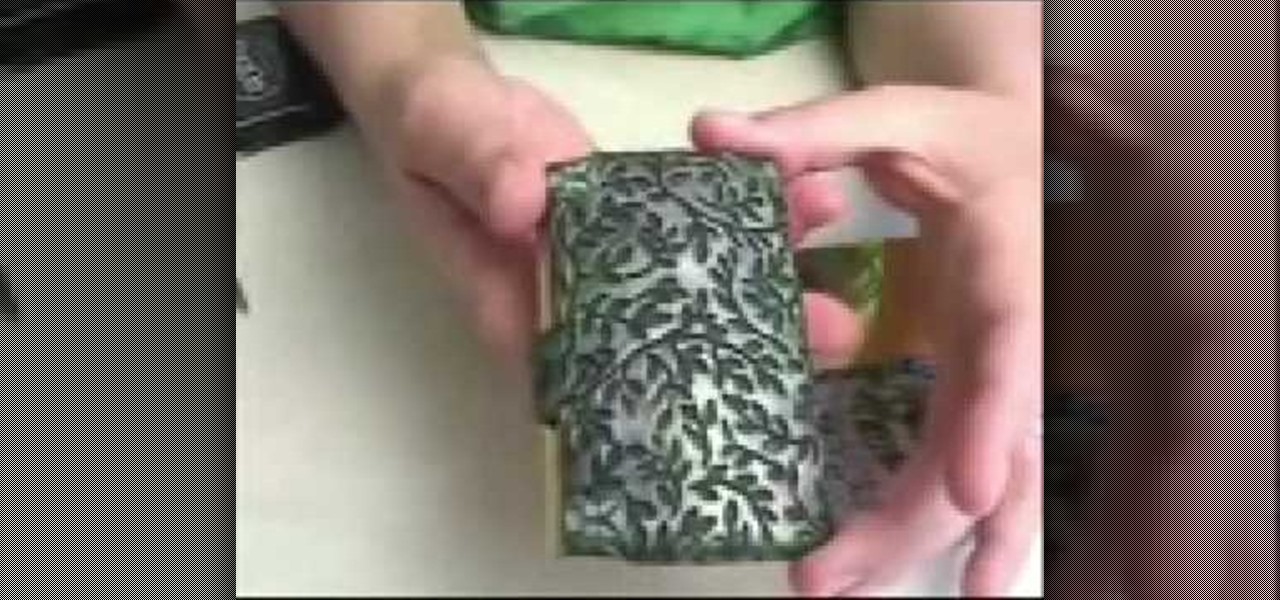
Ilysa Bierer and Kira Slye with Polymer Clay TV demonstrate how to make polymer clay business card holders. You can work cabochons into polymer clay to create business card holders. Stamp on clay and use clay with inclusions in it for a different look. First, get a plain business card case and work the clay over it. Add pigment inks, textured stamps and canes to dress up your business card holder. The clay can be baked right onto the metal and will adhere to it. Polymer clay adheres better to...
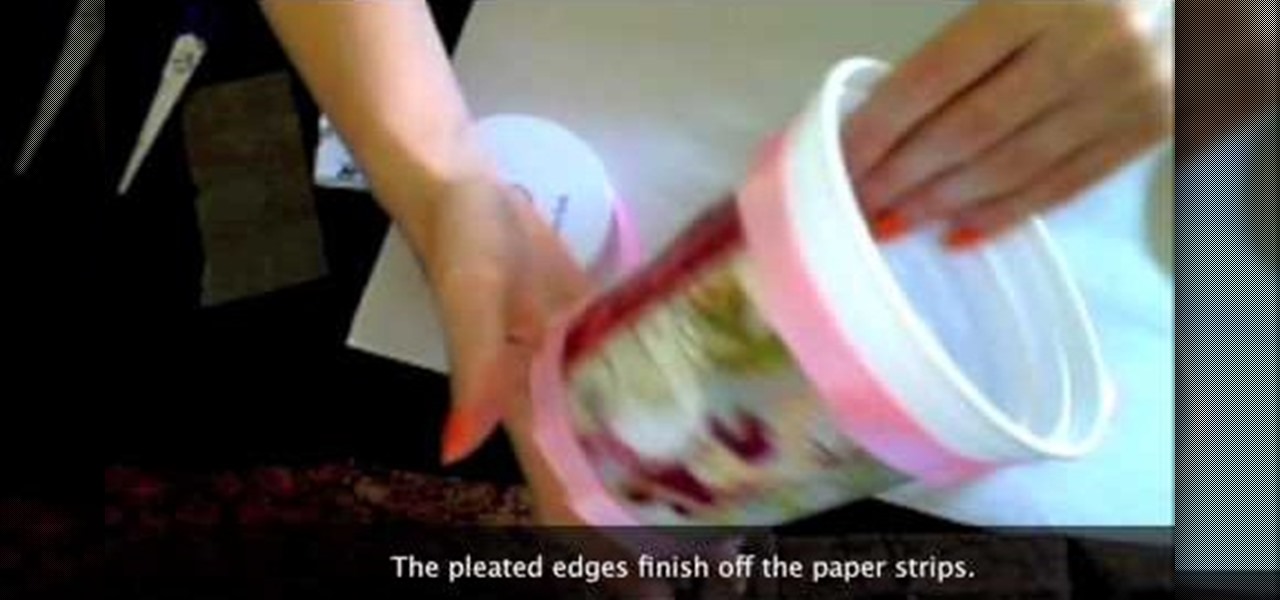
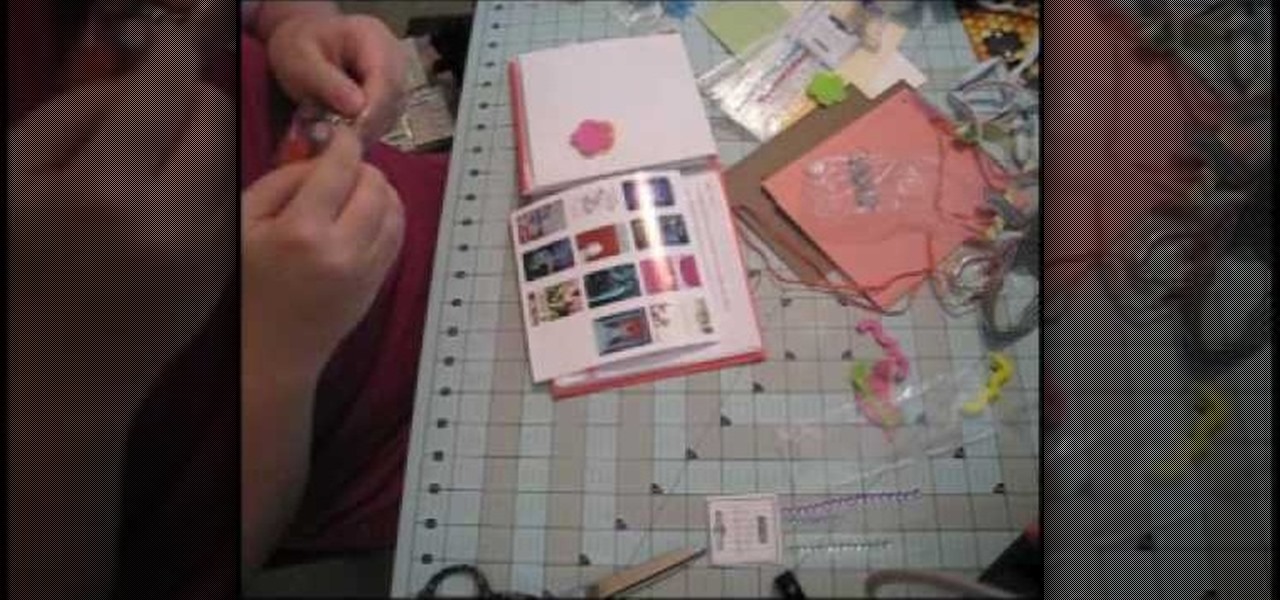
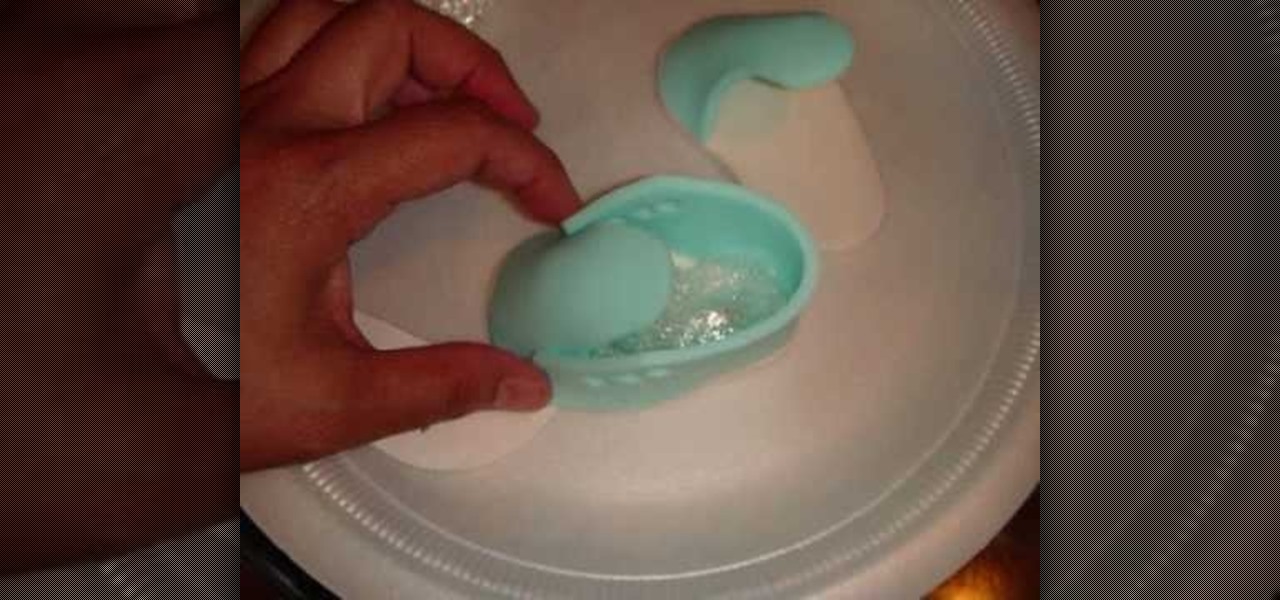
Creativity Prompt demonstrates how to turn a yogurt container into a mini-album. First, measure the lid's diameter. Then, cut a corresponding circle from your patterned paper. Use Mod Podge to adhere the paper circle to the lid and seal it with another layer of adhesive. Next, cut a bunch of different 4 x 1 inch strips of patterned paper. Adhere the paper strips to the yogurt container with Mod Podge. Seal it with another layer of adhesive and set it aside to dry. Measure the bottom of the co...
Self-adhesive foam inside the QuicKutz squeeze will allow for a more crisp cut from the embossing and die-cutting molds. Make sure not to accidentally adhere the foam piece to the paper that is being embellished. Watch this video crafting tutorial and learn how to use QuicKutz 2x2 dies in a QuicKutz squeeze embossing and die-cutting machine.
Steal someone else's fingerprints, use identity thief powders, & photograph the prints. Print the 3d prints & adhere to your fingers!
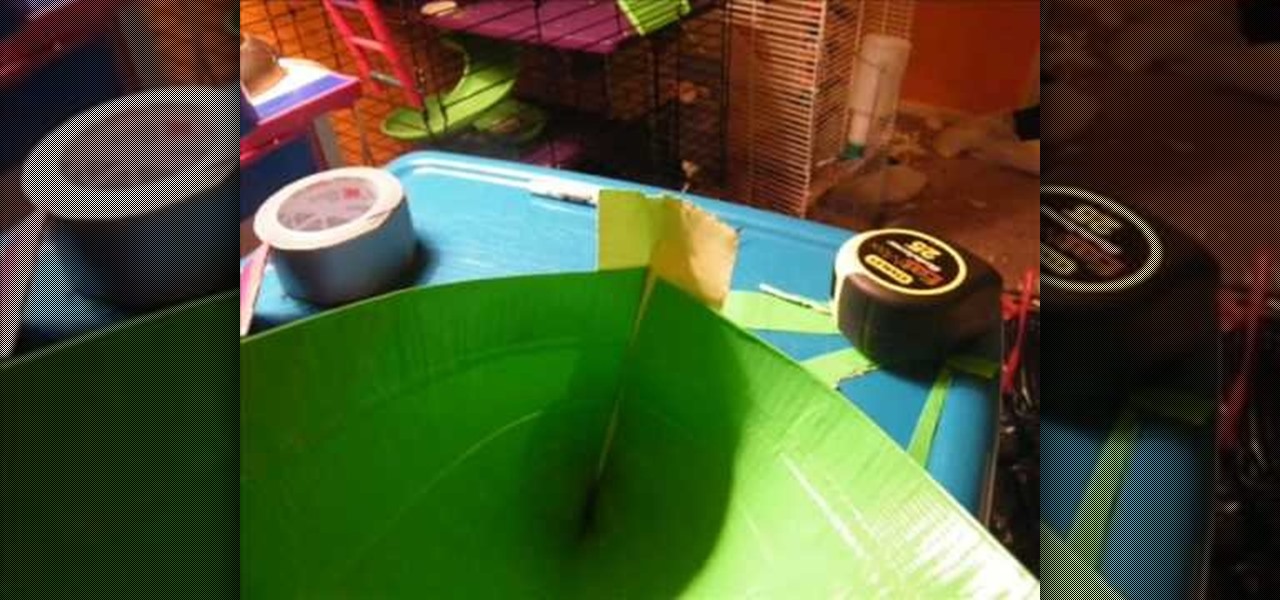
Is That All Duct Tape demonstrates how to make a duct tape wallet. You will need a knife, duct tape of any color and measuring tape. First, rip off a piece of tape about 10 inches long. Put the tape sticky side up. Attach another piece of tape sticky side down on top of it half way down. Fold the first piece of tape on top of the second piece of tape. Add more pieces using the same technique until it is 8 inches tall. Trim the sides so it is even. Fold the piece in half. Seal the side seams w...
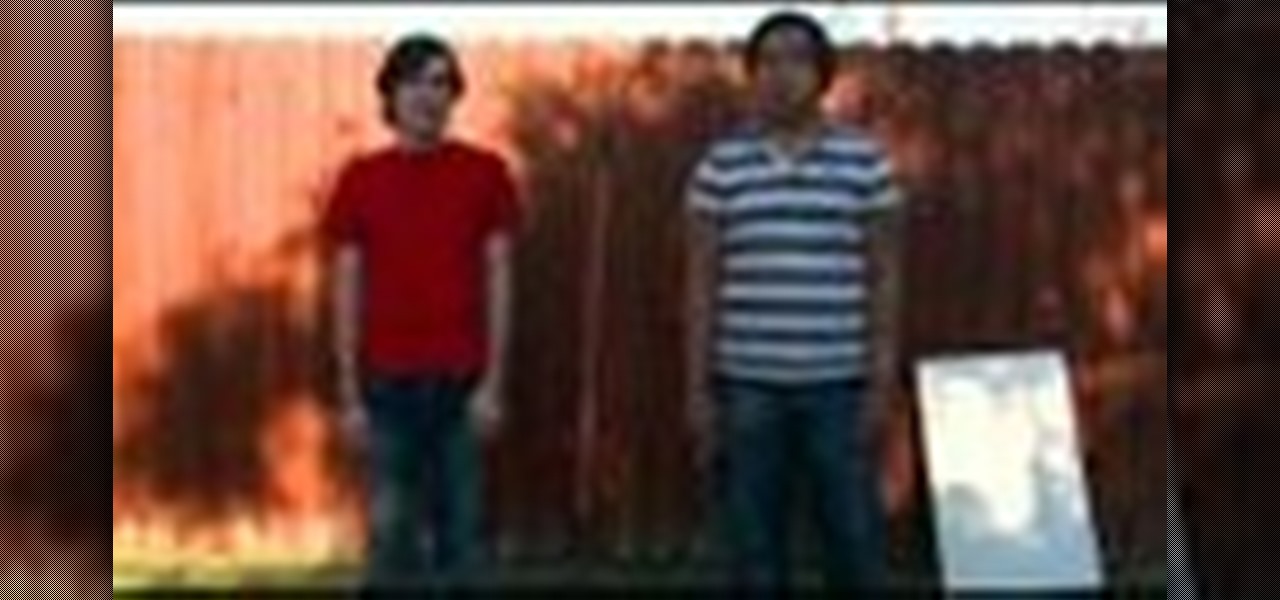
Grace Bonney from Design-Sponge shows how to create a corkboard and tray from sun print fabric (similar to the craft sun print paper, and available at bluesunprints.com). First iron the sun print fabric, far away from a light source. If printing leaves, first flatten them in a book. Arrange the leaves, then put the fabric in the sun for 10-30 minutes. The longer the time, the darker the print will be. Rinse the fabric in water until the water runs clear, then dry the fabric and re-iron. To ma...
You share your innermost feelings with it on a daily basis. Why, then, settle for something drab, prefab and impersonal? With this handy how-to, you'll learn how make a custom fabric-covered hardbound journal.
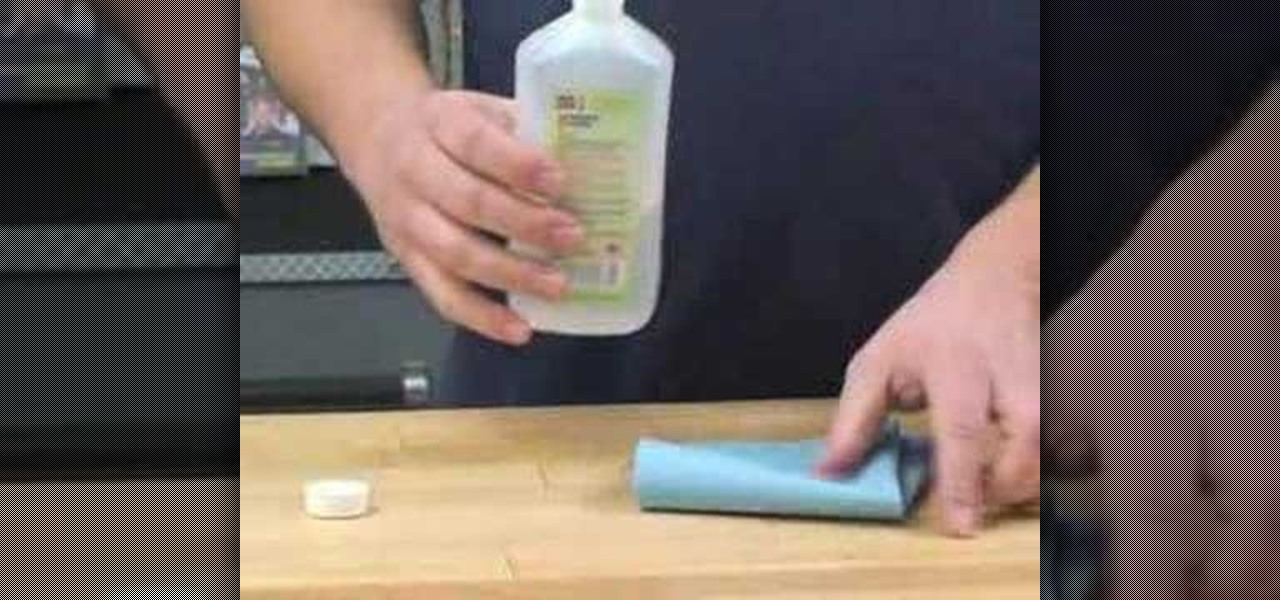
RC Car Action Magazine Editor Kevin Hetmanski shows you how to properly clean you tires before you glue. Glue won't adhere to dirty tires, and can make a giant mess. Watch this video tutorial and learn how to properly prep tires and rims on an RC vehicle for glue.
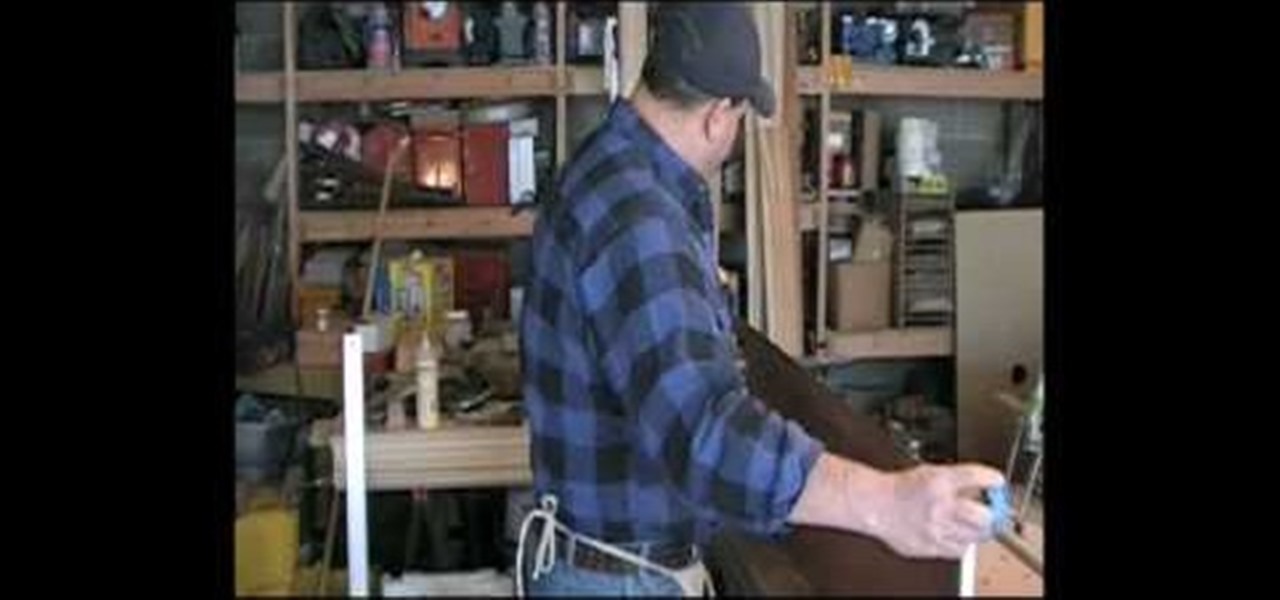
Watch this video tutorial to learn how to use yellow glue and an a household iron to adhere a wide edge band. This how-to video is a must-watch for all furniture and woodwork enthusiasts.
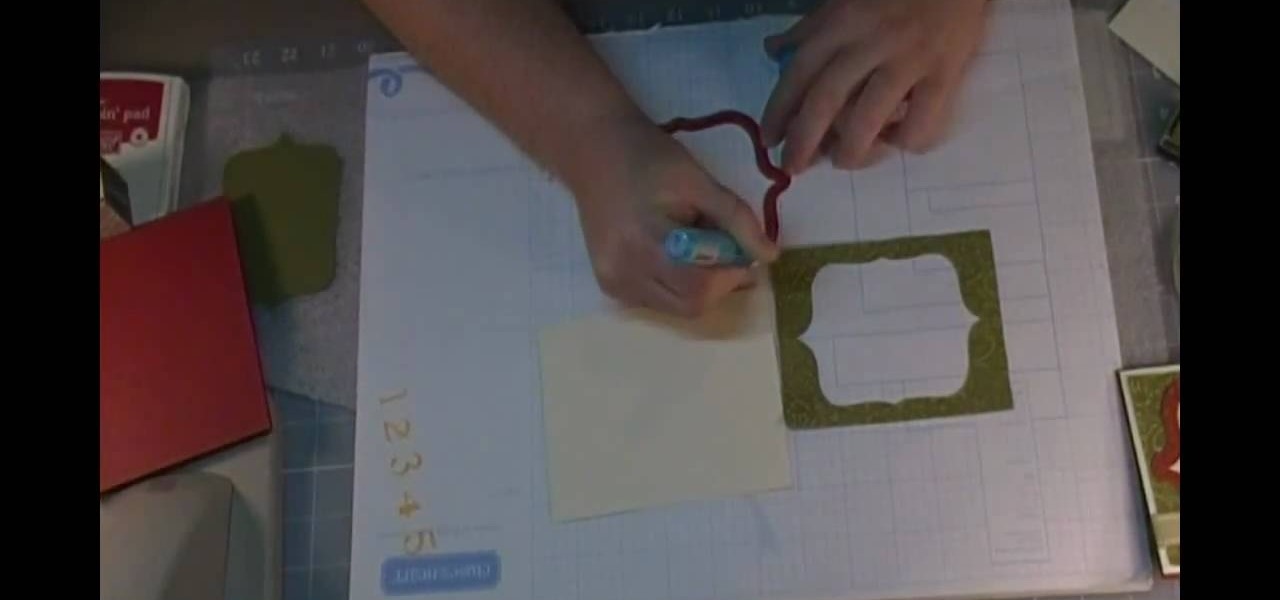
In this tutorial, we learn how to create a simple Christmas card using Cricut. First, you will need to take your card stock and fold it in half to create your basic card, pushing hard on the crease. After this, place a green holiday print on top of the front of the card and adhere it down. Next, cut out a bell shape outline, then cut out a piece of white paper in the same shape. Apply the white paper down first, then place the bell frame over the top of it. Push down a stamp sentiment on the ...
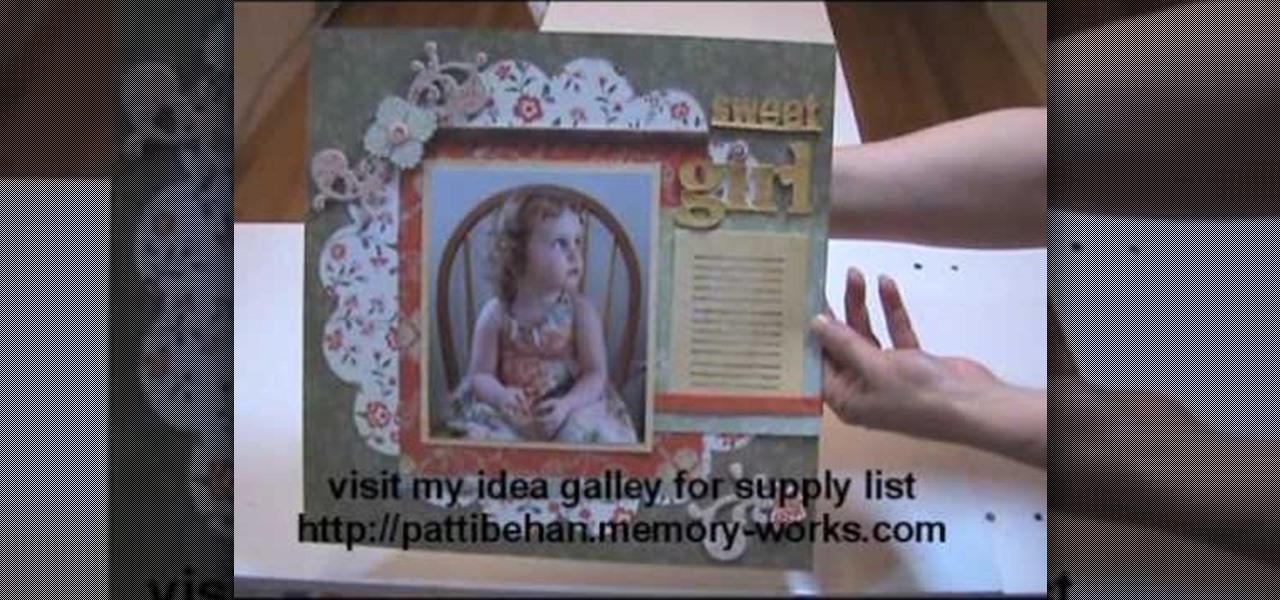
In this tutorial, we learn how to make a scrapbook about all of the books you've read. First, you will want to take a part from the pages that meant the most to you. Type out the text that was written, then glue it onto a similar sized piece of card stock. Adhere this to the top of a picture that has the same theme as the text that you just wrote out. After you do this, decorate your page even more until it's completely finished. You can also take pictures of the books that you have read and ...
In order to make a birthday card with a pop-out cover cake, you will need the following: card stock, a craft knife, ribbon, double sided tape, decorative sheet, a ruler, stickers, and a pen or a pencil.
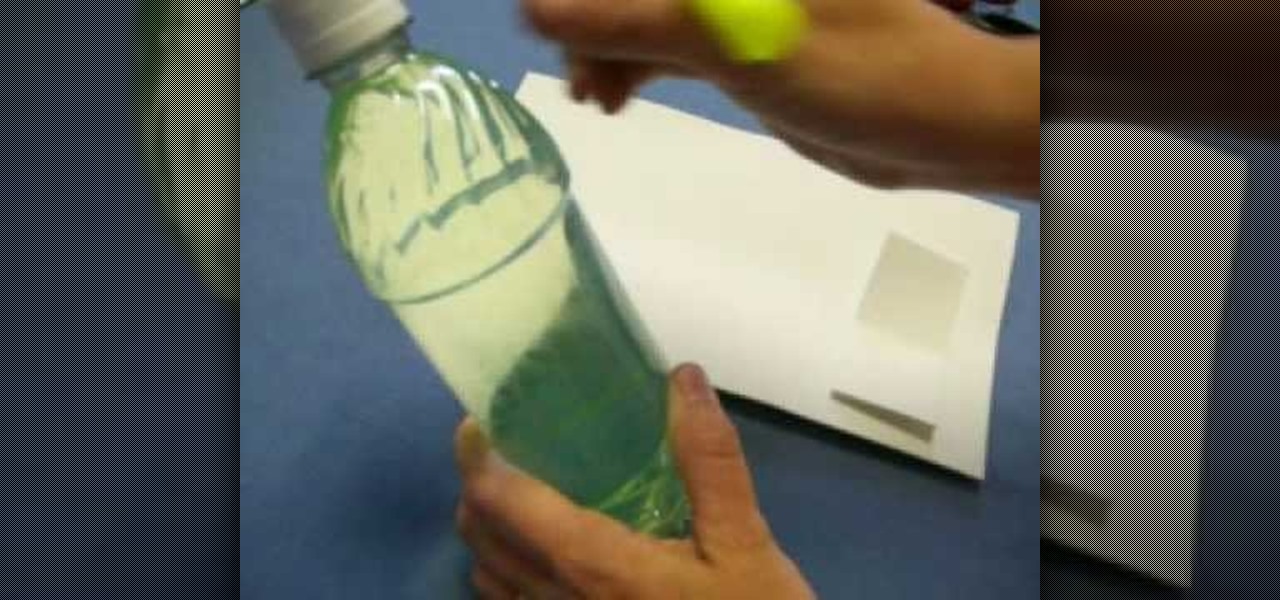
In order to make a glowing lightning bug sculpture, you will need the following: an empty pop bottle, a yellow marker, a pipe cleaner, construction paper or card stock, and glue.
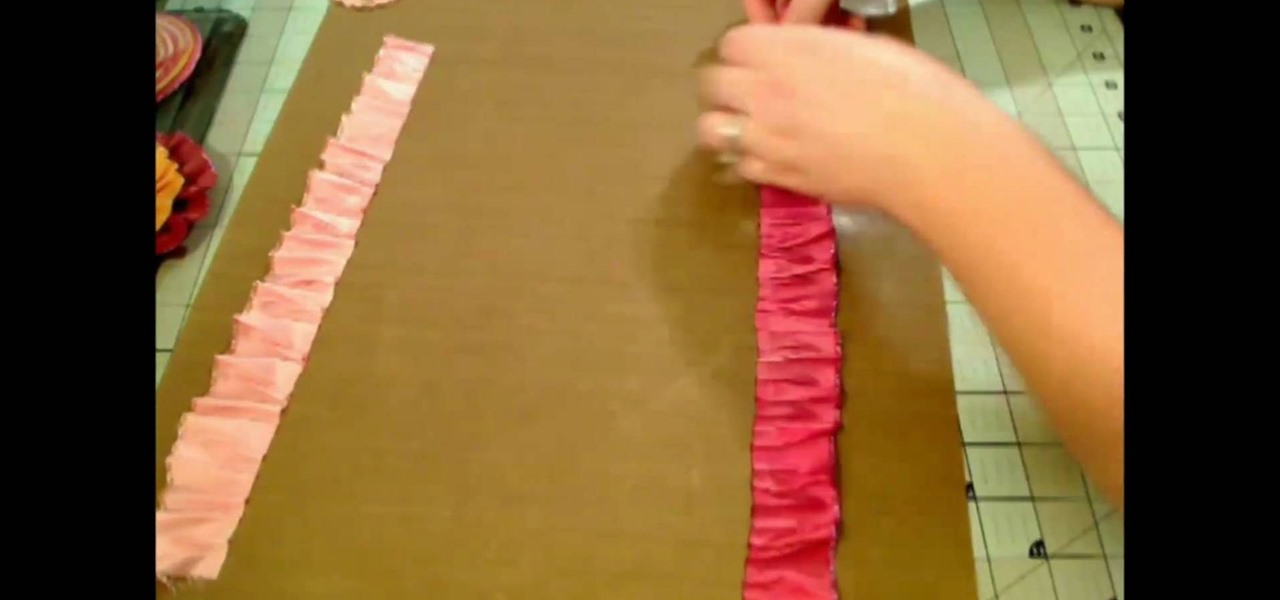
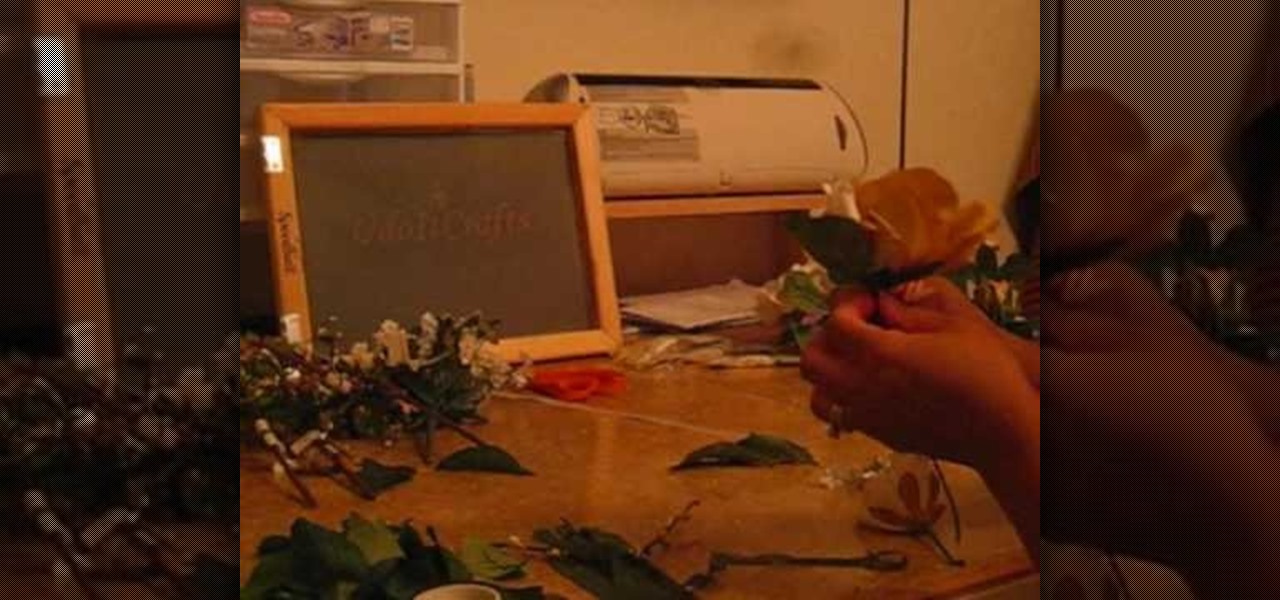
Kathryn shows how to Glimmer Mist silk flowers for an additional decoration in scrapbooking. In this tutorial, she uses the Red Velvet and Cherub Pink Glimmer Mist colors. The flower is made with strips of silk. The strips should be cut to your own desire. Using a white gel pen, trace circles onto black paper, which will be the center of the flower. Use a dye to add color to the strips of silk. Before beginning this process, place the strips on a piece of foil to make sure the spray does not ...
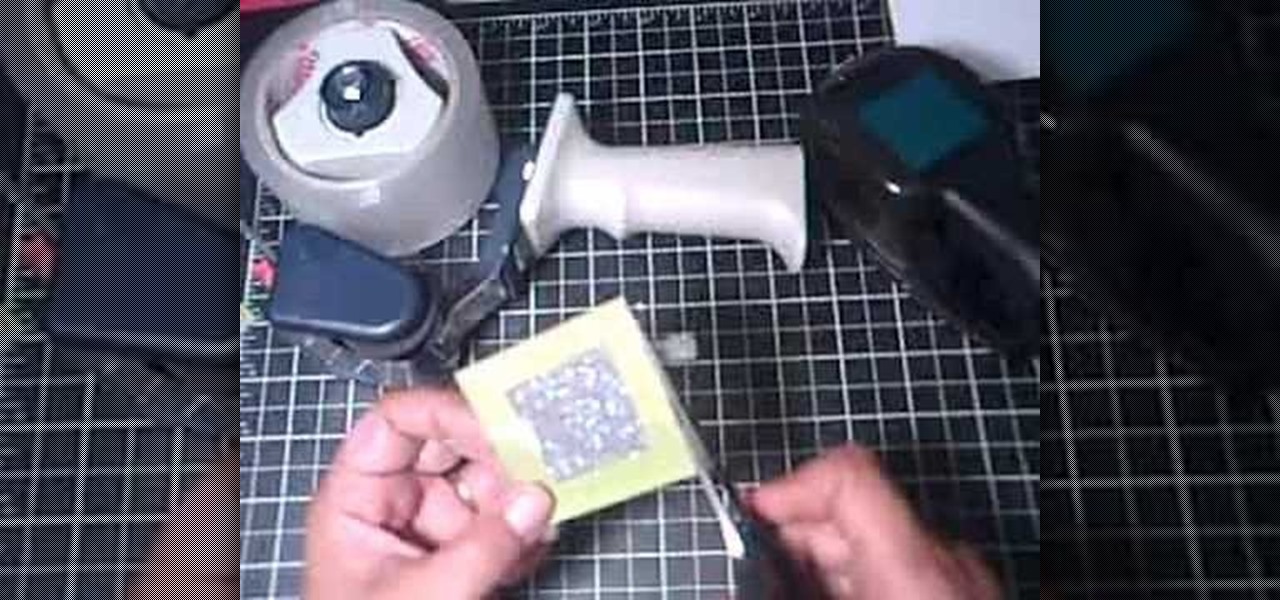
This artsy crafty video tutorial will show you how to make glittered window-style cards. The "glittered window" technique to card-making is basically just adding glitter to shipping tape.
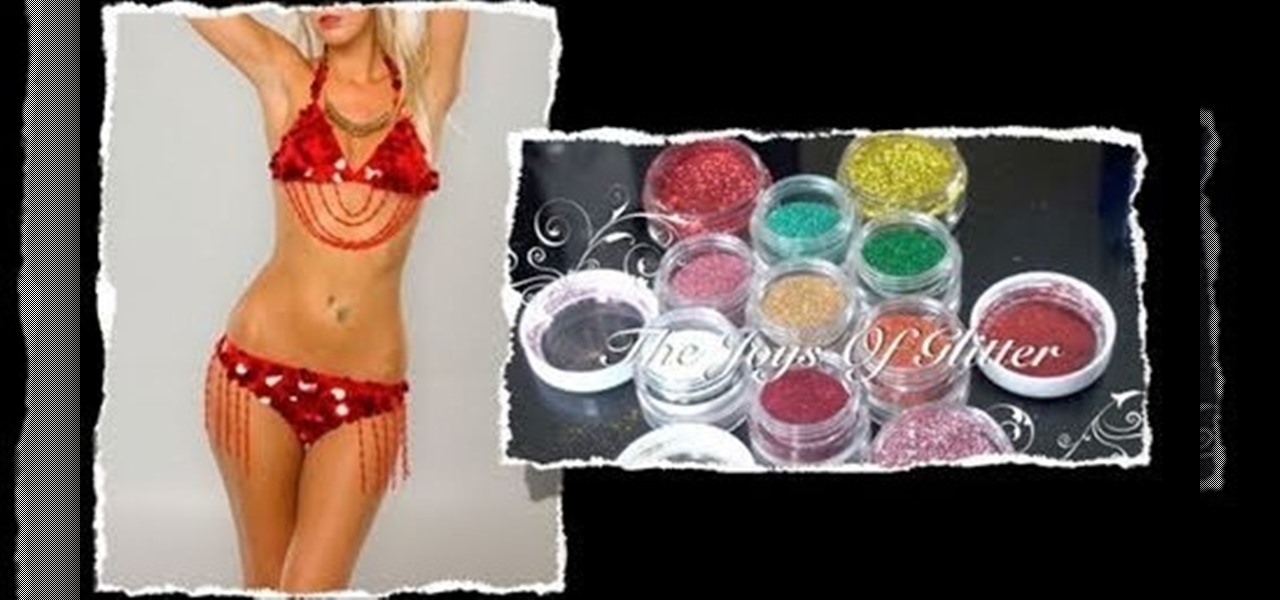
With Halloween coming up in a matter of weeks, it's more important than ever to know how to get your makeup to STAY. While you can always slap on primer to get even the boldest makeup colors to adhere to your skin for hours, getting glitter to stay on your skin is a whole other problem.
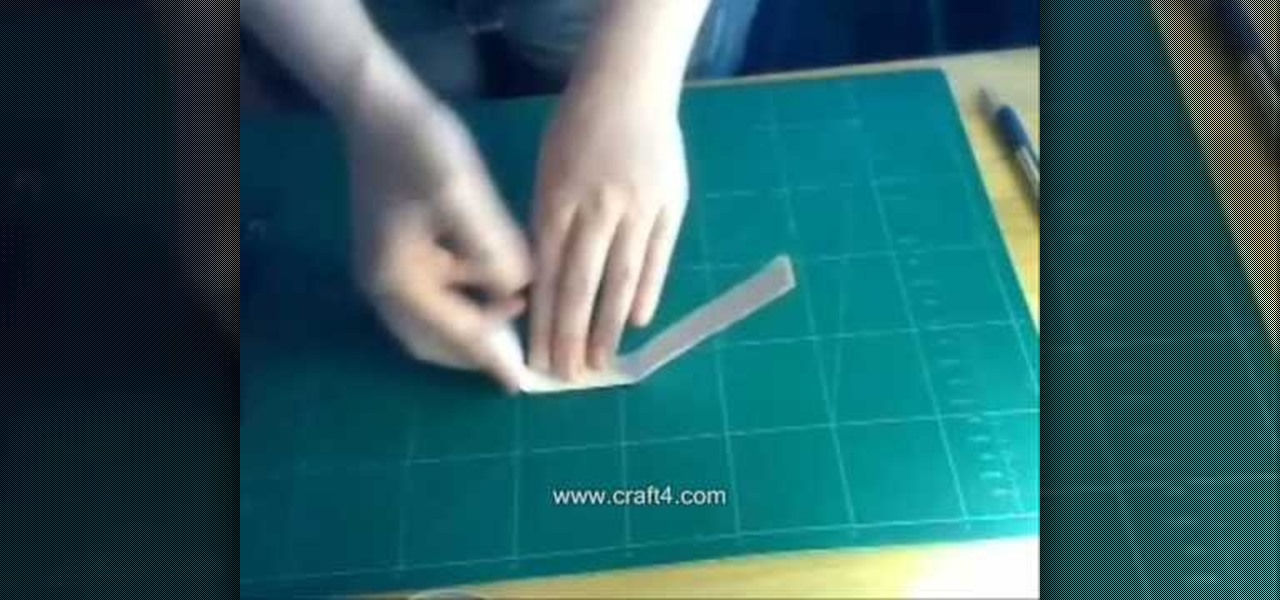
In this tutorial, we learn how to make an endless card. An endless card is a card that folds a ton of different ways, so it can be used over and over again without having to replace it. To make this, you will first need to take a piece of card stock and score it where you are going to fold it in the middle. After this, take a smaller piece of paper, then score it so you can fold it into three different squares. Do this again for another sheet of paper. After this, you will want to adhere to d...
In this video, we learn how to make a photo/ATC carousel for cheap. First, take clay in a cylinder circular box and let it set. Then, insert in a long object to create the spine of it. Push the clay around this after spraying with water. Then, fold trading card stock as well as card stock for photographs. Cut these out so you create little pockets where you can insert your photos into. Then, once you have all of these cut out and your photos inside, you will adhere the sides of them to the ce...
Here is the final video in the CNC Stomp Pad Tutorial Video Series. In this video, we go over the final assembly of the stomp pad. Then we watch as we used double sided... More» tape to adhere it to the snowboard. Finally we take a look at some final photos of the CNC Stomp Pad on the Snowboard. One Final Note: The Stomp Pad works perfectly. I love the fact you can customize your life with CNC.
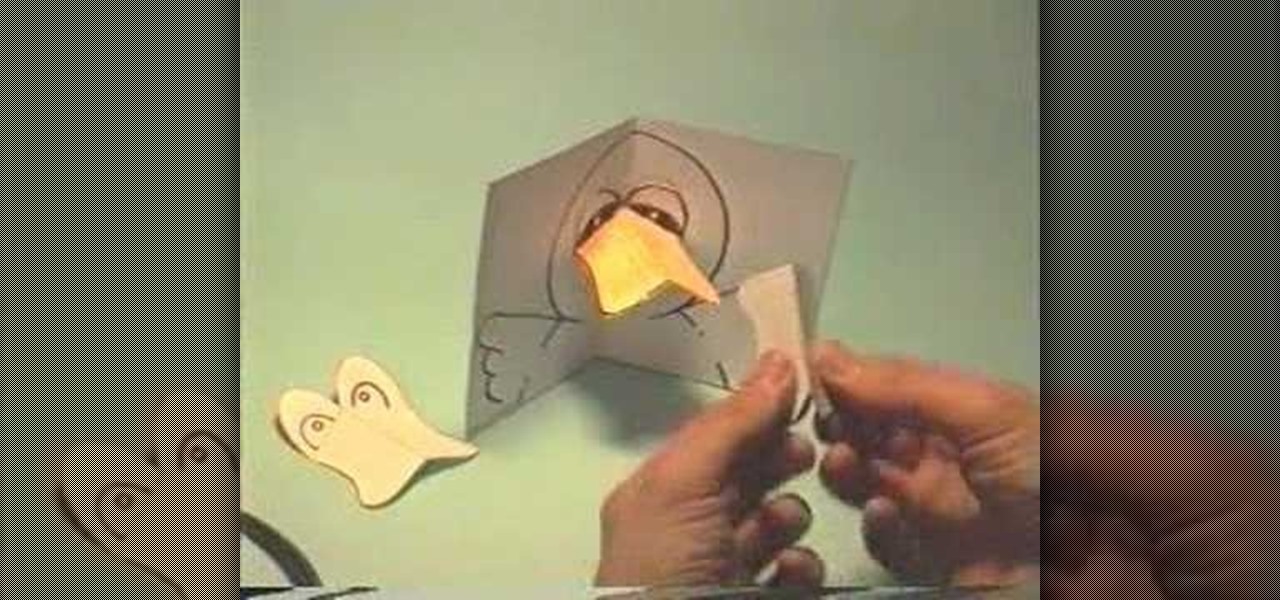
In this tutorial, we learn how to make a little duck pop-up card. First, draw a duck on a 4x6 piece of paper. Simply draw the big head with the wings coming out at both sides. From here, fold it in half so it closes together. Then, make another small piece of paper that has the eyes drawn onto it and the beak colored in. Place this on the duck to get it in the right spot. Then, adhere it with glue on the top part and fold it in again. Now, when it opens up in the card, the beak will pop up, e...
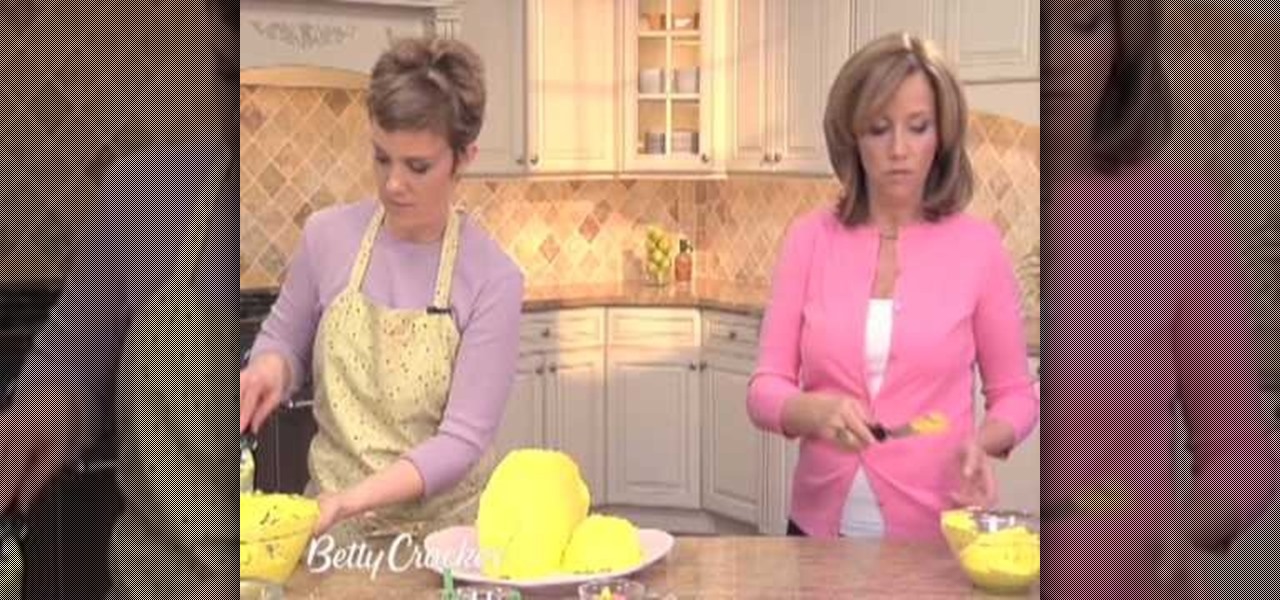
In this tutorial, we learn how to make & decorate a vintage retro rose romance cake. Start out by rolling out fondant that has been mixed with yellow coloring. Once this is rolled out, you will lay it over the cakes and then cut off the excess fondant from the bottom. Do this on all the layers of the cake until it's fully covered and completely smooth. Then, you will use the same fondant to roll into small flowers that you will apply around the outside of the cakes. Use icing to help the rose...
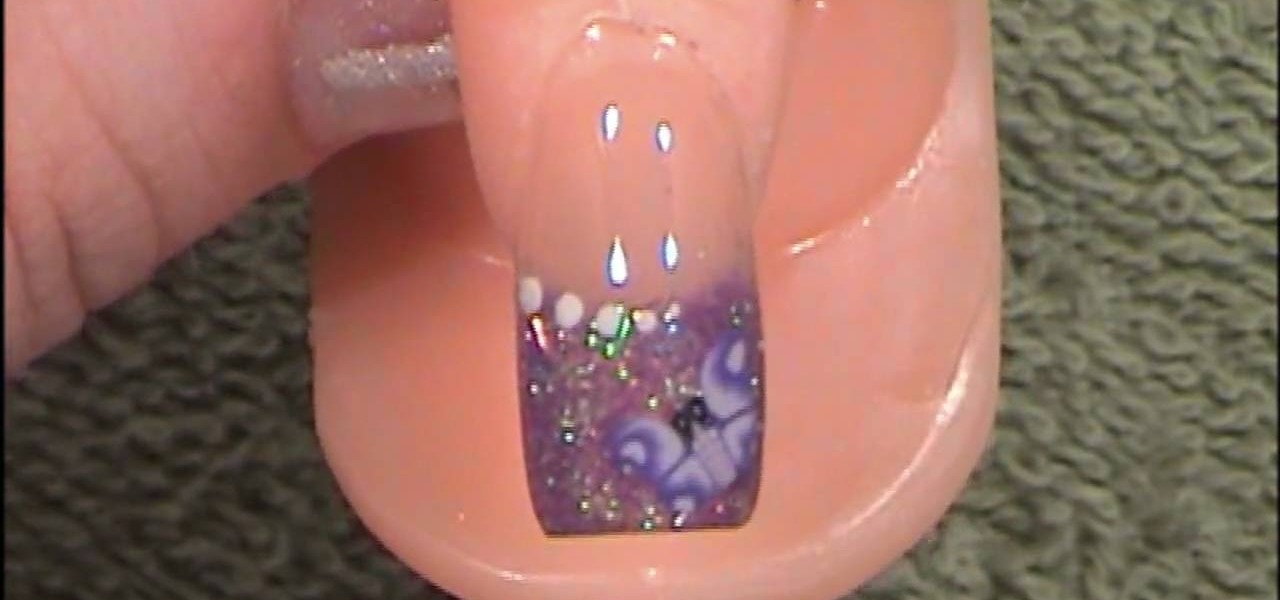
In this tutorial, we learn how to create purple glitter with butterflies acrylic nails. To start, you will apply purple glitter acrylic to the top of the nail. After this, you will let the nail polish dry and then paint on four dots on the middle of the nail where it crosses into the clear part of the nail on the bottom. After this, paint on a butterfly to the corner of the nail or apply a butterfly applique. When this is finished adhering, you will be able to paint on the clear gloss to the ...
In this tutorial, we learn how to make a birthday cake in the shape of a purse. First, bake two round cakes and place them in the fridge. After this, cut off the edge of both the cakes that are the same size. Then, take some frosting and spread it onto the cake to adhere both together. Now, push the cakes together and have them stand up straight. Use the other pieces to make a mini cake and frost both cakes all over. Then, smooth out the frosting all over the surface. Now you can start to dec...
In this tutorial, we learn how to make a small recipe card box. First, you will need to grab any color of card stock that is 8.5" by 11". You will also need a scoring tool, scissors and adhesive. After this, you will need to score your card stock in all the different areas to make the correct measurements. When finished, fold up the box using the score lines to fold along the sides. Then, take another piece of card stock and score it to use and folds inside of the box to separate different se...
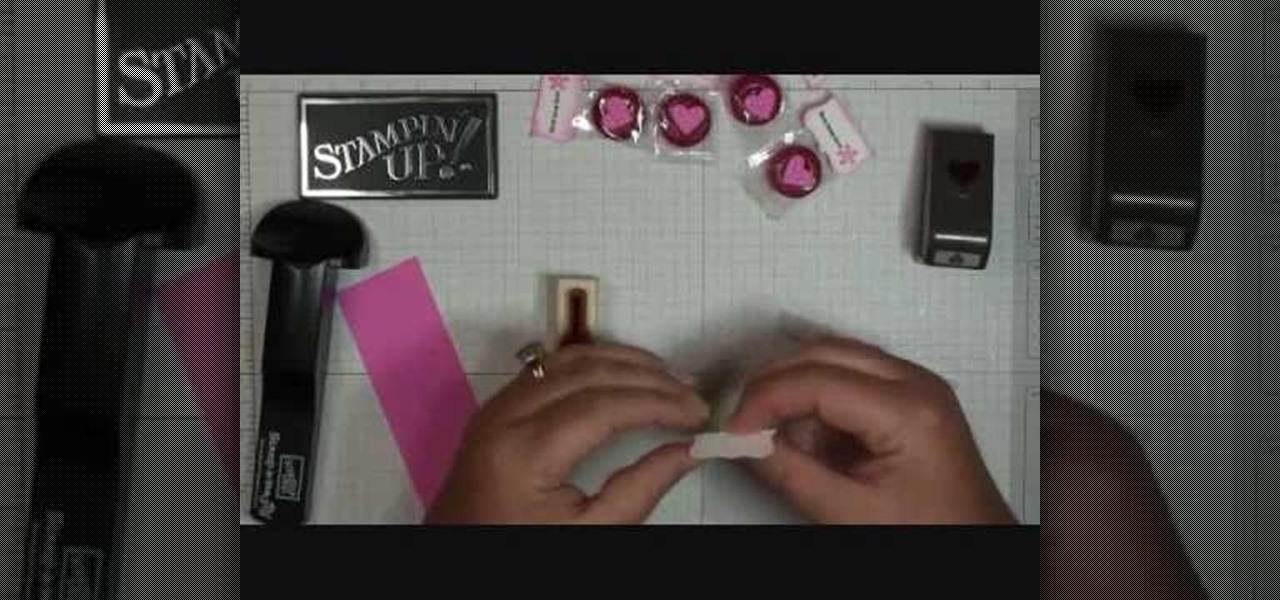
In this video, we learn how to make Life Savers treats. First, use the curly label punch and punch it out of a white paper. Next, fold this in half and then use your stamp-a-ma-Jig on card stock with a love and flower stamp. Use a black and pink marker to fill in the colors of the stamp. Next, stamp this on the piece that was folded in half, then punch out a heart and use sticky strip to adhere the individual life saver to the middle of the sentiment. Once finished, apply the heart and you ar...
In this video, we learn how to use your Cricut to save money on scrapbook paper. First, place the mini monogram cartridge into your Cricut machine. Then, place your paper onto the 12x12 cutting mat. Now, load your paper into the machine, then press the scalloped circle and the fit to page buttons. Then, press cut and let the machine do all the work. Once it's finished, unload your paper from the machine and remove the outside portion of the image. Now, adhere it to the white piece of scrapboo...
In this tutorial, we learn how to make a journal from packaging materials. First, cut a cardboard at 5.5" x 4.5" on each side. When you are finished, create another cut that is 5.5" x 1" for the side. Now, cover the two large sides with a piece of fabric that you choose. After this, cover the middle piece with fabric, and then tape it on with double sided tape. Next, place all pieces next to each other, tape it, then place a solid piece of paper on the inside, and use a glue stick to adhere i...
In order to make baby converse sneakers out of gumpaste, you will need the following: fondant cutter or a pizza cutter, a paint brush, an X-acto knife, edible glue, a small circle cutter, and templates.
In order to make trendy hair bows for your hair, you will need the following: ribbon, scissors, a hot glue gun, and hair clips or bobby pins.
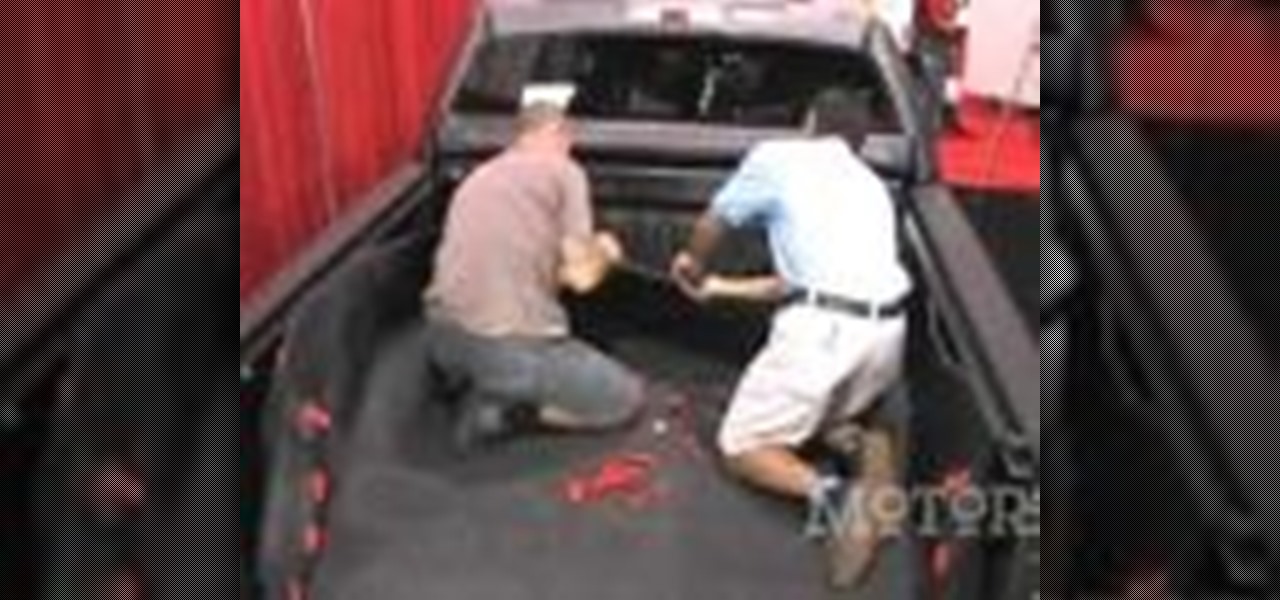
In order to install a BedRug pickup truck bedliner, you will need the following: a BedRug, Rubbing alcohol, and cloth rags.
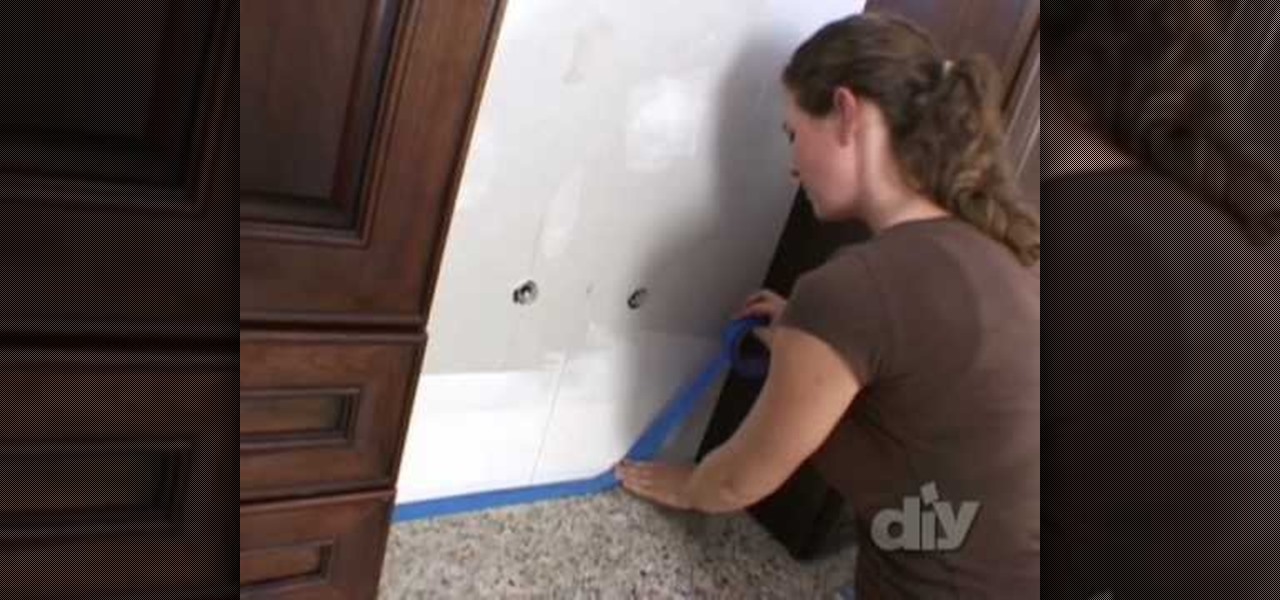
This video is to show how to install a glass tile backsplash. Because installing glass is a little different then installing ceramic, knowing what to do is important. Use painter's tape to protect your surroundings wherever you are installing your glass and use only a white thin set mortar recommended from the glass manufacturer to adhere your tiles. Since the glass is see through, unlike ceramic tiles, you need to make sure there is no discoloration and smooth out the ridges on the mortar fo...
Expert Real Estate Tips and Andy Sjostrom with The Good Handyman demonstrate how to prep for painting. A good handyman will handle your items with care. Be sure to remove light fixtures. Before you begin to tape off an area, take a damp rag and clean the areas that will be taped so the tape will adhere to them. Use latex gloves to keep yourself clean during the painting process. Then, tape off the area needing painting and put down a drop cloth. If you get your paint from a big box store, mak...
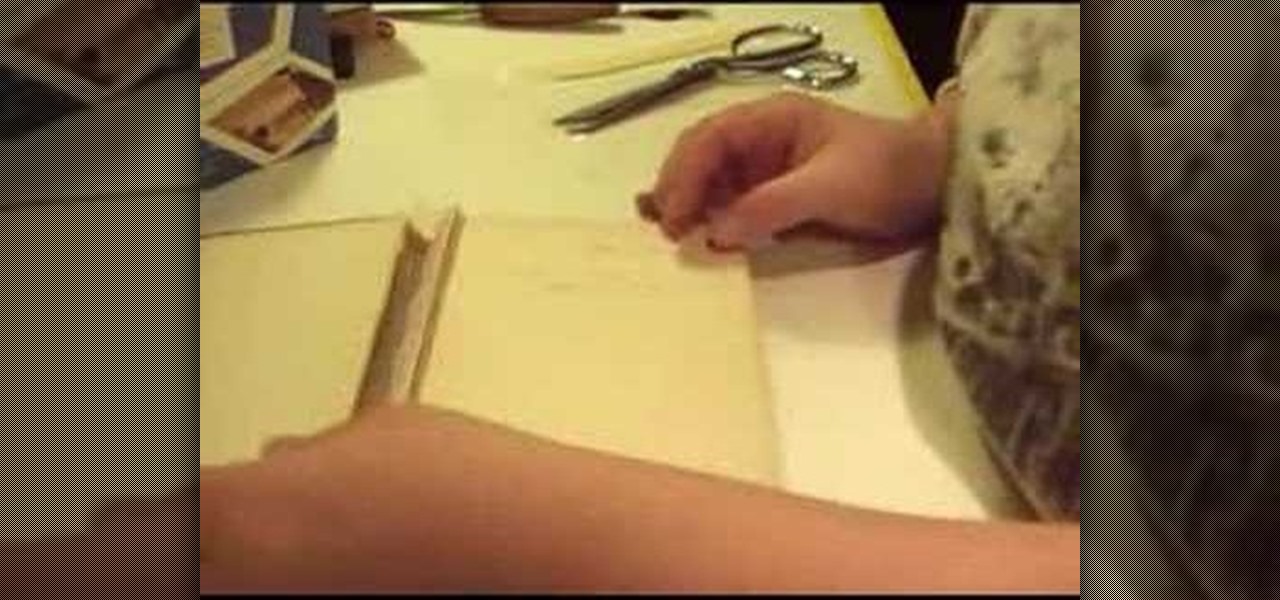
In this video molly1216 explains her method of repairing a hardcover book hinge. She mentions that this method should be used for inexpensive books that are not worth being sent to professionals.
Demonstrator Dawn Griffith offers a short tutorial on how to make a simple and cute birthday card. First you will use white paper to make your base card. Then use a scallop edge punch to scallop some green designer paper, which you will glue to the top of your card. Tie some white ribbon around the top and trim for a clean look. Use a greeting stamp to stamp a message onto the bottom right front of your card. Create a center image by adhering white paper on black card stock, stamp the white p...