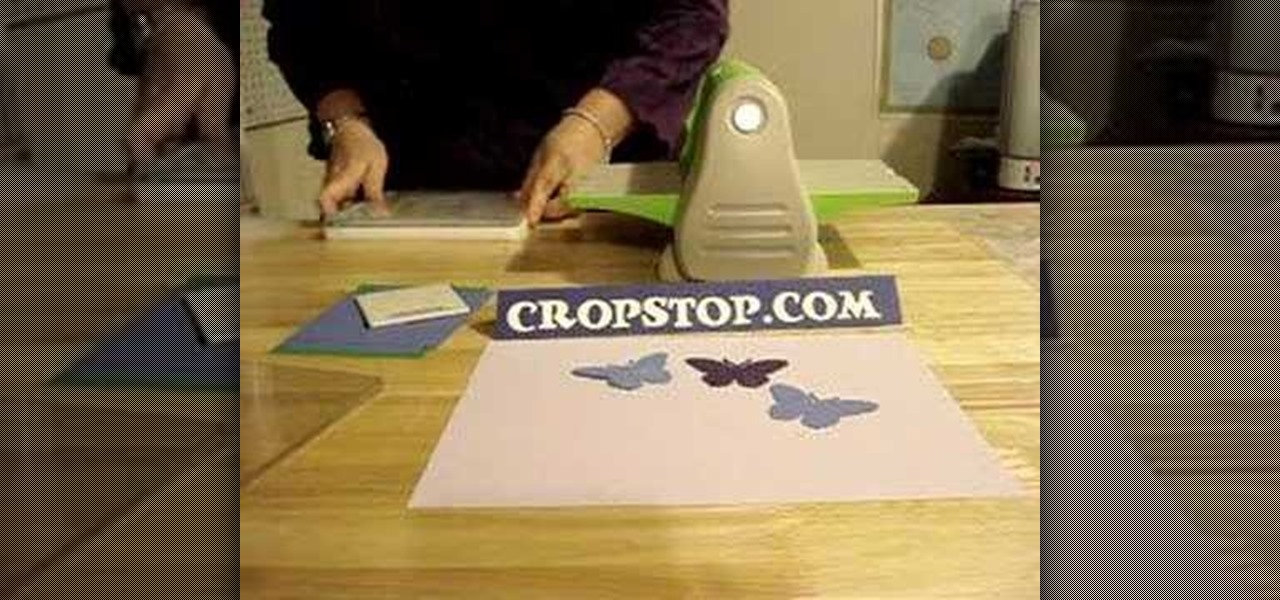
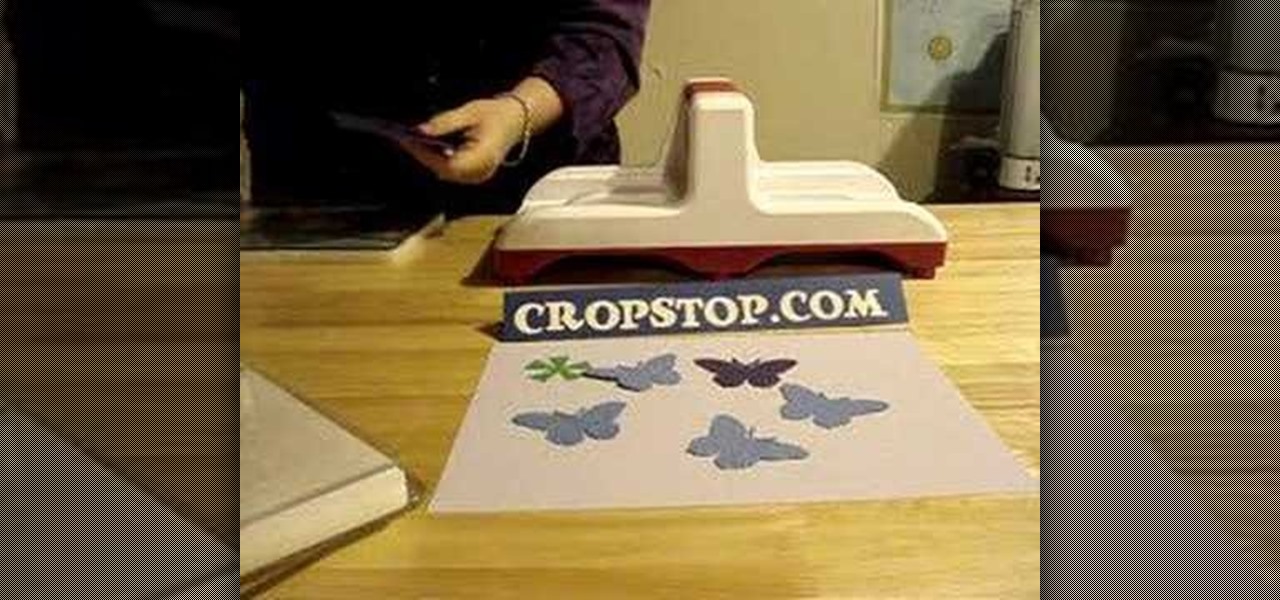
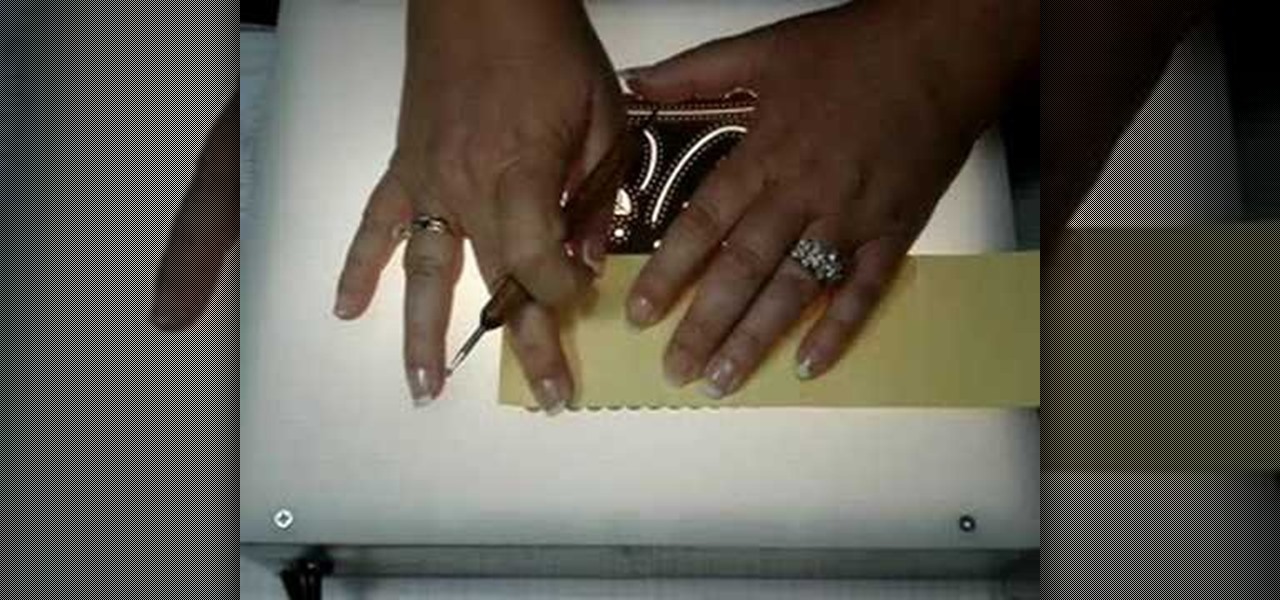
The Cuttlebug combo sets are very simple to use. The same machine can be used to cut out a desired stamped image from a piece of paper, and then that same image can be embossed for further effect. These are so helpful when creating unique cards and scrapbooking layouts. Watch this video crafting tutorial and learn how to use the Cuttlebug combo cut and emboss sets.
While embossing machines are marketed to be used brand specifically, all those Cuttle bug dies and embossers are completely compatible with a Sizzix Big Kick embossing machine. Make the most of your stamping materials without having to purchase to much of everything. Watch this video crafting tutorial and learn how to use Cuttlebug dies and embossers to make die cuts with a Sizzix Big Kick.
This video will teach you how to dry emboss paper items such as a little box. This is a useful technique that will add a nice touch to your boxes and paper items. Your work will be looking professional once your items are embossed.
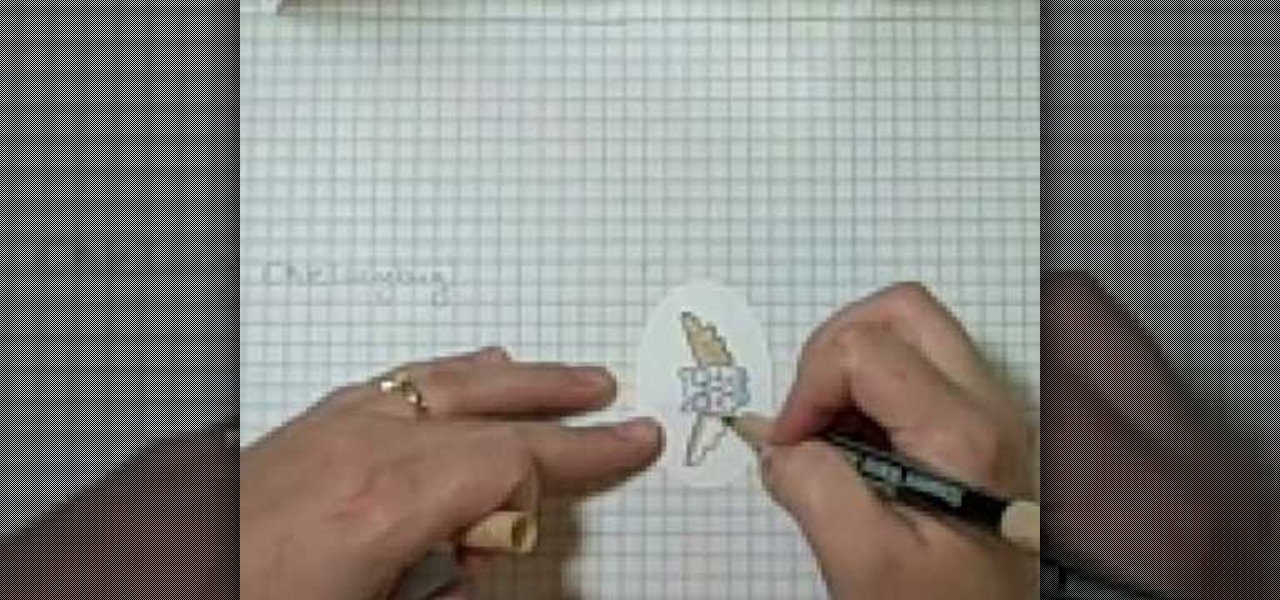
Learn how to make a sparkly owl card with designer paper, decals, and an owl stamp. Follow along to make one to send for a special occasion or just for fun.
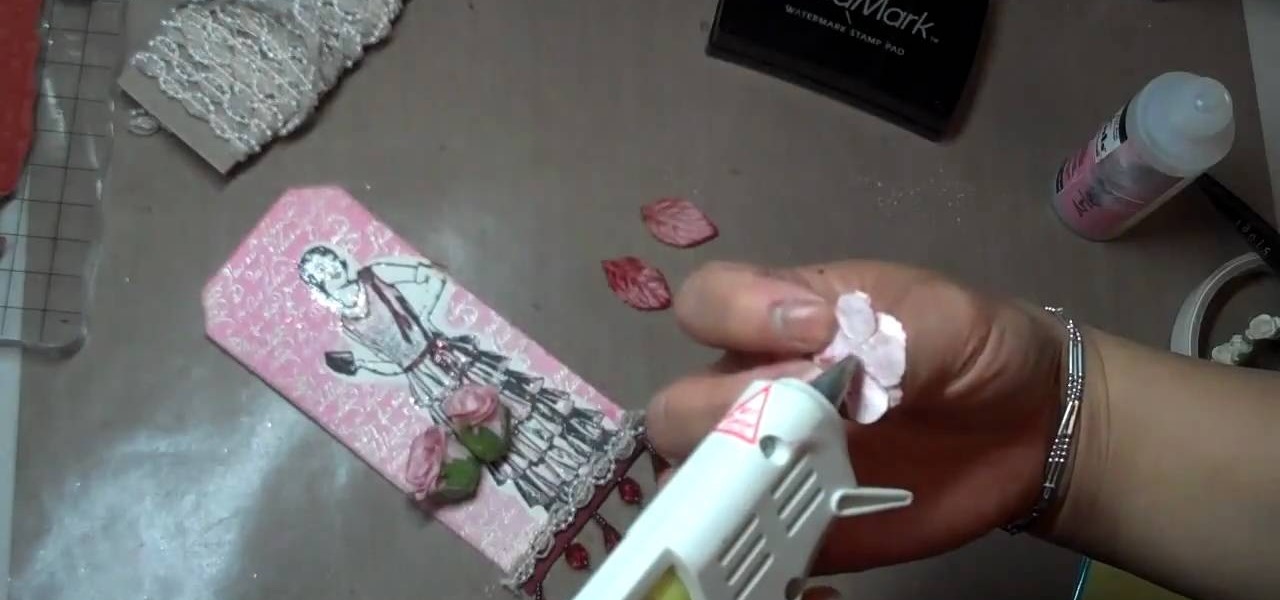
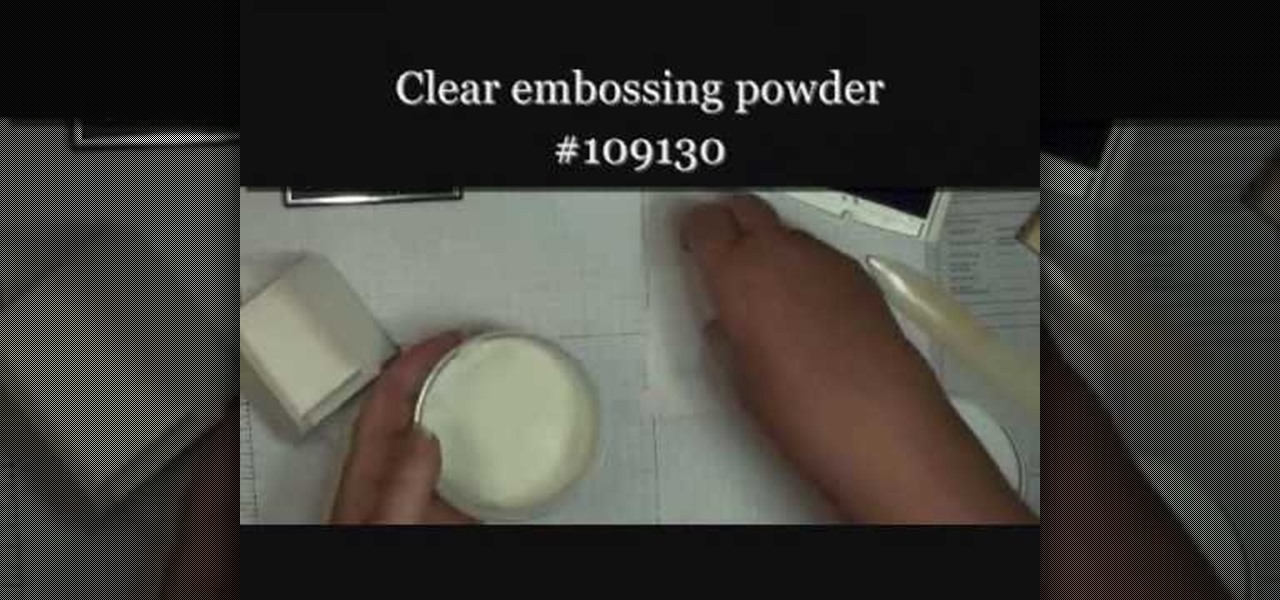
Mybutterflykisses12 shows viewers how to make a vintage lady tag! First, You will need a stampof a vintage lady and some cardstock. Dab your stamp with black ink and stamp it onto card stock that is shaped like a tag. Next, you can stamp on vanilla script above the figure. Next, apply clear embossing powder to the tag and then heat this with a heating gun so it can set. Next, place an opaque stamped image of the same woman over the original on the tag. Cover the stamped image before you apply...
This artsy crafty video tutorial will show you how to make glittered window-style cards. The "glittered window" technique to card-making is basically just adding glitter to shipping tape.

Take inspiration for scrapbook paper from anywhere, and don't let scrapbooking be limited by what is and isn't available for sale. In these video scrapbooking tutorials, Debbie Buckland takes designs from her day to day life, a Kleenex tissue box pattern and her daughter's sock, to make paper. Watch these instructional videos and follow along to learn how to make floral and striped scrapbooking paper just using stamps, paper, and markers.
With iOS 8.4 and iTunes 12.2, we got our first look at Apple Music, Apple's new streaming subscription service. While it's a little late to the party, there is definitely an incentive for iOS and Mac OS X users to switch over from competitors due to its heavy integration with the Apple ecosystem.
Aaron Betsky, director of the Cincinnati Art Museum and previous director of the Netherlands Institute of Architecture, reports on the world's first postage stamp to employ augmented reality. Dutch advertising agency Gummo, the NIA and the Dutch postal service teamed up to present five unbuilt models by different Dutch architecture studios in 3D form. When held in front of a webcam, the illusion of a 3D building is projected in your hand. By slowly moving the stamp, you can experience the vir...
Cathie Filian and Steve Piacenza demonstrate the way of making medieval candles using tissue paper transfer technique. Steve asks you to first take a piece of tissue paper and a square-shaped chunky stamp. Then you should load the stamp with black pigment. Once the loading is completed, you should cut the tissue paper in square shape and place the shining side on the stamp and give a nice light press with your fingers. Then once you get the stamp image on the tissue, gently take it out and pl...
This video tutorial shows how to make a card using the Brayer technique with Spectrum and Versamark pads, stamps, and paper punches. Get ideas and instructions for how to make a colorful and professional looking greeting, gift, or holiday card.
Watch this photography video tutorial to learn how to put date and time on your photos only when you want it. Date and time stamping on your Canon A550 will be easy once you've mastered the tips in this helpful how-to video.
The Pattern Stamp Tool in Photoshop is great for filling larger areas with a repeating pattern. This tutorial will show you how.
Watch this video to learn how to create a card using an acrylic block stamp as an image.
First of all you have to arrange for materials like ink blending tool, ink blending foam, some tags to be used as practice surface and a distress ink pad. The tutor advises that you must not use a blending tool like a stamp and never make a lot of impressions using it on any surface. Instead of stamping the ink on the surface like a stamp you have to be careful while using it. Use a blending tool in such a way that the whole ink goes slowly onto the tag. Start by working the blending tool on ...
In this series of video clips you’ll learn tips and techniques for using rubber stamps to make homemade holiday and greeting cards.
This demonstration show how to make this card that looks like it could be quite time consuming and complicated but after watching this you will see how easy it is. Step 1: Items Used
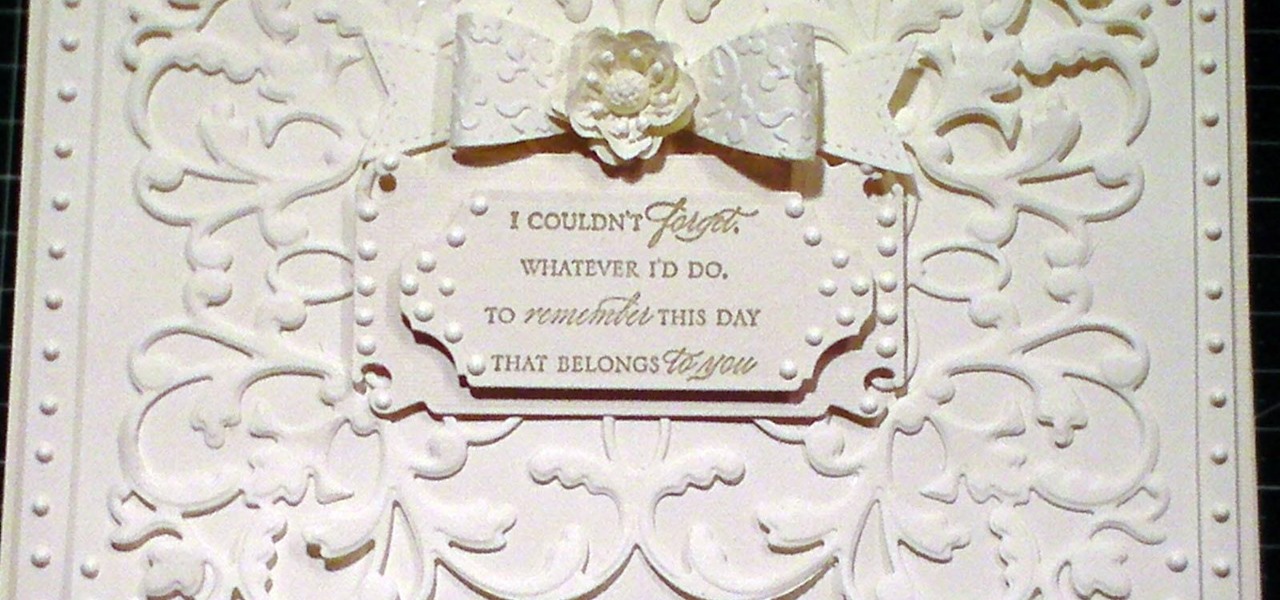
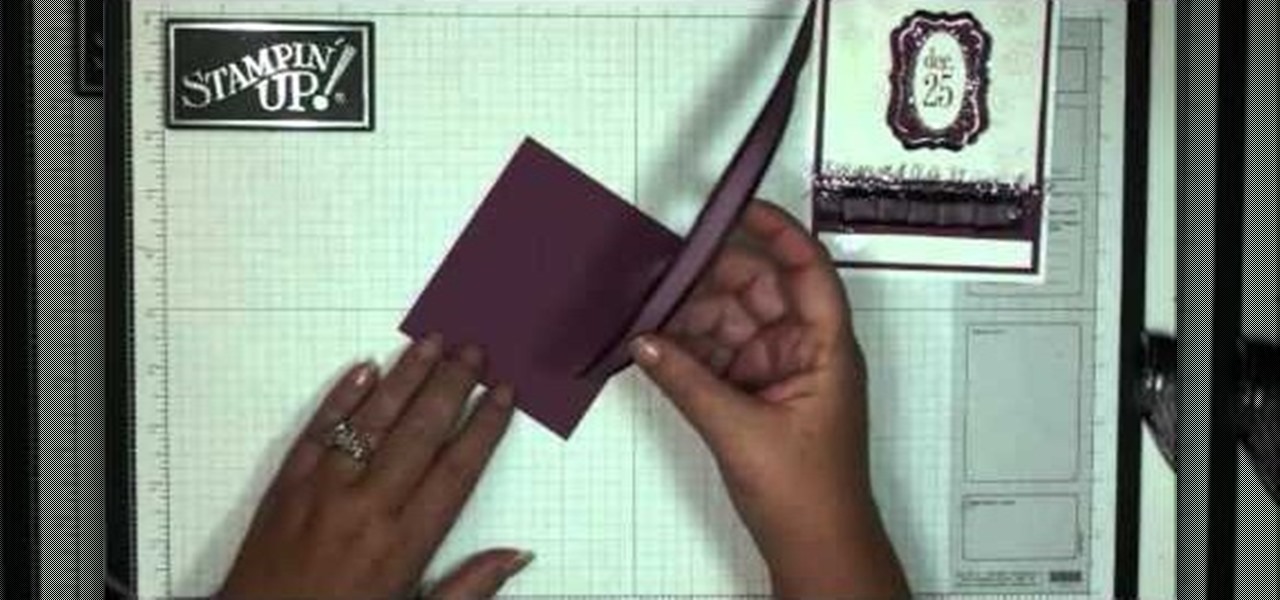
This cardmaking tutorial shows how to make a truly elegant and quick card, that could be made for so many special occasions. The card looks amazing in the Ivory tones and has the look for being embossed, however it is a simple die-cut. Step 1: Items Used
We all need to store our rubber stamps somewhere and somehow, in a small amount of space with little effort and at low cost, well this is how I store mine.
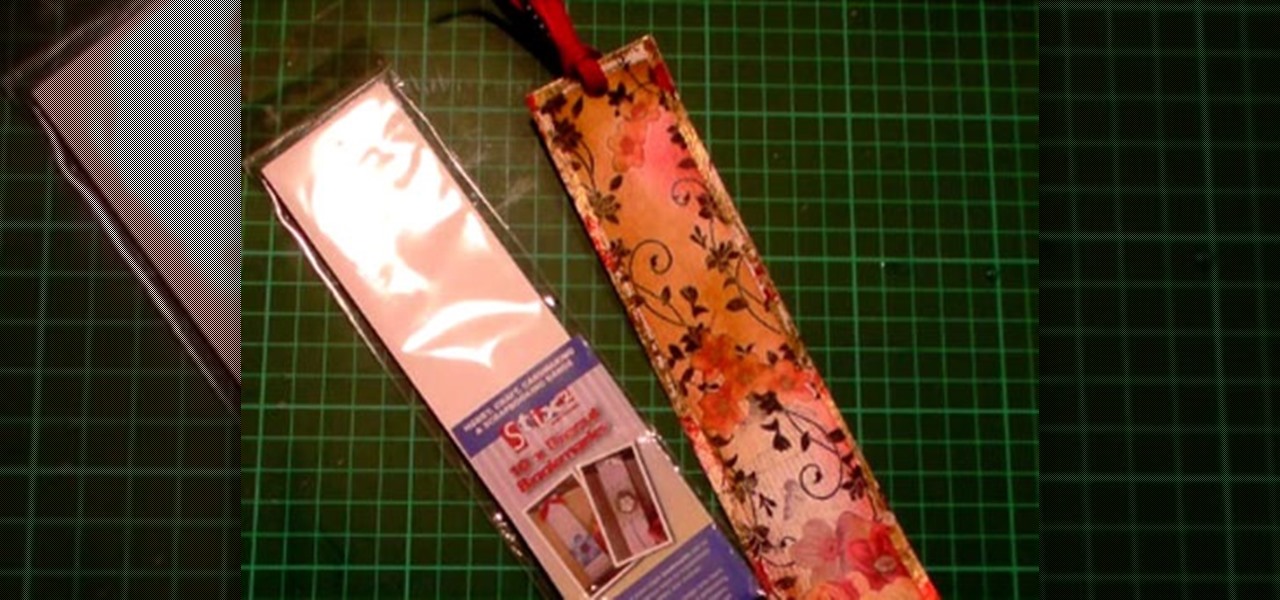
This tutorial shows you how to create something to give as a gift or keep for yourself that can be used and cherished as a handmade keepsake. I show you how I stamp and foil the bookmark, then ink it to give it a real distressed and vintage feel, finishing off with ribbon. Step 1: Items Used
Tatoos are literally the stamp of a cool, progressive, youthful mentality. Whether you only have a few tiny stars stamped onto your ankle or suffered hours at the tatoo parlor for a large dragon to graze on your back and shoulderblades, sometimes the occasion arises when you need to cover up a tatoo.
This video shows the method to make a gift card holder with "Stampin' Up." First, we use the Movers and Shapers to cut a heart shape on a paper. We use the add-ons cut by the Movers and Shapers to punch windows. Next, we use the Big Shot machine. Next, put a piece of Whisper White in the machine and cut at four and a quarter to eleven inches. Fold it into half and cut an inch and a half off the front top. Score the back panel at one and quarter inch. Take bags measuring 3 5/8 inch to 6 5/8 in...
Watercolor looks beautiful, but can make a huge mess. The same effect can be created with both pencils and markers. Stamps can then be colored in with vibrant detail. Watch this video crafting tutorial and learn how to color in stamps using watercolor pencils and markers.
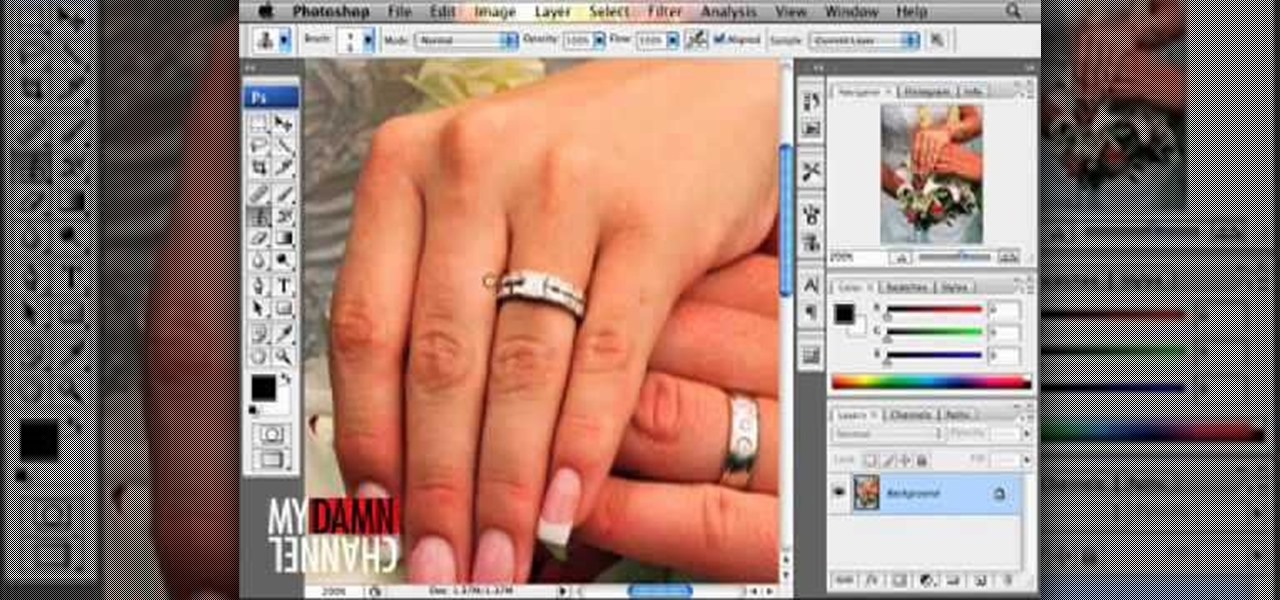
Here's episode three of the delightfully demented video tutorial, You Suck at Photoshop. Get rid of your dirty liar ring with Photoshop and Dane Cook. Use the clone stamp tool and manually sample from a similar area. Thank you MyDamnChannel.com! Erase 7 years of marriage in no time!
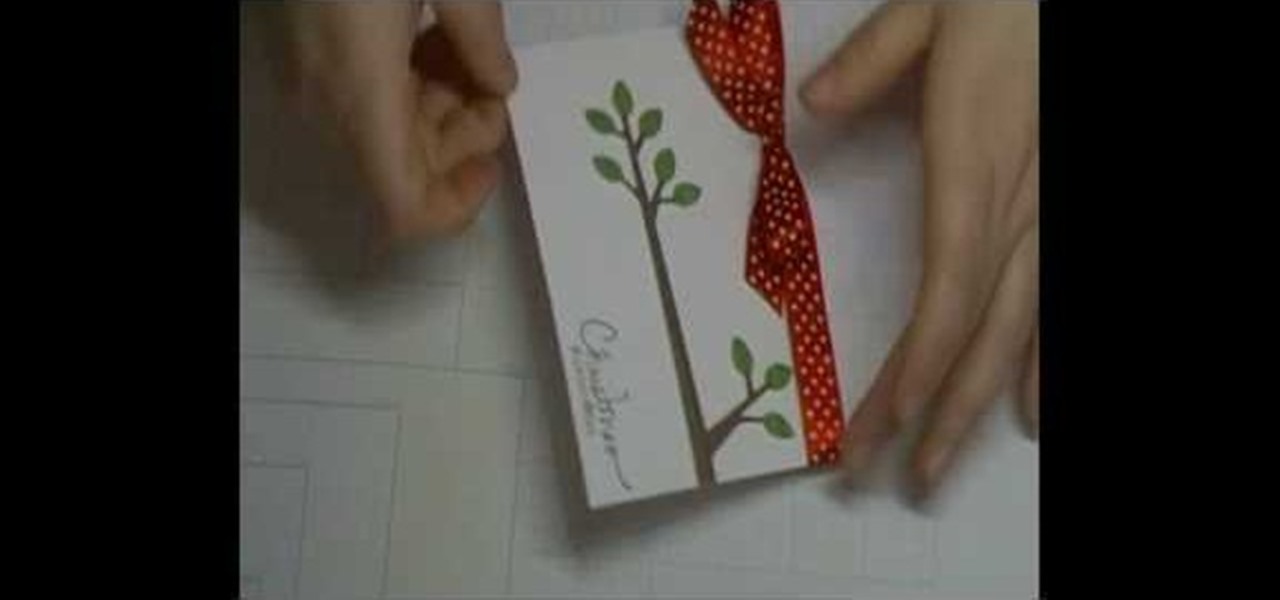
In this tutorial, we learn how to use Cricut Serenade & Joys for a simple Christmas card. First you will need to take a piece of white card stock and tie a red and white polka dot ribbon to the top. After this, you will need to take a tree branch stamp and stamp it on the side of the card like it's growing out of it. After this, make sure the color on the leaves is green and the branches are brown. Now, you will cut out another piece of card stock in a punch out to create the ornament that wi...
In this tutorial, we learn how to make a small folding box for Easter. First, cut a shimmery white piece of card stock to 6" x 8 1/4". After this, score the paper at 2 and 3/8". Then score again at 2 and 7/8", flip it over and do again on the other side. After this, cut the four corners with score lines off, then fold the score lines that are left. Now, grab an Easter stamp and stamp the inside of the box underneath the top flap. Place a candy inside of the box, then fold it up and place an E...
If you're looking to cheer up someone who is sick with a homemade Get Well Card, follow this video for steps on how to make a Get Well card with Stampin' Up. Crafter Dawn takes us through the steps of how to create this card with the Pick-a-Petal stamp set. Be creative and use whatever color stamp pads you want to add a personal touch. By following Dawn's simple arts and crafts steps, you can cheer up anyone with this Get Well card with a smile and a thoughtful, handmade gift.
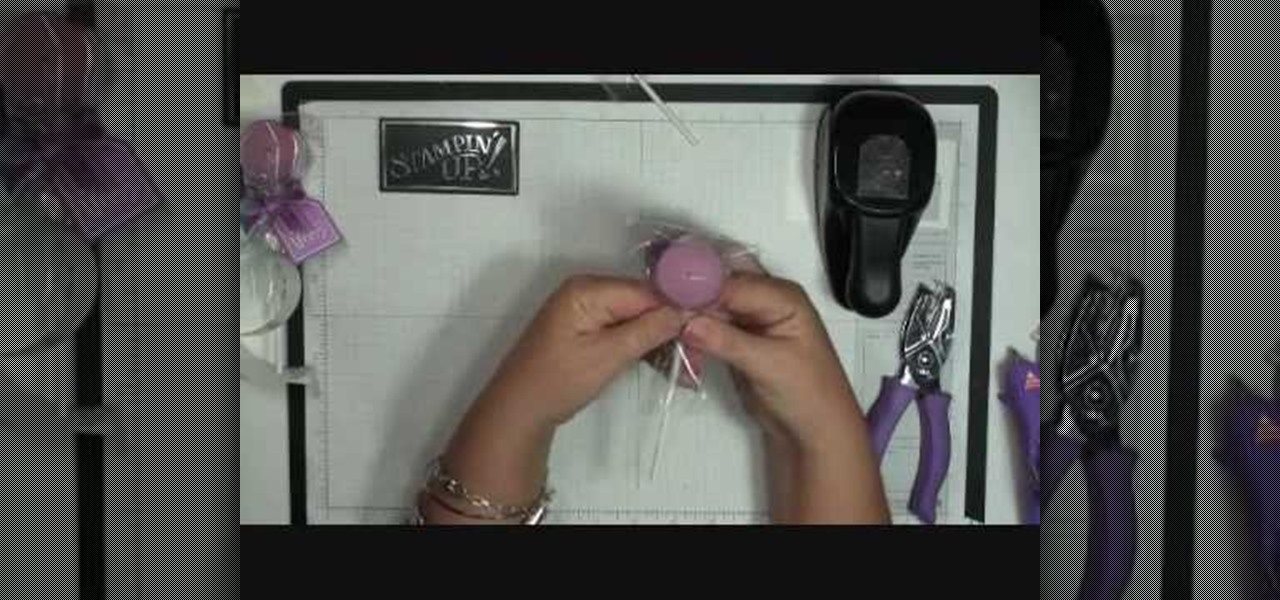
Dawn is all ready to show you how to make an adorable lollipop candle using just a few basic craft supplies and some handy items from Stampin' Up. With a tea-light candle, lollipop stick and cellophane bag you can turn an ordinary candle into the perfect gift. Learn how to use the Stampin' Up stamps and accessories to customize your lollipop candle to fit any occasion. Dawn's video will even cover tips on how to match your ribbon to the color of your stamp ink. These lollipop candles are the ...
This by far one of the most elegant and beautiful cards we've ever seen in a card making tutorial, and we've seen a lot of cards. Rather than tacking on cheesy mass-produced floral prints and little butterflies and other odds and ends that just distract, this Christmas card focuses on minimalist beauty.
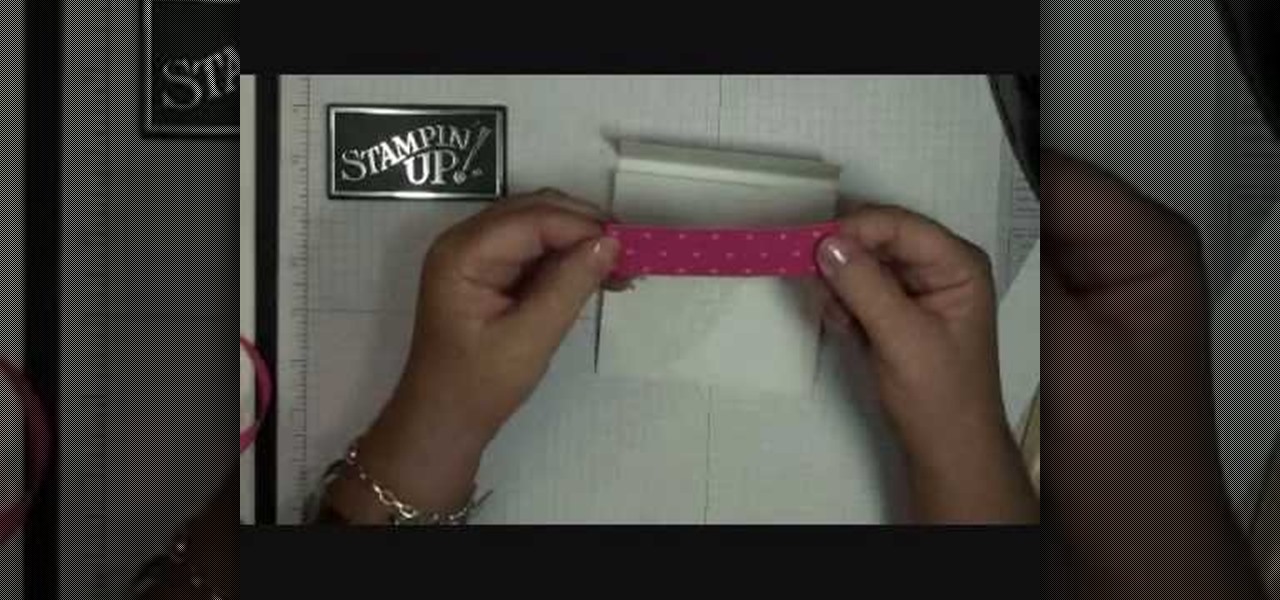
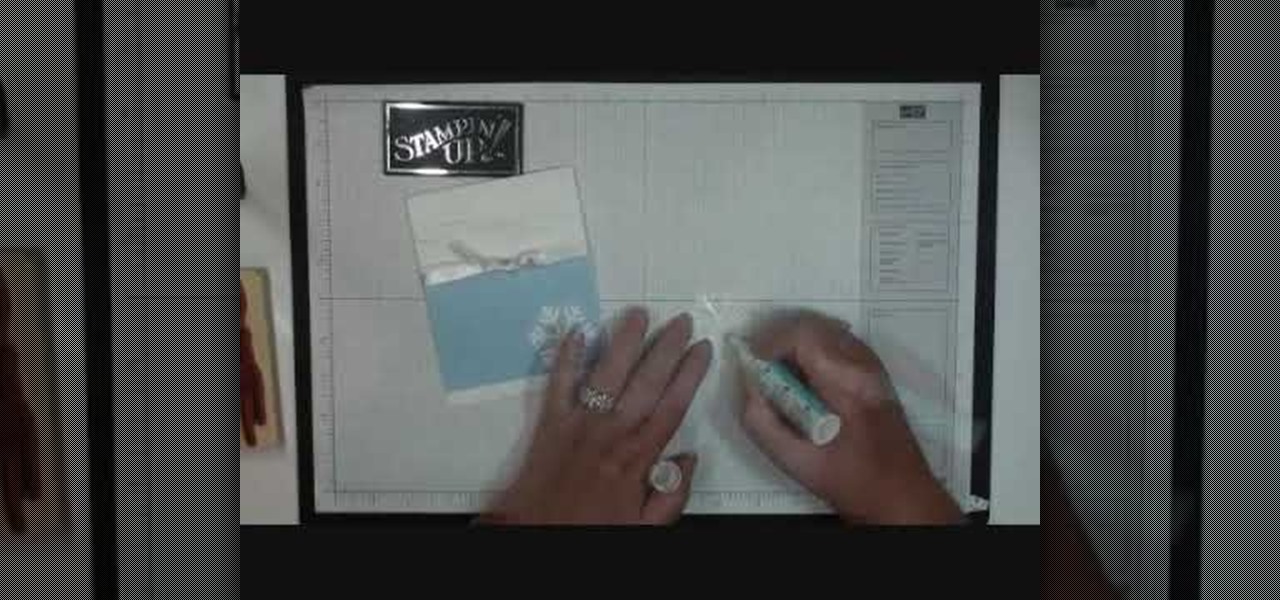
This video tutorial is in the Arts & Crafts category where you will learn how to make a quick and simple Christmas card with Stampin' Up! You will need the bashful blue classic ink, a bashful blue cardstock cut at 3" x 4 1/4", a piece of whisper white cut at 4 1/4" x 11" and scored at 5 1/2", a piece of whisper white organza ribbon and scrap cardstock for two snowflakes. Cut out the snowflakes with the jumbo snowflake punch. Stick the bashful blue on the whisper white cardstock. Using the hea...
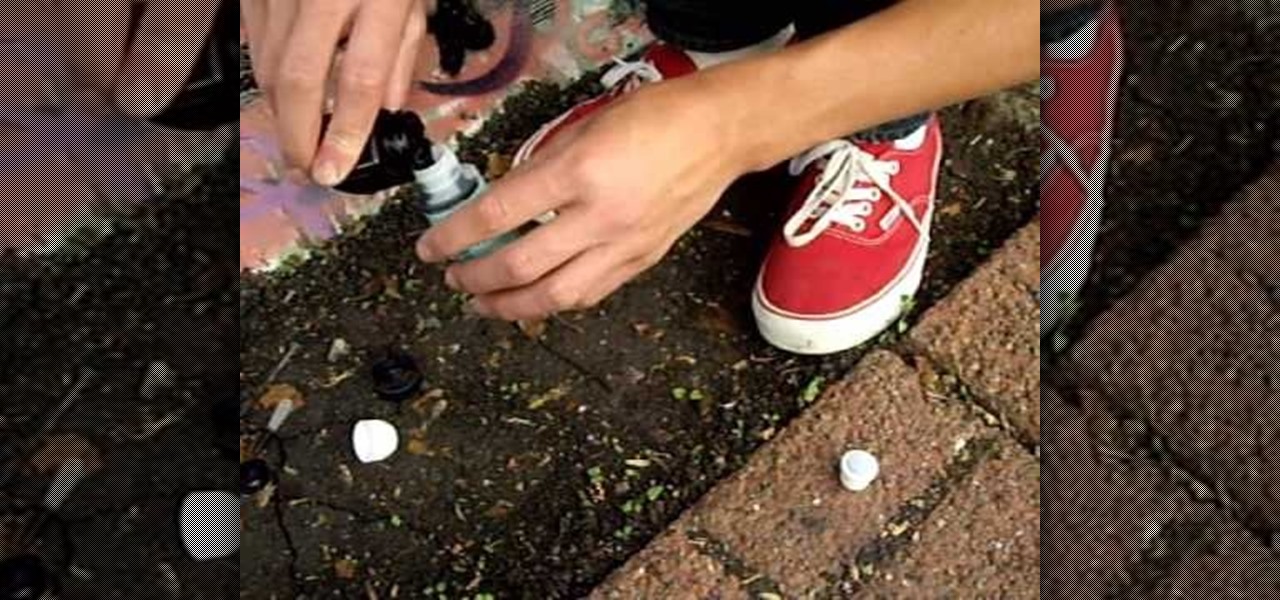
In this tutorial, we learn how to make a graffiti mop from a repurposed cleaner bottle. First, you will take stamp cleaner in a small bottle that you can pick up from any craft store and a bottle of Pilot ink (1 oz). Next, empty the stamp cleaner from the bottle and then pour the ink into that bottle using a dropper. After this, place the top back onto the bottle and shake it for several seconds. When done, take the cap off and you will be able to write on a wall now using this bottle's soft ...
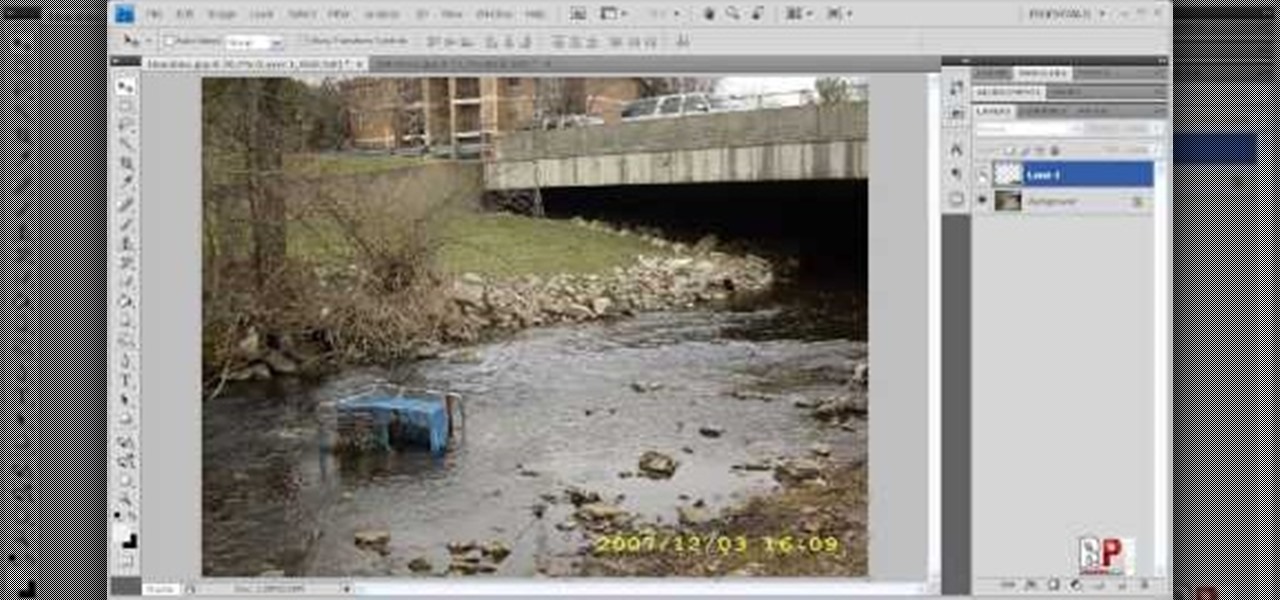
There are various ways to remove the timestamp on your photos using Photoshop. You can use the crop too and crop out the photo, but then you'll lose parts of the photo as well. You can use the patch tool, and draw a border around the date, then drag the date to another area, let go and press ctrl+D. The time will disappear and the area will be patched up with surrounding colors. Another method is to use the spot helium brush tool, and simply just brush over the text, and the spot helium brush...
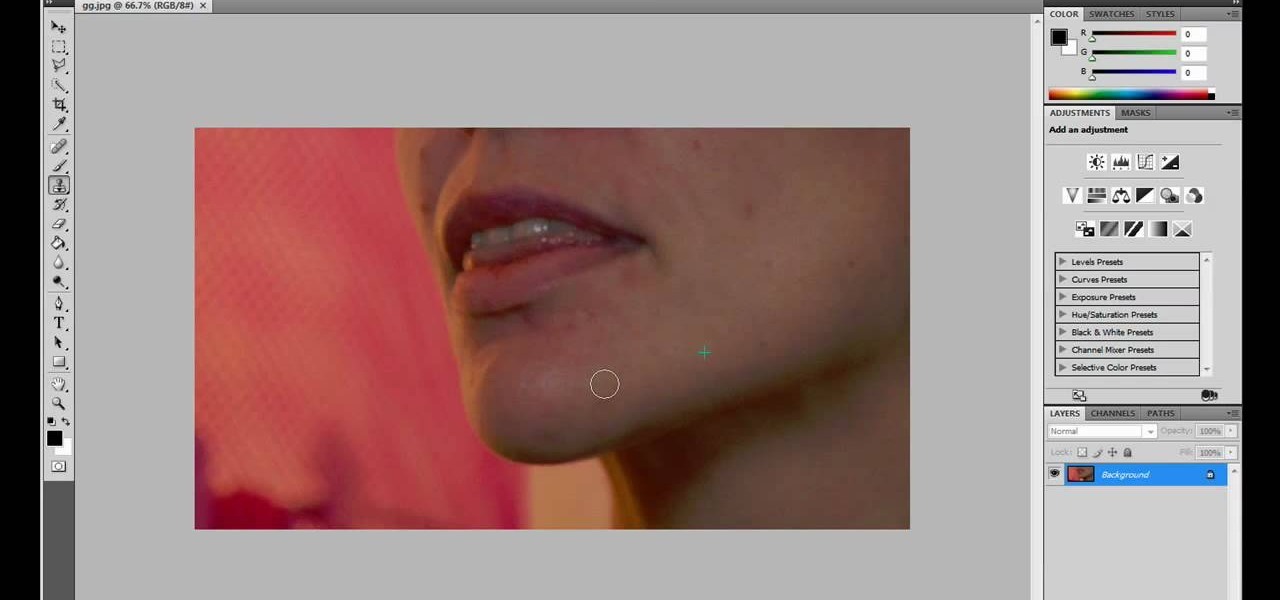
JdudeTutorials explains how you can remove zits, blemishes, and other unsightly skin problems, from pictures using Adobe Photoshop. He begins by opening up a picture of a female's lower face. Left click on the stamp on your toolbar, and select the Clone Stamp tool. You will see a small circular cursor. He explains that you should find a skin tone on the picture that matches the skin surrounding the troubled area. He holds the alt key on his keyboard and left clicks the spot that most resemble...
To make a Clay Christmas stocking you need to slice a slab from a block of wedged clay using a wire and two rulers. After you slice the slab trace the shape using a needle and a template. If you want you can add the child's name using stamps. Add decorative stamping. Using a clay extruder, squirt out a clay rope to accent the opening of the stocking. Glue down with slip. Punch out two holes with a straw for hanging. Now you are almost done with your Clay Christmas stocking. You can vary the p...
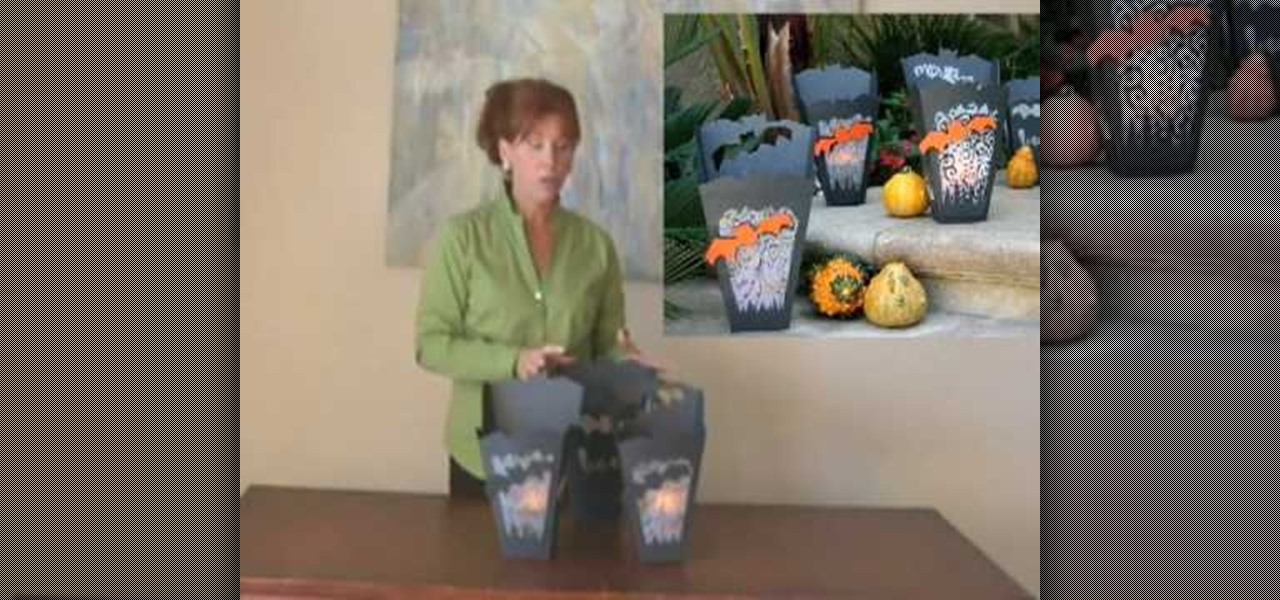
In this video tutorial, viewers learn how to make a Halloween lanterns. Users will need to visit this website: jennadeangeles/] and download the Halloween template. The materials required for this project are: download template, vellum, poster, rubber stamps, metal ruler, glue and orange card stock. Begin by cutting out the lantern with the openings as well. Now stamp the vellum with some black acrylic paint. Finish by closing the lantern with glue. This video i...
Terri Sproul shows how to use a really cool technique to make an embellishment for a card. You first need to find a roll of aluminum that is self adhesive. Work on the back of the aluminum, the side with the adhesive. Use a stamp to lay out your design on the back, by stamping the image on the back. Then you must trace the outside of the image. Use alcohol inks to add color to the aluminum. Then she cuts the image out with her scissors. Then she uses a glue dot to place the piece on a card sh...
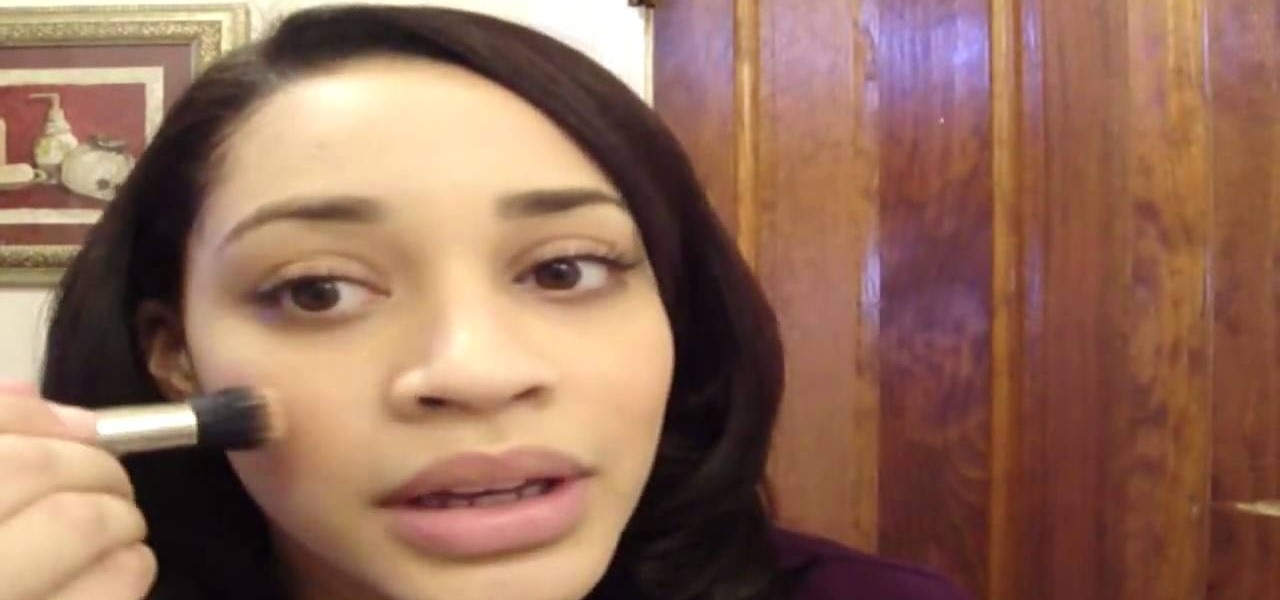
It is a demonstration of a cream blush with a # 130. We will be using a steela convertible collar and a color called camellia which is #1 and is used mostly as a blush which nice and bronzy. You firstly stamp the brush onto the blush and then lightly tap the brush onto your hand first so as to ensure you won't have too much of blush on your face.
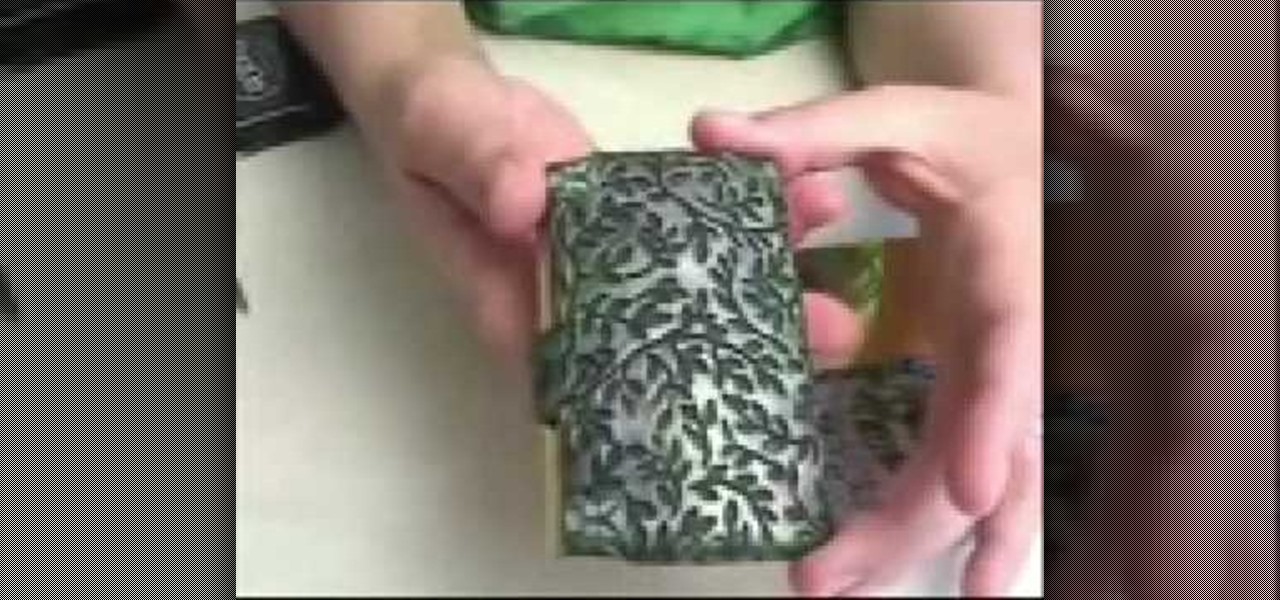
Ilysa Bierer and Kira Slye with Polymer Clay TV demonstrate how to make polymer clay business card holders. You can work cabochons into polymer clay to create business card holders. Stamp on clay and use clay with inclusions in it for a different look. First, get a plain business card case and work the clay over it. Add pigment inks, textured stamps and canes to dress up your business card holder. The clay can be baked right onto the metal and will adhere to it. Polymer clay adheres better to...
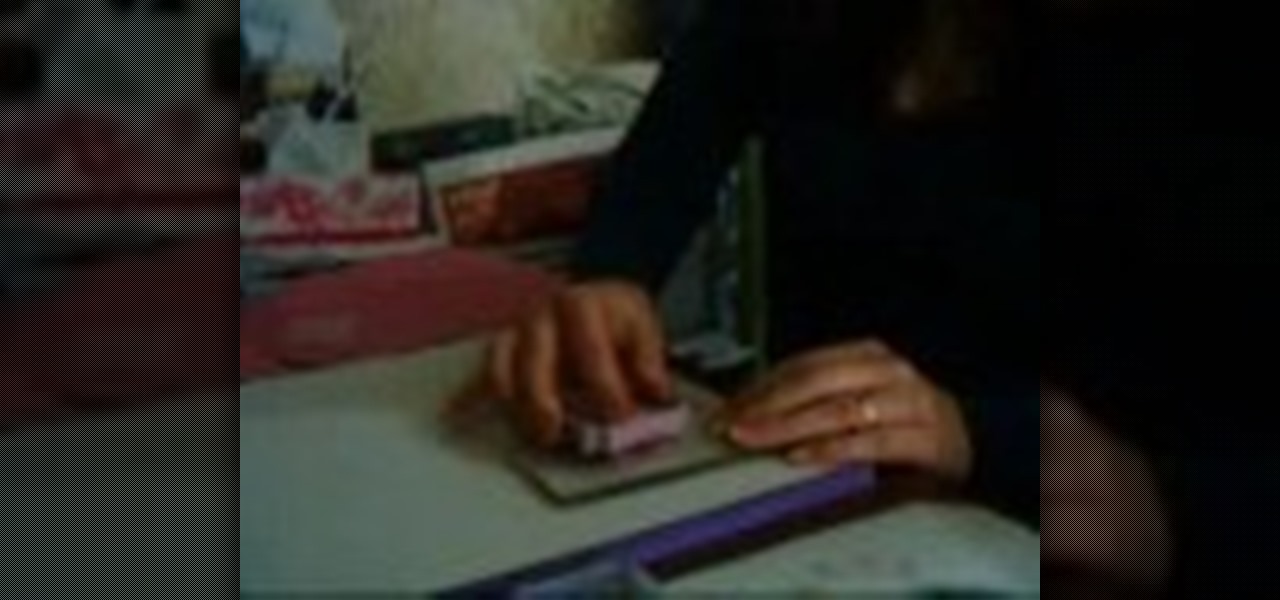
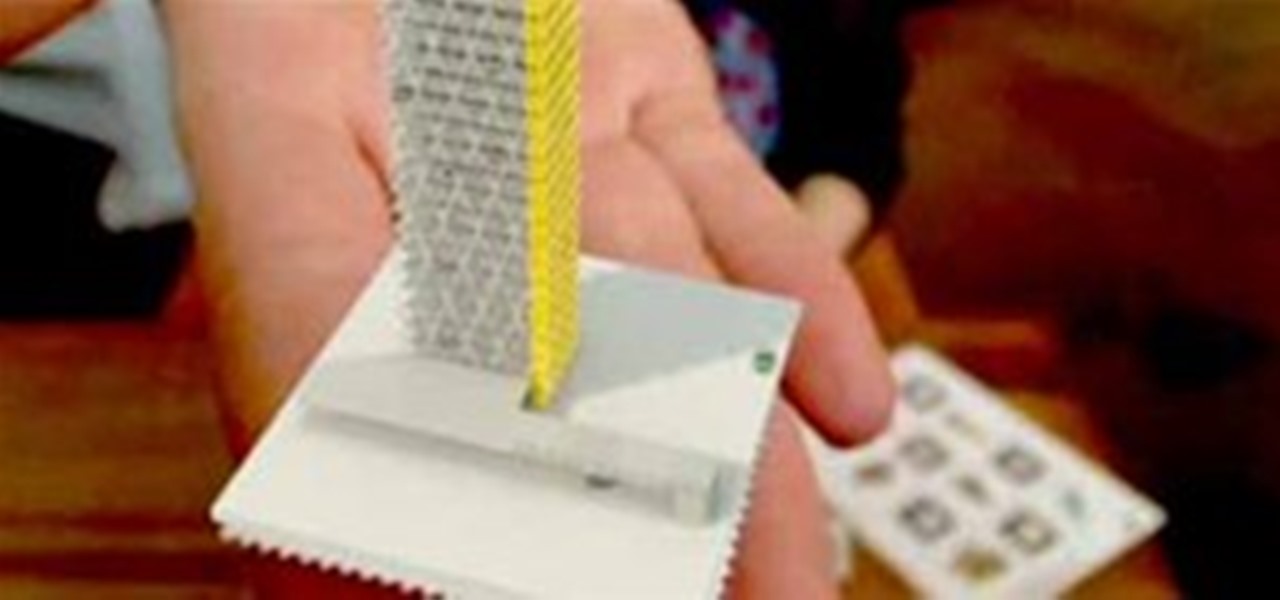
This video shows us how to use a cuttlebug and make a congratulations card. Here are the following steps:
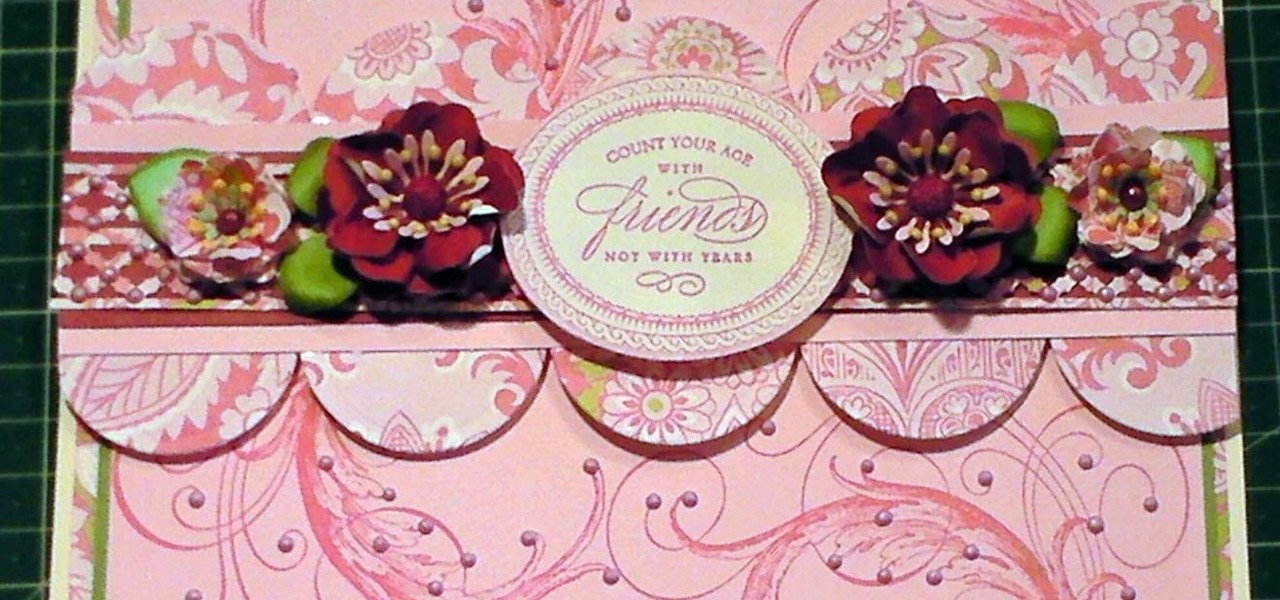
The card stock used is a celery card stock that is 2 by 7 and 3/4. You then fold the ends of the card 2 inches into the card on both sides. So now it should look like two 2 inch squares on the ends that are folded and then a rectangle in the middle. The designer paper used measures 3 and a 1/4 by 1 and 7/8 inches. To make the decoration on top you use the paper punch that punches a 1 and 1/4 inch circle in the paper and then you use the scallop punch around the area of that same punched out h...