In this seven-part video tutorial, learn how to carve your own stamping printing block for your creative projects. These stamps can be used for anything from scrapbooking to art journaling and make for a wonderful addition to your project. For more information on how to construct these stamps, go here.
Looking for easy craft ideas? Learn how to use stamps to decorate your scrapbook or greeting card in this free video series about the techniques of stamping.
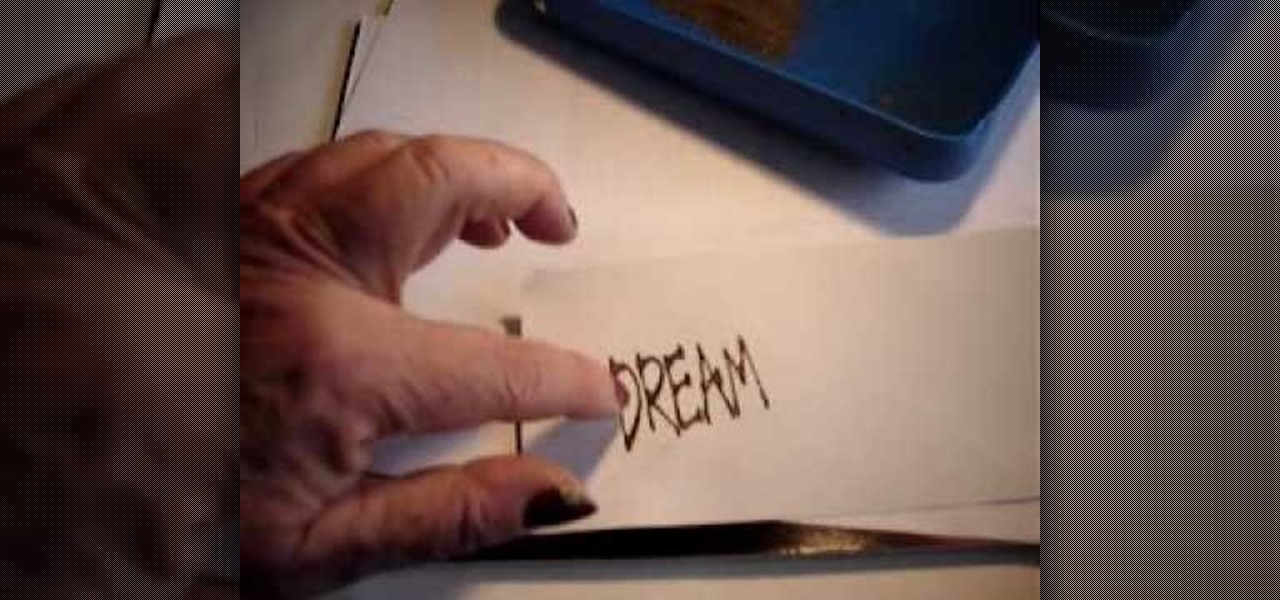
If you're an avid paper crafter, then you have probably been frustrated more than once when you're in love with a particular stamp but you only want to use one part of the stamp image and omit the other part. Rather than getting frustrated and simply stamping down everything at once, why not learn how to separate the image from the stamp?
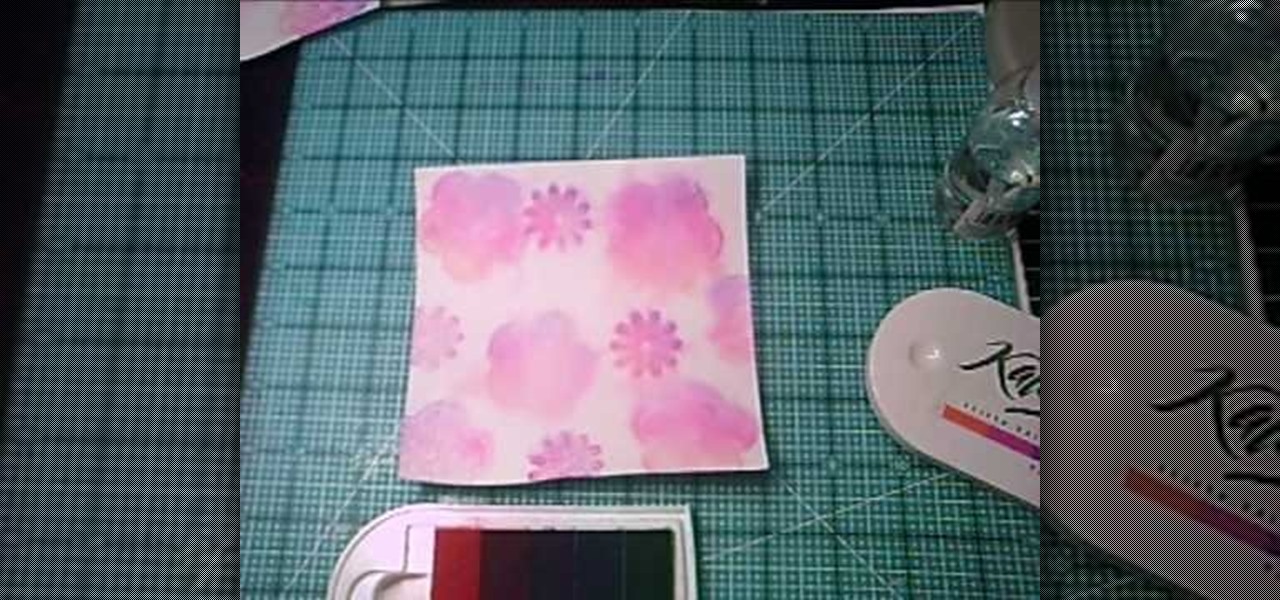
In this tutorial, we learn how to use the rubber stamp technique wet paper watercoloring. This is easy and fast and it will create a water colored background on your cards! First, dip your stamps into the watercolor and then stamp them onto your paper. Either wait for these to dry or dry them with a blow dryer. Once it's dry, go over the image again with the stamps and the watercolor. From here, it will appear more bold and decorative. Then, let this dry and start to decorate with ribbon, gli...
Dawn5377, teaches you how to use the clear mount stamps. These come in sizes from A to I. They are high cut so you don't get ink on your fingers when using them. The stamps come in a DVD case for easy storage, which also comes with instructions on usage. Remove the sticky part of the image, place it on the back of the rubber stamp. Place image face down on the clear block of equal size. Ink the rubber stamp and just stamp on a piece of paper. You clean the rubber stamp with spray mist and scr...
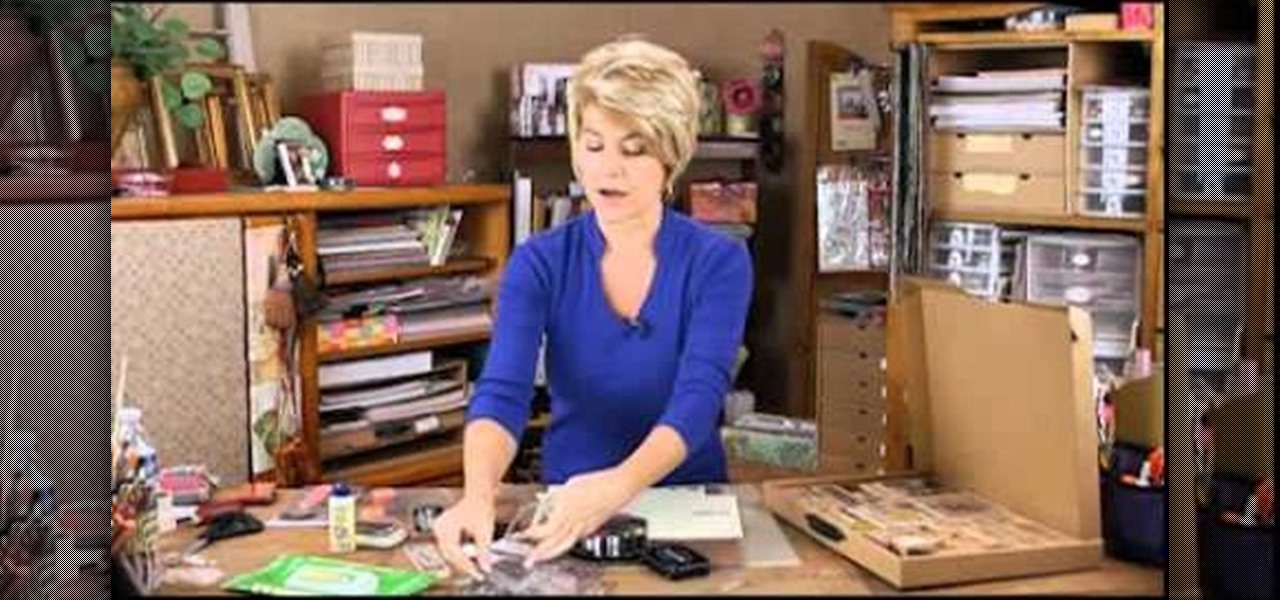
Sue from Paper Source demonstrates rubber stamping techniques. Rubber stamps are a versatile tool for decorating card, scrapbooks, or any paper design project. Watch this video crafting tutorial and learn how to use rubber stamps and ink.

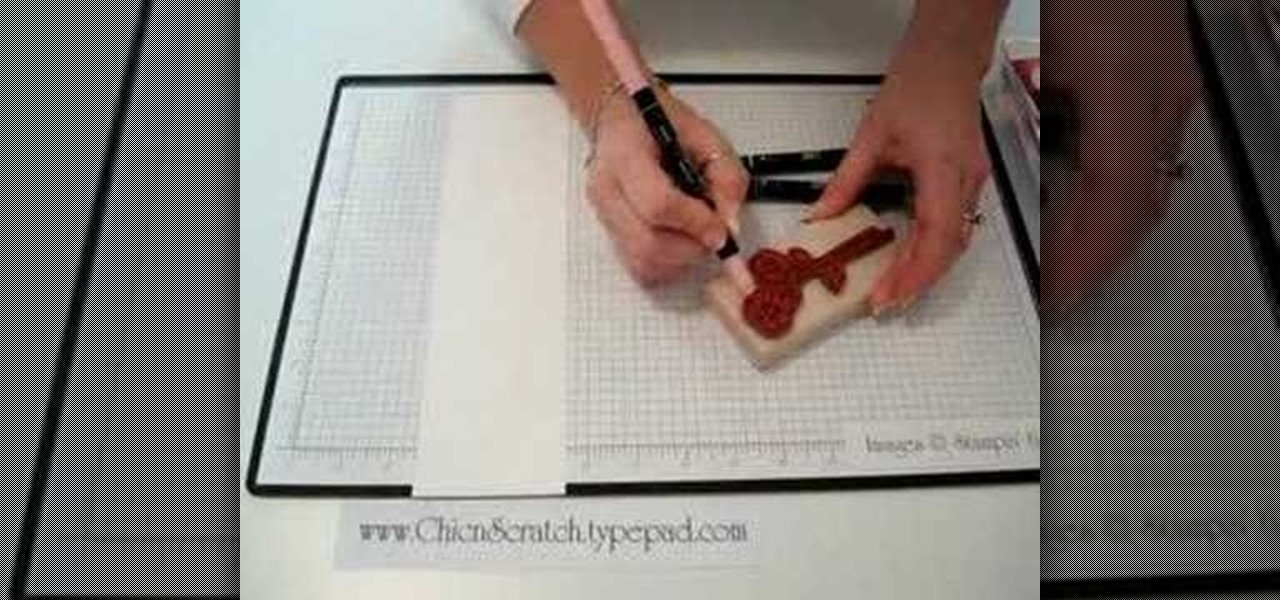
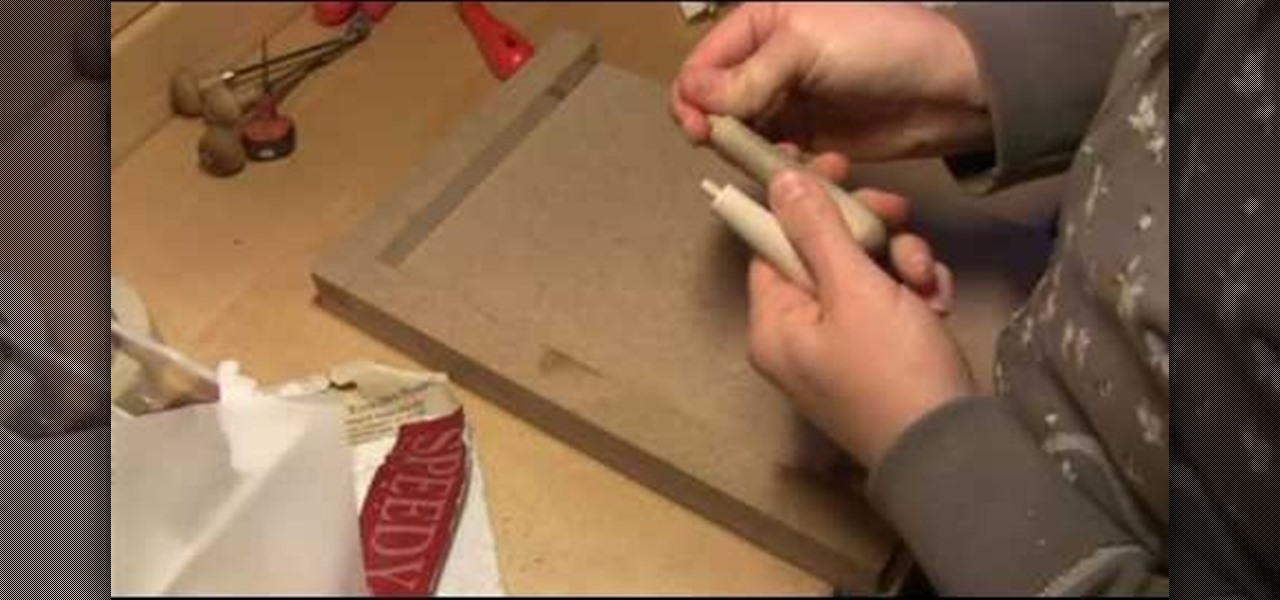
Make It Mine Magazine associate editor Tea Benduhn shows you how to carve a stamp. You will need a rubber stamp block, a pencil, and carving tools. Once you know how to carve your own stamps, you can make any design you desire. Watch this video crafting tutorial and learn how to make your own rubber stamp.
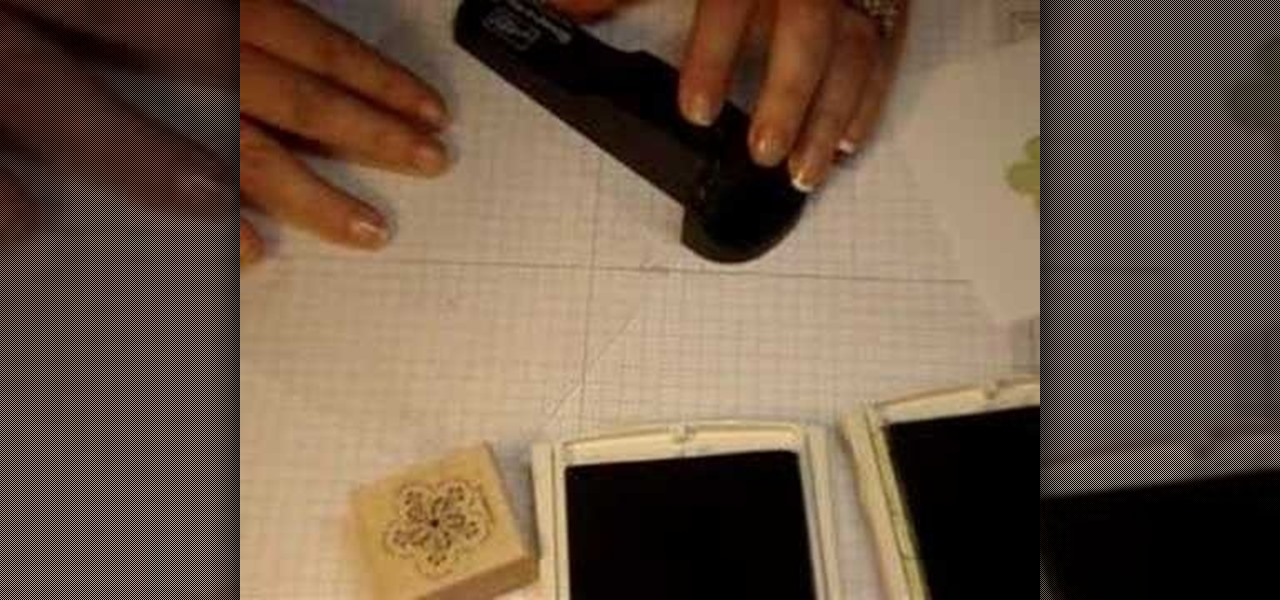
This tutorial video will teach you how to use a stamp-a-ma-jig, a useful tool for extending the use and life of your stamps. This is a wonderful tool that will help you make the most of all your stamps.
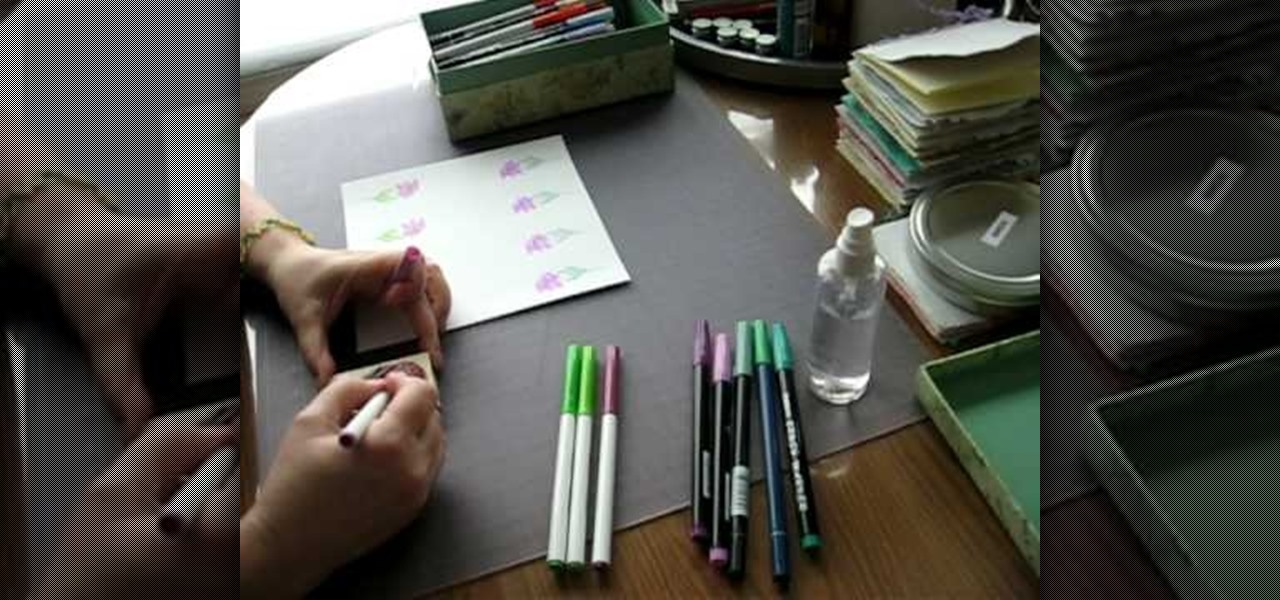
In this Arts & Crafts video tutorial you will learn how to use markers & water to create a watercolor stamp look. You can use rubber and acrylic stamp for this. You will need water based markers, minimister and card stock. Select you stamp and color it with markers as you would do in a painting. For example, you can color the leaves green and flowers red. You can also apply different shades. Then spray water with the minimister and stamp the image. Just stamp and lift, don't keep it too long ...
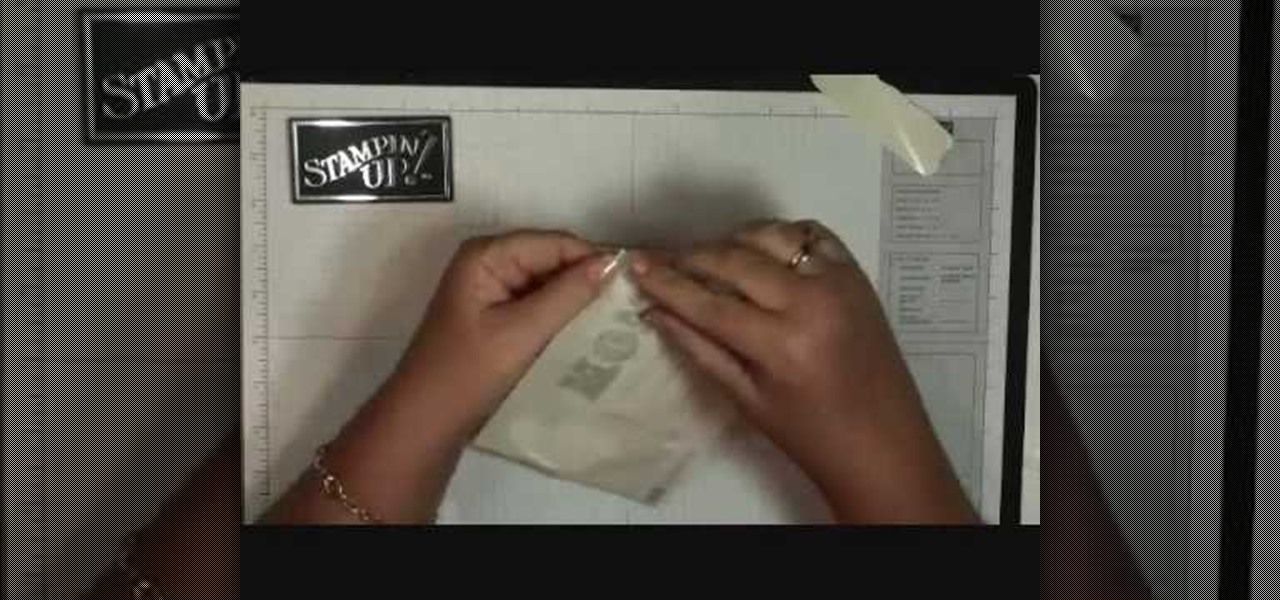
Attention card maker enthusiasts! In this three-part stamp tutorial, learn how to unmount your wood mounted rubber stamps and how to store your unmounted stamps. For more card ideas, tips, and tricks visit the Stampin Inspirations.
This video illustrate us how to make a vase out of three stamps. Here are the following steps: Step 1; First of all take all the requirements that is paper, stamps, stamp pad, color pencil extra.
Even as early as first grade art class, you learn that watercolor/painting is an entirely different category from stamping, which basically requires a stamp pad and rubber stamp. But this tutorial blurs the line between the two art forms in the most attractive way possible.
In this video tutorial, viewers learn how to make molded paper. The materials required are toilet paper and stamps. Begin by wetting the toilet paper under some water and lay it down. Use about 10 layers of 2 ply toilet paper. Now press the stamp onto the wet toilet paper and then press down on the stamp with a towel or cloth. Remove the stamp and heat dry the toilet paper. Now let the toilet paper dry fully overnight or half of the day. This video will benefit those viewers who are intereste...
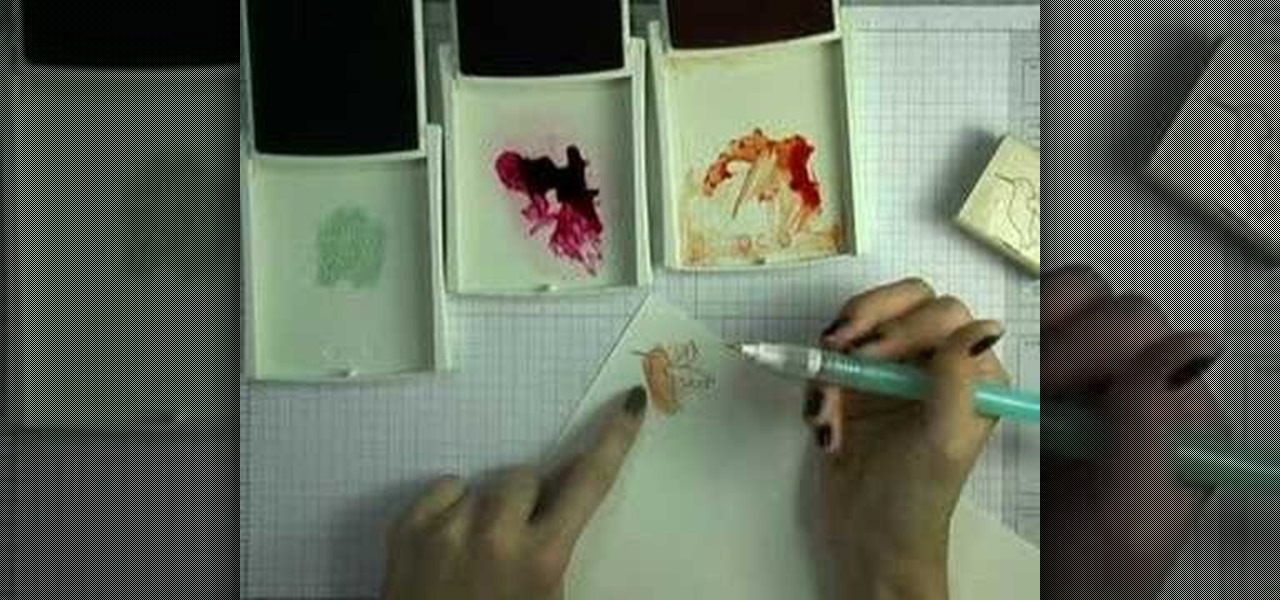
This how-to video demonstrates the right skills for stamping with a watercolor technique. You will need non-running inks to stamp the initial image, a specialty brush pen, and watercolor paper. This watercolor effect is pretty, and can add some different texture to your stamped images. Watch this video tutorial and learn how to make a watercolor look with stamps.
New to stamping? This video tutorial shows the absolute basics for stamping, and covers the techniques of masking and coloring as well. Learn how to stamp for card-making or scrapbooking by watching this crafting how-to video.
To make a Spinner Card you need some essential tools like, Paper Cutter, Scissors, Stamps, 1/2" Circle Punch, 2 Pennies, a Stamping Dimensional and any embellishments. Have the card stocks one for the card part and the other for the front of the card. In the first step, take the circle punch, flip it over for easy viewing. Push the paper all the way in and to the farthest left without going out of the paper. Punch your 1st hole here. Do the exact thing on the right side of the 1st hole. It wo...
If you like to collect clear stamps, you've probably learned how challenging it can be to keep them all organized. In this video you'll learn how to store your clear stamps in a clean, organized system.
This stamping tutorial teaches how to ink craft stamps with markers. Learn how to use marker ink to color stamps instead of traditional stamp ink.
In this video, Elizabeth shows us how to turn a normal potato into a funky stamp. Stamps are great for scrapbooking, card making, paper design and so much more! So, why waste money at pricey craft shops when you can make your own using items you already have in the kitchen?
Funky Foam? This product is for kids and can be found in any arts and crafts store, and it's the key to making homemade stamps in this video crafty project. See how to make your own stamps with funky foam! It's cheeps and oh so simple. You can either create your own designs or convert your die cutters into coordinating stamps for embossing, etc. Quick, easy, and super cheap stamps!
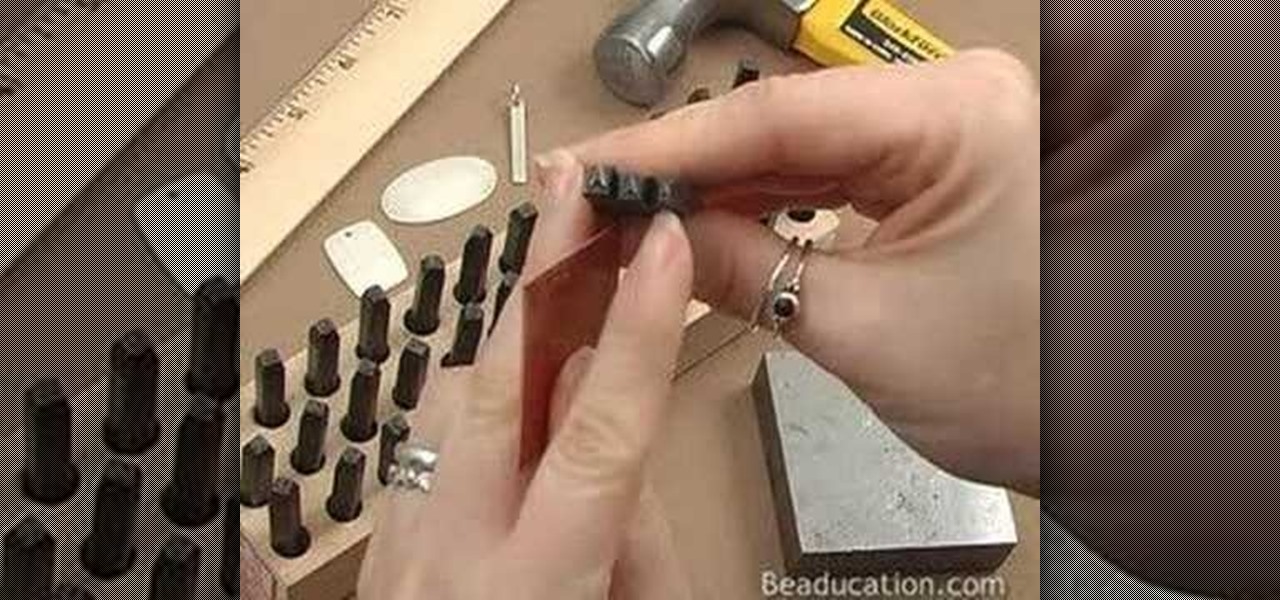
Join Lisa Niven Kelly from beaducation and learn all the basics on getting started with stamping. Learn how to personalize your jewelry by stamping on metal. In this demo, Lisa discusses the necessary tools and teaches you how to make a pendant by stamping on a metal blank, punching a hole, and oxidizing. So get out your letter stamps, bench block, and hammer and stamp away! Learn how to make a stamped pendant for jewelry making.
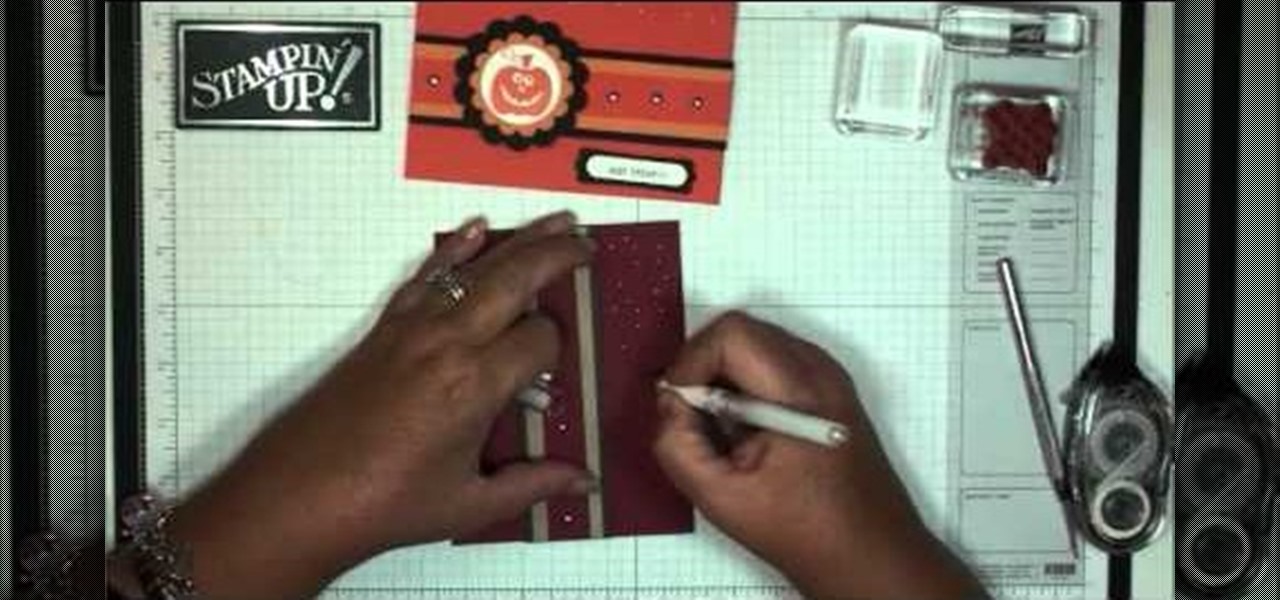
Make a lovely and cute Halloween greeting card with stamps and craft paper. Follow the steps in this tutorial, and you'll end up with a fun and wicked cool card with spiderwebs, witches and a few colored bats on your card!
There are so many choices at the craft stores when you go to buy some new stamps! Do you get wood or acrylic? How do you choose the best one? This video shows you everything you'll ever need to know when it comes to stamp types.
This video will show you how to create an extremely cute stamp highlighting technique with Clorox bleach. This technique is great for making paper stamps and designs look a lot better and more unique.
This how-to video stamping tutorial demonstrates two methods of heat embossing using a heat gun or heating tool, stamping powder, a rubber stamp, Versamark watermark ink and a pigment ink. Heat embossing is a great technique to multi-task rubber stamps and create some texture in card-making or scrapbooking projects. Learn how to do two different methods of heat embossing with an embossing tool by watching this how-to video.
This video shows how to utilize 2 step stamps. Learn how to create a layered technique that adds dimension and a professional touch to stamping projects.
In this tutorial, we learn how to add texture to stamped images using rubbing alcohol. First, stamp on your image with a regular stamp to a piece of paper. After you do this, you will take a cotton ball and dip it into ink, then dab this on the images. From here, you will dip that into rubbing alcohol and then dab on top of the images as well. Allow this to dry and if you don't have time, blow dry it evenly. Then, use embossed ink to raise the images up from the page. When finished, you will ...
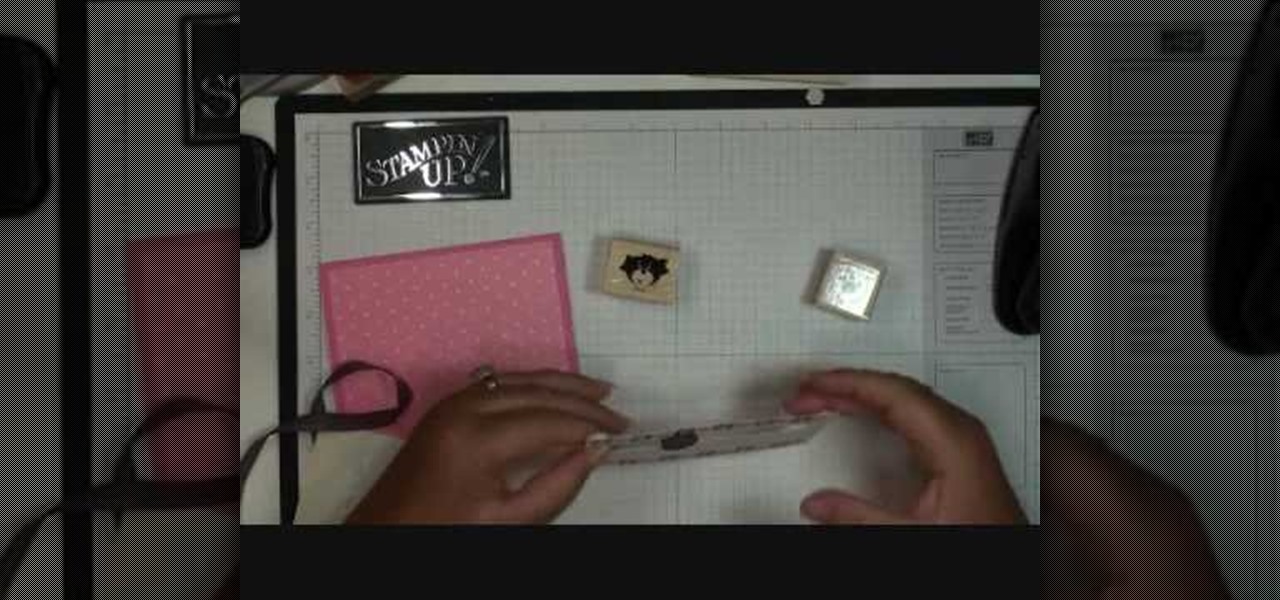
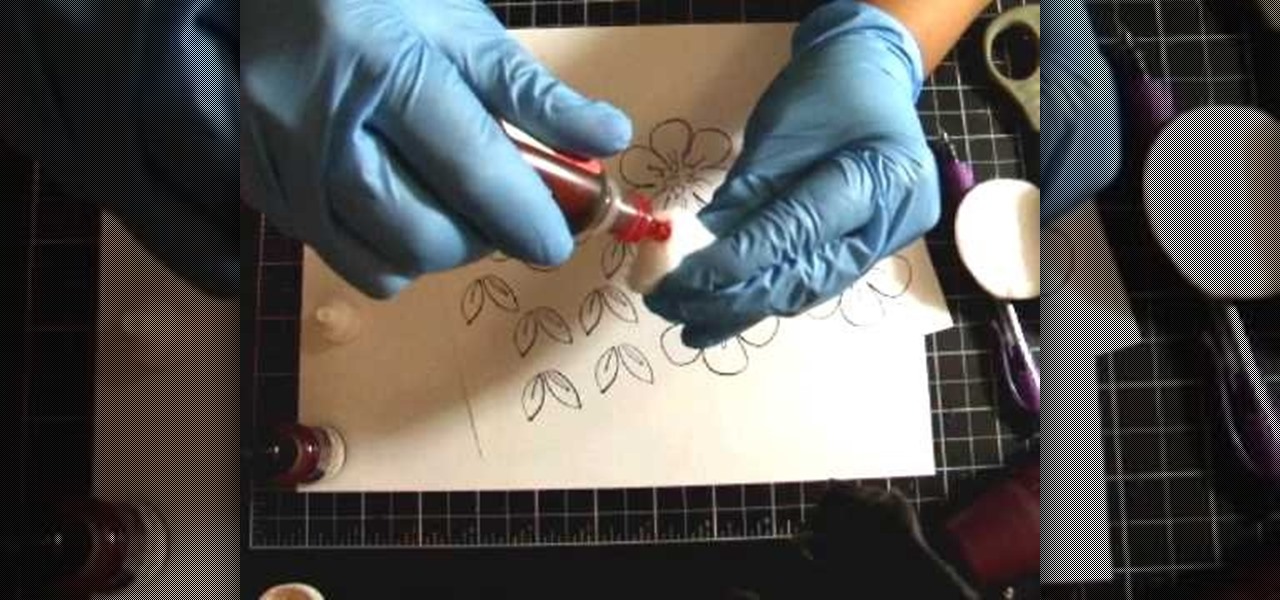
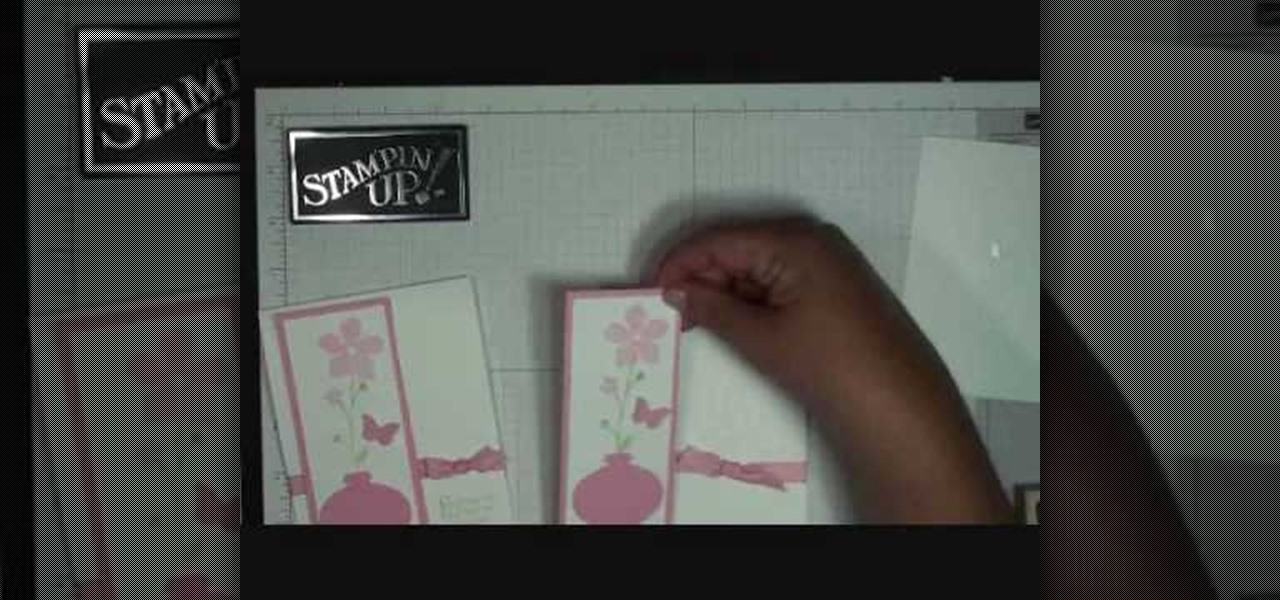
In order to make a flower vase card, with Stampin' Up, you will need the following: card stock, scissors, greeting stamp, Shimmer Mist, stickers, and ribbon.
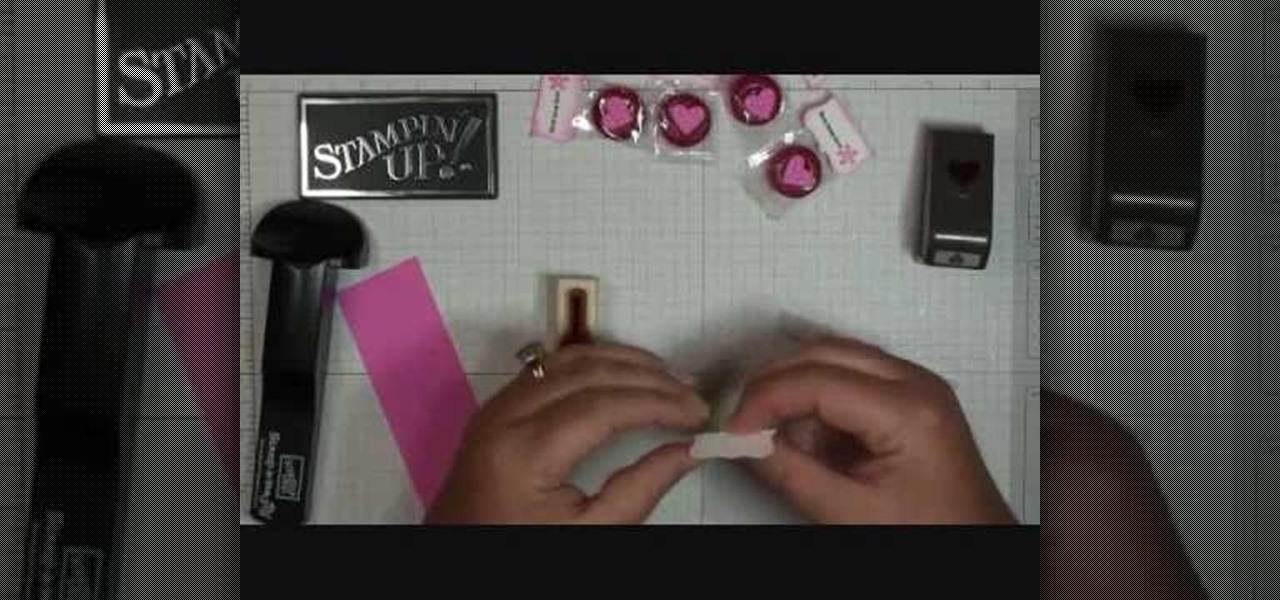
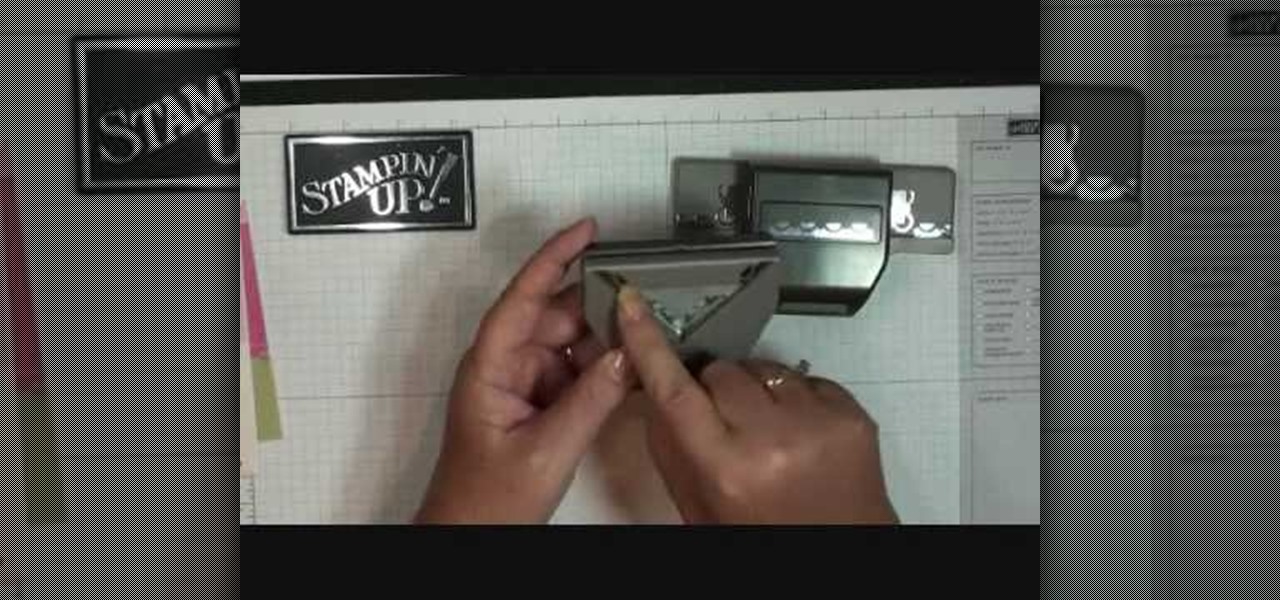
In this video, we learn how to make Life Savers treats. First, use the curly label punch and punch it out of a white paper. Next, fold this in half and then use your stamp-a-ma-Jig on card stock with a love and flower stamp. Use a black and pink marker to fill in the colors of the stamp. Next, stamp this on the piece that was folded in half, then punch out a heart and use sticky strip to adhere the individual life saver to the middle of the sentiment. Once finished, apply the heart and you ar...
In this Arts & Crafts video tutorial you will learn how to make a stamped notepad cover. Put the note pad on the edge of a bigger sheet of paper, draw the outline and cut the paper along the lines. The paper should be longer than the notepad. Put the note pad on top of the paper aligned with one end and fold the other end of the paper. Remove the paper and crease it properly along the scoring lines. Depending on the theme you want for the cover, apply the required ink with sponge on the paper...
In this video, Dawn, an arts and crafts expert shows you how to work with stamping and stenciling. She goes through two different styles that can be created with stamps/stencils. The first is a "scallop trim border" on card-stock paper. She takes you through various steps to complete this. She then goes on to show you how to make a "scallop trim corner punch" with stamps. The process is quick and easy, you need card-stock paper, various stamps, and stencils.
This video tutorial shows how to implement the candle technique into stamping projects. Learn how to use this technique for an interesting finish on card-making and any paper stamping crafts.
A waterfall card is a cute and clever interactive card you can give your friends. Pull the tab at the bottom, and watch a series of small cards cascade down the card. Starting with a series of card stock and your own stamp collection, this explains how to make a lovely waterfall card using Halloween stamps.
Here are some instructions on heat embossing on polymer clay. This video includes tips for embossing both baked and unbaked clay. You will need polymer clay, a rubber stamp, pigment ink, embossing powder and a heat gun. Roll out the clay onto a nice thin sheet of clay and bake the selected piece. Then stamp the baked clay with ink as desired. Sprinkle the embossment powder onto the stamped area, and tap off the excess powder. Next, heat the embossed area with the embossment gun and watch the ...
In this tutorial, we learn how to make a cute Thanksgiving card using stamps. First, cut an oval shape with an oval template. After this, you will stamp the image from the harvest home stamp set on watercolor paper. After this, outline the image with SU markers and color the image in with an aqua painter brush. From here, scallop the edges of the design to make it look more unique. Then, glue the stamp to the card stock and use it as the front of a card for the holidays! Experiment with diffe...
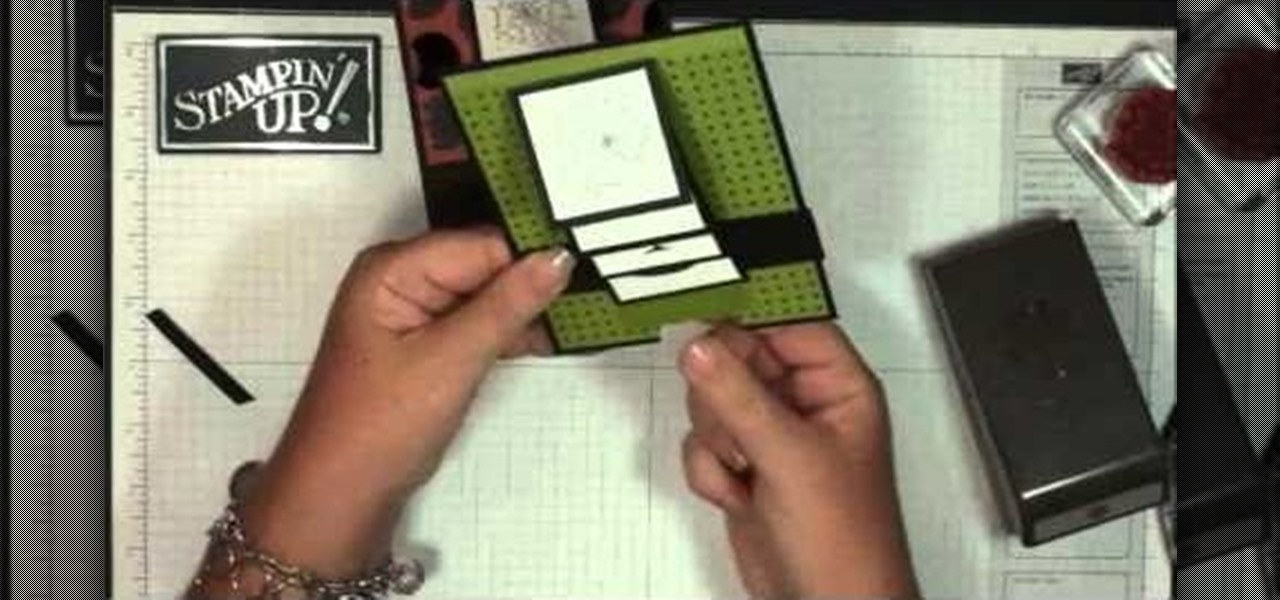
Demonstrator Dawn Griffith offers a short tutorial on how to make a simple and cute birthday card. First you will use white paper to make your base card. Then use a scallop edge punch to scallop some green designer paper, which you will glue to the top of your card. Tie some white ribbon around the top and trim for a clean look. Use a greeting stamp to stamp a message onto the bottom right front of your card. Create a center image by adhering white paper on black card stock, stamp the white p...
This video demonstrates three ways to store your unmounted rubber stamps. The video discusses using CD cases, laminated storage panels and plastic baggies. This is great for scrapbookers.
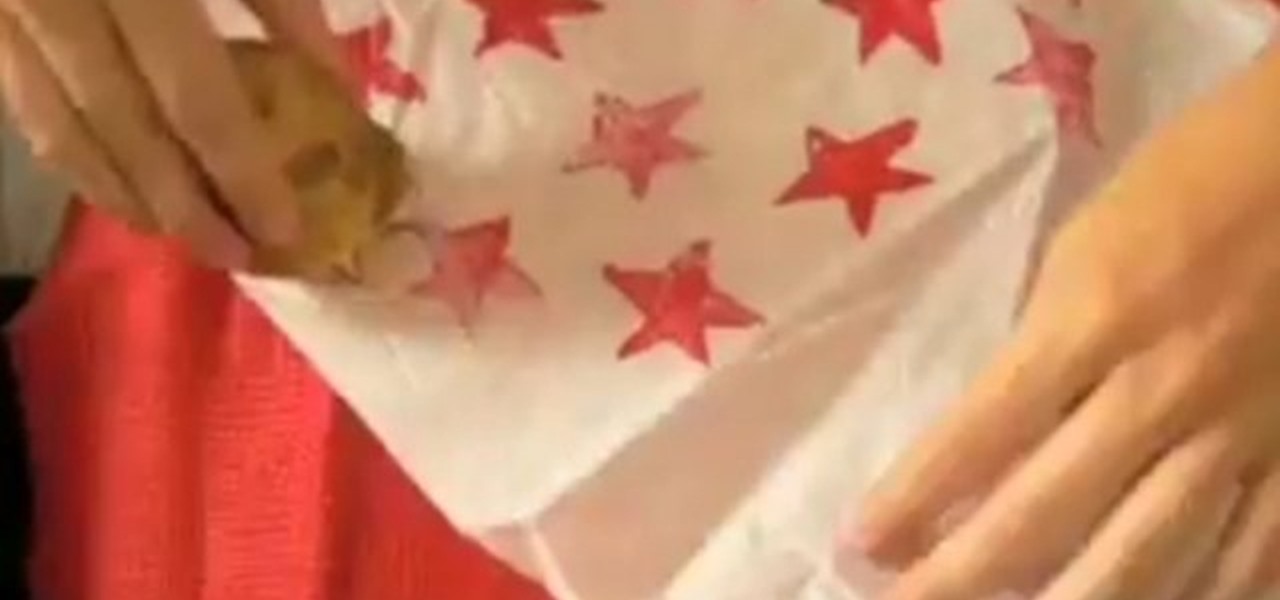
Here's a great craft project you can do with kids or in a classroom. You can use an apple half to stamp apple shapes onto everything from lunch bags to tote bags. This is an easy and cute project to do for the fall.
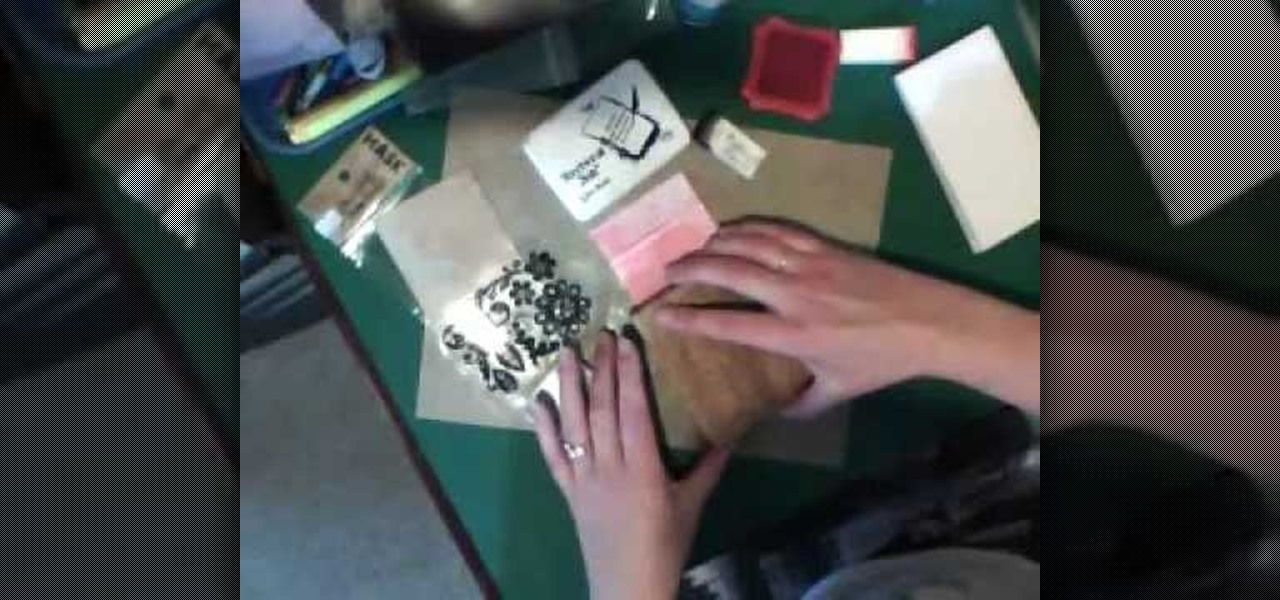
In this Arts & Crafts video tutorial you will learn how to use clear stamps & make a card. You will need acrylic stamps for this project. The products used in the video are from papertrayink.com. The stamps are clear and have a sticky back with which you can attach them to an acrylic base to make the stamp block. Then ink the stamp and stamp it on the paper. Since, it is clear, you can ass and align it properly on the paper. The other cool thing about acrylic stamps is that you can take more ...
Find out the best ways to use the creep swab in Houdini. An architect in New York came up with a very clever means of distributing various shapes onto a surface using a creep swab. So, if you want to know how it's done, watch this two-part video, which focuses on using the creep tool in conjunction with copy stamping to achieve some unique results in Houdini 9.