Learn how to mask auto windshield and back glass molding using several techniques. These techniques will eliminate bridging, which is a problem many painters have. Watch the video to learn what bridging is and how to eliminate it.

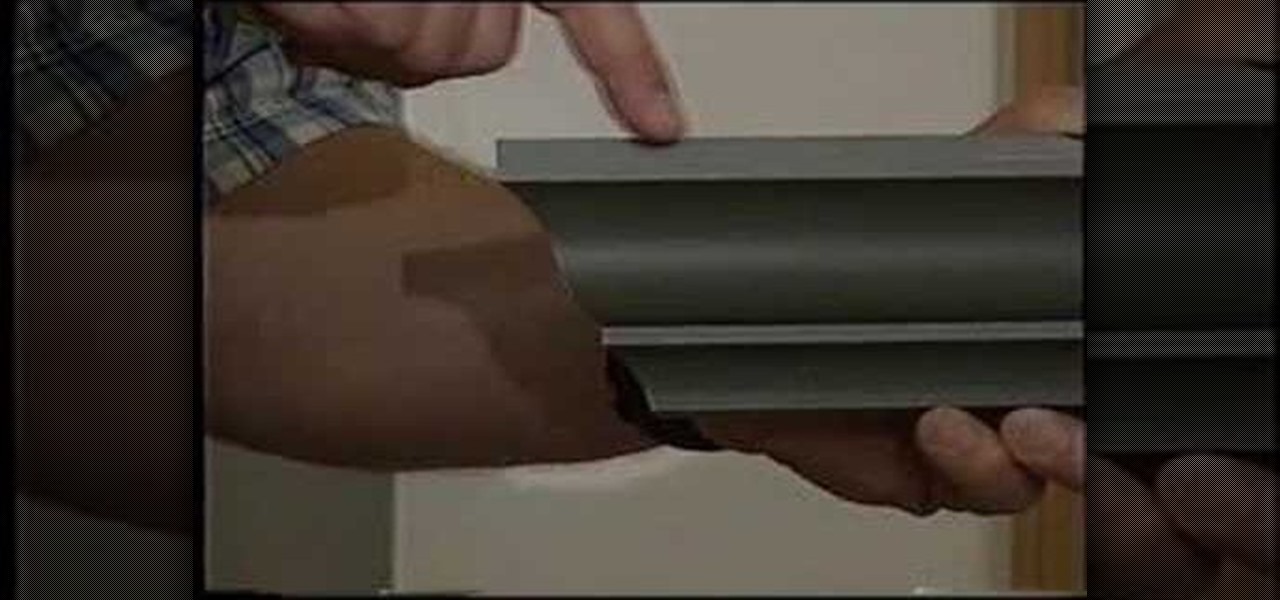
This short automotive customization video shows you how to mount your chrome moldings onto the body of a 66 or earlier beetle without damage. If you have a Volkswagen Bug that needs some loving, watch this video and learn how to restore the chrome molding on your VW to a bling-bling shine.

This video shows the viewer how to repair a section of damaged molding surrounding a door or window. The method shown uses WD40 and polyester resin. Firstly an undamaged section of the molding is sprayed with WD40 and then covered in resin. Once the resin has hardened the WD40 allows it to be removed and used as a mould. The mould is then sprayed with more WD40 and is filled with new resin. This is allowed to harden and then removed. The resin replica of the molding is then sanded and cut to ...

In this how-to video by Lowe's department store you are showed an intermediate do-it-yourself installation of beaded plank paneling and molding. He shows where you can get information on how to do this but then goes on to show the different paneling and molding you can make. He goes on to show how to measure and cut the paneling to your desired length. After describing how to measure and cut the panel he goes on to show how to prepare the paneling with the paint. He goes on to show the differ...

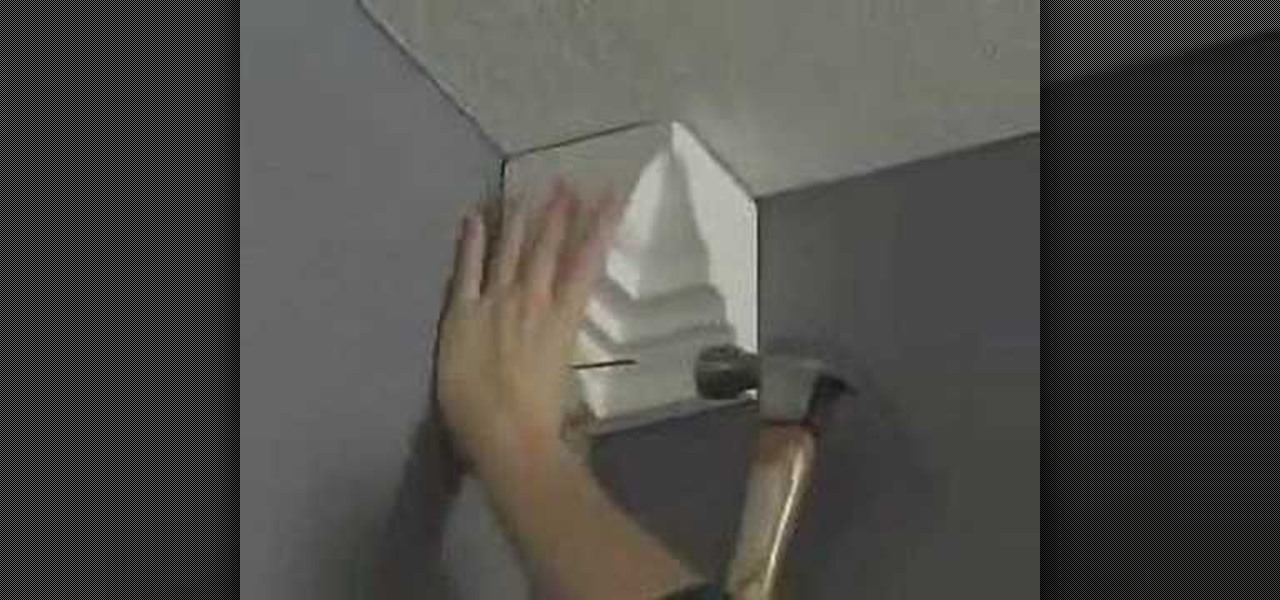
Would you like to apply stack molding on top molding but don't know how? Learn from this DIY home improvement guru how. Create interesting detail and character by making simple modling more elaborate.

Before you paint the walls it is important to paint the trim first. A painting pad is a very useful tool for painting along the edge where the ceiling meets the wall. It has guide wheels on it and will roll right along as you paint the trim. Next you will want to paint your woodwork including your baseboards and trim. When you go to roll the wall first take some painters tape and run it along the top of the baseboard to keep the specks that fly off the roller from getting on the baseboards. U...

Cutting crown molding is simple with these tips from Tim Carter. Your crown molding will easily fit any inside or outside corner if you follow Tim's tips. Simple crown molding will be even easier and complex crown molding will be doable.
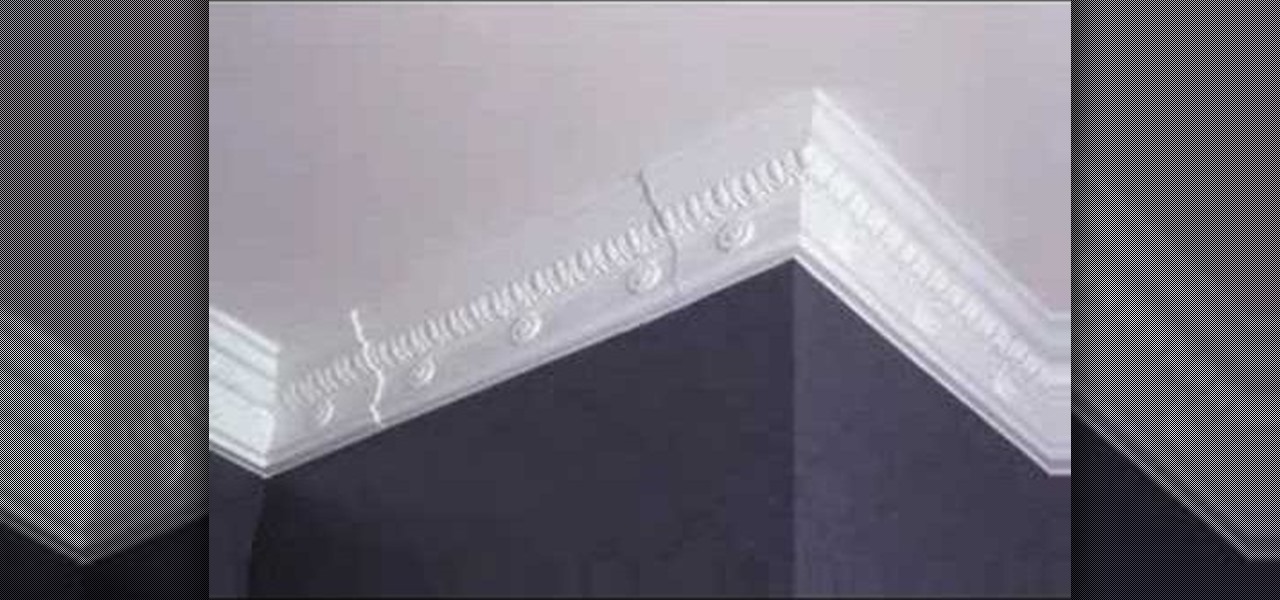
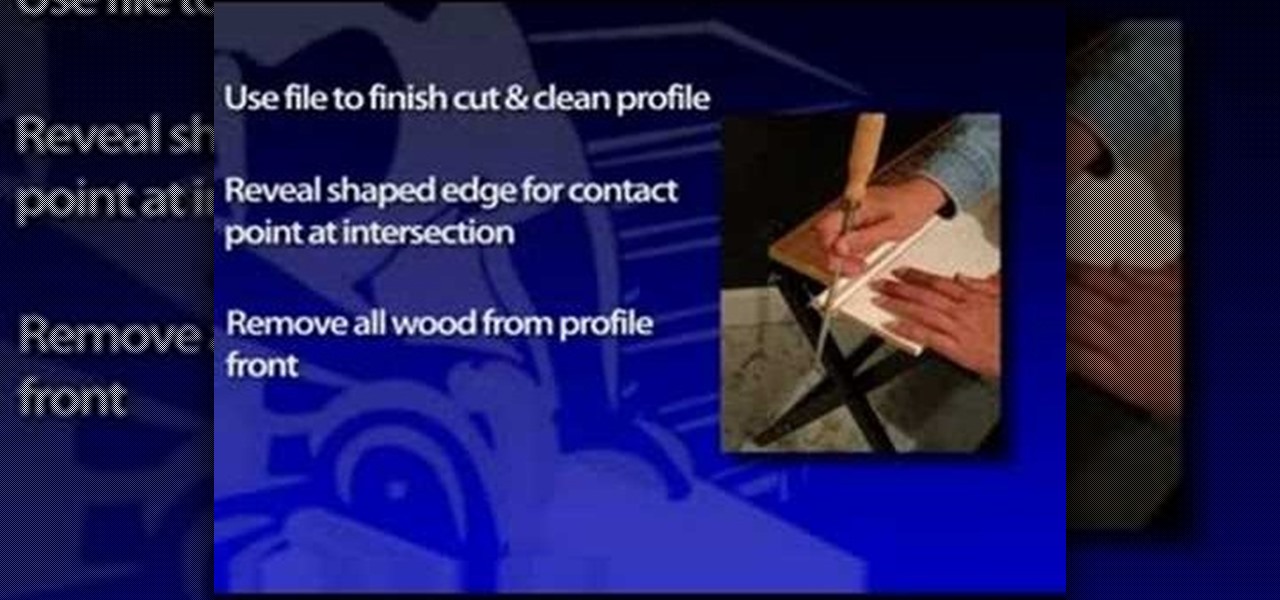
If you're looking to dress up an ordinary room, think about installing crown molding (also spelled moulding). Very few additions make a visual impact like crown molding, which gives a subtle yet elegant design element to any space. And with the proper tools and set up, installation can be easy. While wood is a common choice for crown molding, urethane is also a popular material. For a recent project we installed Fypon urethane crown molding, which is lightweight, flexible and looks like solid...
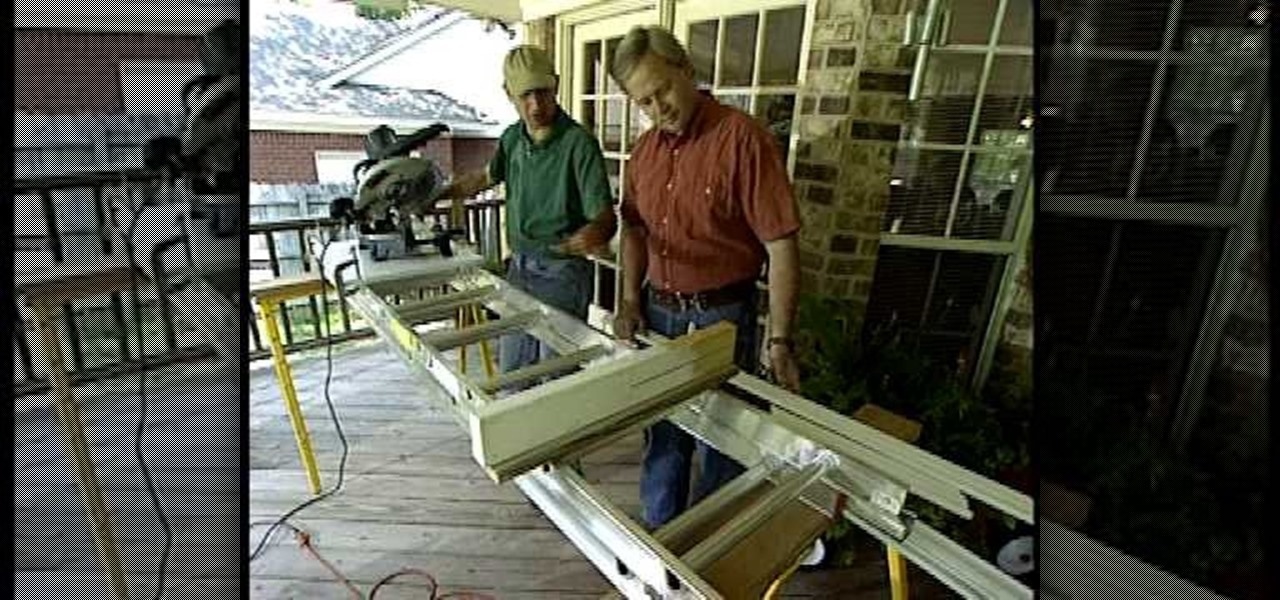
This is a how to video that explains how to do the difficult task of cutting crown molding and how to do it with tools you have laying around, a ladder and a saw horse as a support, and a miter saw. The author of this video explains that if the molding sags then it will not cut straight and your seams will not line up properly. The author is using an extension ladder and explains that you can cut very long pieces using this process. He also explains that you will need more than one brace to s...
Some good crown molding can make any room really pop. In this video, Mark Donovan of HomeAdditionPlus.com takes us through the basics of crown molding. He shows us a few examples, and walks us through installing it.
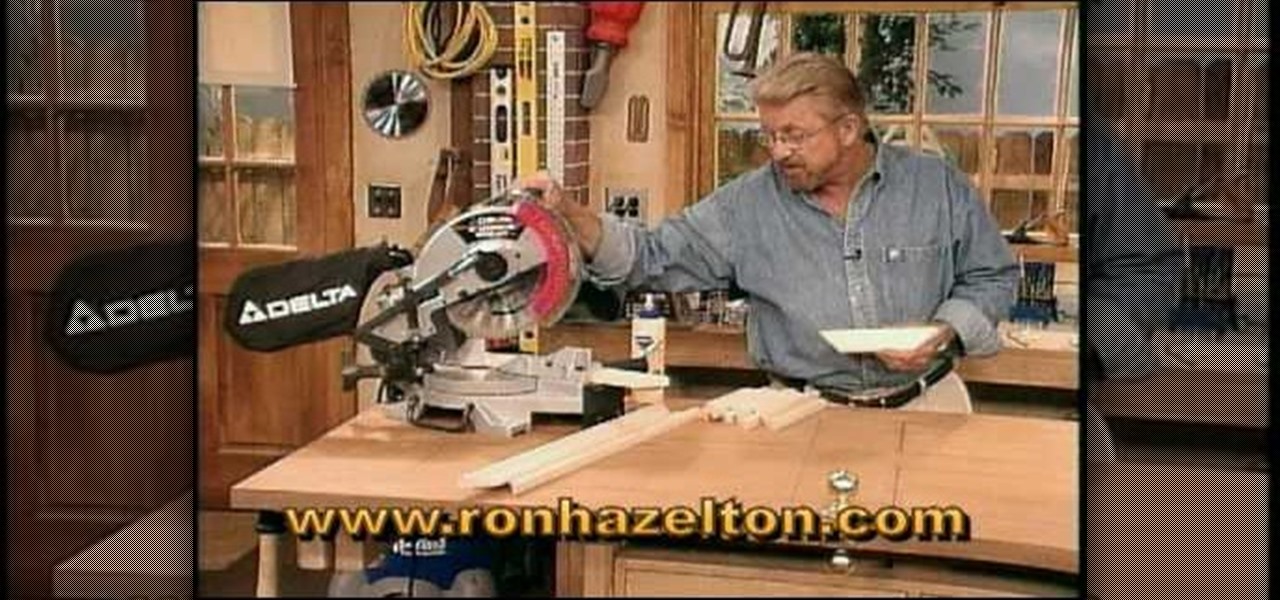
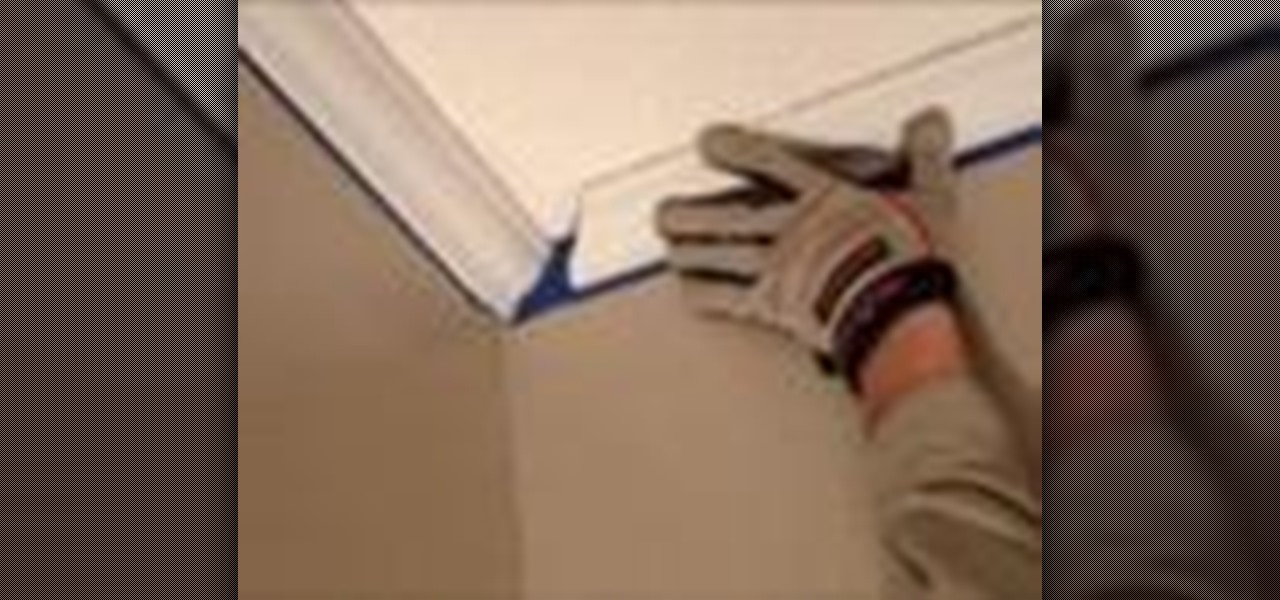
When installing baseboards, crown molding ("moulding") and chair rails, it's tempting to cut 45-degree miters at the corners and hope for a sure fit. The problem is that most walls aren't square. Joining two 45-cut molding pieces may give you a square joint, but a square joint may not work for your crazy corner. In fact, it seems like every wall is just a “hair” out of square. This problem could be due to a framing error or a buildup of drywall compound in the corner. But even a perfect miter...
Why pay a contractor to do projects that, with a little effort and perseverance, you can do yourself? In this video tutorial, you'll learn how install crown molding in a rectangular room by coping your inside corners. For a step-by-step look at the crown molding installation process for a rectangular room, take a look at this DIY how-to.
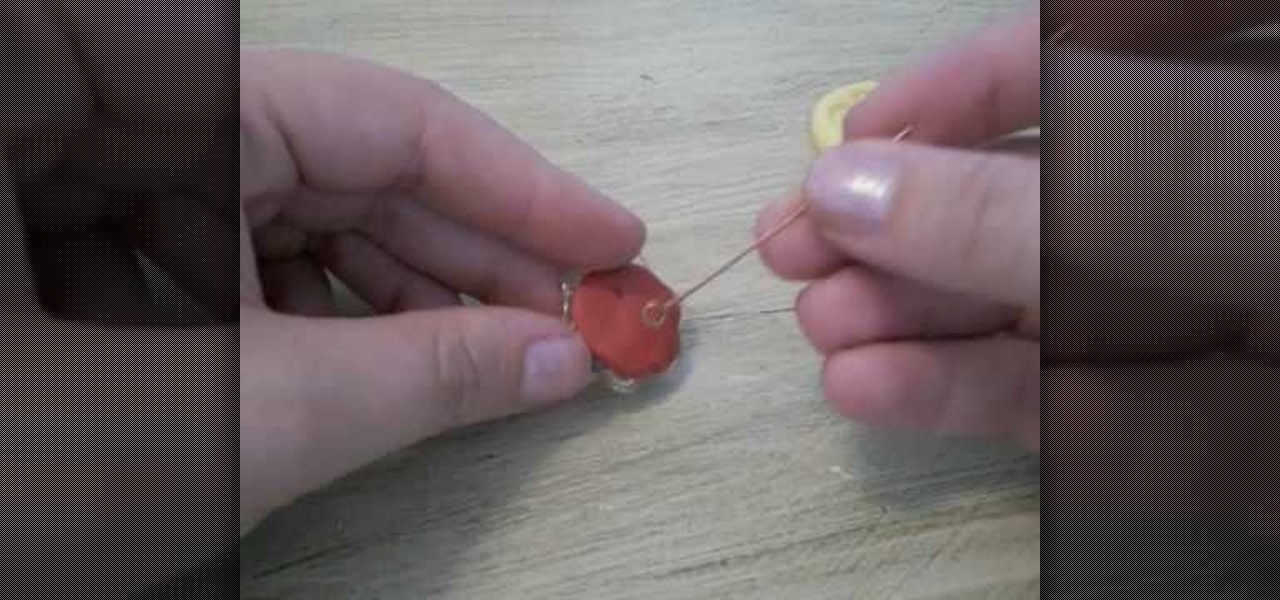
Art Jewelry Magazine associate editor Jill Erickson shows you a couple of ways to condition polymer clay. Conditioning, or kneading, is essential to drive out air bubbles and to better prepare clay for molding. Learn how to condition or knead polymer clay before molding or sculpting by watching this video jewelry-making tutorial.
It may not seem like a big deal, but it can be for some homeowners. Shoe molding around your cabinets and island tables, can asily be damaged or become worn out over a long period of time. Replacing it, may seem like a pain, but it's really simple and can be done in no time. Check out the tutorial above on how to replace old shoe molding in your home today. Good luck and enjoy!
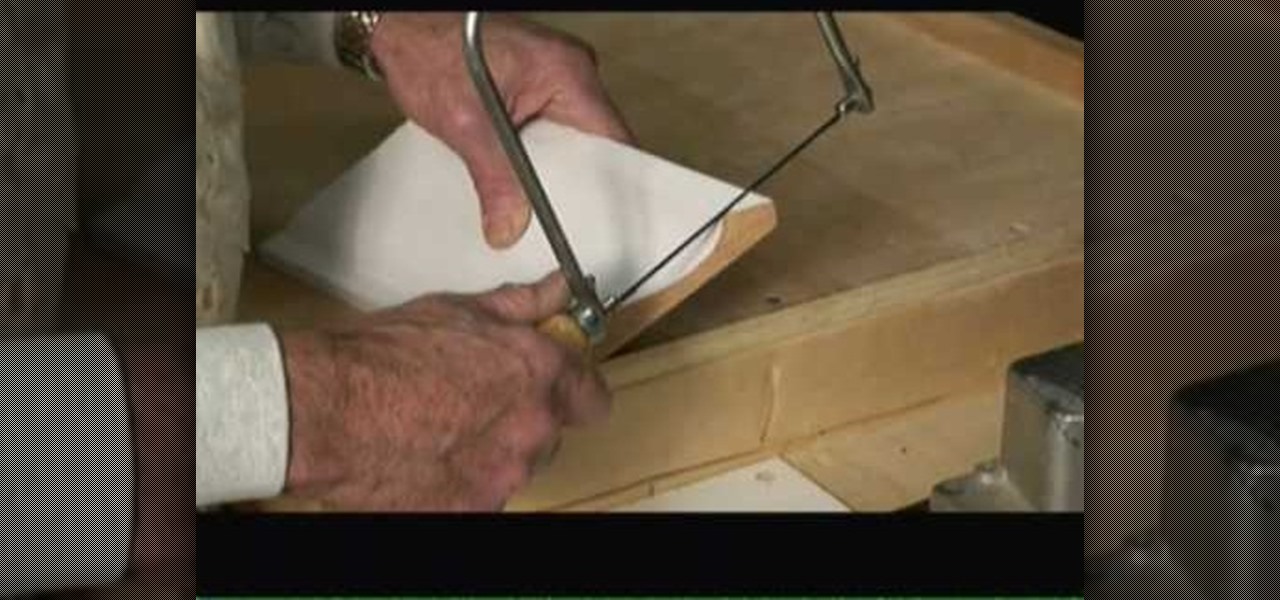
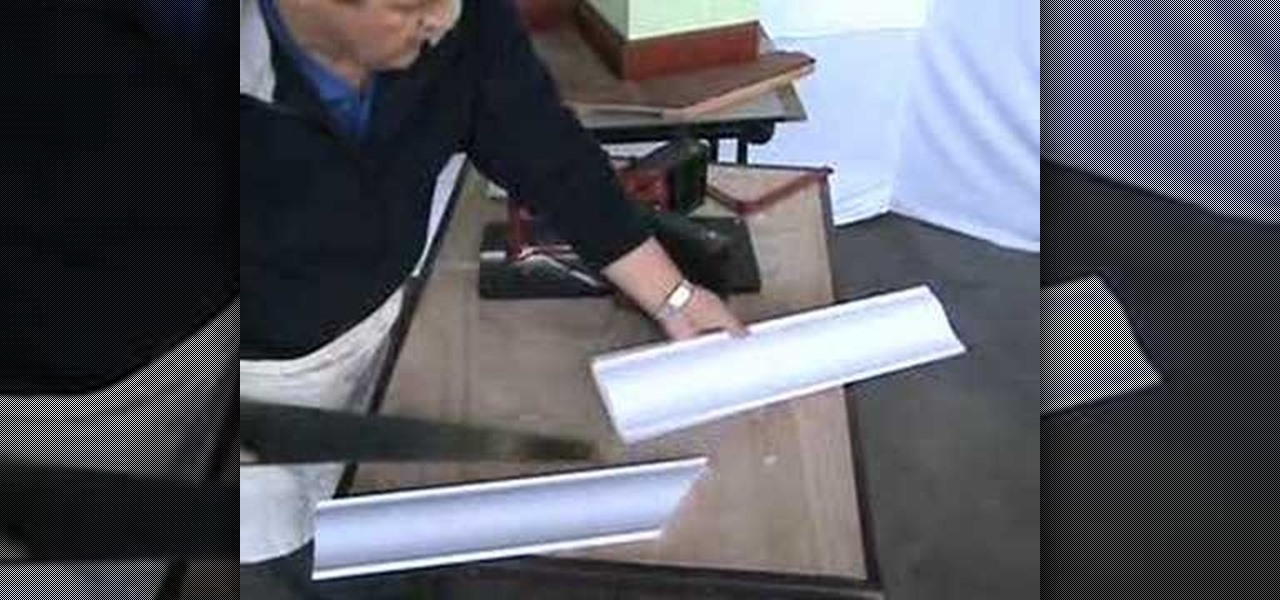
In this video tutorial, viewers learn how to cut a scarf joint in crown molding and coving. Scarf joint is simply two flat planes meeting on an angle relative to the axis of the stock being joined. Users will need a magic miter. The magic miter is a miter box for cutting miter joints at any angle in crown molding, baseboard, chair rails and more. Adjust the machine to a 45 degree angle and lock it. Put in the mold and cut it. Repeat the same step for the other side. This video will benefit th...
Do you want to add some zest to the walls of your home without spending a lot of money? You can do easy instant molding with wallpaper or metallic tape that will add a lot of flash for the buck, and this video will show you how to do it.
Tim Carter, of AsktheBuilder, demonstrates how to position crown molding in a miter saw for perfect cuts every time.
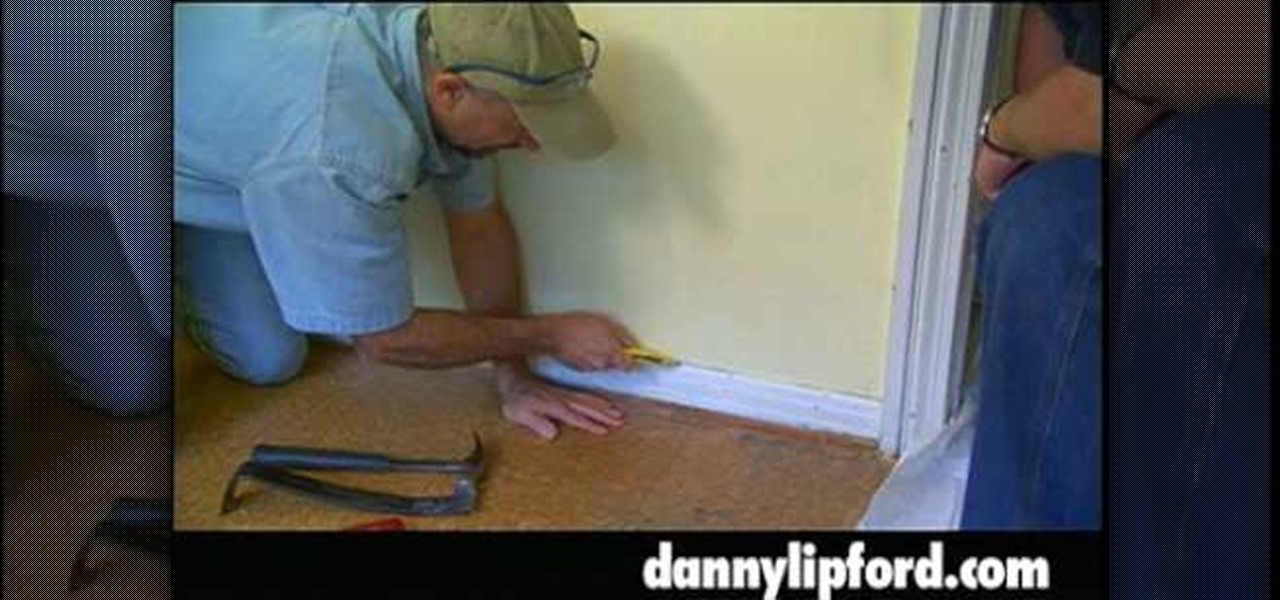
Tim Carter demonstrates how to install quarter round to hide that ugly looking gap between baseboards and flooring. Tim's use of the toe-strip shows beautiful results in the molding.
Tim Carter, of Ask the Builder, demonstrates a few easy tips to make perfect cuts on wood crown molding, especially in the corners of a room. You have to gave your house looking beautiful, don't you?
Tim Carter demonstrates how to cut crown molding properly. Easy tips and tricks lead to quality cuts and results.
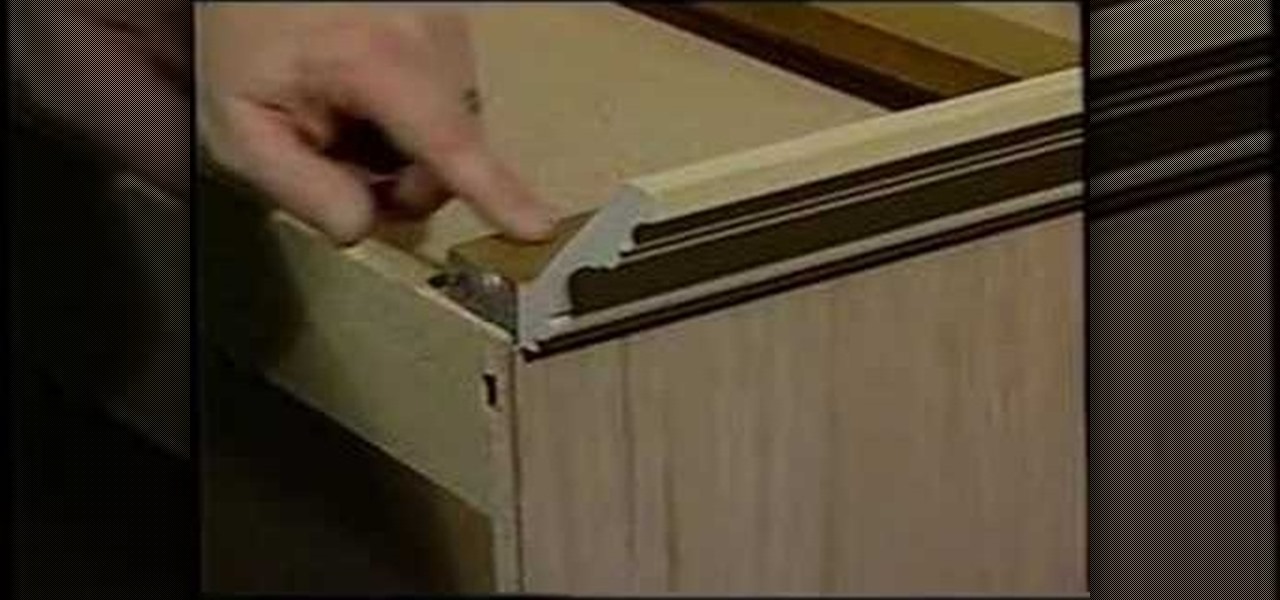
Looking for an inexpensive way to dress up those boring old doors in your home? Well, look no further as Ron Hazelton from Ron Hazelton's House Calls, and [ronhazelton.com], has got the cure for your ailing closet doors. In under two minutes Ron shows us the tools we will need, the materials, and techniques to use to take those doors from boring to beautiful in this amazing how to video that is sure to pique your interest and keep you coming back for more.
She begins by taking something she has molded with Amazing Mold Putty. She uses Magic Gloss resin which cures with UV light to fill the silicon mold and sprinkles some glitter onto the resin. She emphasizes that she's doing this indoors, because the resin will harden when exposed to light. She takes it outside to cure in the sunshine and says it will take about 15 minutes to cure. When it's done, she rolls a ball of Pardo clay. She pops the molded piece out. She presses the molded resin piece...
Why throw away all that perfectly good molding when you can reuse in another project? Learn how to remove molding neatly so you can reuse it later with this home remodeling tutorial. With the tips from this how to video you can recycle your molding.
In this tutorial, we learn how to cut crown molding perfectly for your home. First, you will need to determine what spring angle your crown molding is. It comes in 38 degrees, 45 degrees, and 52 degrees. If you buy the wrong kind, it will not match your crown molding and will look odd. Once you have figured out what you need, you will need to cut the molding on the side that is on the back side of the bottom. You will also need to drop your block next to it to get it cut at the right angle. W...
Tim Carter explains how to put crown molding on your kitchen cabinets. This video explains how installing the molding can help increase the value of your home.
Installing crown molding is easy with a few tips. AsktheBuilder host Tim Carter shares some tips to make installing crown molding easy. It really can be simple to get perfect cuts each time.
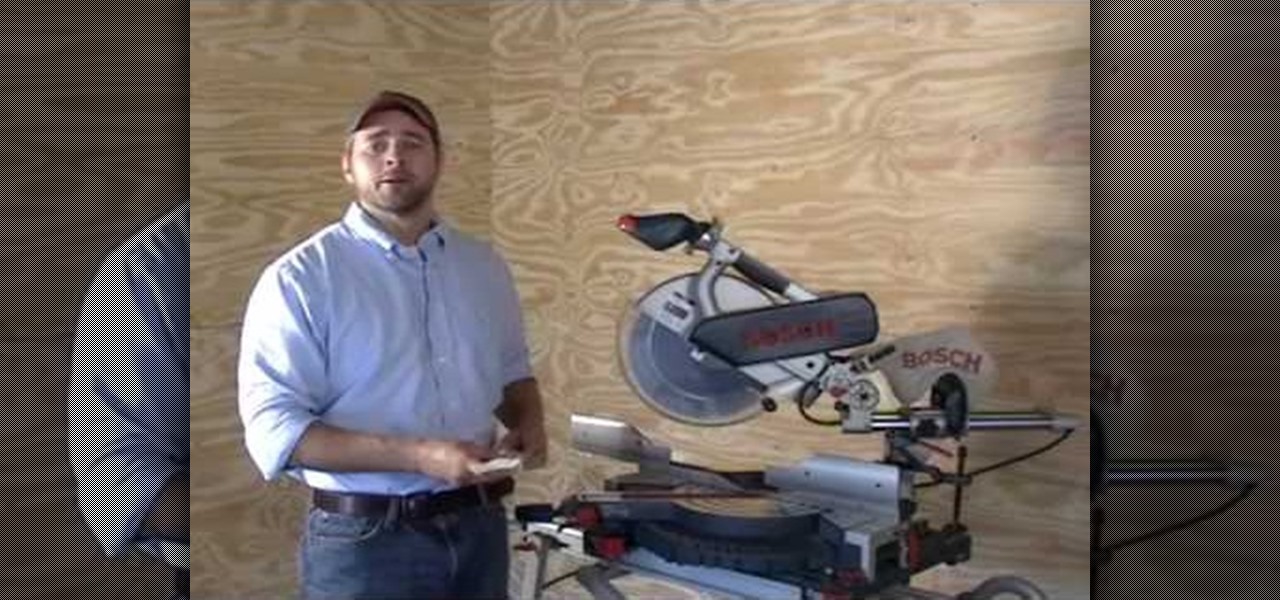
dewalttv teaches you how to cut nested crown molding with a DEWALT miter saw. The advantage of this position is that it doesn't require a bevel angle. The bottom of the molding should be placed against the fence. To cut the right piece, set the miter to 45 degrees to the left and make the cut. To cut the other piece, the left one, set the miter angle to 45 degrees to the right and cut. You are done. This technique is useful when you don't want to worry about setting up a level cut.
In this how to video learn to install crown molding. This step by step guide shows you an easy way to add a lot of value to your home.
Tim Carter breaks down the steps to creating 4-cut crown molding corners. Tim's simple explanation truly shows how simple the corners are to make.
Learn the basics of how to install a crown molding to your ceilings.
Trees can be annoying in Minecraft, because they're organic and grow in unpredictable ways. But there are a few techniques for controlling how trees grow so that you can have a forest that looks exactly like you want it to! Come join us at our workshop this Saturday and we'll show you how to make trees grow how you'd like them to! Then you can compete to see who can make the coolest tree! Workshops are held on our server, mc.wonderhowto.com, every Saturday at 12:01 pm PST (3:01 pm EST). I hop...
In this video clip, our expert Tim Eaton, will explain the essentials of base molding, helping you understand the uses for it, as well as how to cut the wood, measure it, and install with nail guns. Learn how to cut the corner pieces, how to use a compressor and nail gun, and tips for applying inside and outside corner molding pieces correctly.
Adding crown molding can not only add style but it can also add value to your home. Exciting new options make installing chair rails and molding even easier for DIYers. Watch this how to video to learn how to decorate with and install interior molding.
Installing molding in your home, is a great way to add character and elegance for an inexpensive price. Whether it's base or crown molding, it's a great option for your home and a good way to help bring up the value of it as well. In this video tutorial, discover what it takes to install built-up crown molding in your home. It's a project that will require two or more people and can easily take a day or two depending on experience. So good luck and enjoy! Install a built-up crown molding.
All the dentil molding is on and now it's time to add another layer. Tommy shows how the applied dentil molding looks and how the soffit and quarter round fit over it. He then attaches them to the case. Tommy cleans up the dentil molding with a chisel so it is flush with the quarter round. After gluing the final corner in place, the first part of the crown is done and Tommy can enjoy a victory cigar.
If you have hardwood floors in your house, take a look at your baseboards. Right in front of the baseboards there is usually a smaller, curved molding about ¾” tall. How does this short molding look? Is it painted over, chipped and/or just beat up in general? If so, you can easily replace this molding and make a huge difference in the overall appearance of your room. And, it is fairly easy to do.
Watch this video from This Old House to learn how to cut crown molding. Steps:
Watch this video from This Old House to learn how to repair plaster molding. Steps:
Watch this video from This Old House to learn how to make an inside joint for crown molding. Steps:
Vinyl wall base molding is an easy-to-install substitute for wood baseboard molding. In areas that you have installed a vinyl or carpeted floor, vinyl wall base molding is a very decorative and functional option for surrounding the room perimeter. You have several color choices that can provide a nice accent to the colors and design of the entire room. Because it is pliable and resilient, it is easy to install and resistant to scuffs and scrapes that can occur over time. Ideal applications ar...