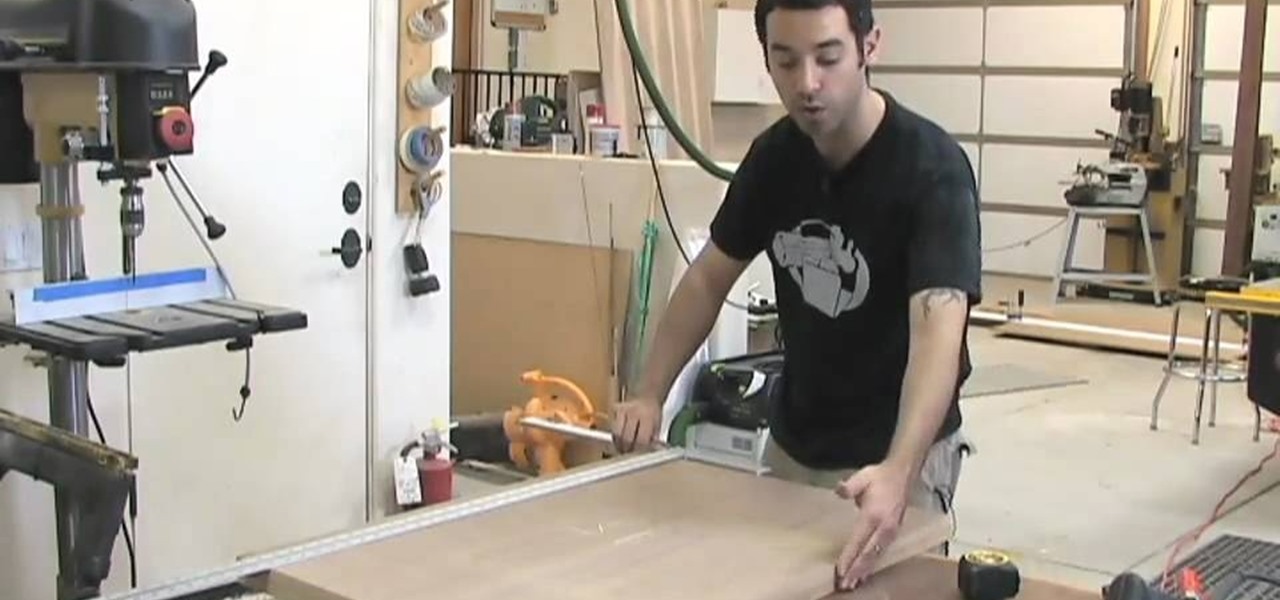
It is not that hard to make your own drill press table. Start with a 3/4-inch piece of plywood. Cut a 3/4-inch dado cut on both ends of the 3/4-inch board about two inches from the end. Top the 3/4-inch plywood with a 1/4-inch piece of oak cut into three pieces. When you cut the board into three pieces cut the center piece out with a 10-degree angle so that when you glue the two end pieces down the center piece will slide in and out but be held in place by the angle. This allows you to change...
Everyone knows that dressing for success can give you an edge. Invest in a pocket square and put you and your suit over the top. Watch this video to learn how to fold a pocket square.
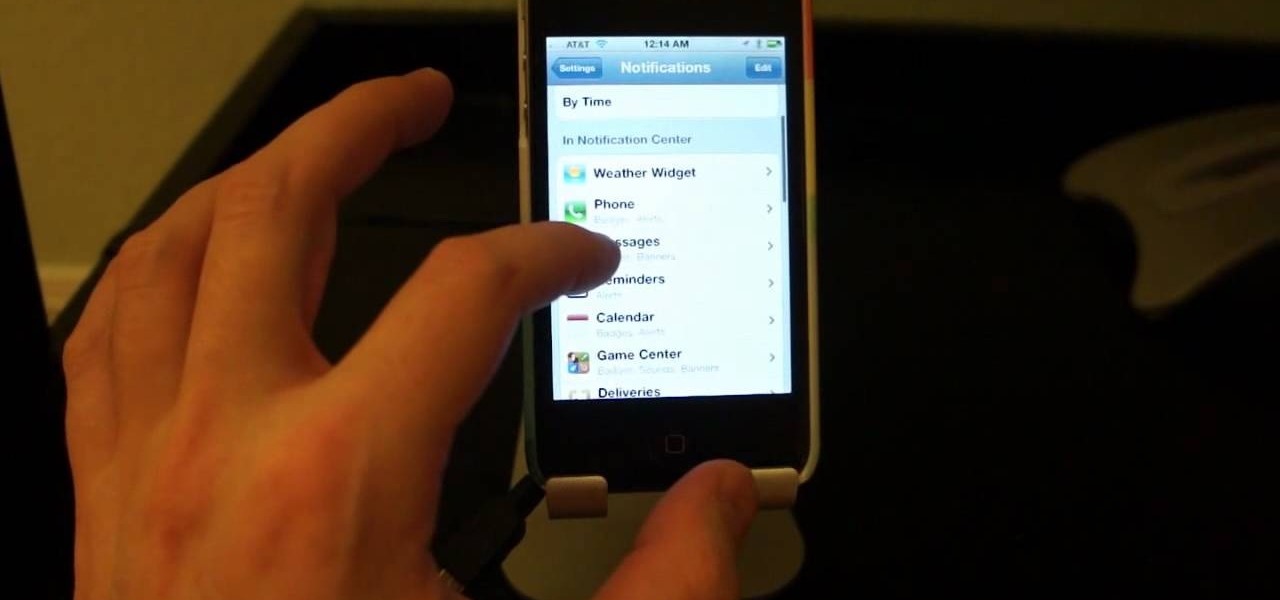
Looking to manage and configure the new Notification Center in iOS 5? This guide will walk you through the options and settings available in Notification Center, and help you control what notifications you see on your iPhone, iPad, or iPod touch.
The Wood Whisperer thinks you have what it takes to build furniture. Be sure to watch this entire 5-part tutorial to learn how to build a low entertainment center that is attractive and pocketbook-friendly. Impress your friends with your expert woodworking skills.
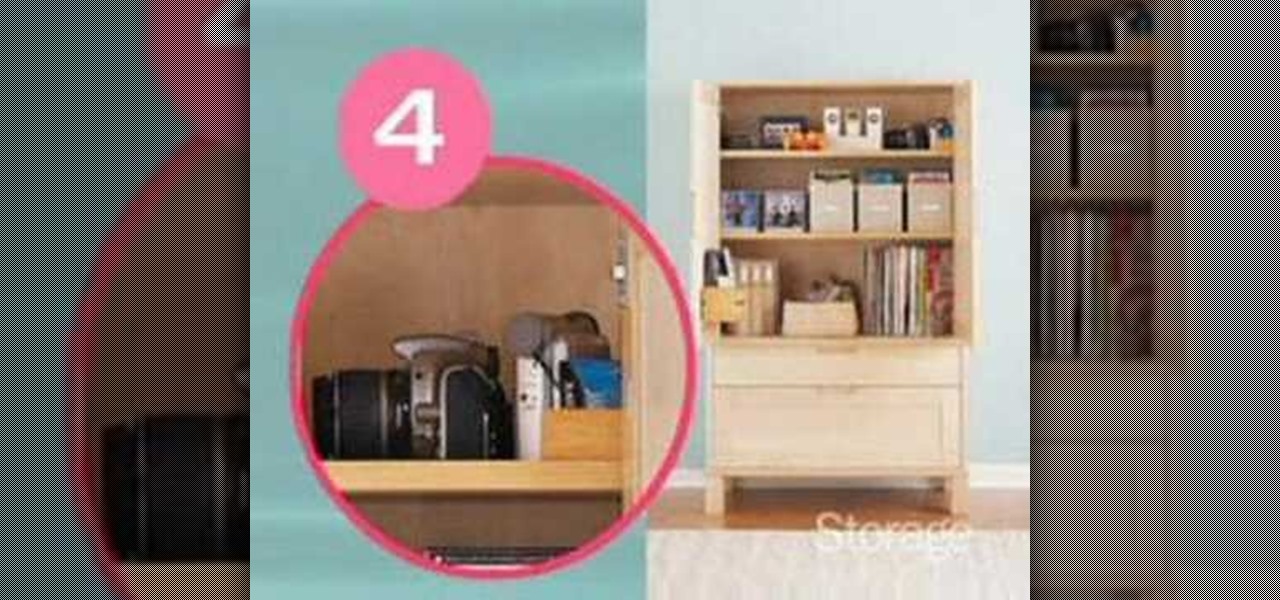
Is you media center in chaos? Watch this video tutorial by Better TV for ten tips on how to organize and down-size your media center.

If the iPhone XS, XS Max, or XR is your first Home button-free iPhone, you might have some questions, such as "How do I access the app switcher?" and "How do I use reachability?" While iPhone X owners have had over a year of practice, newcomers to Apple's buttonless revolution might feel a bit confused when it comes to actions they used to perform on iPhones with ease.

One of the most exciting features in iOS 11 was the fully revamped Control Center, which improved the overall interface visually, made it one page only, and finally made it possible to customize what controls actually appear within it. Customizable controls was previously only available to jailbreakers, but now it's available to anyone running iOS 11 or iOS 12.
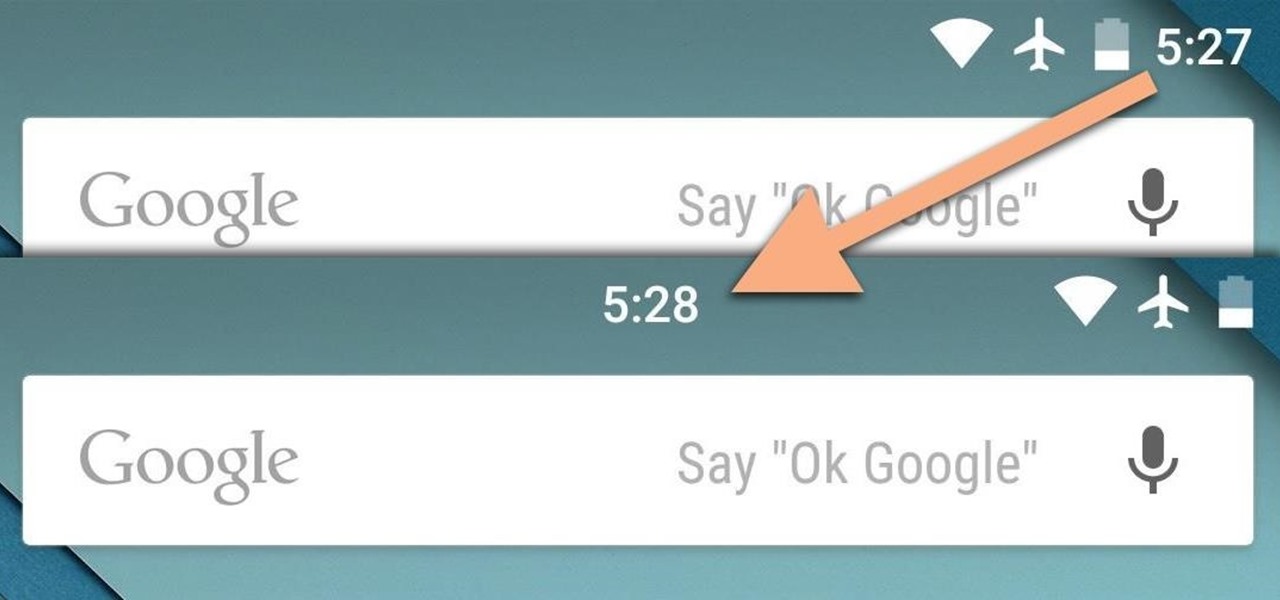
If you're like me, things just seem to look better when they're symmetrical. While Android's status bar icons are indeed weighted against the notifications that show up on the left side of this area, the balance still seems skewed to the right.
Center yourself and your geometry, in modo that is! The Center command is a crucial component for all modelers. The modo center command allows you to center any piece of geometry along the X Y or Z axis. Learn the ins and outs of the modo Center options here.
The big man under the basket. Learn how to play center and low post in this free basketball lesson video from an experienced coach.
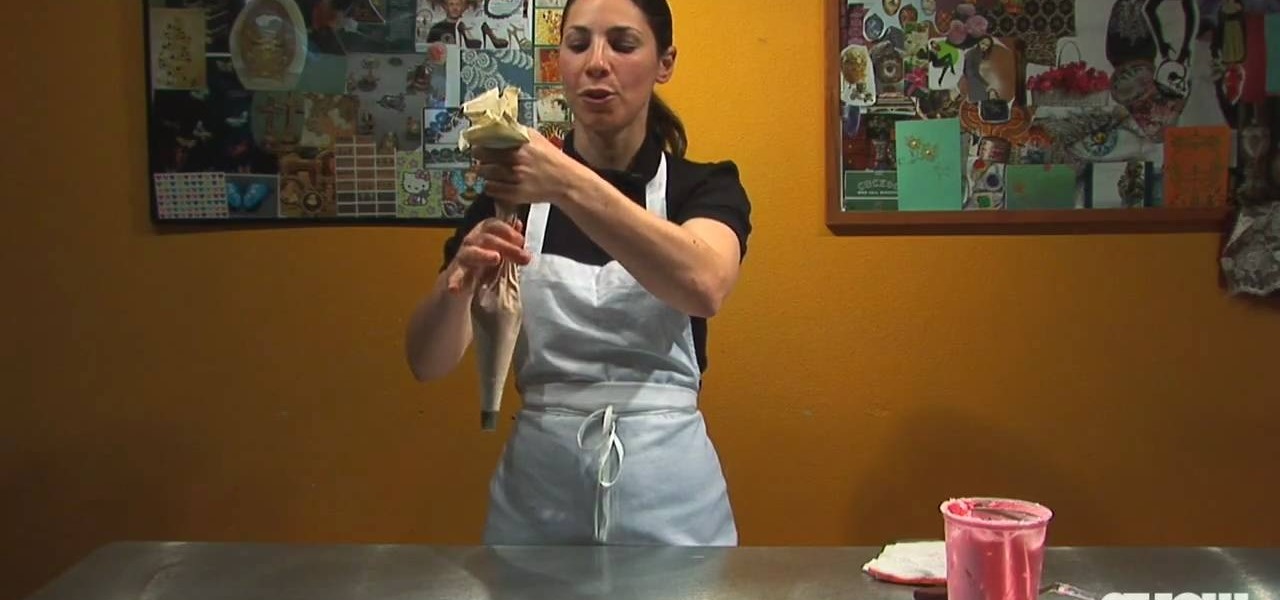
If you want to get serious about decorating your cakes and cupcakes then you have to know how to ice them properly. The biggest mistake beginners make is that they hold the piping bag in the center and just squeeze the icing out. But this method lacks control and makes some extra icing ride up and out of the bag.
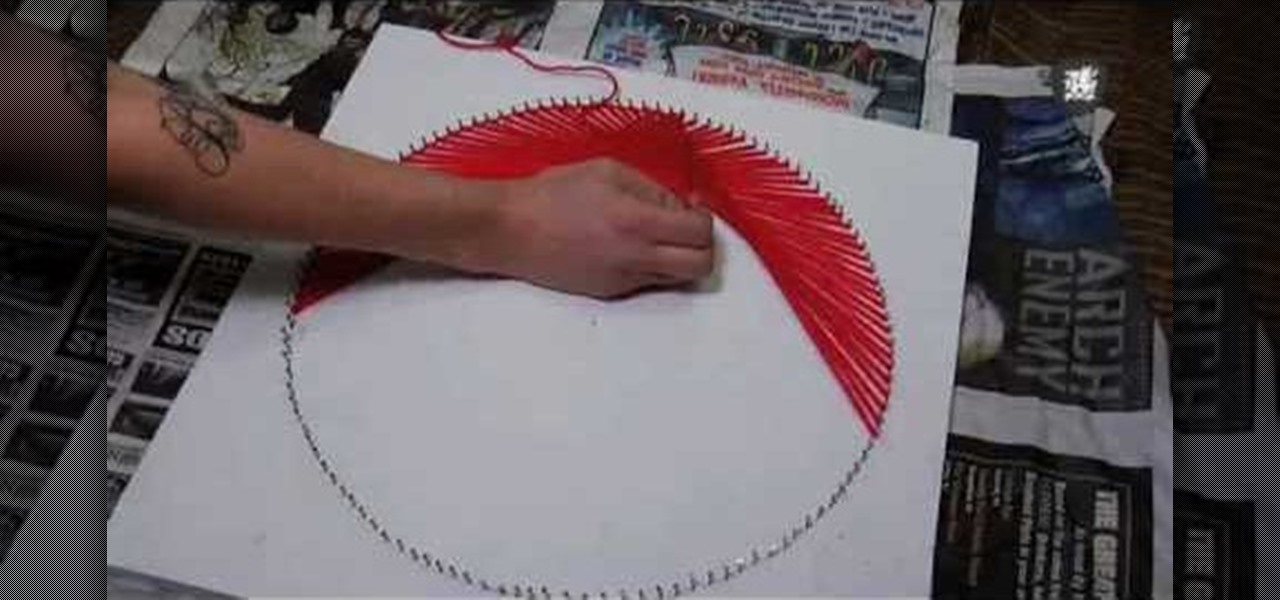
This video is 70's string art tutorial, decor yourself. The way the women is describing, is that you can use anything to do this, get a piece of thick wood, paint it white, use a ruler, and measure halfway, draw a dot. Draw a circle around it, with the dot being in the middle. take nails all the way around the center of the circle, and thread the whole thing, until you turn out with a very beautiful and creative circle design that you can hang on your livingroom wall, theres also other design...
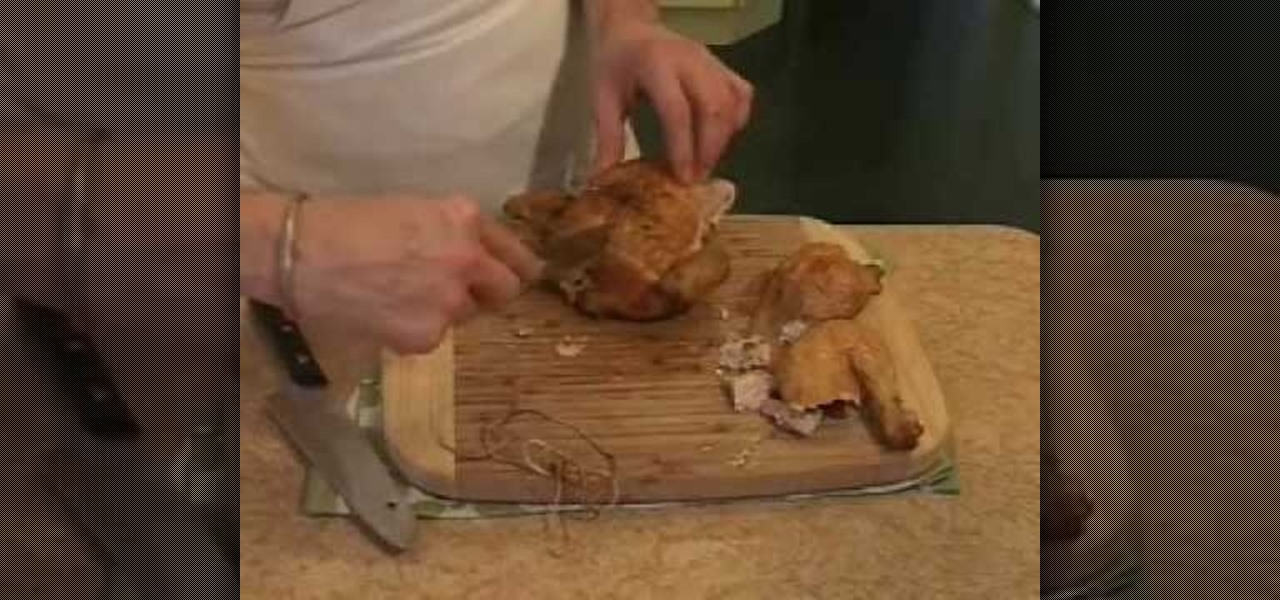
In order to Carve a Whole Roasted Chicken, you will need the following: a cutting board, a fully cooked roasted chicken, and very sharp knives.
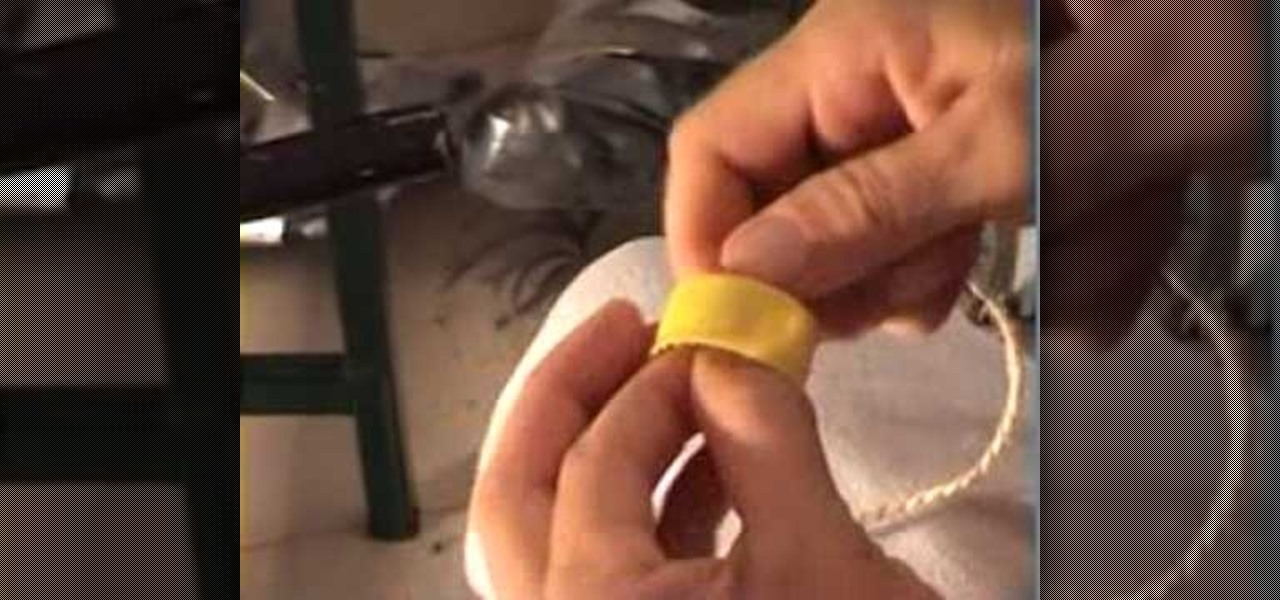
This video shows how to make buttons from paper scraps. You need some patterned paper scraps left over from scrapbooking. The best working surface is a Teflon sheet. You also need some shiny glaze product, a pin, and a punch, for example a circle punch, but square, hearts or flowers will do just as well. You need scissors too. Cut or punch out several button shapes. Use a small hole punch to make two holes or four holes in the centre of the button. Use the pin to clear the glaze nozzle. Add t...
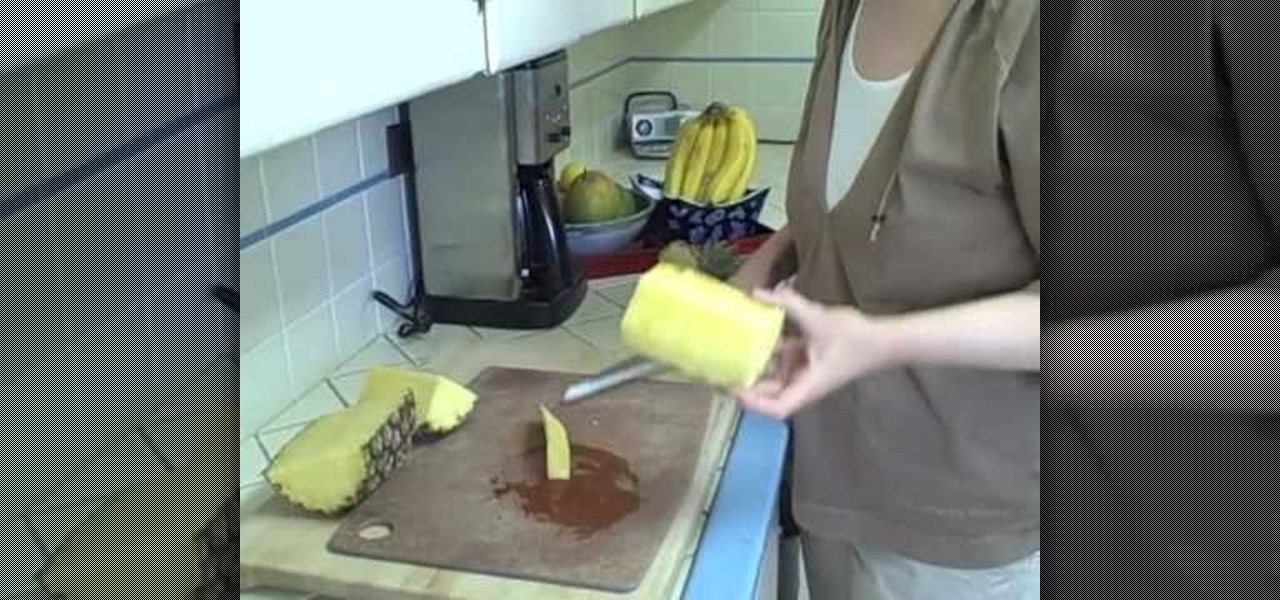
In this video Sue demonstrates how to cut a pineapple quickly and easily .surely this method will help to cut a pineapple without any mess. At first she cuts off the top of the pineapple and then the bottom ,then she places the pineapple standing on its base and bisect into two half at the middle and again she cuts the half piece at the center to get quarters. Then she cuts the quarters core away ,then she begin to slit the fleshy part of the fruit without cutting the skin ,after that she run...
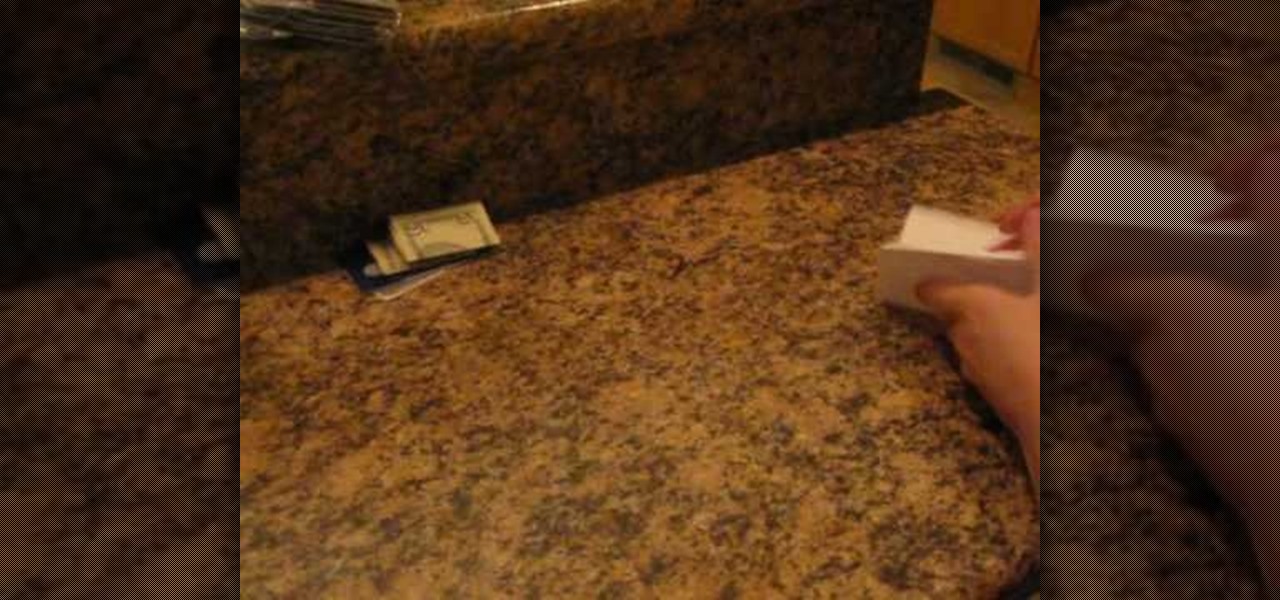
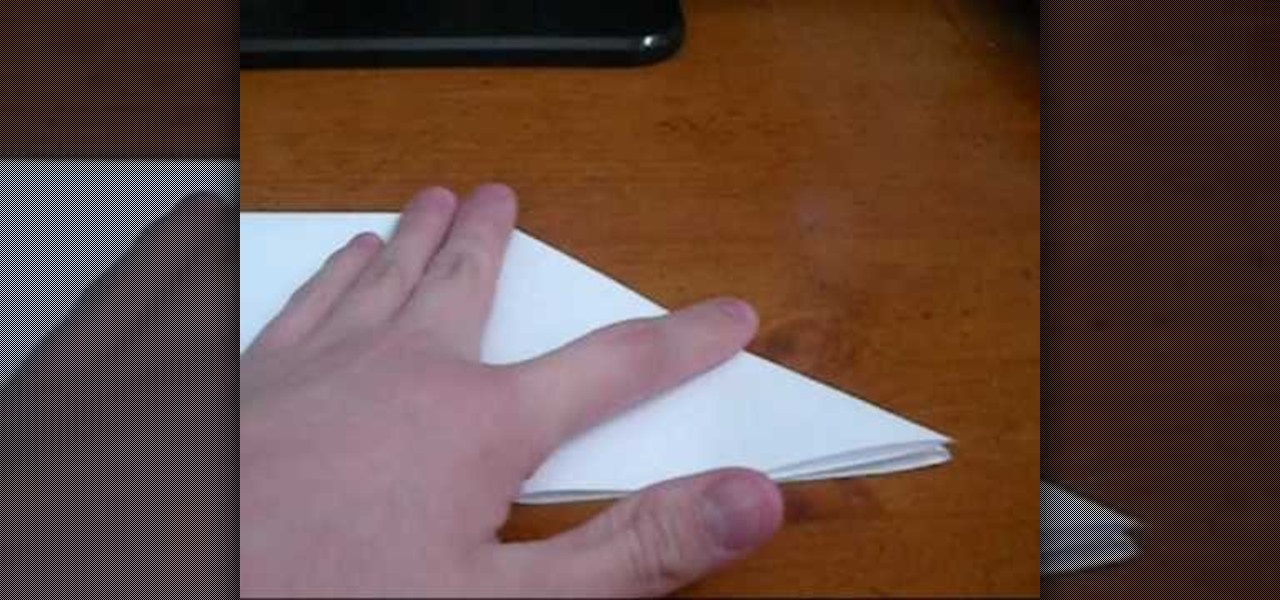
This short video on craft shows how to make a paper wallet without using tape or scissors. The first step is to fold an A4 size paper into half and press the fold in the center. The next step is to fold the top flap to the bottom outwards and pressed hardly. The same has to be done on the other side. One quarters of the flap on one side is folded downwards and is again repeated on the other side. Next the two corners of the flap are folded outwards as triangles for both the flaps. The next st...
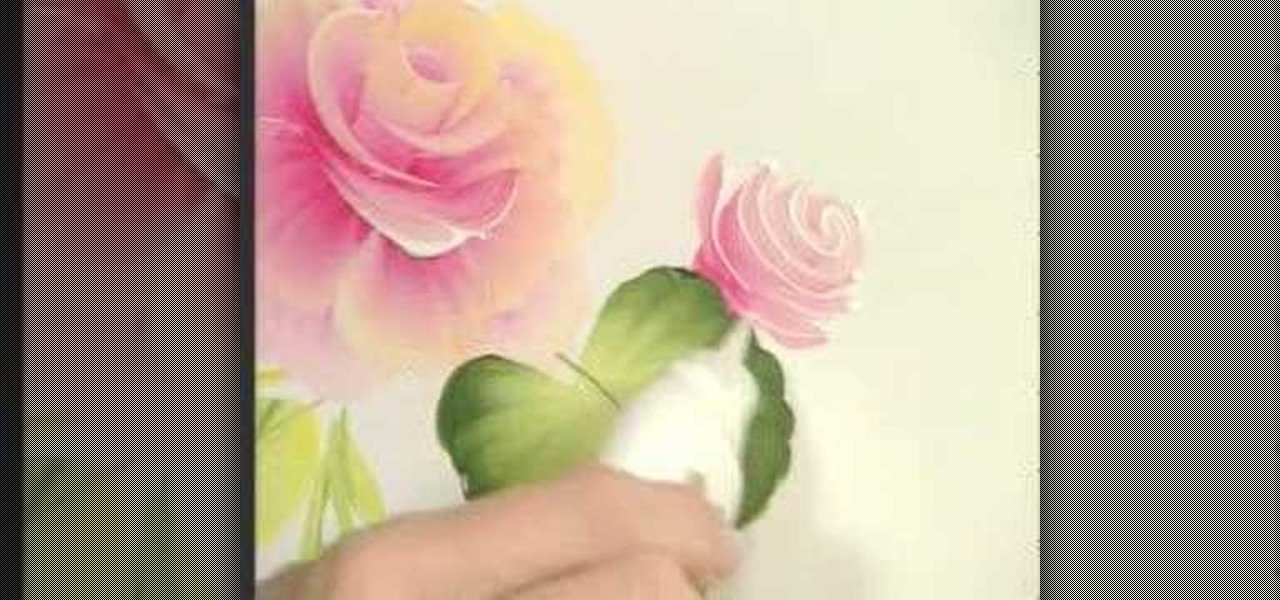
In this tutorial, we learn how to paint a cabbage rose using the one stroke technique. Start out by mixing together white and red with your paint brush. After this, add yellow to the tip of the brush and paint it onto the paper using your hand to move the brush gently up and down. Do this in a circle to make several petals into one single flower. Then, paint on petals around the inside petals to create a larger flower. Add in additional color to the center of the flower to make it pop out mor...
In this tutorial, we learn how to make a hair bow with and without a tail. First, take a long and thick ribbon in your choice of color and a thin ribbon in your choice of color. After this, grab a needle and thread and set it aside once it's threaded. Then, take your thick ribbon and fold it into a bow shape. From here, take the needle and sew the ribbon down the middle of the bow. After this, take the smaller ribbon and tie this in the center of the bow. When finished, you will glue this to ...
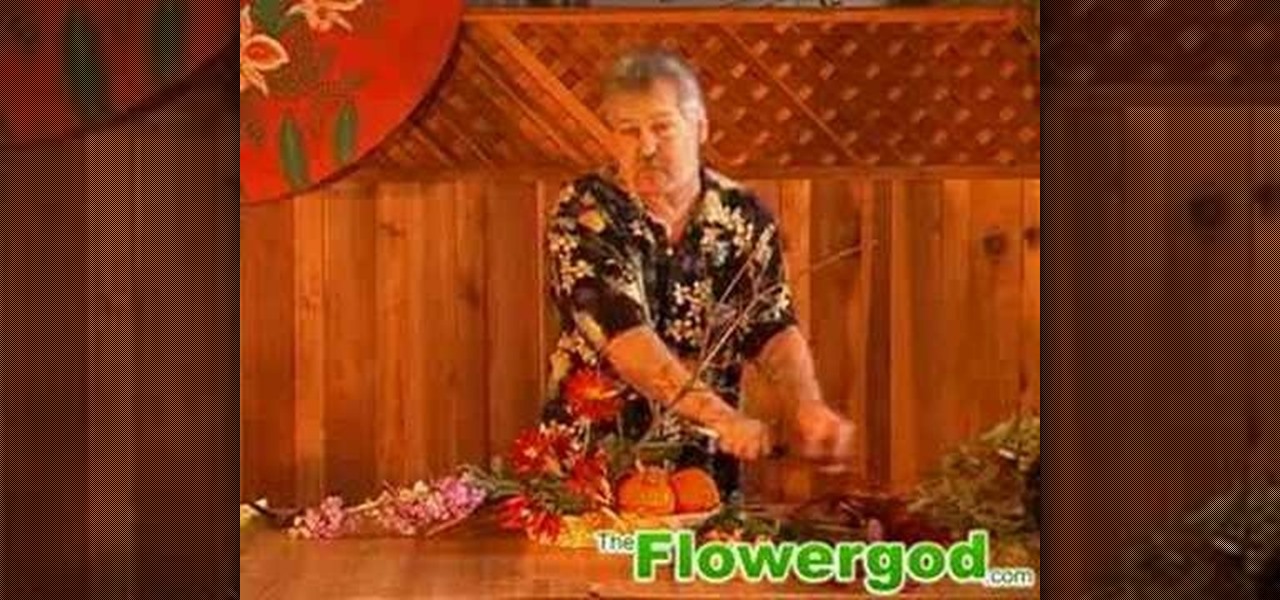
In this tutorial, we learn how to design a fall table centerpiece with mini pumpkins. First, place three mini pumpkins on the side of a basket. Then, place peppers around them and throughout the basket. Take a bare branch and stick that in the middle of the centerpiece. From here, take some fall type of flowers and place them on the other side of the basket to decorate with. Use different colors with oranges, purples, and greens to make it look more like fall. From here, add in some fall leav...
In this tutorial, we learn how to create a warm grunge background in Photoshop. First, create a large circle on a burnt orange background in Photoshop. Now, go to layer, adjustment layer, then levels. Hit "ok" then the level's adjustment layer will be masked. Now, go grab the bottom black slider and brighten up the middle. Use the overlay to create a center glow. Next, bring in texture using a brushed metal texture from this photo. Now, even the image out by going to image, then image rotatio...
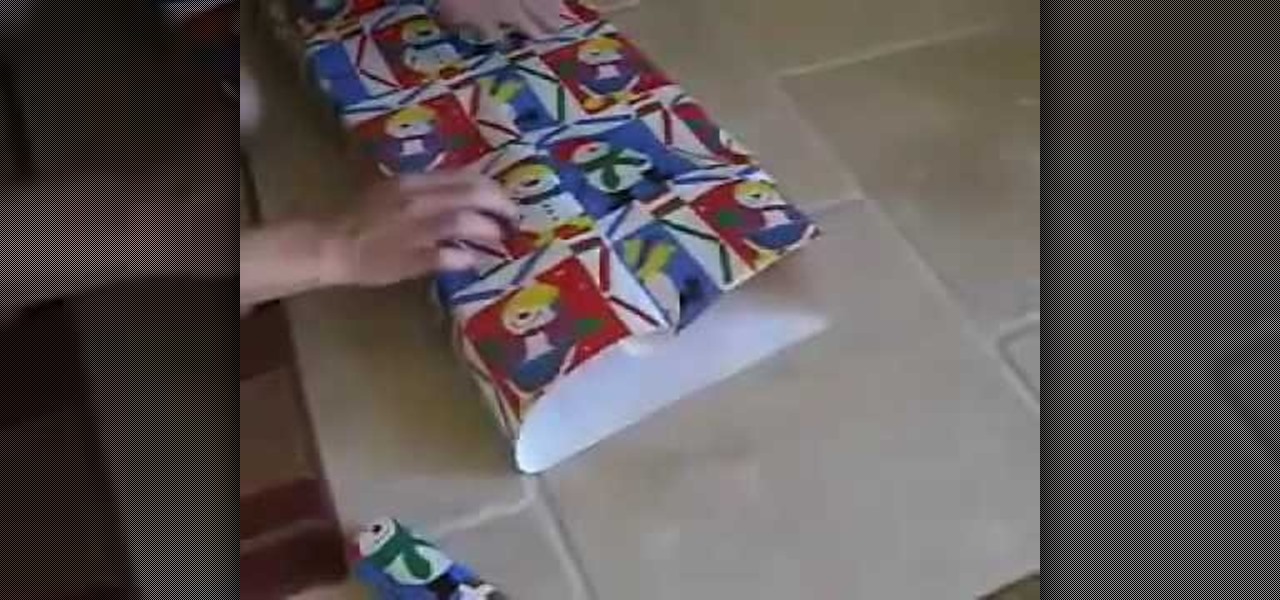
In this video, we learn how to wrap a gift. You will need: scissors, your gift, tape, and wrapping paper. First, place your gift down on the rolled out wrapping paper upside down. Measure out the paper so you have enough, then cut the paper from the roll. Next, you will fold the edges of the paper down, then center the gift on the paper. Bring the sides of the wrapping paper into the middle, then tape it. If you have too much paper on the edges, cut it carefully with the scissors. Now, push d...
In this how to video, you will learn how to make a hair bow. You will need a ribbon and a bobby pin. First, make a knot in the center of the ribbon. Next, pull it tight and make a bow shape in the ribbon. Make sure that it comes out evenly. if your ribbon is not double sided, one end may have no pattern. This means you have to twist it so that the printed side appears in the front. Next, take the bobby pin and slide one end through the loop in the middle. Make sure it is in the bottom area of...
This video shows the way to make a paper balloon. A square paper is taken. Two perpendicular folds are made down the diagonals of the square. Then an isosceles triangle is made by folding one side of the square towards its opposite side and the other two sides are tucked in. Now there are four isosceles-right triangular flaps. The flaps are folded along its middle to resemble isosceles triangular flaps. The edge of the flaps is folded towards the center. The free end of the flap is tucked int...
Learn how to make a ‘Paper Balloon/Water Bomb’ by watching this tutorial. Take a square piece of paper. Fold the paper diagonally to make a triangle. Open the paper to reveal a diagonal crease. Repeat the same with the other end, to make a crease which is perpendicular to the first one. Open the paper to reveal an ‘X’. Now fold the paper at the center, to make a rectangle. Next, push the edge along the central crease to the middle at both ends and crease well, as shown. This makes a triangle ...
You want to start by determining what kind of charms and the size of the necklace. Most necklaces are about 16-20". If you wanted to make a choker or a bracelet, then measure out a smaller piece of cable chain. Using a ruler makes it easy to measure and later on to add the charms evenly. Using chain nose pliers and side cutters, you want to cut a jump ring and attach to the trigger clasp and then close the end with the pliers. Take the chain and center it on a ruler, find the middle and that'...
Kick up your look by adding dresses you make yourself to your wardrobe. It's simple to create a patter and sew a dress that will fit your exact measurements. You'll be amazed at the differene of having a drees you made yourself makes.
This is a video about how to fold an awesome origami elephant by the help of paper only. For this you have to complete the following step (1) Fold half of the paper. (2)Again fold in two outer edges. (3)Fold corner across middle and then fold edge into center(4)Collapse triangle inside and fold corner inwards.(5)Create the ears and trunk also, at last create the body of elephant. This is a very good origami to use or play.
Work on turns for skiing over bumps or moguls. Learn skiing tips and techniques in this video lesson from a ski instructor. Take action: re-center on uphill foot, practice ouch, tip, drift, and flatten skis, don't rush middle of turns, and be patient. Bill, the host of this how-to video from Live Strong, is a former world-class freestyle competitor and elite coach. He is now the indoor ski simulator coach at the Aspen Club and Spa at John Clendenin's Ski Doctors. Laurie is a long-time aspen r...
A video guide created by NextGenWalkthroughs for Rainbow Six Vegas 2 (RSV2) on the Realistic difficulty. RSV2 - Theater - Refinery.
To make a lotus out of a single sheet of paper, use a colored, square paper sheet with a different center color (optional). With the colored side facing outwards, fold the sheet diagonally in half creating a center crease. Open up and repeat the step with the other corner to obtain a center point. Carefully fold the 4 corners towards the center point to form a smaller square. Repeat the same procedure with this square. Flip over and repeat the same procedure over again. The next step is optio...
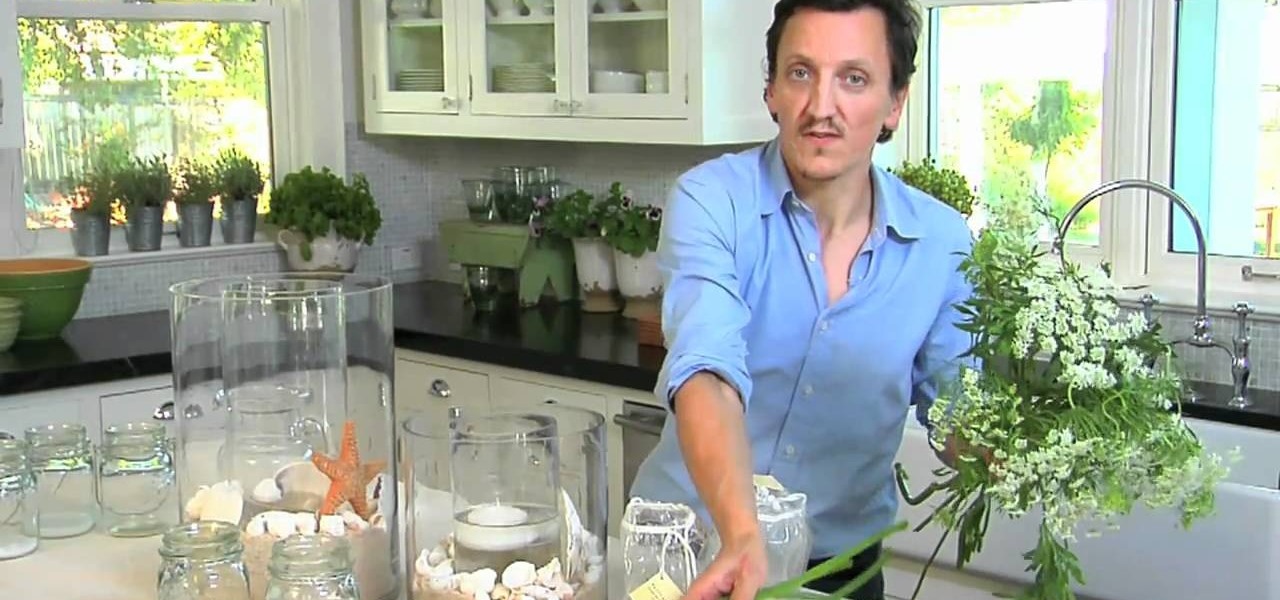
It doesn't have to be the middle of summer for you to craft a seaside-inspired centerpiece. Whether you live on the coast or closer to the Grand Canyon and lots of cactii than anything else, you can bring a piece of the sea home by making this craft.
This is a fabulous center piece that's actually quite easy to do. The ruffles help it stand up, making it a great holder for large candles or vases. Make it out of a solid color, or add some stripes for variety!
This is a video tutorial in the Fine Art category where you are going to learn how to make a hippie chiffon one shoulder top. The materials you will need are chiffon, studs, elastic thread and elastic. Use a simple tank top pattern to cut out the chiffon. Elongate the center of the fabric; this will give it the flowy look. Shirr 5 rows into the middle of the fabric making sure the elastic is on the wrong side of the fabric. Fold in half, right sides together. Sew the side seam and the shoulde...
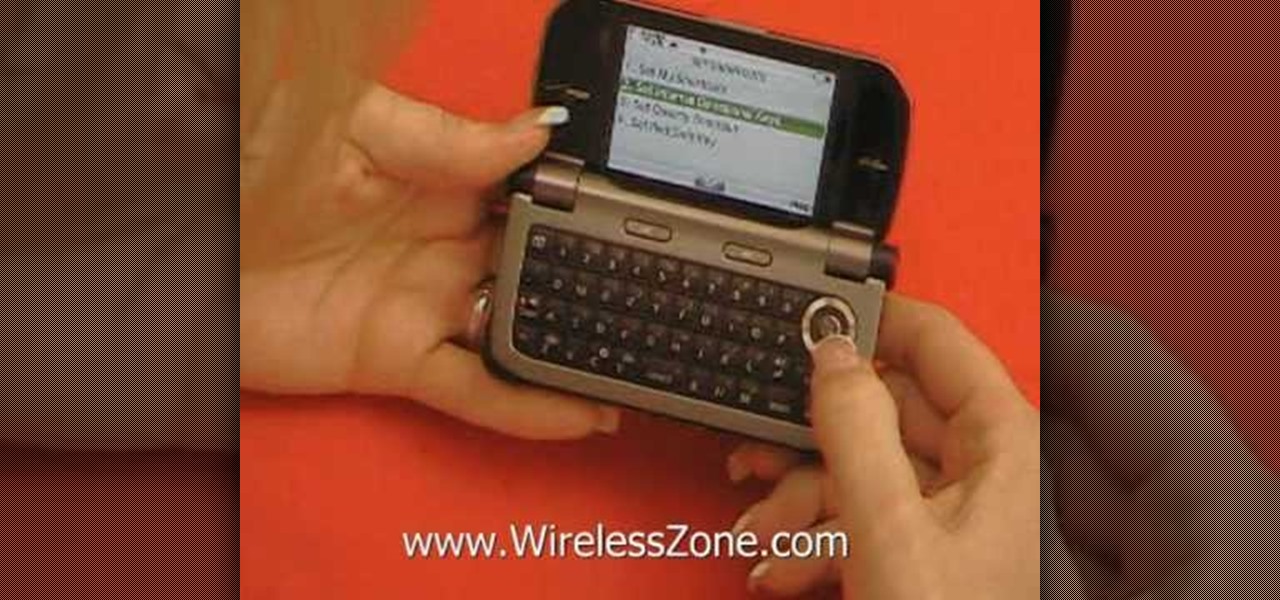
In this video, we learn how to access Casio G'zOne Brigade QWERTYShortcut. From your idle mode with the flip open, press the middle button. Then, press '9', which is settings and tools. After this, press '7' or scroll down to 'phone settings'. Then, press '2' for shortcuts and then press '3'. After this, go up to text message and select the center key to set. Now, from the main screen you will be able to start composing a message just by selecting any key. This makes it easy to write a text q...
In this tutorial, we learn how to recycle a plastic bottle to make a toy bottle rocket. First, take a large plastic bottle and a sharp knife, then cut it in half. After this, take the side with the cap on it and then paint on the inside of the bottle. You can paint whatever you want on the inside, feel free to use different colors and get as creative as you want! From here, take some bottle caps and poke holes in the center of them. Then, string these together by pushing a string in the middl...
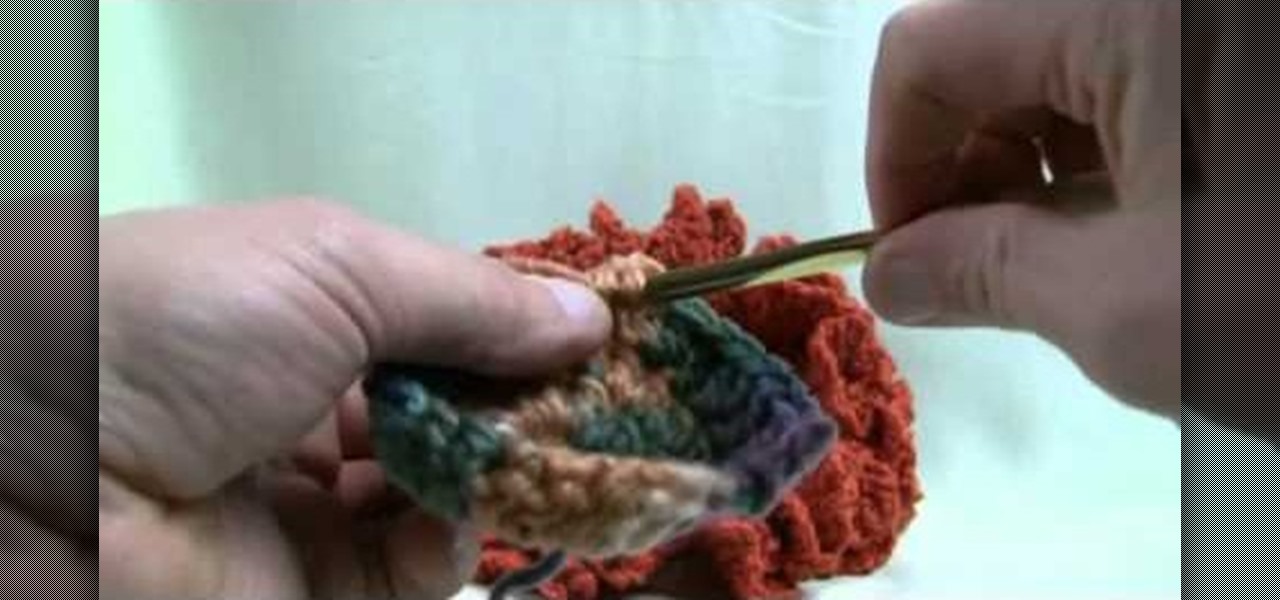
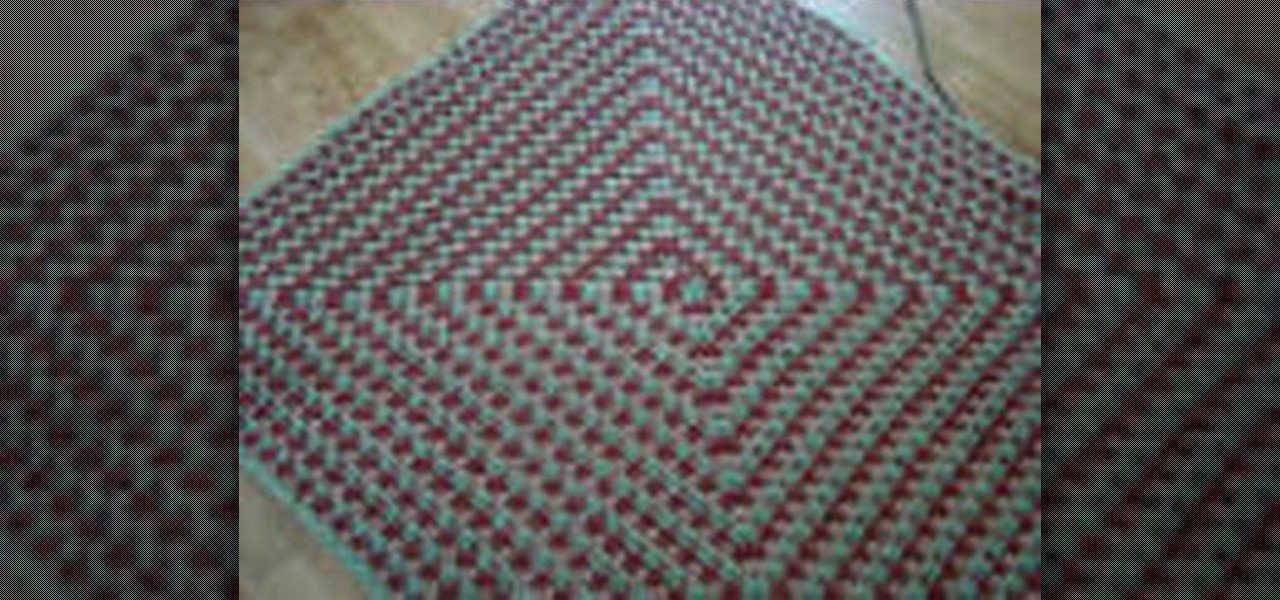
In this tutorial, we learn how to crochet a super fast 3 color granny square. Start out with your first color on the crochet needle. Then, chain four and put the needle back into the first chain. Before you pull everything tight together, you will move your middle finger into the stitch with your thumb so when you pull it will wrap around your fingers. Then, chain three and do this over twice more to create the outlining area around the hole. From here, you will use two other colors using the...
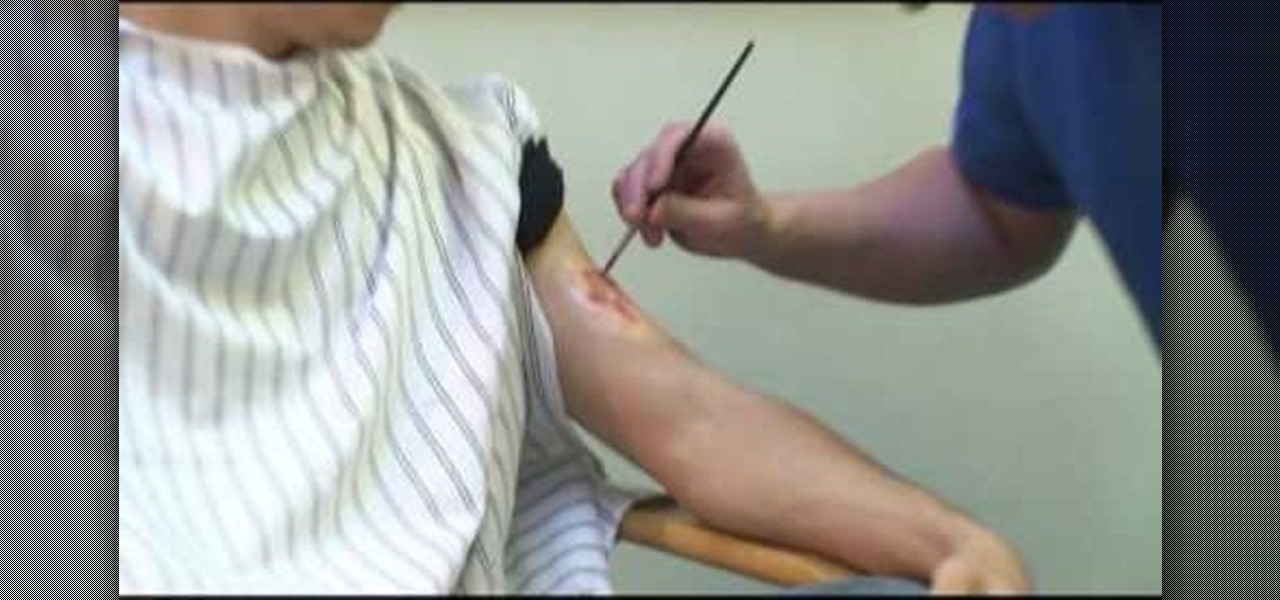
In this tutorial, we learn how to apply injury makeup with Emmy winner Brad Look. First, clean the area with water, then use glue and powder to apply the surface of the injury. After this, use more makeup to cover up the piece on the skin and blend the edges into the skin so they mix in completely. In the middle, add in some reds, purples, and blacks to create a realistic looking injury. Make sure there are textures and highlights on the would to make it look more real. Make the injury radiat...
Clinton Kelly teaches us how to prepare an easy radish appetizer in this tutorial. First, take a radish and cut off both ends. Next, scoop out a little bit of the center of the radish going in a circular motion with a pairing knife. Now, take softened butter and place it into a plastic bag and push into the corner. Snip off the corner of the bag, then fill the middle of the radish with butter and sprinkle with kosher salt. Next, place this on a platter with a bed of kosher salt on the bottom ...
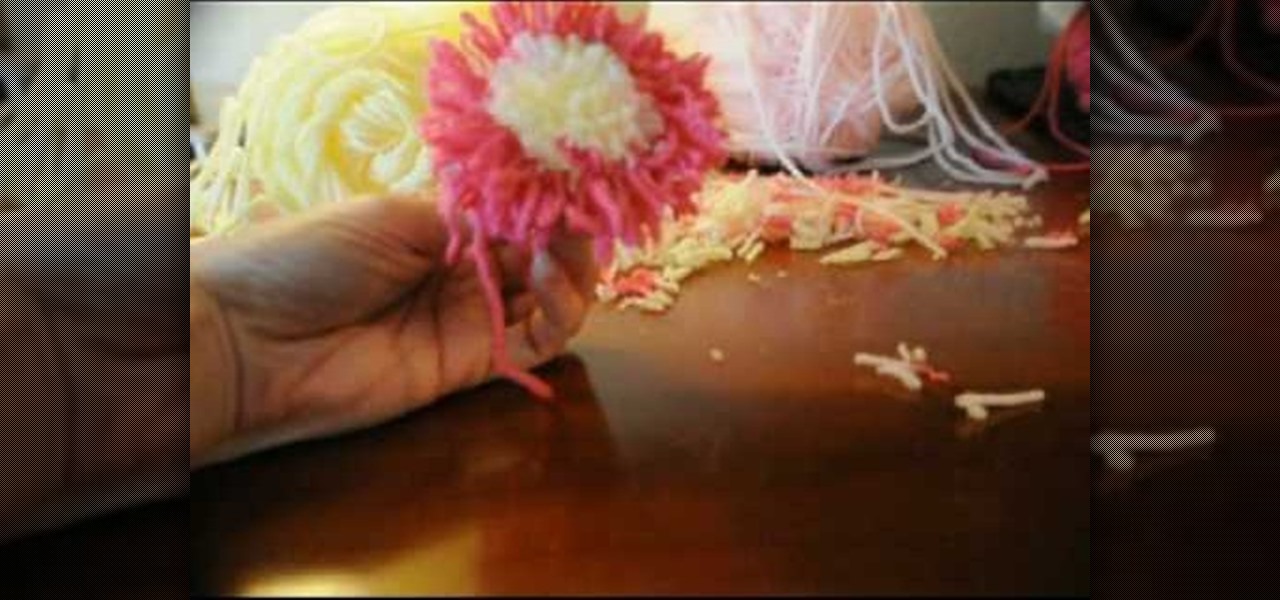
Tracey shows us how to crochet an easy pom pom flower in this tutorial. First, wrap your yarn around four fingers several times, and then wrap another color around as well. Last, wrap one last color on top of the middle color still wrapping around your fingers. Now pull the yarn off your fingers and tie a piece of yarn down the center of the wrapped yarn. Pull this as tight as you can and make as many knots as possible with this piece of yarn. Now cut your loops open with scissors through the...
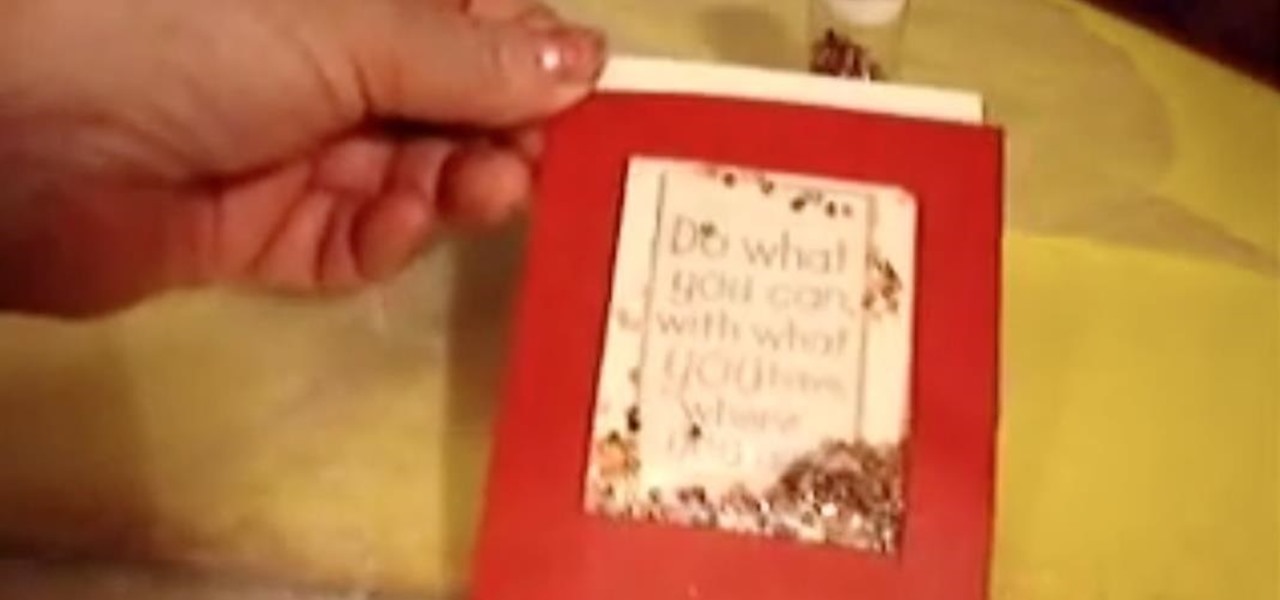
In this tutorial, we learn how to make a scrapbook shaker box at home. You will need: square card stock shape, another square card stock shape with a hole in the middle, and a piece of acrylic. First, place the acrylic along the piece of card stock with a hole on it and glue them down together on all four sides. Next, attach a journal entry to the center of the other card stock square. Now, line adhesive to the acrylic piece on three sides and stick the card stock to the adhesive. You can now...