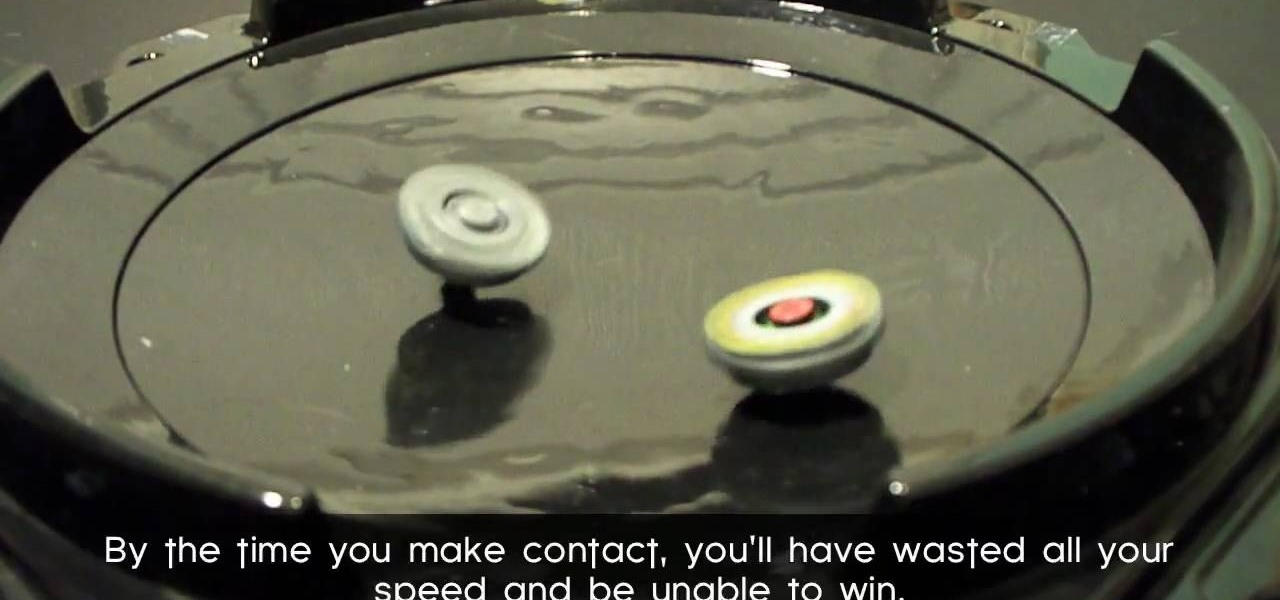
A standard straight up and down Beyblade launch usually sends your Beyblade spinning around the edge of the Bey Stadium. If your opponent's Beyblade is in the center of the stadium this means that you will lose a lot of power before you hit them and probably lose the round. This video will show you how you can angle your launcher to do a sliding shot that will cross the middle of the stadium and win you more Beyblade.
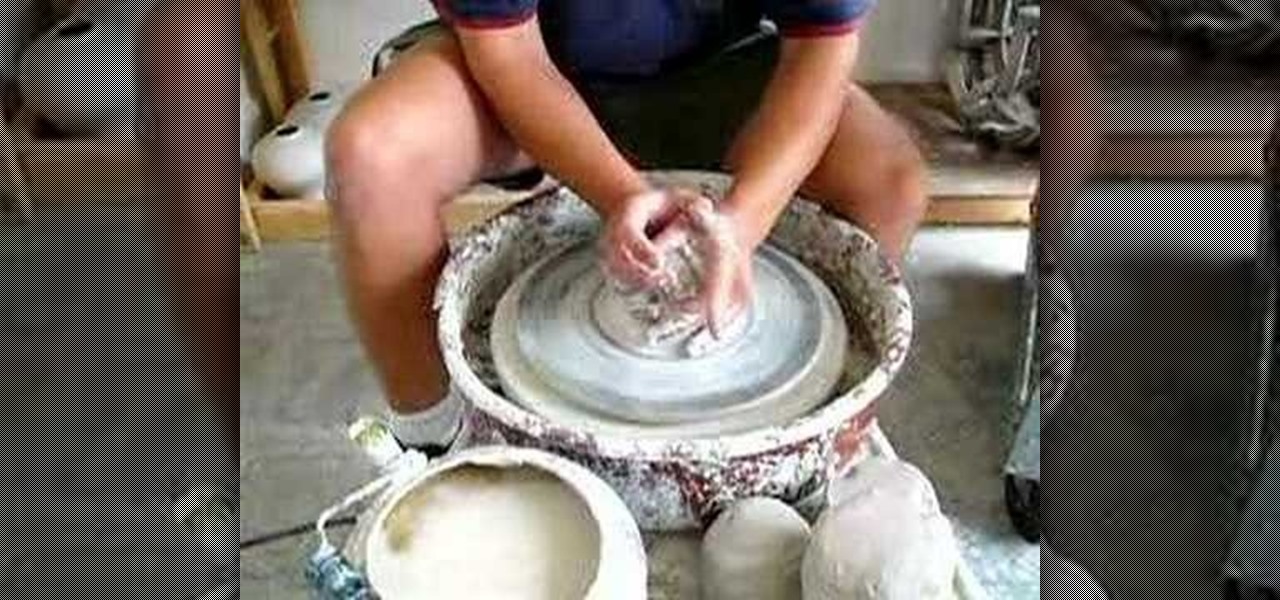
Perfect your ability to center on a Potter's wheel with these tips from Andy Ruble. There are several different ways to go about centering, but the general principle is to put equal pressure on the top and side of the ball of clay and clay has no choice but to go in the middle. This instructional ceramics video is designed to help the beginning through advanced ceramic student improve their throwing skills.
In this Magic & Parlor Tricks video tutorial you will learn how to do the gimmicked card color change trick. For this you will need two cards of different colors; a red card and a black card. Fold each of the cards right in the middle. Then glue the top half of the two cards at the back. The bottom halves of both cards should be free. Now take a third card and attach its face to the bottom halves of the two cards on the outer side. So, when you move the middle flap up or down, the card is goi...
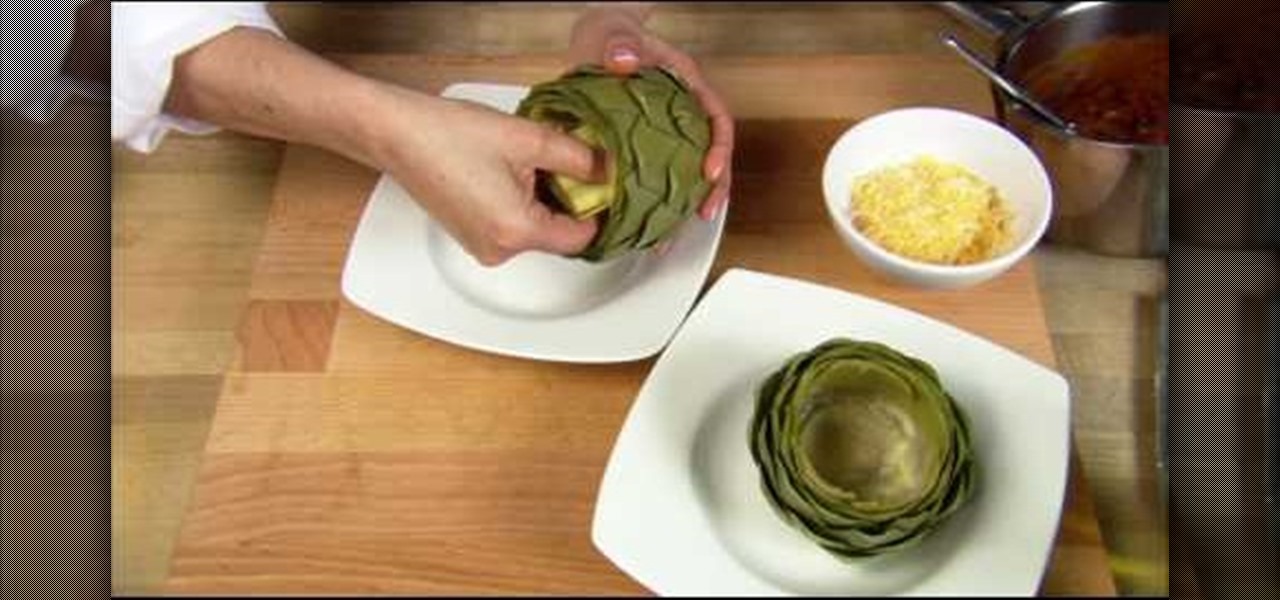
See a quick and easy presentation on how to remove the fuzzy center of a freshly cooked artichoke. After you have cooked the artichoke, spread the petals of the artichoke to show the center petals. Take hold of the center petals with your fingers and then twist this to remove the choke. Take a spoon and scoop out the fuzzy center. You can use the middle of the cooked artichoke to serve a meal and the artichoke will add another dimension of flavor.
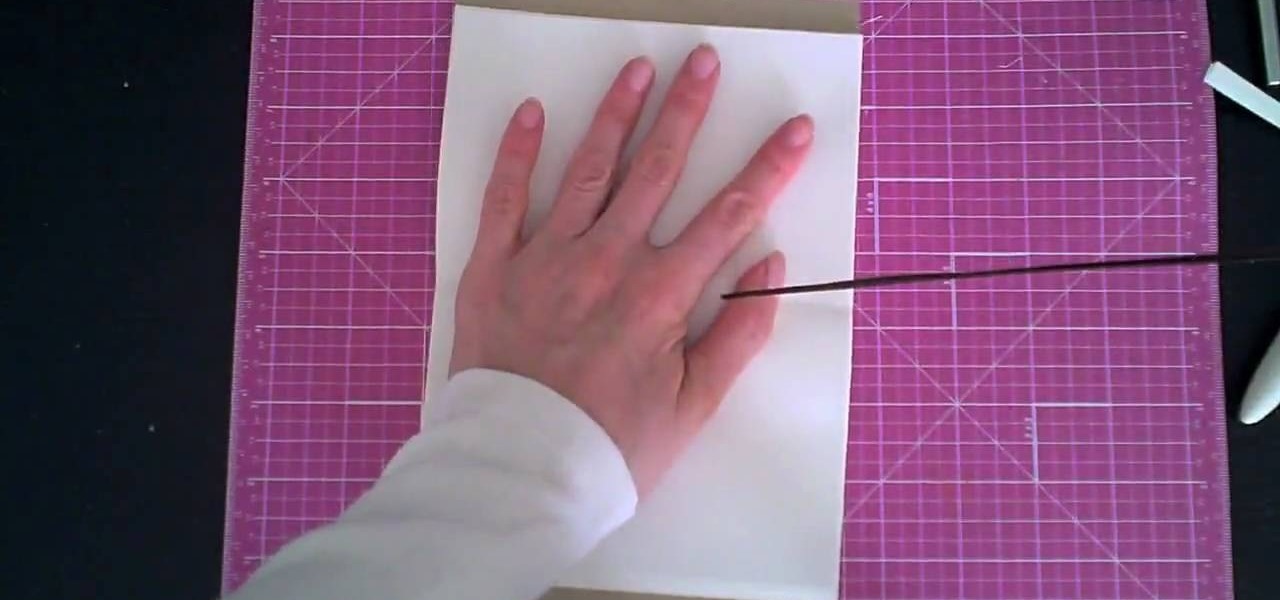
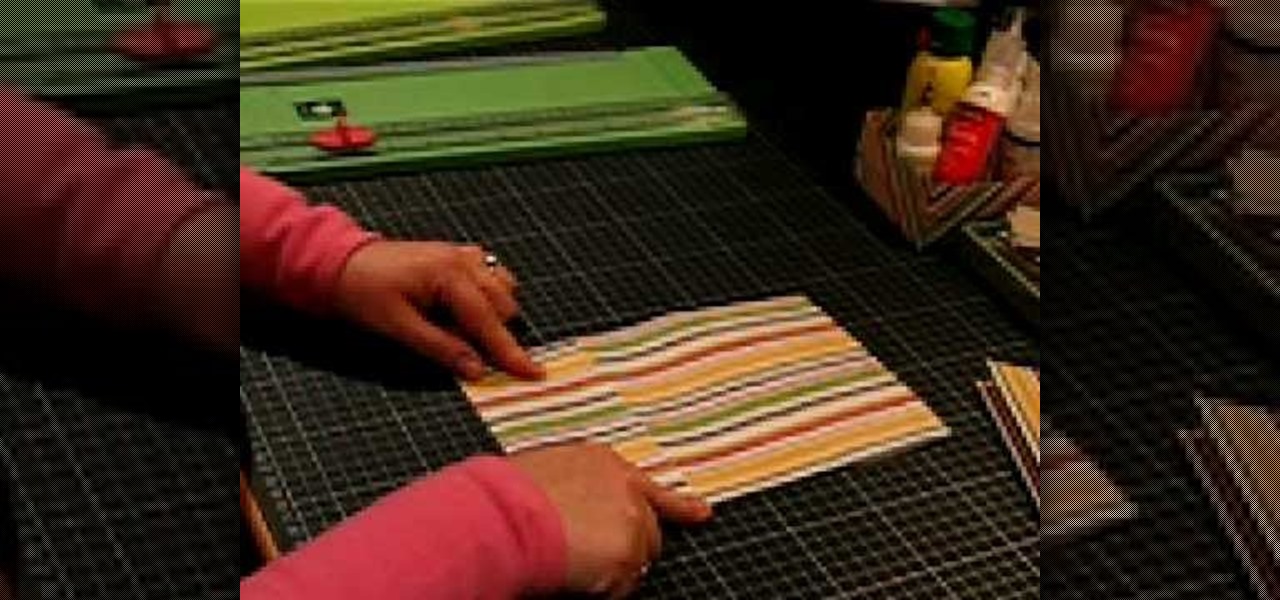
This video demonstrates how to make a notebook with ribbon binding. Take a stalk of plain white paper and it would be 5 1/2" long and 8" wide. Fold it in half. Trim off the excess with a ruler. Then align the edges of the white paper. Put this in a cardstock which is 8 1/2" wide and 5 1/2" long. Cover rapid around the white paper stalk to make sure that it the spine is bounded. Take the grid ruler and center it and mark the center and also 1" from the center at each side to the left and right...
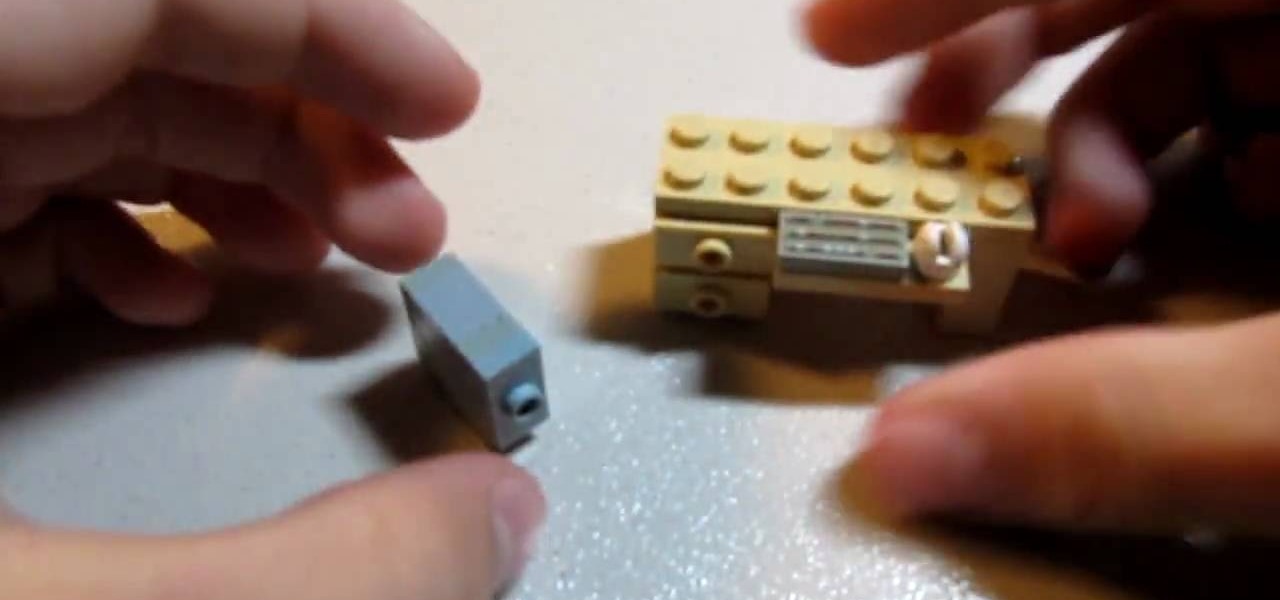
In order to construct a LEGO computer tower case, you will need 6 bricks: 2 1x2 smooths with the dot in the center, 2 1x2 thins, 1 1x1 chunky, and 1 1x1 with a hole in the middle. First, take both of your 1x2s and stick them on top of the 1x1s. You'll want the hole facing outwards on the side. Next take your other 1x1 and snap that on top. Now take the 1x2 with the dot in the center and attach that to the front. Then take your remaining 1x2 with the dot in the middle and connect it into the h...

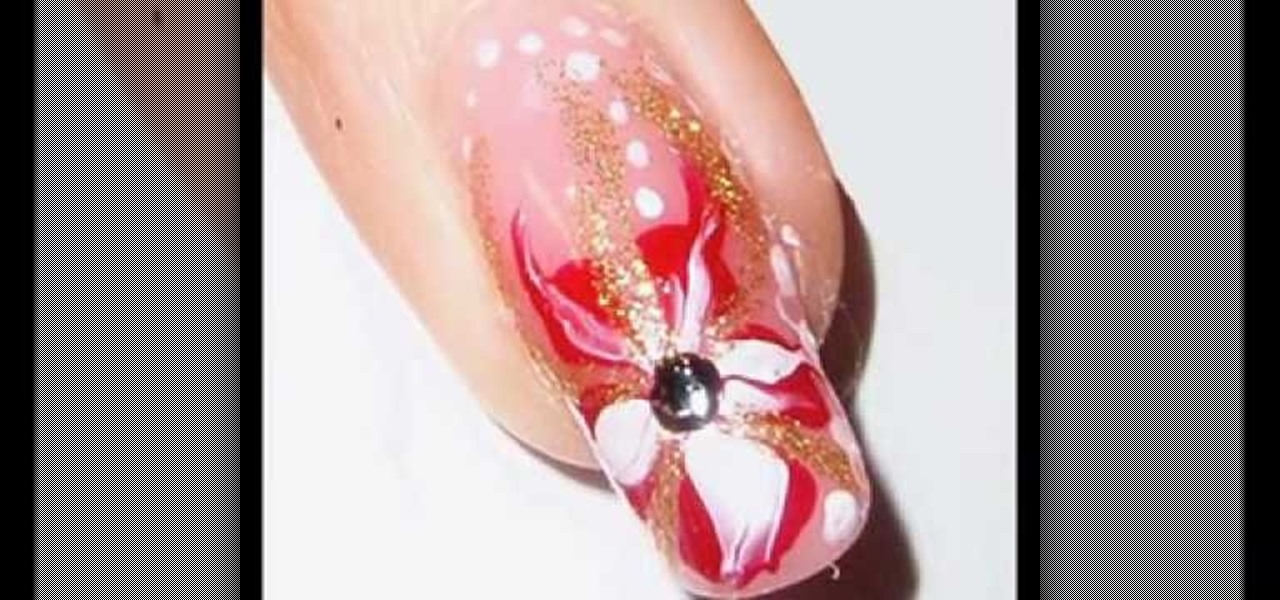
This is an interesting video presentation about "Flower Nail Art Tutorial". The steps are as follows, the first step is Apply a thick coat of clear polish on your nail and then apply 5 red dots in circle in the fourth finger and a white dot in the middle and then draw a line from the center through the red dots. After drawing each line, clean your brush and now draw lines from between the dots to the center and then draw golden strips between petals and draw a black dot in the middle and draw...
This video is about folding an abstract, flexible origami shape
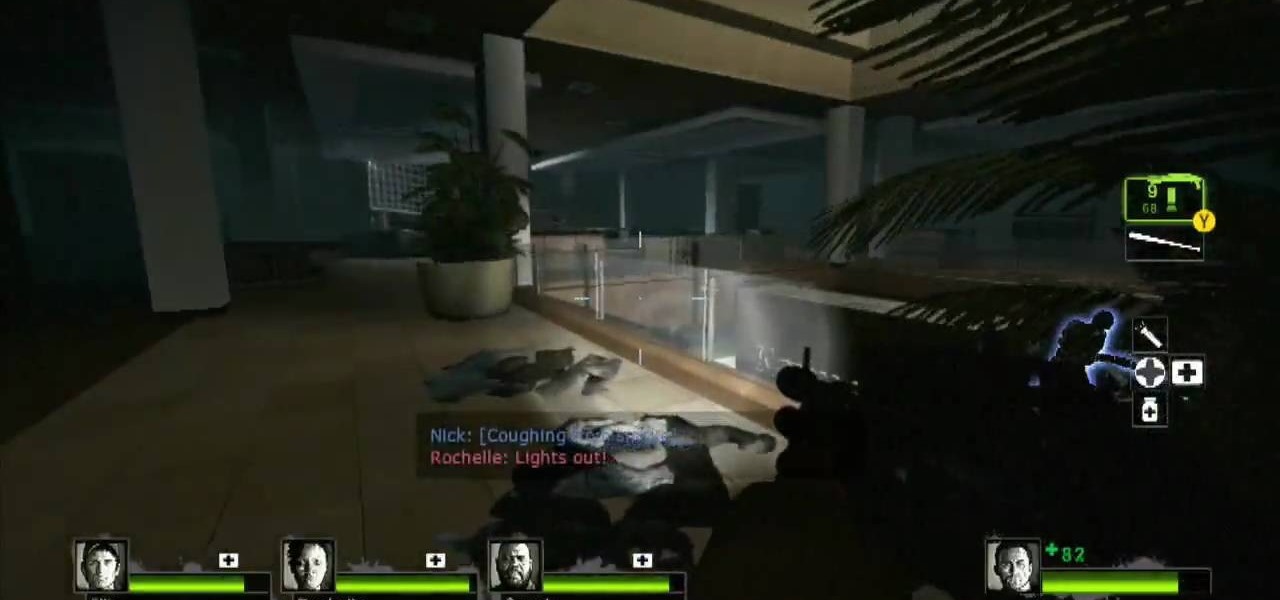
L4D2: One of the best horror video games of all time. Check out the tips and gameplay for Campaign 1: Dead Center - Mall. Restock on supplies and head out of the safehouse. Feel free to kill any zombies trying to reach in the door before you unlock it. Hang right and make your way up the giant escalator in the middle of the floor. Loop around and exit Kappel's department store. Go down the first escalator you see. Watch out for zombie attacks from the floor above. They will jump down and catc...
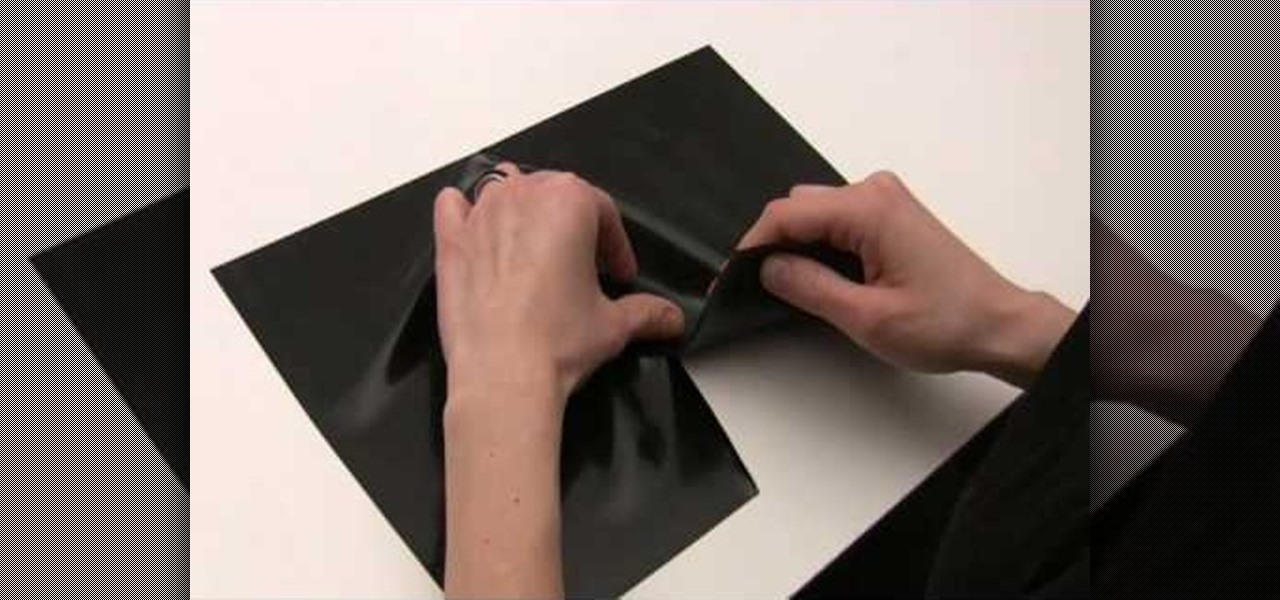
In this tutorial, we learn how to glue straight and curved latex seams. First, press each piece of latex down so it's just touching in the middle. After this, use your finger to press down on the middle, then take a roller and roll over the middle until it's perfectly straight. Now, stretch out the latex to make sure that both sides are stuck together. To glue curved latex seams, place the pieces together slowly, pushing your finger down in the center as you go to make a curved effect. Once y...
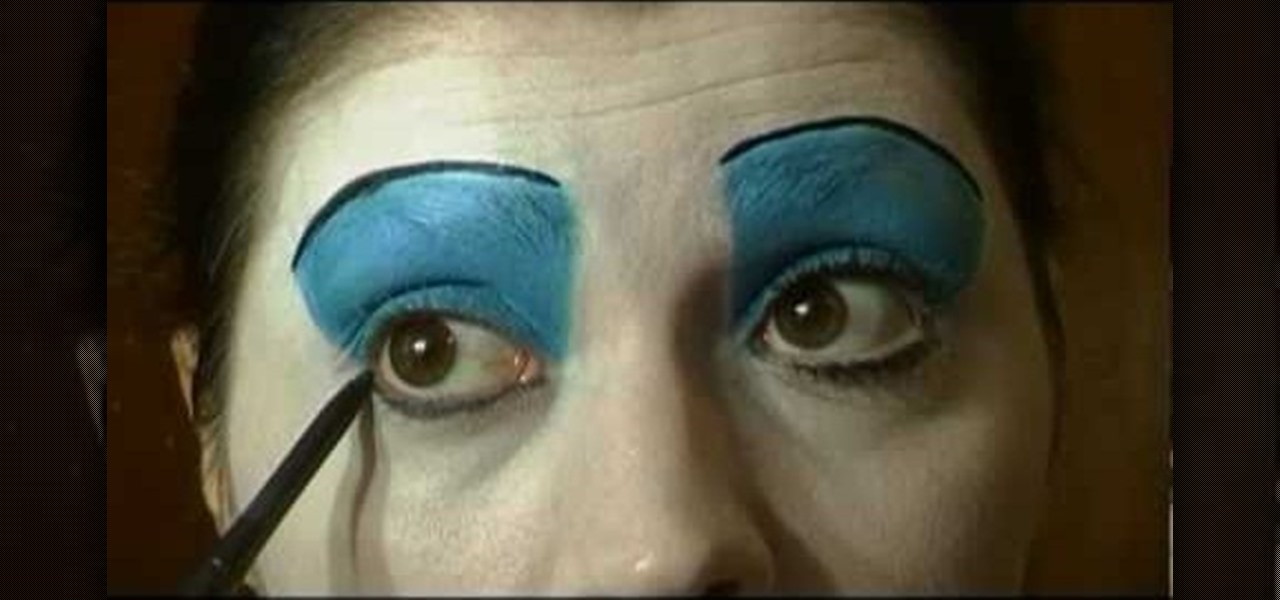
In this tutorial, we learn how to create a water lily masquerade makeup look. First, use an eyeliner pencil to draw in the outline shapes of the petals on the water lily. Do this on the top and the bottom of the eye. Also make sure you black out your eyebrows and draw over it with black pencil. Now, paint your entire eyelid black, then fill in the outline areas with the brush for a more bold outline and to clean up the lines. After this, take your brush and pain white onto the center of the m...
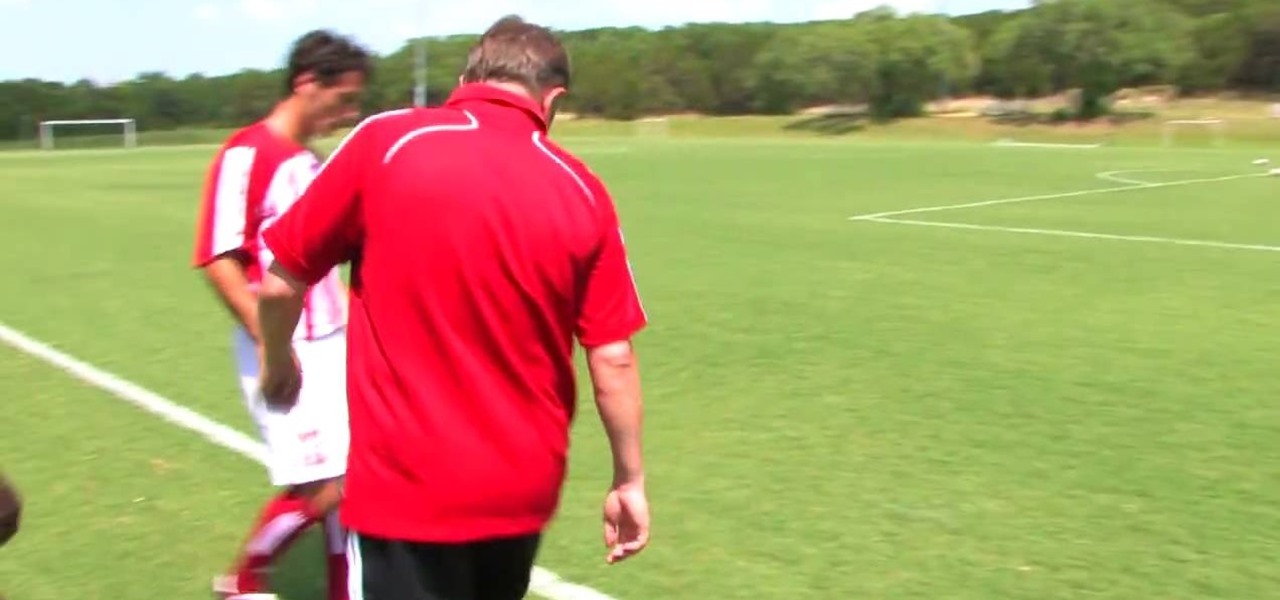
In this video from Livestrong we learn how to kick a soccer ball and do a drive pass. Adrian Heath, the head coach of the Austin Aztex, teaches this. It is demonstrated by members of his team in this video. To do a drive pass you want your left foot by the side of the ball, laces kicked through the middle of the ball and drag straight through the center of the ball and straight away through it. Drive through the middle of it. The drive pass is important to learn in soccer because it is a very...
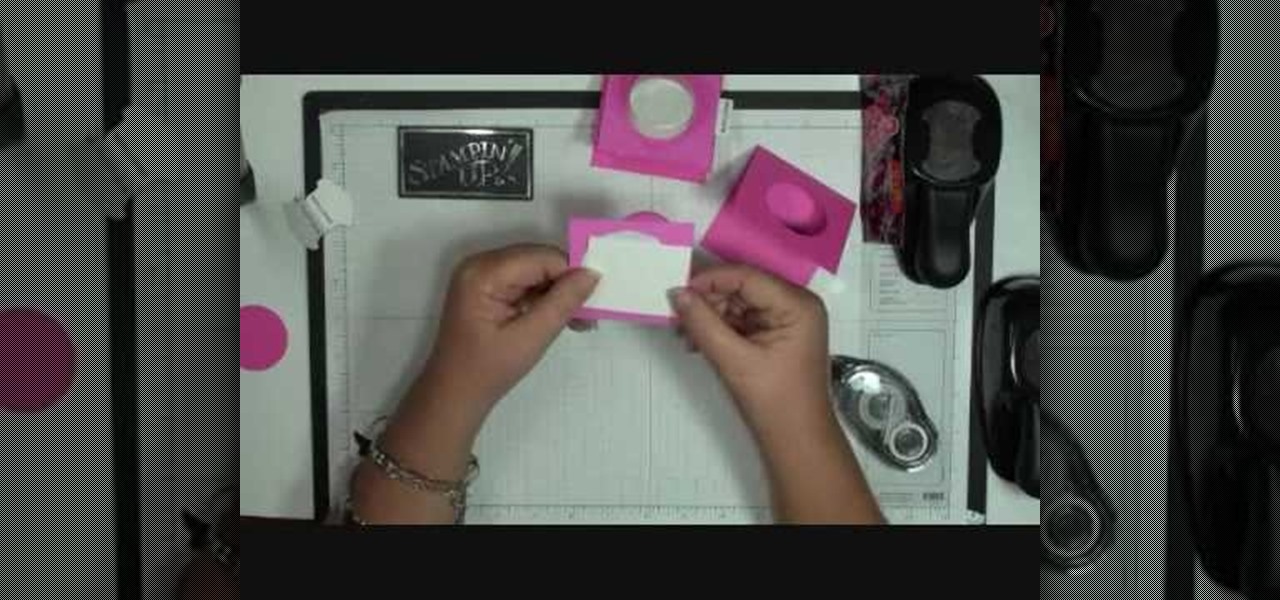
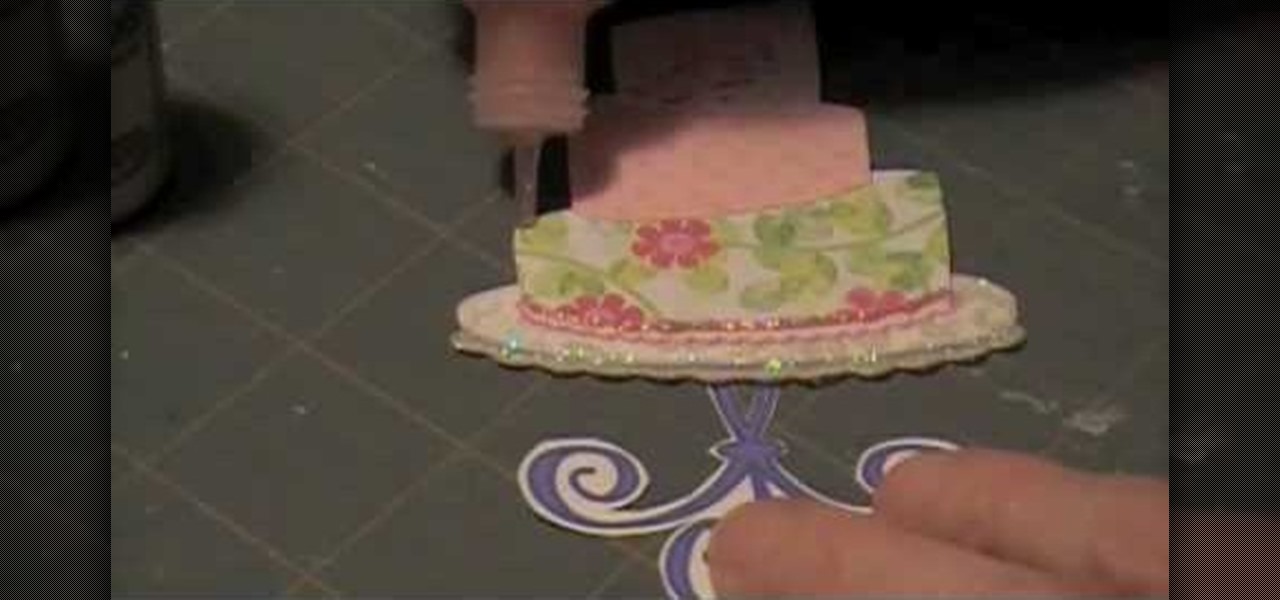
Dawn5377 teaches you how to make a pink sweet treat cup door. You need a stamp from the sweet center set and you use it on a small piece of pink cardboard. You punch the middle out. Also punch the middle of another piece of pink cardboard. Insert the treat cup door and stick it in. You use dimensional to hold a white piece of paper, which acts like a tray under the plastic dome. You add some sweet treats inside and stick the other pink piece (with the heart) on the other side. Also remember t...
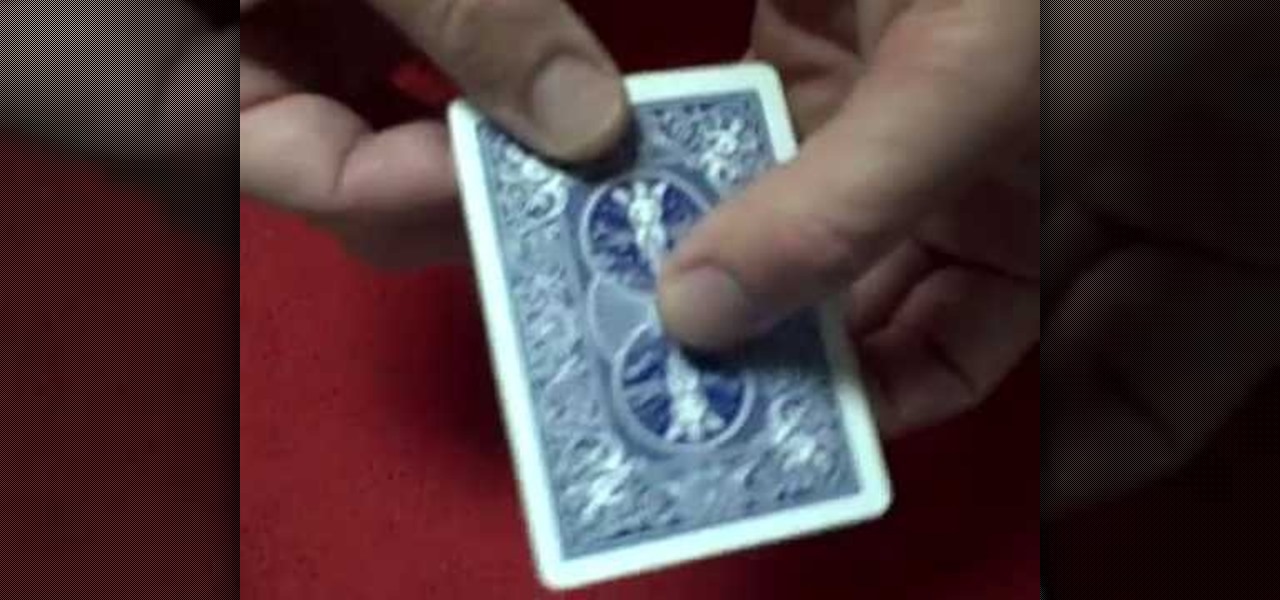
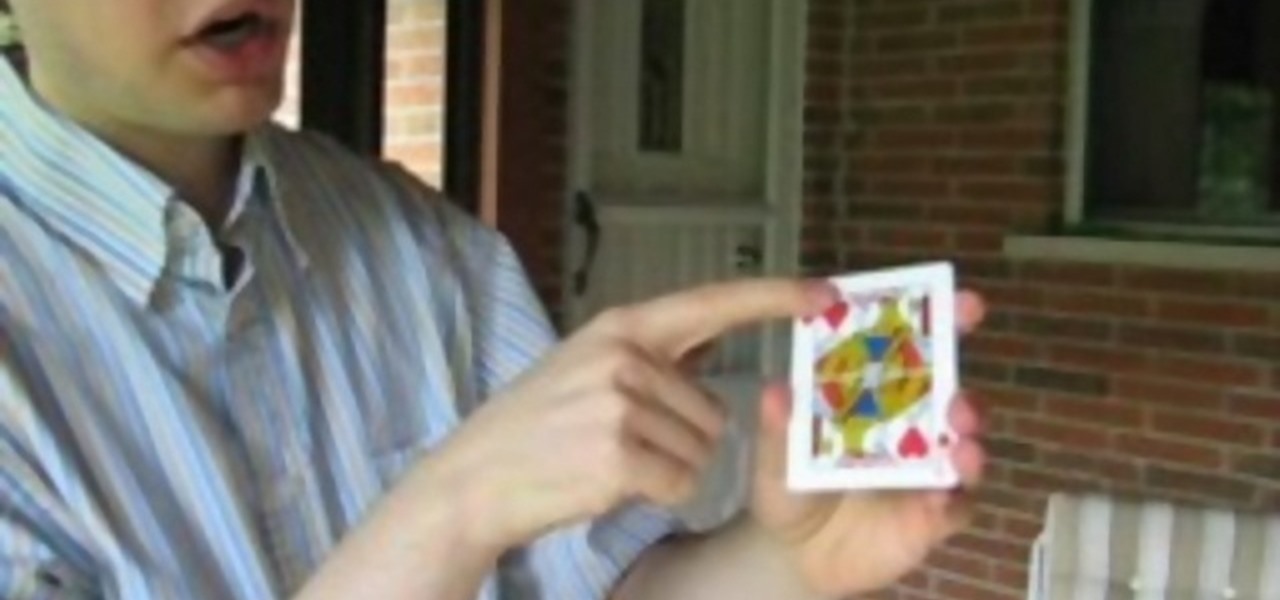
Place the card in the center tip of your middle finger. The card should balance on your finger and you can test this by wobbling the card on your finger left and right without it falling off of your finger. Try to spin the card with your other hand. If it falls off your finger it may have been off center. Next, use your thumb, placed on top of the card to stabilize the card. Raise your thumb above the card. With your index finger, lightly pull the card toward your palm and generate a spinning...
In this video, Ngai Chun Cheung demonstrates how to make an origami suit jacket. He begins by folding a right triangle and tearing off the excess to make a perfect square. He folds it on both diagonals, then folds the four corners into the center. He turns the paper over and folds all four corners into the center again. Then he turns it over and again folds all four corners into the center. He turns it over and opens the four corners partially and folds them flat to make rectangles on all fou...
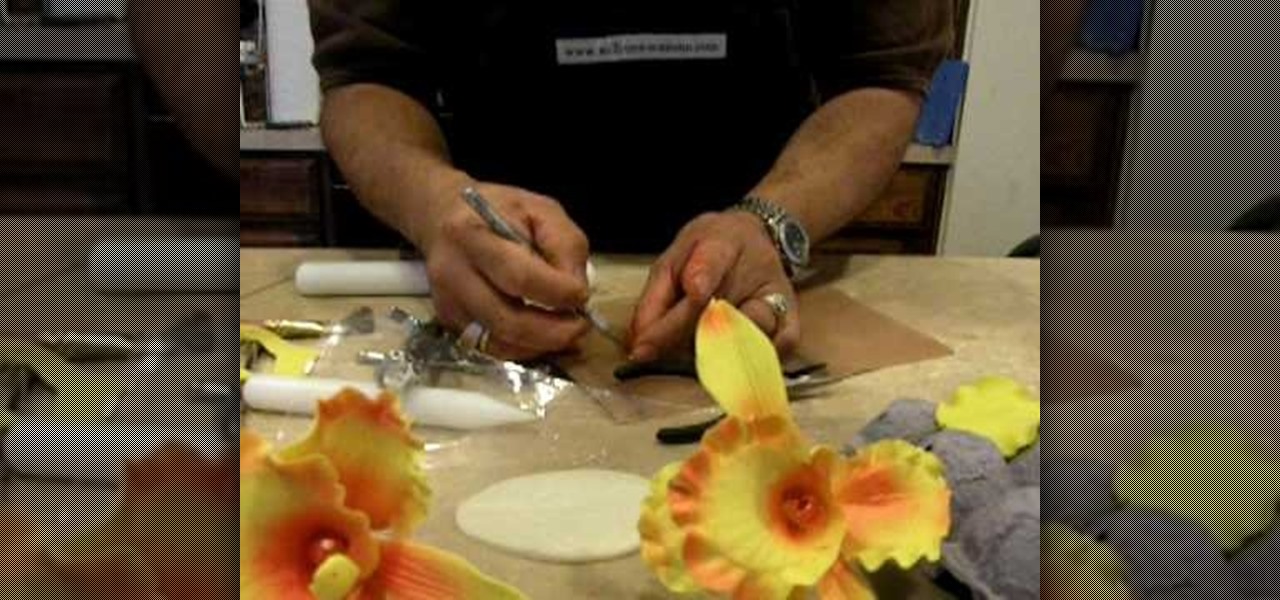
In this tutorial, we learn how to make an orchid flower with gum paste. First, roll out the gum paste and then cut it into three different shapes to make the flower. Next, place a wire in the center of the petals and then place them on a mold to get the correct texture. After this, push a ball onto the ends of the petals to make them look more realistic. Make the last flower by putting a pointed cone in the middle and wrapping it around. Now, place a ball shaped gum paste in the middle of the...
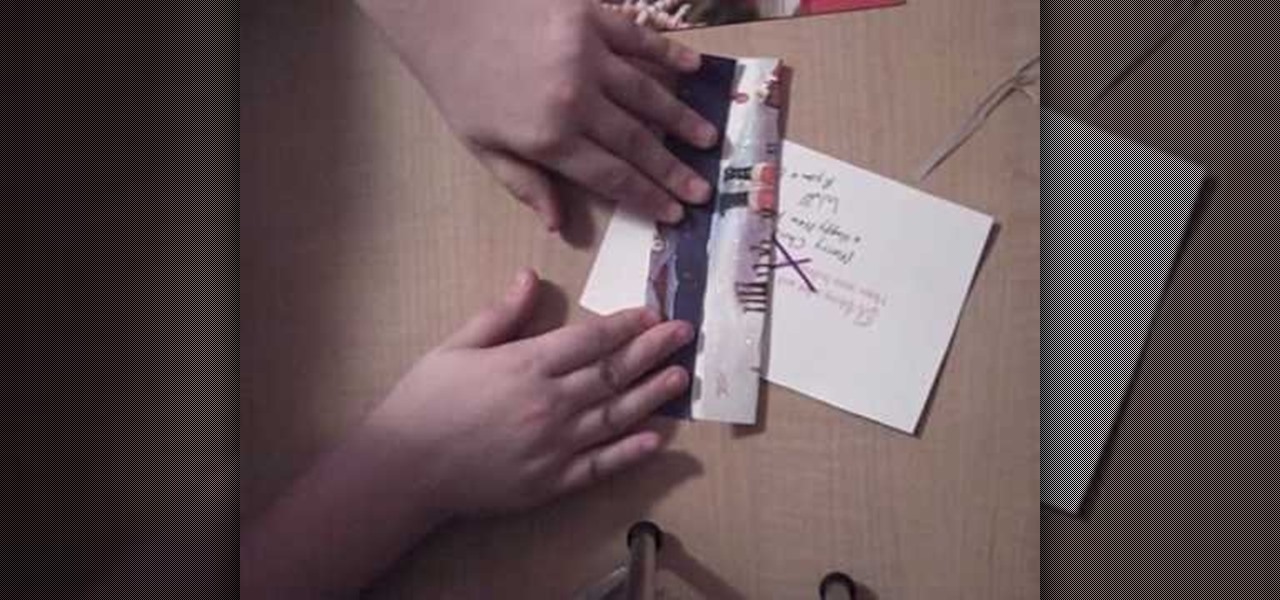
This video shows us how to make a homemade jewellery box out of a Christmas card.For that you need a pair of scissors,a tape,a christmas card,a marker and another card to draw your X with.First take the card and cut it straight down the middle into two pieces.Now take the back side piece of the card and cut off 1/4 of an inch from the left and the bottom portions.This will help to fit the cards together.Next use the extra card and trace an X on both sides of your card piece,in the middle.Take...
Dawn5377 teaches you how to make a pink sweet treat cup door. You need a stamp from the sweet center set and you use it on a small piece of pink cardboard. You punch the middle out. Also punch the middle of another piece of pink cardboard. Insert the treat cup door and stick it in. You use dimensionals to hold a white piece of paper, which acts like a tray under the plastic dome. You add some sweet treats inside and stick the other pink piece (with the heart) on the other side. Also remember ...
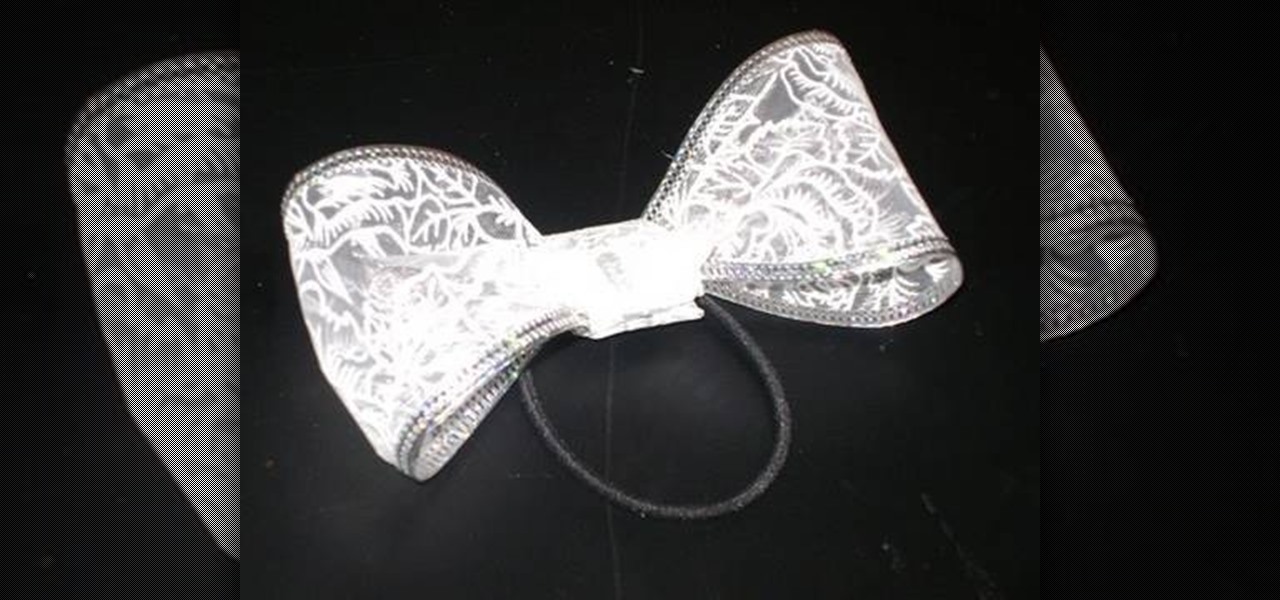
Sometimes a good looking accessory can be made by using simple things and a little bit of your own ingenuity. This video is a perfect example of the same.
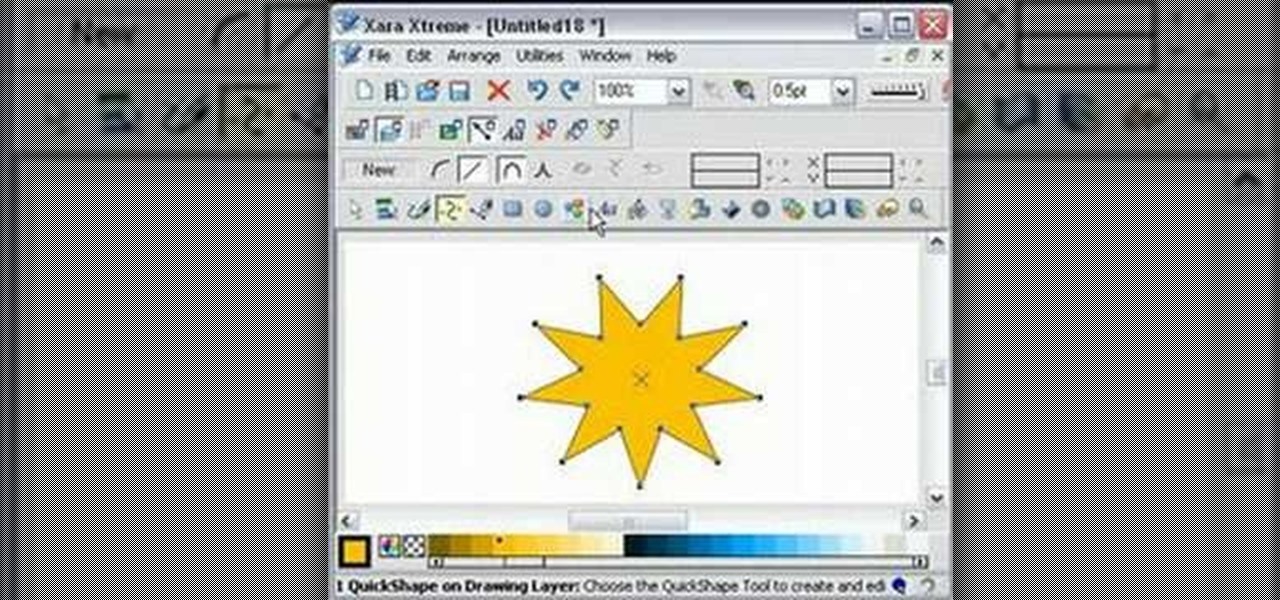
In this video, we learn how to edit quick shapes in Xara Xtreme. First, open up Xara Xtreme and select the quick shape option. From here, you will create the shape on your screen. Then, alter the number of spokes you see. You can hold down or select any nodes that you see. Pull these into the center and then it will create a thin star. Undo this and then hold down the control key while pulling in the center to create a twisting effect in the middle. All of these will look different and you ca...
SOLOMATION Cy Porter, the owner of the mentioned website demonstrates how to draw a hand from the thumb perspective. He says that this tutorial is to bring out the thumb's measurement and relation to the rest of the hand. First he draws the palm and the wrist, giving as a square shape to the palm. The he draws the first joint of the thumb saying that the center point of the line joining the knuckles and the wrist and the center point of the thumb's first joint forms an arc. Then he draws the ...
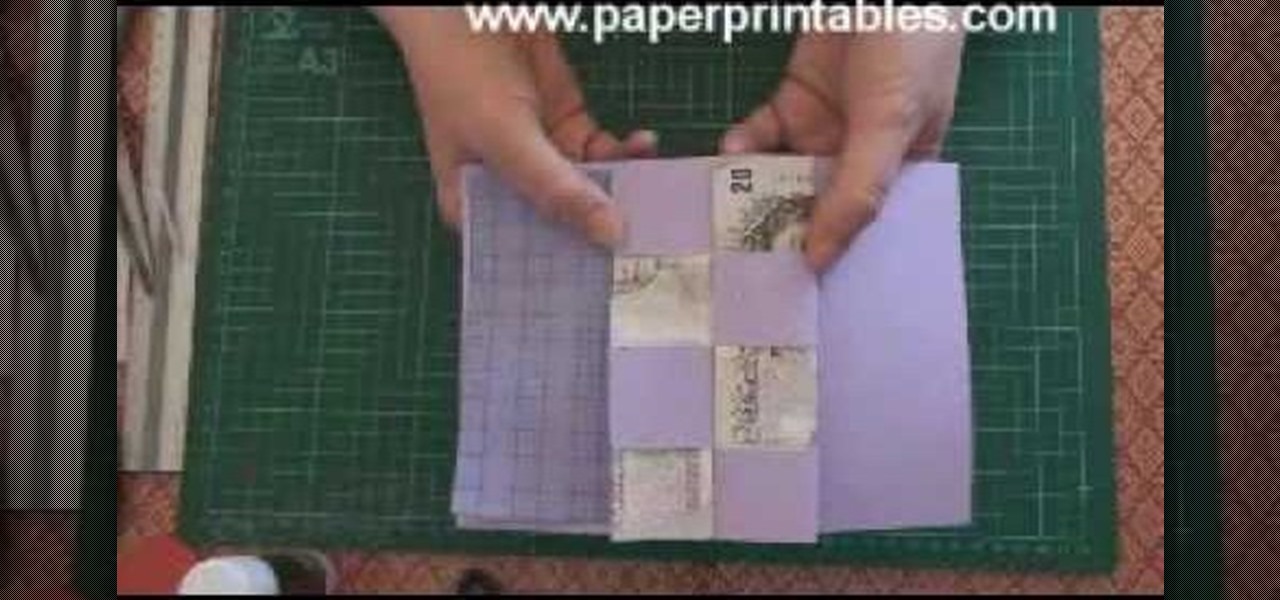
In this video, we learn how to make a pop-up concertina money card. To start, you will first need to take a piece of paper and measure your money on the inside of the paper. Then, cut this out in a strip and cold your money in half lengthwise. After this, measure the depth out from the center using a ruler. Then, fold the paper in half and on the sides where you marked. Then, you will cut three holes in the middle of the paper and these will hold the money in. Stick the bill in the middle of ...
In this tutorial, we learn how to make stacked hair bows. Start off with three separate bows: red, white, and blue. Make sure there is a string still hanging from the red one, but the strings on the white and blue are cut off. Now, put glue from a hot glue gun and place it on the middle/side of the blue ribbon, the glue the white one where the glue is and hold together. Next, take the red bow and glue it to the center of the blue and white bow. Hold the red bow in place until it's completely ...
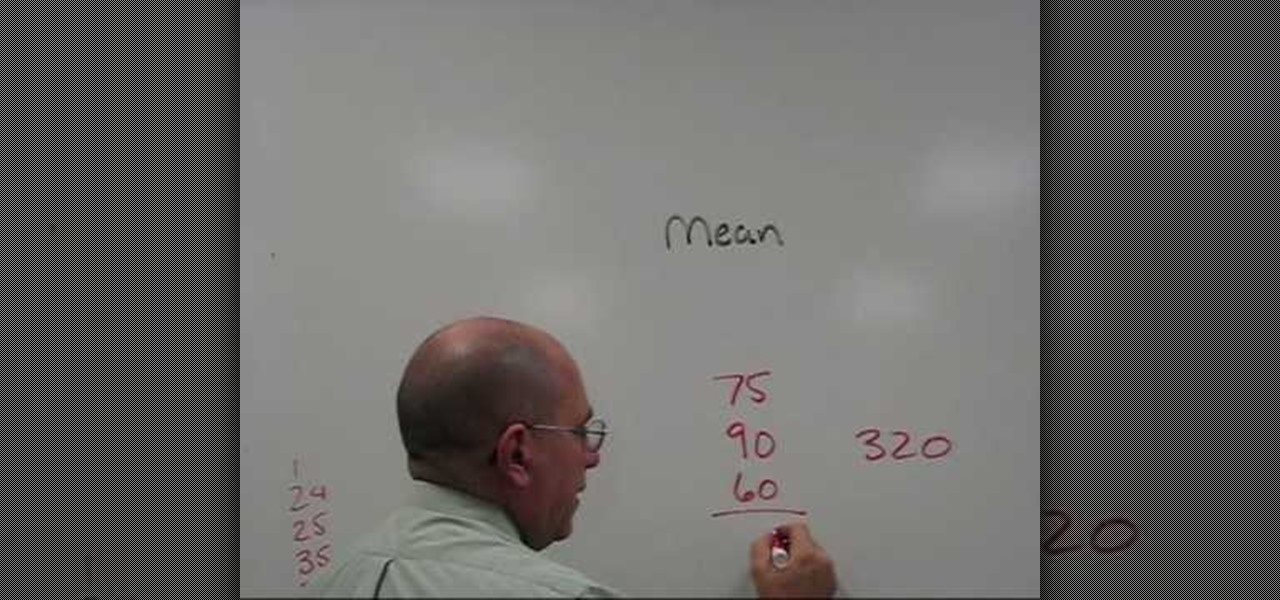
The Mean is the average number, the Median is the center of the group and the Mode is the number that shows most often.
Did you lose your key or forget the combination to you lock? This tutorial is here to help you with tips on how to pick just about any combination or padlock without breaking them. All you need is a few household items and a bit of patience and you will be on your way!
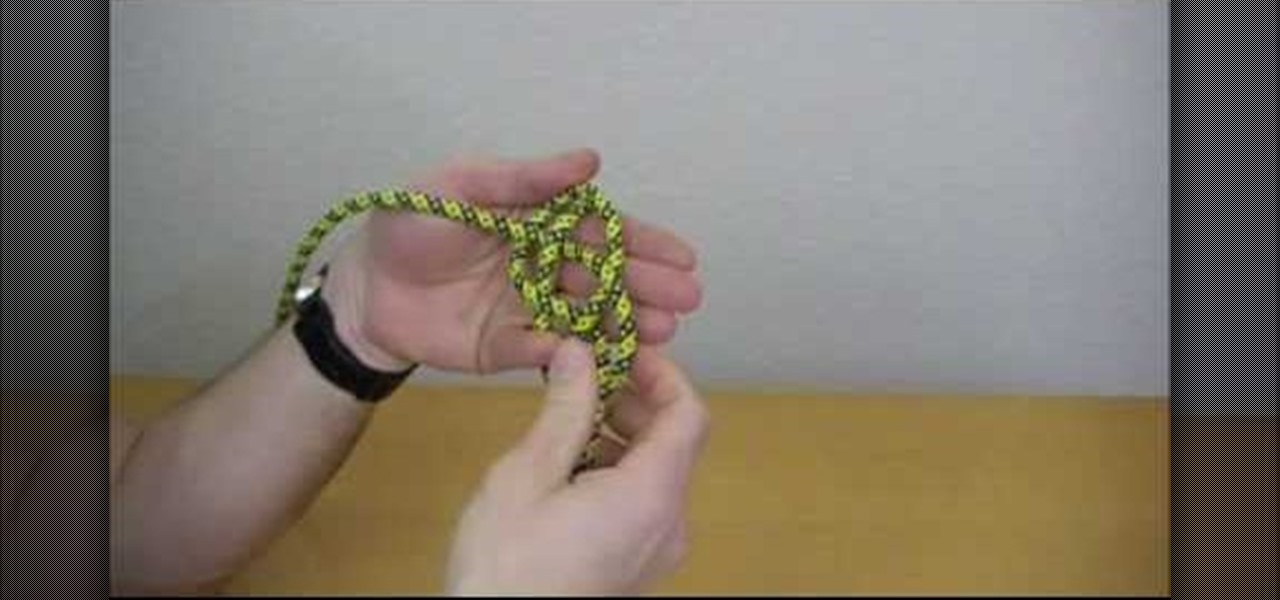
ITS Tactical demonstrates how to tie a Lanyard Knot in this weeks edition of "Knot Of The Week". This knot is most easily made by using your hand, held sideways and flat.
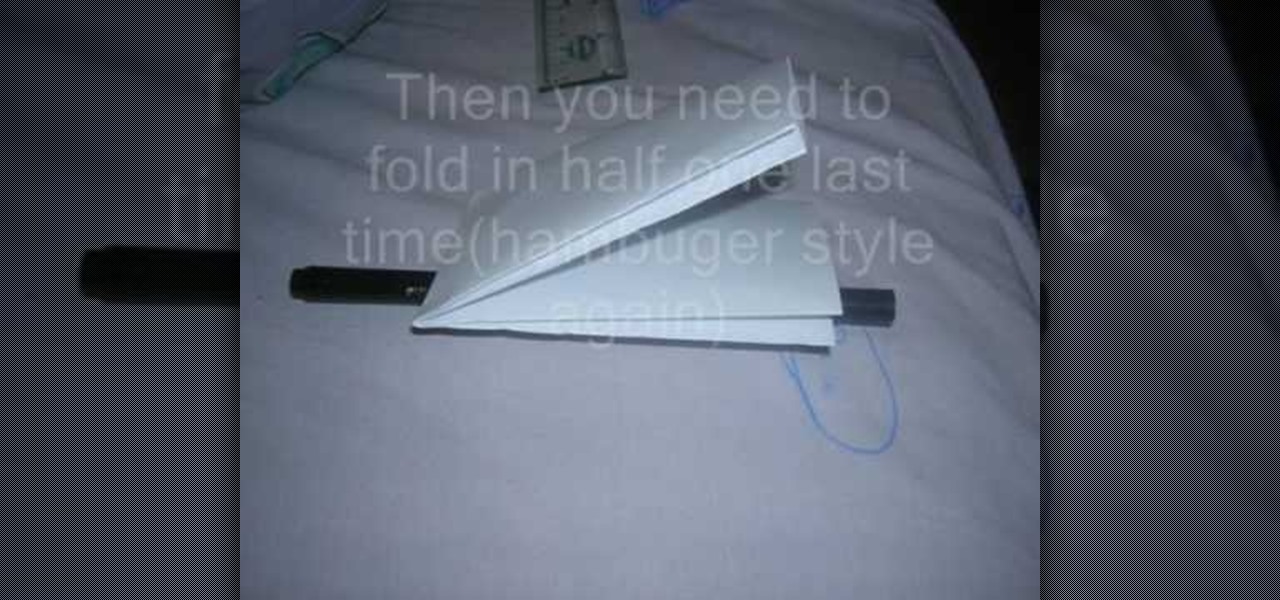
In this video, you will learn how to make a wallet out of paper. First, you will need a piece of paper, a pen, a straight edge, and something to cut the paper. Place the paper on a flat surface. Fold the paper in half, hamburger style and unfold. Fold the bottom half up to the middle crease. Now fold the top half to the middle crease. Fold this in half again and fold it in half one more time in the hamburger style. Now, unfold the paper. Draw lines where you need to cut the paper. Once this i...
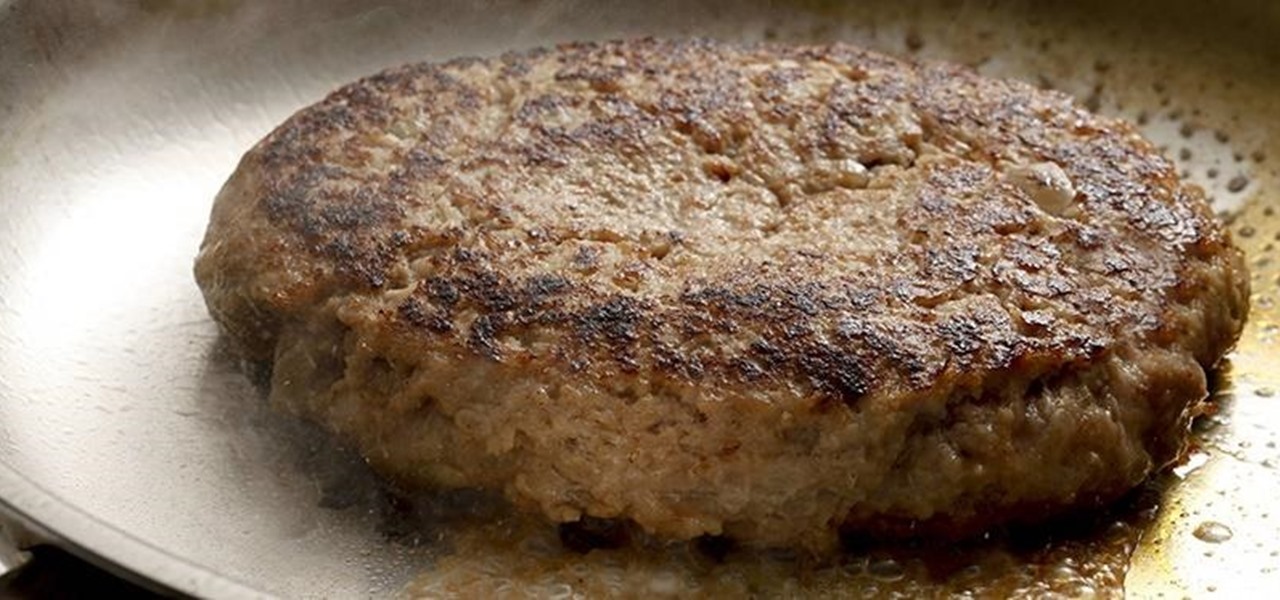
A homemade burger is a delicious thing, but it can be hard to load up with all the fixings. Why? Because said burger is usually wider in the middle and thinner around the edges, like so: Chances are that patty will still be delicious, but your lettuce, tomato, et al. are going to slide off the surface because of this patty's dome shape.
To make your own journal with household items you need a hole punch, scissors, yarn needle with string, some beads, a piece of construction paper, and at least 4 pieces of printer paper. Take your piece of construction paper, fold it in half and then unfold it. Do two hole punches in the crease of the fold at the top and bottom of the paper. Then do a half hole punch in the middle of the paper. Do the same fold, unfold and punches to the printer paper. Be sure to match up the holes in the pri...
First of all you need a single sheet of paper 12 by 12 inches to make a mini book with four pages and measures 6 by 3 inches. You also need a tool for making creases and a knife to cut the paper. Start by folding the paper in half and then crease the middle line. You must always try to make the crease line as crisp and sharp as possible. Now open it out and then again fold it in the middle in the other side. After this step you have to place the paper with the length facing towards you. Now f...
Materials required are lace, hair band, scissors and glue. Start by cutting off a piece of lace around ten inches length using a scissors. Now apply glue at the edges of one end of the lace. And then join the other end of the lace together to form a circle. Now hold this lace at the middle and then push in the middle. Press in at the centre so that it is divided into a Bow as shown. Spread the edges a little to make it appear fine. Now cut off a piece of lace around four inches using a scisso...
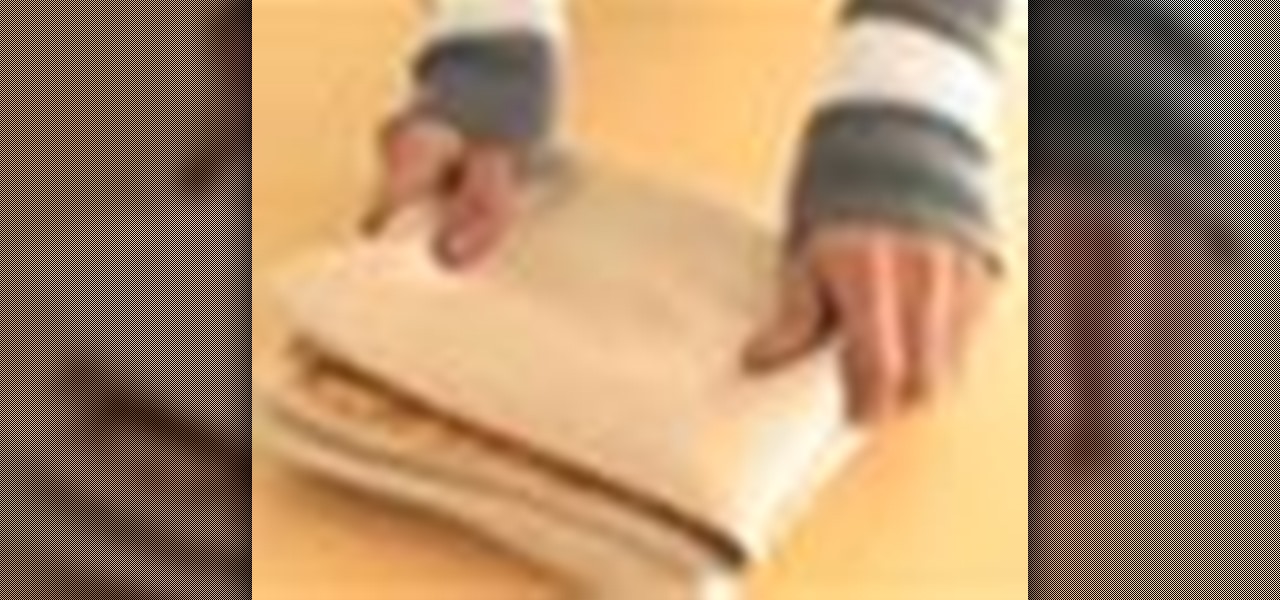
Circular tablecloths look impossible to fold into neat little squares, but with a little practice you'll be doing this with ease. Learn how to fold a round tablecloth with this how to video.
This video gives an awesome makeup tutorial for the Queen of Hearts from Tim Burton's version of "Alice in Wonderland". In Burton's film, Helena Bonham Carter plays the vicious Red Queen, a character not to be messed with. Even at Halloween. Also, you'll get some costume ideas to help compete your Queen of Hearts costume. See how to transform yourself with all of the following products:
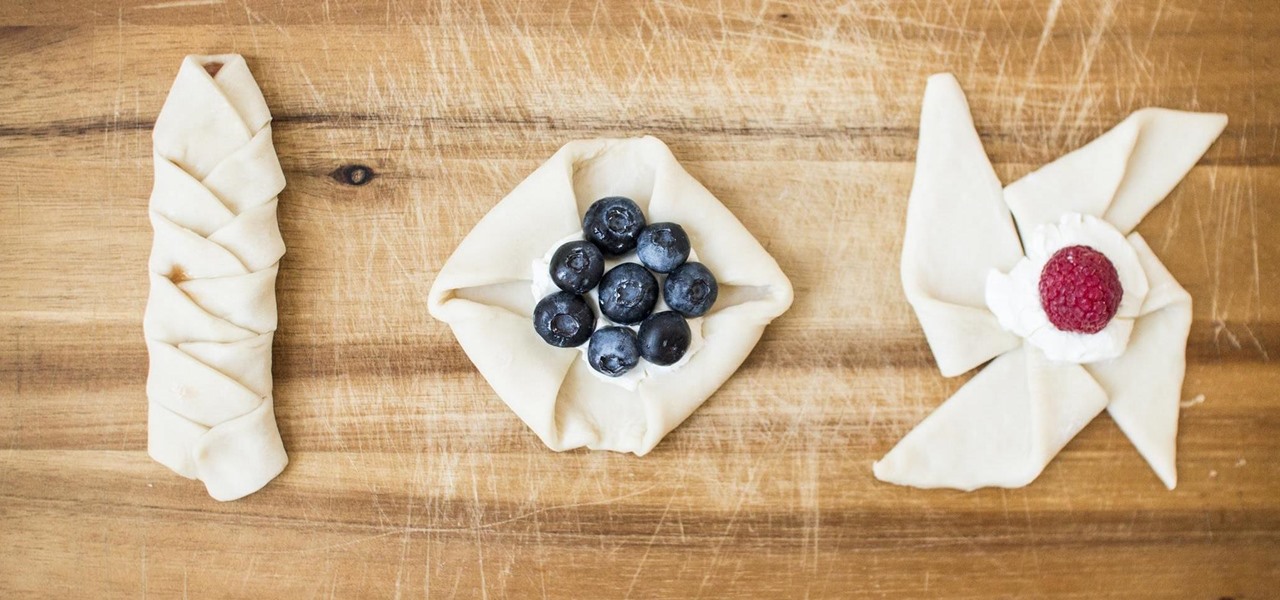
If you've ever found yourself staring at intricately woven pastries at your local bakery and wondered how they do it, you'd be surprised to know it's not all that difficult. Those pastries with differing shapes and lovely lattice work may scream endless preparation and meticulous attention to detail, but they're actually quite easy to make at home.
Join NASA (National Aeronautics and Space Administration) as they give the basics on the concepts of weight and balance as applied to aerospace. There's no better place to learn about aviation theory than NASA, the United States government's most infamous agency--the powerhouse of space exploration.
To make an 8 sided ninja star first you need to take a sheet of the paper you are using and fold this in half, the short way. Unfold this so you have a crease. Now, fold the corners into the center crease. Do this to the top corners. Now, flip this over and fold over the bottom of the paper to the back and crease this. Now, you will want to tear this bottom half creased part off. Fold this into a square and fold the square into halves on both sides and tear this off to create smaller squares....
The video shows how to make an extra long ping pong smoke bomb. For this we need a long sheet of aluminum foil (length of the foil depends on the number of ping pong balls we use), 12 ping pong balls is used in the video (any number of balls can be used), a pair of scissors and a lighter.
To make a paper gift box is one of the simplest projects that you can create on your own. In order to do this you need some materials: a Square of Paper, a Pencil, a Ruler & a Folding Bone. Take any size square of paper and draw two lines diagonally from corner to corner. This will form a large X, marking the center of the square. In turn, fold each corner into the center of the square. Firmly crease the fold. Fold the first corner to the line of the first fold made on the opposite side. Repe...
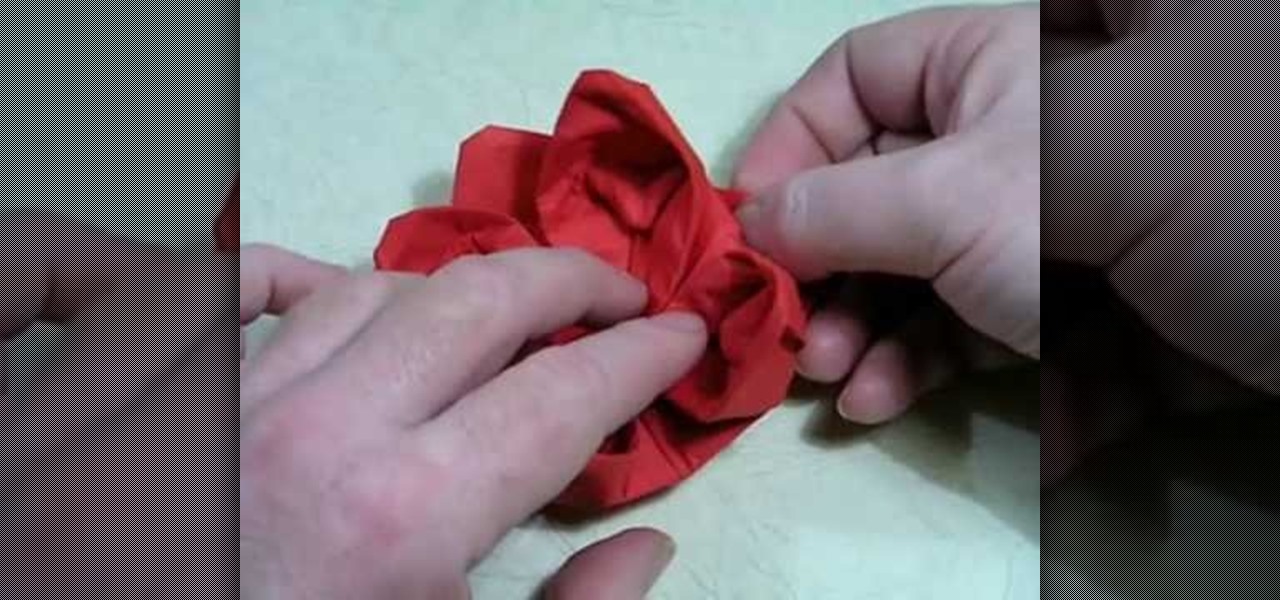
With this how-to on the ancient Japanese art of paper folding, you'll learn how to make a strikingly beautiful water lily from a paper napkin. For complete, step-by-step instructions on assembling your own paper lotus flower, watch this origami how-to and, if you like, read along below.
1) Create a rectangular sheet of paper by folding the left side in, like a book, about 1-inch and remove this excess paper. 2) Fold the rectangle in half, bottom to top like a newspaper, and then unfold and lay flat. Now take the bottom edge and fold it up (again like a newspaper) to meet the center crease that you made with your first fold. Unfold again. You will now have two creases in the bottom half of your paper. 3) Lift the bottom fold (bottom forth of the rectangle) up and line it up w...