In this video from yelkaim1 we learn how to heal leaky guy syndrome with colon cleansing at home. Leaky guts are bad because toxins can leak through the intestines into the blood stream and cause problems such as allergies. Toxins form the bowels can come back into the blood which is another terrible thing too. To heal this you can take glutamine. You can buy this at any health food store. Another thing is to take probiotic. You want more good bacteria. Fermented foods are good too such as sa...
Suffering because of a leaky washing machine valve? It may be easier to fix than you think so, before calling a plumber, watch this DIY instructional video from handyman Hub Kirkpatrick. For step-by-step instructions on repairing your own leaky washing machine valve, take a look. Save money, and grief, with this handy how-to.
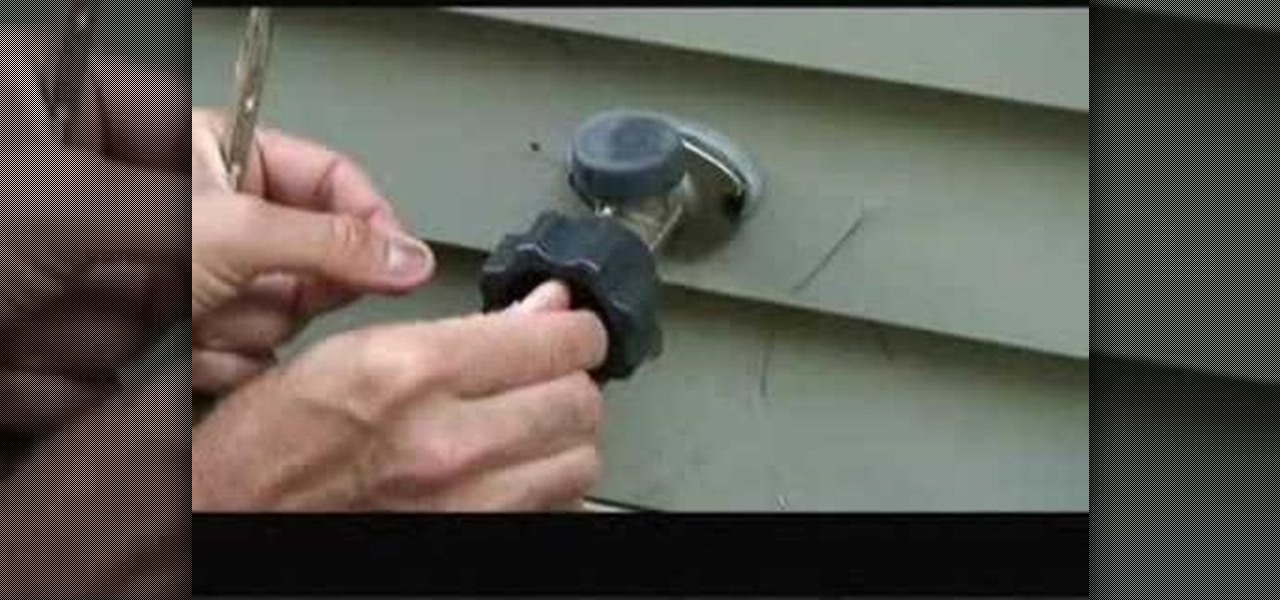
Mark Donovan of shows how to Fix a leaky frost free sillcock or outdoor faucet. Oftentimes, the washer is loose, but other repairs are just as simple. Watch this video home repair tutorial and learn how to fix a leaky outdoor faucet.

Learn a full body Energywork technique including how to do Energywork using pendulums, minerals, and crystals.

Is there toilet water all over the floor and you have no idea why? It could be a leak toilet, which is pretty common if you have faulty supply lines, or the wax rings have worn out. But don't worry, you don't need to call a plumber to ease your woes, in this video you will learn how to fix your leaky toilet with a few household tools and some extra knowledge!

There are many kinds of faucets, but chances are your leaky fixture is a compression faucet -- and it's a snap to fix. You will need an adjustable wrench, a screwdriver, a new washer, and a rag, string, wicking or plumber's putty. Watch this instructional video to learn how to fix your leaking faucet without shelling out the cash to a plumber.

Reiki is safe, gentle and amazingly effective on many kinds of physical and emotional issues, and is rapidly becoming the most popular healing modality on the planet. It is very easy to learn the basics, yet new ways to use it constantly suggest themselves.
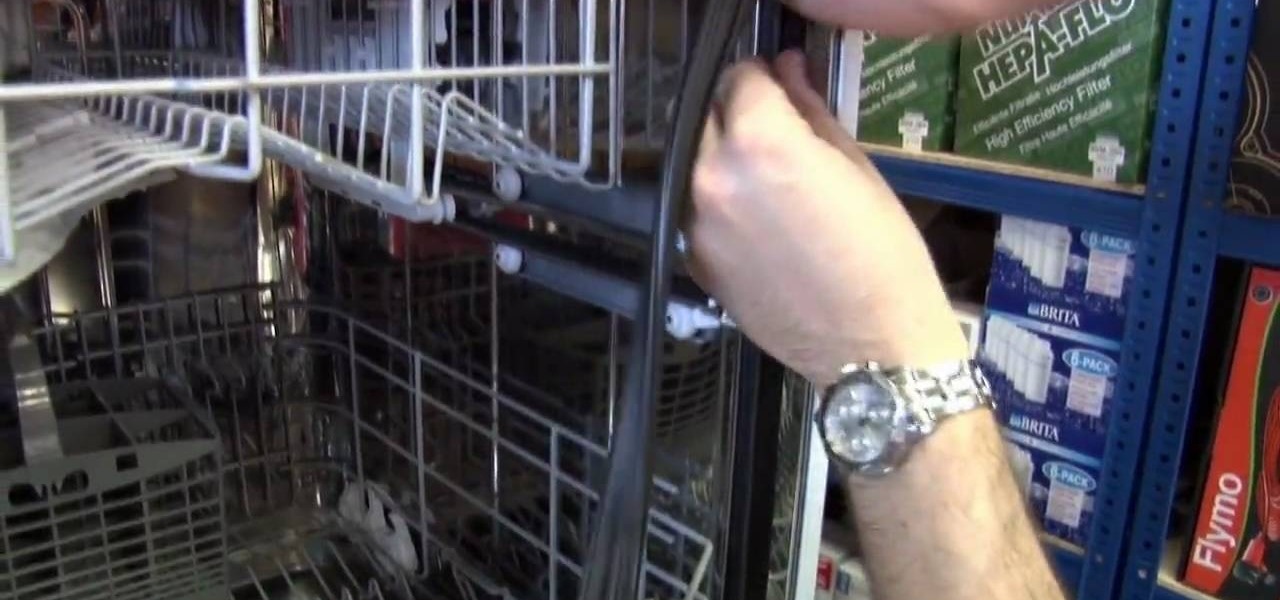
If you are finding out that your dishwasher is leaking, then you need to get it fixed soon. A leaky machine means there will be water on your floor and this can lead to possible injury for you or others.
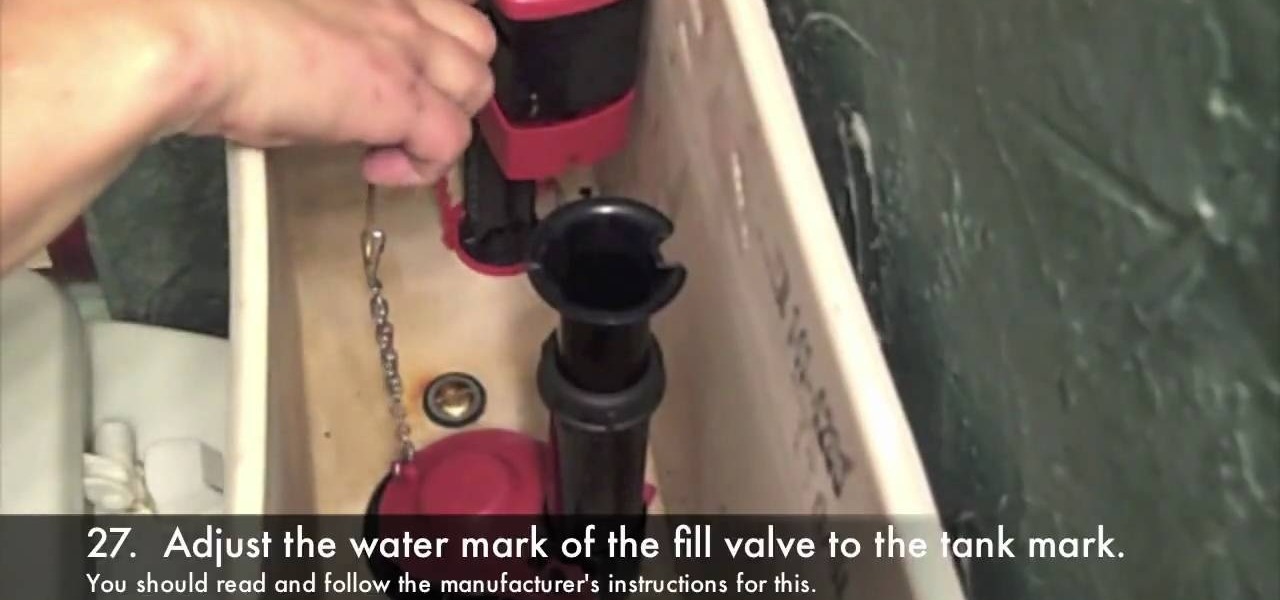
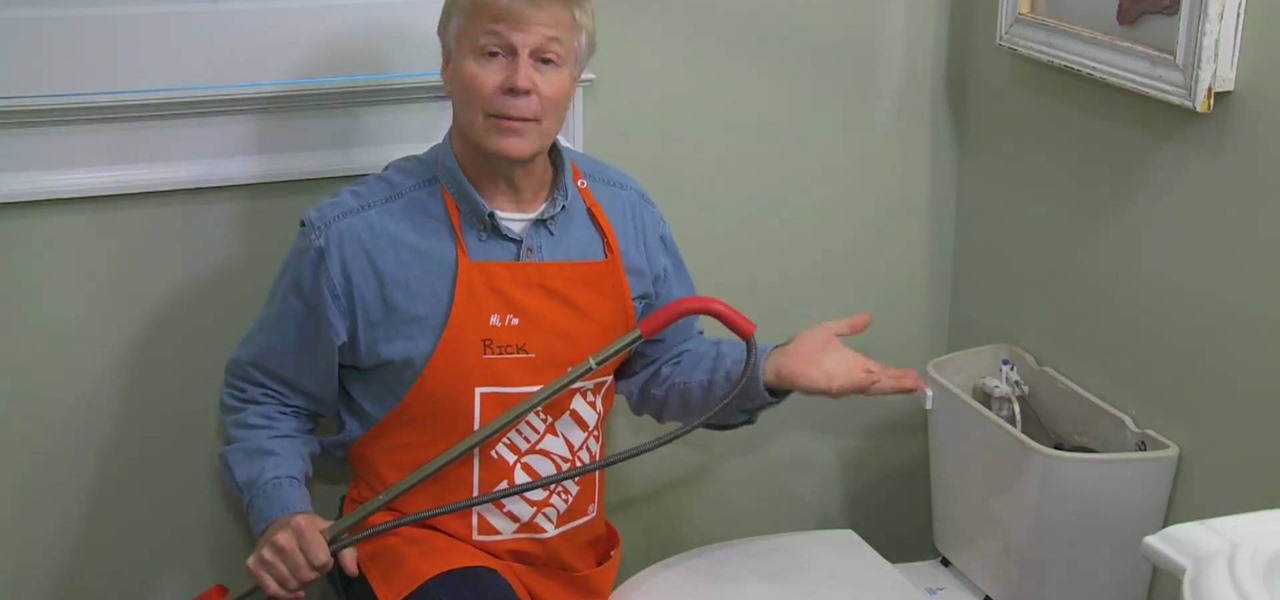
Is there anything worse than a leaky toilet? One minute you're flushing the tank and the next you're standing in a pool of water and ruining all your nice towels. In this tutorial, Tool Dude Tony walks you step by step through the process of replacing all the parts in a toilet tank including the fill assembly and flush valve. By following this video, you will be able to avoid a midnight call to the plumber and fix the pot yourself. Don't ruin your tile - or worse, the apartment under yours, w...
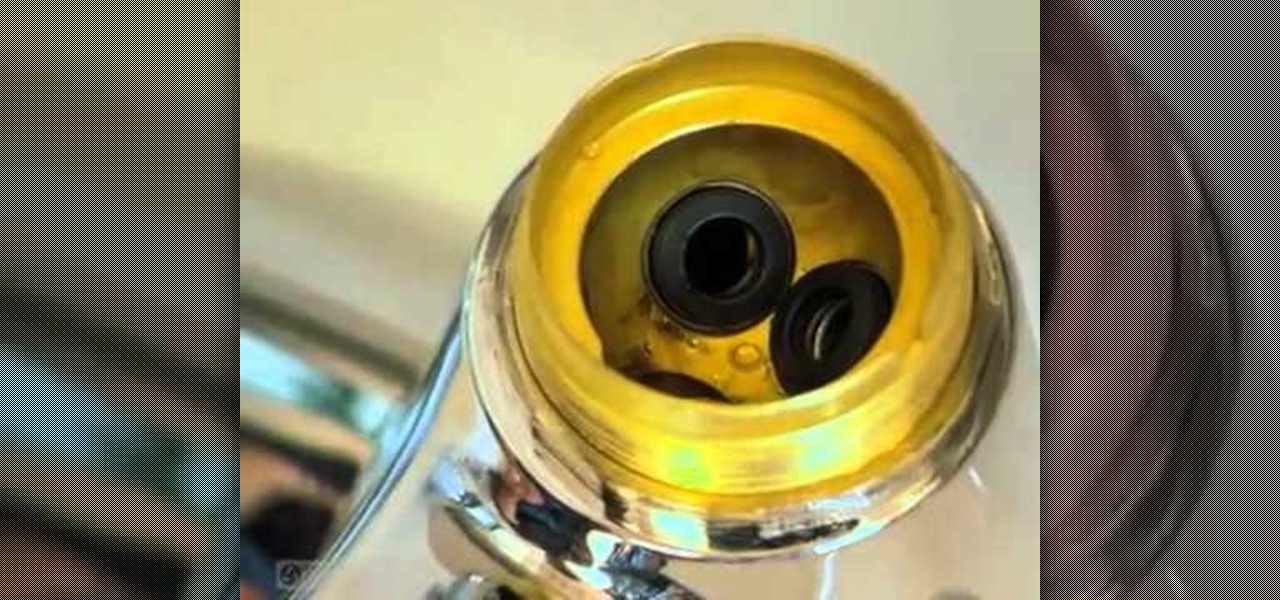
Lowe's brings you this video about how to fix your leaky faucet. More specifically, how to fix your Delta bathroom faucet. A leaking and dripping faucet could be a sign for bad seats and springs, so watch and learn how to replace them. You'll need an 1/8" allen wrench, needlenose pliers, channel locks, screwdriver, and replacement parts.
This two part how to video shows a breathing exercise designed to control the amount of breath you let out so that you can control your voice better. Learn how to do the slow leaky tire vocal exercise with this tutorial. This exercise can help you improve breath control and become a better singer. With these steps you can breath easier and sing better.
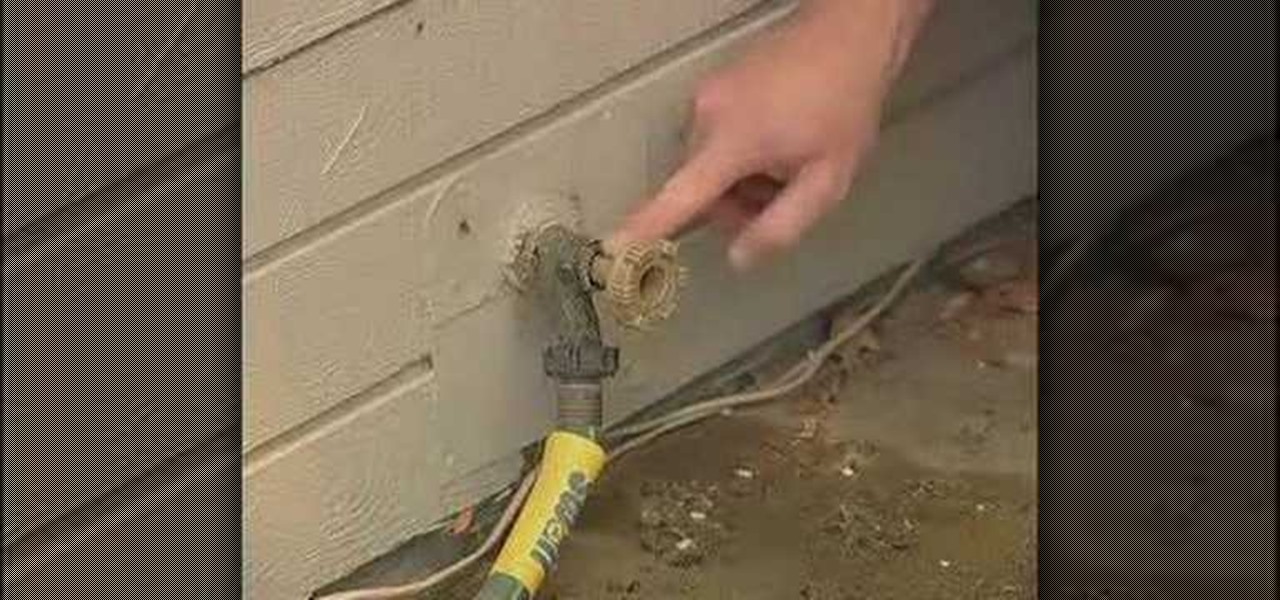
There are so many little problems that buold up around the house. One of these is very simple to fix. This how to video shows you a simple DIY solution to fix a leaky garden hose spigot.
Tim Carter shows how to fix a leaky gutter. Watch the video for best results.The gutter seal material is easy to work with. It can be spread with a twig or stick and it sticks tight to the gutter. Your leak at that joint will be solved.Watch the video for best results.
Annoyed by a leaky or dripping faucet? Don't be intimidated by trying to fix it yourself. Here are the tools and step by step instructions to tackle it yourself.
Drip, drip, drip. Other than maybe a fly buzzing around your head in concentric circles, a leaky pipe is possibly the most annoying thing you can hear in the middle of the night when you're trying to get some sleep. Thankfully, though, a leaky pipe is one of the easiest plumbing problems to fix all by your onesies.
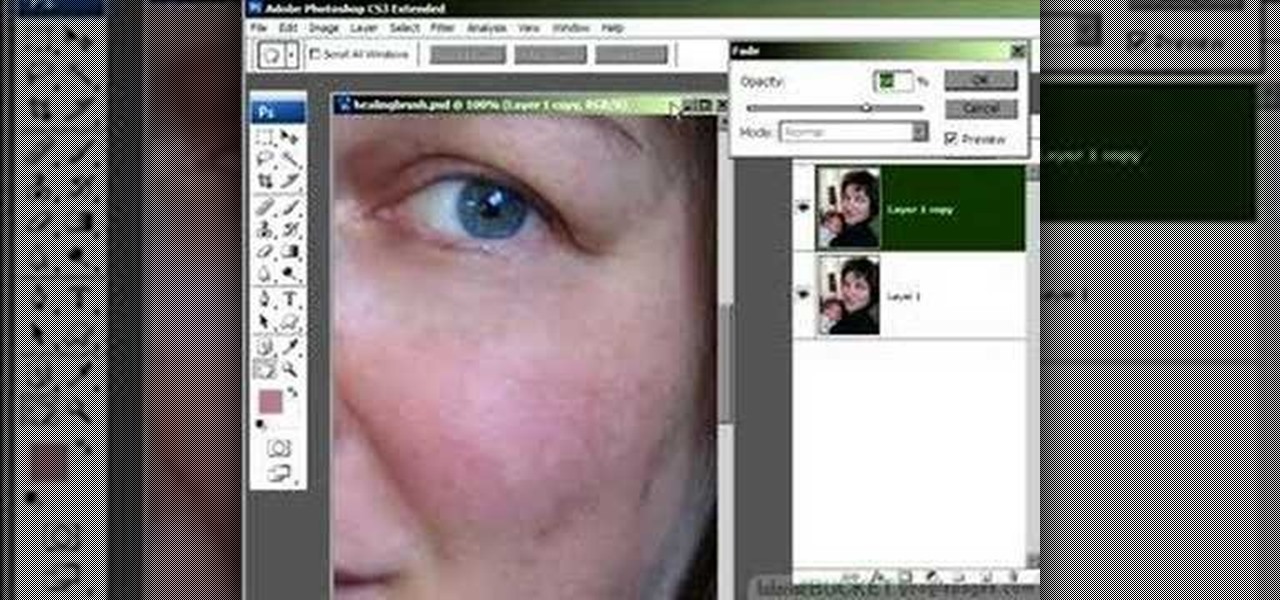
This image editing software tutorial shows you how to use the healing brush tools in Photoshop CS3. Think of them as first aid for your photos! Watch and learn how to use The Clone Stamp, Spot Healing Brush, Healing Brush, and Patch Tool to retouch photos in Photoshop CS3.
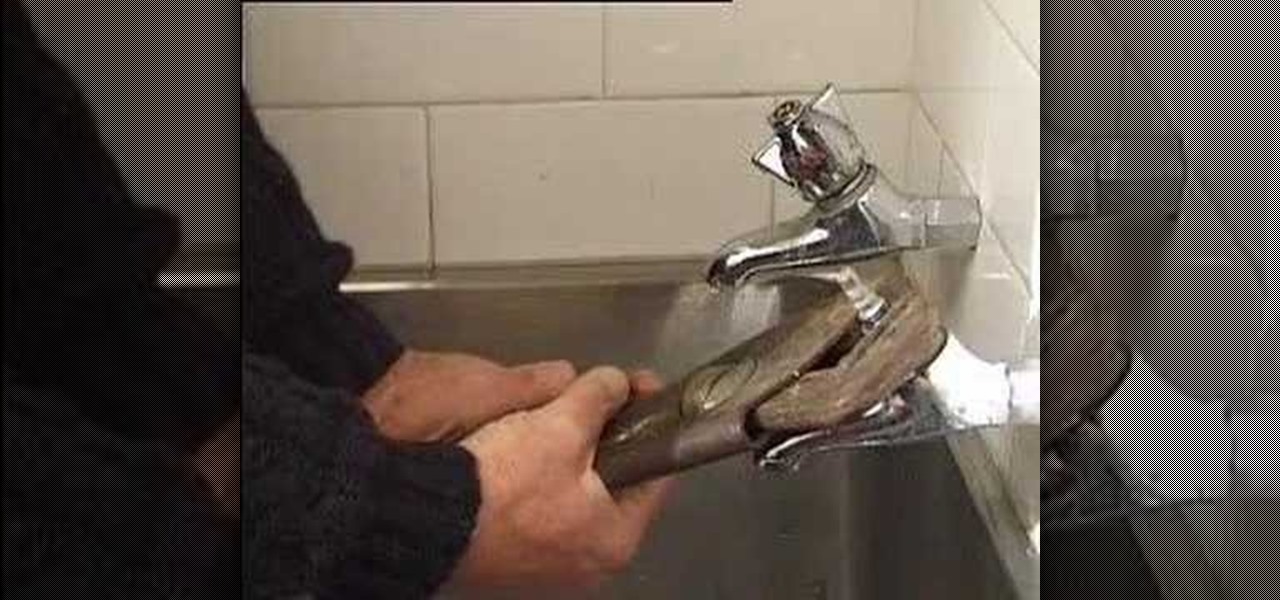
DYI-FYI #57 teaches you how to fix a leaky faucet in this video. First, have to distinguish if the water drips from the tap or from the handle. If the water is leaking form the tap you need a new washer; if it drips from the handle you need a new o-ring. First, turn the water off using the valves under the sink. Next, drain the faucet by turning it on of course and grab a towel to place in the sink to prevent scratching while you work! Next, you'll have to remove the decorative topping to rev...
Here's a helpful house and apartment video tip to help you succeed in your home. Watch this tutorial to learn how to repair a leaky tap faucet washer.
Learn how to play "Heal Over" by KT Tunstall on guitar, an acoustic guitar tutorial. Follow along with this demonstration, tabs and lyrics here:
In this video, we learn how to fix a leaky faucet in the kitchen. This is for a faucet that is leaking around the handle. You will want to start off by figuring out what type of faucet you have, and get the proper parts and repair tools for it. Next, you will need to turn off the water that goes into your faucet, and then remove the hardware from the top. Once you get to the inside of the faucet head, put the replacement part in and then turn your water back on. Now, test your faucet to see i...
If you can't stand that dripping sound any longer, have a look at this tutorial. In this video, learn exactly how to repair a leaky faucet in your bathroom sink. By repairing the leak yourself, not only will you save the time and money of hiring a plumber, you will also help the environment by conserving water.
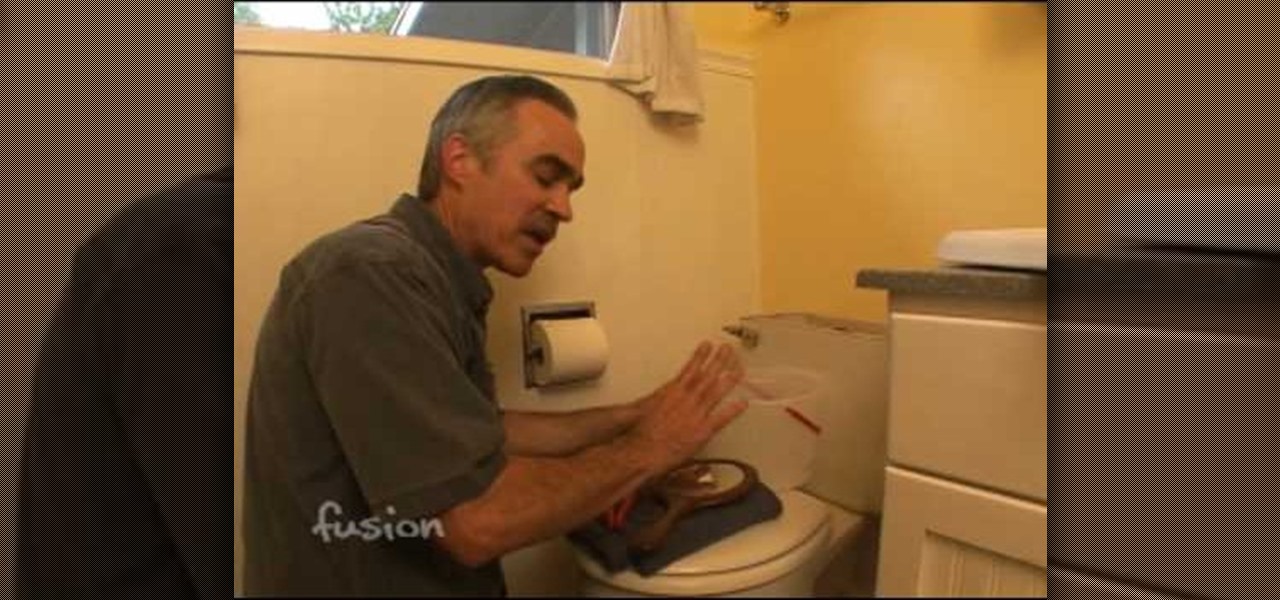
FusionGuy09 tells us how to fix a leaky toilet. You should be able to hear the leaking toilet. First thing you want to do is turn the water off. You can do this by reaching behind toilet and turning a lever. Next, flush the toilet to remove the water from the tank. Remove the flapper and check for wear with your finger (don't worry about the water back here, it's sanitary). Look out for cracks or pieces coming off. Also check the valve seat for spots without a seal. If you find parts that are...
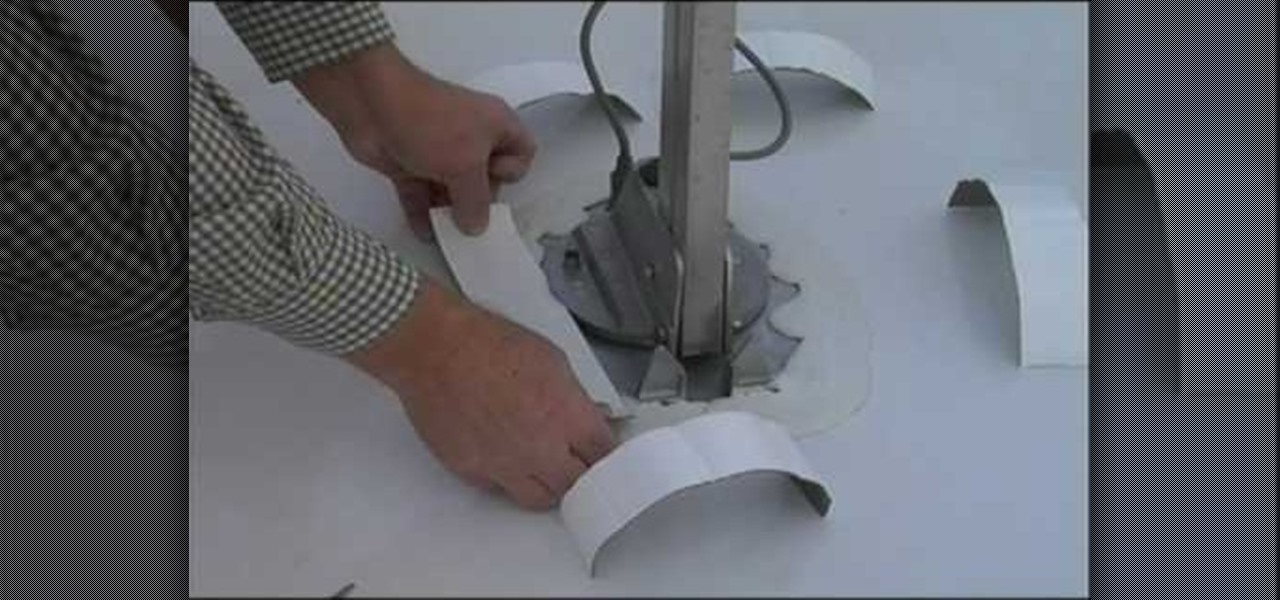
In this how-to video, you will learn how to seal a leaky RB roof with EternaBond tape. First, you must have EternaClean to remove any old dirt or grime around the roof. Spray it and remove with a piece of cloth. Cut the tape into the sizes you may require. Lay them out and prepare the surface using EternaPrime. Place the EternaBond tape where you want it, as it will not come off once placed. Rub bubbles or creases out. Wider tape may be considered for bigger jobs. By viewing this video, you w...
Spot healing is a new feature of Adobe CS5 which can remove embedded features (like a misplaced clothing strap or a power cable). The content-aware feature will take contextual clues and help you retouch your images more effectively and spot-heal large areas of your image.
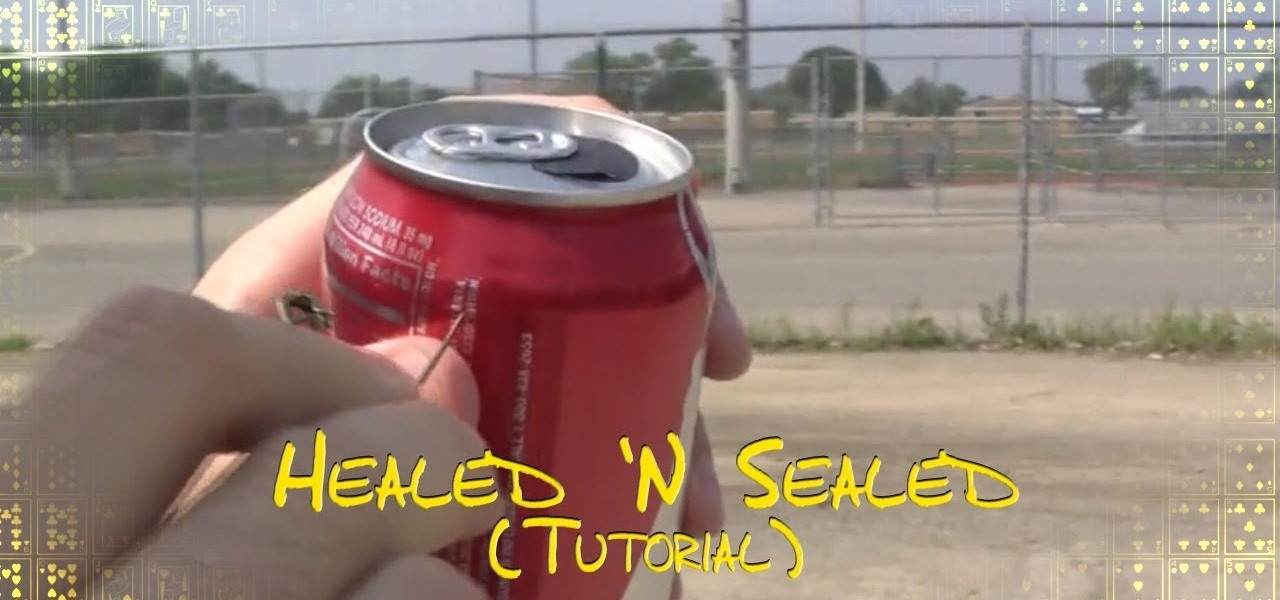
Magic tricks that will work well in crowd on drunk people are some of the most useful ones you can learn, and this trick is that in spades. It's called Healed n' Sealed, requires the construction of a trick can, and you will learn how to do it in this video.
The goal of this video tutorial is to teach you how to perform the "healed and sealed" soda can magic trick. This instructional is to help anyone wanting to be a magician, helping you understand technique and presentation of simple but effective illusions. These tricks are pretty easy, but with time, practice and patience you will be able to amaze your friends and your family. Learn the healed and sealed prop magic trick.
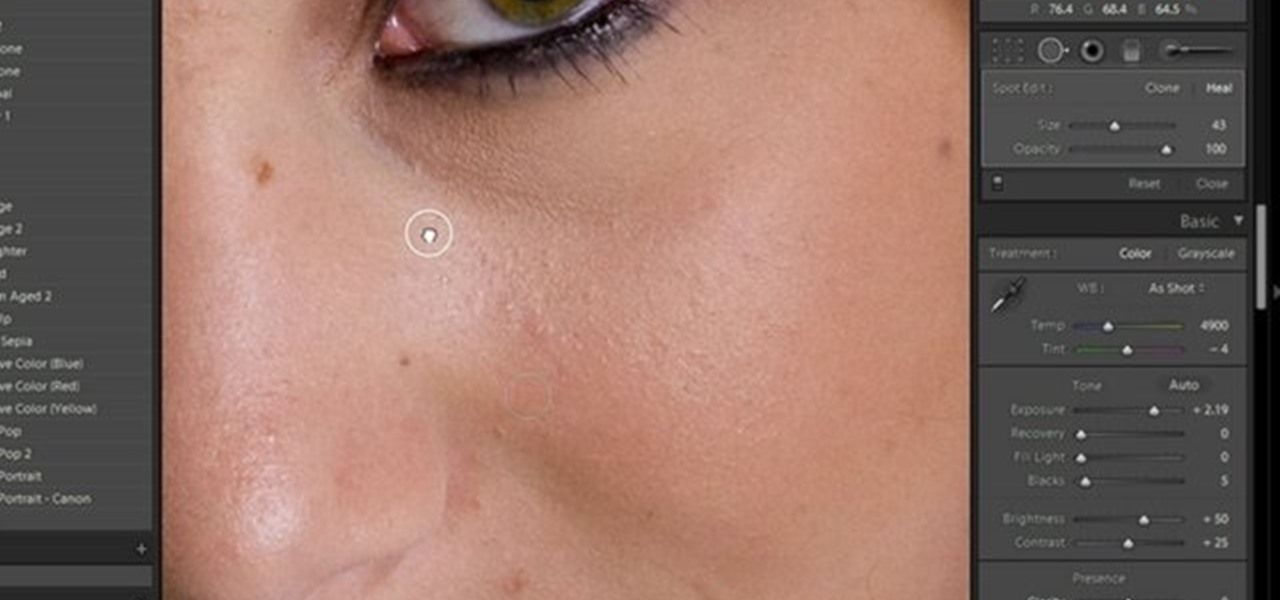
Kerry Garison demonstrates a quick tip of healing tool (Lightroom 2. 0), which is situated on the upper right hand corner of the screen, with the help of lady's image. Click on spot removal tool which can be used for cloning and healing. In order to change the brush size, scroll wheel mouse or left or right rapid keys can be used. Brush size, change in opacity can be changed also by clicking and dragging the bar; from there cloning or healing options can be selected also. After clicking the h...
Here in civilization, any sign of a cold can be instantly erased with a trip to the doctor and the right medicine, but when you're stuck out in the wild without any pre-packed meds, you're in major trouble.
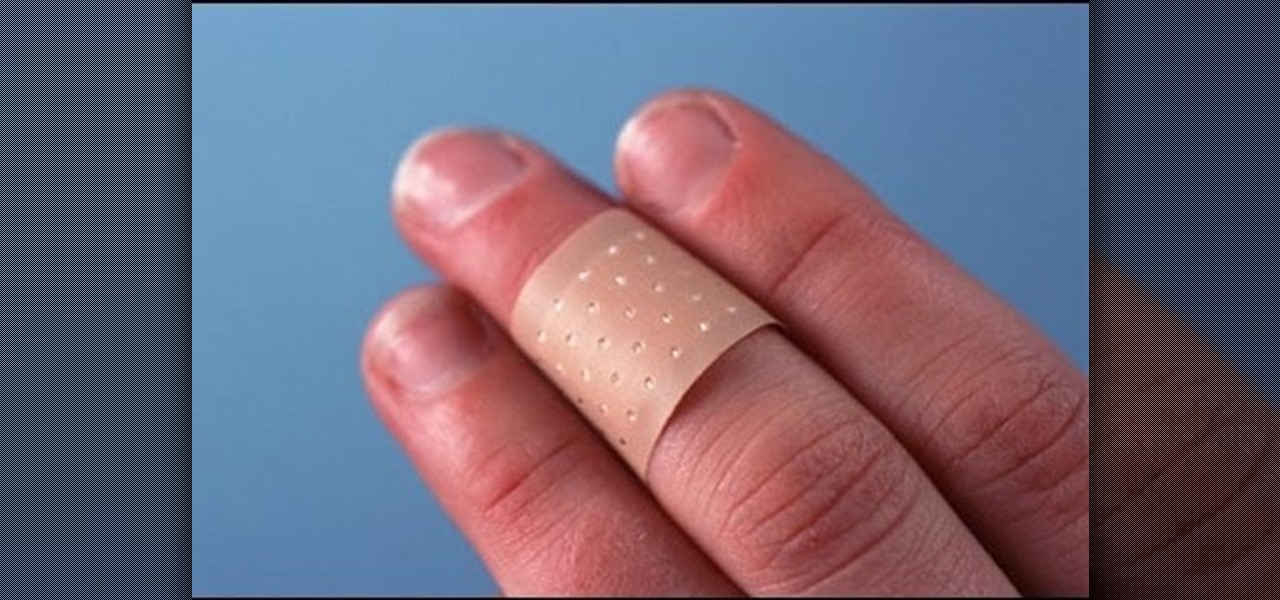
DermTV tells us how to heal abrasions and cuts using antibiotic ointment. To heal abrasions and cuts: Put antibiotic ointments like Bacitracin ointment and Polysporin ointment in abrasions and cuts. Put Bacitracin ointment or Polysporin ointment every 3 - 4 hours and cover with a band-aid. Why use Bacitracin ointment and Polysporin ointment? Bacitracin ointment and Polysporin ointment keep the whole environment of your abrasions and cuts moist. And once you've put antibiotic on your cut then ...
Do you love to edit your photos in Photoshop? Watch this quick video that contains some really neat tips on how to use the healing brushes and patch tools in Photoshop. The spot healing brush makes it easy to brush away blemishes or other marks on the skin. It's good for small spots, not larger areas. You can use the patch tool for larger jobs. These two tools combined will give you a pretty impressive end look. It can remove tattoos, wrinkles, acne and so much more!
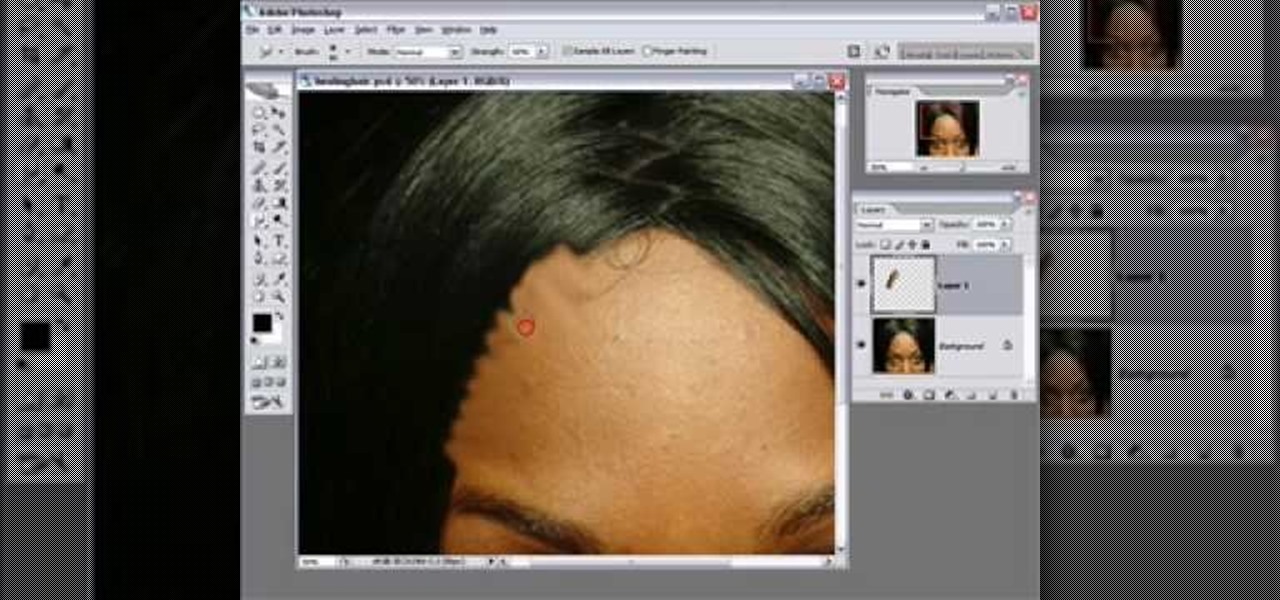
This Photoshop tutorial shows how to avoid getting "bleed" when using the healing brush tool for covering stray hairs on the face near the hairline.
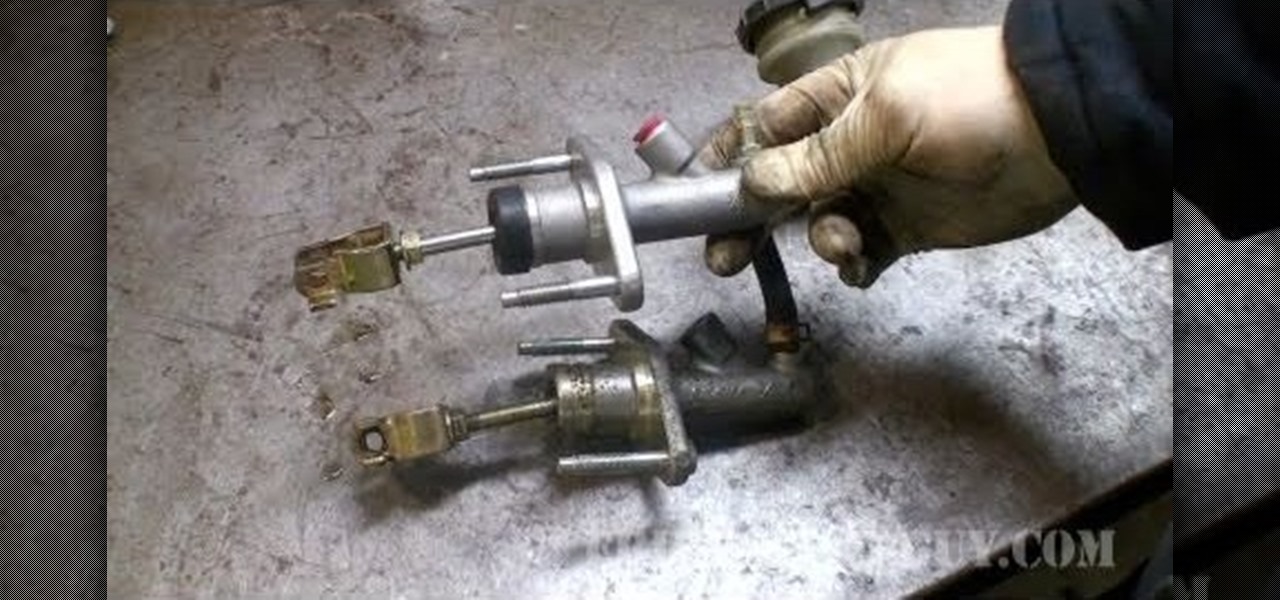
If the clutch hydraulics on your Honda Civic are leaking, you might find your clutch stuck on the floor. Here is how you can check to see if you have a leak, and then how to fix it if you find one.
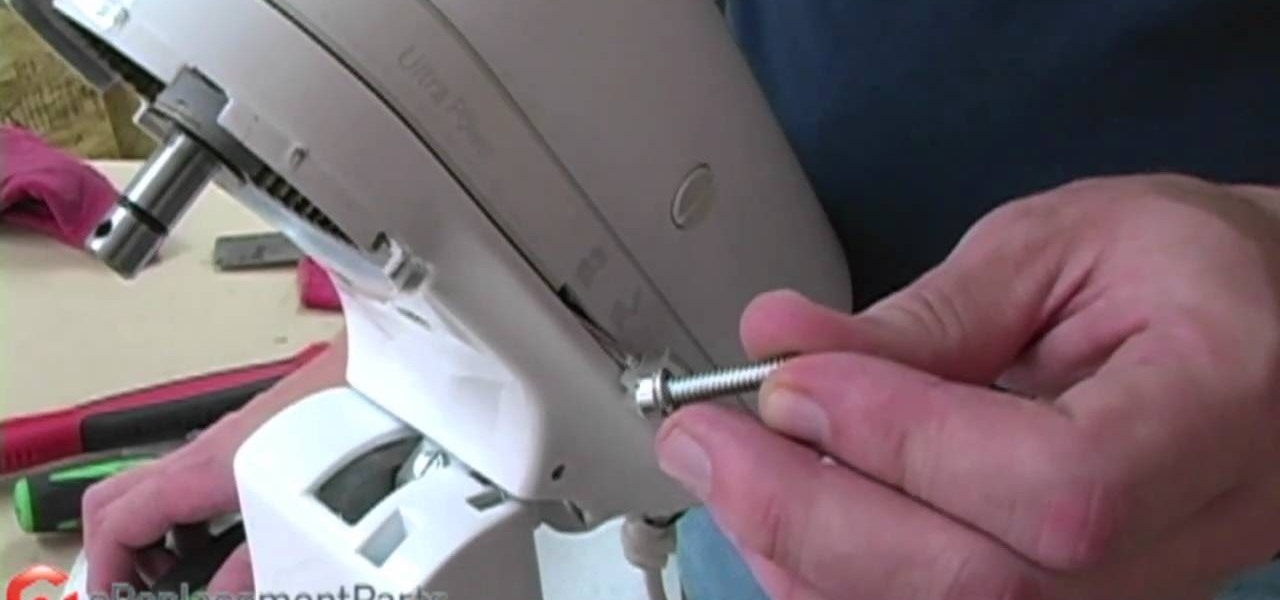
In this DIY guide from the folks at the eReplacementParts], we learn how to repair an oil leak on a KitchenAid stand mixer. It's easy! So easy, in fact, that this clip can present a complete overview of the technique in about two minutes. For all of the details, and to learn how to repair a leaky KitchenAid mixer, take a look.
If you're having trouble with your toilet, your first instinct might be to call the plumber. But many plumbing problems are easy to diagnose and solve yourself.
Healing a broken heart can take time, but, if you treat it as a learning experience, you’ll discover a lot about yourself.
This episode of Real World Green shows us how to identify and fix a leaky, water-wasting toilet.
Use the Spot Healing Brush Tool in Photoshop Elements 9 to remove power lines, trees, cars, even your Aunt Marge. If it's in the picture and you want it out, this simply tutorial will show you how to do it.
This video in the Software category will show you how to remove pimples and wrinkles in Photoshop. Yanik from Yanik’s photo school presents this video. Select the photo you want to work on. First you duplicate the layer by ctrl+J or select from the dropdown menu. You start off with removing those pimples that you want to remove completely. Select the spot healing or the regular healing brush. Yanik prefers the regular healing brush. Also choose a small brush size. To select a source point, ho...
In this trick, a seemingly empty soda can is healed and resealed as an unopened can with soda still inside. To create the prop you will need a regular can of soda, a thumbtack, a marker, a piece of paper, and some scissors. Watch this video magic tutorial and learn how to perform the healed and resealed soda can trick.
In this video tutorial, we learn how to use the content-aware healing feature in Photoshop Elements 9. Whether you're new to Adobe's popular raster graphics editor or a seasoned designer looking to better acquaint yourself with the new features and functions of the latest iteration of the application, you're sure to benefit from this free software tutorial. For more information, watch this video guide.