
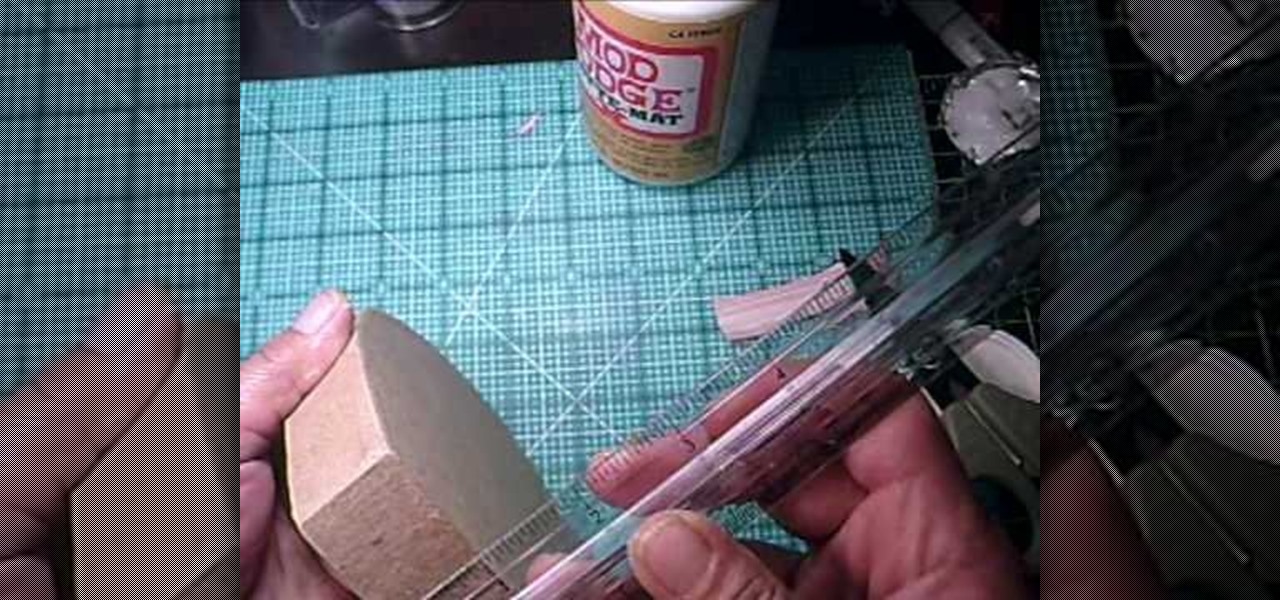
How To: Cover a heart shaped or round box with designer paper
Cover a heart shaped or round box with designer paper

Cover a heart shaped or round box with designer paper
Usually our 5-Minute Projects involve soldering and LED lights and other such electronic accoutrements, but this week we decided to skip the fancy stuff in favor of an old-school science project: making rheopectic slime from Borax and glue. This is a pretty safe experiment even for kids--just make sure to do it with parental supervision and keep the Borax, slime, and any fingers that have been touching the aforementioned items out of eyes, noses and mouths.
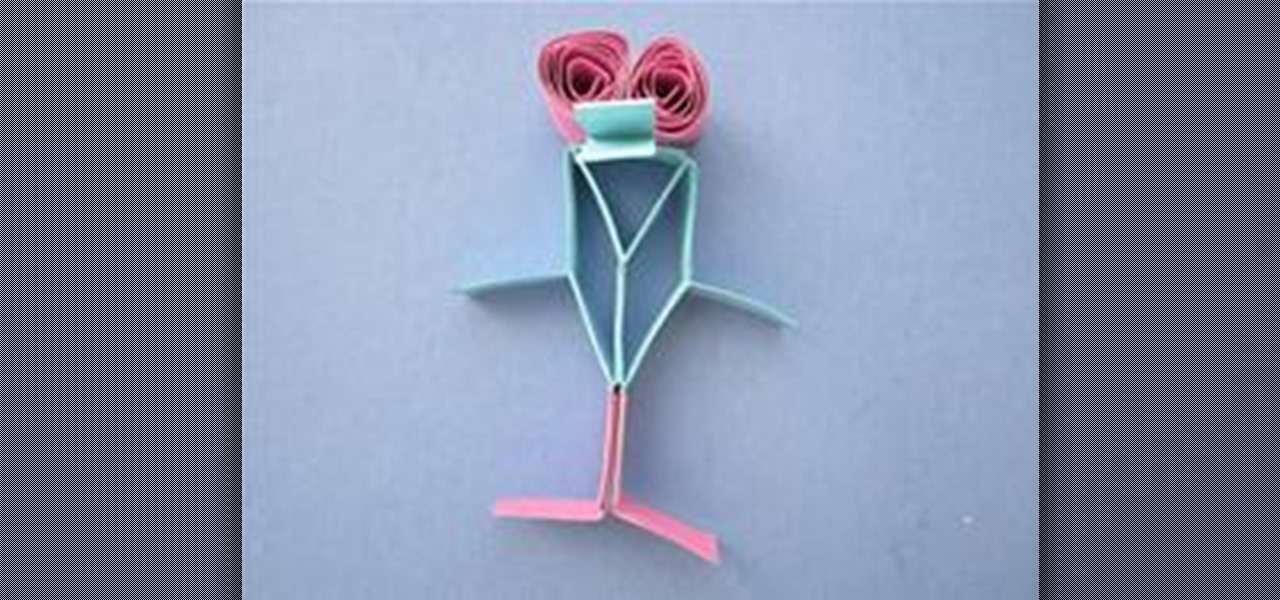
Use geometry to make an adorable and fun heel klickin' friend using McCormick vertex elements! You will need:
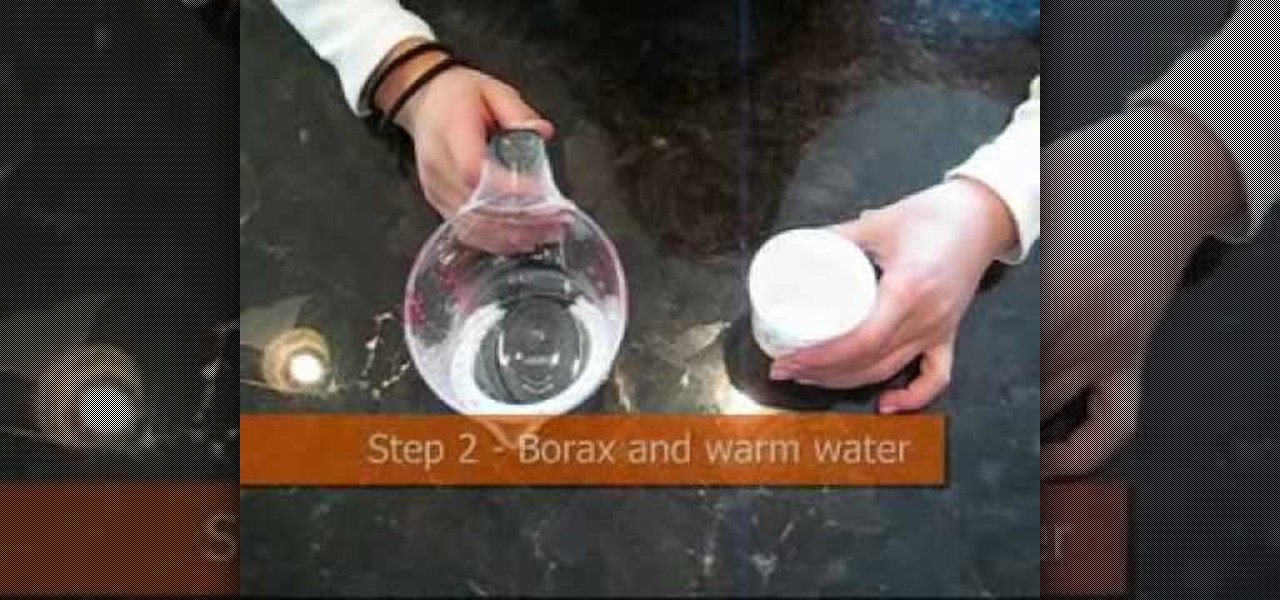
This video shows you how to make slime, flubber or goop. Take two ounces of glue and one quarter cup of water. Pour the water into the glue and stir the mixture. Pour in a few drops of paint and keep stirring. The more paint you add, the darker it will be. Take one quarter teaspoon of borax and one quarter cup of warm water. Add the borax powder into the warm water and mix together to dissolve the borax. It is ok if not all the borax is dissolved. Pour the borax mixture into the glue mixture ...
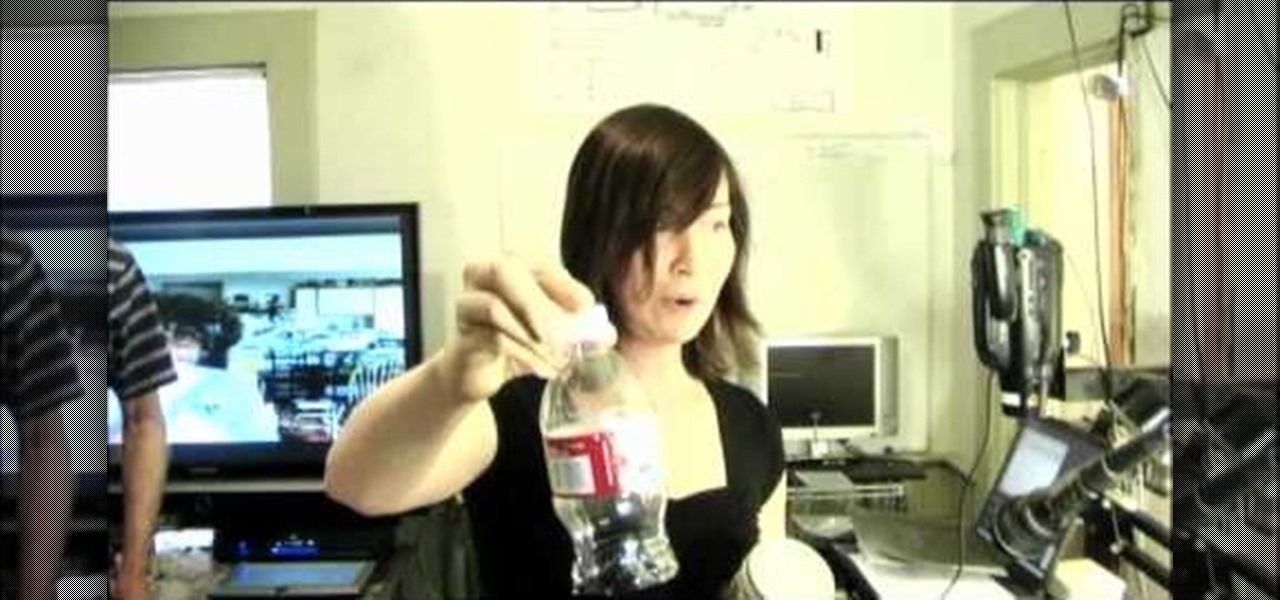
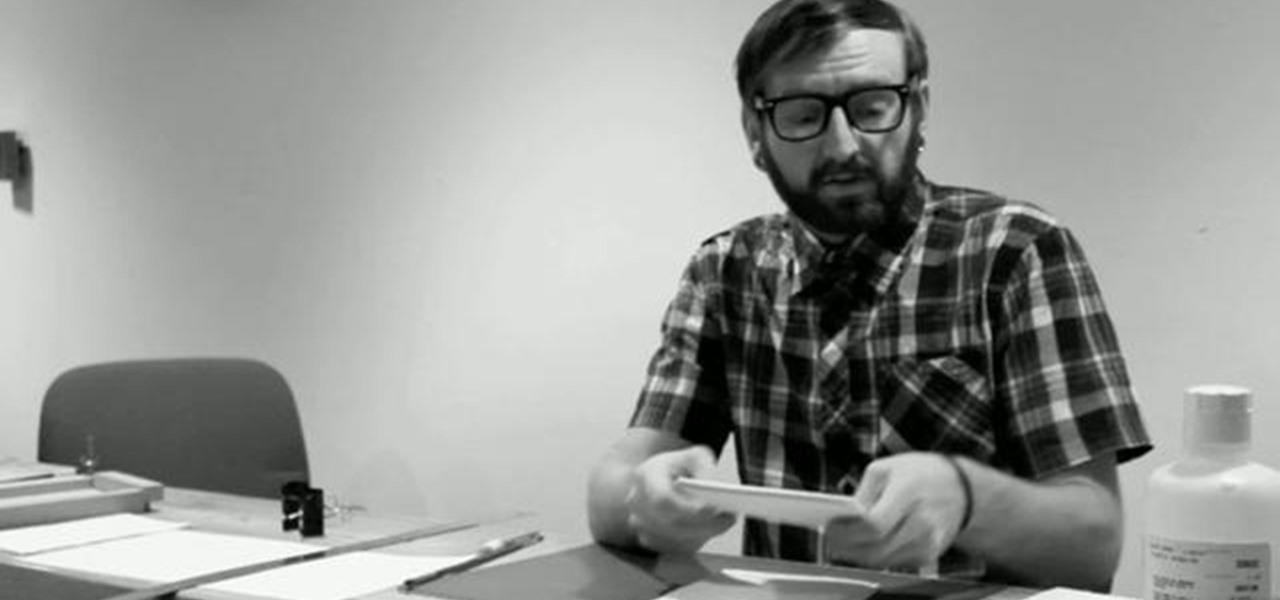
Does someone keep drinking part of water bottle and leaving them around your house or office, taunting you with their wastefulness? Thanks to forensic technology, it is possible to catch the culprit with easy household materials. This video will show you how to use super glue to lift fingerprints off of a water bottle where normal fingerprint-lifting technology would not be sufficient. Plus, you get to use a heat gun! Always fun.
Turn that dusty old tome into something you will actually use – a sneaky stash for your best stuff. You Will Need
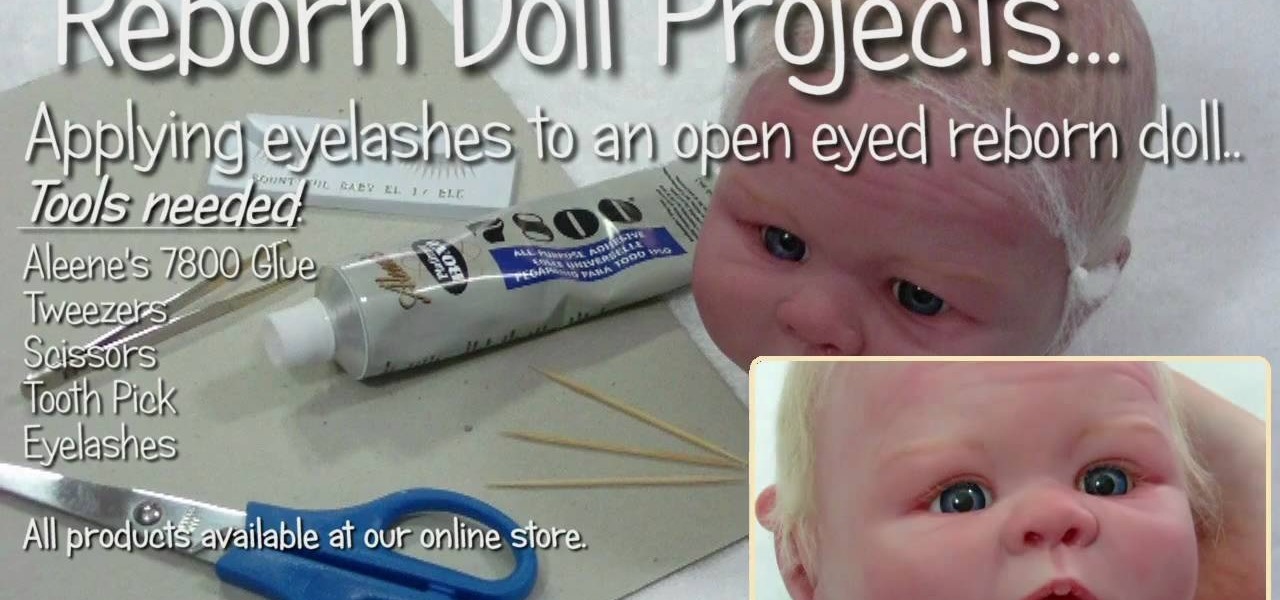
In this video, we learn how to apply eyelashes to open eyed reborn baby dolls. First, you will need to prepare the glue by placing it on a flat surface and letting sit for a couple minutes. Then, take the new eyelashes and remove the existing glue with tweezers. After you do this, dip the base of the lashes into the glue. Do this slowly and make sure to wipe off any excess glue when you're finished. Place the glue evenly around the entire lash. Now, bring the lash to the eye and insert it int...

This video shows you how to create a hollow book for keeping secret things inside. To the outside world the book looks normal, but only you know what goodies you have stored inside. You will need an old hardcover book, wood glue, Razor knife, steel ruler, brush, pencil, and cup for water glue mix.
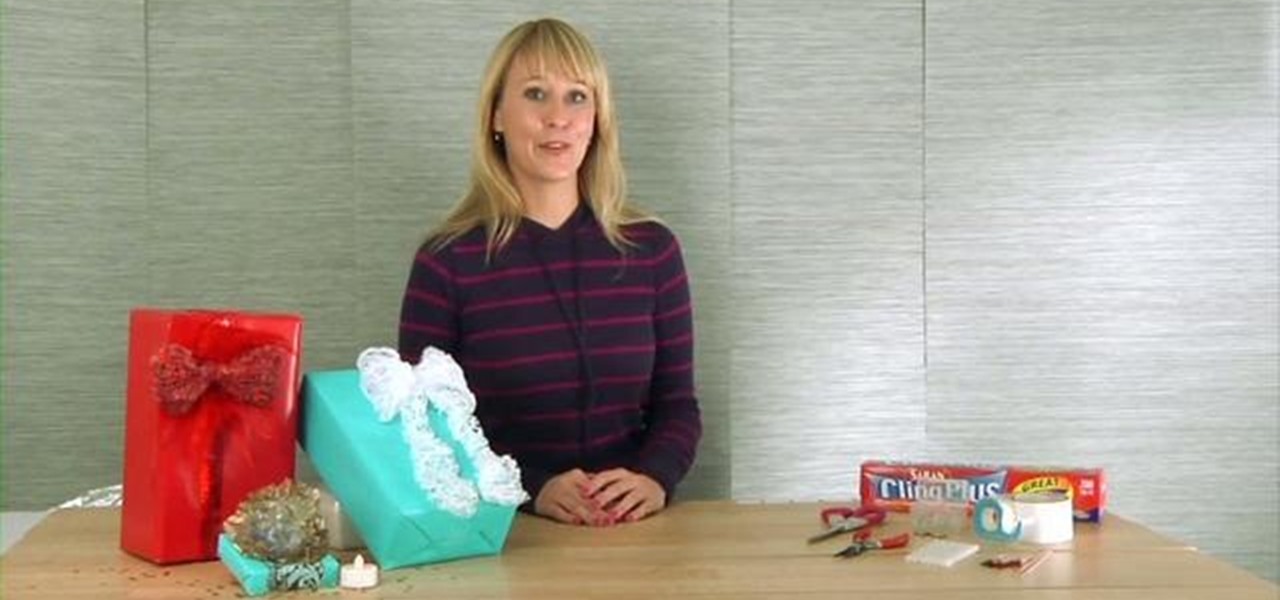
What a unique bow. Your gifts will be beautiful under the Christmas tree. Materials you will need are: plastic wrap, hot glue, LEDs, scissors, pliers duct tape, glue gun and glue, toothpicks and 3 volt batteries. First you take the plastic wrap and cut it about 5 times the size your bow is going to be. Take the end and push it together. Now make one side of the bow, push together, and make the other side of the bow. Keep going back and forth until the plastic wrap is at the end. The left over...
Demonstrator Andy Hirsch offers a tutorial on how to perfectly bind a book using two different methods. The first method is with binding clips the second with a binding jig. You will need and cutting mat, X-acto knife, paint brush, ruler, binder clips and binding glue. Use use 8 1/2" X 11" paper folded in half for the book pages and 11"x 17" page for the cover. In the 'Binder Clip Method', you make all the pages and cover flush and use the binder clips to keep everything together. Ad glue to ...
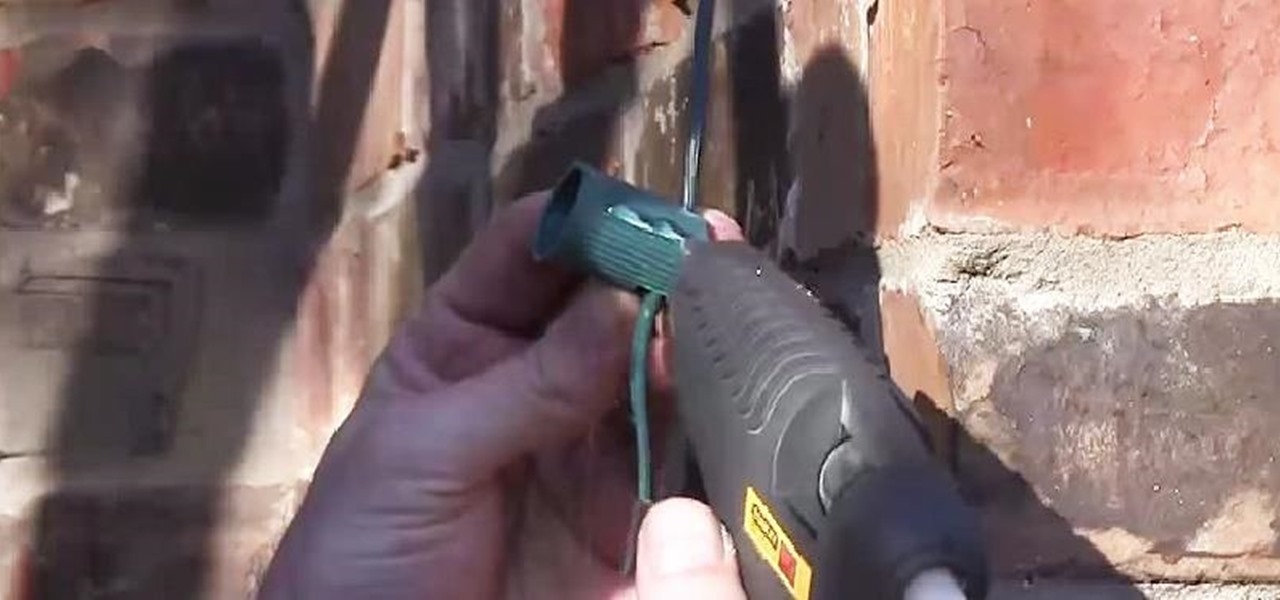
You've probably tried just about every method of hanging your holiday decorations: nails, thumbtacks, sticky hooks, and, in desperation, even tape. Each method can leave a host of complications when removed, though, from chipping paint to visible holes.
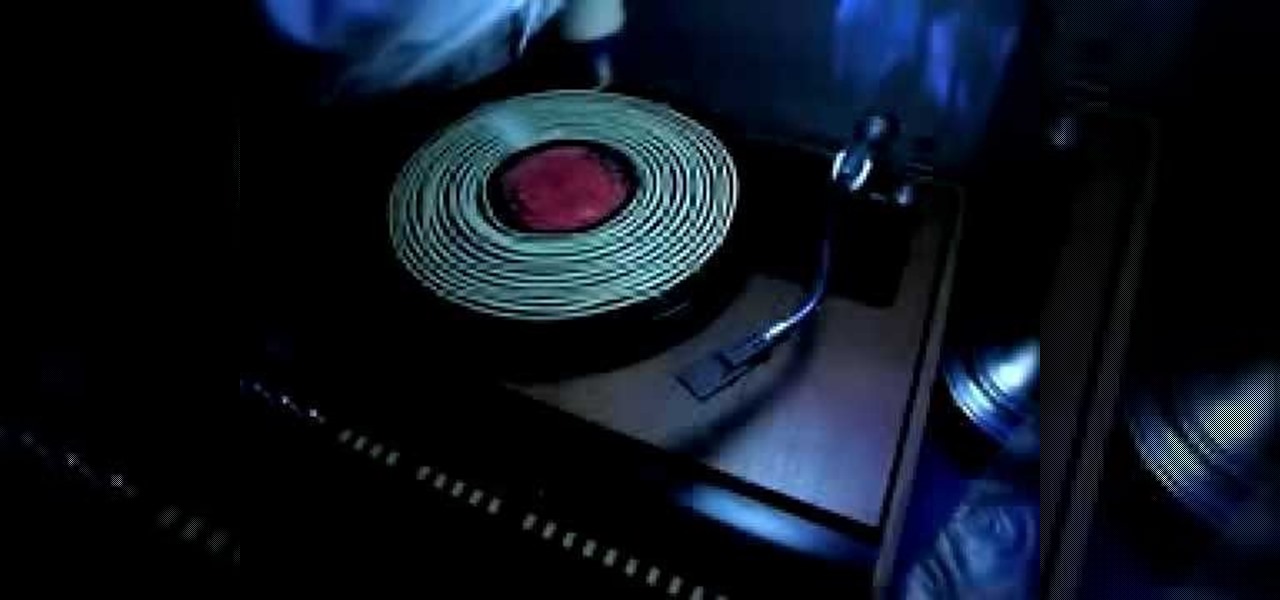
This video shows how to clean old records using Titebond II wood glue. He has the record turning slowly on the turntable, and while it's turning, slowly squeezes a line of glue around and around onto the surface of the record, starting from the middle. He explains that it takes between four and twelve hours for the glue to dry completely. After the glue is applied to the entire record, he takes an old credit card and spreads the glue evenly onto the record, all the way out to the edge. When t...
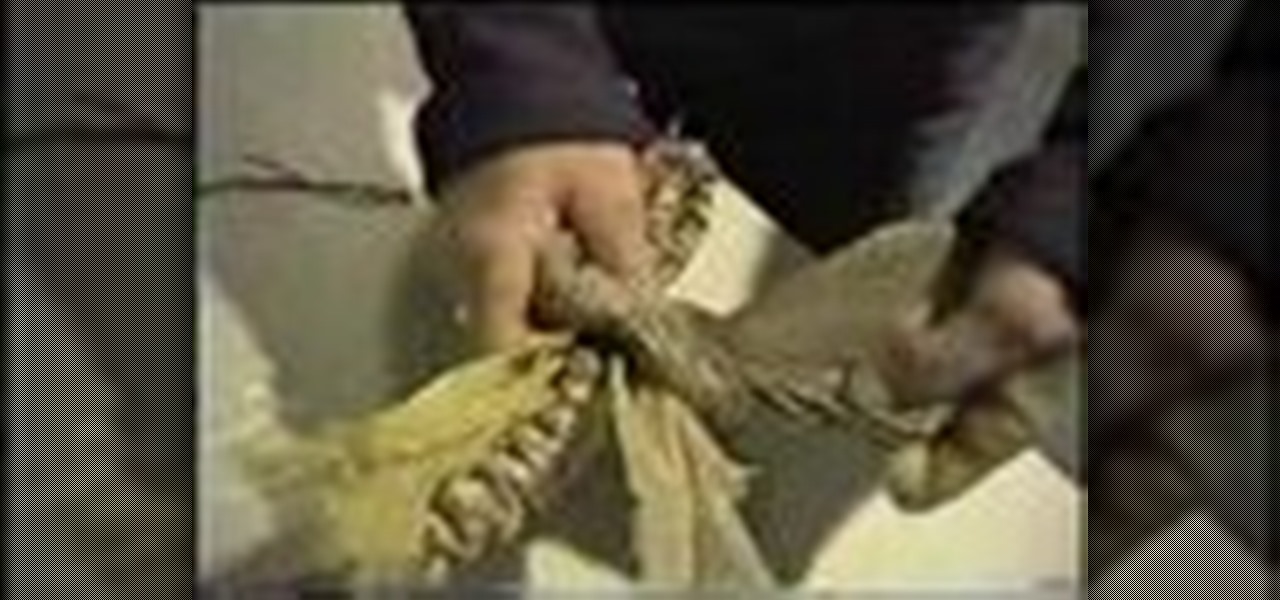
In this tutorial, we learn how to recycle plastic grocery bags into a dog leash. To begin, you will cut the plastic bags in half, then cut off the handles of the bags. Next, apply glue to the entire bag, then roll up into a straight line. Continue to do this for several different bags, depending on how long you want your dog leash to be. When you finish this and the glue is dried, tie several bags together end to end, and have three rows of these. Now, take the bags and tie them in a knot aro...
In this video molly1216 explains her method of repairing a hardcover book hinge. She mentions that this method should be used for inexpensive books that are not worth being sent to professionals.
Have a bunch of old magazines sitting around the house you'd like to recycle? Use old magazines to make a cool basket that suits your more eco-friendly side. Learn how to make a coiled basket out of magazines with help from this how-to video.

There are 3 steps involved in patching a bike tube: 1. Locate hole in the tube.
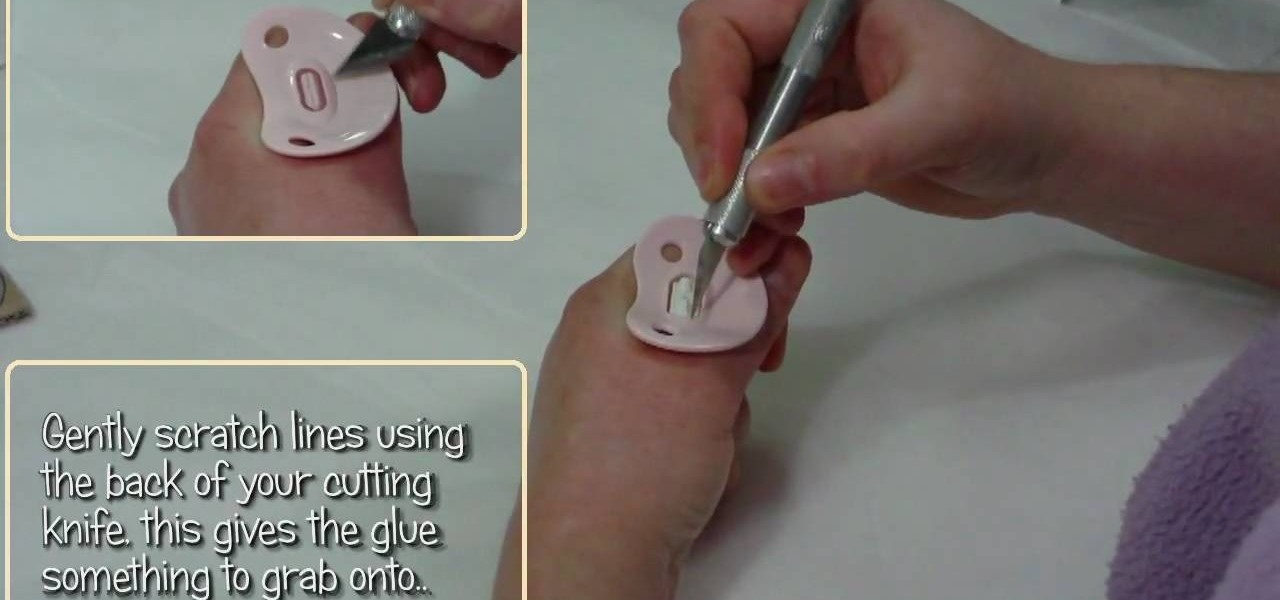
In this tutorial, we learn how to glue a magnet onto a dummy/pacifier for a reborn doll. First, gather all the tools you need to do this project. After you have these, remove the teeth from the pacifier. Next, scratch lines using a cutting knife so the glue grabs onto the center better. After this, apply the glue and the magnet, then place it on the dummy and press it there for several seconds until it is firm in the right place. After this, glue the surface of the pacifier onto the baby, the...

See how to solve this Snake Cube puzzle from somebody at WorqSmart. Watch slowly, keep your eyes glued to the screen, then blink, and solve it yourself.
In this tutorial, we learn how to make a sniper rifle movie prop. First, go to this website to get the blueprints: Sniper. After this, draw your gun out onto a poster board and cut it out, you will do this for around 6 of these poster boards. When you are finished, use the hot glue gun to stick all of these together. Next, sand out the sides and attach duct tape to the sides to keep it together. After this, grab two empty water bottles and an empty toilet paper roll. Cut around the top of the...

This is a quick and fun craft for making cute little fluffy penguins out of pom poms. You'll need one large black pom pom, one medium white pom pom, one medium black pom pom, three small orange pom poms, two small black pom poms, a pair of googly eyes and a hot glue gun or textile glue. Be careful around the hot glue gun!
Sue at Paper Source demonstrates how to glue like a pro. PVA is a great paper glue, while methyl cellulose extends drying time (which is perfect for precise adjustment) and is also reversible (making it really handy for archiving). Watch this video crafting tutorial and learn how to use PVA and methyl cellulose glues.
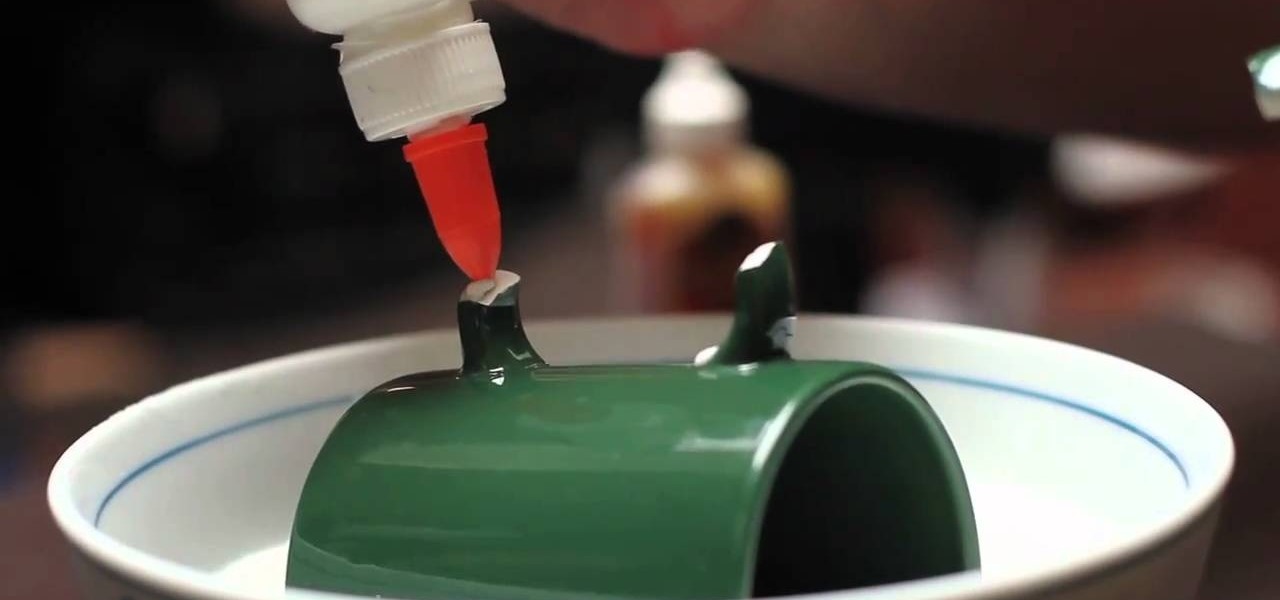
Did you accidentally drop your favorite Star Wars mug on the kitchen floor? Don't lament your cruel fate and sweep the mug pieces up to toss in the trash can; instead, just glue it back together.
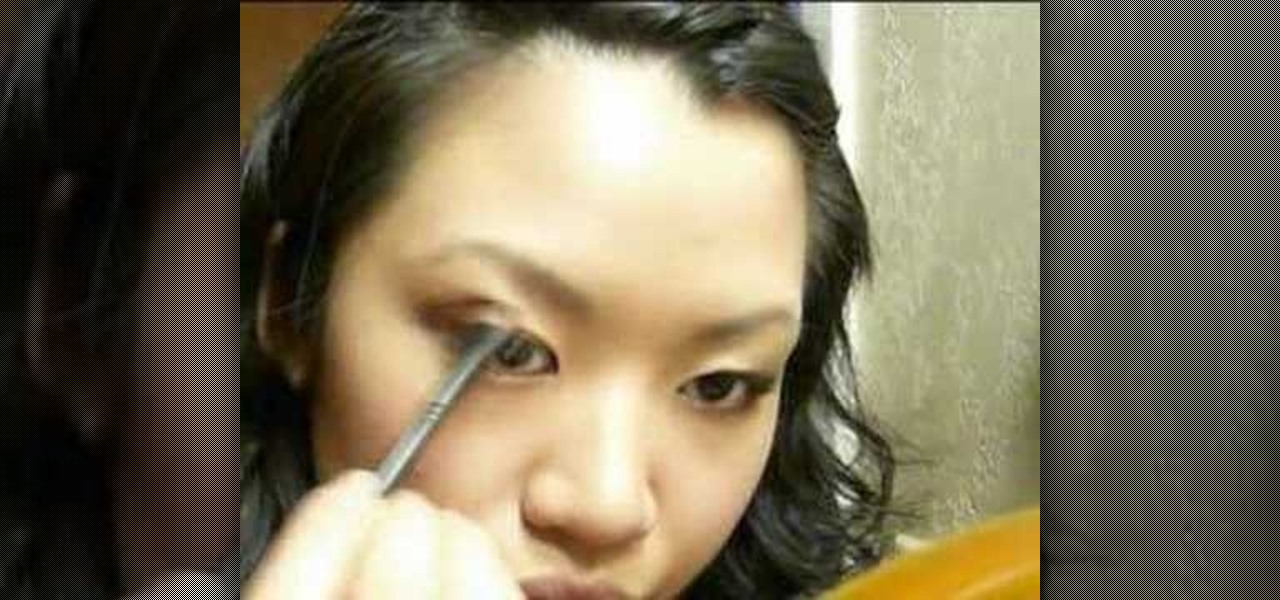
How to apply eyelid glue & makeup to Asian monolids This is a tutorial on applying glue to the eyelid if you have a monolid. This will give the eyelid a crease and make the eyes open wider.
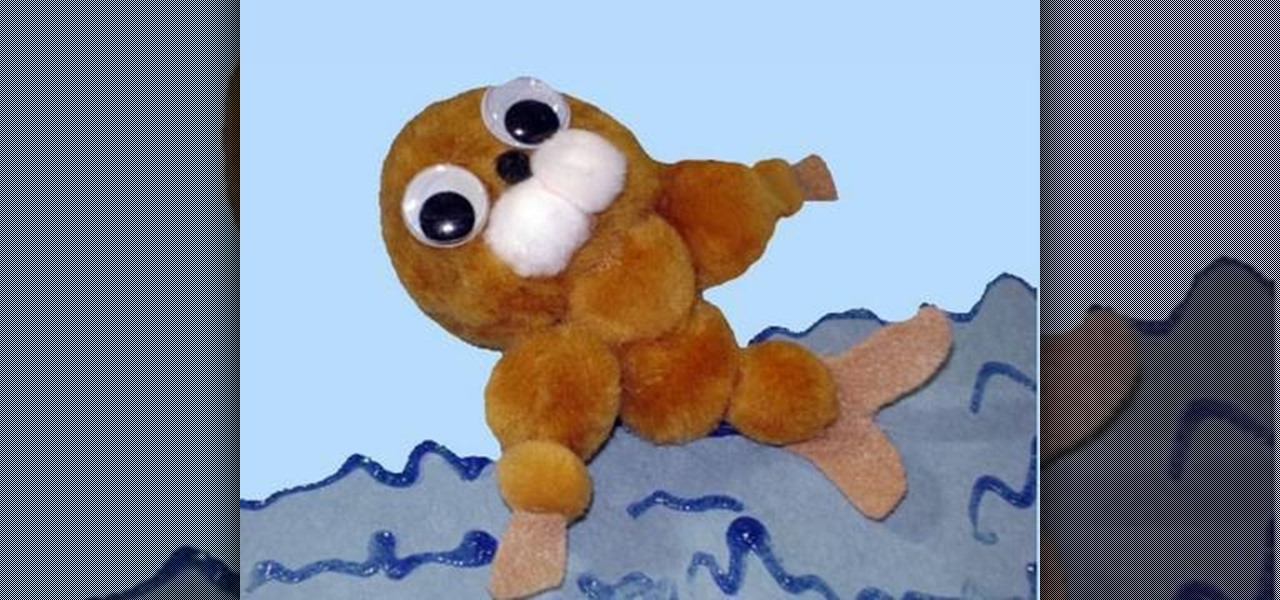
In this video tutorial, viewers learn how to make a pom pom seal. The materials required for this project are: 1 large brown pom pom, 4 medium brown pom poms, 3 small pom poms, 2 white pom poms, 1 small piece of brown felt, 2 googly eyes, glue and scissors. Begin by gluing the brown pom poms together. The large pom pom is the head, 4 medium pom poms are the body and 2 small pom poms are the hands. Then glue the 2 white pom poms and mini black pom pom on the head for the mouth and nose. Glue t...
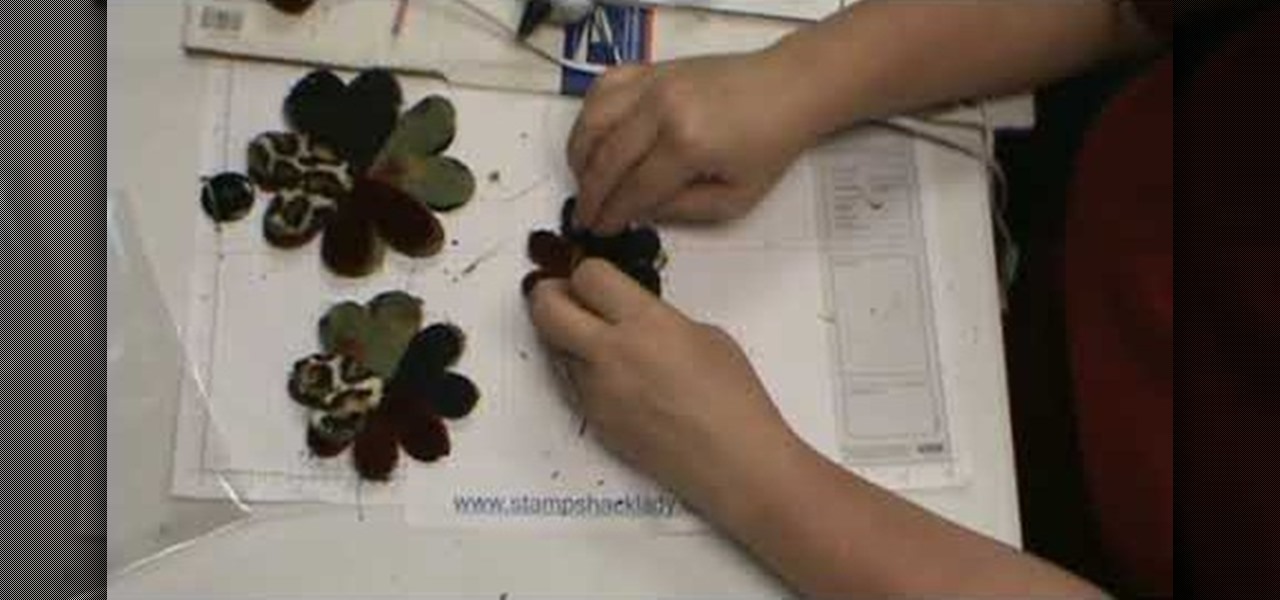
In this video, we learn how to assemble a flower-fold die-cut with a glue gun. First, cut out different fabrics in the flower shape. Put them all into different piles according to their sizes. After this, put hot glue into the middle of the fabric and fold the flowers in half. When finished, put the pieces together with hot glue going in a circle. Continue to do this with all the different sizes. When you are done, all the colors of fabrics should show, then place a button in the middle with ...
Make Slime! This one is easy. Just mix equal parts of glue and water and then add an equal part of liquid starch. Just like that you have gooey slime. The more you play with it the more fun it becomes. This acclivity causes the polymer chains in the glue to cross link with chemicals in the starch. The result is an awesome stretchy slime.
Whether you want to commemorate a special event or just keep the dust off mementos, a shadow box is a great way to show off your treasures. Watch this howcast video to learn how to decorate a shadow box. You will need:

In order to make a ribbon tree, you will need the following: 50 2" pieces of ribbon, scissors, a hot glue gun, hot glue sticks, and a floral tree.
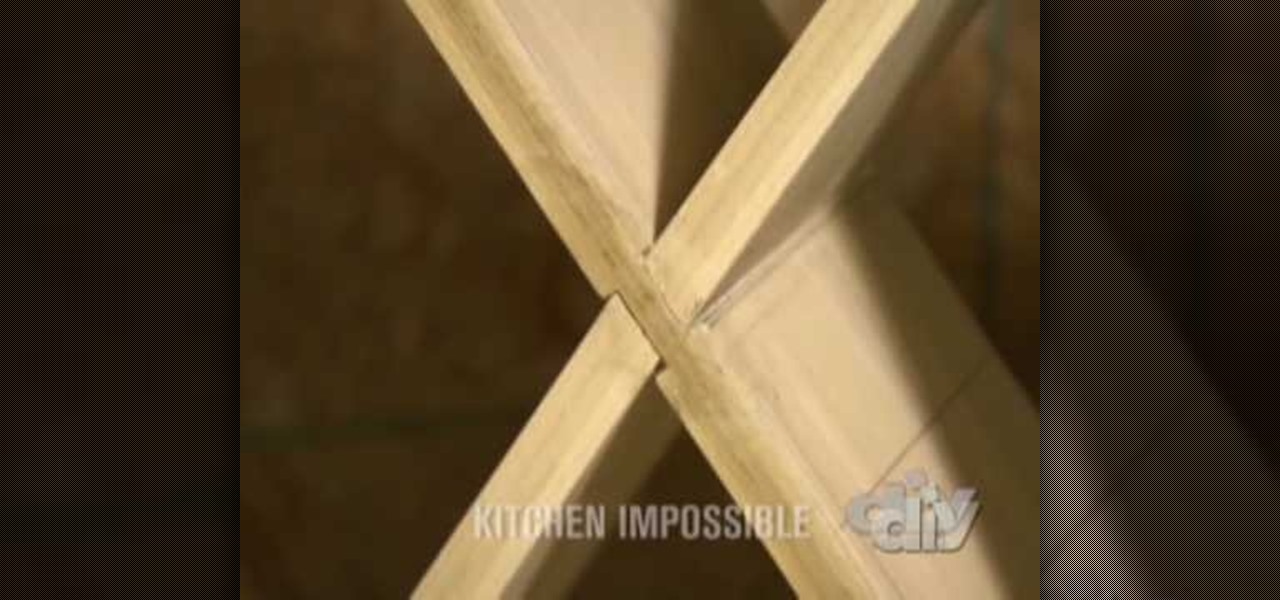
In this tutorial, we learn how to make a poplar wine rack. First, cut the top, bottom, and sides of the rack. Then, use a router to cut out the center of it. Now, assemble the rack together by using wood glue. After this, measure the length of the diagonals, then add in pieces of wood that are criss crossed throughout the box. Next, keep these in place with some wood glue and then place wine bottle on the inside of them. This will make a great wine rack for any home and you can paint it as we...

In this tutorial, we learn how to make stacked hair bows. Start off with three separate bows: red, white, and blue. Make sure there is a string still hanging from the red one, but the strings on the white and blue are cut off. Now, put glue from a hot glue gun and place it on the middle/side of the blue ribbon, the glue the white one where the glue is and hold together. Next, take the red bow and glue it to the center of the blue and white bow. Hold the red bow in place until it's completely ...

In this tutorial, we learn how to craft a pom-pom ladybug with your kids! The materials you will need are: 1 large red pom pom, 1 medium black pom pom, 1 pipe cleaner, 2 googly eyes, and one piece of lace. Start off by gluing the black and red pom pom's together with a hot glue gun. Next, use a hot glue gun to glue the googly eyes onto the black pom pom. Now glue black pipe cleaner around the red pom pom to make a stripe on the back of the ladybug. cut the pipe cleaner into little round shape...
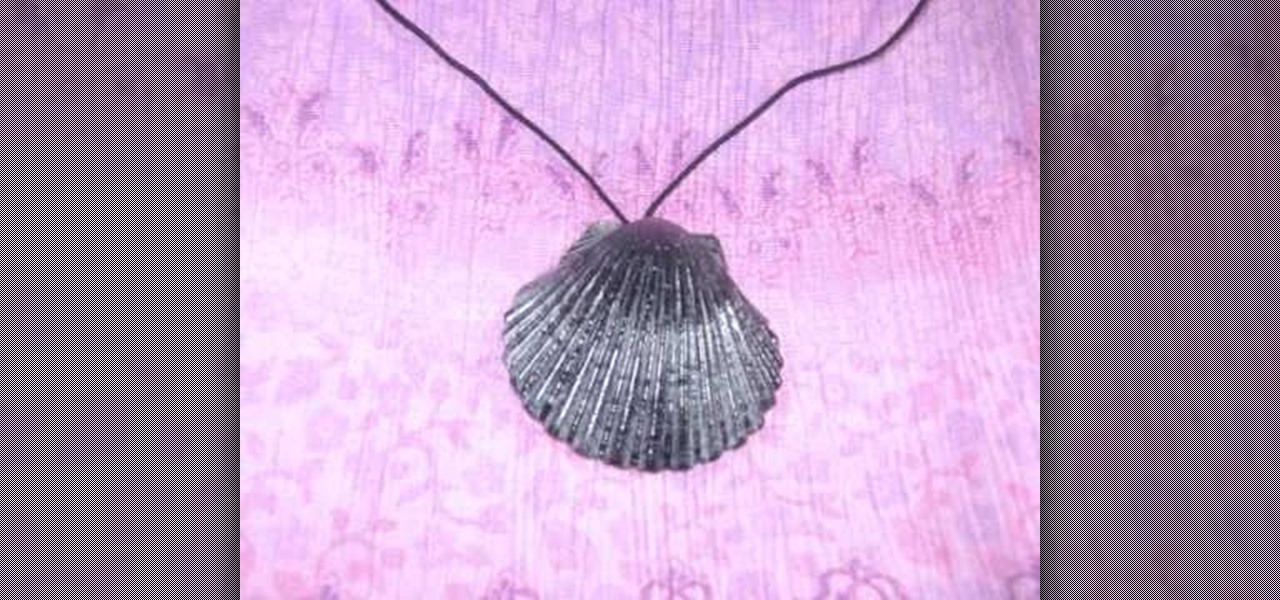
In this tutorial, we learn how to make a simple shell necklace with your kids. To make this, you will need: a sea shell, a hot glue gun, and a necklace string. First, tie your string into a knot at the end of it. Next, grab your shell and apply glue with the hot glue gun to the inside base of it. Now, press the knot that you just made onto the glue in the shell. Let this set up until the glue is completely dried, and you're finished! You can apply more glue to the top if you want a more secur...
Joe Richardson, Five Sprockets consultant, demonstrates how to build your own functional boom microphone. First, if you don't already have one, get a microphone from your local electronics store. Then, pick up a mic holder. Next, you'll also need a telescoping pole like a painter's pole. You'll also need zip ties and metal bonding glue. A piece of fake fur from a fabric store will act as a wind sock to cut down on noise. Attach the mic head to the painter's pole with the metal bonding glue. N...

Learn to make a beautiful spiral rose of paper, by watching this video. Things you will need to make this rose are: Red colored paper (or any color of your choice for the rose), a toothpick or small stick, glue, scissors. Begin by drawing a spiral on a square piece of red colored paper. With the help of scissors, cut along the lines of the spiral till the centre. Next, begin winding the spiral strip onto one end of a toothpick, from the outer end. Keep winding till you reach the other end of ...
Not a lot of people send letters anymore. It could be because our laptops, smartphones, and tablets have taken over and we communicate electronically now. Or, it could be because envelope glue tastes terrible. If you were considering sending out nice, handmade Valentine's Day cards this year, but were so disgusted by the thought of licking all those envelopes that you changed your mind, you're in luck.

You may know how to cut and sand plywood, but bending it is a totally different skill set you need to master, but this woodworking how-to will show you the right moves in seven easy steps. In the video, a bend is being applied to plywood for a curved chair leg, but this method could be used for any kind of plywood bends.

In this video, we learn how to make hip hair accessories. First, you will need some little cut out shapes, flowers, bows, bobby pins, and hair barrettes. Now, grab your bobby pin and heat up a hot glue gun. Put the glue onto the bobby pin, making sure to avoid gluing your fingers. Put it on the side that doesn't open so it's on the back of the pin. Then, quickly glue on whatever you would like to be on the pin. After this, let the pin dry and you can wear it in your hair. This will save you m...

In order to make a monster hoodie, you will need the following: a hoodie, black felt, white felt, fabric glue, scissors, pencil, and tape measurer.
In this tutorial, we learn how to fix false lashes when the ends detach. First, when you are applying glue to the lashes, make sure you get the end corners so you can prevent them detaching. If this does happen, use a small stick from a beauty supply store and place some eyelash glue onto the tip. After this, place the glue onto the part that has become detached. Push it down so it sticks onto the skin securely, then use some black eyeliner to cover up any glue marks that you may have made. T...

To start making your tea and toast, roll about a section of white fondant about four inches by six about 1/8th inch thick. Now take a one inch circle cutter and cut out one circle. Now taking a half inch circle cutter, make an impression in the center of the first circle being careful not to go all the way through. Now you have your saucer for your toast. Next, take a one inch square cutter and cut that out of the fondant as well. Cut it in half diagonally and poke tiny little holes with a to...