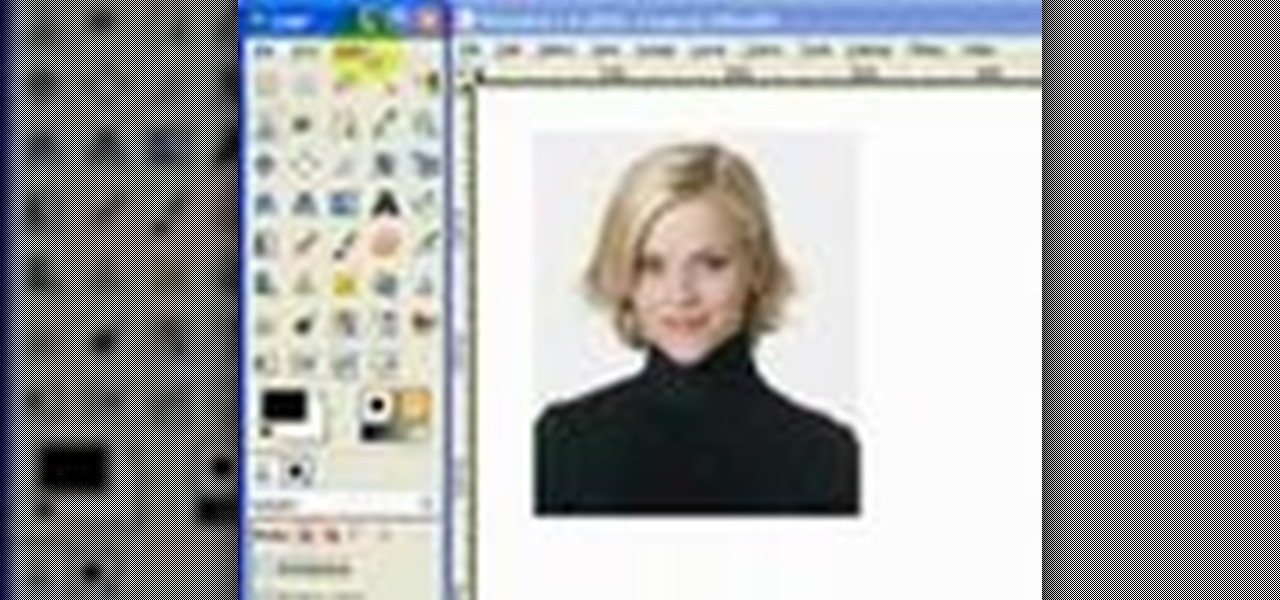
Open up the GIMP on your computer, and then proceed to open up the photo you wish to modify. Now, select the scissors tool from your Tool palette or by clicking "Tools" on the menu bar, then click "Selection Tools," and also click "Intelligent Scissors." Use this tool to outline the person's hair in the photo by clicking along the hairline at about 1/4-inch intervals until you return to the first place you clicked.
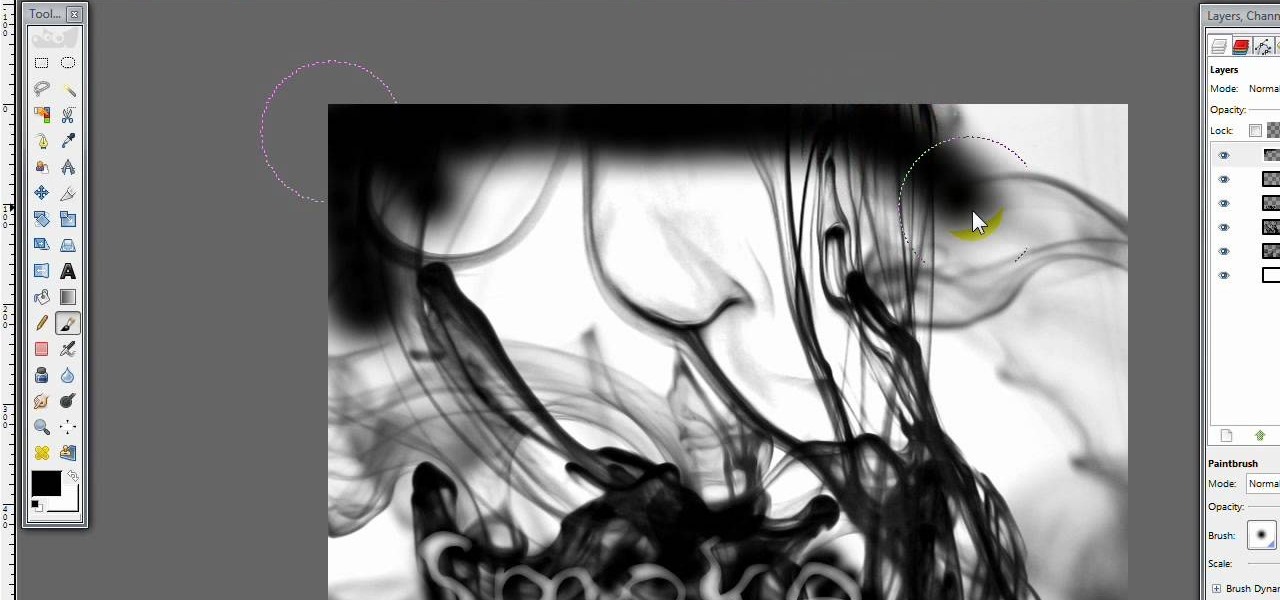
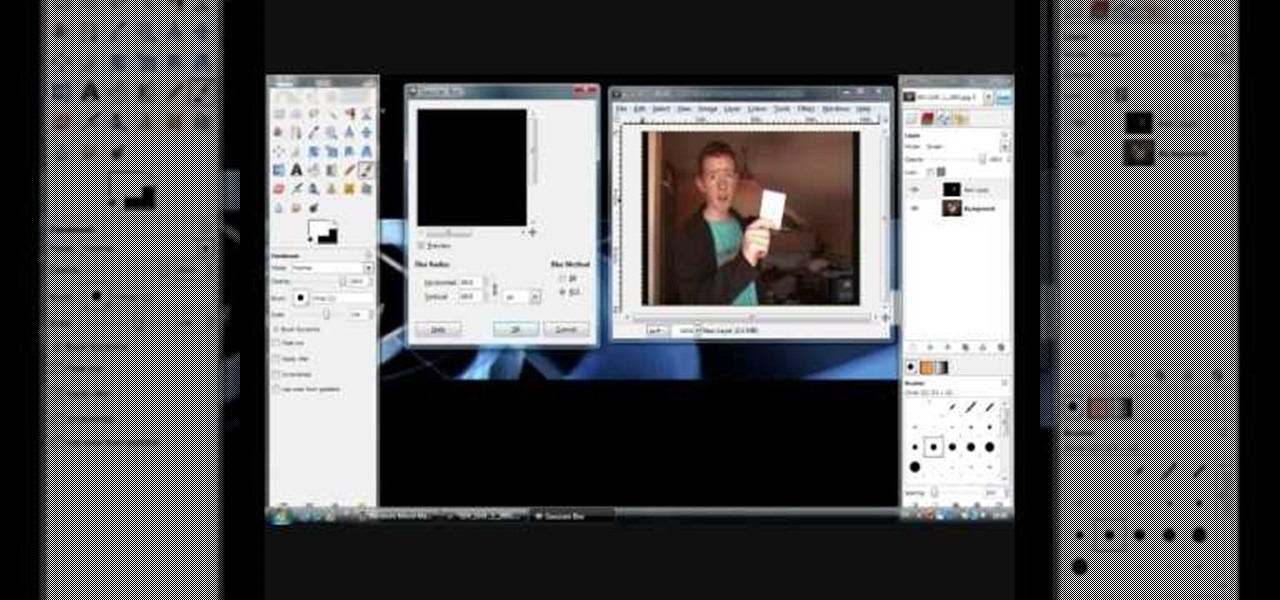
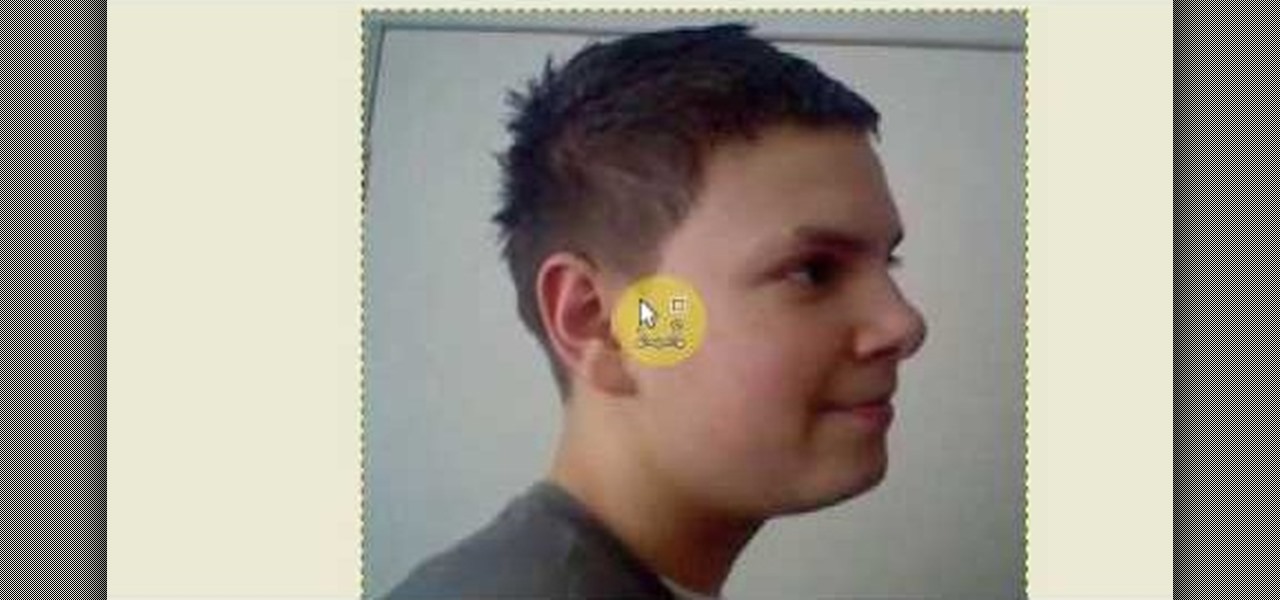
This video opens up with a computer screen displaying the finished product of a smoke design as a wallpaper. Next the video switches to the program used to create the smoke design, using a plain white image. Next the screen is switched to another program with the text smoke displayed. Then he switches back to the program and pastes an image into the window containing smoke. He then pastes the text smoke into the image and distorts it a little, followed by changing the color darker. After that...

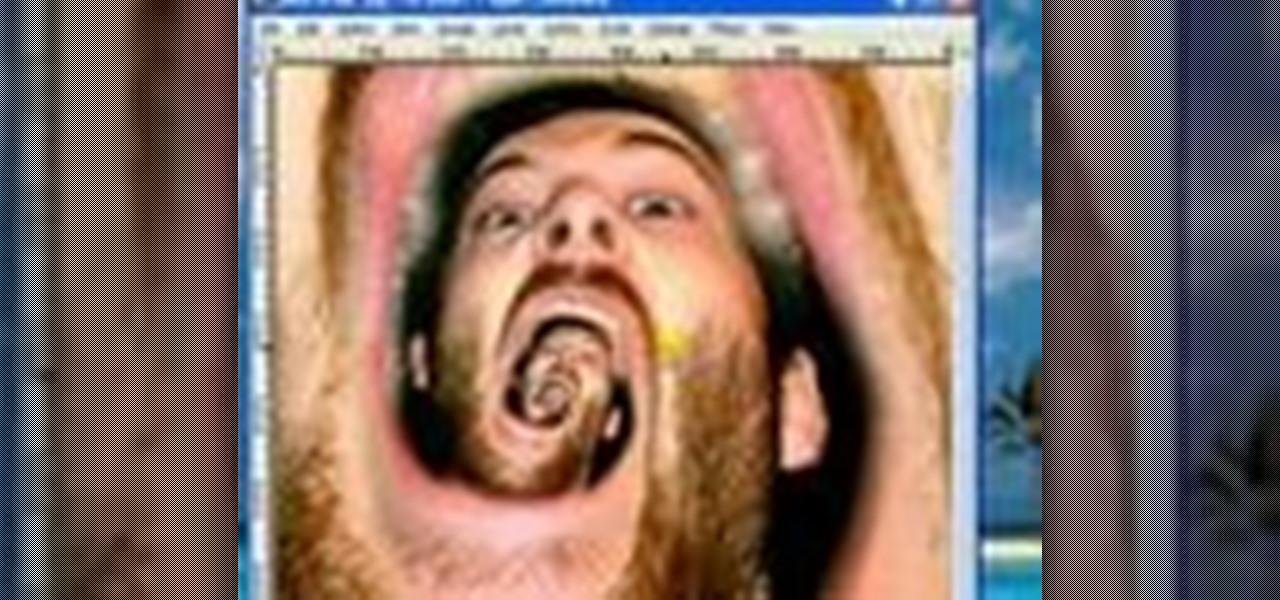
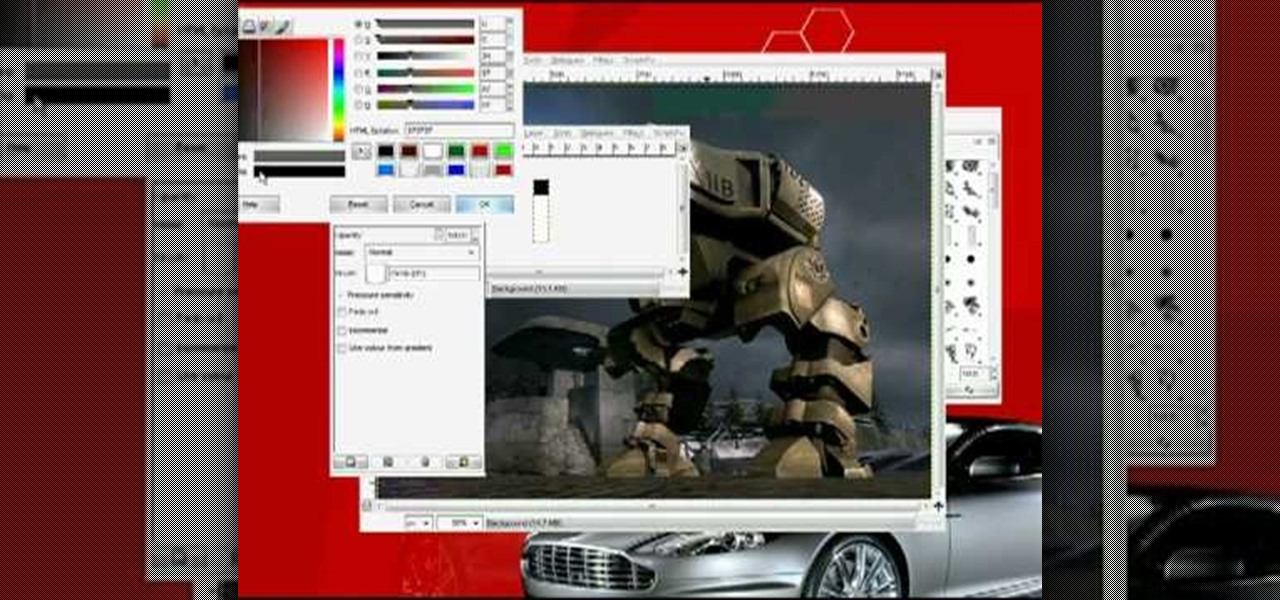
First of all open the image of Daniel Craig. Go to 'layer' and create a 'duplicate' the current layer. Then from top choose 'colors' then 'saturation'. Now click the 'r' from right side bar and also adjust up the 'hue' to 108 till he looks green. Now adjust the 'saturation' bar till 100 and then click 'ok'. Now go to 'filters' at top bar and then click 'distort' and then 'iwrap' filter. This shall open a new screen. Drag the image large. Now click 'move' and then 'deform radius’. This shall m...
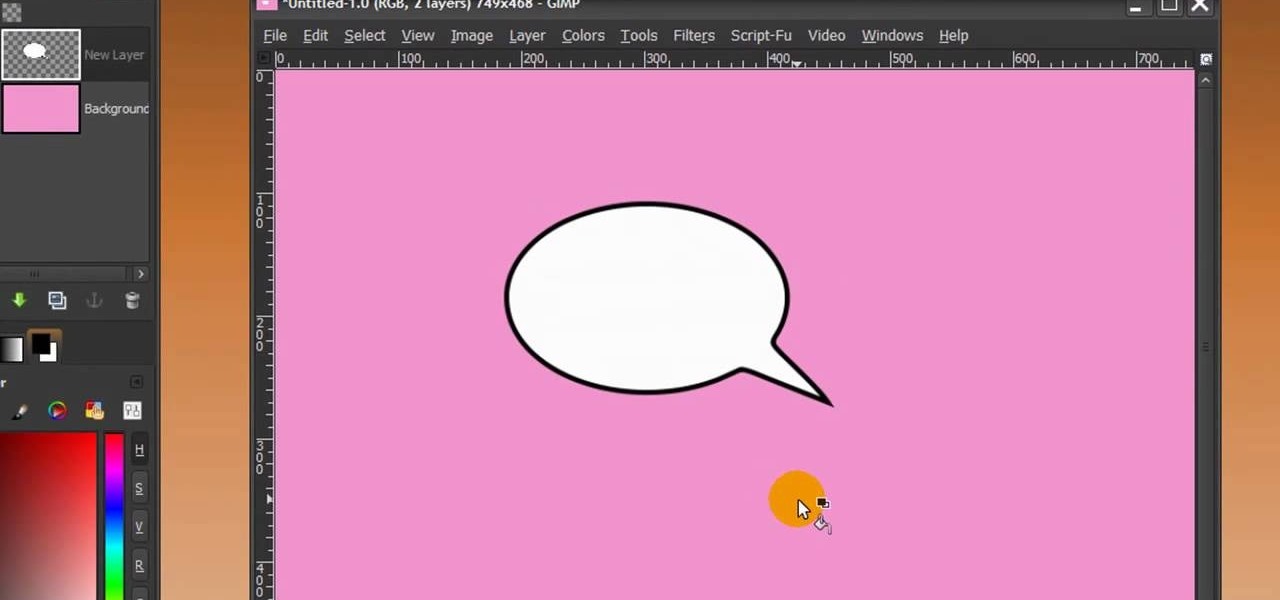
First of all open any image and create a new ‘layer’ and add it to your image. Click on the transparency and then click ‘ok’. Now from the right menu bar choose the ‘elliptical’ icon to make a round balloon. Now select the 'free select tool' and select ‘mode’ to 'add to current selection' and then draw a triangle with the base inside the previous balloon and the pointed end outside the balloon. Now select the 'bucket fill' tool and make sure your ‘background’ color is selected as white and th...

The first thing that you want to do is in a new image, create a new transparent layer. Then you want to use the oval shape tool and check "fixed" so that it forms a perfect circle. Draw the circle, fill it with any color that you want, and then duplicate the layer. Use the move tool to move the new circle underneath the one you just created, leaving some room. Merge this layer with the one you originally copied it from, and repeat this step until you have as many circles as you want. Then you...
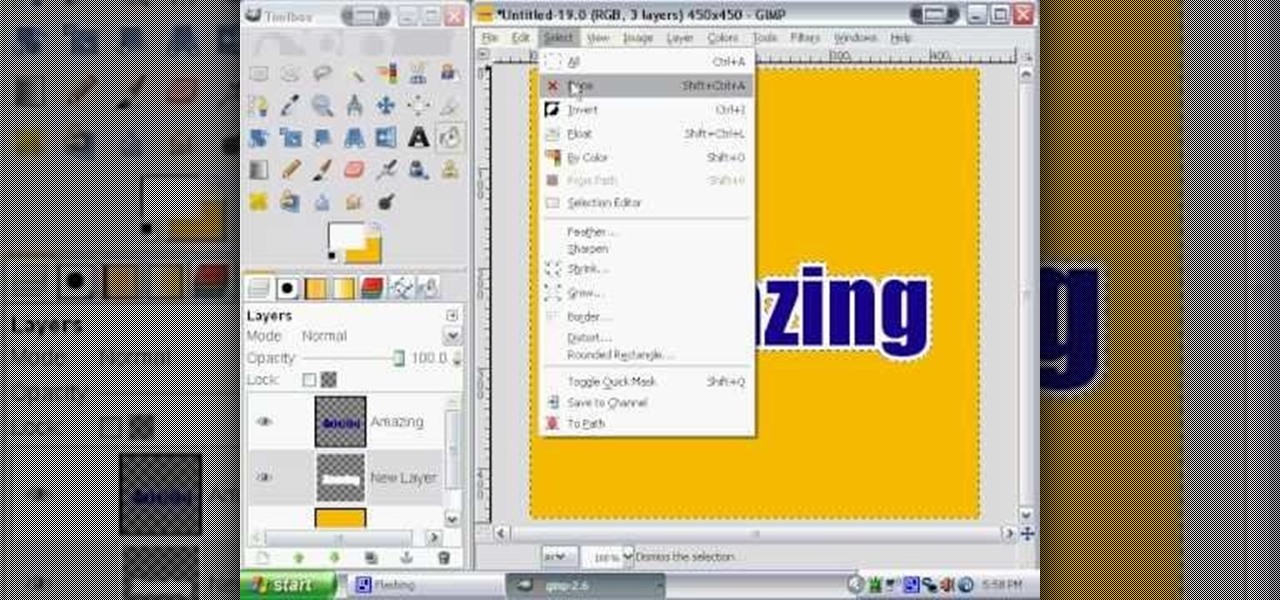
Click in File and New to create a new document, press OK and select the text tool and click once on your file and write something, then close the window. Click in move the active layer to make easier to move the text. Go again to the text tool and click on the Color to change the text color. Press Crtl+O, select the background layer and change the color to the one you want, now select the bucket tool and click on the background to paint it with the color you have selected. Go back to the text...

If you use GIMP image editing software you may be having trouble using the intelligent scissors tool. There are a few reasons, one being the version of GIMP you are using, and they are all covered in this tutorial. So watch and learn how to solve some of your problems with the intelligent scissors in GIMP.
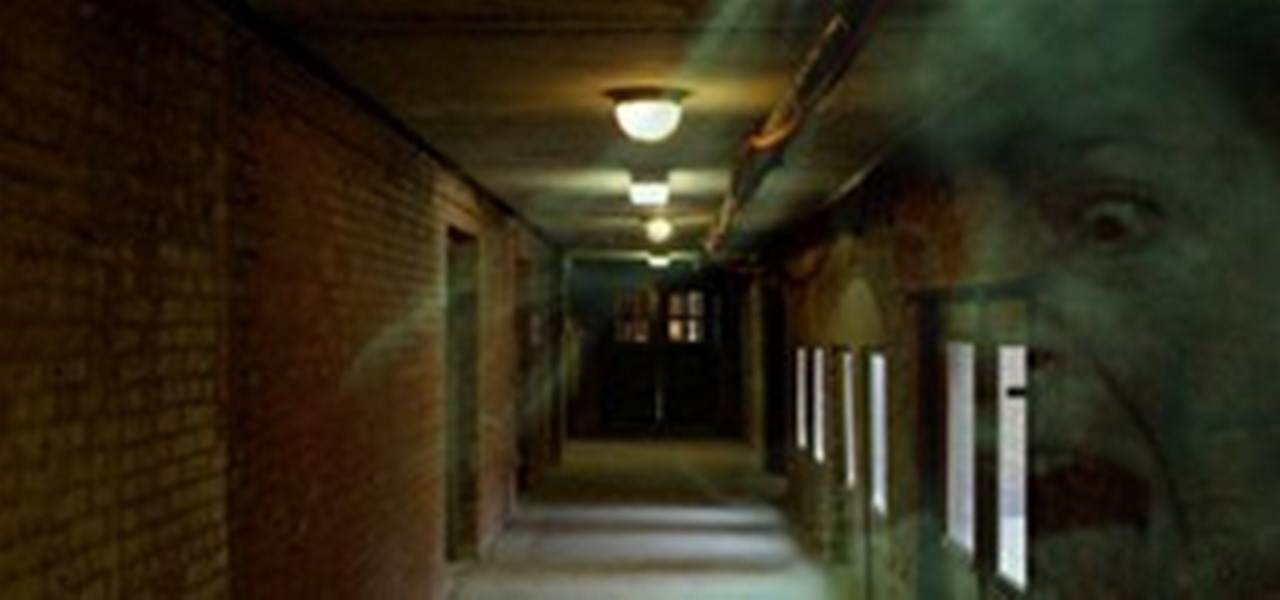
Want to create a quick and easy space backdrop using GIMP? This clip will show you how. Whether you're new to the GNU Image Manipulation Program, GNU's popular free graphics editor, or a seasoned designer just looking to pick up a few new tips and tricks, you're certain to enjoy this free video software tutorial. For more information, including detailed, step-by-step instructions, and to get started making your own outer-space backgrounds in GIMP.
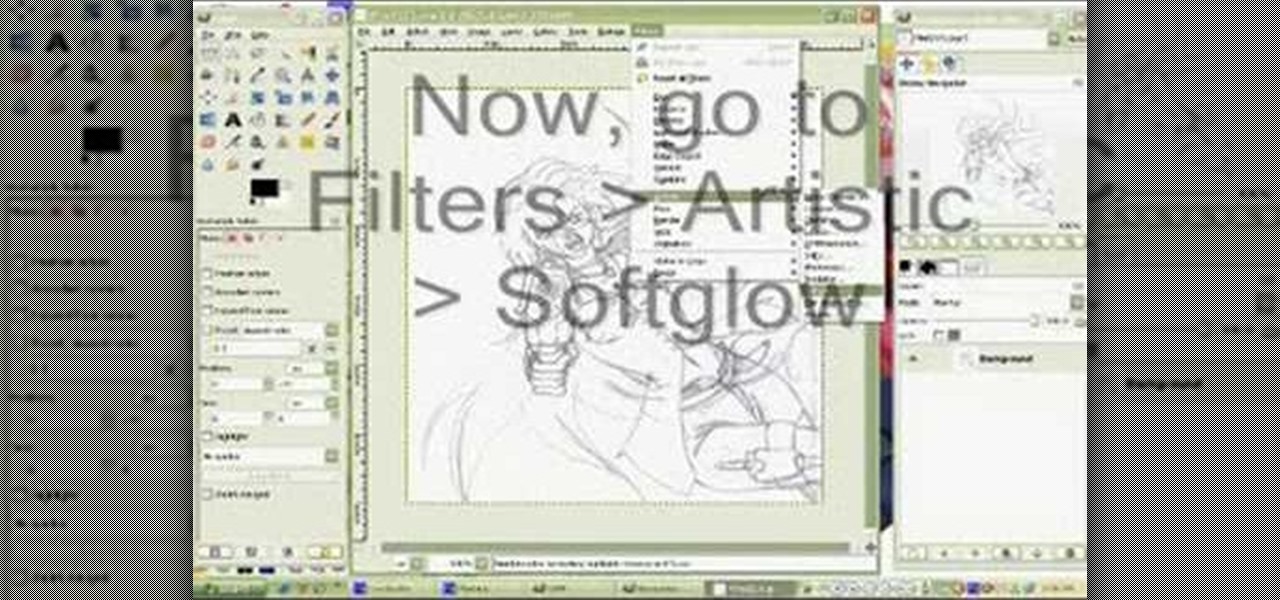
In this how to video, you will learn how to clean up scanned drawings using Gimp. You will need a scanner, drawing, and Gimp installed to do this. First, open the scanned drawing in Gimp. Next, select Select by Color. Click on an area that should be white and hit ctrl + x. Next, go to filters and select soft glow under the artistic sub menu. Play around with the settings to lighten the image and darken the important lines. Click okay once you are finished. Next, go to the artistic sub menu an...
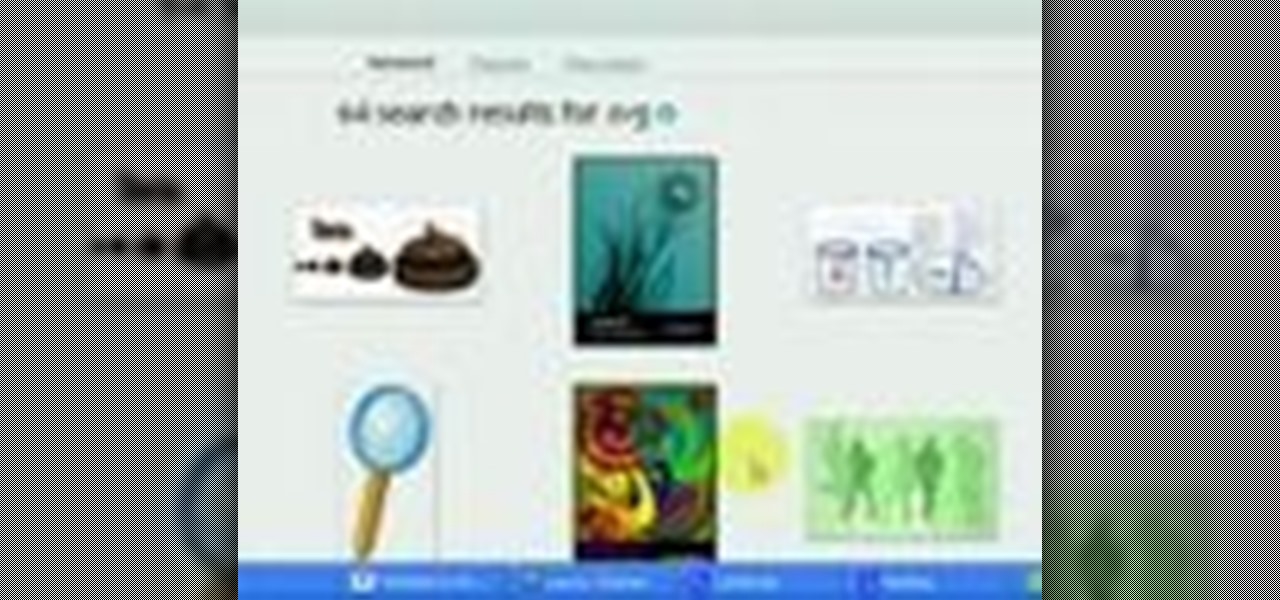
If you are struggling with the paths tool and drawing vector art in GIMP, you can import other people's paths and manipulate them for your purposes! This tutorial will show you how to find sources at DeviantART.com and start using those in GIMP.
Are there certain tools in GIMP that you use all the time and want easier access to? Or just want to change the default layout? Check out this tutorial and learn how to customize the main toolbar in GIMP to work best for you.
In this GIMP tutorial you will learn how to overlay textures onto images to create cool effects. GIMP is a free image editing program available for Linux operating systems.
The GNU Image Manipulation Program, or GIMP, is a raster graphics editor application with some support for vector graphics. This video teaches you how to use the GIMP photo editor to edit a series of photos via layering. Learn to put a sumo wrestler over a bridge!
In this tutorial, we learn how to install fonts onto GIMP. First, go to the website DaFont, then click a font you like. Download the font and then right click on the zipped folder and extract all that is indie of it. Now go to control panel then fonts, then view installed font. Copy and paste the font you have extracted into it. After this, go into GIMP and try out your new font in the software. If you like it, you can use it whenever you would like to! If you don't, you can simply uninstall ...
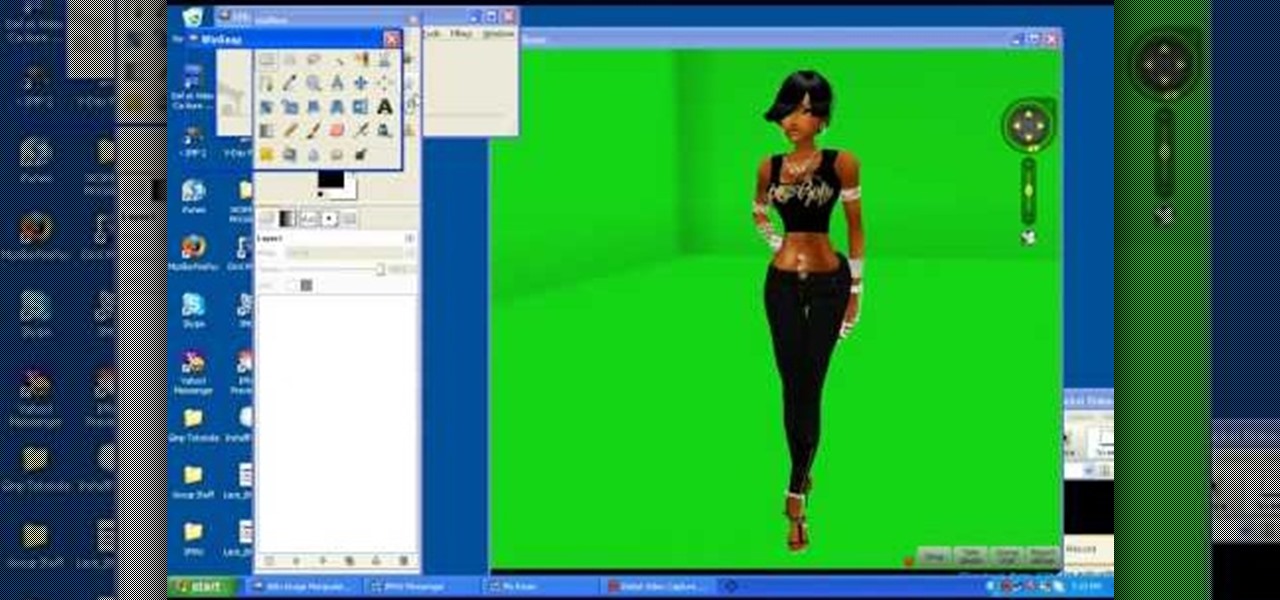
This video tutorial belongs to the Computers & Programming category which is going to show you how to capture screenshots on a Windows PC with GIMP. Open up 'My Room' and make sure the box is taking up the whole screen. To take away the bubbles, press ctrl + B + B. That is you press B twice. Then you go to GIMP, click on file > create > screen shot. Then on the WinSnap window, click 'grab' and drag the box on to the My Room box. Now the picture comes in the back. Select the crop tool and crop...
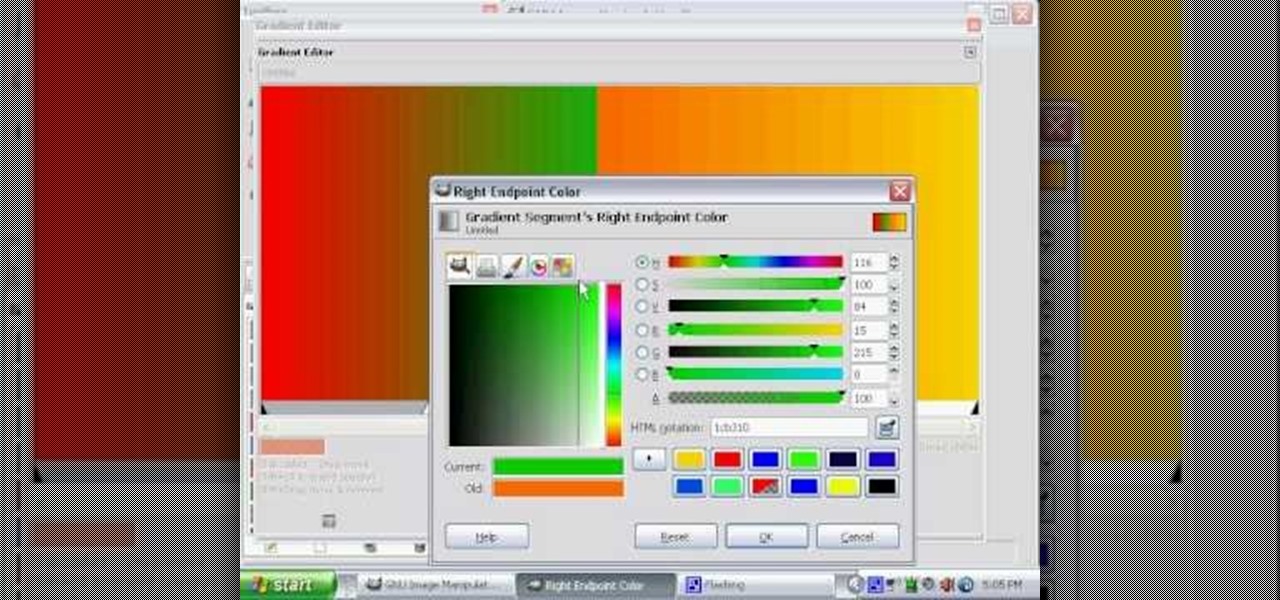
Wondering how to make a custom gradient in GIMP? This clip will show you how it's done. Whether you're new to the GNU Image Manipulation Program, GNU's popular free graphics editor, or a seasoned designer just looking to pick up a few new tips and tricks, you're certain to enjoy this free video software tutorial. For more information, including detailed, step-by-step instructions, and to get started making your own custom gradients, take a look!
This tutorial shows you how to create custom brushes in GIMP that will allow you to change their color.
Learn how to customize your opening Gimp Splash screen. Pointless, but fun. This tutorial is best for Windows users but may work on Mac or Linux.
Watch and learn how to create a drost effect on images in GIMP. The end result will be a color cycled animated GIF. The theory behind this can be applied to make any other adjustments. Whatever layers you have can be cycled through continuously.
This tutorial shows you how to recover the layers dock in GIMP should you accidentally cloe it or lose it.
How to create a super easy circle button in GIMP.
This tutorial teaches you how to make a smoke effect in GIMP.
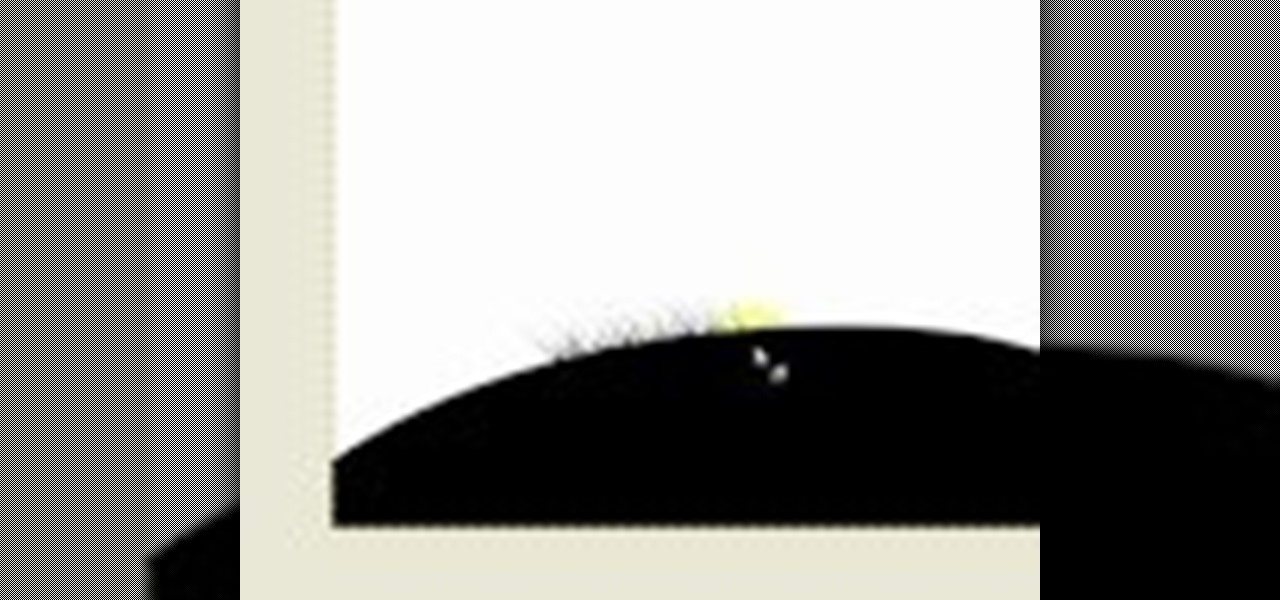
In this video, we learn how to do a grass silhouette effect in GIMP. First, draw a black mound and then close off your selection. After this, turn the path into a selection and fill it in with a black color. Next, select your smudge tool and use a small circle brush. Set the rate up to 95, depending on the length of grass you want. Now, use your mouse to push up on the mound and you will see wispy pieces of grass form where you are moving your mouse. Cross them over and cover as much of the a...
A quick, simple, and effective way to make bloody, drippy text.
First we have to do is to create a new file with the size we want. Then we go to the layer tab in the left and duplicate the existing layer how many times we want (how many frames we want to have the GIF). After this we deselect all the layers by clicking on the eyes on left. Now we click again on one eye to select the layer we want to work with. Be sure to have only one layer selected. Then we can start "playing" with the images and create shapes, faces and so on with all the layers we had c...
This tutorial teaches you how to make an image look like an LCD screen in GIMP. He is using Gimp version 2.4.4
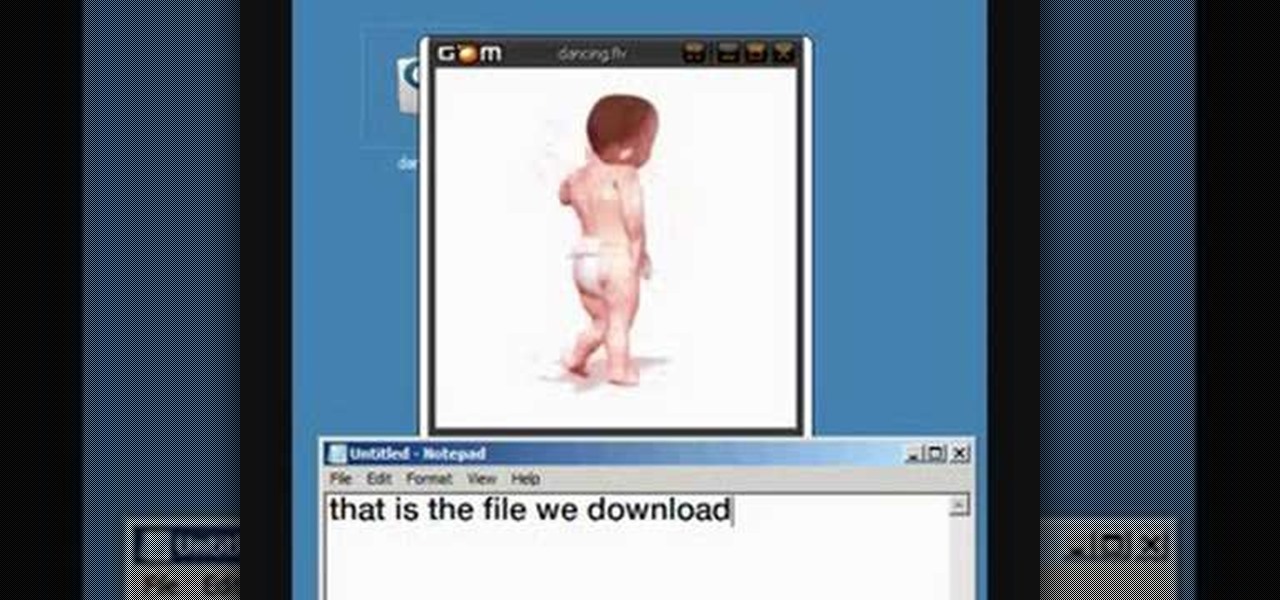
Have you ever wanted to add animated pictures or GIFs to your website or blog? Two free software programs, GOM Player and GIMP, both allow you make your own GIFs. This tutorial shows you where to get them and how to use them.
Hello everyone, This is my first tutorial posted on WonderHowTo and as a starter I wanted to show you how to make a nice curtain in GIMP, the free Photoshop alternative. Even though GIMP does not have all the features of his expensive brother, you can still do some cool designs or photo manipulation.
If you can't seem to find any photos of naked people on the internet, don't fret, this how to will show you how to "see through" clothing using some simple techniques with Gimp 2.6 photo editor. Gimp is like Adobe Photoshop without the heavy price tag. Tight, white clothing works best for this trick, so keep that in mind. Watch the video and get one step closer to seeing someone naked. Right on your own computer! See through clothes with Gimp 2.6.
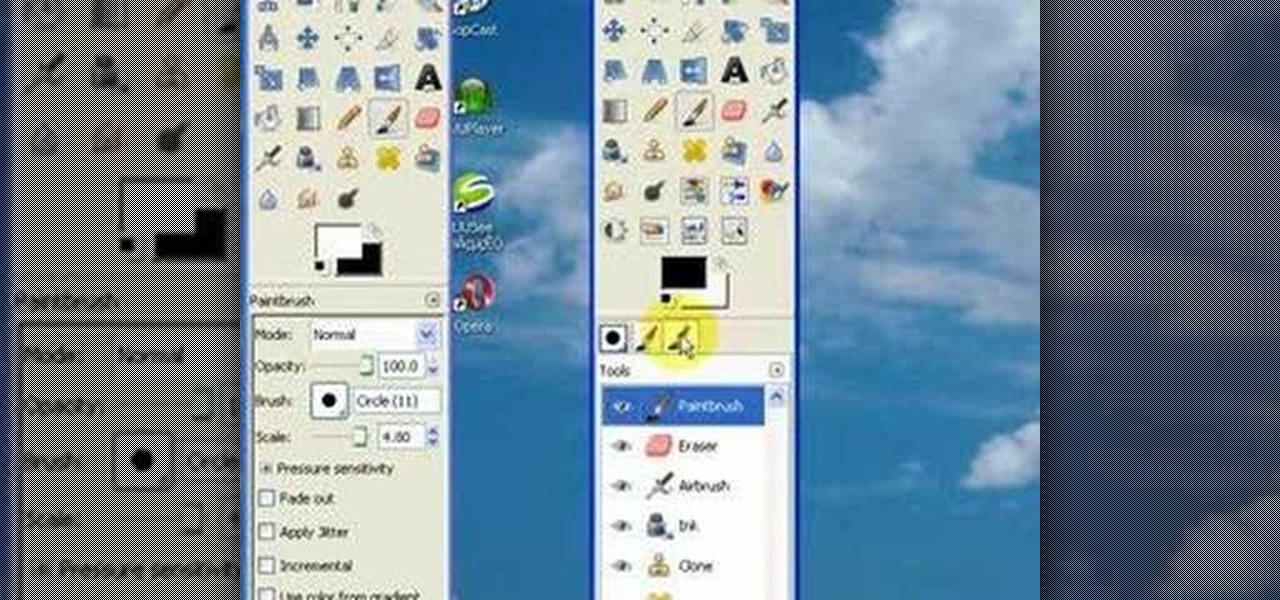
Learn the basic layout and functions of GIMP(GNU Image Manipulation Program) a free open source image-editor, and how to work with files. Get started using GIMP - Part 1 of 2.
How to use the Bezier tool, which allows you to create complex objects quickly and simply, in GIMP(GNU Image Manipulation Program) the free open source image editor. Use the Bezier tool in GIMP.
How to use the fill and gradient tools to work wth color in GIMP (GNU Image Manipulation Program) the free, open source image editor. Use the fill and gradient tools in GIMP.
How to add text to images and start working with layers in GIMP (GNU Image Manipulation Program) the free, open source image editor. Work with text and layers in GIMP.
To enter this week's Giveaway Tuesdays Photo Challenge, you'll need to create a shudder-inducing photo of some kind. You can use props or makeup, play with lighting or show off this year's Halloween costume… or you can play with Photoshop or Gimp.
How to work with layers in GIMP (GNU Image Manipulation Program) the free, open source image editor. Layers in GIMP function in exactly the same way as Photoshop. Work with layers in GIMP.
How to use the text tool in GIMP (GNU Image Manipulation Program) the free, open source image editor, to add text to your images. Use the text tool in GIMP.
Household Hacker brings you fun hack how to projects in a variety of areas: electronic hacks, computer hacks, pranks, etc. Search Household Hacker on WonderHowTo for more videos by this creator. In this video, learn how to make YouTube paper.
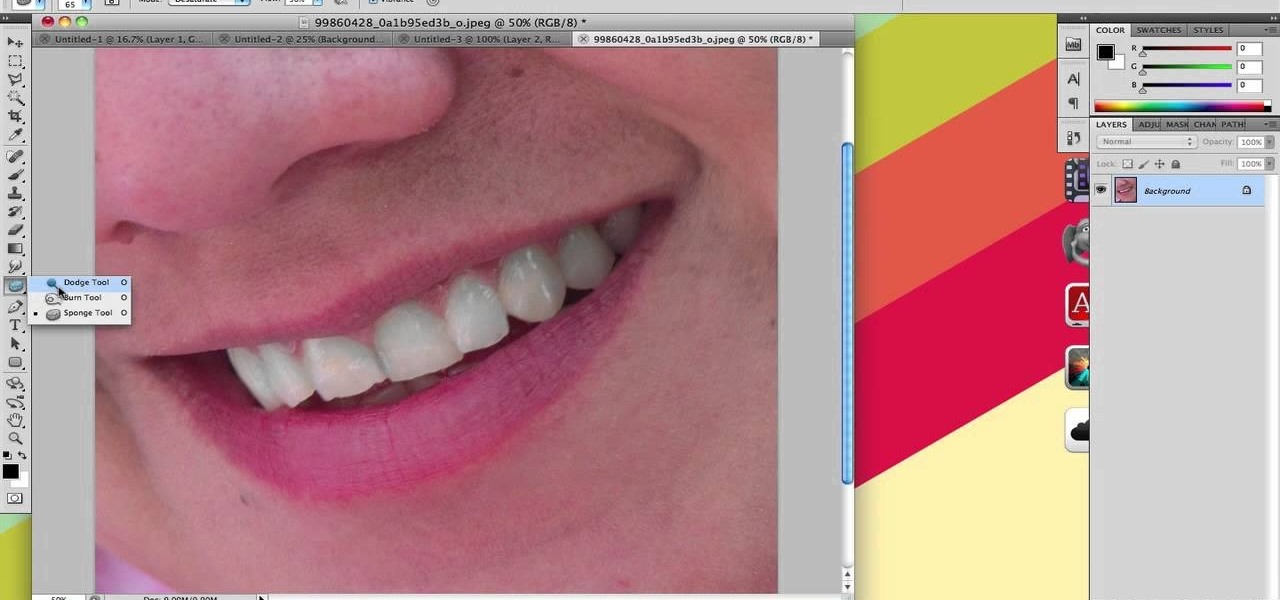
If you're looking to remove those nasty nicotine stains without actually quitting smoking, here's a great Photoshop trick for you. In this nifty little photo retouching tutorial, you make make those pearly whites shine. This trick will work with Photoshop, GIMP or any other photo manipulation software.
Adobe Creative Suite is an expansive (and expensive!) array of programs for graphic artists of all kinds. However, you can assemble your own suite of completely free programs, like the GIMP, paint.net, Synfig, Komposer, PrimoPDF, InkScape, Scribus and Jahshaka - all freeware alternatives to Adobe programs.
Gambit is one of the coolest X-Men, and his kinetic energy powers are awesomely powerful. If you want to depict them using special effects in a film, this video will show you how to do it using three free pieces of digital editing software: