In this tutorial, we learn how to draw an eye in GIMP. First, open up the GIMP software and set up a circle, then color it dark blue. Next, add in light to the middle of the eye, so it looks like a light is shining onto it. After this, make a small circle in the middle of the eye, coloring it black. When done with this, create a new layer and then add brightness to the pupil of the eye. Continue to play around with the contrast and colors of the eye, so it looks more realistic and life like. ...

This video will show viewers how to make an icon for a computer program on a Windows operating system. In order to perform this, you will need two programs, IcoFX and GIMP. First, open GIMP and create the icon which you would like to use by drawing it on the program. Make sure that the size of the icon is about 256 x 256. Next, download IcoFX from the internet and install it on your computer. After opening IcoFX, select "Open" and change the files of type to images and open it. Make any chang...
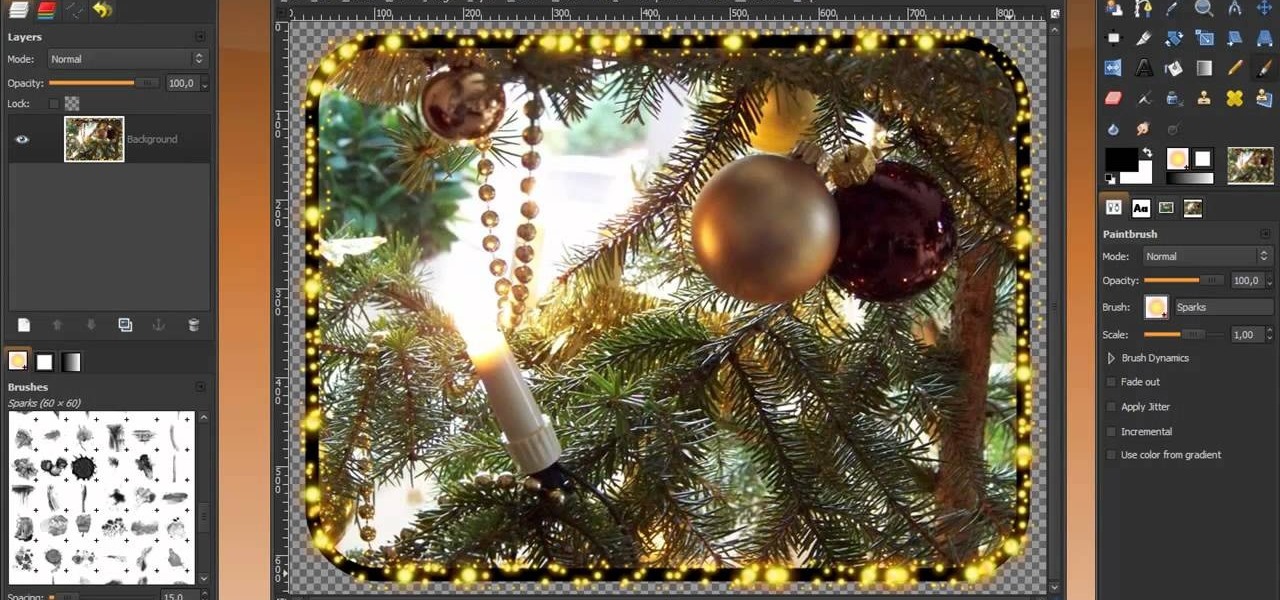
Learn how to make a fancy border in GIMP with this GIMP tricks video tutorial. This border can be used to frame images for YouTube videos or other things. Take your image, and go to Image and Canvas Size. The size should be made larger to allow room for your border and then click Center. On Layers, select All Layers. Then, click Resize. This allows you to make room for your Layer. On the far left side, right click on your layer and select Alpha to Selection. Go to Select, To Path, Select, and...
Hulldo teaches you how to create your own headlines in GIMP. You start off with a new file and paint that a light brown. Make a selection on the file and create a new layer on top. Color that layer black and add Gaussian blur. Put that layer beneath so it will make a shadow on your selection. Create the start of a gradient or simply a Grey layer on the bottom of the headline. Then add your text with black color. You can duplicate these layers, reside the selection and change the text. You are...
This video is about how to make a business card design in GIMP. First of all, download some GIMP labels plug-in. Create a business card of required size by entering dimensions going to on “Toolbox”, then Xtns, then Misc, then Labels, then Rect Label. Now create image and text on business cards. The image should compliment it without overwhelming the text. Now add borders and accents. Select “Image”, then “Filters”, then “Combine”, then “Make Label Page” and insert the image. Check your contac...
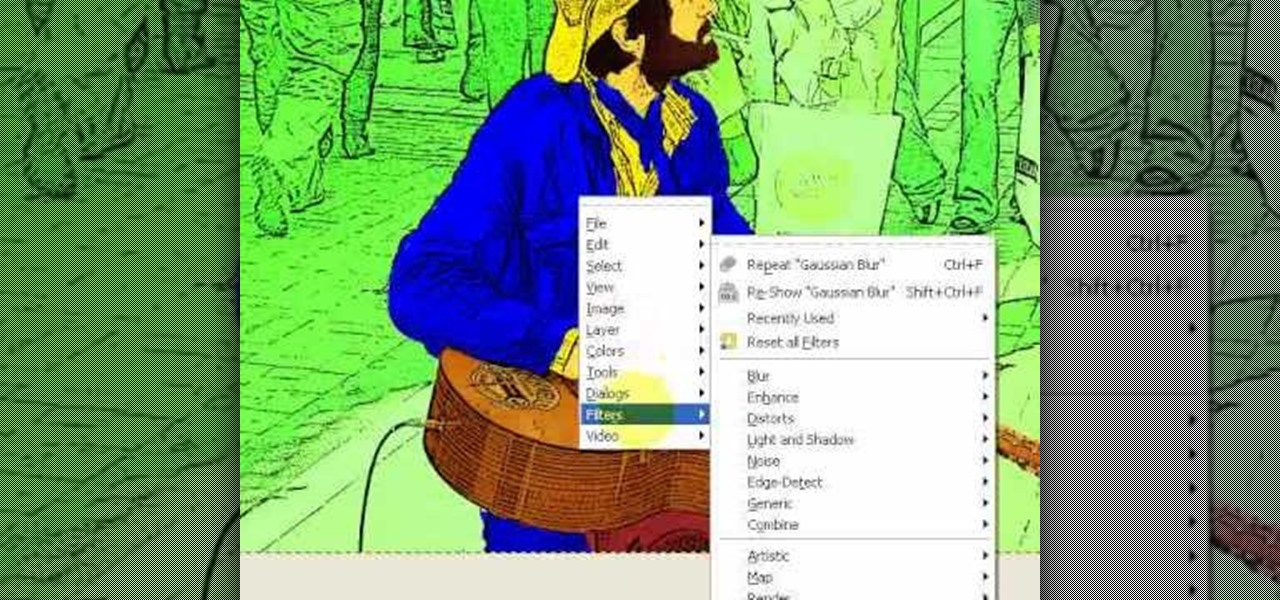
Learn how to produce Roy Lichenstein style Pop Art from your photographs using GIMP image editing software.

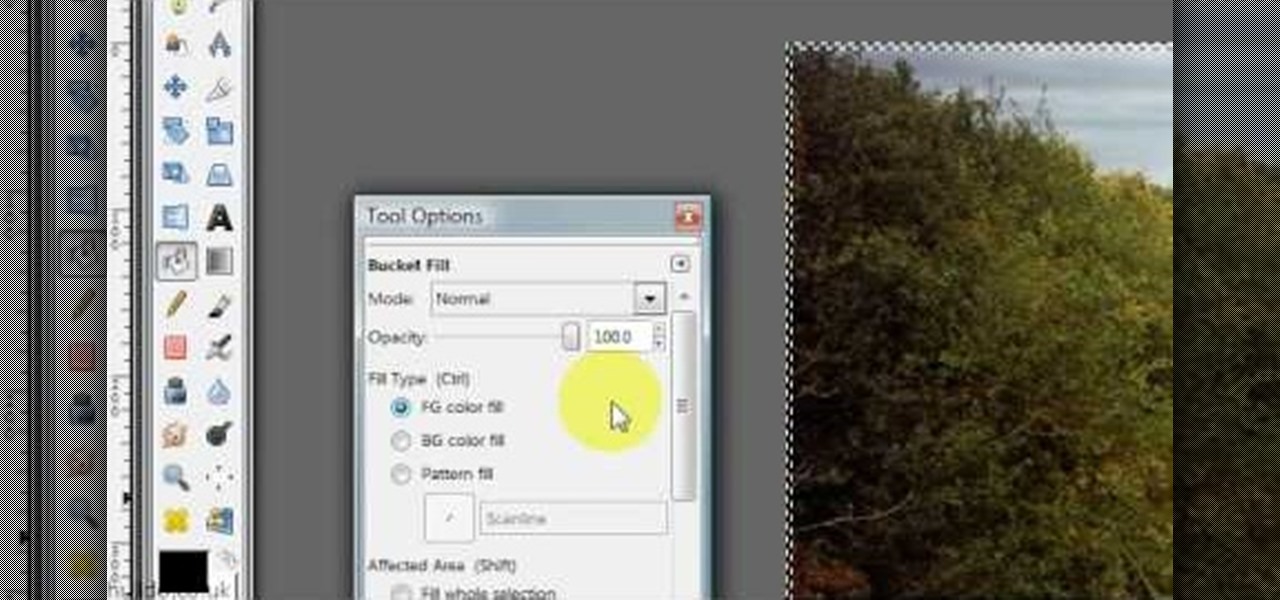
Found a great image you want to use for your website or blog, but don't like the background? this tutorial shows you an easy way for you to take any image in the free photo editing software GIMP and edit away the background.
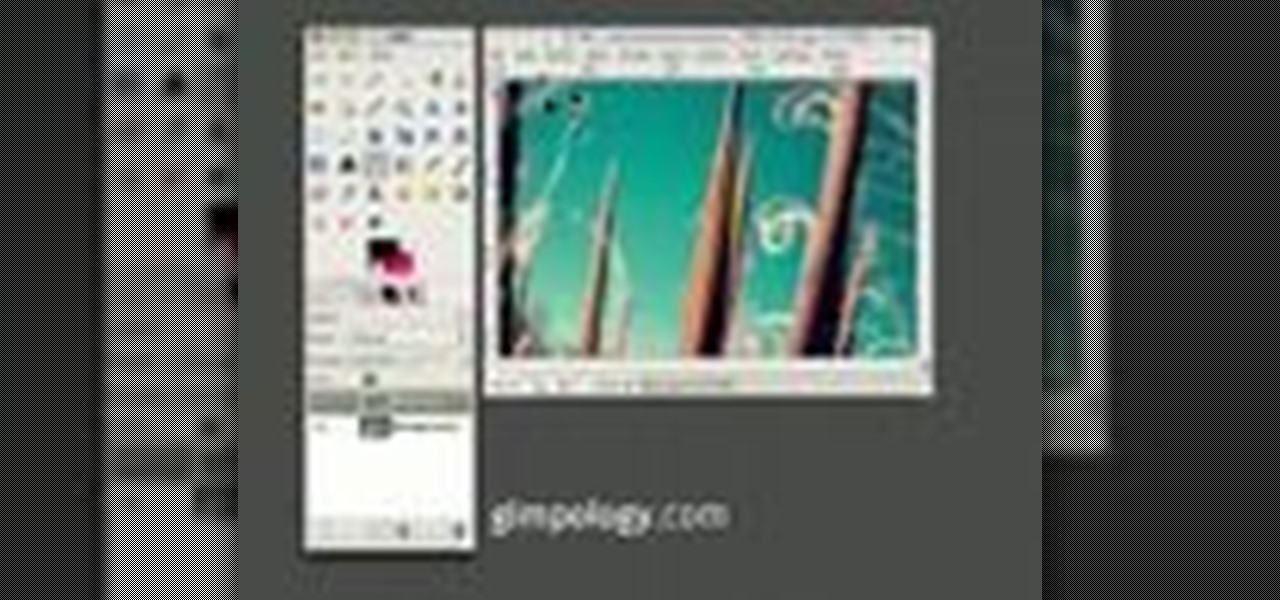
This tutorial for GIMP users shows you how to take a basic image (preferably an outdoor one!), and then use a few effects like the dissolve layer mode, gaussian blur and motion blur to make it look like snow is falling.
GIMP is an amazing, free image editing program that allows you to edit your photos just like in photoshop! And if you've been looking for how to create a more vintage look to your pictures take a look at this video! You'll see the different changes he makes to the color, opacity, saturation, brightness, and other settings to give it a truly vintage look and feel.
Learn how to achieve a stunning glass text effect. Whether you're new to the GNU Image Manipulation Program, GNU's popular free graphics editor, or a seasoned designer just looking to pick up a few new tips and tricks, you're certain to enjoy this free video software tutorial. For more information, including detailed, step-by-step instructions, and to get started creating glass-like text headers in GIMP yourself, take a look!
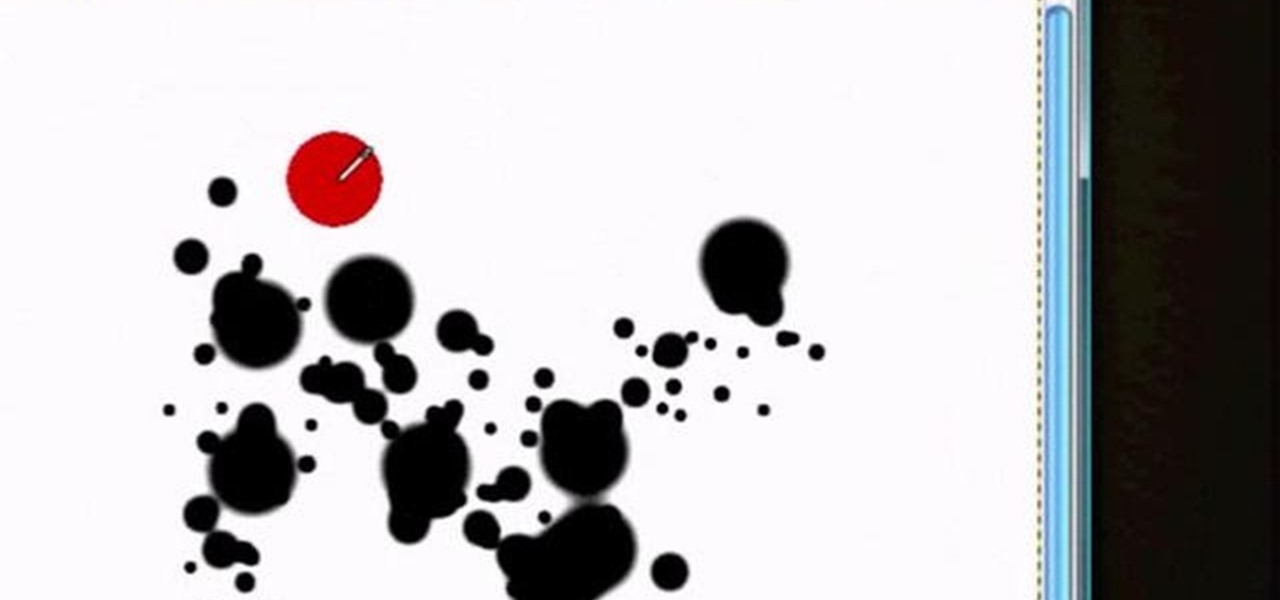
See how to create a splatter brush within the GIMP image editor. Whether you're new to the GNU Image Manipulation Program, GNU's popular free graphics editor, or a seasoned designer just looking to pick up a few new tips and tricks, you're certain to enjoy this free video software tutorial. For more information, including detailed, step-by-step instructions, and to get started making your own custom splatter brushes, take a look.
Create a custom favicon for your website for free with GIMP! Whether you're new to the GNU Image Manipulation Program, GNU's popular free graphics editor, or a seasoned designer just looking to pick up a few new tips and tricks, you're certain to enjoy this free video software tutorial. For more information, including detailed, step-by-step instructions, and to get started making your own favorite icons, take a look!
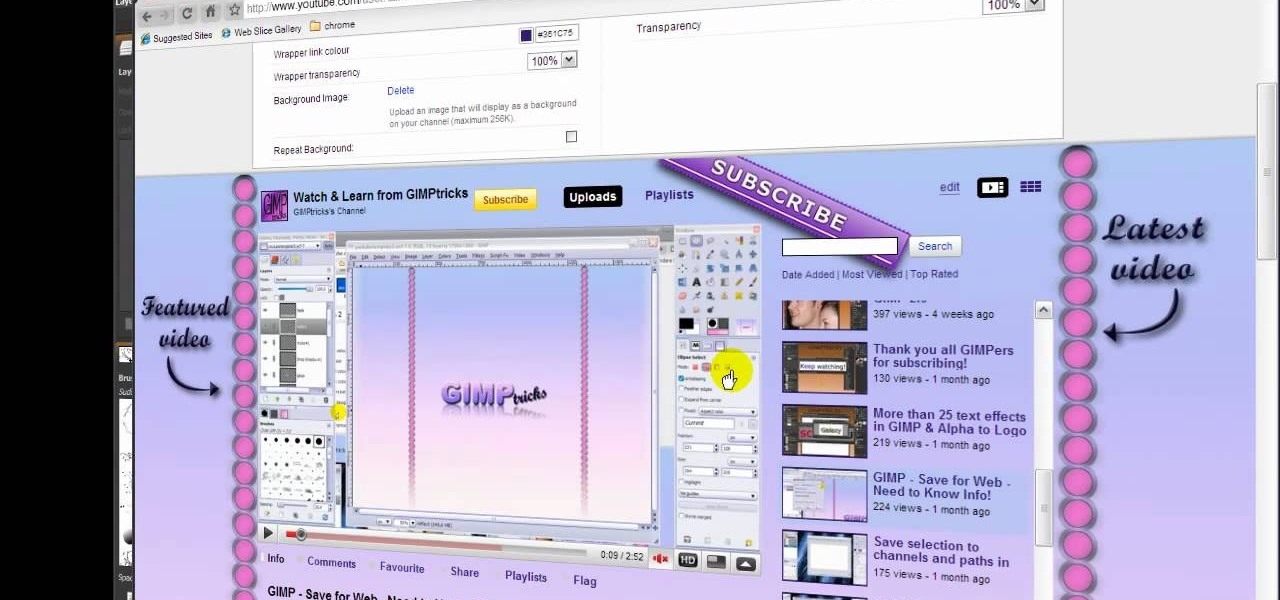
Want to design your very own custom YouTube background but lack either the money or desire to buy a full-featured graphic design suite like Adobe Photoshop? You're in luck. This designer's video tutorial will walk you through how to make a YouTube background using the free GIMP image editing program from the free software folks at GNU.
In this little video tutorial, kaje01 demonstrates both the basic edit and advanced techniques for applying the "x-ray" effect using GIMP. Now, what is there to x-ray? Hmm...
This is a variation on the Pop Art tutorial, looking specifically at how to make a Che Guevara inspired image using GIMP image editing software.
This tutorial will show you how to make your own keyboard shortcut keys to speed up the processes and functions you use the most while getting your Gimp on.
This tutorial takes looks at the selection tool as a drawing tool and also covers how to convert paths to selections and vice-versa when creating vector art in GIMP.
This tutorial shows you how to blur backgrounds on portraits or macro type images using GIMP image editing software.
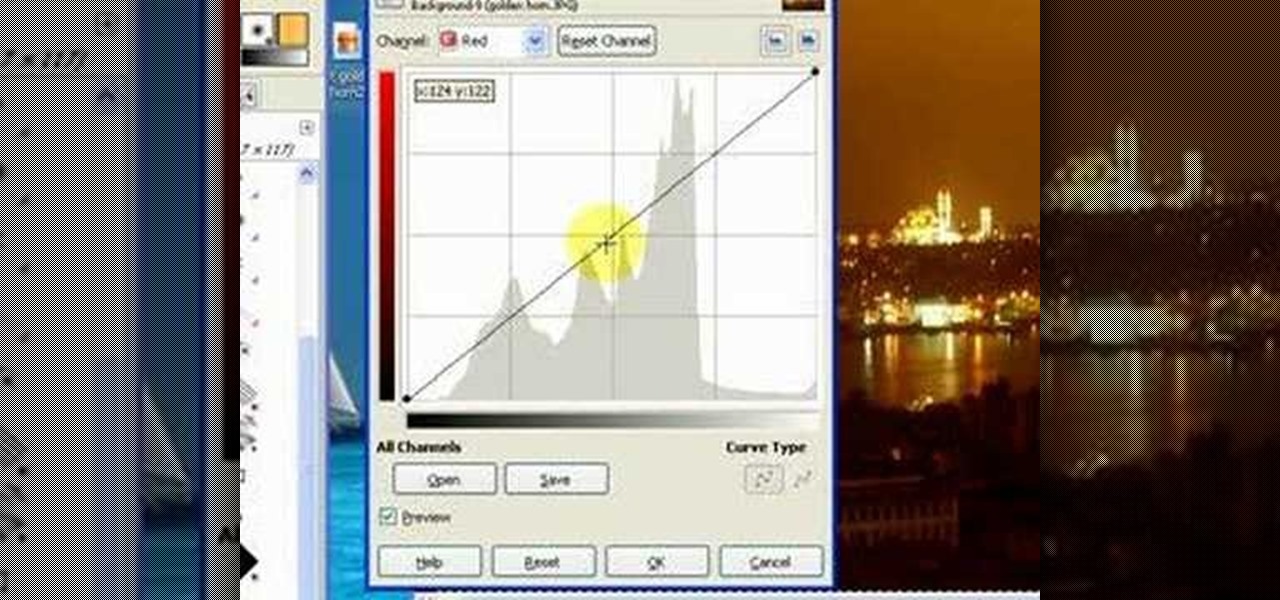
This GIMP curves tutorial should help you remove unwanted color casts from your photos and make you favorite pictures actually evoke the memories of your favorite scenes!
This witty tutorial shows you how to really make Steve Jobs the face of Apple Inc., as the face of an apple using overlay tools in GIMP.
Check out this very basic tutorial on removing backgrounds by cutting out an image in GIMP using the eraser tool and selection tool.
A basic tutorial for the GIMP software showing you how to use the Scissors Select tool to remove a background.
How to resize photos from your digital camera the easy way, using either online or offline method using a program called GIMP.
In this tutorial, we learn how to create amazing 3D text in GIMP. First, start a new image with the width and height that you want. From here, select the text editor and then type in your text. After this, change the font to what you want and then change the size and color as well. From here, you will duplicate the layer and then go to layer, and then filter. Select the map button and then map the object. Select the text and then show the preview to make sure it's what you want. Change the or...
In this tutorial, we learn how to create text in GIMP. To start, create a new image with the width and height at 600 each. Then, click the text box button and choose a font, font size, and other options open on the window. After this, create the box and for the text and type what you would like into the boxes. Set in the distance you would like on the inner shadow and then choose if you want the edges to blend. Make these fade out and then choose to repeat the inner shadow. When finished, sav...
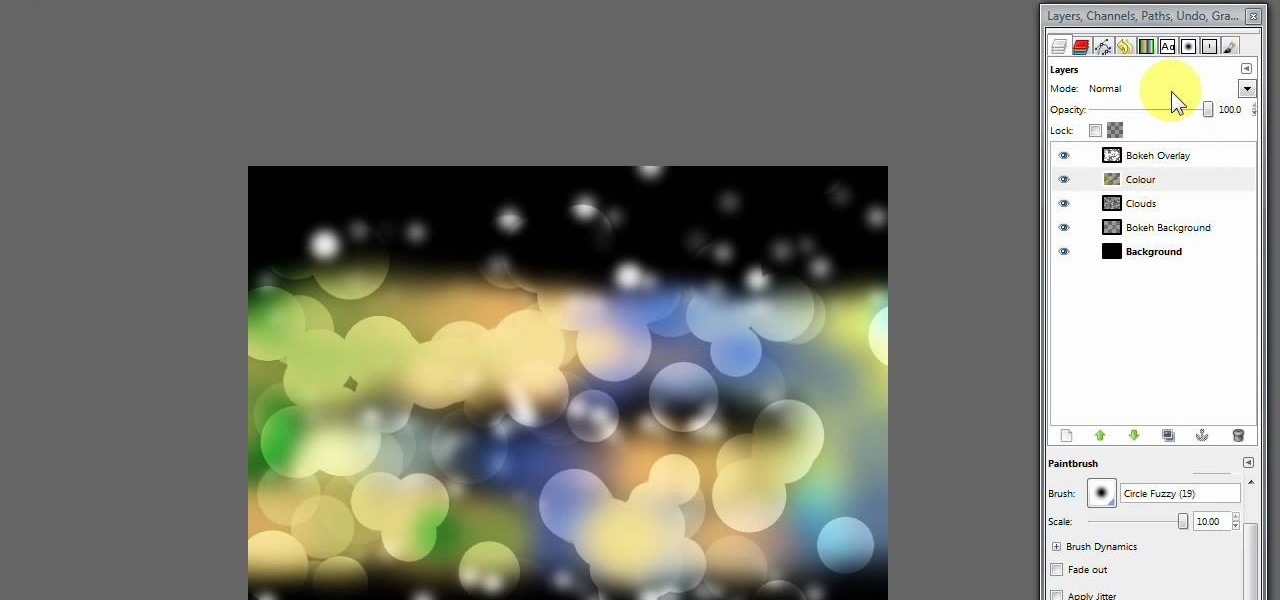
In this video, we learn how to create a modern bokeh effect in GIMP. First, start a new image and then change it to the size that you want. From here, click on the paint can and then fill your box up with a color. Then, create a new layer and name it "bokeh background". Click on this layer and then use the paintbrush tool to paint a small brush with color onto it. Start to paint on small dots and you will see that there are small tiny star like dots that start to appear. Then, fade these out ...
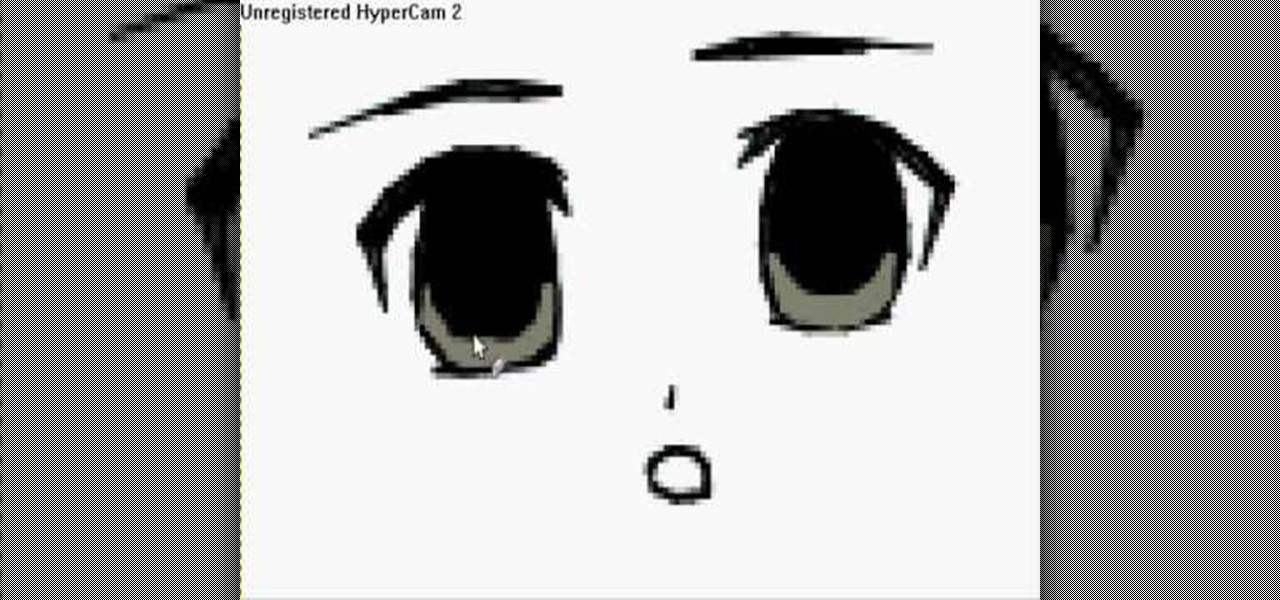
In this video, we learn how to draw 10 different types of anime eyes in GIMP. For the girls eye, draw the outlining of the eyes and then the eyebrows. Then, color the whole eye black and give it color. Then, burn the shadows and add in white to the top. Color the face around it and then add in the facial features. For the guys eyes, give them the color in the eyes first and then add the lighter color and the white to make it shiny. If you are going for a mean look, darken the eyes and make th...
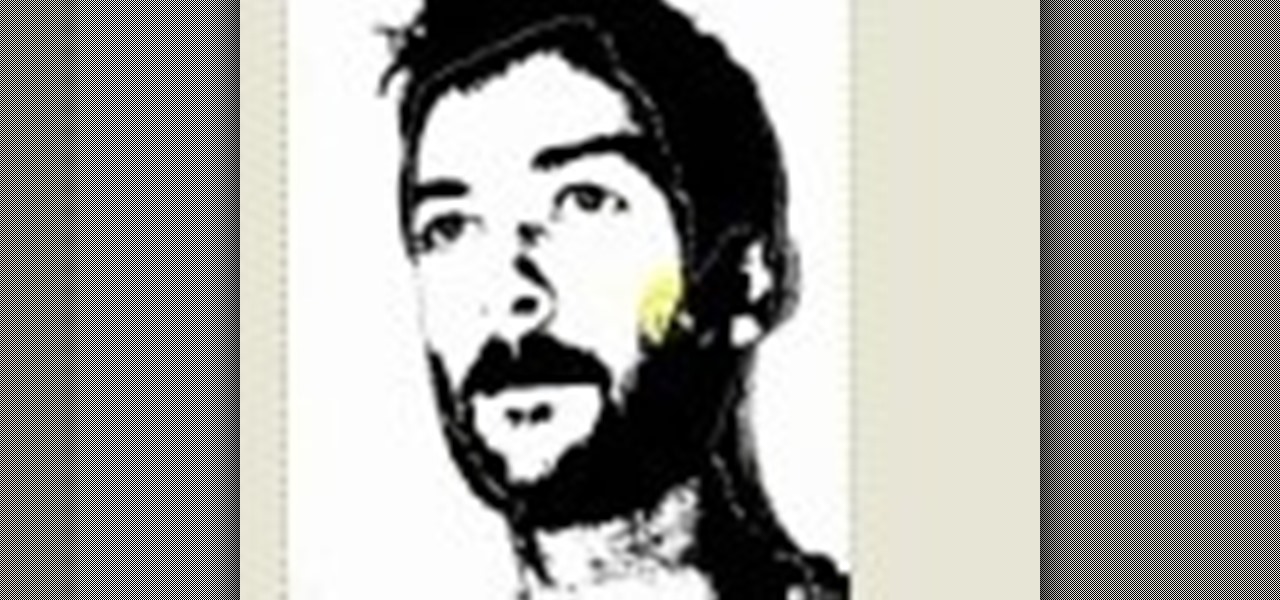
In this tutorial, we learn how to make stencils in GIMP. Start with heads or faces if you are new to this. Then, use the rectangle tool to select the head. Then, go to image and fir canvas to selection. Now, remove the background by using the background tool. Once finished, go to colors, then threshold. The image should turn black and white. Turn the dial to the right, then turn it to the left to make it lighter and darker. Find the spot to where it shows detail but it's not distorted, then h...
In this video we learn how to create advanced shadows in GIMP. First, create a new image that's 500x400. After this, create different layers on the page and use the shadow and gradient to create different colors. As you do this, you can you can add in a layer mask to create a deeper shadow inside the image. Use a larger brush to make the shadowing fuzzy and then use the shape tool to drag it out and make it larger. Practice playing with the different brushes and gradients and have fun creatin...
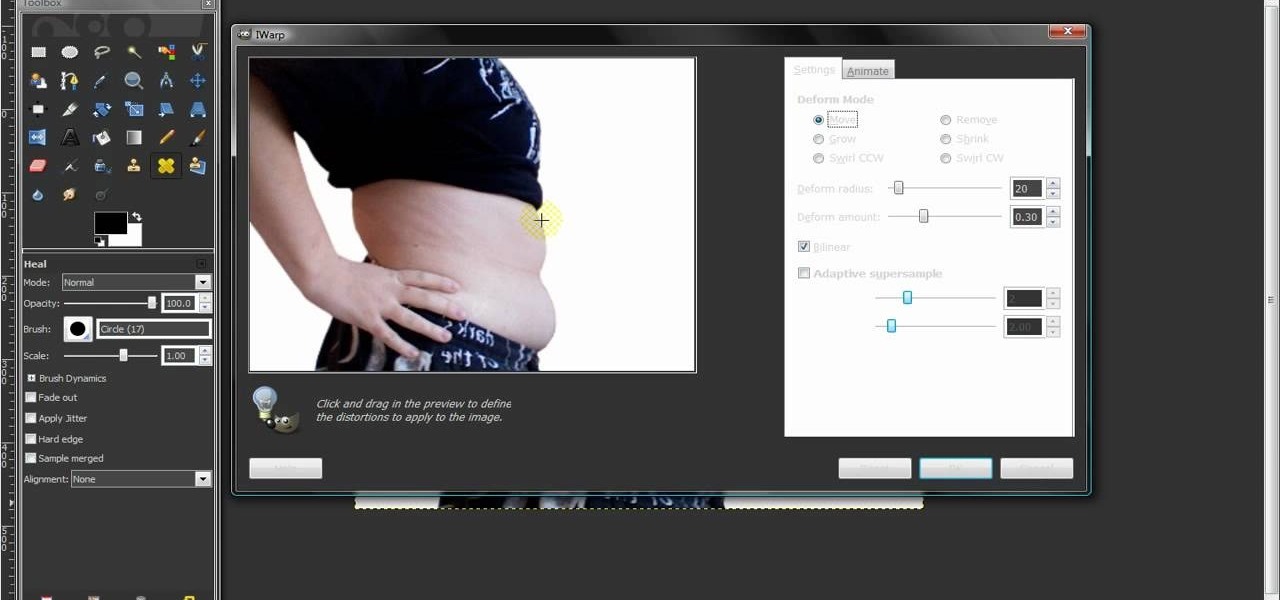
In this video, we learn how to remove body fat or stretch marks in GIMP. First, go to filters, then distort, then warp. When you are in this window, you will be able to see all the different distortions that you can do. To help you remove the fat, use the "move" tool and a proper sized brush. Now, press on the stomach and slowly press down on it until you see the part of the body start to become smaller. Don't do it too quickly, or the picture will look fake. When finished, save your new pict...
In this tutorial, we learn how to enhance the color of your lips and eyes with GIMP. To change the eyes, use the ellipse tool to highlight each individual eye, then change the contrast of the eye as well as the color and highlights. Do this for both eyes, then save. To change the lips, use the lasso tool to highlight the outside and inside of the lips, then go to "select", "from path", and then change the color balance as you did on the eyes. Change it until it's the desired color you want, t...
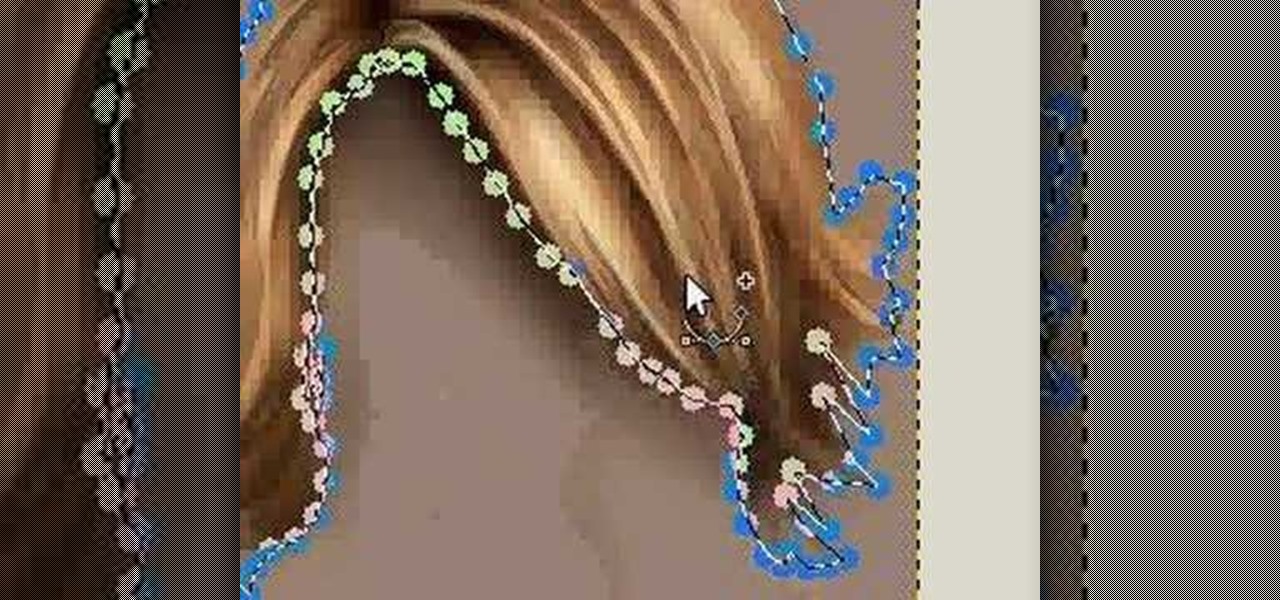
In this how to video, you will learn how to change hair color in a photo using GIMP. First, download and install the program. Open it and find the image you want to change. Next, zoom in to get a full view of the hair. Now you should go to the paths tool. Highlight all around the hair to select it. Once this is done, go to select and select From Path. Marching ants should go around the selection. Now, go to colors and select Color Balance. Adjust the color sliders to change the hair color. On...
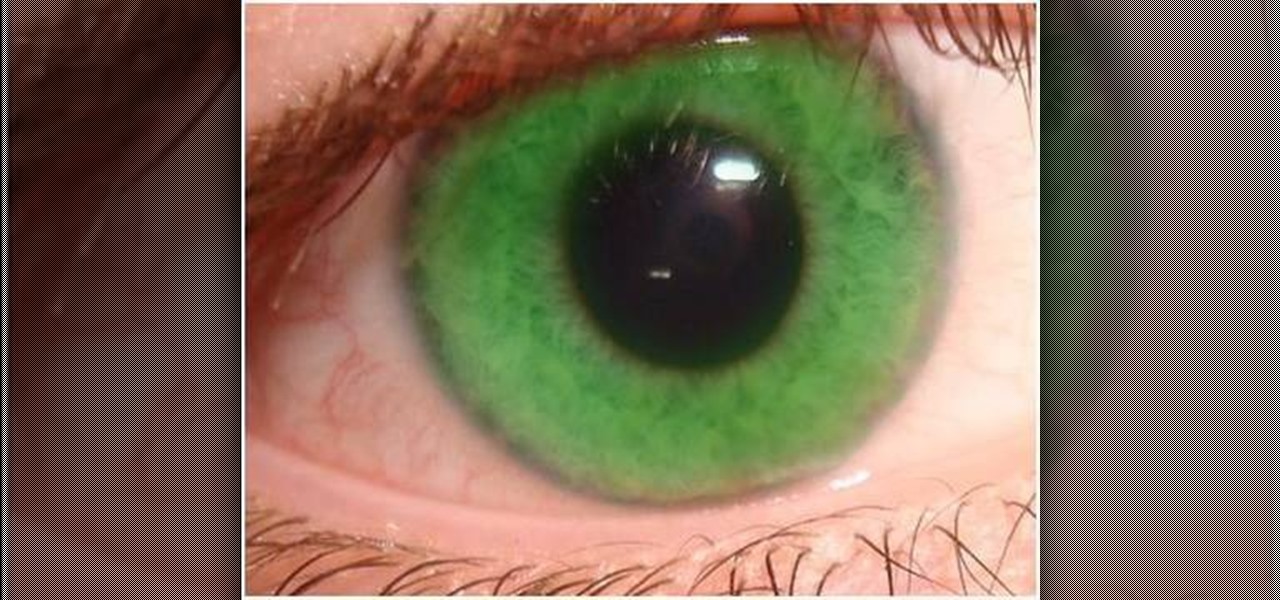
Stevmay09 will be teaching you how to digitally modify your eye color for free using GIMP. First you need to zoom in on the eyeball then click on the free select tool. Then start on the corner of the eye and make your way around the entire eye. Once you have the area around the eye selected you need to create a new layer. Make sure its filled with transparency then select the color you would like the eye to be. Then get the paint brush tool and select the icon shown then increase the scale an...
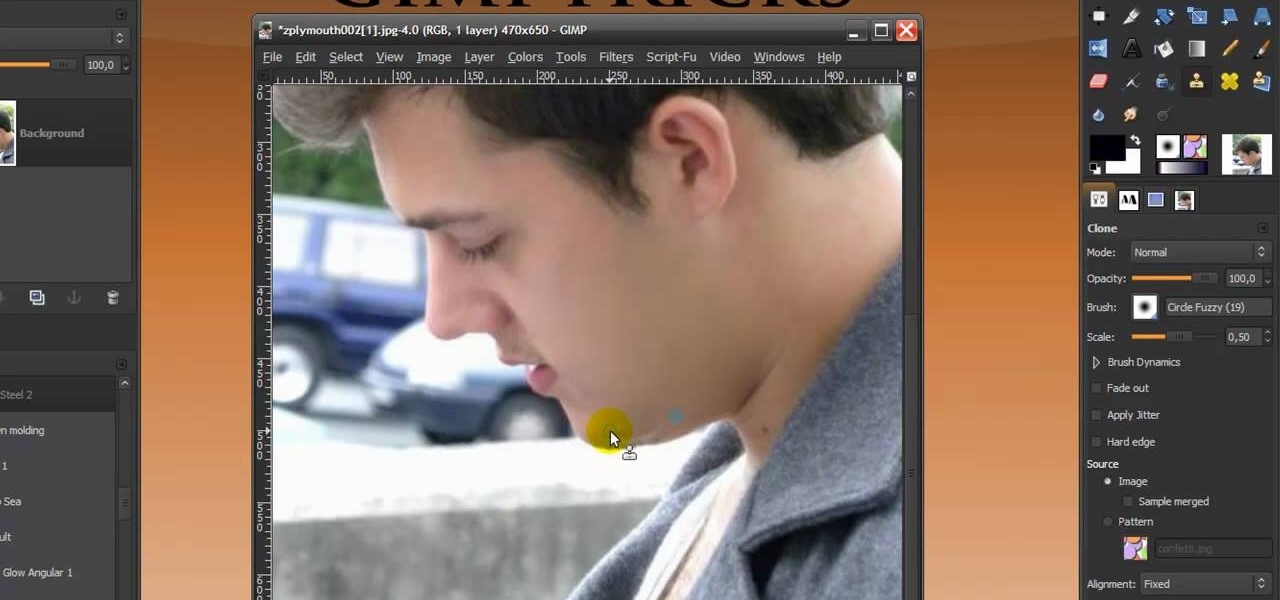
In this Software video you will see how to give someone a shave in GIMP. Learn spot removal, skin smoothening and a makeover or removing a 1 day beard. This is done using the Clone and the Healing tool. To use the Clone tool, select the tool from the right hand panel. Then to select the source skin color, you have to hold ctrl key down and click. Now when you apply it to the area you will get the same shade of the source color. So, you will need to select an area very close to the spot you ar...
This video shows the viewers how to create a simple but well done Halloween text in GIMP. Starting from a simple white background you will end up creating a creepy text perfect to use every year on the 31st of October . The video is actually a easy to learn walk through , showing your each and every step you need to make . Advance users but also beginners can benefit from this short clip . At the end of the video you will surely create the type of text you usually see only in horror movies su...
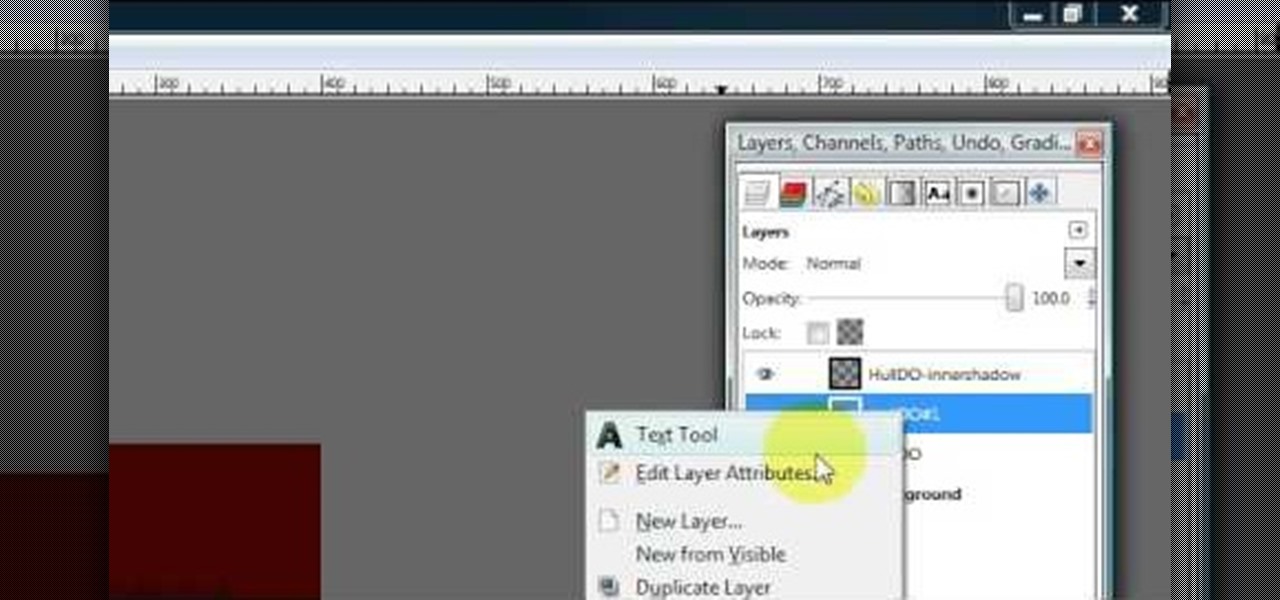
Hulldo teaches you how to create indented text in GIMP. First, create a new document of any size. Then use the text tool to write some words. Next, select that text and go to Script fu-layer effects-inner shadow. Once you've done this, duplicate the layer. You will now want to filter-blur-Gaussian blur. Apply that to your second layer. Now you can either merge the layers or leave them as they are. You can also play with the text settings, if you want a larger shadow, a bolder text and so on. ...
Hulldo teaches you how to give your images a widescreen border using GIMP. Open up a picture and the click new layer. Next go to select - border and make it 3 pixels. Go to tool options and use black for foreground fill. Select none and create a new layer. Go to view and make sure snap to canvas edges is ticked. Go to rectangle select tool and go to its menu. Then select 640x30 pixels. Fill that layer with black and select none. Duplicate this layer. You place this one on the bottom and you a...
Hulldo teaches you how to draw lined paper in GIMP. First you create a new document and make it 600x600 pixels. Make the background a bluish grey. Create a rectangle in the middle of the document. Now you want to add a blue horizontal line. You will want to then duplicate that layer until you're at the bottom. You can add a stroke to the rectangle or use a shadow to make it look like it's on top of a regular piece of paper. You also have to leave some space at the top and bottom to mimic a re...
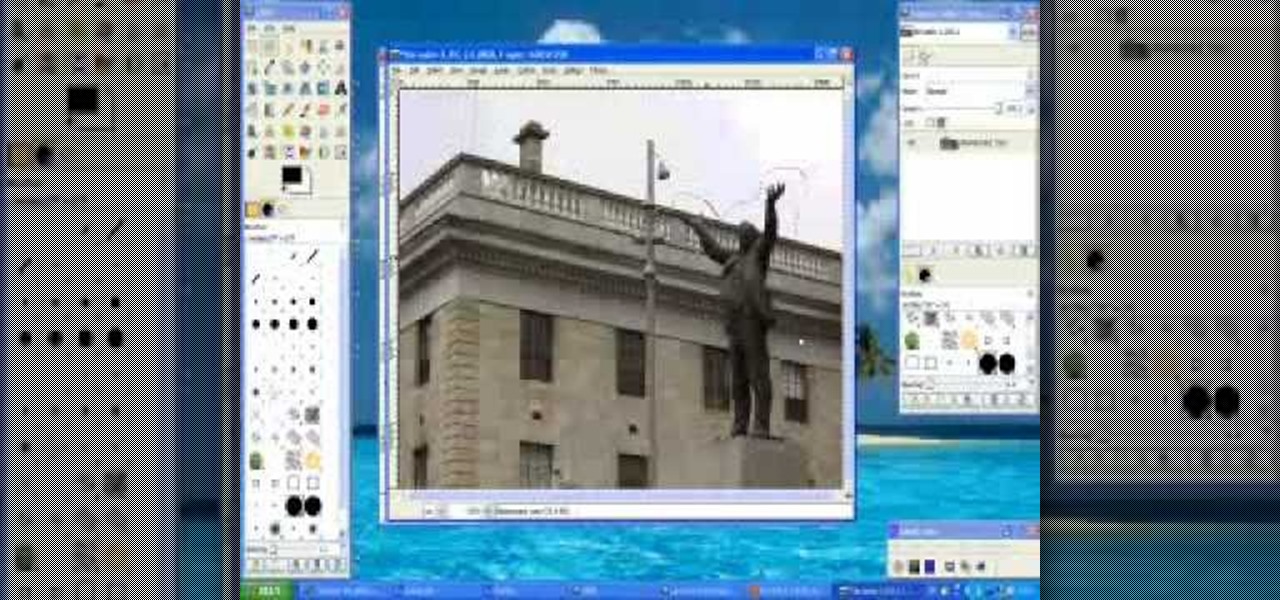
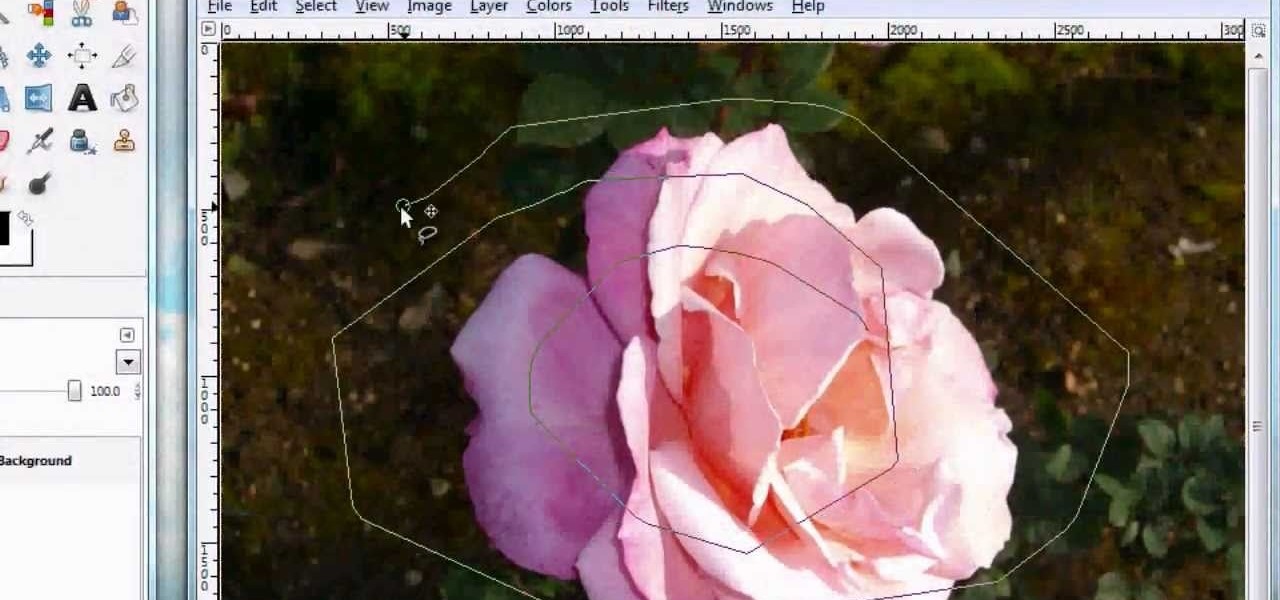
For anyone looking to edit a picture with one or more persons down to just a single person in the picture, you can use GIMP. This video tutorial goes over how to utilize the paths (or pen) tool and foreground select tool. The paths tool allows a person to select a part of an image to create a series of lines, or paths, that allow you to create a path around whatever you want to select in a picture. This item can then be moved and copied to a completely different photo. The foreground select t...
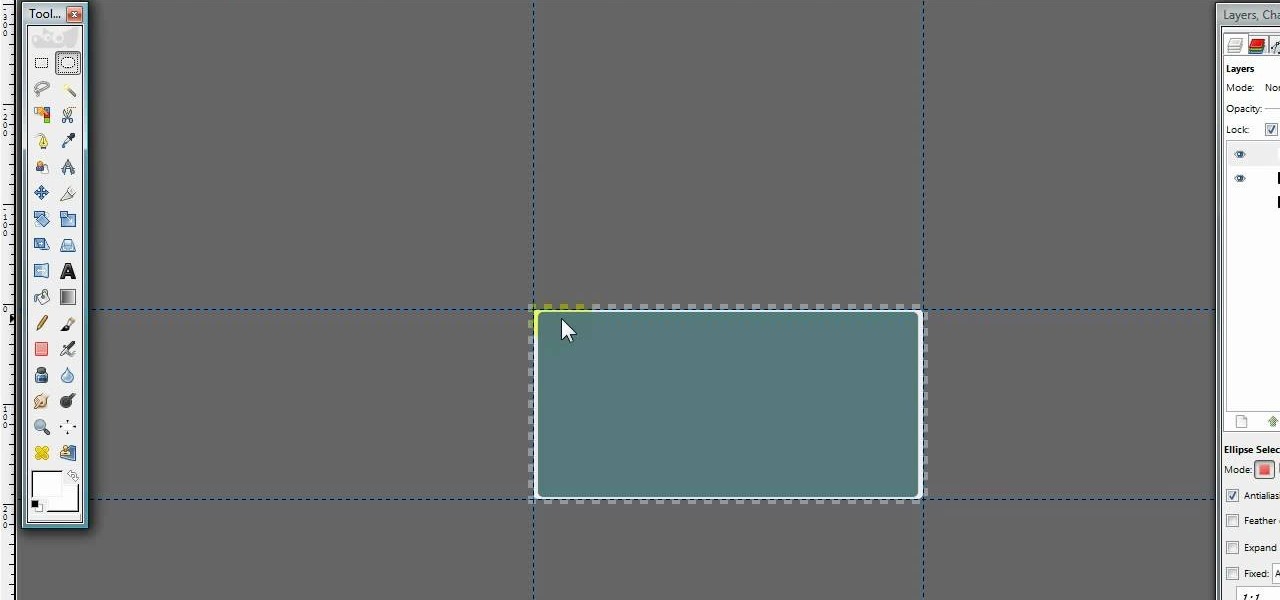
Video demonstrates how to make rounded corners in GIMP. First step is to open an image. The image needs to have transparency for this to work. An alpha channel is to be added to the image. This can be done by going to the layer option in that select transparency and add alpha channel. By doing this if the picture grays out it means the image already has transparency and there is no need to add an alpha channel. Now Select option is selected and in that rounded rectangle is selected. The radiu...