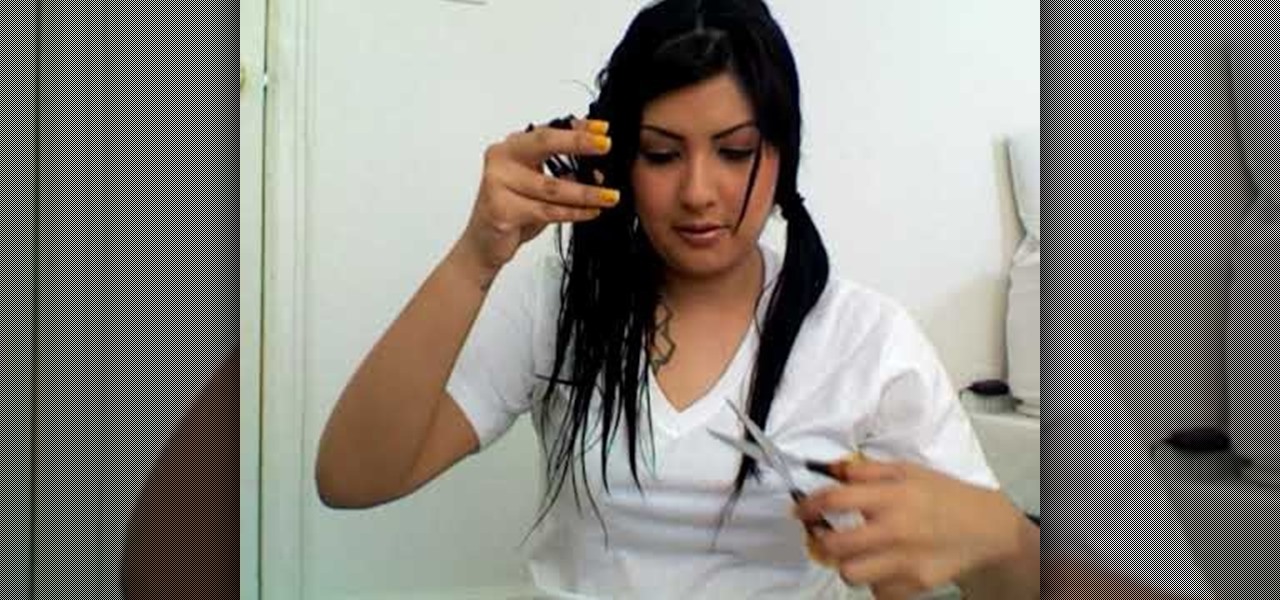
In this video, we learn how to easily cut your bangs. First, you will want to take a shower and have your hair went and brushed out. Next, part your hair so that your bangs are in the front and the rest of your hair is tied back behind you. After this, grab your scissors that are for hair cutting, and then level your hair out in front of you. Be sure to hold your head up straight and don't look too far down or up. Next, cut the bottom of your bangs where you want them to be at, then continue ...

Mark Trick, a retail meat-cutting instructor, shows how to properly debone a turkey. Carefully peel the skin off the turkey. Make sure you do not tear the skin off. Flip the turkey upside down and cut the wings off by cutting towards the bone. To remove the body cavity, cut along the breast bone with the tip of the knife. Cut around the bone and neck of the turkey to leave as little meat on the bone as possible. Remove the bone. To debone the legs, cut along the bones of the leg using the tip...
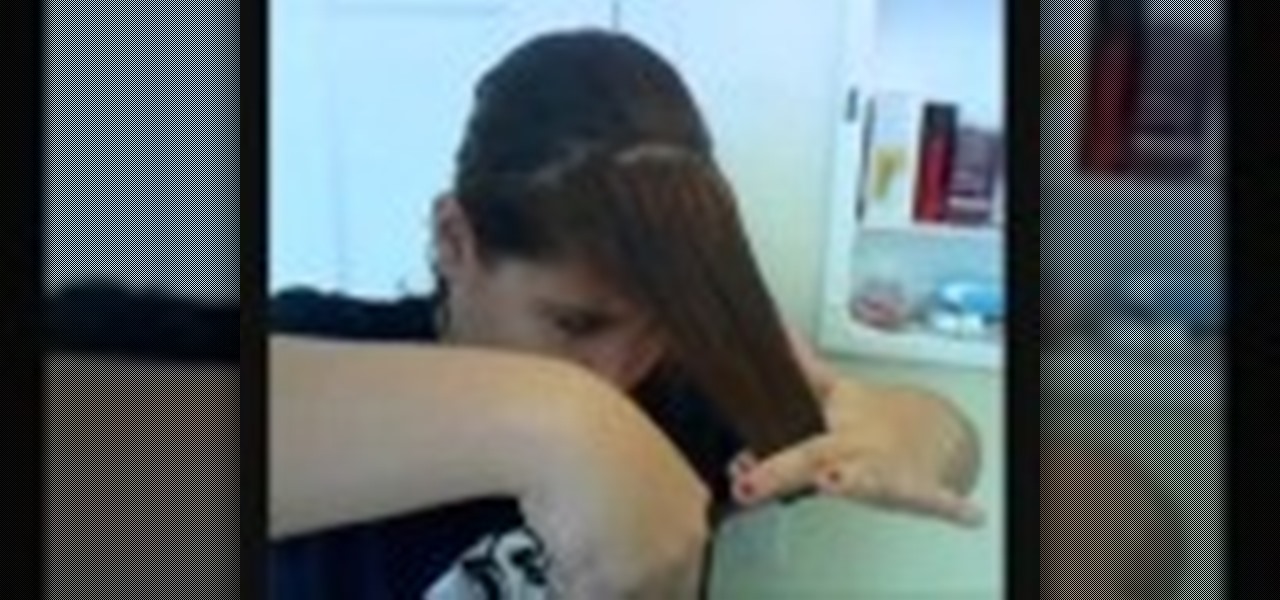
Don't have the money in your budget to go out to the salon? With this video you will be given tips to cut your own hair. Before you start, you will need elastic hair ties, a comb, and hair cutting scissors. This video will take you through a step-by-step demonstration from start to finish on how to do a hair cut at home. She'll show you how to section off your hair and start cutting away. As she says, the hardest part is knowing when to stop.
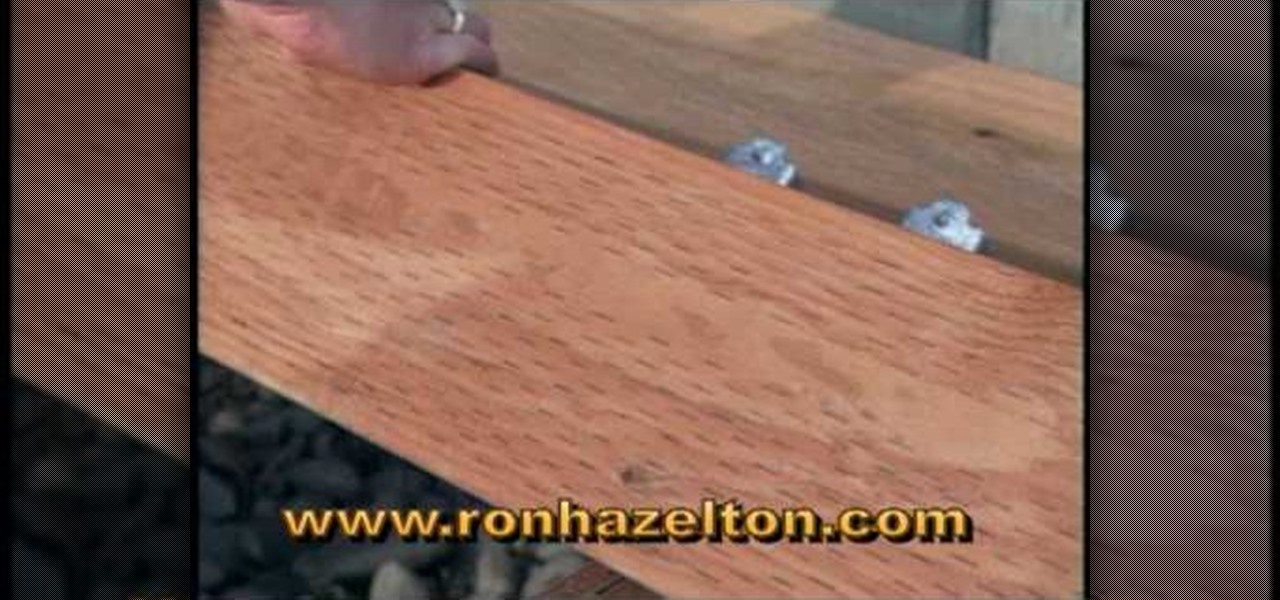
If your decking boards need to be replaced it is really not that difficult. Start by removing the facia or edge boards that hold the decking boards in place using a crowbar. Remove the decking boards from the joists. Check the joists for dry rot while you have the decking boards off by poking them with a screwdriver. If the wood is soft and the screwdriver sinks right into the joist then you may need to replace that joint because it is dry rotted. When replacing the decking boards it is best ...
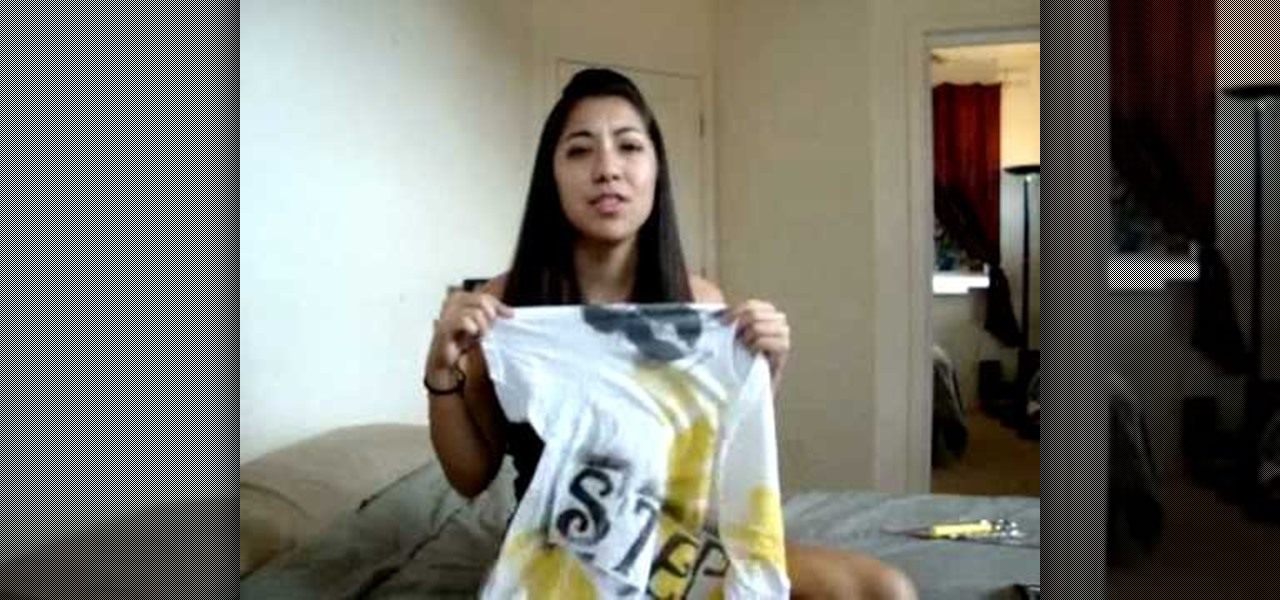
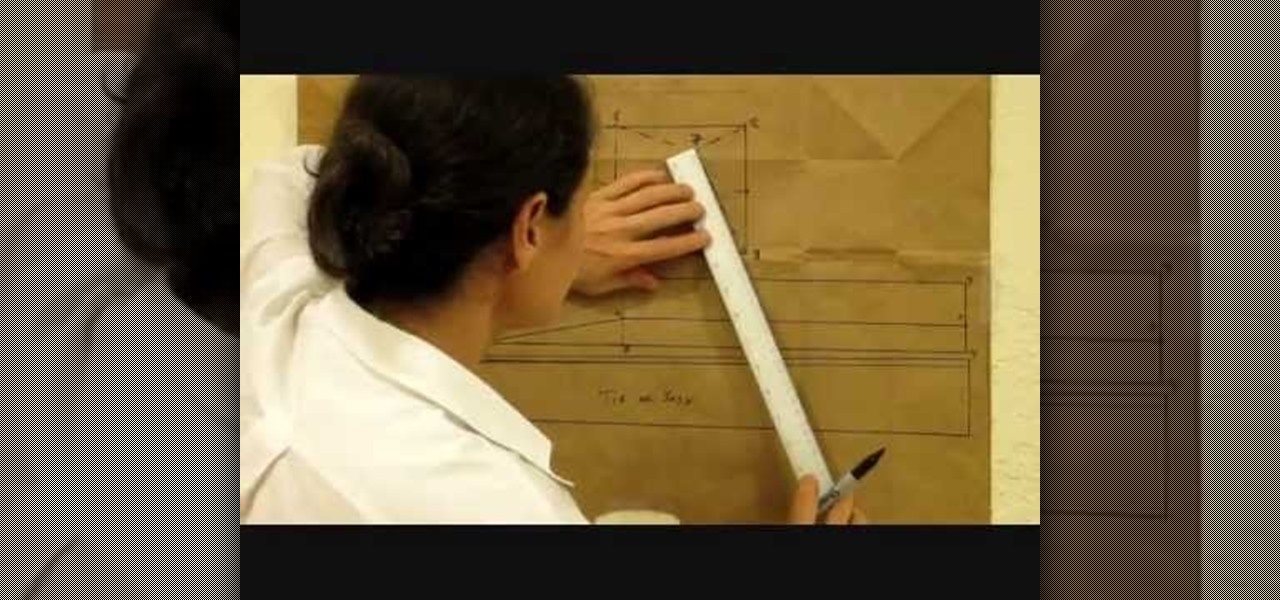
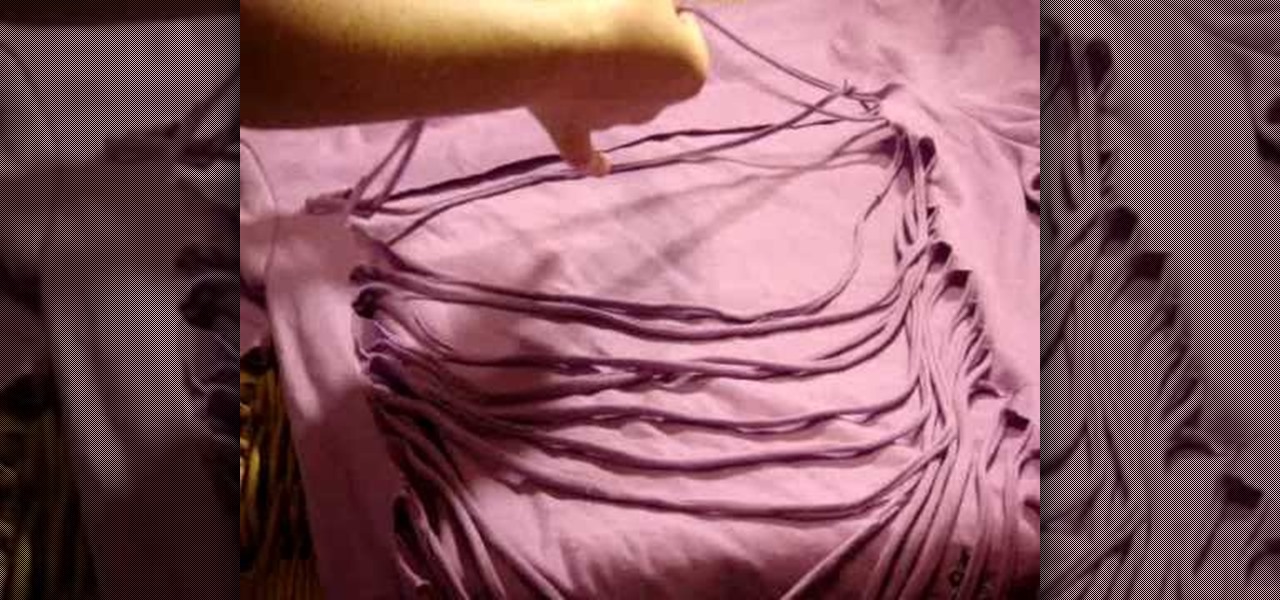
Reconstruct your T-shirts into more stylish attire with this video! The materials you'll need are a T-shirt, scissors, a ruler, and a pen or pencil. First cut off part of the sleeves (this part is optional.) The next thing is to cut the neck all the away around the front and back, cutting off the border. Now it's time to cut the bottom of the shirt right under the hem, underneath the stitching. Keep what you've cut to use for the ties for the shirt. (You can also use string or ribbon.) Measur...
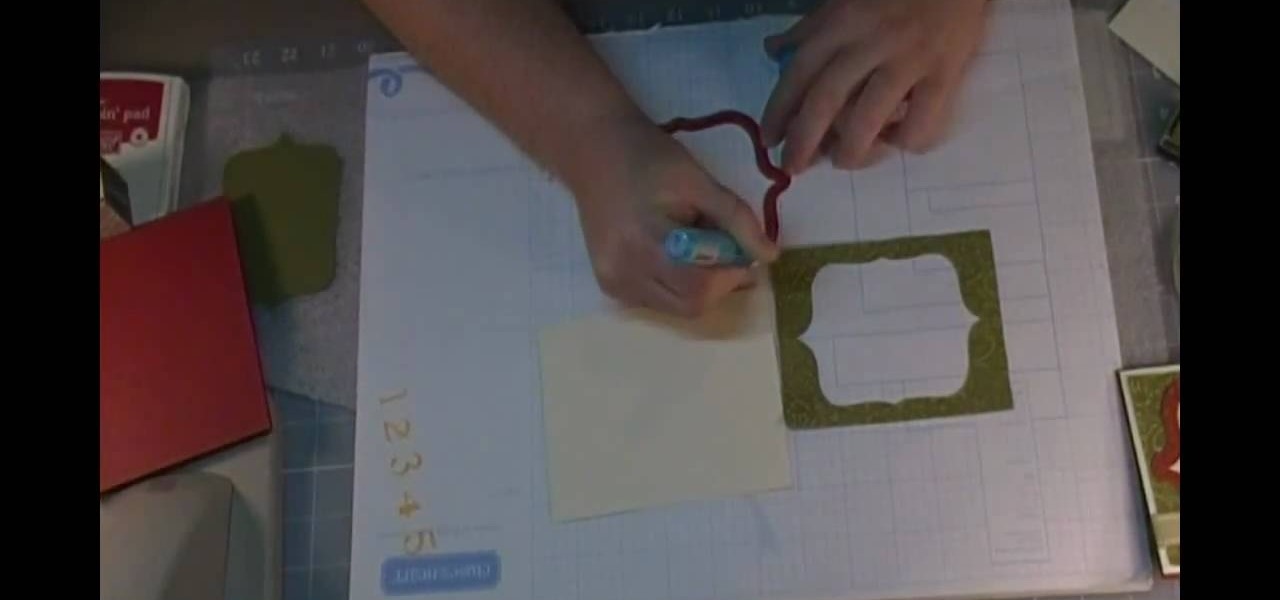
In this tutorial, we learn how to create a simple Christmas card using Cricut. First, you will need to take your card stock and fold it in half to create your basic card, pushing hard on the crease. After this, place a green holiday print on top of the front of the card and adhere it down. Next, cut out a bell shape outline, then cut out a piece of white paper in the same shape. Apply the white paper down first, then place the bell frame over the top of it. Push down a stamp sentiment on the ...

Video: . Whether you are gardening, cooking, riding a motorcycle or just want to cover up on a bad hair day, doo rags are easy to make and fun to personalize to suit to your style. If you would rather just download the durag pattern click here.
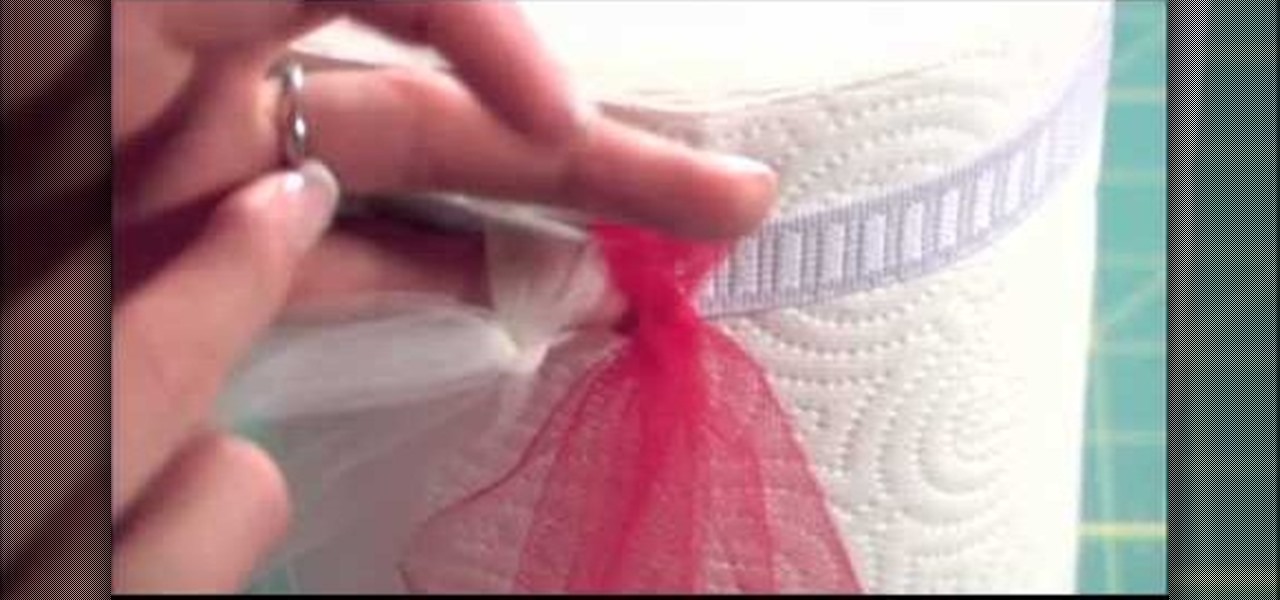
Julie Figuera shows how to make a no-sew ballerina or princess tutu for little girls. 1. Get a 1/2-inch wide satin ribbon. Cut the ribbon about 20 inches long. 2. Measure 20 inches from each end of the ribbon. Tie a knot on the 20-inch mark. 3. Unfold a yard of tulle and roll, making sure there is no wrinkle. Cut the ends of the tulle to make it even. 4. Measure every 3 inches and cut. 5. Take each cut piece of tulle. Fold it in two and cut. 6. Take the smaller piece of the tulle, fold it in ...
In this tutorial, we learn how to truss a chicken. First, you will tear the head off the chicken and then fold the wings to the back of it. From here, you will tie a string around the chicken so that the legs are tied together. Make sure you have the chicken tied as tight as possible so it's narrow and keeps the juices cooking inside. Bring the string around to the back of the chicken and then tie the final knot in the back. Once finished, you can season your chicken and cut the excess string...
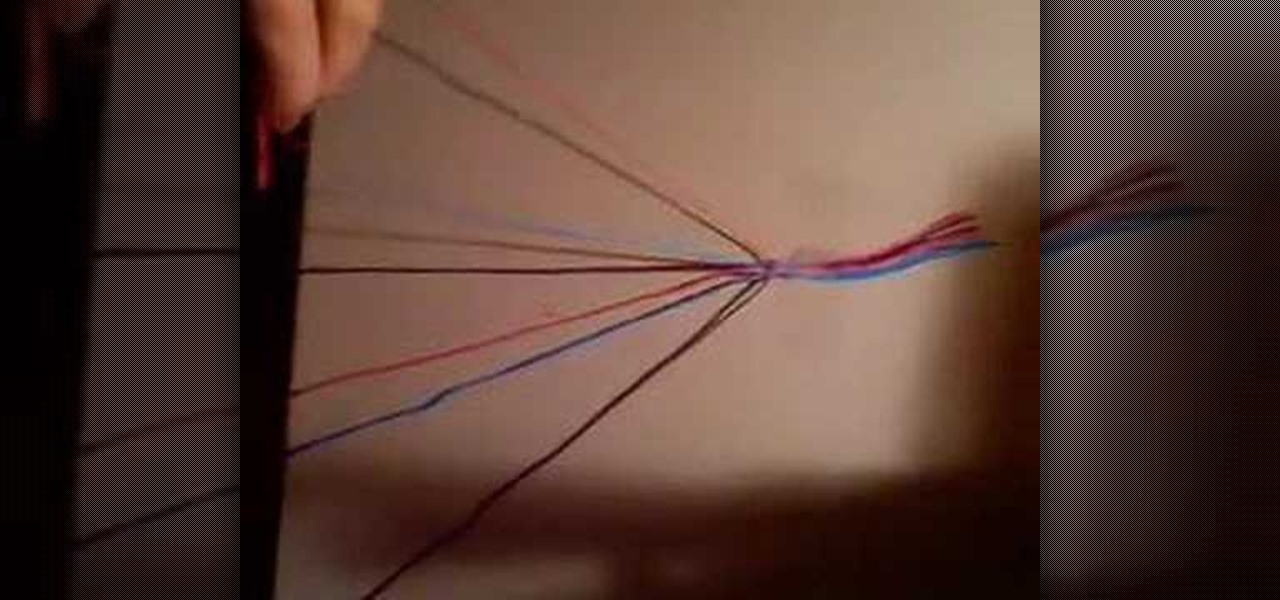
In this tutorial, we learn how to make a simple friendship bracelet. First choose three colors and then cut two strands of each 3 ft long. After this, tape the strings together at the end and tie a knot. After this, start to tie the strings, one underneath each other. Make sure after you do each color, you pull on the string tightly. As soon as you finish wit all the colors of the bracelet, continue to the bottom of the bracelet and tie it at the end. When you are ready to wear it, tie it aro...
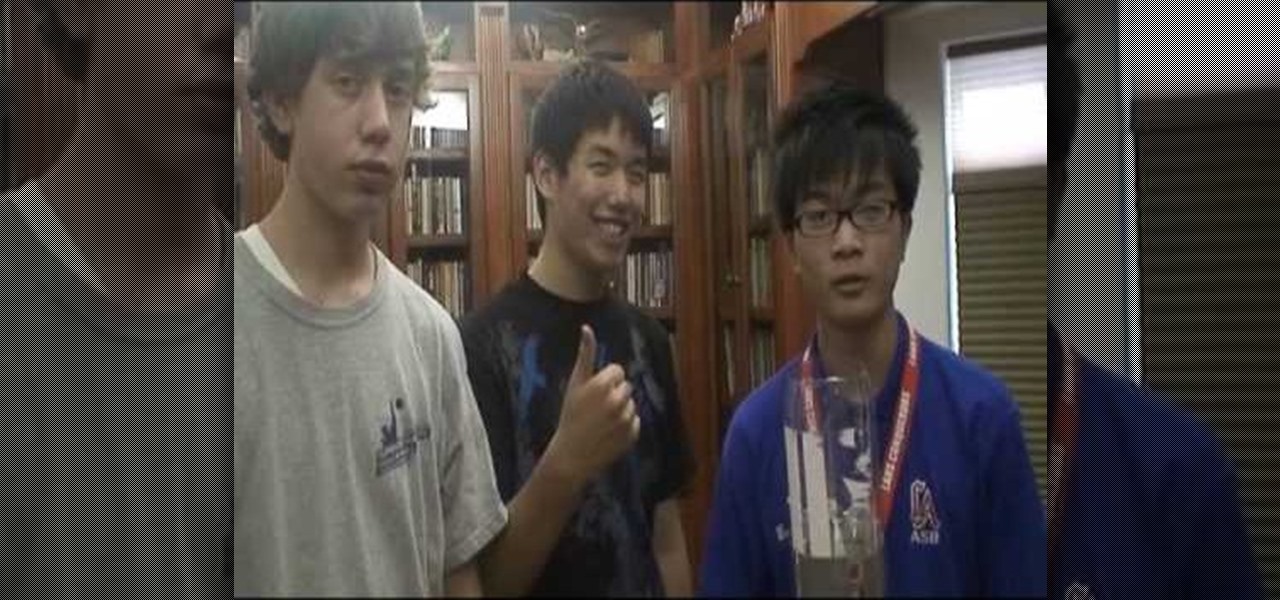
Benson Trenh and Mark Norris show viewers how to build a bottle rocket using common household items. To build this creation you will need tape, a hole puncher, scissors and string. Also use a black plastic bag, or any color, for the parachute! Cut the black plastic bag into a square, any size you would like! Next, take the square and punch a hole at each edge of the square and string the string through the hole tying a knot. You should now have the parachute! For the body of the rocket, get a...
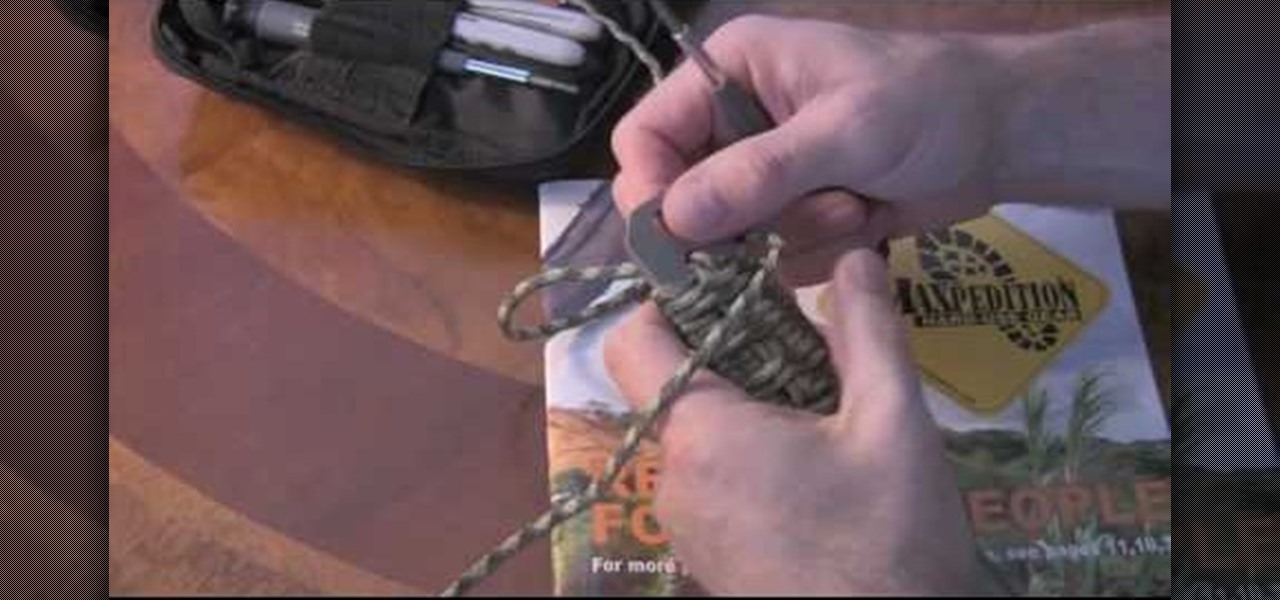
Breacher bars are like the much cooler older brother to the swiss pocket knife. In fact, there's little comparison between the two. A breacher bar, which is a rectangular shaped knife, is used by SWAT teams and bomb techs to easily and quickly cut through and pry open just about anything. But safety comes first.
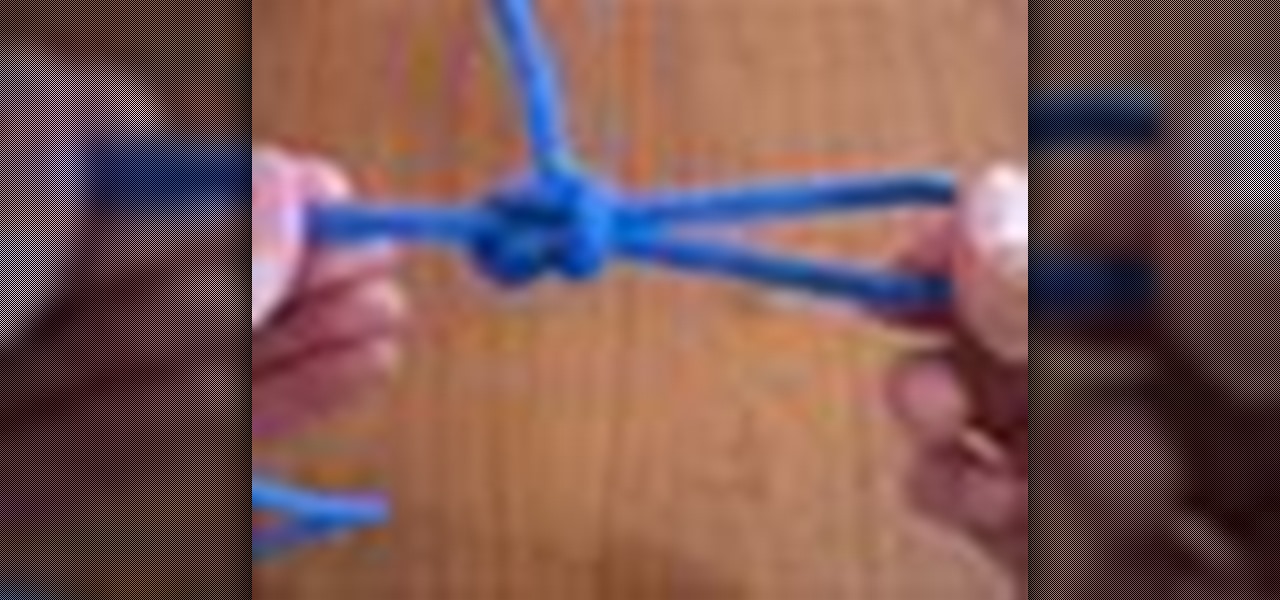
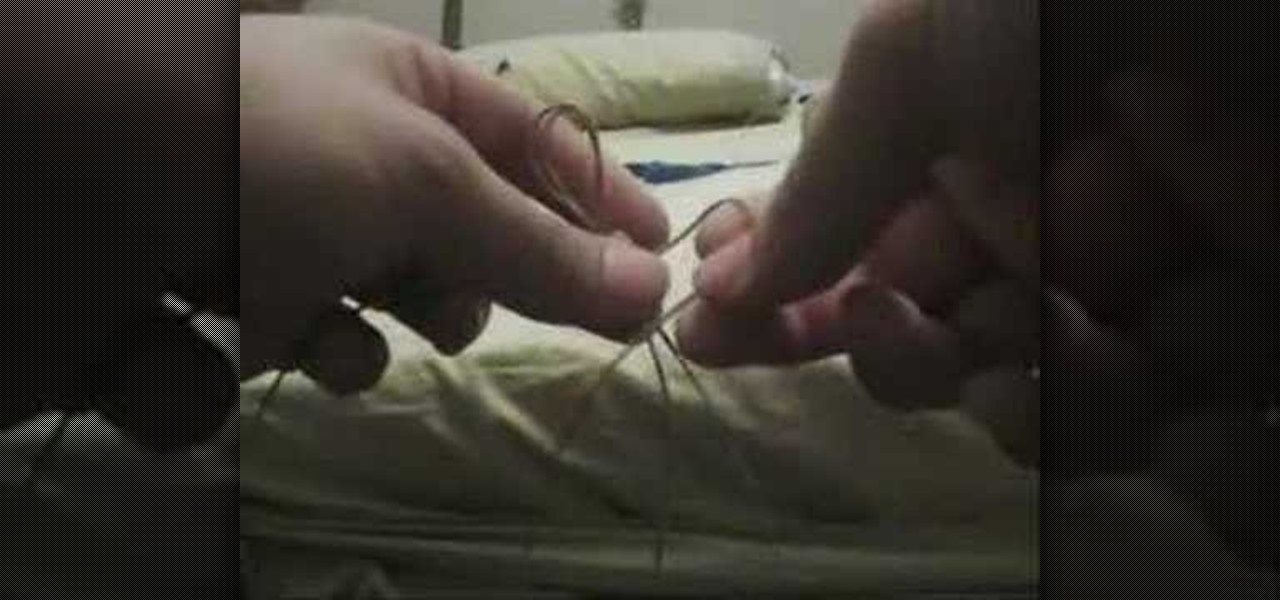
This is a video demonstrating how to tie a perfection loop. This is a loop that is necessary for fishing. It can be using for sinkers and fly fishing. It is good for any purpose where a loop is needed. A loop is made first. The loop is held between the left thumb and index finger. The end of the line is taken and put over the loop. Then switch hands and take the end of the line below the main line, making two loops. Then the end of the line is placed between the two loops. Take the top loop n...
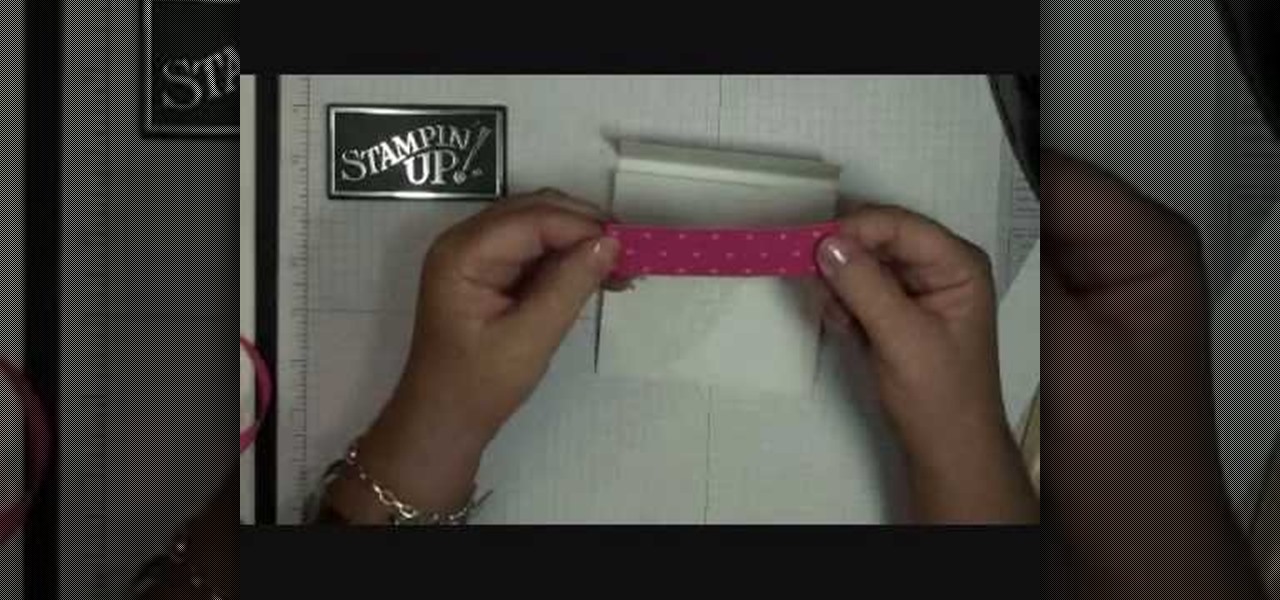
This video shows the method to make a gift card holder with "Stampin' Up." First, we use the Movers and Shapers to cut a heart shape on a paper. We use the add-ons cut by the Movers and Shapers to punch windows. Next, we use the Big Shot machine. Next, put a piece of Whisper White in the machine and cut at four and a quarter to eleven inches. Fold it into half and cut an inch and a half off the front top. Score the back panel at one and quarter inch. Take bags measuring 3 5/8 inch to 6 5/8 in...
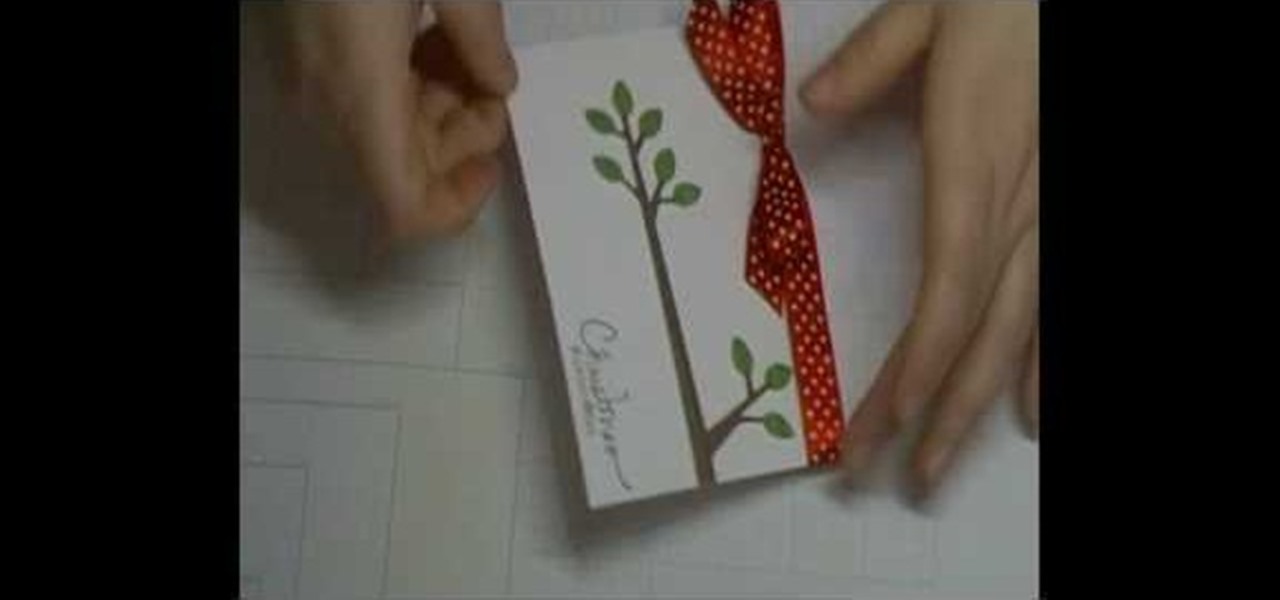
In this tutorial, we learn how to use Cricut Serenade & Joys for a simple Christmas card. First you will need to take a piece of white card stock and tie a red and white polka dot ribbon to the top. After this, you will need to take a tree branch stamp and stamp it on the side of the card like it's growing out of it. After this, make sure the color on the leaves is green and the branches are brown. Now, you will cut out another piece of card stock in a punch out to create the ornament that wi...
This video gives a demonstration of how to make a double bow for scrapbooking. First, cut a short piece of your ribbon off the end. Make this piece about 5 inches long. Next, after leaving a tail of ribbon bend a longer piece of the ribbon over and over, smoothly, until you have 2 loops on each side which creates the double bow. Cut off the end of the ribbon, leaving a tail. Pinch the middle of the double bow. Use the short piece which you cut earlier to tie around the middle of the bow. Adju...
By watching this video, you will learn how to create your own art journal. Begin by cutting pieces of heavy weight cardstock 5" by 8". After you have cut all your sheets, fold them in half. If you want a defined crease, you can use a bone folder. Next, poke small holes in the crease of each sheet. Start at the center and then poke one every inch above and below the center hole. Then using a regular running stitch, sew through each hole of a single sheet. Once you reach the bottom hole, bring ...
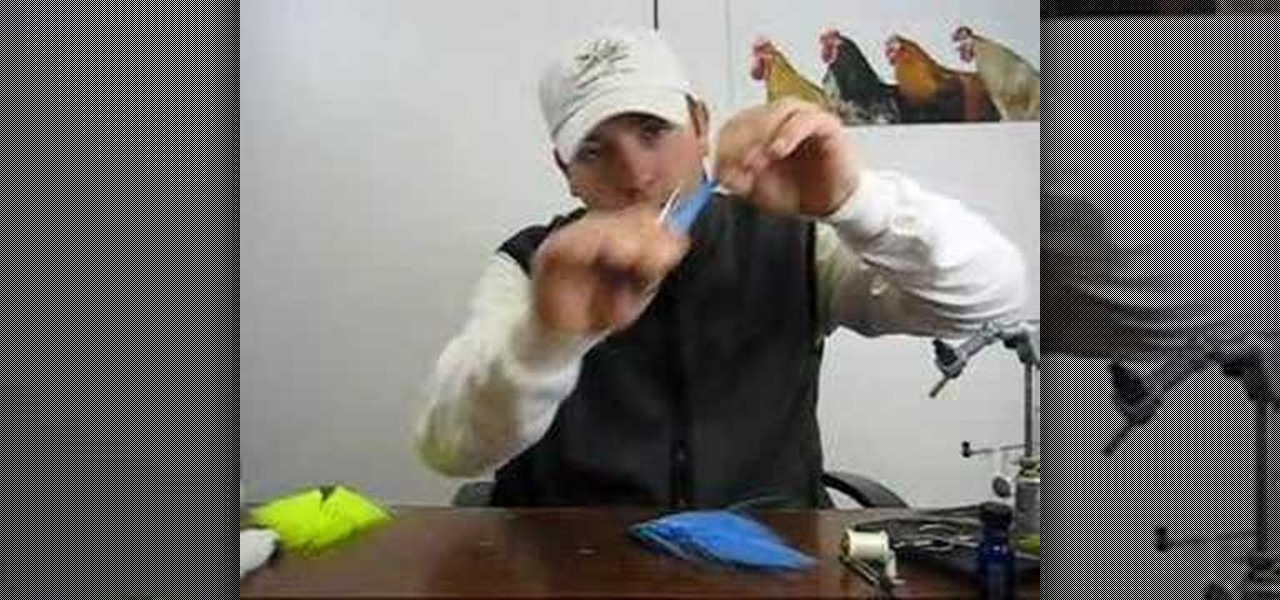
Corey shows us how to cut and "thin-out" bucktail to prepare it to use for tying saltwater flies. Removing the loose and/or short hairs will give your flies a cleaner look and make the bucktail easier to work with.
This is a good way to shorten a rope without cutting it, provided there is a load on each end. If there isn't, well, who knows what will happen.
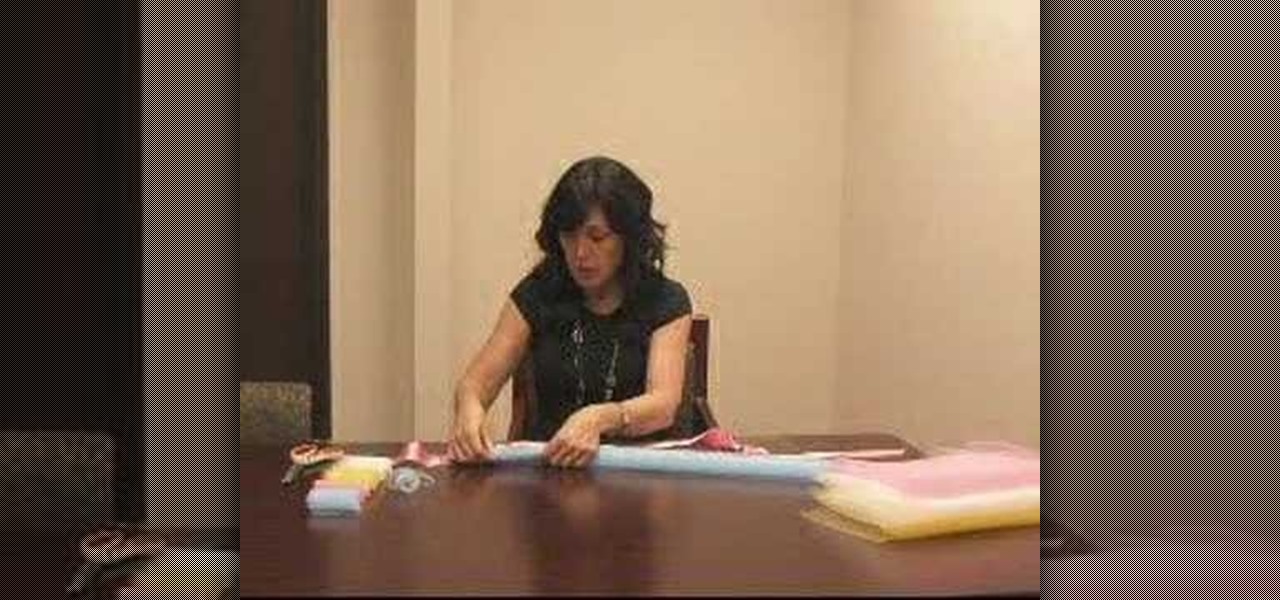
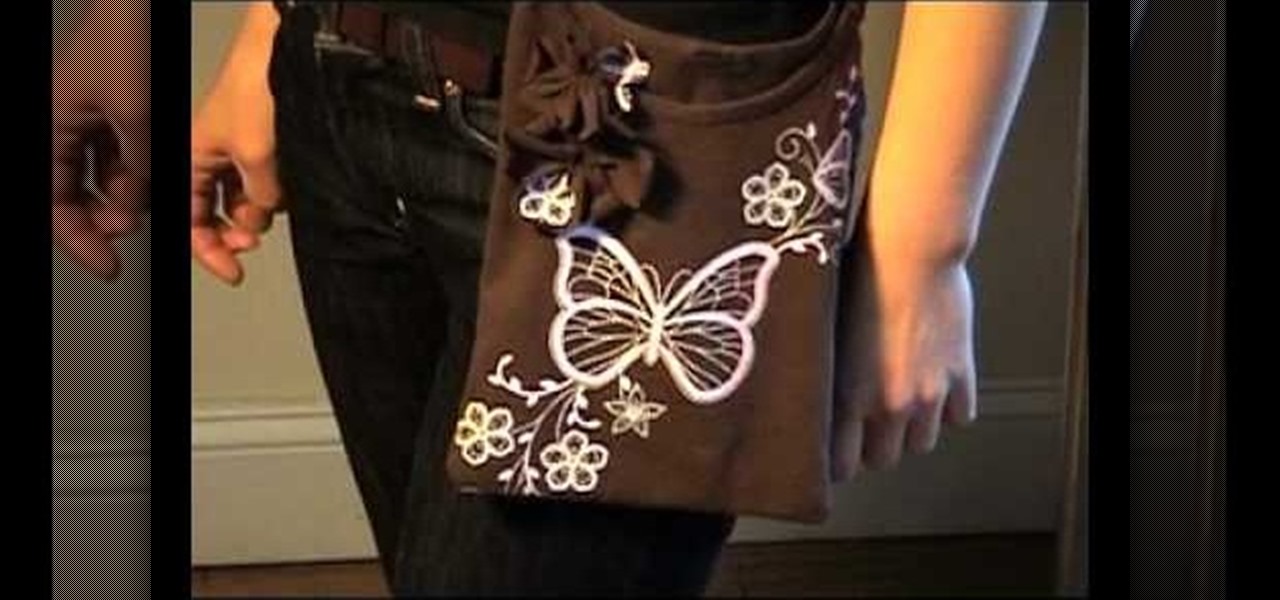
Shiho Masuda demonstrates how to make a T-shirt pochette using recycled materials in this video. You will need an old T-shirt, gardening twine (or leather strap), needle and thread, a ruler, a scissors and a pencil. First, sketch the dimension of your pochette on the T-shirt, staying about 1 inch from the sides of the collar. Next, cut along the lines (save the excess material). Flip the T-shirt inside out and sew the sides together, leaving 1 inch at the top for shoulder straps. Now flip the...
In this tutorial, we learn how to make a tutu. First, you will need to grab a rotary color and some tulle, along with an elastic band for the waist. Now, measure out the tulle for how long you want your tutu to be. Now, cut out the measurements you have made. Gather up the tulle together in different colors, and then grab the elastic. Tie the top of the fabric onto the elastic, then secure it. Once finished going all the way around the elastic, tie the waistband and then you will be ready to ...
In this tutorial, we learn how to put on dread falls. First, put your hair into two buns onto the top of your head, then place two cut off socks on top of them. After this, take a string and tie it around the two buns. After this, apply your dread falls to the side of each different bun and tie them on with any type of string. When you are done, flip the dread over your head and then situate in the back. When you are finished, you can put a headband in your hair so the dreads look more realis...
In this video, we learn how to build a house out of trash for free. First, find pallets from grocery stores and place nine of them together in 3x3 rows. Now, you will lay down a tarp that you can find over the plywood and start to add scrap pieces of plywood that you find around for the walls on the side. After the walls are up, cut down tree trunks that are long and then nail them together and place a tarp over the top. After this, tie the tarp down and tie it to the trees and your free hous...
To begin with you have to pass the line all the way through the eye of the hook and do it crosswise seven or eight times. Run it through the loop once more and then pass it all the way through the main loop of the line. Make certain that your line is wet. Another special way is that you can tie a loop on the line and then craft another loop and then pass it all the way through the eye of the hook and then bind it and cut it off. One more way to create a knot for the live bait is first craft a...
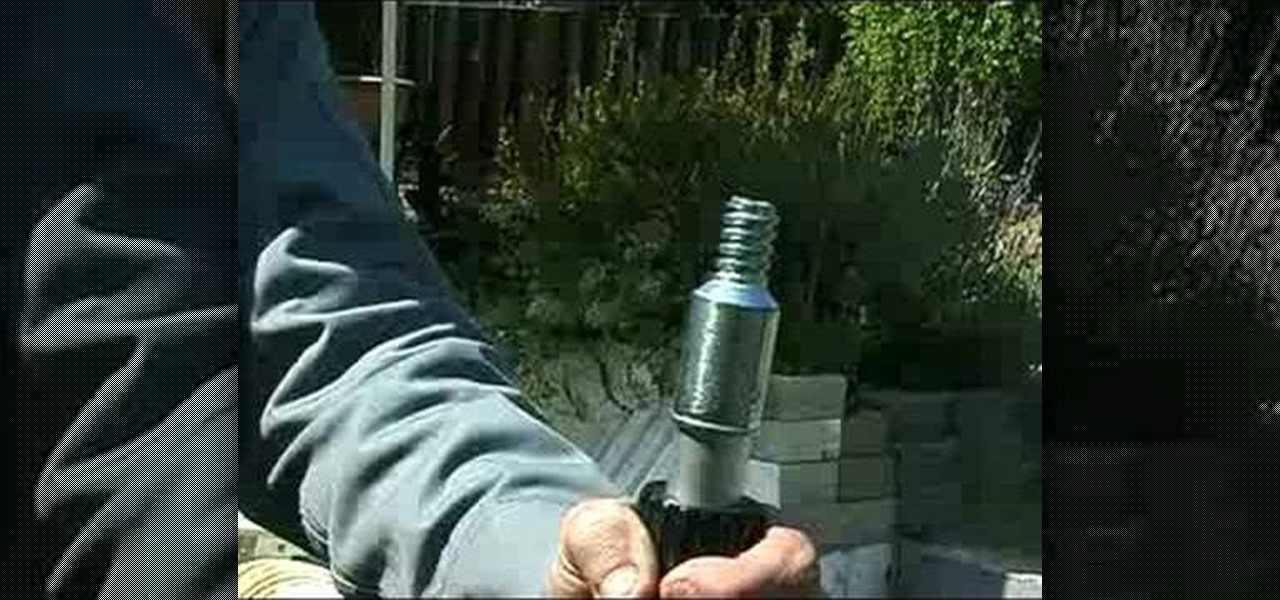
Joe Richardson, Five Sprockets consultant, demonstrates how to build your own functional boom microphone. First, if you don't already have one, get a microphone from your local electronics store. Then, pick up a mic holder. Next, you'll also need a telescoping pole like a painter's pole. You'll also need zip ties and metal bonding glue. A piece of fake fur from a fabric store will act as a wind sock to cut down on noise. Attach the mic head to the painter's pole with the metal bonding glue. N...
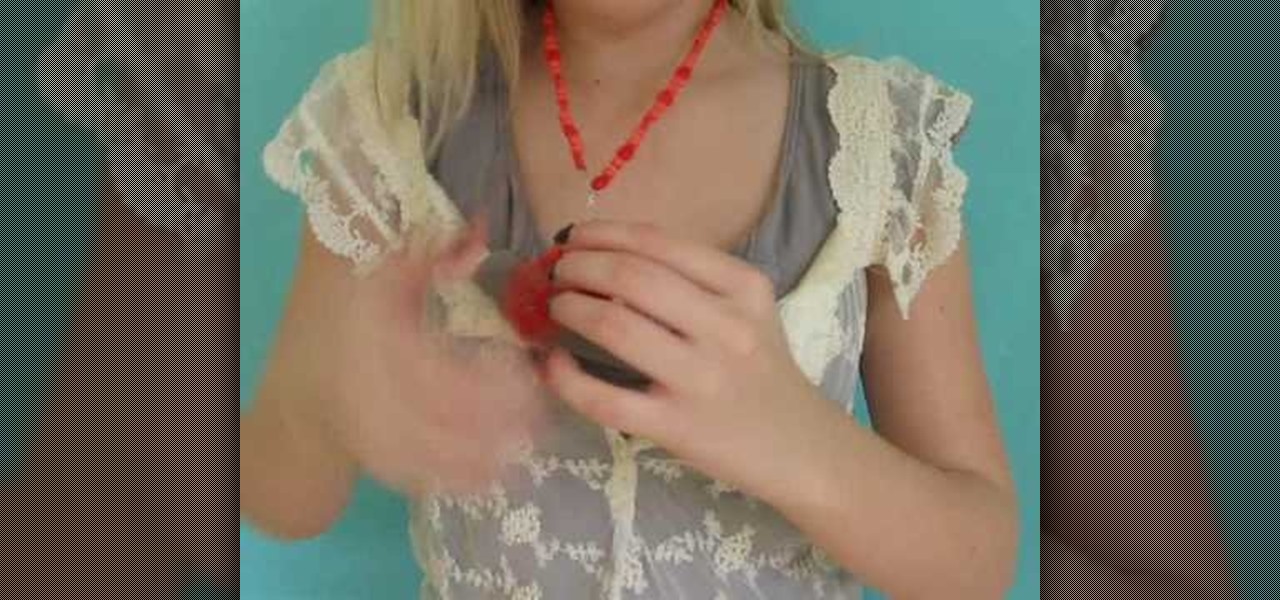
MRTV demonstrates how to make a scarf necklace. Making a scarf necklace is very easy and doesn't require cutting, sewing or altering. If you know how to tie a knot and you have a scarf then you can make a scarf necklace. Fold a square scarf into a triangle. Take the tip of the triangle and fold it in. Roll the scarf up and knot it loosely in the middle. Make knots in the loose ends of the scarf, using your desired length to determine how many knots to make. Tie the ends of the scarf together ...
This video helps in making a bow and arrow using pencil, pen and rubber band. You can get these from school, stores, house etc.
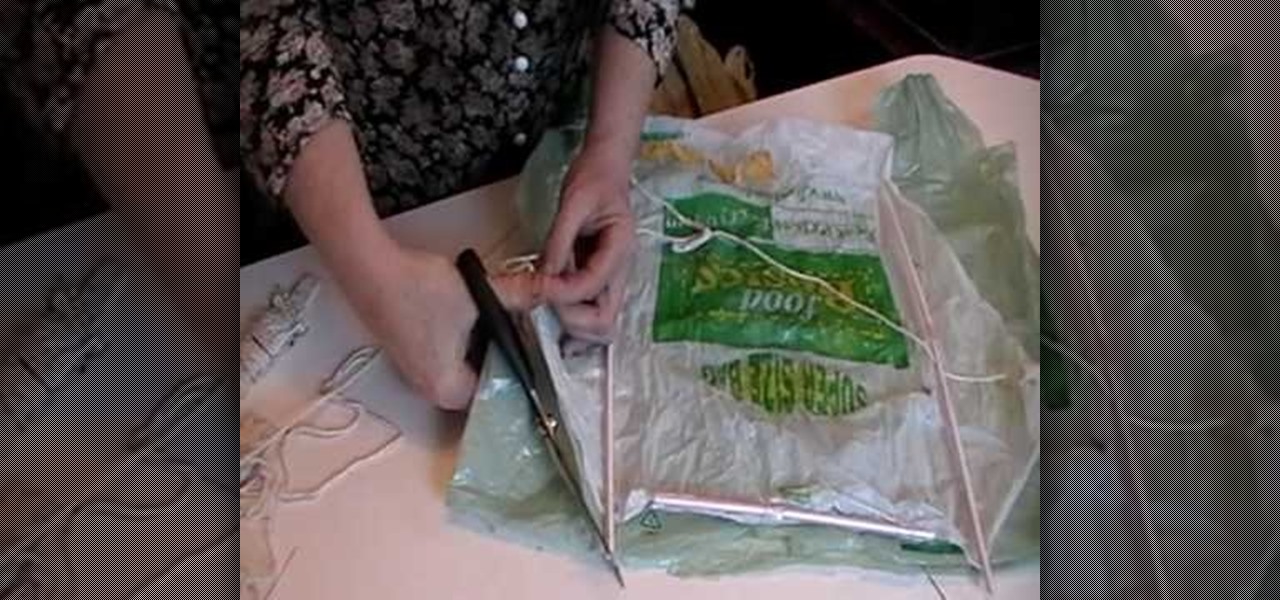
Learn how to make a homemade kite with this video. To do this you will need a regular plastic bag, some plastic straws, string and scissors. Begin by using the scissors to cut the bag in half, around the edges. Once you have this, make a rhombus shape out of it. You will need five straws and tape. Use one straw for the top and two straws on each side. Make sure that these two sides are the same side. Add clear or regular tape to stick the straws to the plastic bag. Lastly, tie the string at t...
For anyone interested in hemp and learning how to make a bracelet, follow the steps outlined in this video tutorial. To be able to do this craft project, you will need scissors, a ruler, a bead, and some hemp. Hemp can be bought at any local craft supply store. After you have bought all of your supplies, you will need to cut the hemp that you will be working with. You will need two pieces cut. One piece should be 20 inches, the other should be 10 inches. Take the middle of both strands and ti...
Watch this video to learn how to sew by hand! You need scissors, thread (or floss), a needle, and fabric. First, stick your threaded needle through the cloth and pull the thread through. To make a running stitch, push it back through to the opposite side. Your stitches should look like a dashed line. For a whip stitch, keep pushing the needle through the fabric from the same side each time, near the edge. It will wrap around the edge. To tie it off, push the needle back through the loop of a ...
Cut your ribbon or lace into two evenly sized pieces. This can easily be done by folding the ribbon or lace in half and cutting it on the fold.
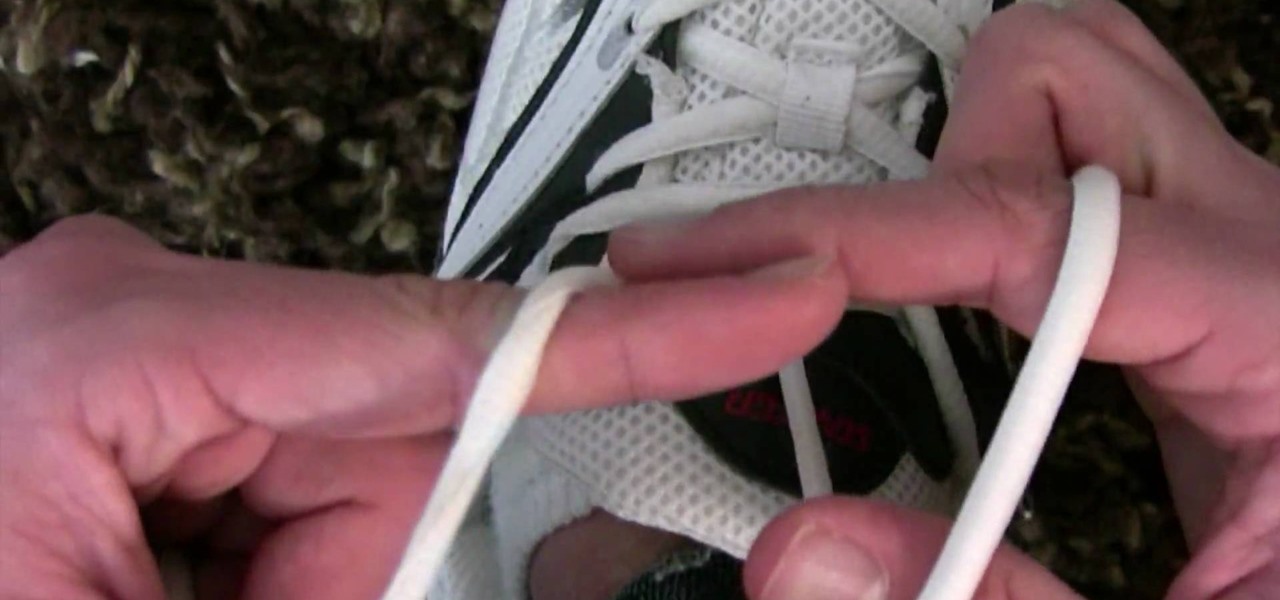
In this video tutorial, viewers learn how to tie their shoes in a cool way. This technique is also more faster than the normal shoe tying method. Begin by tying your laces into a cross. With your right hand, the lace goes from the shoe goes to your thumb, over the index and into your hand. With your left had, the lace goes from the shoe to your index, over your thumb and into your hand. Not just cross them over each other and pull. This video will benefit those viewers who have trouble tying ...
Most people (who have never done tie dye before) think that tie dye is simply squirting a bunch of psychadelic colors onto tied up fabric and going crazy with it. But there's more to tie dye than trippy rainbow hues and organic designs. There is more than one way to add a tie dye effect to a shirt or scarf.
Most long-haired men and women in America have a hair tie on them most of the time, sometimes more. All you need are two different-colored ones to do this awesome mind game / bar trick on someone! It involves tying the two ties together surreptitiously, and you'll learn how to do it in this video.
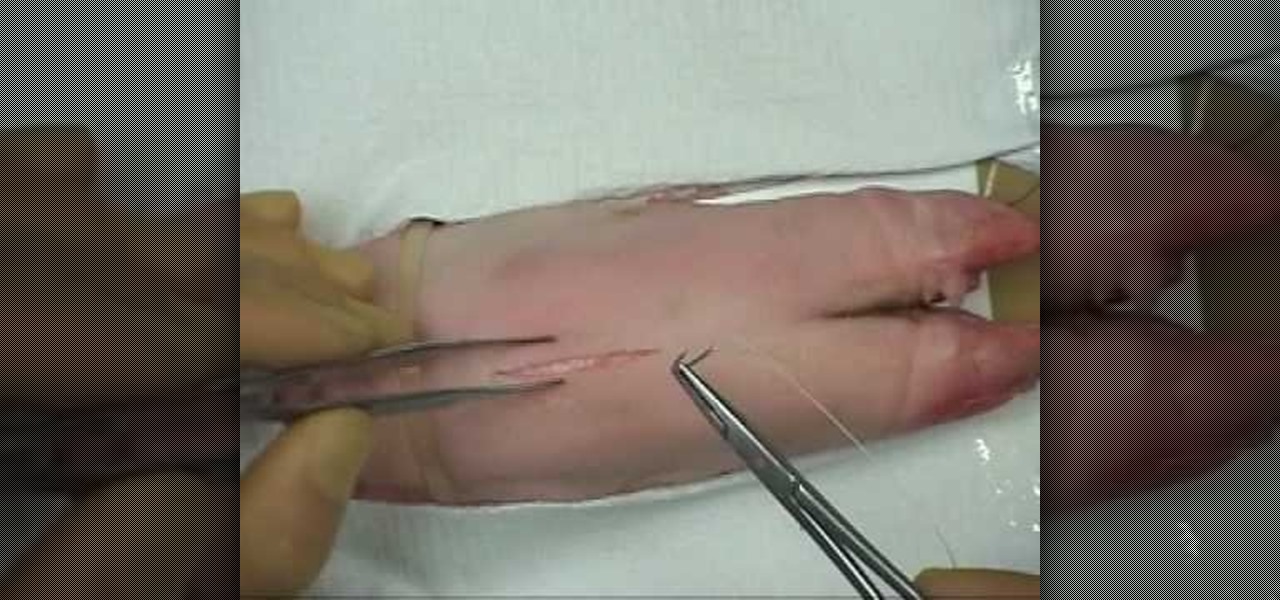
If you want to perform an interrupted and a subcuticular suture you should first make a bite through the skin. In order to make a bite through the skin you should put the needle point perpendicular to the surface, turn your wrist and make sure it arrives at an even point from the entry point. Grasp the needle as it comes from the tissue. Make sure you always keep the needle in view. Then ti e the suture with an instrument tie and form the knot on the side of the wound so it does not effect th...
In this video, we learn how to make a lariat necklace. First, cut your wire so it's 20" long. Then, make a loop at one of the ends and attach a small chain to it. After this, put on the crimp bead and make a loop through the bead. Once finished, take your pliers and clamp it down. Now attach your chosen beads to the wire until you reach the end where the chain is. After this, cut out three pieces of wire and attach them together in a slight v shape. After this, apply beads to them, then tie t...
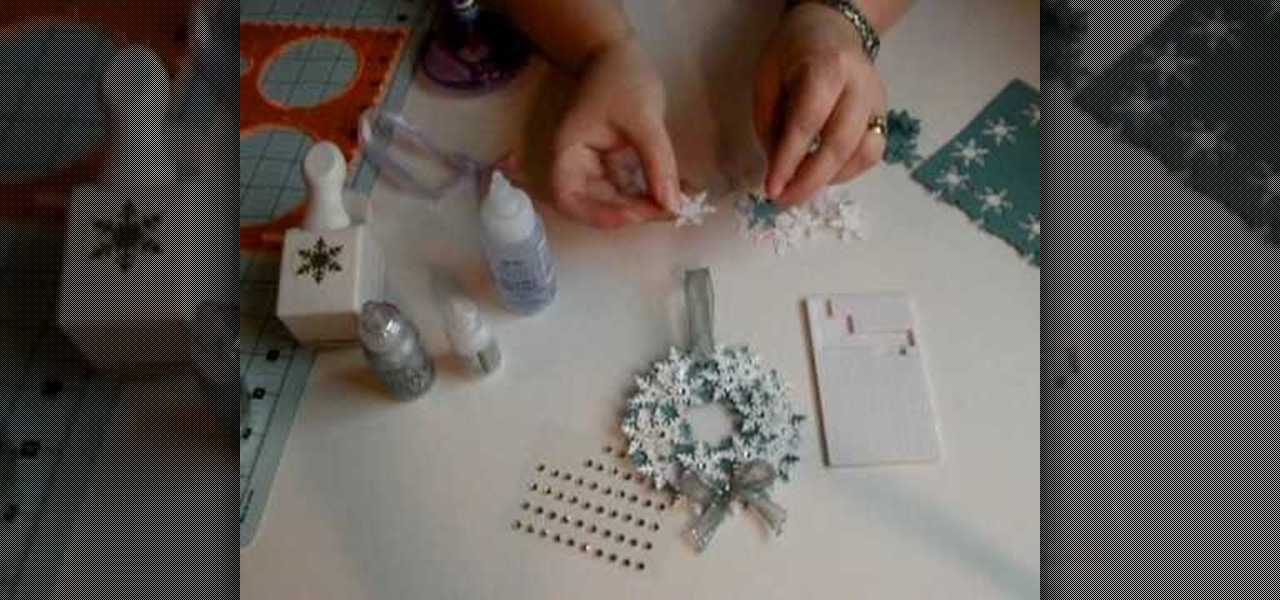
In order to make a snowflake wreath ornament, you will need the following: a snowflake punch, adhesive, foam, rhinestones, card stock, a hole punch, a circle cutter, scraps of paper, and ribbon.
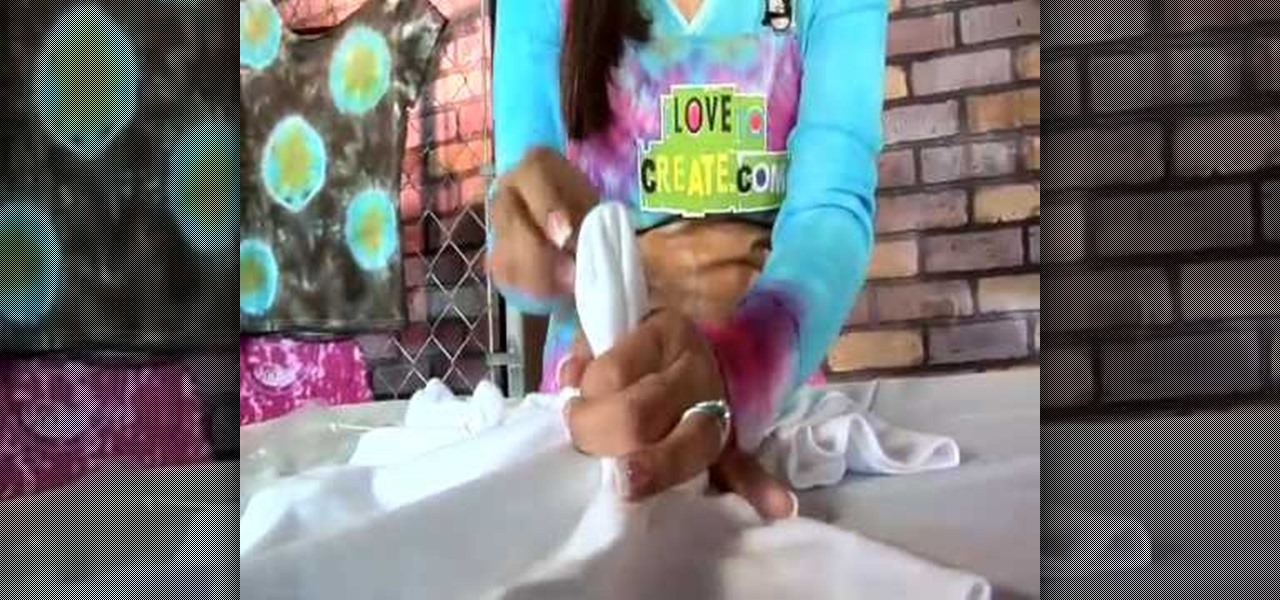
Risa from Makeup by Risa makes an altered t-shirt for summer. She recommends starting with a t-shirt that fits, but is not too loose. Line up the seams on the bottom of the t-shirt and the sleeves so there is a line straight down the back. Cut a strip off the bottom of the t-shirt, just above the seam. Then cut strips that are one half inch about three quarters of the way through the back of the t-shirt. Start cutting the strips from the bottom to the top. Determine where to stop cutting the ...
This video demonstrates how to make a funky yarn pom pom. Take a yarn of your choice that matches your scarf. Take one end of the string and start winding it not too tightly around your fingers. Leave back enough string for the pom pom for the other end. Cut the string using a pair of scissors and set it aside taking care not to mess the ball. Cut another piece of string with appropriate length that goes around the ball of string kept aside. Place the cut string over the table and place the b...
In order to decorate your presents during the holiday season, this quick tutorial will show you how to make a beautiful gift bow. Using a somewhat thick ribbon, determine the size of your bow and wind it around itself about 8-12 times, the more winds, the thicker your bow will be. Squeeze the loops of the ribbon together, making the ends overlap on the inside and fold it over. Then make two cuts on a diagonal through the center, making sure that you do not cut through. Unfold the loop and tie...