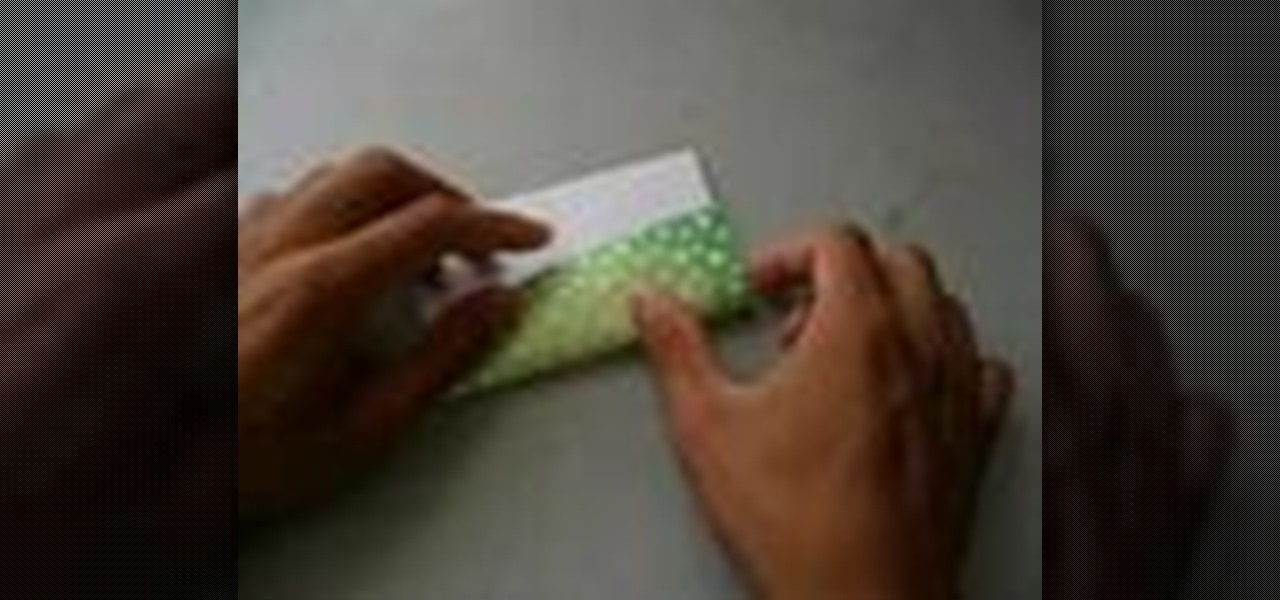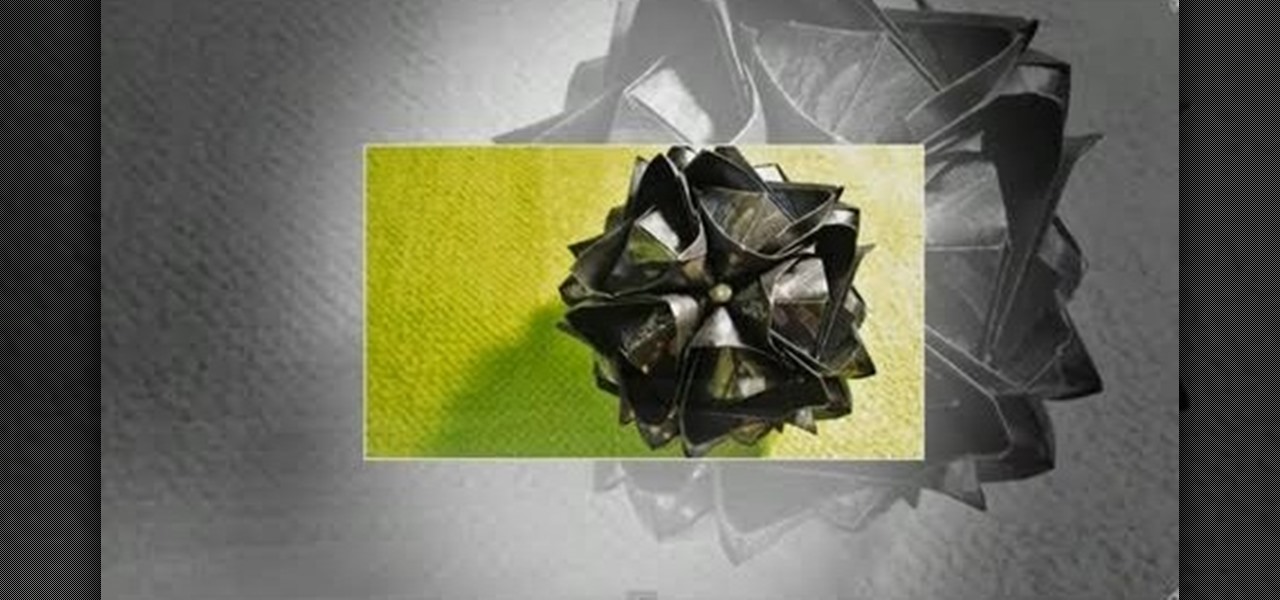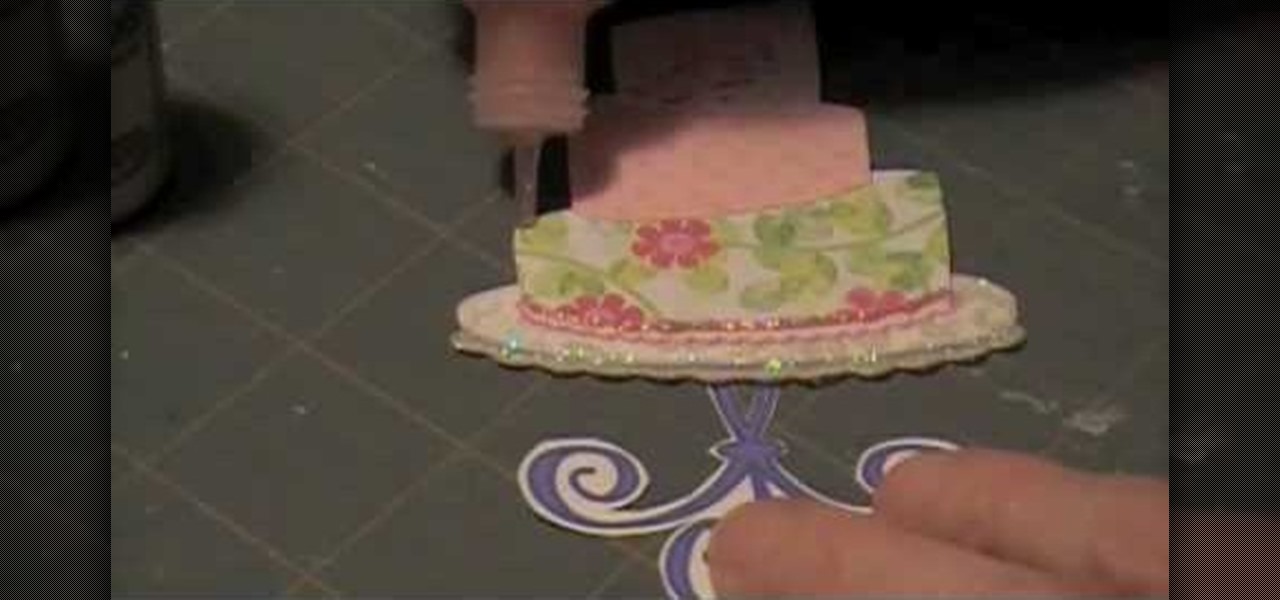
In this video, we learn how to make a triangular Japanese box for paper clips. You will need: 3 square pieces of paper and 1 glue stick. First, fold the square into a smaller square by making three triangles. Open up into a large triangle and fold the top down, then make a crease and open back up. Do this for all the pieces of paper, then apply the glue stick to the inside of one corner of the first square. After this, stick the next piece of paper onto this, then fold the bottom paper over t...
In this tutorial, we learn how to make mini paper square boxes. First, grab a piece of paper and fold two ends in so they touch in the middle. After this, fold the bottom up so it covers the triangles and they meet at the middle. Crease the edges, then cut down the edges on both sides where the crease is. Next, fold the sides in so you have a shape that looks like a sword. After this, fold the sides up, then fold the other sides in. When finished, push the creases in and you will form a box, ...
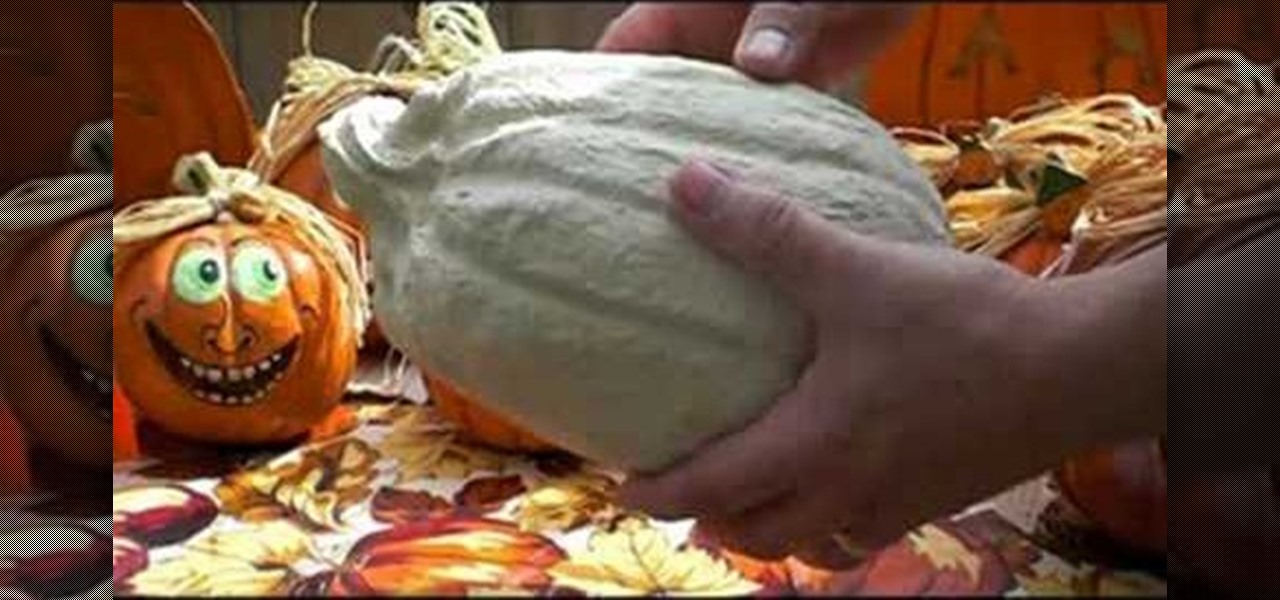
In this tutorial, we learn how to make paper mache Halloween pumpkins. You can purchase the pumpkin already made in the correct shape. When you are read to paint it, use orange pain and then a darker color in the creases to make it look realistic. You may need to smooth the pumpkin out before you paint, to make it easier to paint. Let the paint dry when finished, then add a gloss on. You can also paint on faces and different designs if you want to spice things up. You don't have to paint them...

In this tutorial, we learn how to make a paper cigarette from a cigarette foil. First, fold a piece of foil length wise, then flatten out the creases. After this, unfold the paper and tear it in half. Now, fold half of it in half again to make the stem of the flower and twist the top. Use the other half of the foil to make blossoms and flower petals. When you are finished shaping these, attach to the stem of the flower and shape more to make the flower look more realistic. Attach more leaves ...
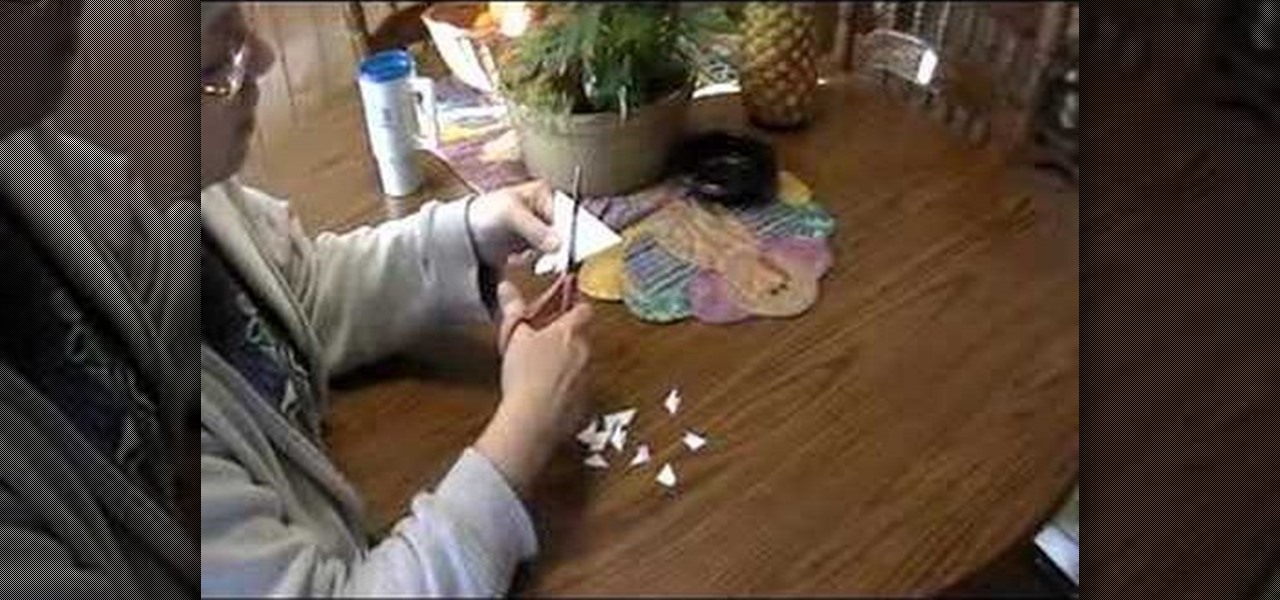
In this tutorial, we learn how to fold a Christmas tree. First, start with a square paper and fold it in half, then open it and fold it corner to corner. Open the paper again, the turn it over and fold it side to side. Open it once more and fold again side to side. The paper will not automatically fall into the shaped creases and you will have four flaps. Take your finger inside and flatten all the flaps. You should have four flaps on each side and then you can cut the bottom to form a trunk ...

This video demonstrates how to draw a detailed half face portrait of a person by drawing the eye and hair. Begin by drawing the outline of the eye, adding detail such as the inner fold of the eye where the tear ducts are as well as creases above the eye. Draw the pupil of the eye, adding highlights to the center. Then, continue by drawing highlights and further shading details to the rest of the eye, including eyelashes and then the eyebrow. Continue by drawing the outline of the face near th...

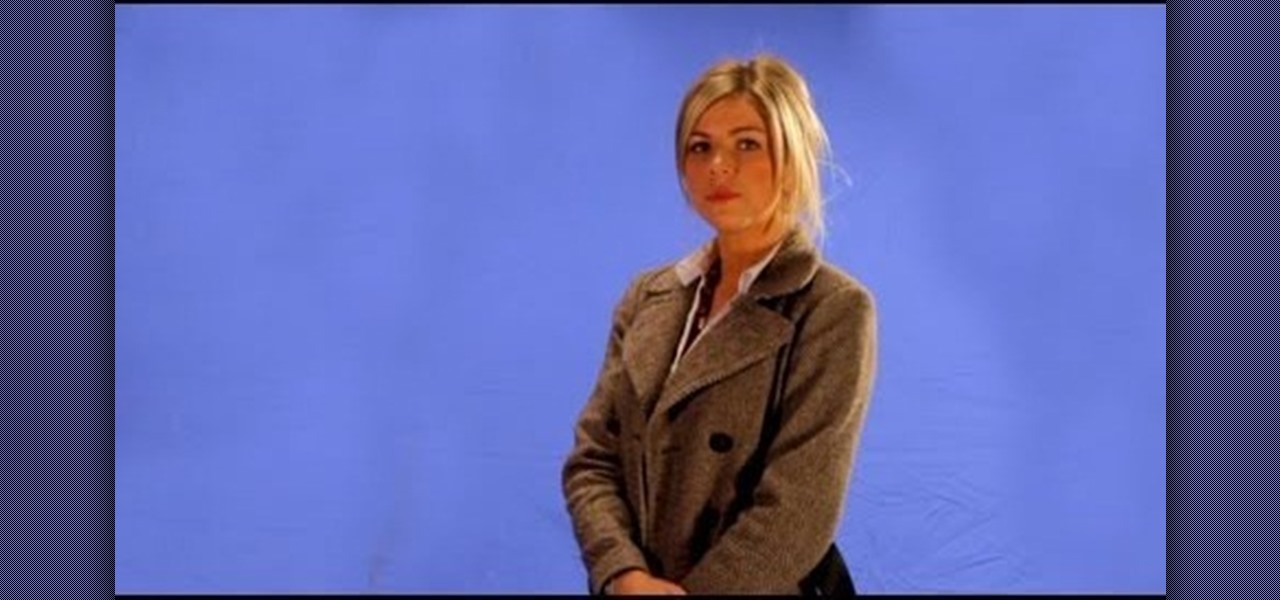
You will see a great way to light and set up a blue/green screen for your next video. There are a lot of tips that will come in handy if you want to film on a blue/green screen and don't want to pay outrageous fees to do so. The key in setting up is to block out all outside sources of light so you have just the desired amount of lighting coming just from your own sources and also setting up the screen and stretching it out as tight as possible so you won't see any creases or snags in the mate...

This video describes how to make a fancy-looking stationery card set holder. First, take a card and cut it down to 10*6.5 dimensions. On the 6.5 inch sides, score 1" each. On the 10 inch sides, score 1", 7" and 8". Using a pair of scissors, cut flaps on the 10" side on the scores upto 1". After cutting these slits, you can do any designs on the card in order to make the holder look beautiful. Now fold the card along all the scores to make creases. Now, using glue, stick the flaps together. Fo...

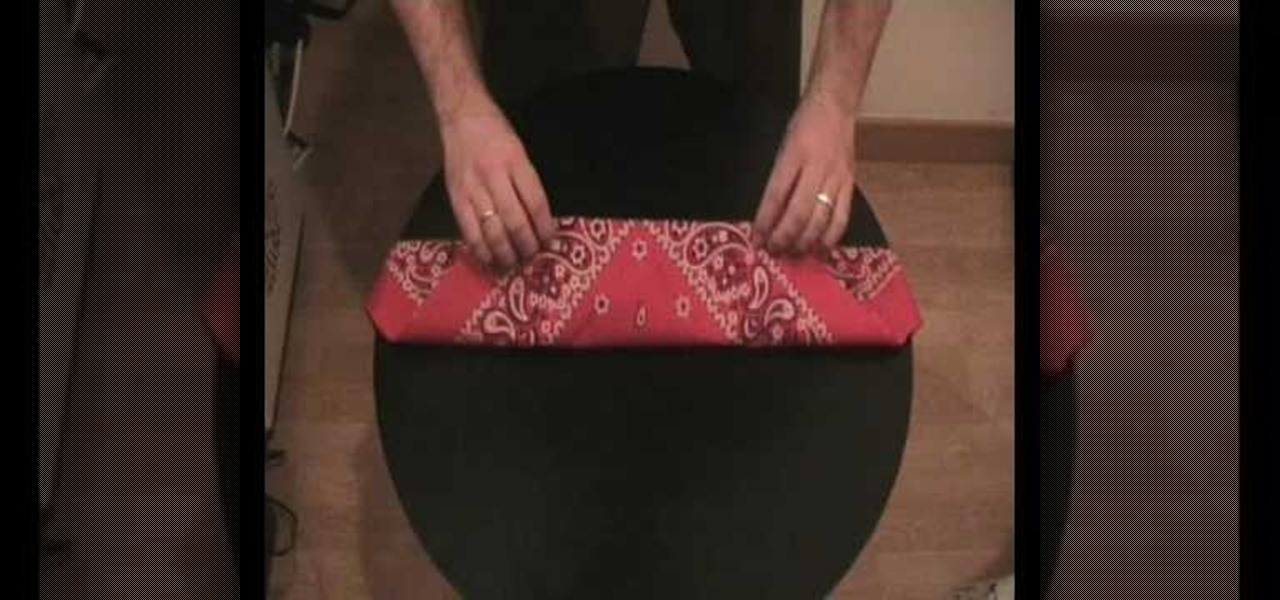
In this tutorial, we learn the proper way to fold a bandana. This is a traditional way, not a rapper or gangster style. First, lay the bandana flat and make sure there are no creases in it. Next, fold the bandana into one big triangle. After you've done this, fold the top point down and keep folding down until you've made a large and thin rectangle. Now, flip it over and you can tie the bandana around your head. Tie it in the back of your head and place it across your forehead, now you've got...

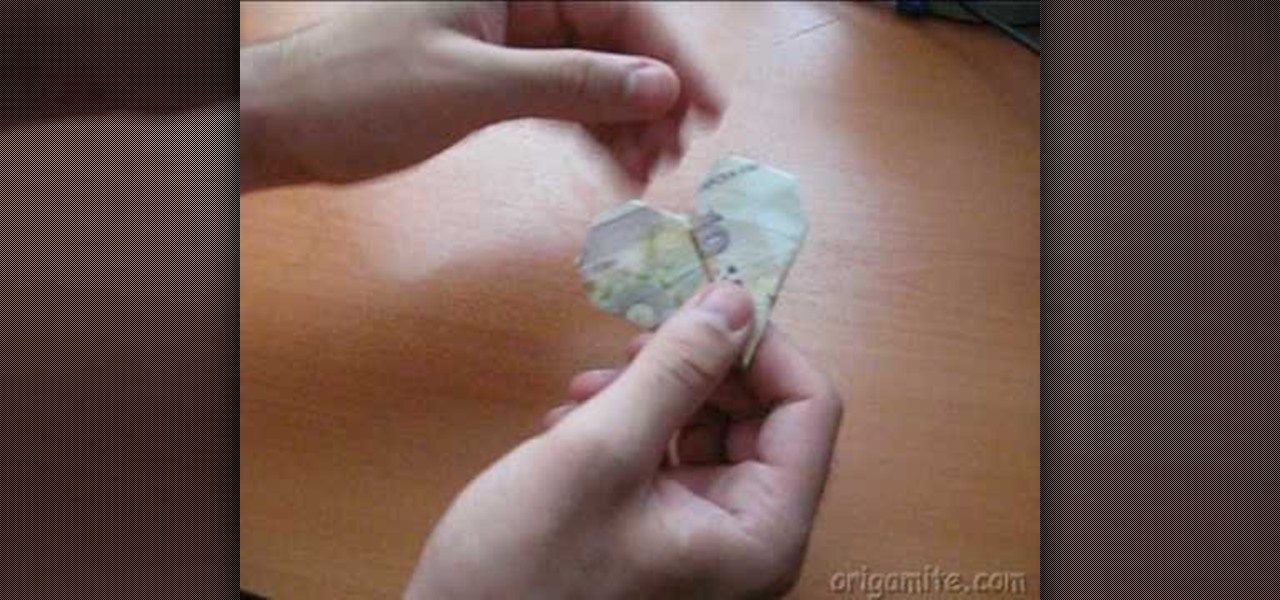
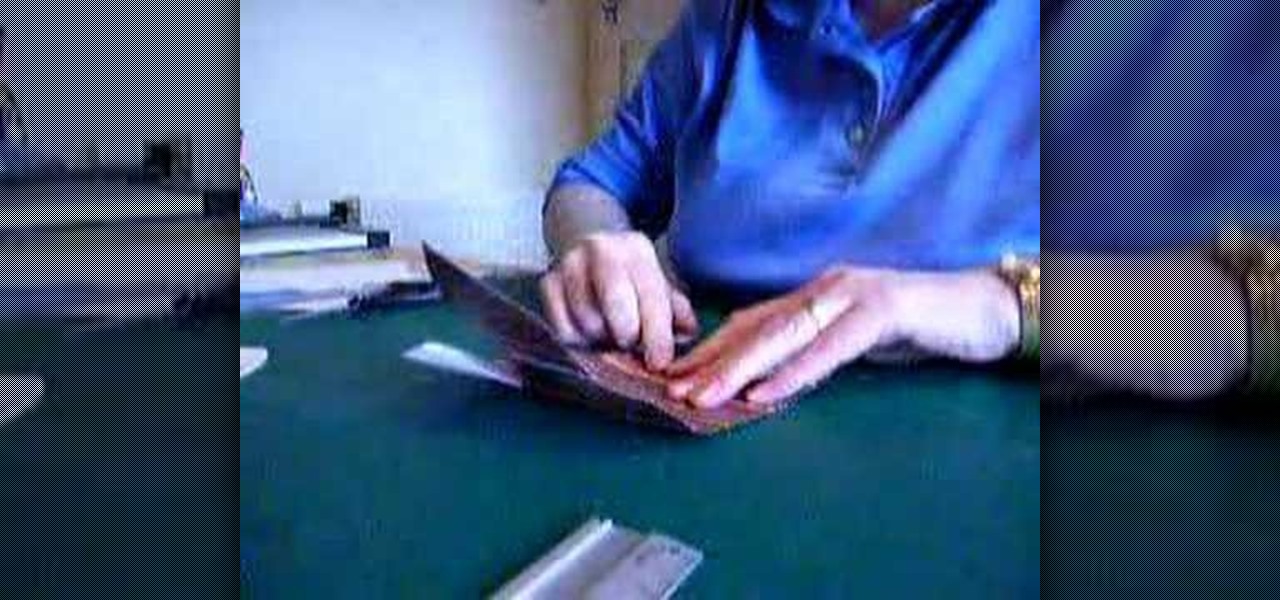
We learn an easy and fun way to make an origami heart out of a dollar bill. No supplies needed. Just the dollar bill and two capable hands. First fold up the bottom of the bill. Then fold it in half. Fold both sides into triangles bringing them to the middle. Turn over in. Fold in inside corners. Then the outside corners, rounding into a heart. Make sure the creases on the sides are well done. Flatten the paper out with palm to make it completely flat. And there in your hands you have a paper...

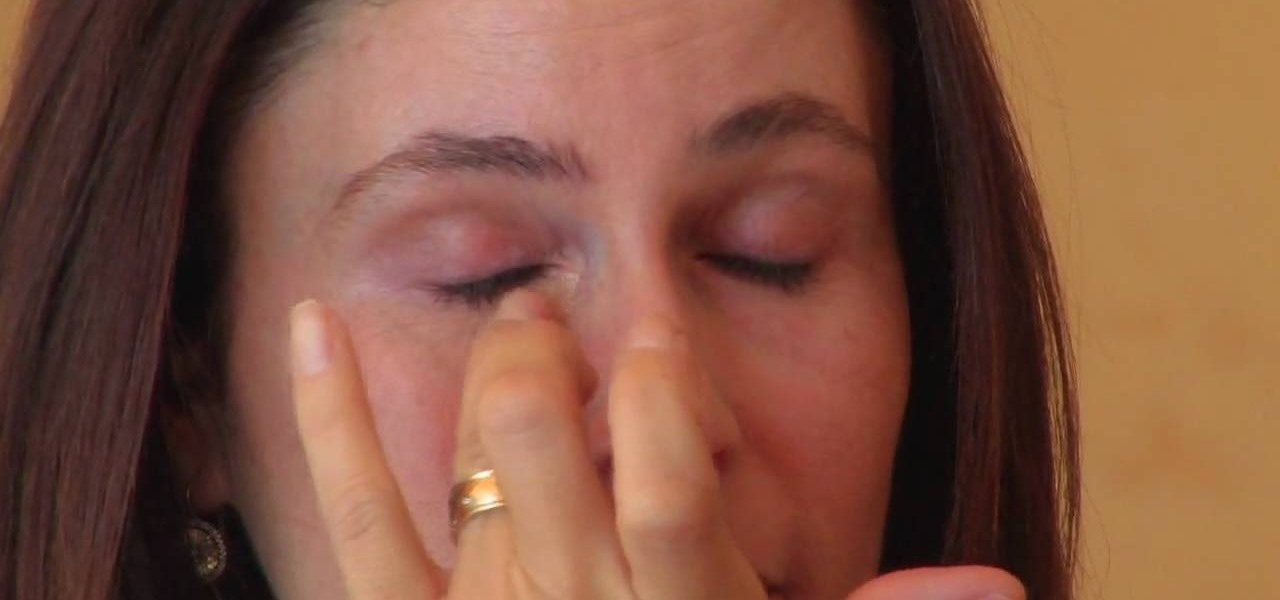
Modernmom shows viewers how to cover up those annoying dark circles under our eyes. First she takes concealer and applies it where its darkest under the eye and blends outward towards where it gets lighter (From inner corner of eye to outer) using her ring finger to blend it in. She then recommends not to put a powder over the concealer because powder can get into the creases under the eyes, especially if your in a hurry applying it. The key point in this video is blending, its really importa...

This video shows how to make a bay girl and boy head made of clay. The first thing you need to do is get a small round ball of clay that is a skin color color. Then you get the small black beads and place it firmly on the ball they will act as the eyes. Then make the eye creases on the side of both eyes. After that you add the other physical features like nose, mouth, ears, and eyebrows. The last thing you do is fold two square pieces of clay into the shape of a bow then place it on the top o...

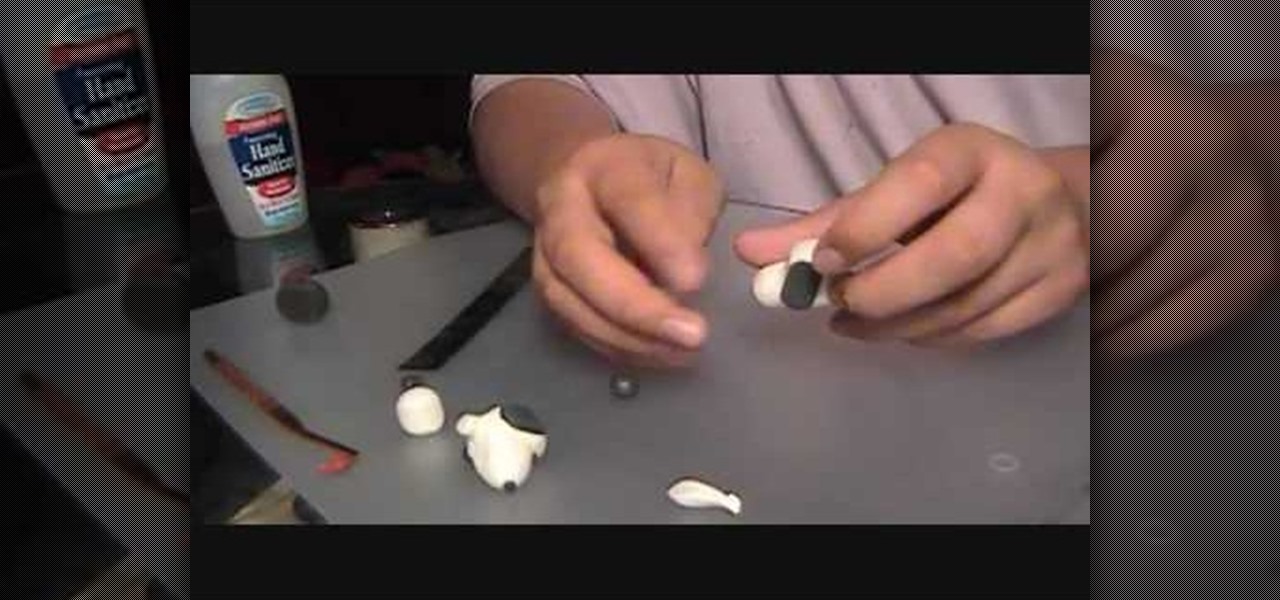
This video describes how to make a snoopy head from a type of polymer clay. You will need both black and white polymer clay, a blending tool and a ruler. It begins with the main part of the head and moves onto creating the correct structure using a blending tool. It advises using your thumbs to smooth away the creases and cracks from the surface of the snoopy head. After the main part of the face is made, it describes how to create the eyes and ears using the black clay. The eyes and ears are...

The top flaps on the cereal box should already be open. Then you must open the flaps on the bottom of the cereal box (the side parallel to the opening) and flatten it. Now use the creases made by the corners of the box and fold them inward; it should be flat again. Fold it length wise thus leaving a little rectangle of the flattened box that is not overlapped by the other half of the flattened box. Tax this tab and insert it into the opening in the adjacent half of the cereal box. Your cereal...

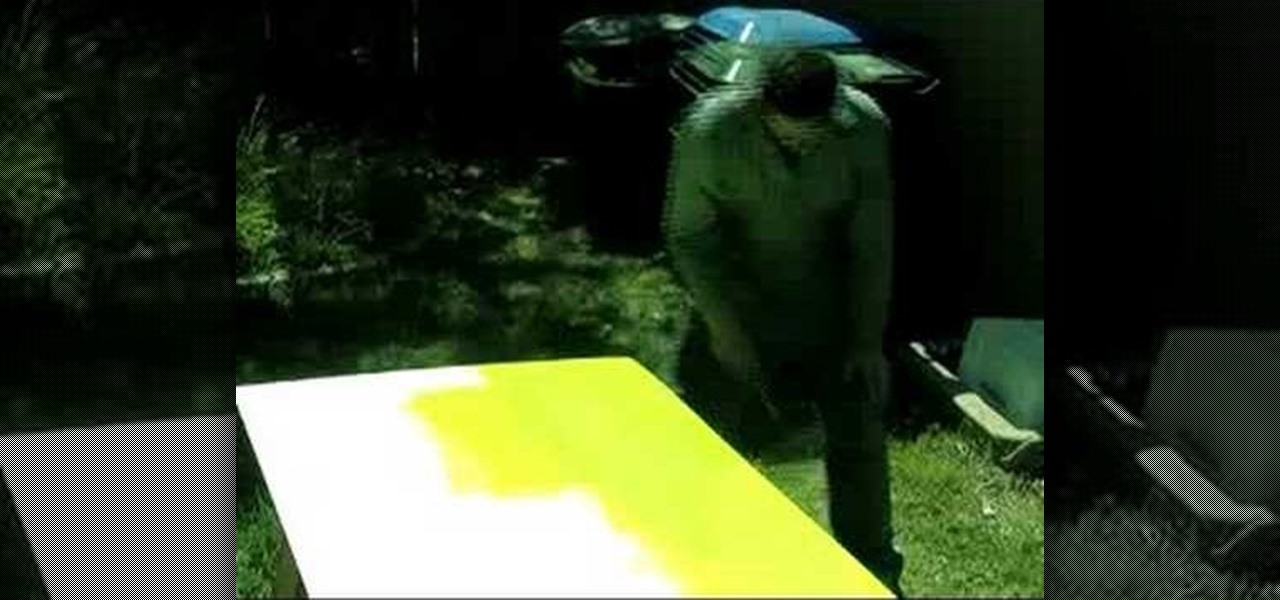
This video tutorial show you how to make your own functional green screen to create special effects. If you try to isolate a subject on a film with a dynamic background there is a good chance to loose parts of the subjects during the process. By using a monochromatic background this can be prevented. For this you'll need large foam boards, bright green paint and a roller made for smooth surfaces. Spray painting doesn't work and results in a blotchy finish. Paint the boards evenly with the gre...

Are you tired of your bed sheets looking like a crumpled mess? How does something this simple turn into something so difficult to achieve properly? Learn how to fold your bed linens neatly and without unsightly creases. The easy to understand video will turn you into a household ace! It will show you secrets to the easiest and most painless ways to keep your bed linens neat, folded, and organized, without tearing your hair out! Learn how to tame the largest sheets with ease. You’ll always hav...

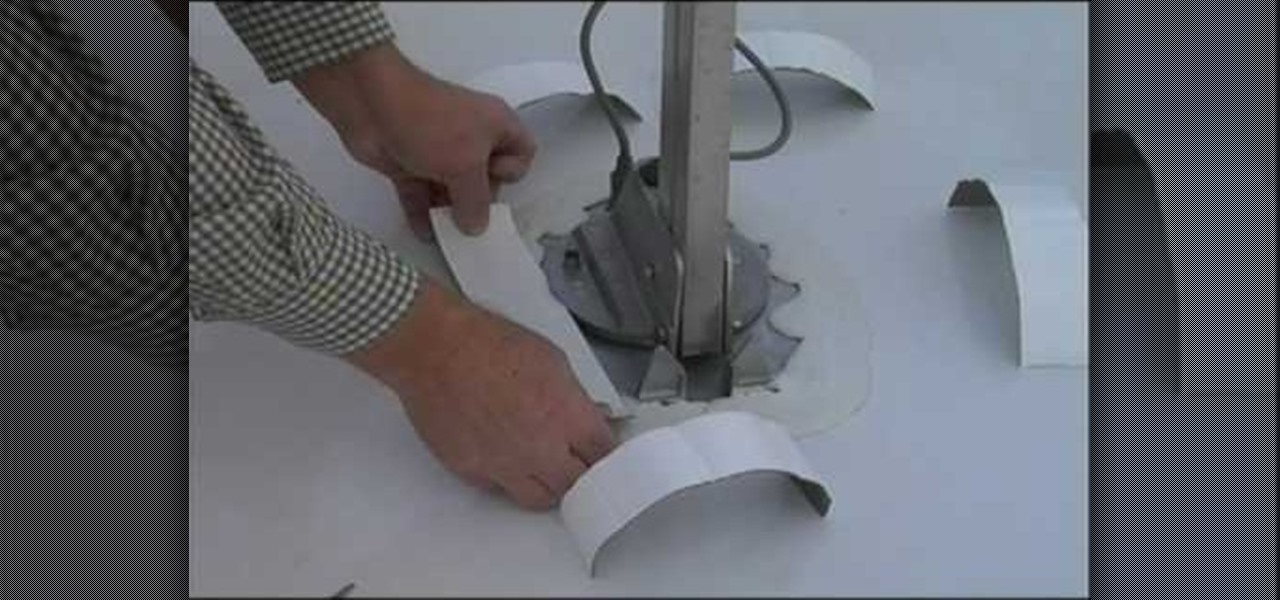
In this how-to video, you will learn how to seal a leaky RB roof with EternaBond tape. First, you must have EternaClean to remove any old dirt or grime around the roof. Spray it and remove with a piece of cloth. Cut the tape into the sizes you may require. Lay them out and prepare the surface using EternaPrime. Place the EternaBond tape where you want it, as it will not come off once placed. Rub bubbles or creases out. Wider tape may be considered for bigger jobs. By viewing this video, you w...

This video shows the method to make a good looking paper flower. The basic thing needed for performing this task is a rectangular sheet of paper. The paper is first folded to make a square piece of paper. The rectangular piece left is then cut out. This rectangular piece is folded across its length to make the stick for holding the flower. The square piece of paper is folded across its diagonals and its sides so that various creases are formed on it. Then a series of folds are made on the squ...

Here is a cool trick that you can use to impress your friends with next time. This video is going to teach you how to give your dollar bill a smile or a frown.

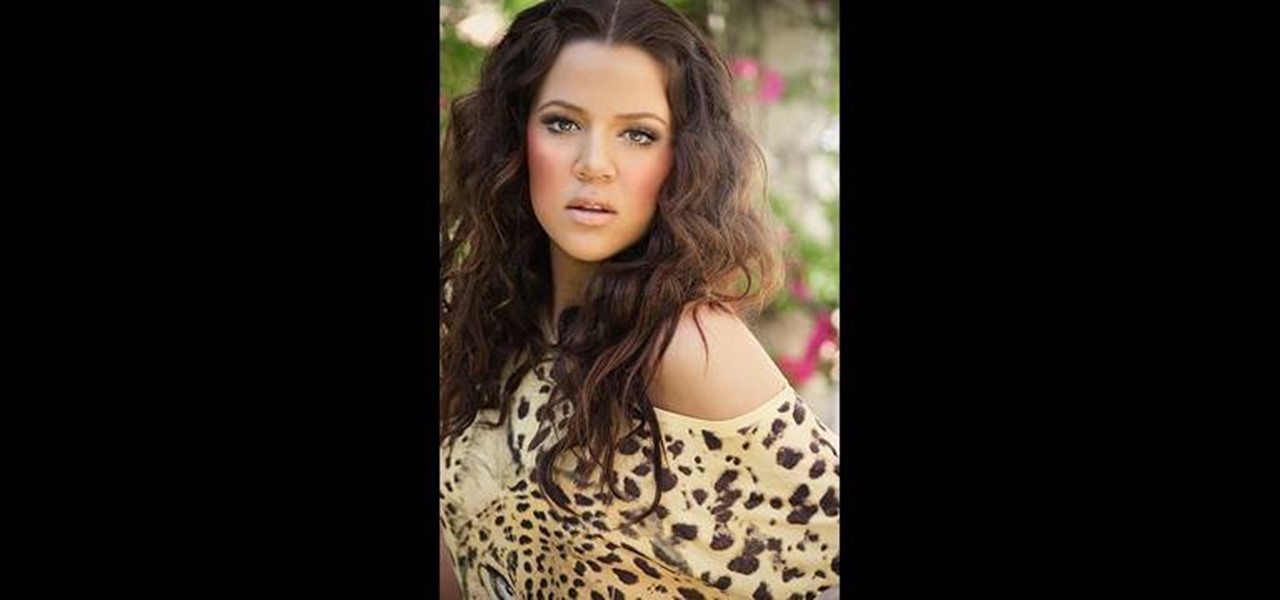
Beechbum06 shows how you can create a Khloe Kardashian makeup look. Use the colors you have and achieve this look inspired by Khloe's photo shoot. A Coastal Cents palette is used. Build your colors in neutral tones. Blend some browns in the creases. Apply some dark shades to your outer corners for some depth. Add some blush, mascara, and lipstick to complete the look. You too can be photo-ready in minutes. Remember to blend so you look flawless.

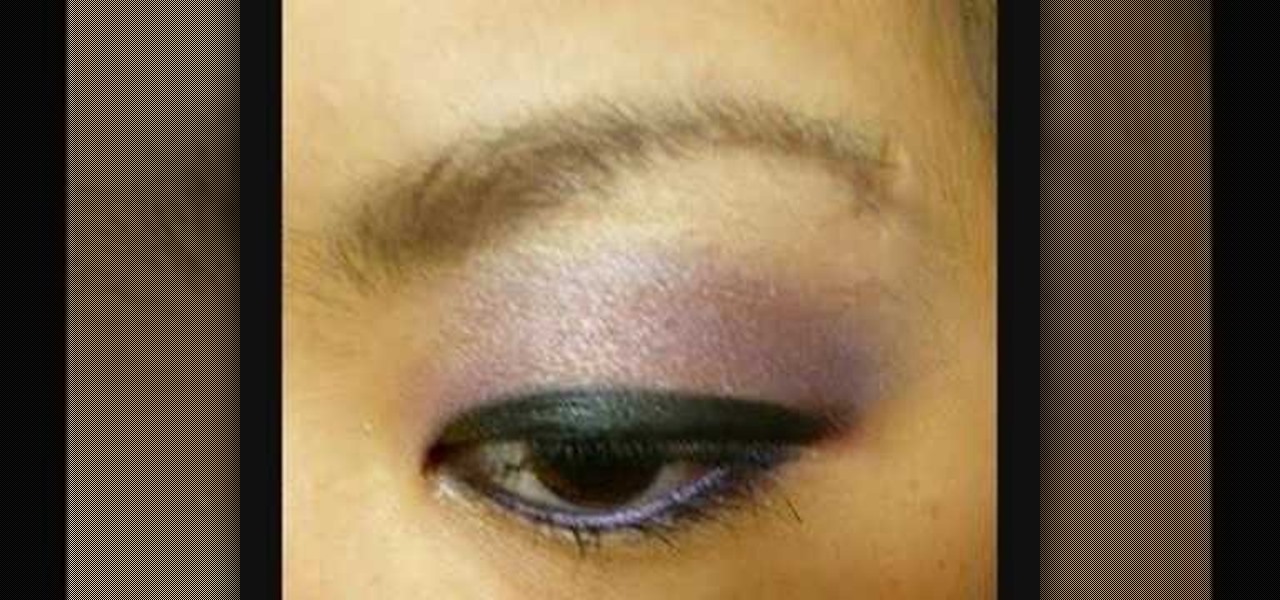
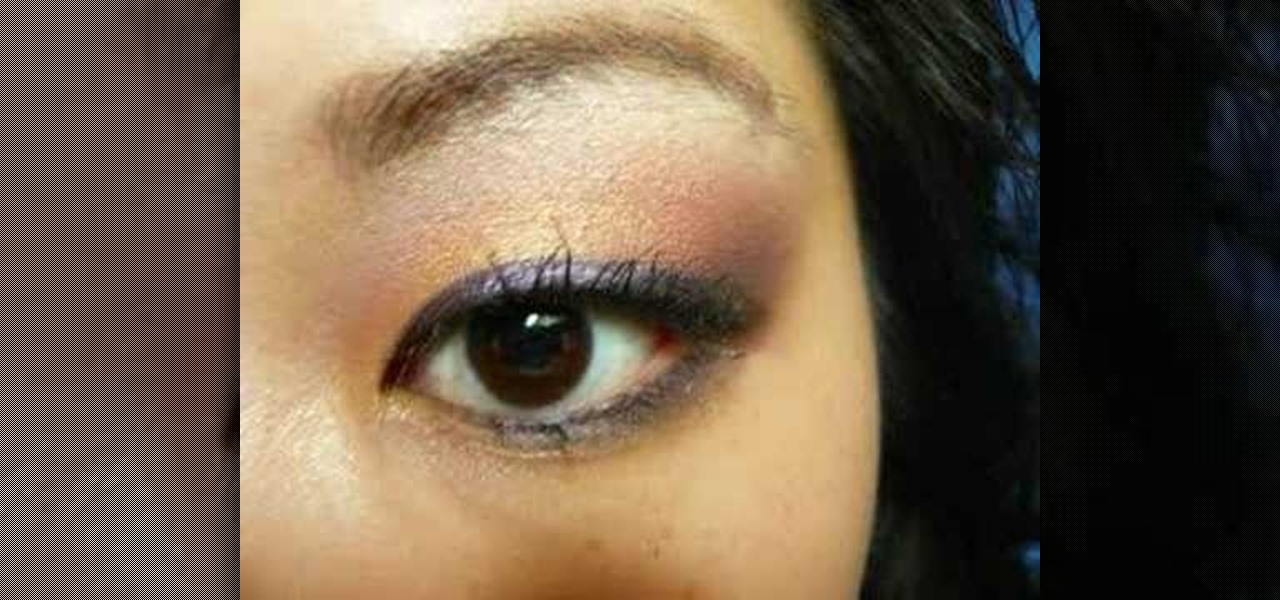
This makeup how-to video demonstrates a pretty soft purple eye look, designed to define and emphasize the natural shape of Asian eyes, that typically don't have a crease. The cosmetics used to create this look are MAC Shadestick in Overcast, NYX Purple, NYX Deep Purple, NYX Baby Pink, NYX Golden, Black eyeliner, Shiseido Lasting Lift Mascara, L'oreal Color Rich lipstick in Amber, MAC C25 Studio Fix Powder, and MAC Sheertones Pinch Me Blush. Watch this video makeup application tutorial and lea...

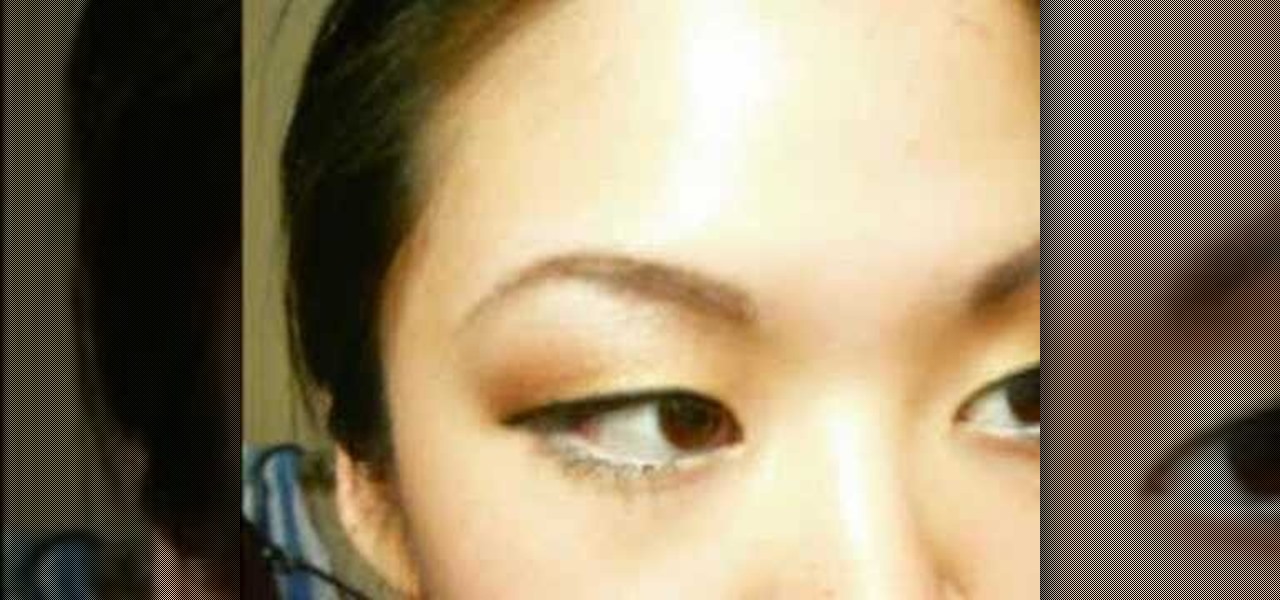
This makeup how-to video demonstrates a great neutral, bronze-y, shimmery eye makeup look, designed specifically for Asian monolid eyes, or eyes without a defined crease. The cosmetic products used to create this look are MAC Bare Study Paint Pot, MAC Soba Eyeshadow (MAC 224 Brush), MAC Antiqued Eyeshadow (MAC 224 Brush), MAC Dazzelight Eyeshadow (MAC 217 Brush), MAC Goldmine Eyeshadow (MAC 217 Brush), White eyeliner pencil, MAC Blacktrack Fluidline, Maybelline Define-a-Lash on lower lashes, ...

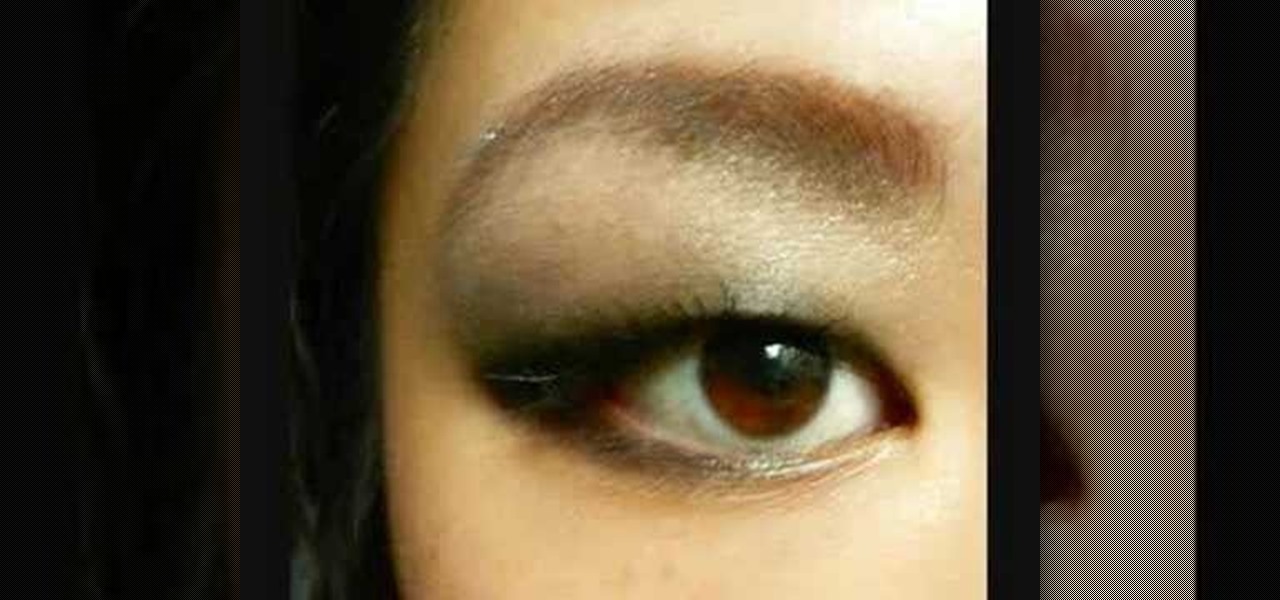
This makeup how-to video tweaks the smoky grey look oft seen on the likes of Kim Kardashian into something that suits Asian and monolid eyes. The cosmetic products used to create this look are a black pencil eyeliner, dark grey eyeshadow, light silver eyeshadow, ivory eyeshadow, black eyeshadow, mascara, ELF lip gloss in Baby lips, MAC Studio Fix powder in NC25, and Milani Bronzer. Watch this video makeup application tutorial and learn how to create a Kim Kardashian inspired smoky grey eye ma...

This makeup how-to video shows a pretty and feminine eye look, with Asian eyes, monolids, or any eye with small or no eye creases, in mind. The cosmetic products used to create this look are MAC Bare Study Paint Pot, MAC Sketch, NYX Prune, MAC Goldmine, Lancome Daylight, HIP cream eyeliner in Eggplant, MAC Beauty Marked, Shiseido Mascara Base, Shu Uemura Fibre Extension, Shiseido Lasting Lift, MAC lip conditioner in Petting Pink, MAC Studio Fix powder in Nc25, and Nars Orgasm Blush. Watch thi...

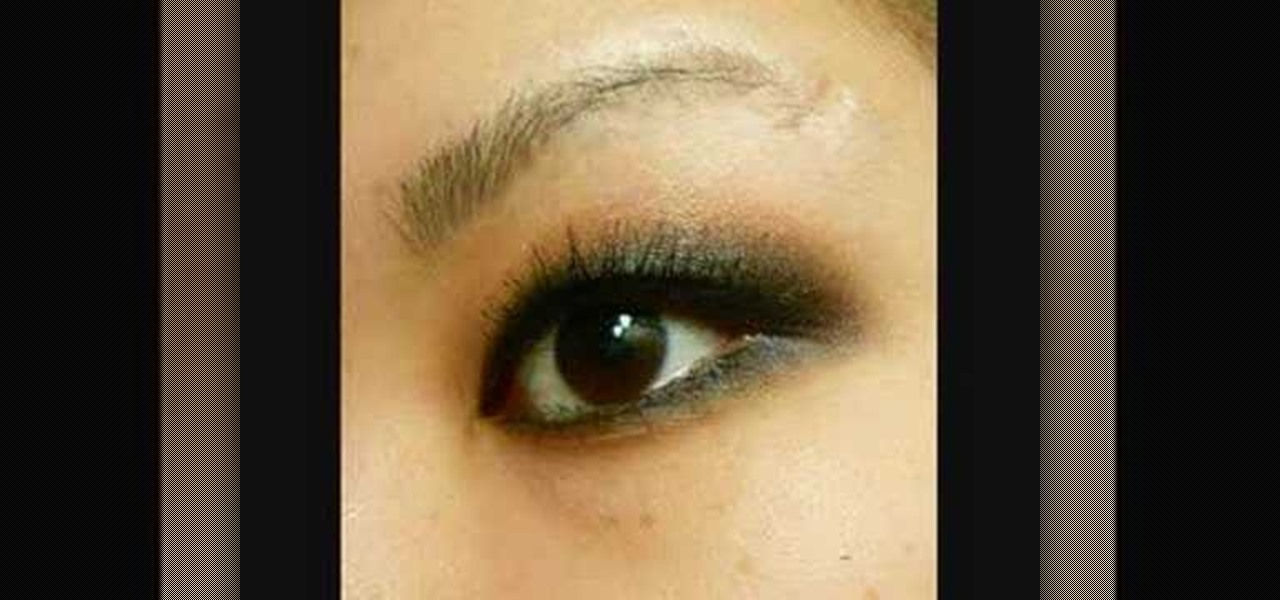
This makeup how-to video shows a fast way to do the classic smoky eye, but designed for Asian monolid eyes, or any eyes with small or undefined creases. The cosmetic products used to create this look are a Black Pencil eyeliner, L'Oreal in Lush Raven (MAC 217), NYX in Latte Foam (MAC 224), Lancome in Daylight, Shiseido Mascara Base, Too Faced Lash Injection, and Maybelline Define a Lash Mascara. Watch this video makeup application tutorial and learn how to apply a quick and easy smoky eye mak...

Don't have much time in the morning? This makeup how-to video demonstrates a 5 minute minimal day look that's designed specifically for Asian eyes with monolids, or undefined creases. The cosmetics used to create this look are MAC Studio Fix NC25, Sephora Blushes from palette, The Makeup Store Eyeliner in Black, Shiseido Lasting Lift Mascara, and MAC Impassioned Lipstick. Watch this video makeup application tutorial and learn how to do a quick, daily makeup look for Asian monolid eyes.

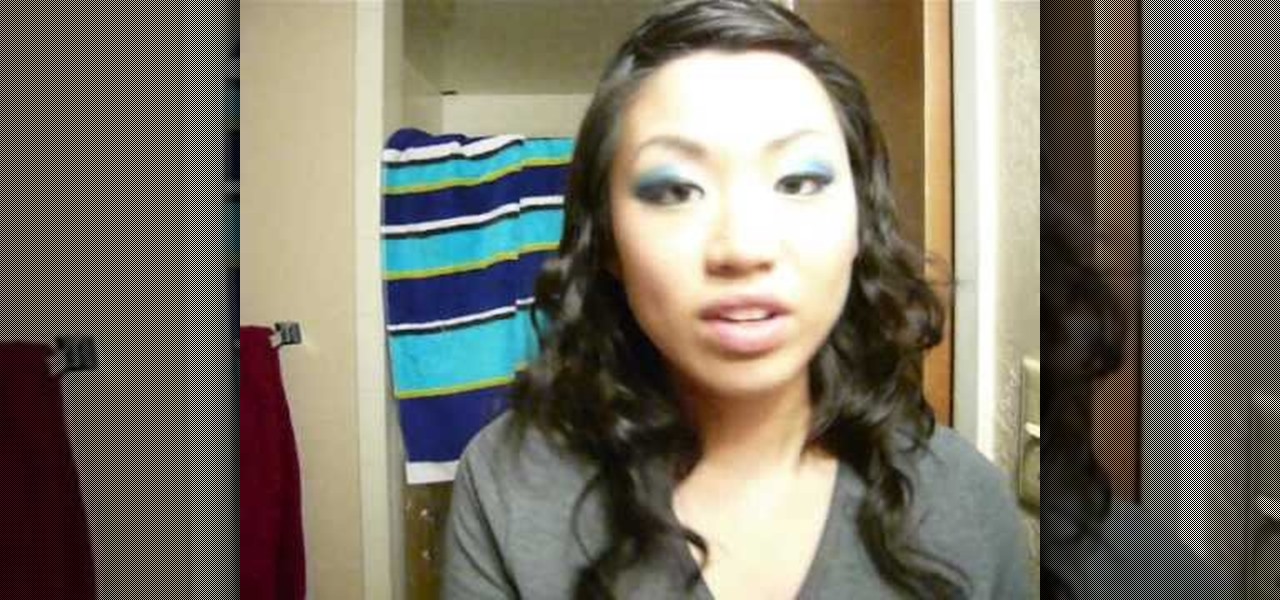
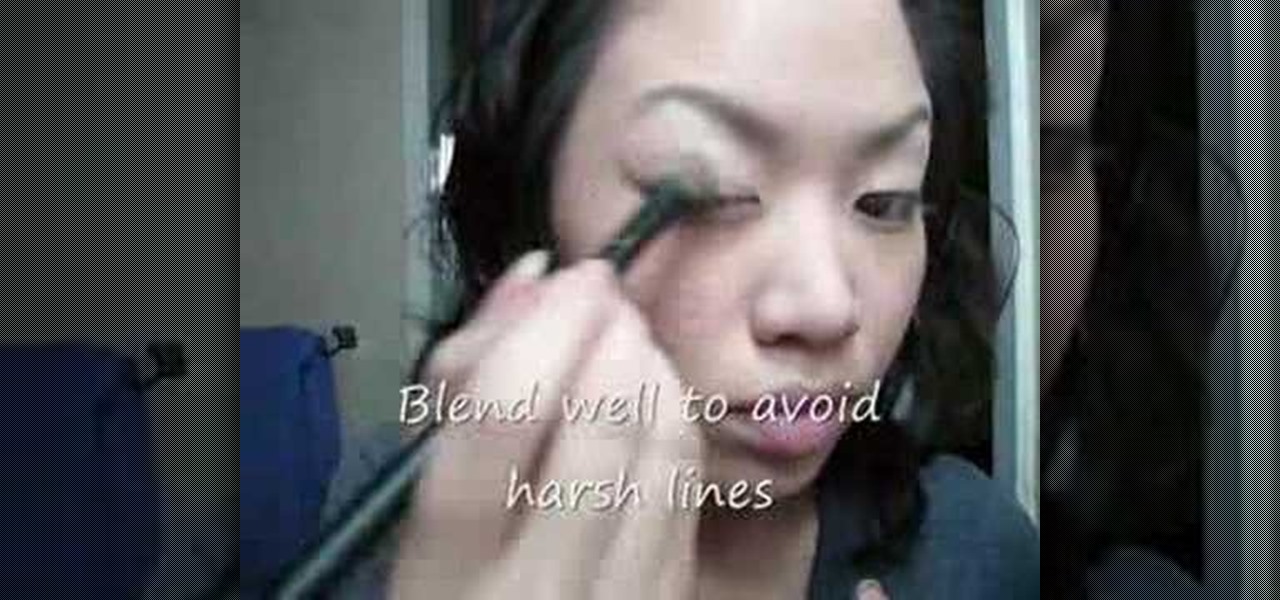
The bright blue eye makeup look demonstrated in this how-to video is really eye-catching, and a great way to enhance the shape and beauty of Asian monolid eyes as it helps define a small crease or fake one entirely. The cosmetics used to apply this look are Urban Decay Primer Potion, MAC Blacktrack Fluidline, MAC Bare Study paint pot, MAC parrot, MAC Freshwater, Hard Candy Delusional #1, The Body Shop Liquid Eyeliner in Black, Shiseido Lifting Mascara, MAC Impassioned, Victorias Secret Lip Gl...

This makeup how-to video shows a fast and simple way to achieve a flawless, luminous complexion and bright eyes! The tips are specifically geared toward Asian girls with monolids or eyes with small creases. The cosmetics used to create this look are Smashbox Photo Finish Primer, The Body Shop Glow Enhancer #1, Sephora Concealer Palette Kit, Maybelline Matte Mousse Foundation in Nude, The Make Up Store Duo Creme Blush in Shine, UDPP, Hard Candy in Fringe #4, Hard Candy in Suede #4, Lancome Tre...

For all the lovely ladies who are starting to be more adventurous with colors, here's a way to go. Start with gorgeous neutral tones in deeper bronze colors to make your eyes pop! The look designed in this makeup how-to video was specifically created with Asian eyes in mind, to enhance the shape and natural beauty of monolids or eyes with small creases. The cosmetics used to create this look are Smashbox Photo Finish Primer, MAC Studio Fix Powder in NC25, The Make Up Store Microshadow in Ruby...

This eye makeup how-to video is specially for girls with monolids/small creases who feel like they can't wear bright colors; you totally can and these tips will help you out! Follow this step by step guide, and fake a crease on Asian eyes. Some girls resort to surgery, and tape to try to make their eyes look a certain way. Just a little bit of makeup can create the look of a crease, and play up the natural beauty of Asian eyes. Watch this video makeup application tutorial and learn how to app...

This four part origami series demonstrates how to fold one of the most difficult origami forms, the rose. Make sure to press clean creases as you move through the steps because you will need to employ every fold later on in the paper folding process. The verbal instructions are a helpful addition to the visual origami guidelines. It takes about fifteen minutes to fold this impressive origami rose.

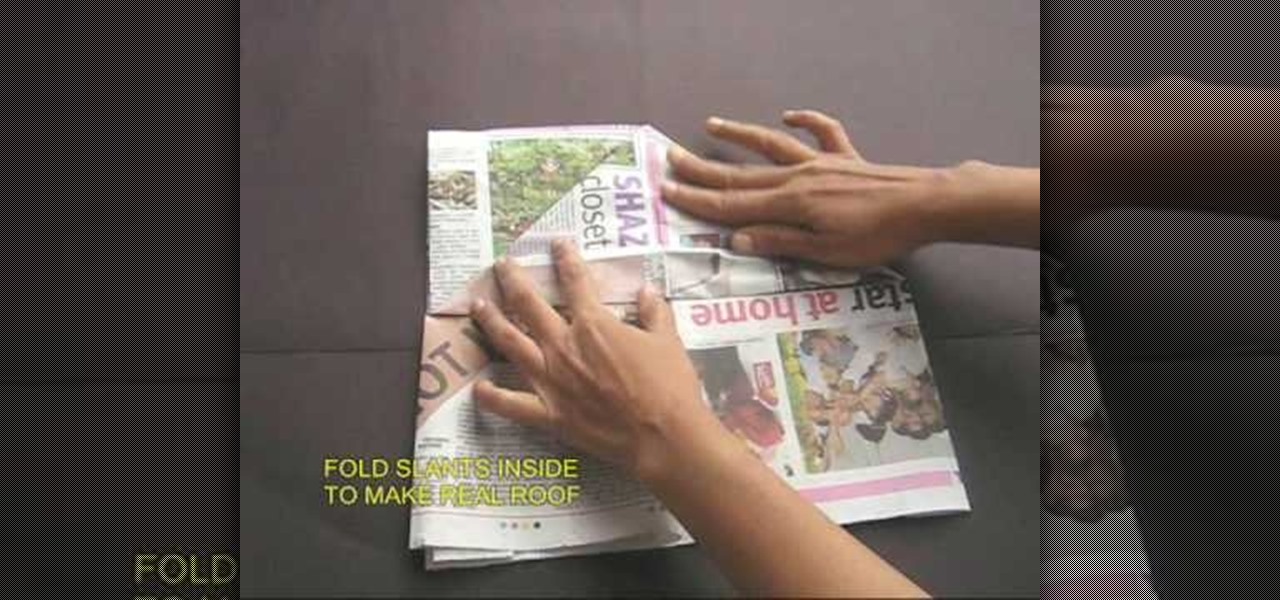
The man on the video explain how to make a cricket cap from just a half sheet of newspaper. You start off with a half sheet of news paper, and fold the sheet in half, and then fold it again into a quarter. Then it shows you to fold down the two tops sides as if you were making a "roof". Then you are to fold the roof to the mid point of the base. You are then told to open the whole sheet of newspaper again, fold in both of the long edges to about 4 cm. You are then to fold the sheet in half wi...

Ever wonder how to get a flawless face? Kandee Johnson shows you how. After cleansing your face or getting out of the shower, use St. Tropez bronzer and then moisturize. After moisturizing, apply foundation using fingertips. Kandee uses Lauren Mercier Moisturizing Foundation in Golden Beige. Make sure to apply to eyelids so you won't see veins or redness. The next step is to use concealer. Kandee uses Lauren Mercier Two - Tone concealer. Use the Lighter color underneath the eyebrow and then a...

Garden of Imagination shows viewers how to make realistic looking bread loaves for a dollhouse. First, you need a beige ball of clay or a color that looks like that of bread. Take your ball of clay and warm it up in your hand. Lay it on your table. With the center of your palm, press the ball of clay down. This will give you a nice bread shape. Now, take a twisted wire and make a tic tac toe board on your bread to act as creased. Use rolled up tin foil to give the bread texture. Now, use chal...

This video tutorial demonstrates how to fold a Bluten Kusudama. For this we have start with an eight by eight cm piece of paper. Fold it into half. Fold the half into another half so as to make the paper into four equal parts. Now fold this into half creating a cube. Now open the paper we can see that there are eight equal parts. Again fold the paper from one corner to the first vertical fold. The first vertical fold will meet the center fold, creating an oblique. Now fold in the same way in ...

Create a photo frame out of an origami paper or any art paper in minutes! 1) Lay the paper down on a flat surface. 2) Fold the paper in half with the shortest ends together. 3) Fold in half again so that you get quarters. 4) Unfold step#3 and with the first fold at the top, fold the top corners down along the center fold. 5) Unfold the corner flaps, open up the original fold and fold the corner flaps inside, now close the original flap. 6) Fold the lower edge up as far as it will go, do the s...

Learn how to make a paper box with the proper technique. -Start with an A4 size paper. -Use folds and a paper cutter to turn it into a square paper. -Fold the square paper in half, make sure the crease is good, then fold in half another time. -Make sure the creases are good and open the paper back to the square shape. -Now fold each corner in towards the middle. -Now take one side and fold it halfway towards the other side. -Now do the same with the other side. -Open the paper back up, so tha...

1) Create a rectangular sheet of paper by folding the left side in, like a book, about 1-inch and remove this excess paper. 2) Fold the rectangle in half, bottom to top like a newspaper, and then unfold and lay flat. Now take the bottom edge and fold it up (again like a newspaper) to meet the center crease that you made with your first fold. Unfold again. You will now have two creases in the bottom half of your paper. 3) Lift the bottom fold (bottom forth of the rectangle) up and line it up w...

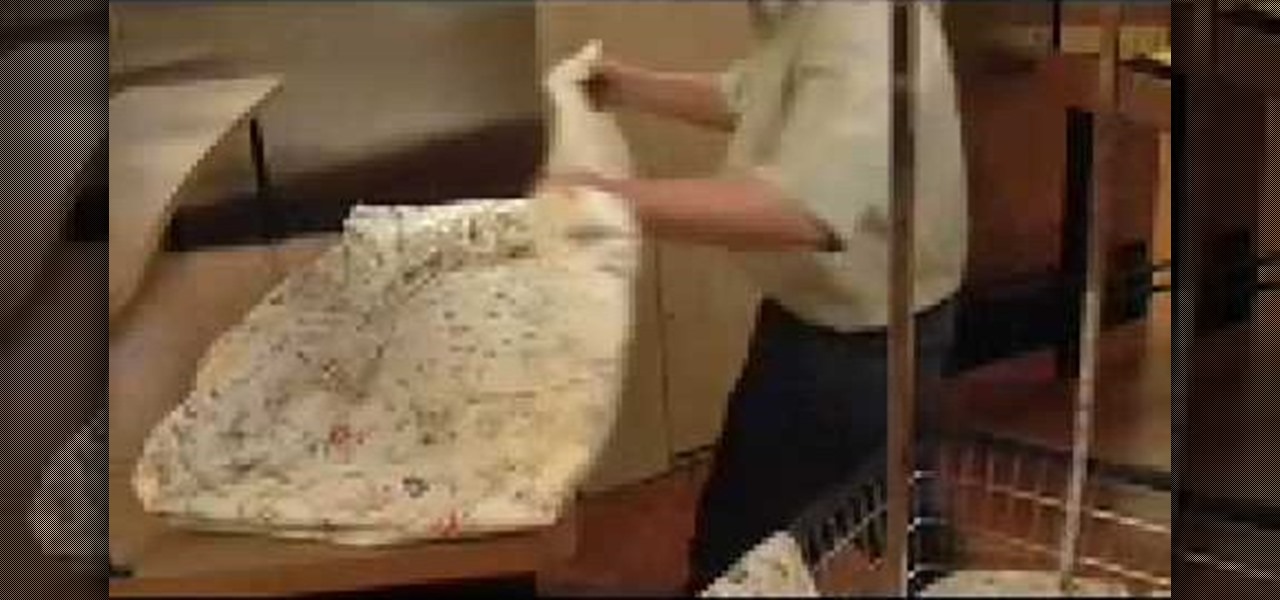
Circular tablecloths look impossible to fold into neat little squares, but with a little practice you'll be doing this with ease. Learn how to fold a round tablecloth with this how to video.

Demons sure are scary but a ‘Cartoon Demon’ does appeal to anyone for sure. Learn how to draw one, by watching this video. Begin the skeletal outline, by tracing an oval shape. Then draw an oval, overlapping the first one horizontally, at the base. Draw two elf like ears, on either sides of the top oval. Draw a small neck from the base of the fist oval and a line beneath it. Join the edges of the line with a deep curve for the body. Draw two curves away from each other, near the base of the b...


