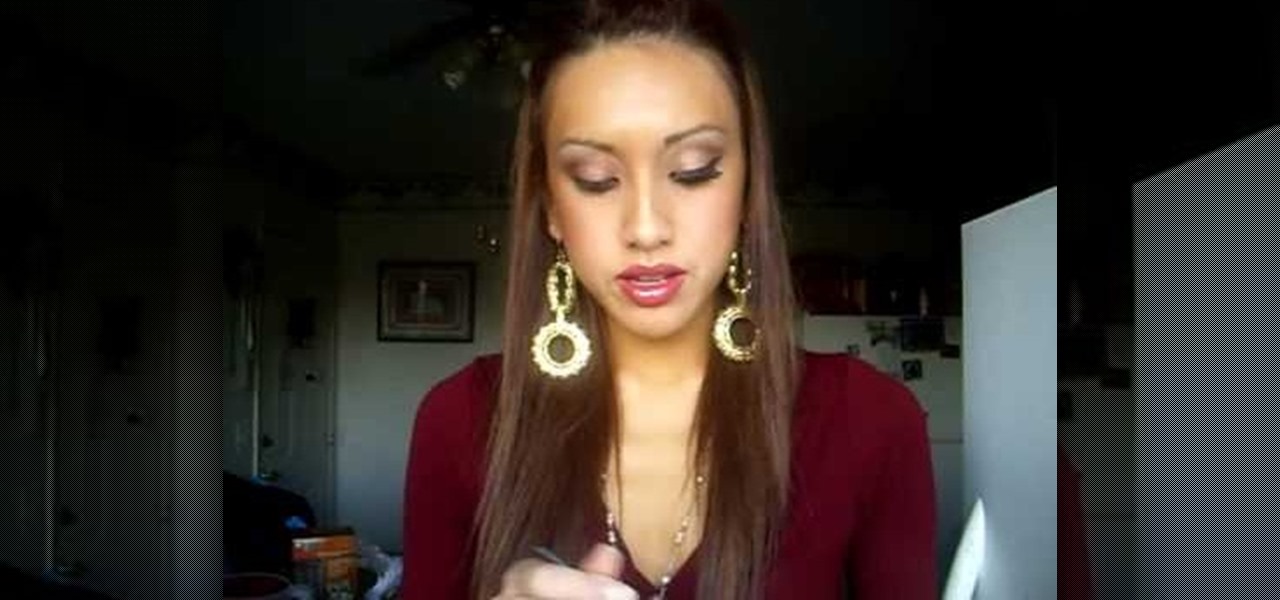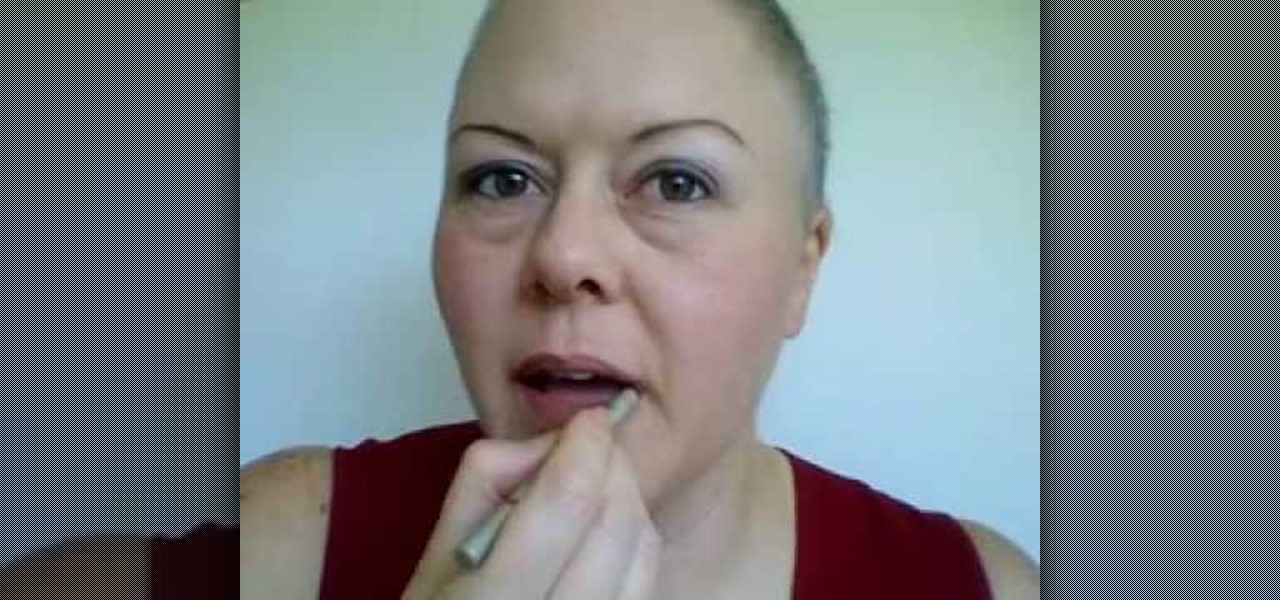
In this tutorial, we learn how to apply subtle makeup and a wig during chemotherapy. First, create eyebrows with a pencil that matches your skin tone. After this, apply a white shadow to your eye and underneath your eyebrow. After you brush this on, you will then apply a smoky color to the creases of the eye and blend it in with the white color. From here, apply black eyeliner on the top and the bottom of the eye. After this, you can put your wig onto your head and then brush it and style it ...
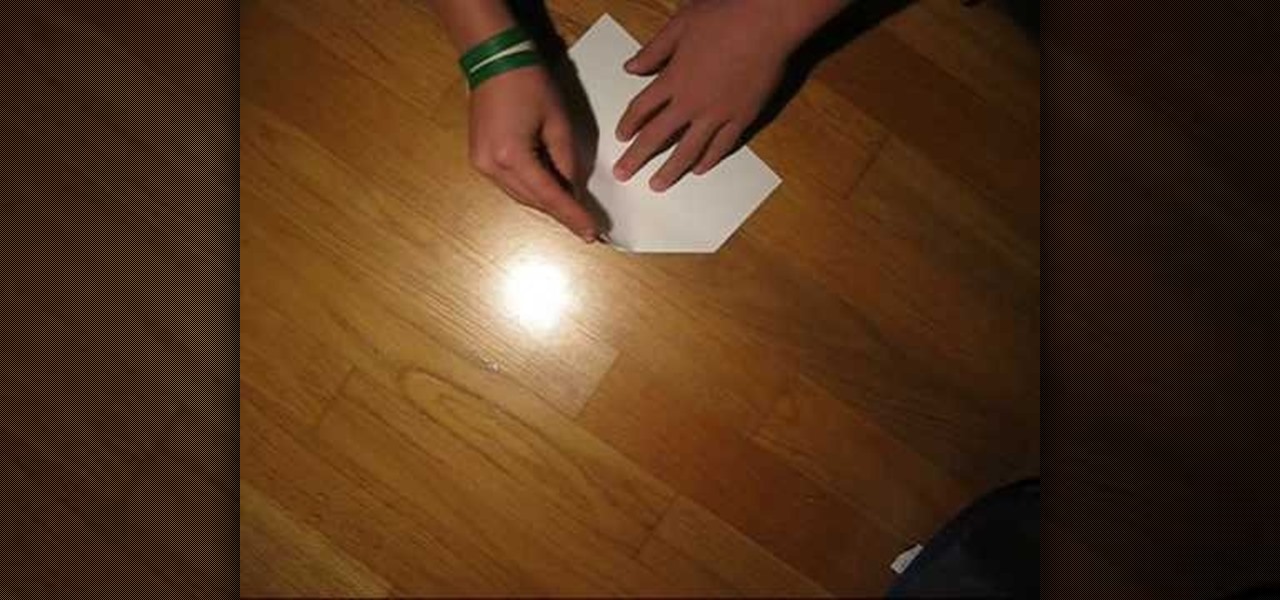
In this video we learn how to make a speedy paper airplane. First, fold the paper in half and make a crease in the middle. Next, fold the corners down on the top. After this, fold these into another triangle going half way down the paper. Then, fold the tip all the way down so it rests on the opposite side of where it started. Do one more fold like the ones you did in the second and third steps. Make sure you are making crisp creases in the folds that you make. After this, fold the tip to the...
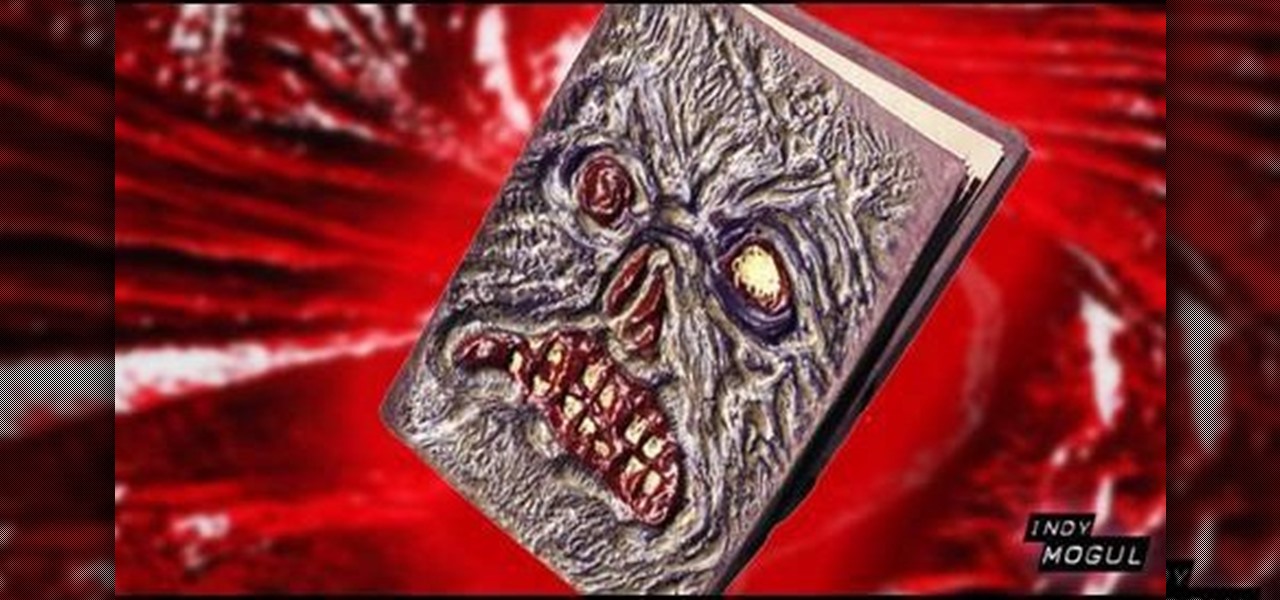
In this video, we learn how to make a Necronomicon prop from the "Evil Dead" series. First, gather all of your materials together so you can make this prop. After this, cut up piece of cardboard into the desired shape, then tape them and make sure it's able to open and close. Next, you will use tape to make it look like creases in the skin and create the face by rolling it together. Use masking tape to connect these and make it look like it's all part of the same skin. Next, mix red, yellow, ...
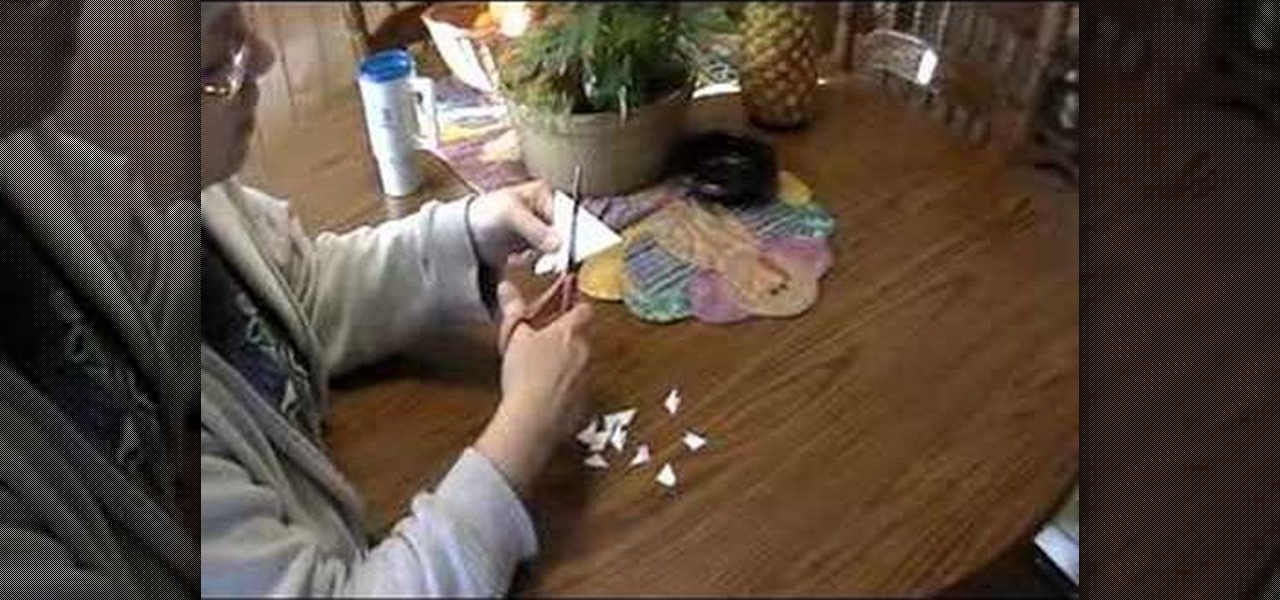
Another video in which the presenter Ngai Chen Cheung demonstrates his Origami skills. Again all you need is a blank sheet of paper. The first step is to create pre-creases which makes the later folding maneuvers a bit easier.
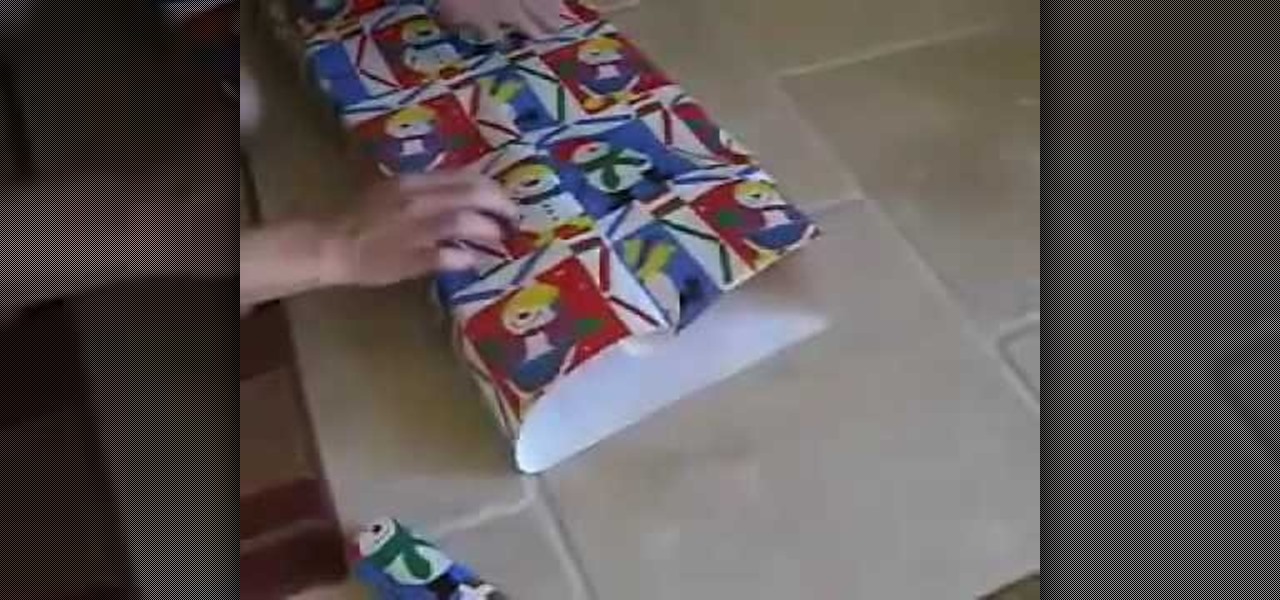
In this video, we learn how to wrap a gift. You will need: scissors, your gift, tape, and wrapping paper. First, place your gift down on the rolled out wrapping paper upside down. Measure out the paper so you have enough, then cut the paper from the roll. Next, you will fold the edges of the paper down, then center the gift on the paper. Bring the sides of the wrapping paper into the middle, then tape it. If you have too much paper on the edges, cut it carefully with the scissors. Now, push d...
In this tutorial, we learn how to make a paper Christmas tree. Start out with a square piece of paper, then fold corner to corner and open it, then fold it on the opposite corners and open it. Now, turn it over and fold it side to side on both sides. Now, the paper will automatically fold into it's shape because of the creases you made. Now take each of the four flaps and flatten them out with your finger. After this, cut your trunk out of your tree at the bottom, then cut slits on the side o...

In this tutorial, we learn how to create a bronze and gold eyeshadow look. To begin, brush a sparkly gold eyeshadow to your entire eyelid. Next, apply a brown eyeshadow to the outer corner of your eyes and in the creases. After this, use a sparkly brown/pink eyeshadow and paint it into the crease and outer corner of the eye. Now apply eyeliner to both the top and bottom of the eye, placing more on the top and flaring it out at the corner. To finish the eyes, apply mascara or fake eyelashes. A...
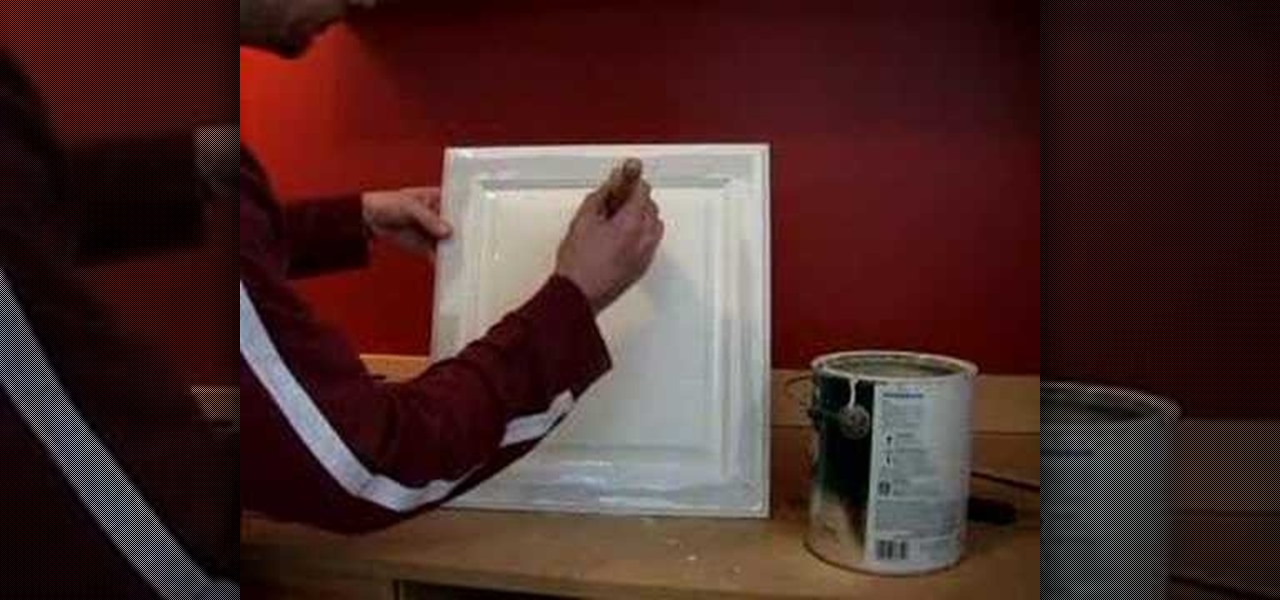
In this tutorial, we learn how to refinish and paint cabinets. Start off by grabbing a fresh brush and dipping it into your favorite color of paint. Next, brush the outer edge of the cabinets, brushing off the corner instead of in the corner, which will create a mess. Now, paint the entire outside of the cabinet, making sure to paint more heavily in the parts of the cabinet that has gaps and creases in it. Next, apply a new layer but paint very smoothly so you don't get any bubbles or brush m...
This video shows how to crochet a chevron stripe pattern using stitching techniques. The instructor shows you to make a patterns of three loop stitches to create the chevron stripe pattern. The instructors shows that after six standard stitches you decrease your stitches to create the waving design in the creases. This pattern is done many times until the you will see the waving formation in the stitches appear. at the peak of the waves you are instructed to do another decrease. Following the...
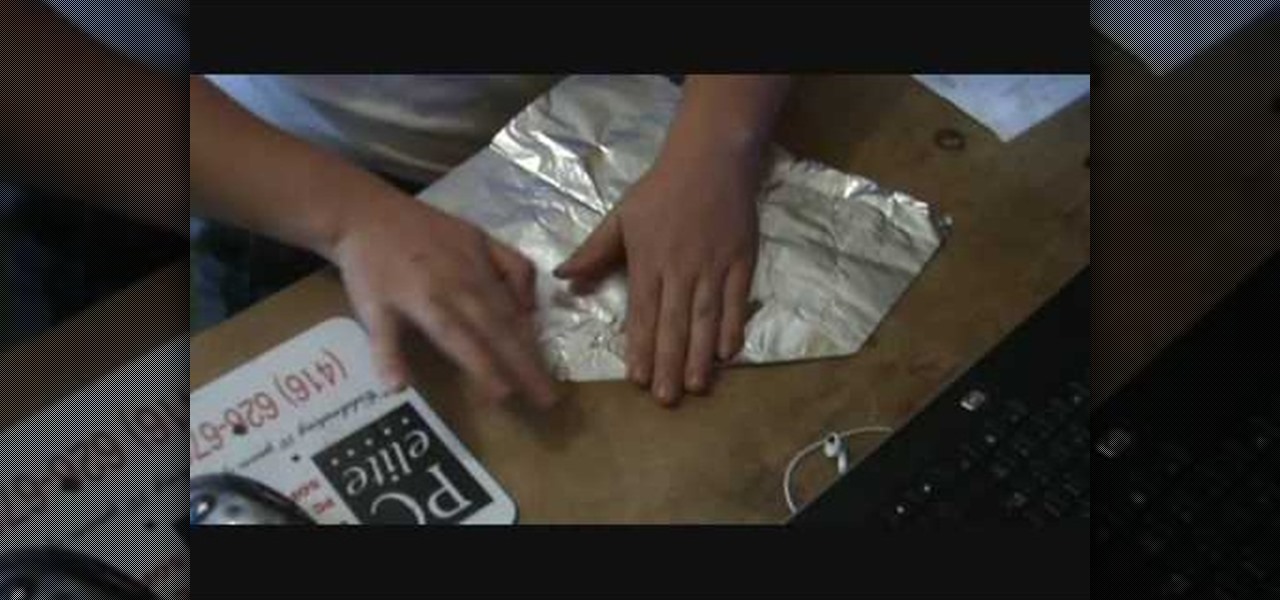
Learn how to make the perfect tinfoil airplane glider, every time. Obtain a rectangular sheet of tinfoil. Fold the shorter side of the rectangle foil in half and make a crease. Unfold the foil. Fold one of the corners into the middle crease. Fold the opposite corner into the middle crease. Fold the side into the middle crease. Fold the foil in half along the middle crease. Fold each side down so that it meets with the bottom crease and creates flaps. Press down on plane to strengthen the crea...
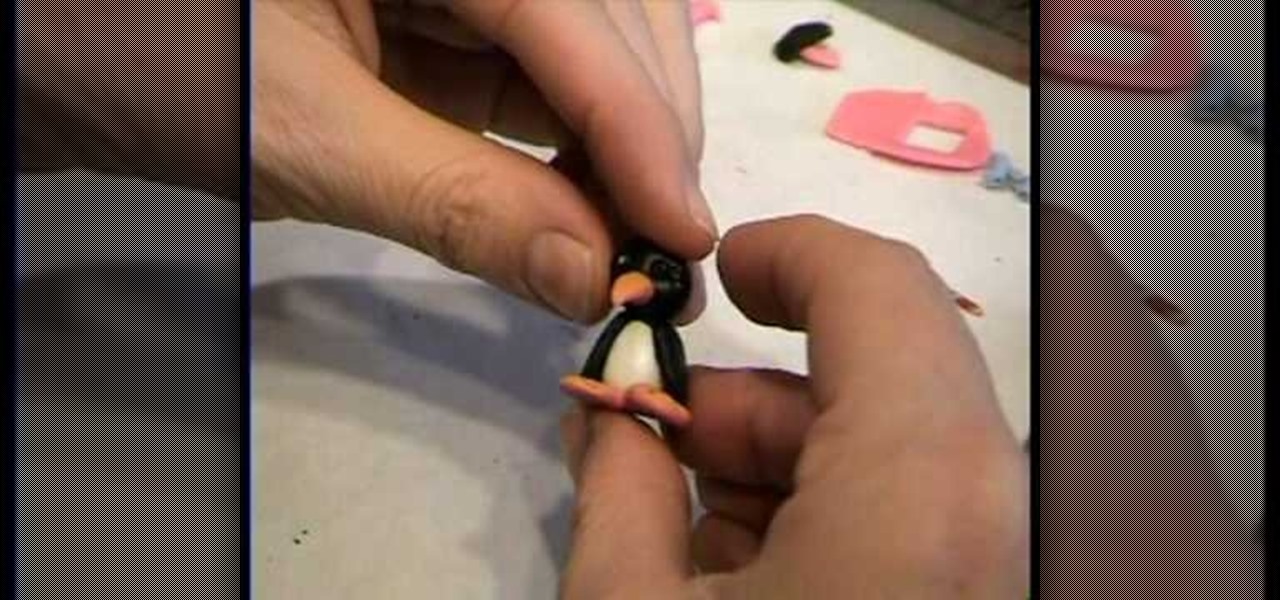
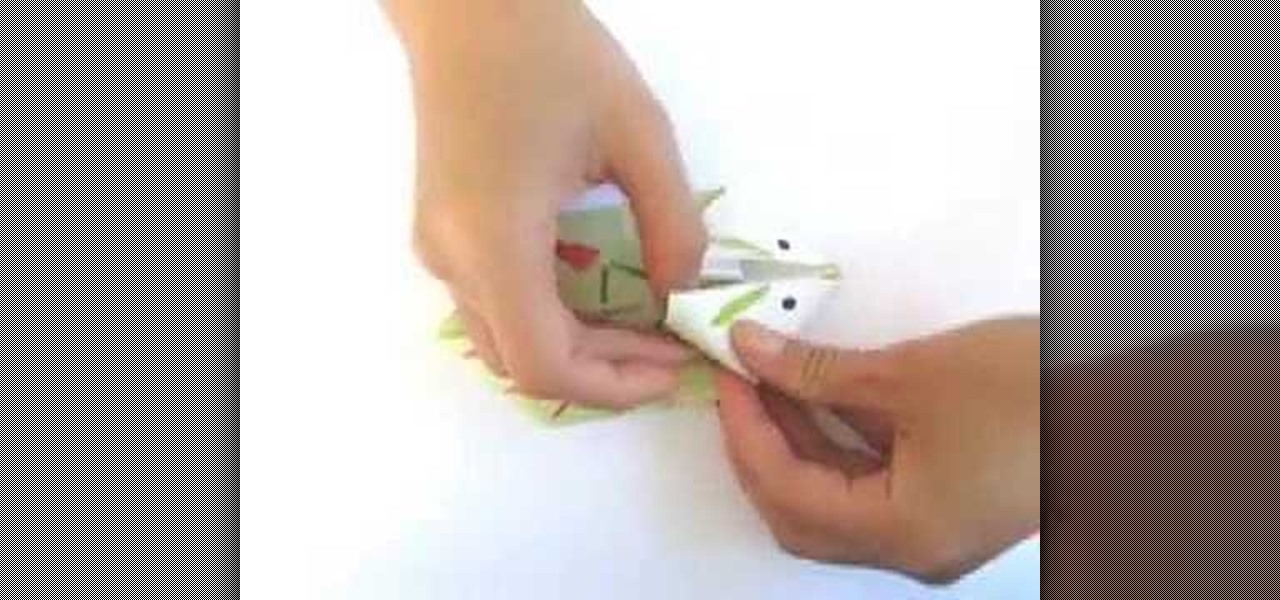
A piece of orange clay is rolled down to diameter of desired width of beak, and rolled down further at 1 end to make a point. Cone shape is cut to length of beak desired. A black ball of polymer clay is made. Base of orange beak is blended onto it. 2 clear seed beads are picked up individually with a pointed stick and pressed into head above beak. Stick is used to make 2 eye creases at right side of right eye and eyebrow over left eye. Repeat on other side. 2 flat oval pieces of orange clay a...
Learn to fold this super duper cute little bunny. Degree of difficulty: Courageous novice with some experience but ready for advanced folds and creases.
In order to make a spring card, you will need the following: a 5 x 10 inch piece of card stock, 3 x 3 inch paper, glue, triangles, stickers, and a cutter.
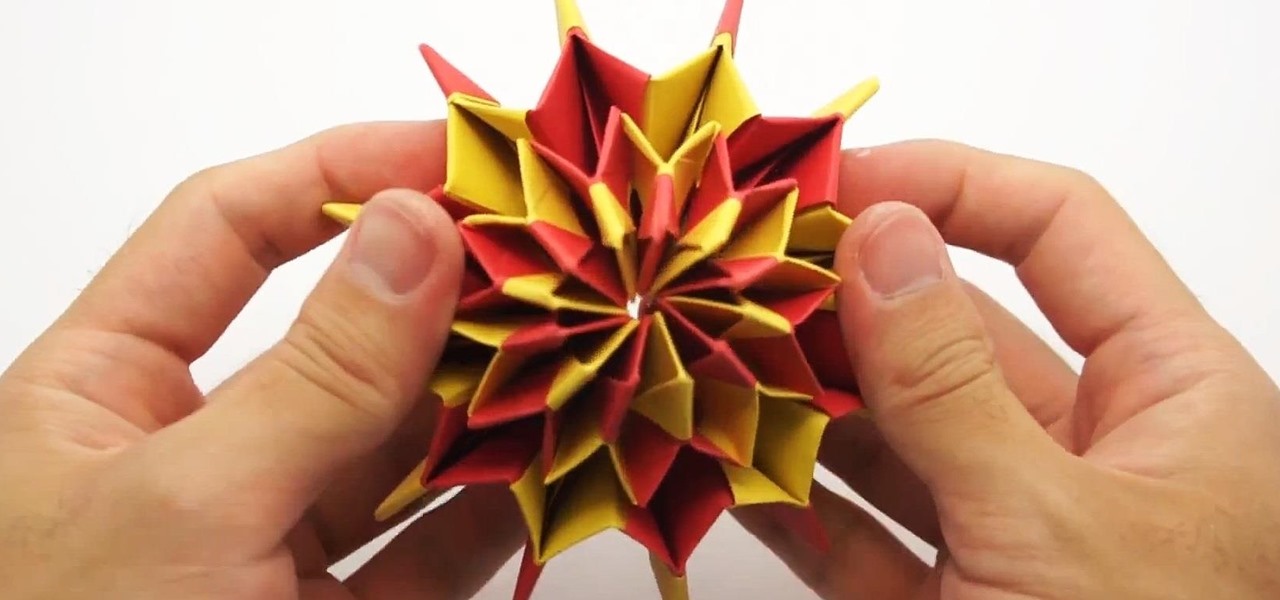
If you won't be near any real fireworks for the 4th of July holiday, do the next best thing and origami yourself some! For this origami fireworks project, you'll need square sheets of paper of different colors.
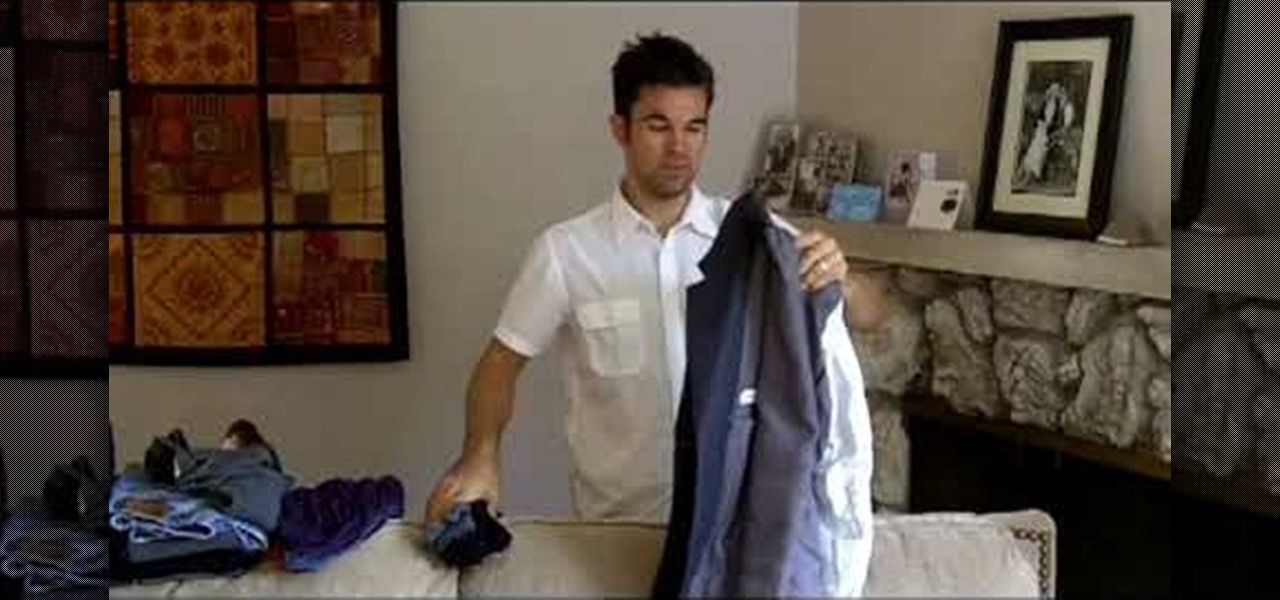
This how to video shows you how to pack a suit. First, start off with the jacket. Fold one half inside out. Take the other half and tuck the sleee into the other. The shoulders should be lined up and straight. Pop up the collar and then stuff the shoulders with your socks. Pack the area below it with underwear. Fold the sleeve over and then roll it down tightly. Now you will not have creases on your jacket. For the pants, fold it in half and make it as dense as possible. You should be able to...
If you want to master your skills on origami, you should watch this video. How to make an origami paper box: Find a piece of square paper. Crease the paper in half lengthwise and then again in the other direction. Unfold the paper which should be divided into four sections. Take a corner and fold it up to the center of the paper. Repeat for all four corners. Ensure that the tips all meet in the center for a smaller square. Fold one side of the square up to the center of the box. Unfold and re...
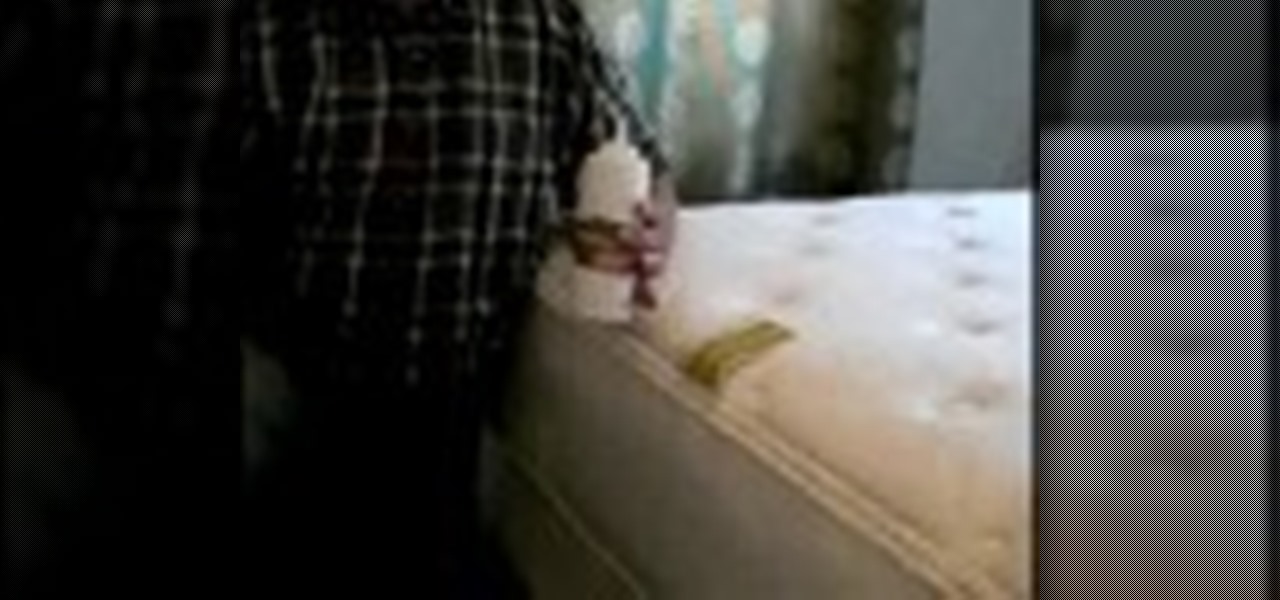
Bedbug victim Mike tells us that even a $200 professional exterminator can not take the bugs off his bed for long. He shows you how you can use the Bedbug Powder to solve the problem of bedbugs for good.
Watch this video tutorial to see how to build a fun foam boffer sword! These boffer swords for any of your larping needs!
In this tutorial, we learn how to fashion sketch satin. When you are sketching satin, you would to make sure you use the right colors and the side of the pencil. You will need to use the side of the pencil to shade in small areas to create creases and folds in the clothes. Then, you will use the eraser to make white in the middle, which will create a shine on the skirt. Color in the rest of the area around the piece of clothing. It doesn't have to be perfect, just make sure you shade and use ...
In this video, we learn how to draw Sonic in Adobe Illustrator. First, draw out the muzzle and the nose with a pen. From here, you will draw out the eyes and then make the outline for the ears and the hair. Next, draw in the details around the face. Once you do this, add color to the hair and to the face as you see fit. Then, add in additional lines to show creases and make him look more realistic. After this, add in shading with darker colors on the sides of the face and the hair. When finis...
In this video, we learn how to draw mange clothes on a computer. There are many different types of manga clothes that you can draw, so study what you want to draw before you do it. When you start to draw, make sure you use great detail with the clothing, no matter what kind you are doing. After you draw the basic clothing, then add lines to show folds and creases inside of the clothing as well. Draw in shading around the inside of the clothes and then you will have your clothing complete. Enj...
In this video, we learn how to make a simple paper airplane that flies far. First, fold the paper in half and make sure it's perfectly even. From here, unfold the paper and fold the edges into where the crease is. After this, do the same on the other side and make it perfectly even. Then, fold the side over to the middle again and do the same on the other side. Next, make sure the creases are solid and then fold it in half. Now, to make the wings you will fold one side down, putting the tip d...
In this tutorial, we learn how to draw Danzo. To start, you will draw the outline with the light touch of the pencil. After this, draw in the final outline darker and then erase the background lines. Next, you will add in the details around the character and then add in lines to show creases and make it look more realistic. From here, you will add in shading to make the drawing have some more depth. After this, you will finish up by cleaning any stray lines with an eraser. You can also use th...
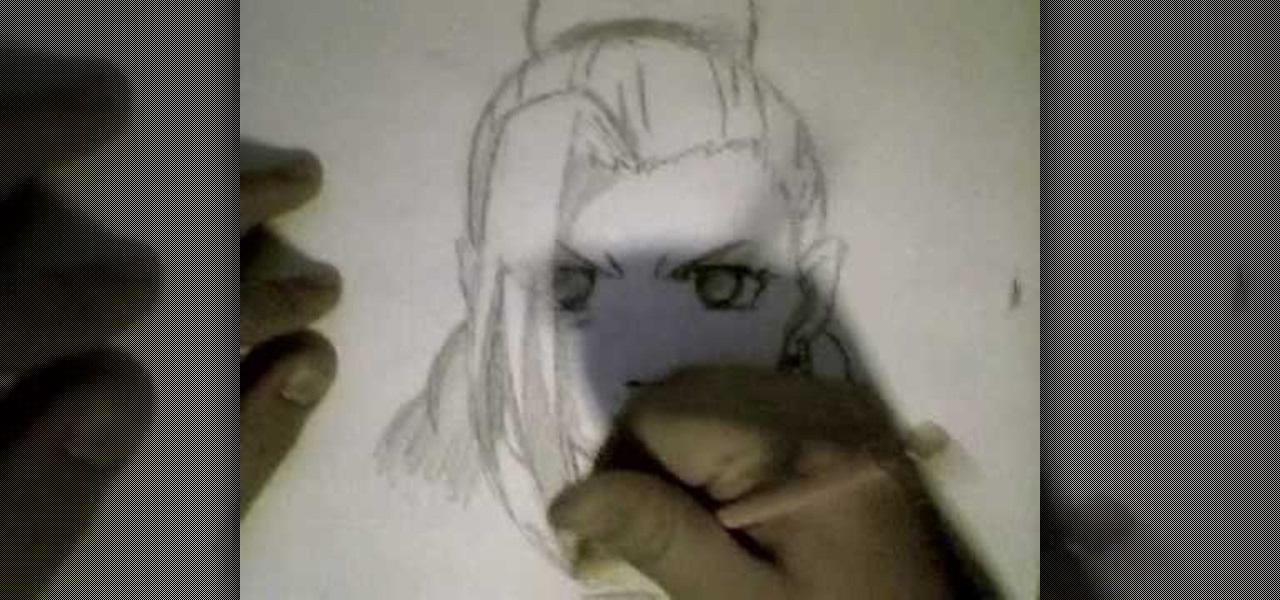
In this video, we learn how to draw Ino from Naruto. Start off by drawing a circle for the head, then drawing lines in the middle to create reference for where the facial features will go. After this, draw in the hair on the top of the head along with the eyes, eyebrows, and creases of the eye. Then, draw the jaw line around the face and erase the lines you used for reference. After this, add in additional lines and hair to make it look more realistic. Use shading around the face to show ligh...
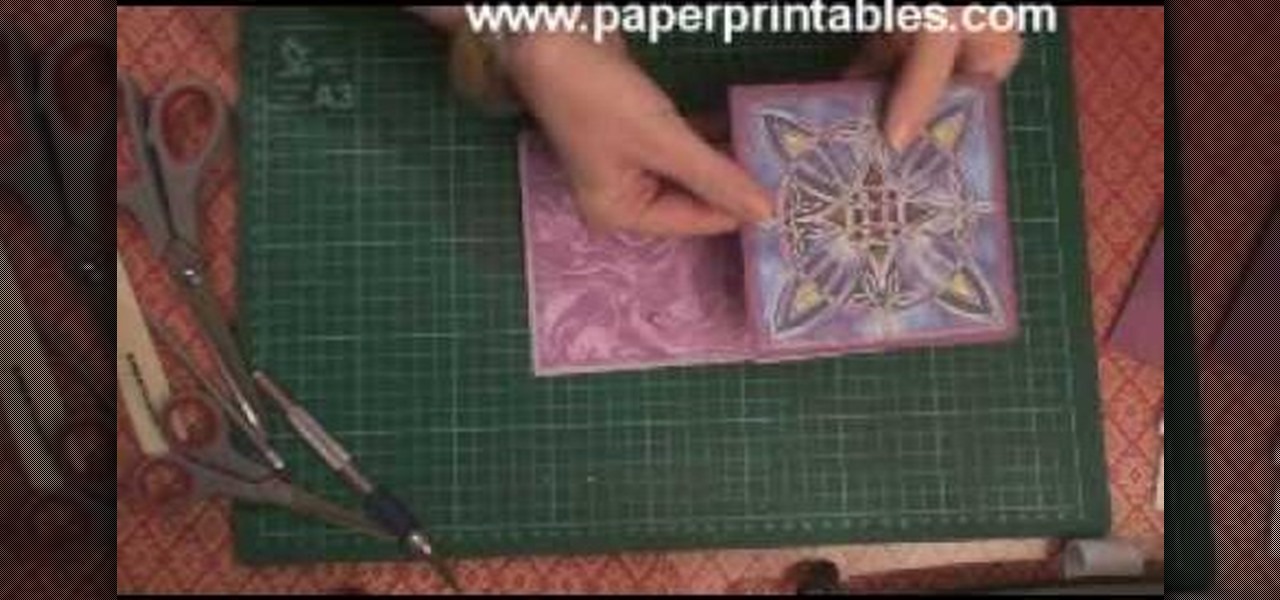
In this tutorial, we learn how to make a half/quarter easel card. First, grab several pieces of colors of card stock that you like. After this, fold the main one up into a square. After you have folded this, fold the edges into the middle and push the creases down. From here, you will glue the bottoms of the other pieces and glue them onto each other so they are backgrounds. After this, you will create a border around the front main picture. When finished, fold this up and then you will have ...
In this video, we're shown how to draw Fred Flintstone from "The Flintstones". Start off by drawing the outline for Fred's body, drawing in his limbs and his upper/lower body. After this, use a darker pen to draw in the full outline and create a more 3D type of image. Next, you can draw in the clothing for the character, drawing in lines to show creases in the clothing as well. Then, you will need to color the skin and the outfit as well and add in the facial features. After this, draw in the...
In this video, we learn how to draw Naruto Fuuton Rasen-Shuriken. To start, you will first draw the outline with a light pencil. Then draw it darker over the outline with more details to make the final outline. From here, start to add details into the middle and then draw on the entire body. From here, draw on the clothes and make sure to put the lines on to show the folds and creases of them. Draw on the details of the face and finish off cleaning up any lines that aren't needed. Shade in wh...
In this video, we learn how to draw an anime eye step by step. Start out by drawing the outline of the eye. Then, fill in the eye with details and create shadows as well. From here, you will add in further details, including the shading and lines that make it look more realistic. Make sure you draw in the creases for the top and the bottom of the eye as well as the lashes on the top and the bottom. Draw in the details on the inner corner of the eye and add a white spot to make the eye appear ...
In this tutorial, we learn how to draw realistic lips and teeth. First, draw on your outline for the lips and teeth, using a light pencil. Try your best to get it as natural looking as possible. Now, draw in the shadows and the mid-tones for the lips. Also add in reflective lights and draw in the teeth. Add in details to the teeth and use darker lines to separate them. Use dark creases to form the lips and then continue to add in additional details. When you're finished, darken around the mou...
In this tutorial, we learn how to draw manga basics. First, you will draw a circle for the head, then make a point at the bottom for the chin. After this, draw in lines on the face so you can reference where the eyes, nose, and mouth will be. Then, you will need to decide what expression you're going to use. Once you have decided, you will need to draw in the eyes, creases of the eyes, and eyebrows. Then, you will draw in the nose and the mouth. The female eyes look different from the male's,...
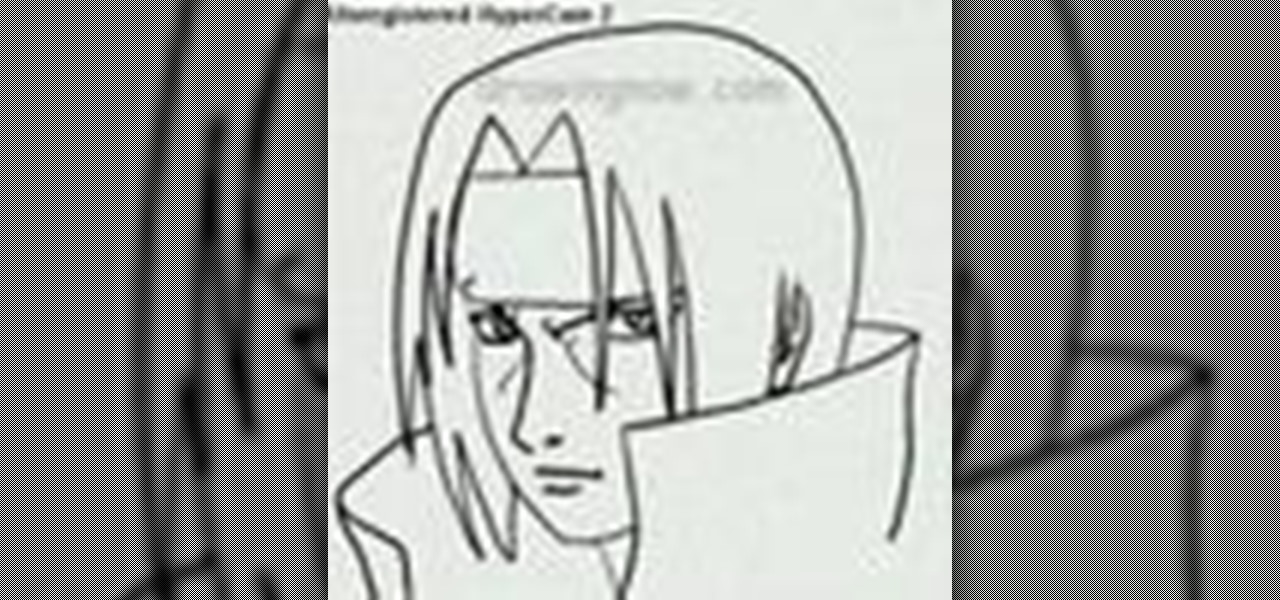
In this tutorial, we learn how to draw Itachi. First, draw your reference lines on the head so you know where to place the features of the face. Draw in the eyes, adjusting them so they are more towards the left of the face than the right. After this, draw in the bridge of the nose and the nose, as well as features of the cheeks. Next, draw in the nostrils and the mouth, as well as eyebrows and creases around the eyes. After this, draw in ears on the side of the head, then start to draw in th...
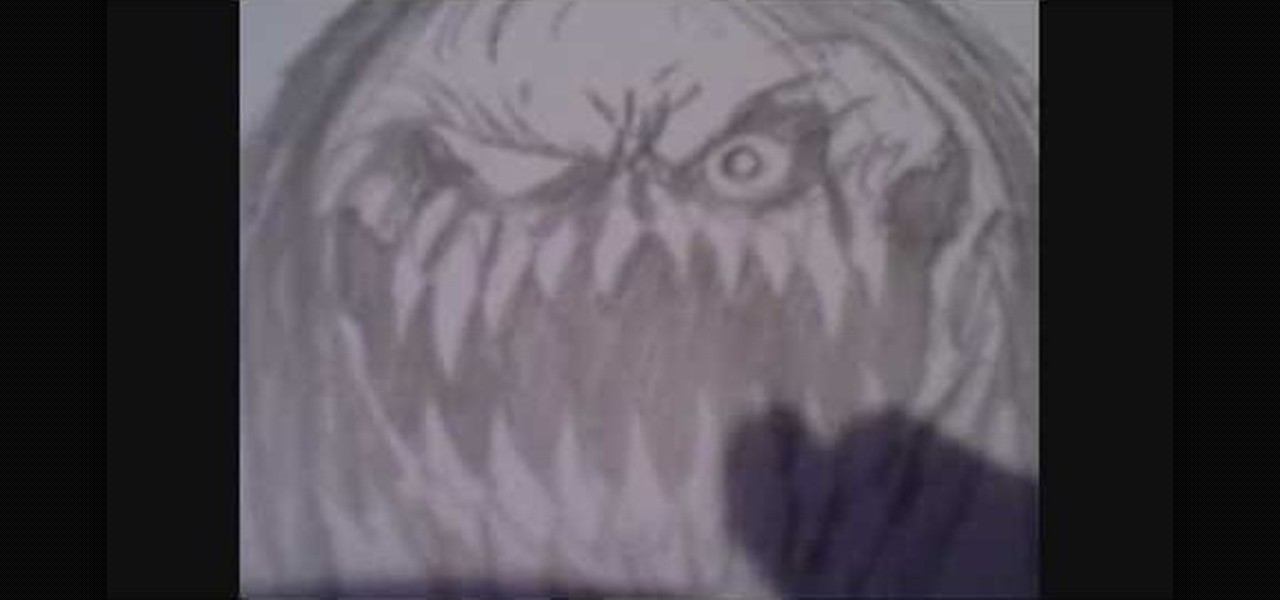
In this tutorial, we learn how to draw a scary demon mother. Start off by drawing a circle for the face with huge sharp long teeth and small evil eyes. Add in details around the face to create a more realistic feel and creases in the eyes. Next, draw in the hair by using your pencil and just drawing in straight and straggly hair. After this, add in additional details to the eyes and the rest of the face, creating a nose and other features you want. After this, draw in lines on the bottom of t...
In this tutorial, we learn how to draw a female vector cartoon character in CorelDraw X4. Start out by drawing the head of the character with lines that are curved. Then, add in the pupil and color of the eye. Don't forget to add in the lines underneath and on top of the eye, as well as the creases above them. Copy and paste this to create the other eye, then add in eyelashes and eyebrows. Then, draw in a nose and shape the face. add in additional details to the face, then add in the colors t...
In this video, we learn how to quickly make an origami kusudama. This only requires six pieces of paper to make. First, fold one piece of paper into a triangle, then open it up and fold it in a triangle on the opposite side. Open this back up then flip over. Bend in the edges to make a new triangle, then press down the creases on the side. Bend the middle of the triangle up to the point on both sides. Bend these back down, then fold over the side and make a crease. Open up the bottoms where y...
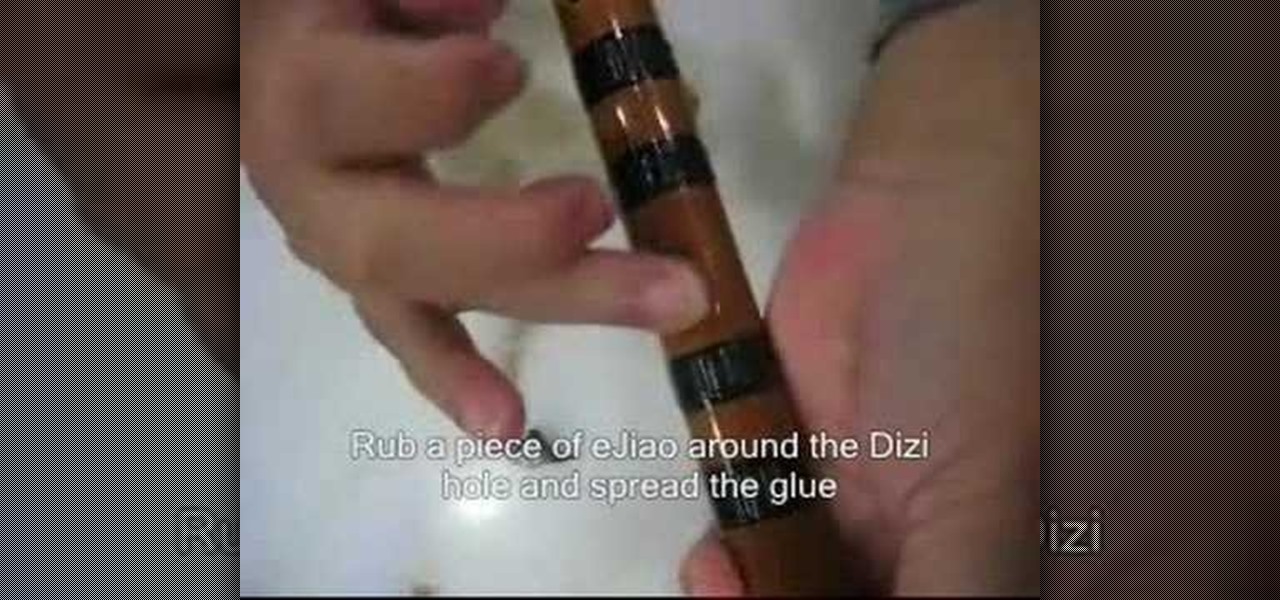
In this video, we learn how to fix dimo flute membrane. First, slice open a tube of dimo and cut a piece big enough to cover the dizi hole. Next, crumple and crease the dimo for better sound. Now, wet the area around the dizi hole with water and rub a piece of Jiao around the dizi hole. After this, spread with glue and paste the dimo over the hole making little creases that run perpendicular to the dizi hole. After this, try it out and see how your dizi sounds, if it sounds dull, press lightl...
Bed bugs appearing in the office space is becoming more and more common. Often, someone brings a bed bug to the office on their clothes, and the bed bug roams away from the garment. These don't normally turn into reproducing infestation.
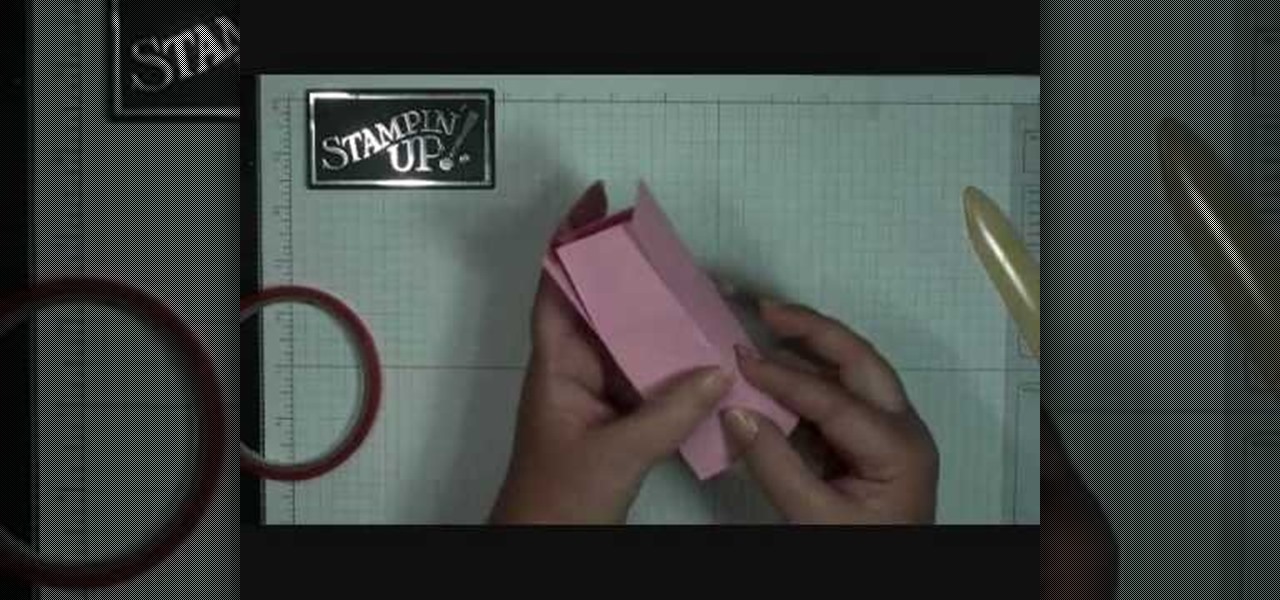
To make a mini milk carton, you will need the following a big shot, Mini Milk Carton Die # 117310 (Occasions Mini) card stock, a clip, and sticky strip.
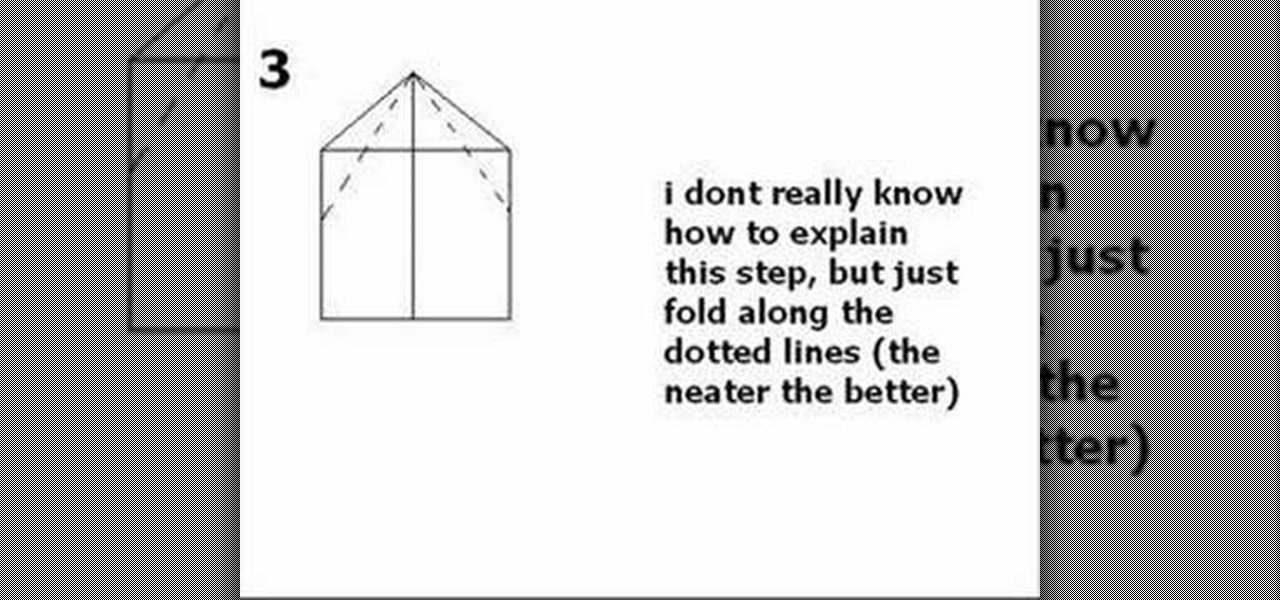
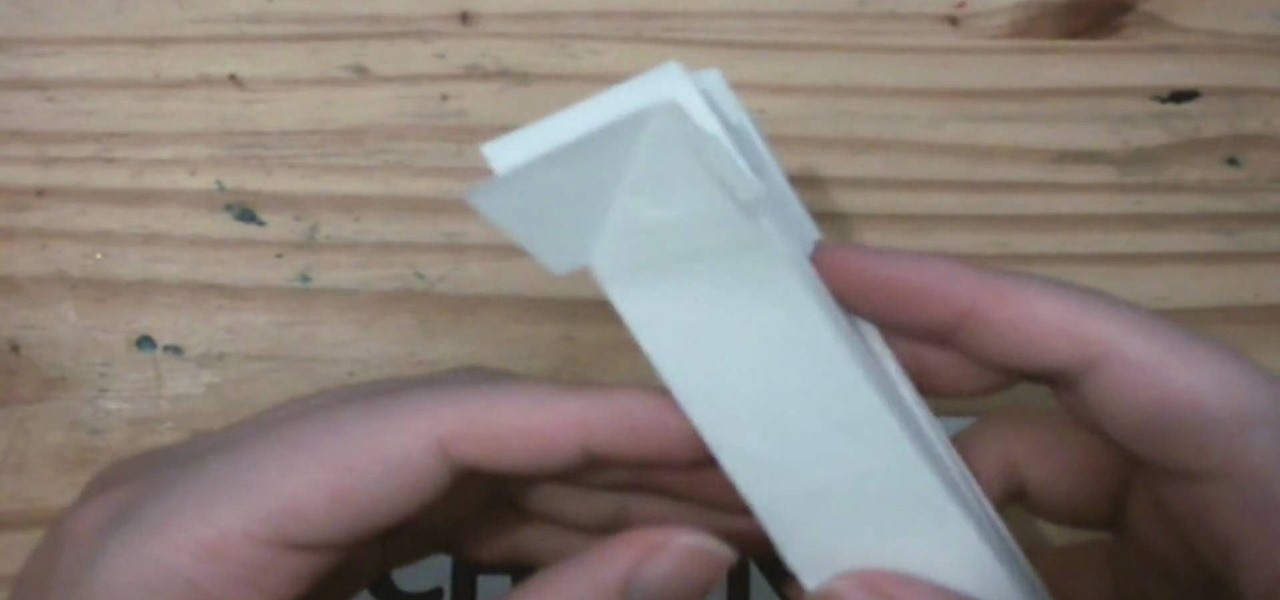
This video shows viewers how to make a paper airplane. You should begin with an 8.5 x 11 piece of paper and fold one corner to the opposite side, making a triangle. This should be repeated on the other side, so that a cross is formed on your paper. Folding down opposite sides of the creases, you should have a triangular flap on your paper. Fold both sides of the flap upwards and then flip the paper over. You should then take the tip of the paper and fold backwards. Fold the paper in half so t...
In order to make your own envelopes, you will need a piece of paper, glue, scissors, and optional decorating tools/stickers.
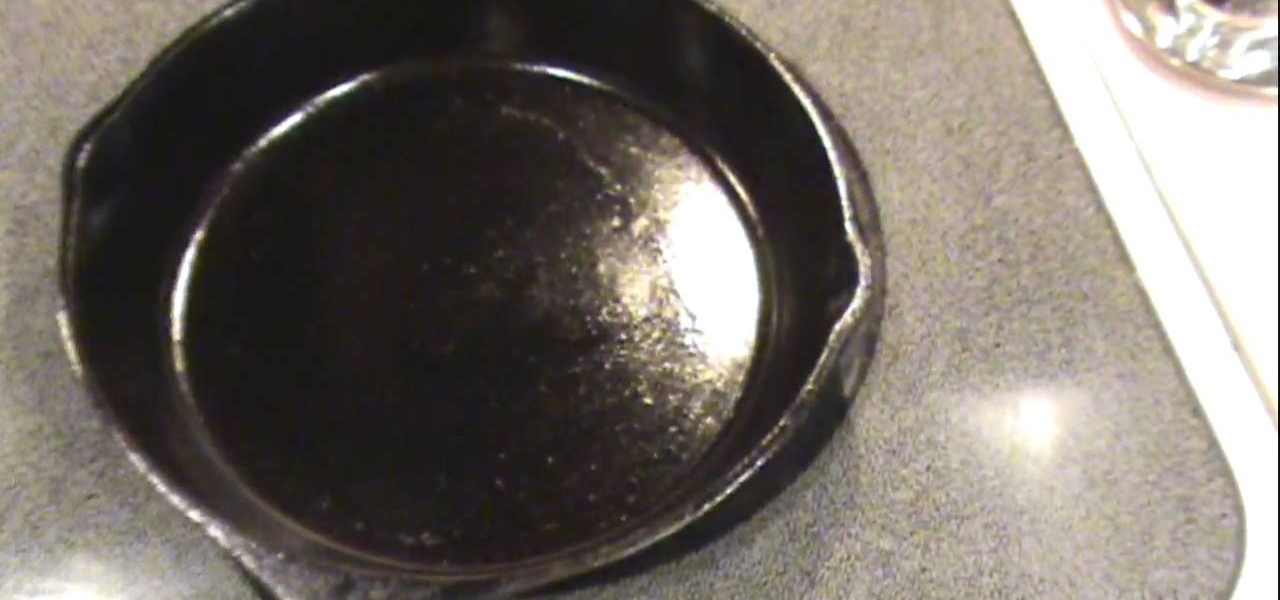
If your cast iron pan is sticky, you will need to place the pan on top of the stove. Turn the heat on high for 30 seconds to less than one minute. Then, turn it down to medium heat. This will loosen up the oil. Then, you'll need to buff out the creases and the spots. Place a little oil in the pan, approximately 1 tablespoon. Spread the oil around with a paper towel. Continue smoothing the pan. You may need to get a new paper towel, if it gets to hot.