In order to make and use a stencil, you will need the following: pencil, blue painter's tape, Dura Lar film, Self-healing mat, spray adhesive, old canvas board, airbrush, compressed air, airbrush paint, utility knife, paper, eraser, and an idea for a stencil.
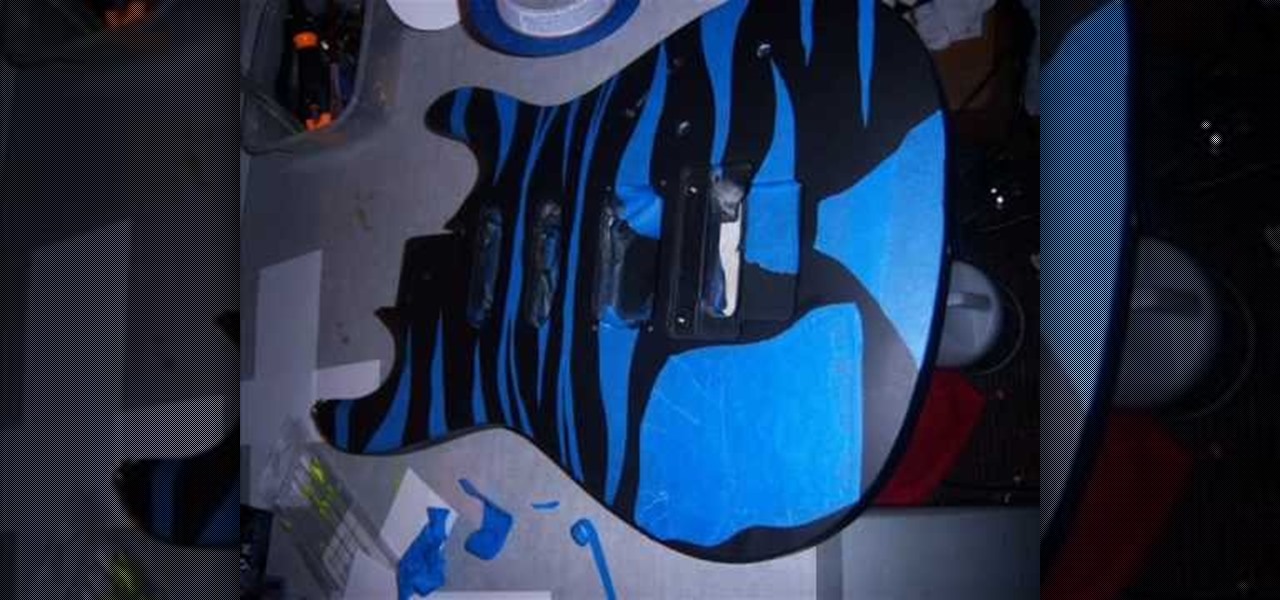
In this video Teddy Zane shows you how to paint a guitar with spray paint. It begins by painting the whole guitar with one color of flat paint, and then creating a panel where you want the picture, out of tape. Next lay your picture on top of the tape and use a scalpel or razor to cut out the design as a template carefully ensuring you do not cut the guitar, only the image and the tape. Once the entire image is cut, pull off the tape to expose the guitar beneath. Cover the rest of the guitar ...

In this video tutorial, viewers learn how to make a stencil. The materials needed for this project are: contact paper, scissors and a pencil. Begin by drawing the design, shape letter or number on the contact paper. Make sure to draw the stencil on the back of the paper and make it reversed. When finished drawing, carefully cut out the design. To use it, simply peel off the invisible paper and place it onto the surface of the artwork. Then trace over it. This video will benefit those viewers ...

This video shows the method to select the right set for your web show. The video tells us what a set is and its importance in the show. A set is a place for shooting your own show. The set should be designed carefully and properly. A typical set should be bright with various colors. It should not look depressing like a blank wall. Make a set which will look fine on camera. There should be an element of fun in the set. The set should be made to grab the attention of the viewers. The design of ...

To decorate a fall flower centerpiece for your home, create a table centerpiece. Get some dry flowers with attractive colors of your choice. Take a metallic pot for centerpiece. Place a Styrofoam ring in the bottom of pot or vase. Carefully insert stems of dried flowers into the foam. The interior design technique is to be perfect to fall, so that it looks natural. Make sure to have the tallest flower at the center of the pot. Work from the center outwards applying more flowers and stems. Mak...
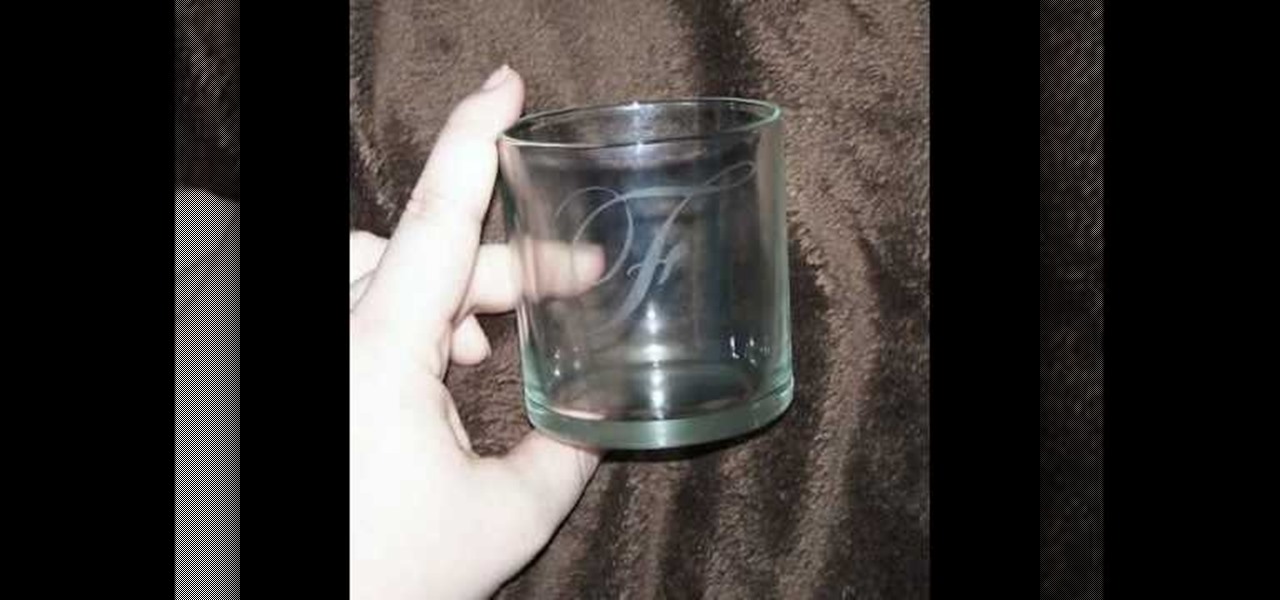
In this video tutorial, viewers learn how to etch glass in 5 minutes. The materials needed for his procedure are: contact paper, Armour Etch and a paintbrush, glass and a sink. Begin by cutting the contact paper face up on a circuit mat. Cut it on medium speed and pressure. Then put the contact paper on glass. Work carefully to prevent any wrinkles and bubbles in the design. Now put the etching cream on in a dabbing motion. The etching cream will not run into areas that are not stuck down. Fi...

With the help of magician Dan Martin, you'll learn the steps to escape from a straitjacket! Hopefully you won't find yourself in a serious situation where you need to escape from a straitjacket, but if you want to simply impress your friends or put on a magic show, this video is a great tutorial for you.

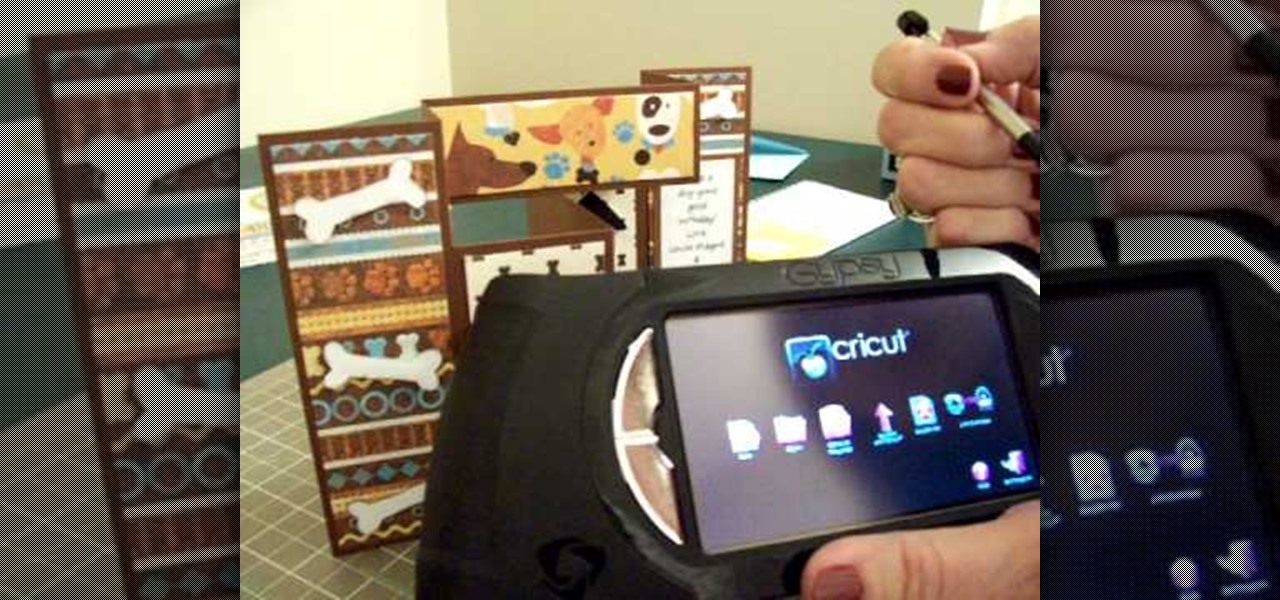
The queen of cute cards CardCrazy09, shows viewers how to make an adorable tri-fold card using products from Die Cuts with a View (Pet Stacks) and products from the Cricut personal die cutting machine and the Gypsy portable design studio. CardCrazy09 demonstrates how she used two cartridges from the Cricut in her design, the Doodle Charms and Paper Pups cartridges. She also shows how using the Gypsy Portable Design Studio allows card making gurus to size their designs to scale. CardCrazy09 sp...

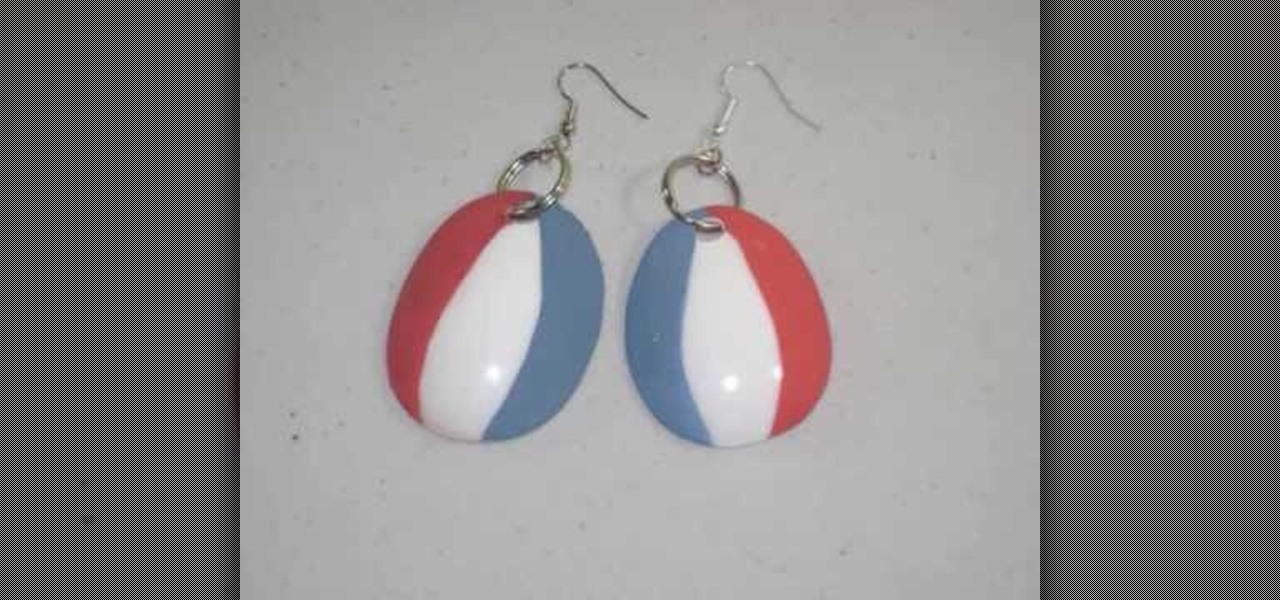
This video is about how to make earring from spoons. So to do this, just follow these simple steps. Things you'll need:

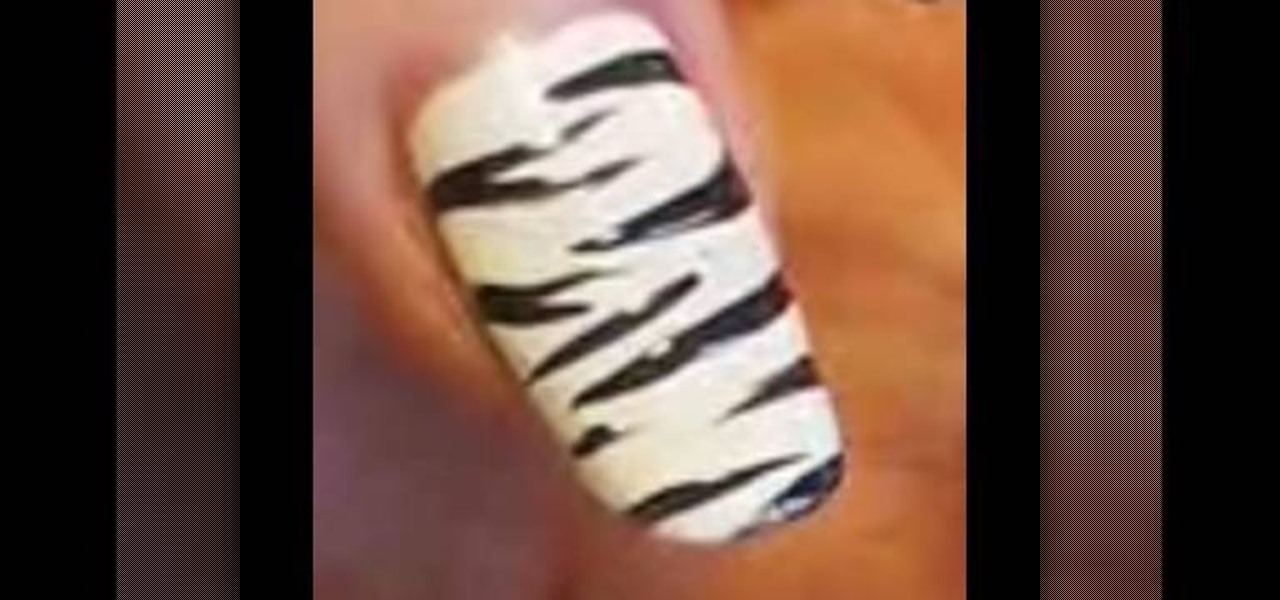
For nails that always look unique, stylish, and are simple to make, you should take some advice from this video. After cleaning and shaping your nails, you should apply two coats of a white or slightly off-white nail polish. After allowing these layers to dry, get some black nail polish and make the zebra print by carefully swiping the brush over your nail. Alternate sides from which you start the lines and you should soon have a very stylish and interesting nail pattern.

Watch carefully as this florist moves quickly and silently through the process, grabbing a tearing different types of flowers, then putting them together in an ornamental arrangement. He starts first with some somewhat colorless bushy flowers and affixes them low within the container. Thereafter, he takes single stems of purple, yellow, and red flowers arranging them at different heights above the low-lying bushy ones. He keeps the variously colored flowers isolated in their own little area, ...

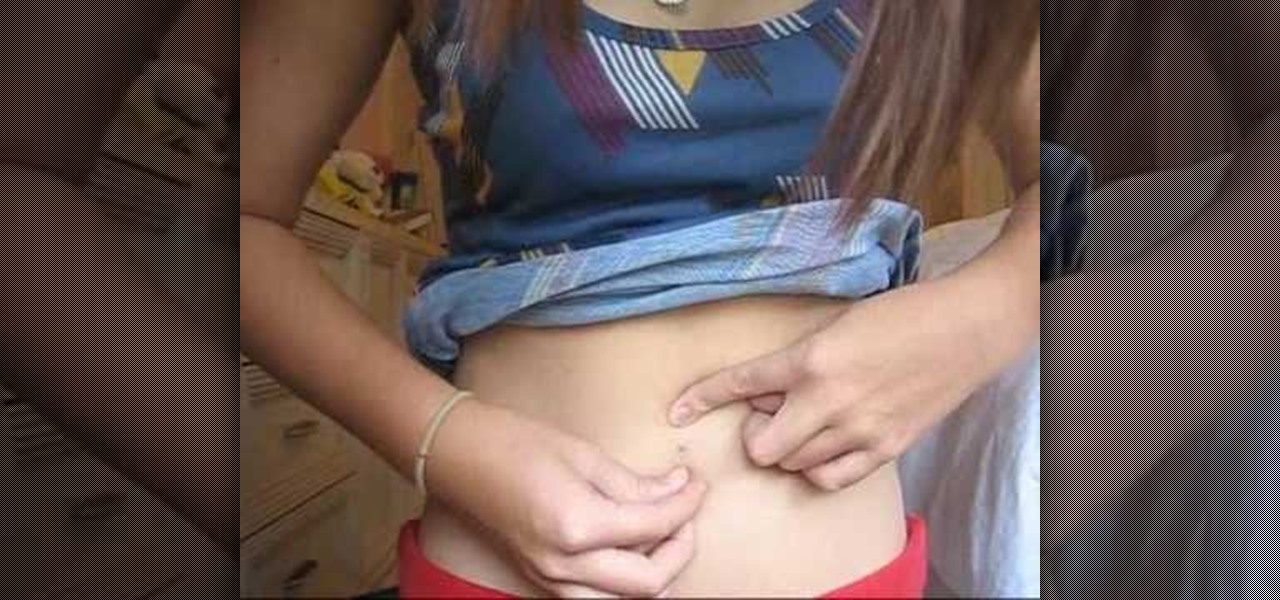
This video teaches the secrets of cleaning and changing your belly button ring in simple steps. First add some saline solution or salt water solution in a paper towel and rub on your new ring to clean it. To change the ring on your belly button, unscrew the old ring and remove it carefully. Now insert the new ring through the hole present in your belly carefully. Finally screw the inserted ring carefully to finish.

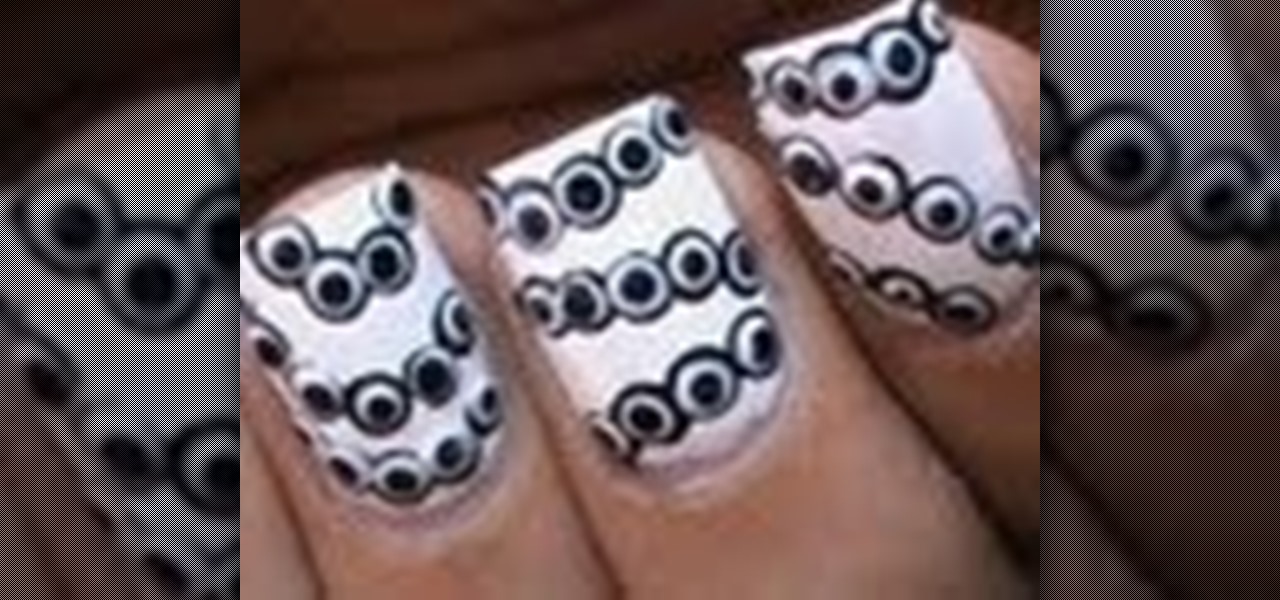
This is a very easy and yet catchy looking nail art design that I really wanted to share in a tutorial with you all girls out here ! Check out this video and please let me know what you think !

In this how to video, you will learn how to airbrush your Xbox with a Halo 3 design. First, take apart your console. Next, wrap the bottom half with paper to mask it. Next, spray the exposed are with white. Mask the bottom half area again, leaving more unpainted areas exposed. Spray paint and repeat one more time. Next, go over the console with yellow paint. Next, print out an image of Master Chief. Cut it out and then take the outside area to use as a mask on the console. Spray paint accordi...

As we slowly approach its January 3 start date, CES 2017 seems to be shaping up to be an exciting year for smart glasses as well as augmented and mixed reality.

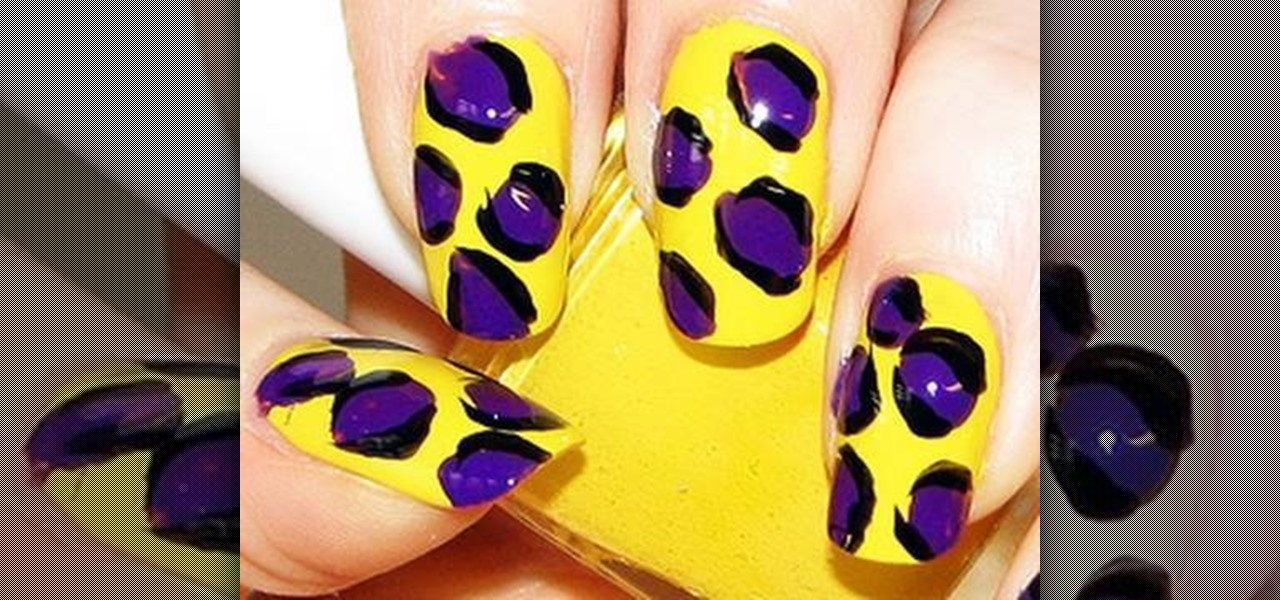
This video is about how to create colorful leopard print nails. So the first thing that you will have to do is to choose any colors of the nail polish that you want. After deciding for the first color of the nail polish, apply it to your nails and let it dry. The next step is to get a plastic plate and place a bit of a small amount of the second color that you chose. With the use of the nail art brush, carefully start forming small random spots on the nail. Apply these to the rest of your nai...

So i'm a 14 year old photography and art student and one of our topics was to create a final piece that reflected the covers of popular magazines. We had to link our magazine cover with our chosen topic and mine was fashion and the environment.

This guide to replacing the timing belt and water pump on a Ford Escort is for a 95 Escort, but it will likely help with several different types of vehicles. Watch as both the timing belt and the water pump are removed carefully from the car and then replaced with new parts.

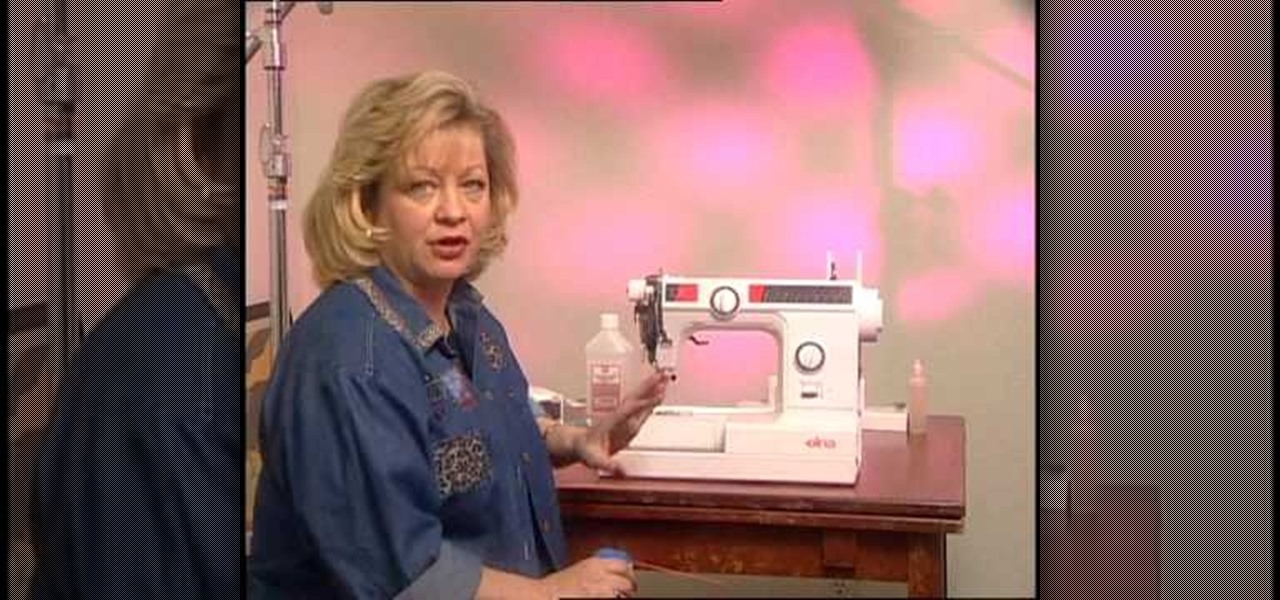
Many sewing machine repairs can be made at home, and most repairs can be completely avoided through routine sewing machine maintenance. This tutorial shows you how to carefully disassemble your machine to give it a round of maintenance. You will need a screwdriver - make sure not to lose any of the screws!

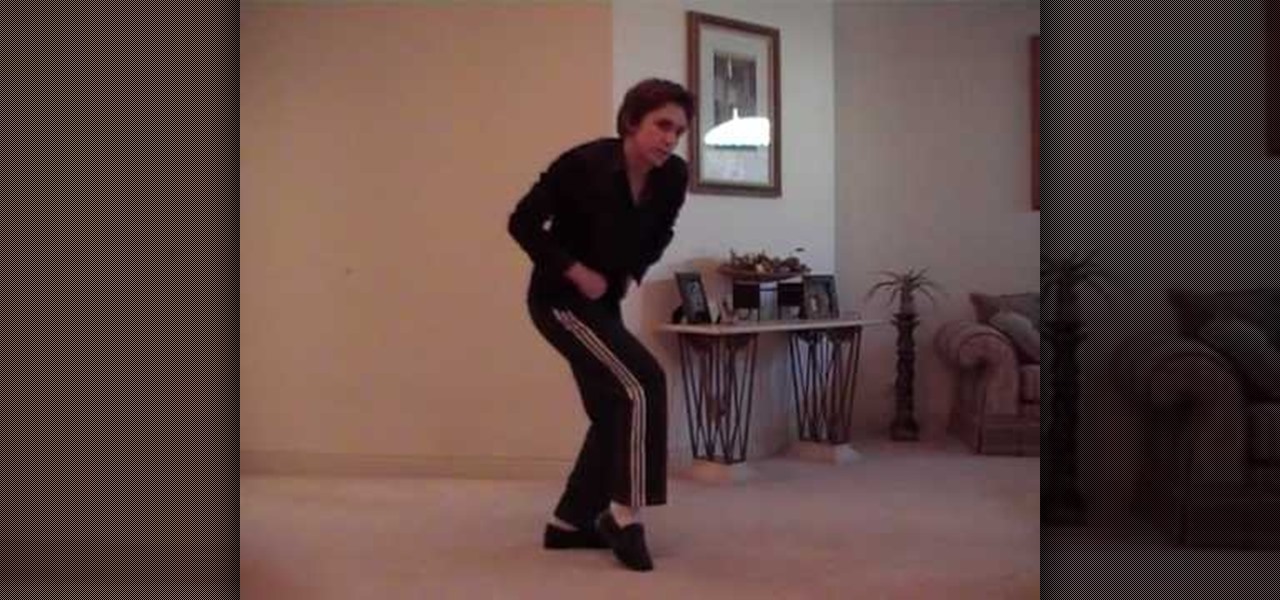
In this clip, you will learn an extremely impressive pop n lock inspired dance move from Michael Jackson. This "robot pop" is used in many of MJ's dances and creates an extremely cool effect. If you think you can control your body very carefully, then check this clip out and practice. These are some seriously sweet moves.

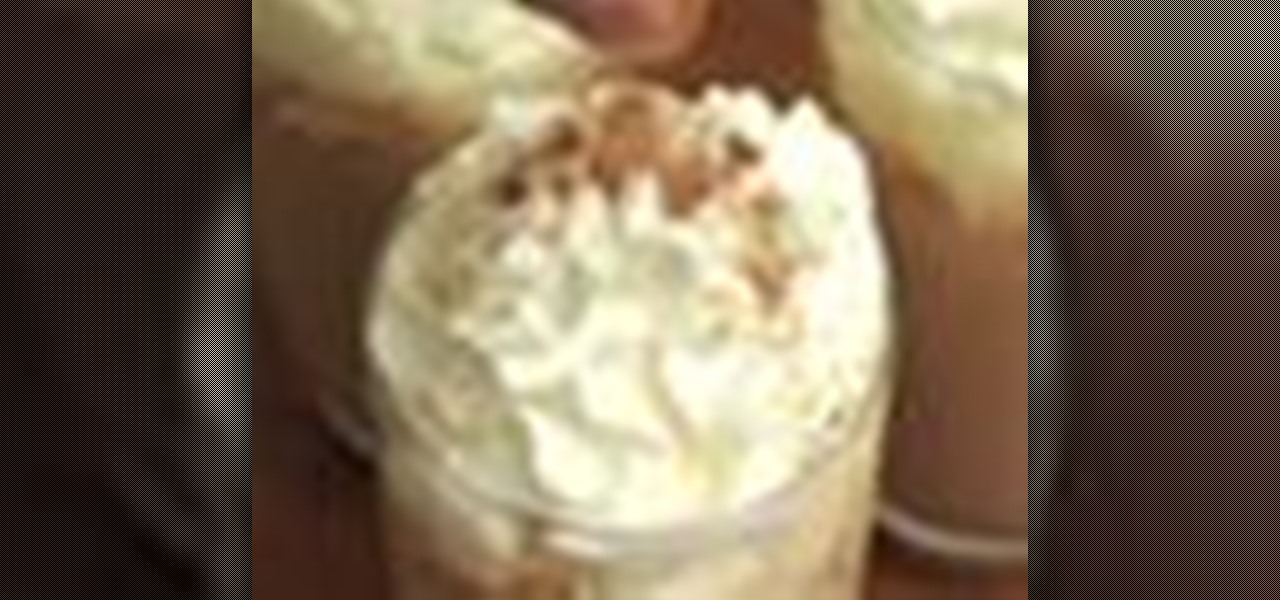
Enjoy hot chocolate during the stifling summer months by putting it on ice. To make iced hot chocolate, you will need:

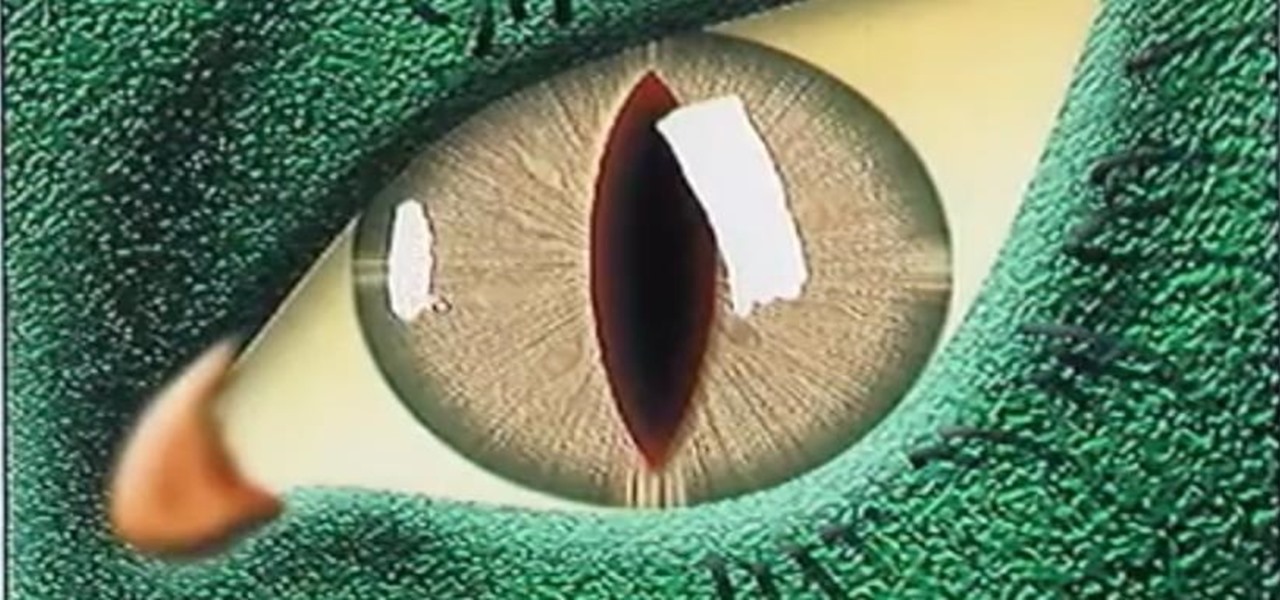
Bert heads to the dark side and teaches you how to create a reptile-like evil eye in Adobe Photoshop. Be afraid. The reptile-like evil eye's texture are created by using various photoshop filters - Radial Blur, Liquify, Texturizer, Craquelure. Carefully watch and learn how to create your own evil eye.

Any electronic equipment is bound to accumulate dust, slight moisture, dirt or any combination of the above on its sensitive parts over time. The delicate nature of items also means further care is required.

This video is about how to apply glitter dust. So the first step that you will have to do is to add two to three drops of activator in the glitter dust which helps stick the glitters on the eyelids. Then the next step is to carefully pat the glitter on the eyelid. Just slowly spread the glitters all over the eyelid and remember to follow the eye shape. Then the next thing that you will have to do is to apply the same process in the other eye. Carefully apply the glitter dust on the eyelid fol...

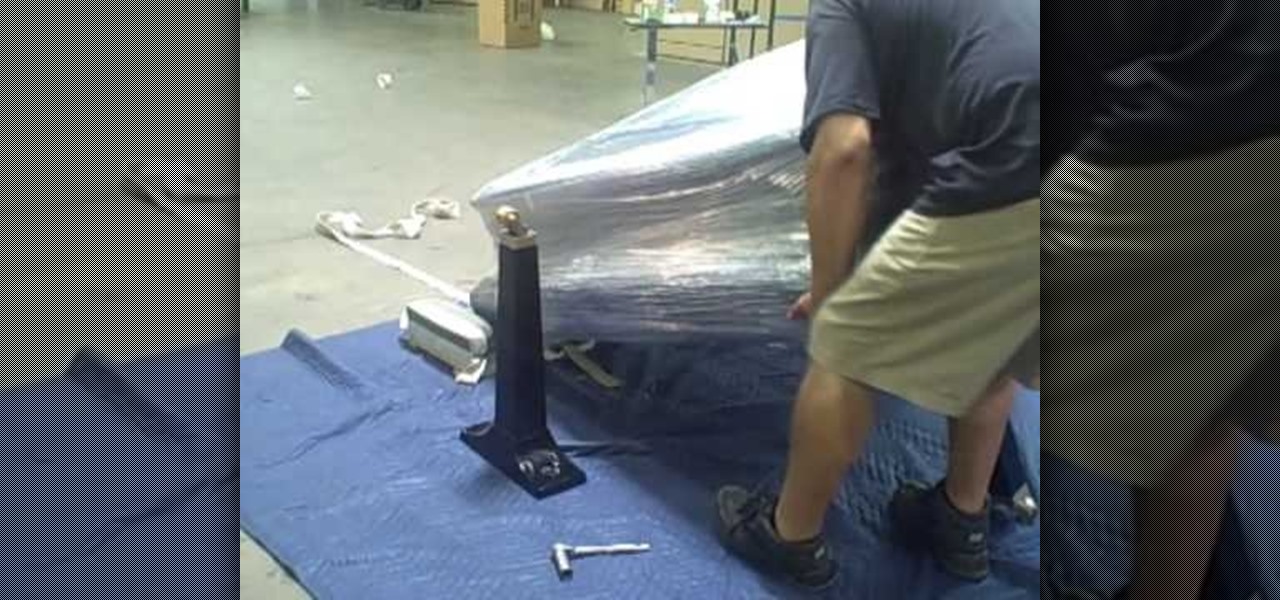
This video demonstrates how to move a piano in one minute. First, cover the top of the piano with tarp. Then wrap cellophane tape around the top, cover and all. Remove the foot pedal. Set aside. Then, remove the first leg of the piano. Rest the corner of the piano body carefully on the floor. Continue to remove the piano legs one at a time. Lifting the piano carefully, wrap 2 straps around the broad top of the piano and lock the straps tight. Draw another strap through the other two straps to...

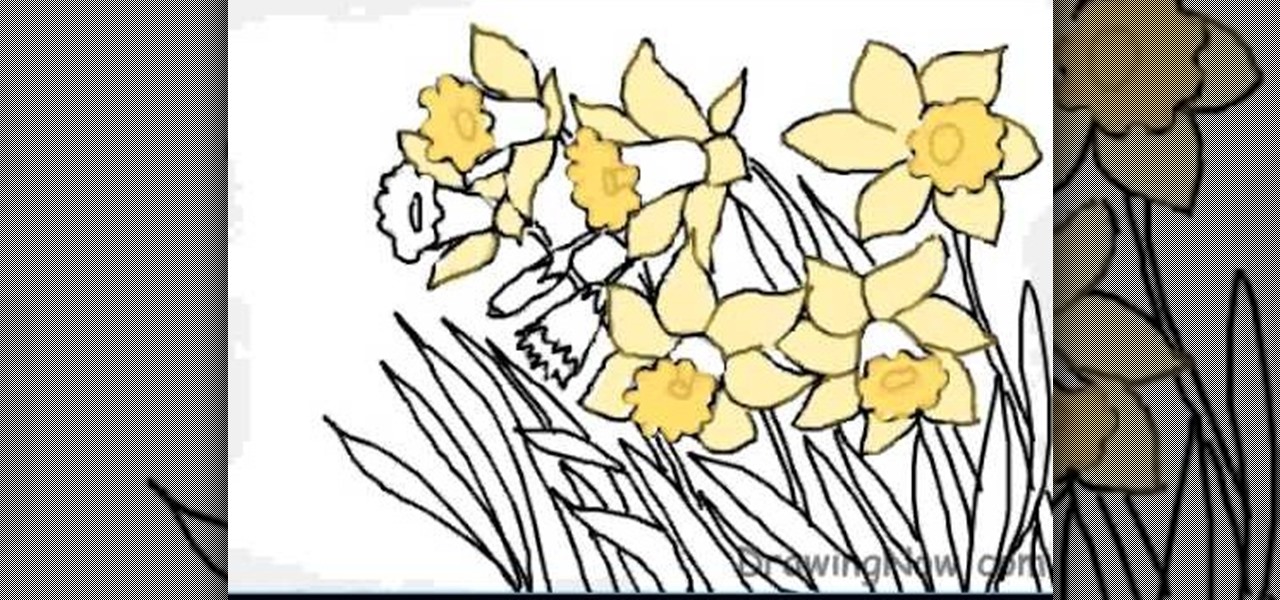
The first step is to draw the daffodil's outer parts carefully. The second step is to draw the circle shape for inner surface of flower.

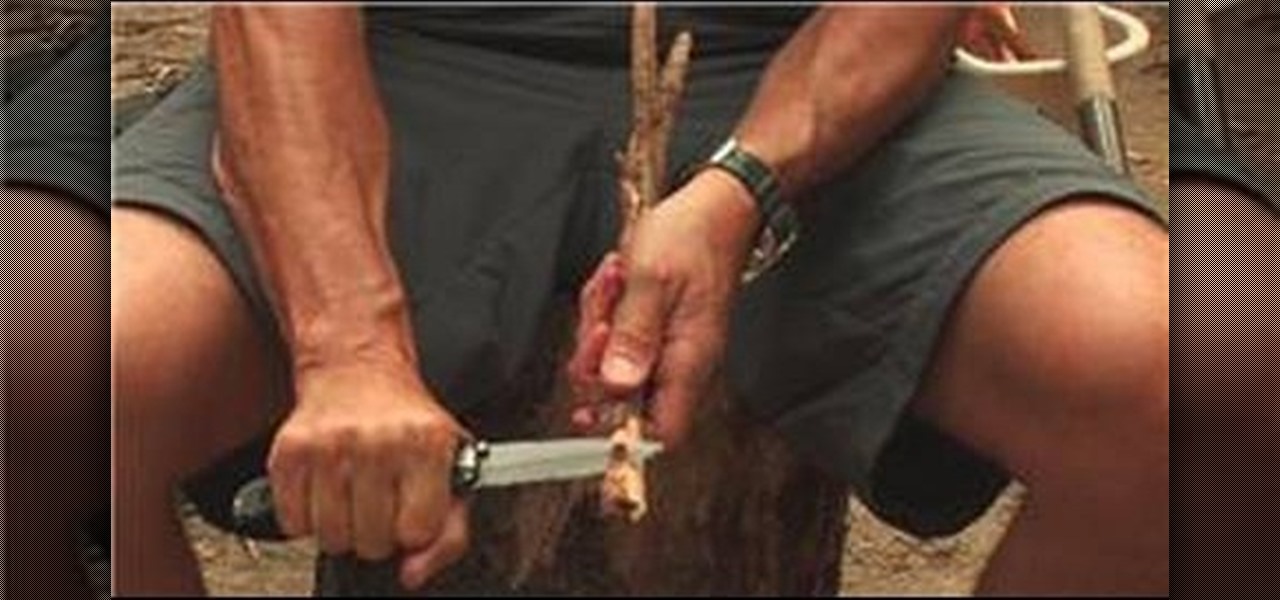
Scott Cook gives you some very easy tips to use your pocket knife carefully. Some of the tips to use your pocket knife carefully are: Always choose a knife with a lock so that it does fold accidentally and a firm handle comfortable to use. Always use your knife away from you while carving. Hold it firmly to carve easily and make sure nobody is around you while using your knife. You can also dig using it and to drill hold it firmly straight and rotate the knife.

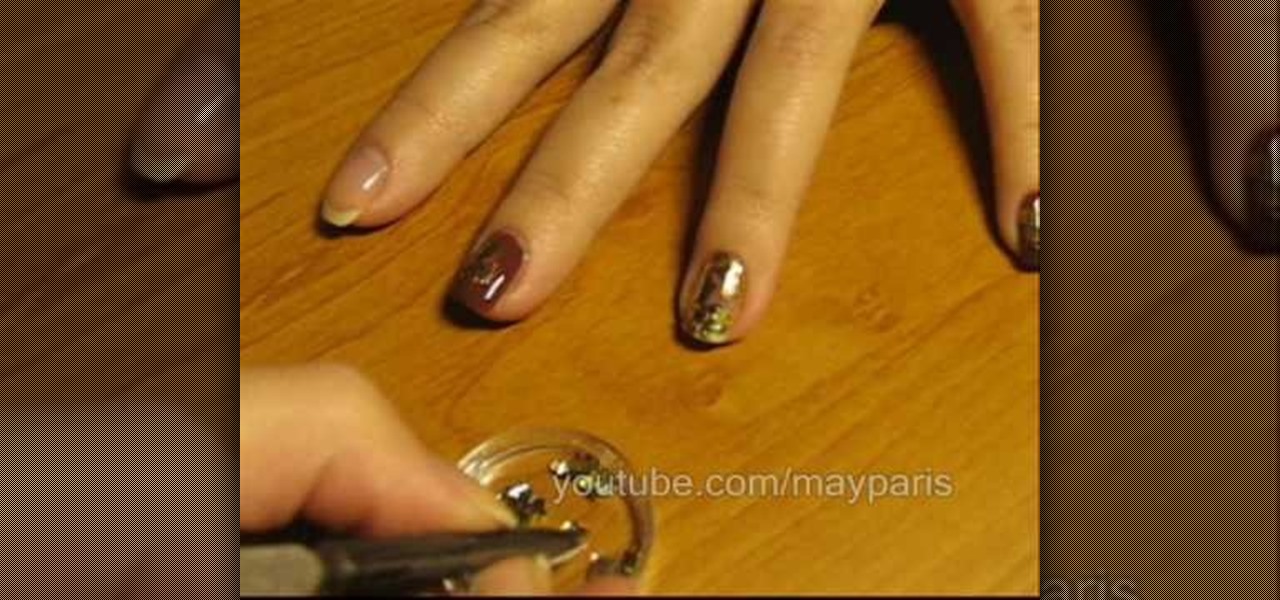
May Paris teaches how to use and apply gold foil on your nails. First step is to apply the base coat as it protects from some harm. Carefully tear the foil in small parts. Now apply brown nail color(or any other color you wish) on the base coat of your nails. Let it dry and use tweezers to pick up the foil. Stick the foil very carefully to your nails as shown. Let it dry and follow the same procedure for all of your nails. Finally apply the top coat to secure the foil as shown. The foil can b...

Check out this DIY video tutorial from Curbly, the best place to share pictures of your home, find design ideas, and get expert home-improvement advice.

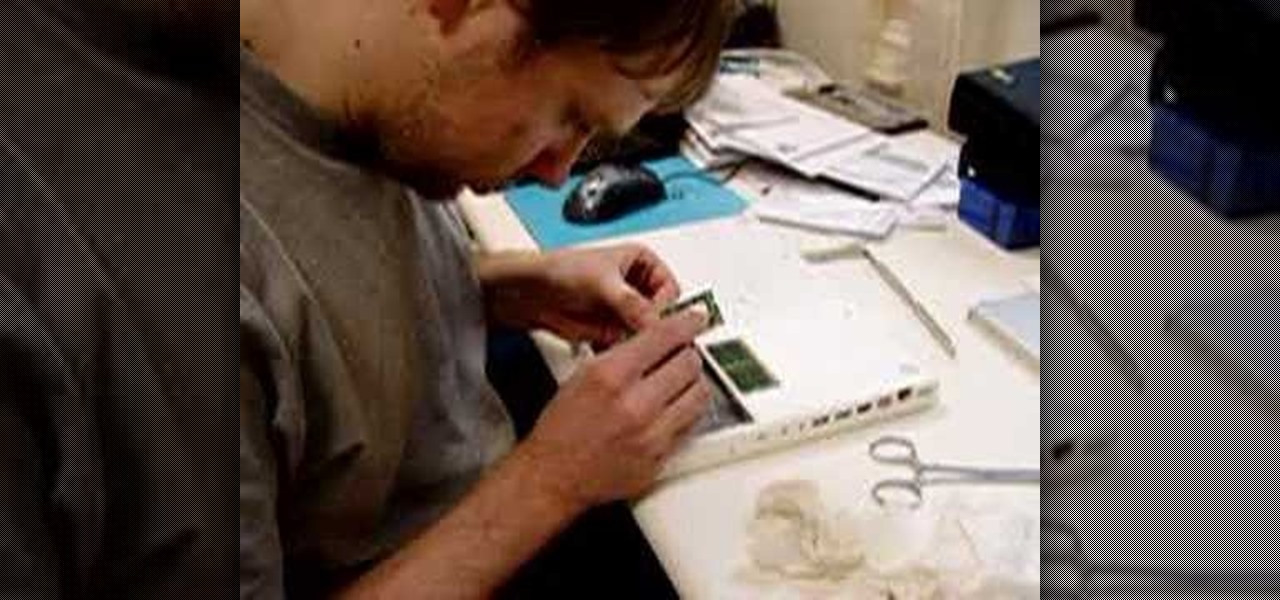
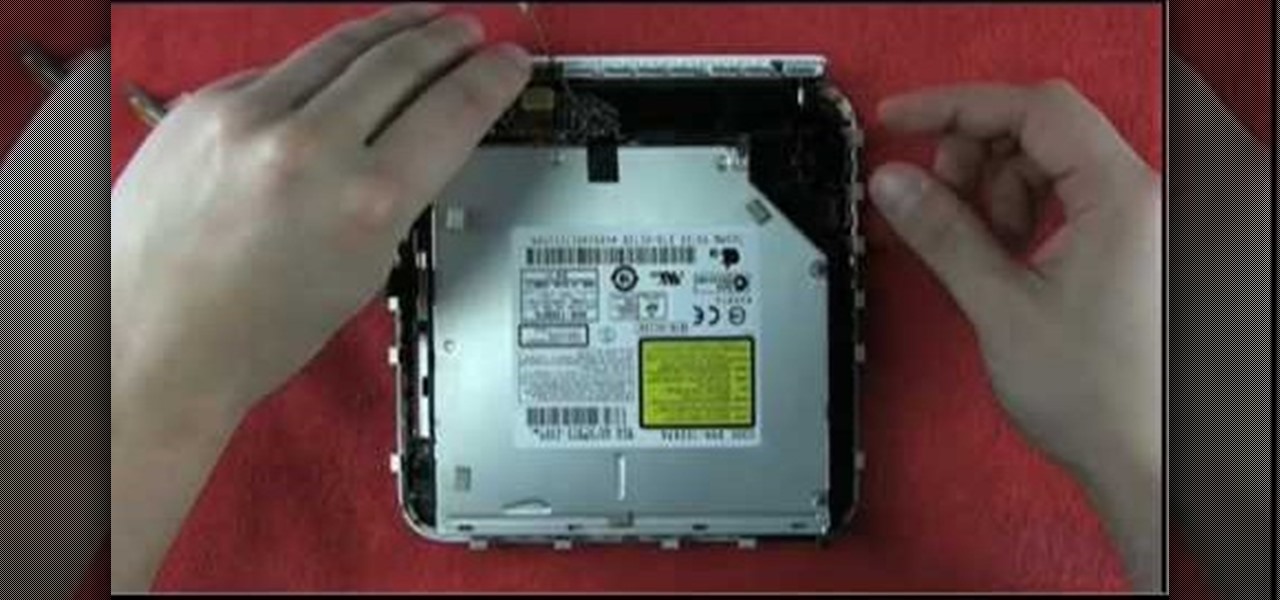
This video demonstrates how to install memory step by step in a Mac mini (2009), as it is a complicated method; it is advisable to watch through the process then attempt to do the same. First step is to remove the old memory from the Mac Mini. Shut down and unplug the Mac mini and place it on a soft cloth to prevent any scratch. Turn-over the mini to get into it using a small buddy knife. Carefully place the buddy knife between the inner and the outer case. Try to detach the inner clips using...

Beach Effect Nail Art Design Tutorial For Beginners!!!!! Sunset the palm trees and the birds..perfect for canvas. Well why not to try it out on nails. This perfect picture has been produce on the nails in a very simple and easy way. Just watch the tutorial to know about this !! Step 1: Apply Base Color

How do you know if the Beats By Dre Studio headphones that you are about to buy online are genuine? Always ask the seller to use the youVerify app before you buy. Smarter Selling, Safer Shopping.

How to prepare for the math section of SAT:Eva for brightstorm2 gives us a few quick tips to solve the math section in the SAT test. They are simple, easy yet crucial to help you get through the math section. Let us begin with the basics. Basic are simple tips like read carefully, use your calculator wisely, use all the information given, do not worry about formulae and symbols, tackle the “always”, “never”, “must and “could and “can” problems. To explain them in detail; you should pay attent...

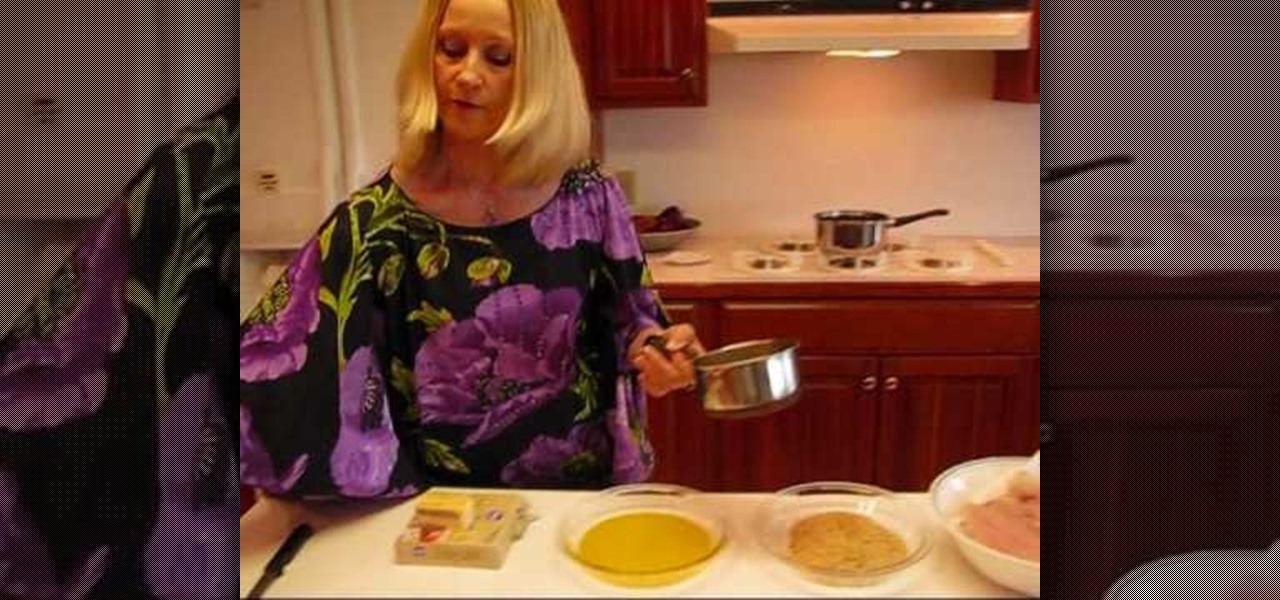
What could be more Southern than catfish? But how do you cook it up? Betty shows you a recipe for delicious broiled breaded catfish!

Motorcycle fatalities are on the rise. Make sure you're doing all you can to protect yourself. Practice good motorcycle safety.

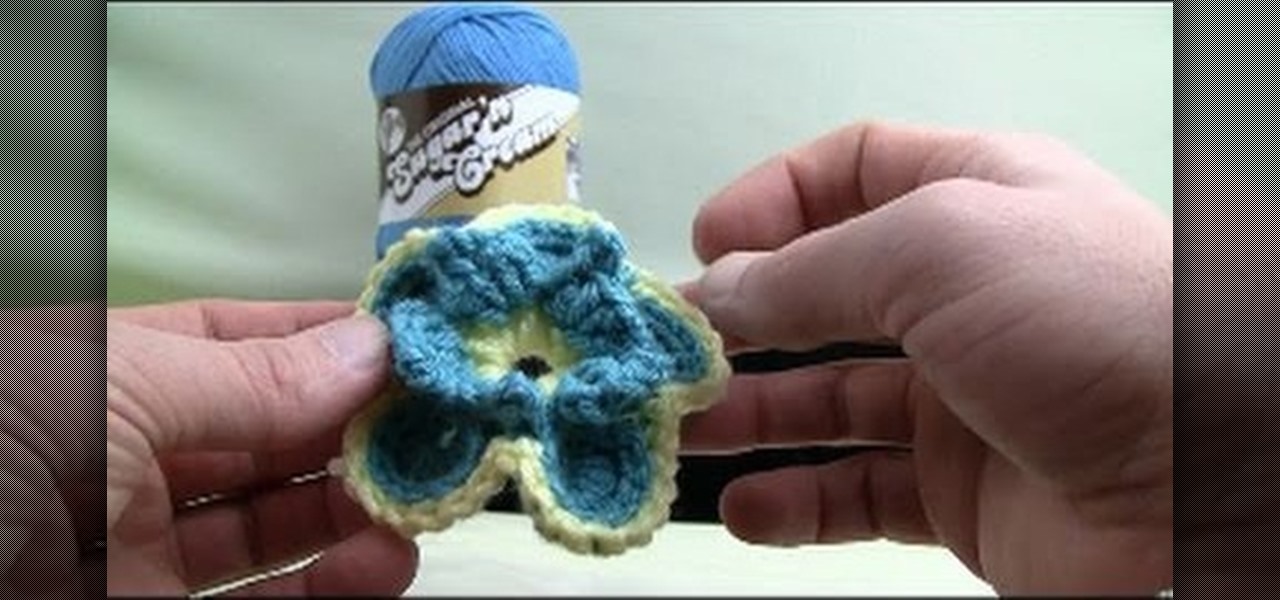
A pansy is a delicate, two-tone flower. This tutorial shows you how to crochet an entire bouquet of beautiful pansies. This makes a great gift or get well present - especially if your recipient is allergic to flowers! Make sure you choose your yarn carefully.

If your iPad's battery is malfunctioning or not performing properly for any reason, check out this clip. In this tutorial, you will learn how to very carefully disassemble and remove the battery from the back of your device so that you can replace it with a new one. Perform surgery on your beloved iPad with help from this video. Good luck!

It couldn't be any simpler than this. You don't need to fuss around to learn Japanese phrases. This instructional video makes it easy as possible by quickly showing you the correct way to say hello in Japanese. It only takes three seconds to pay attention and listen carefully!

Sarah Austin from Pop17 has been getting a lot of emails recently about how she makes her live show. Well, this is how she does it, so listen up carefully. She covers everything from the audio to lights and green screen.

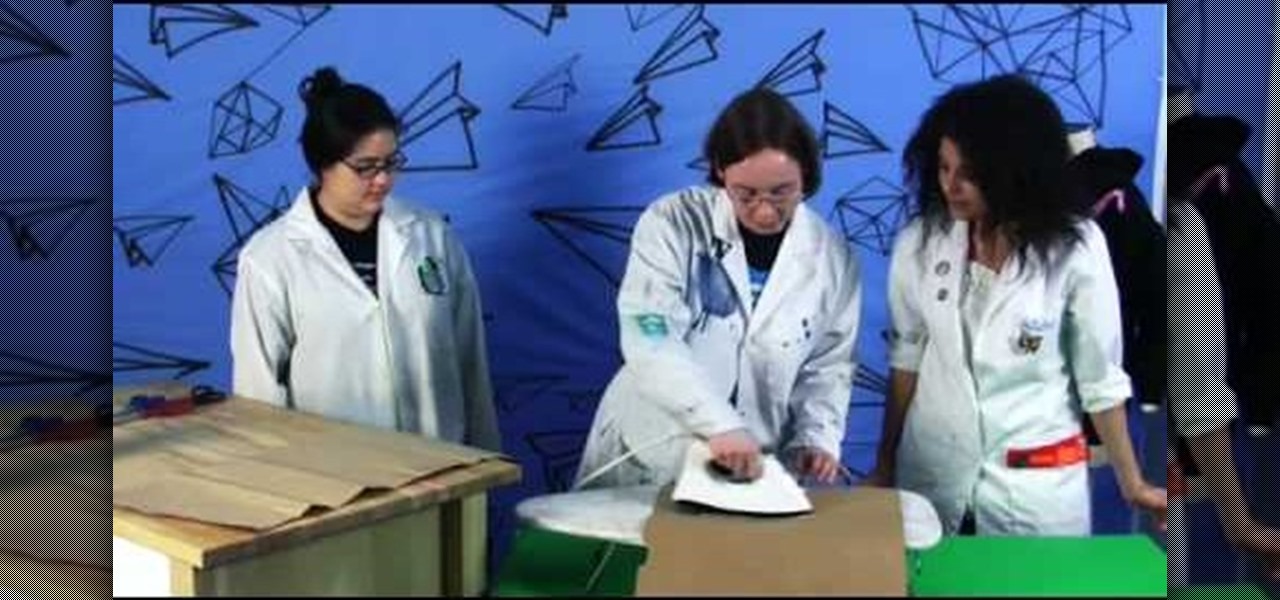
This week, Etsy How-Tuesday presents Kari aka ikyoto and Stella aka lookcloselypress of The {NewNew} York Team. Today we're going to learn how to screenprint our own snowflake gift wrap for the holidays. Kari and Stella remind us that recycling paper bags is a great source for materials for this kind of project.


