
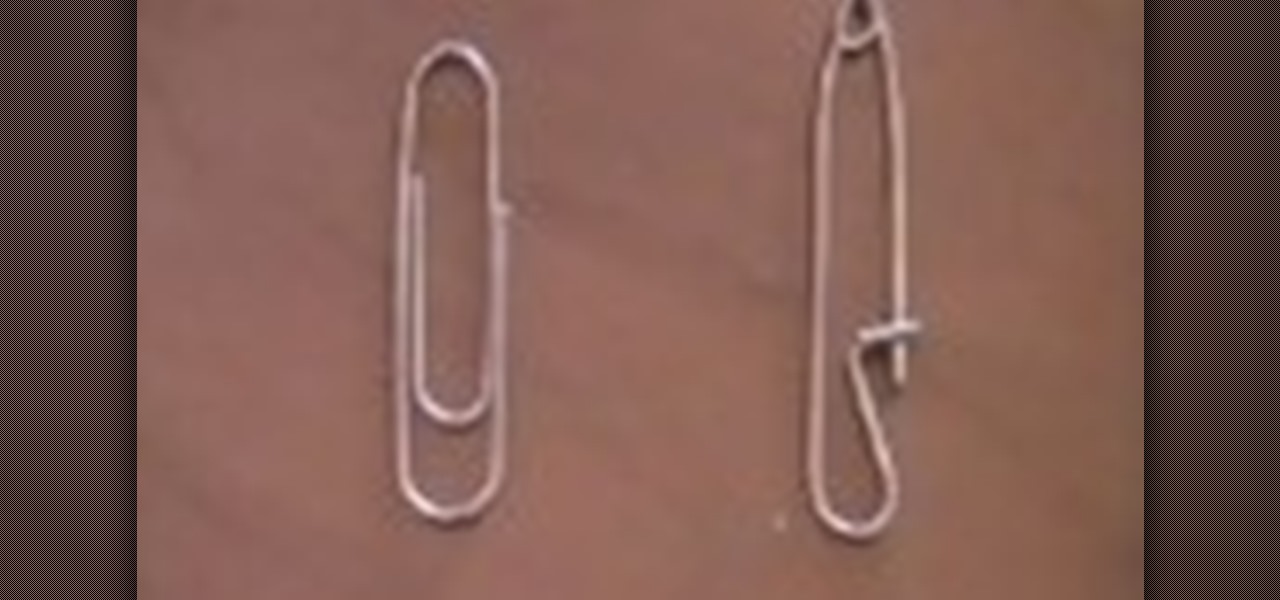
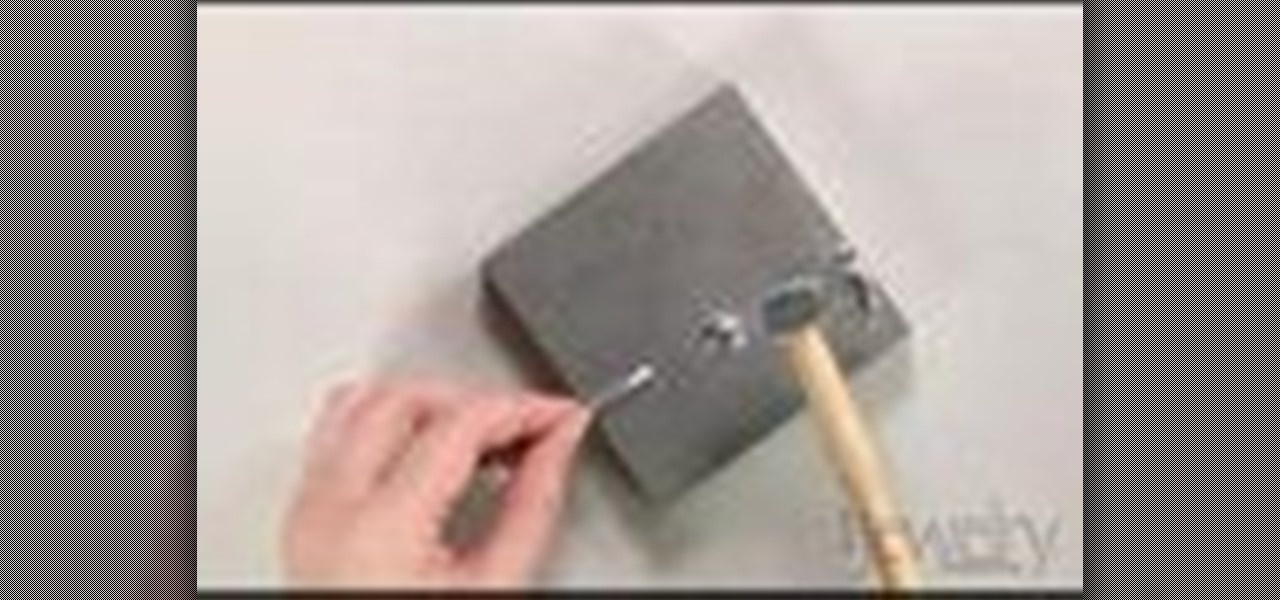
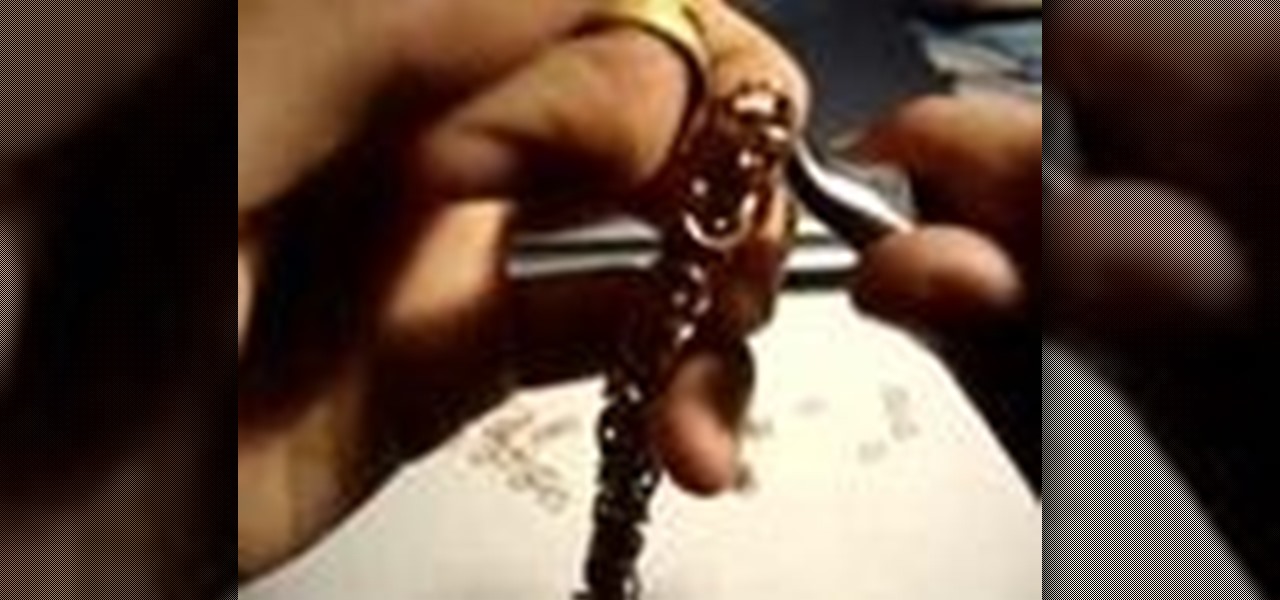
How To: Turn a paper clip into a safety pin
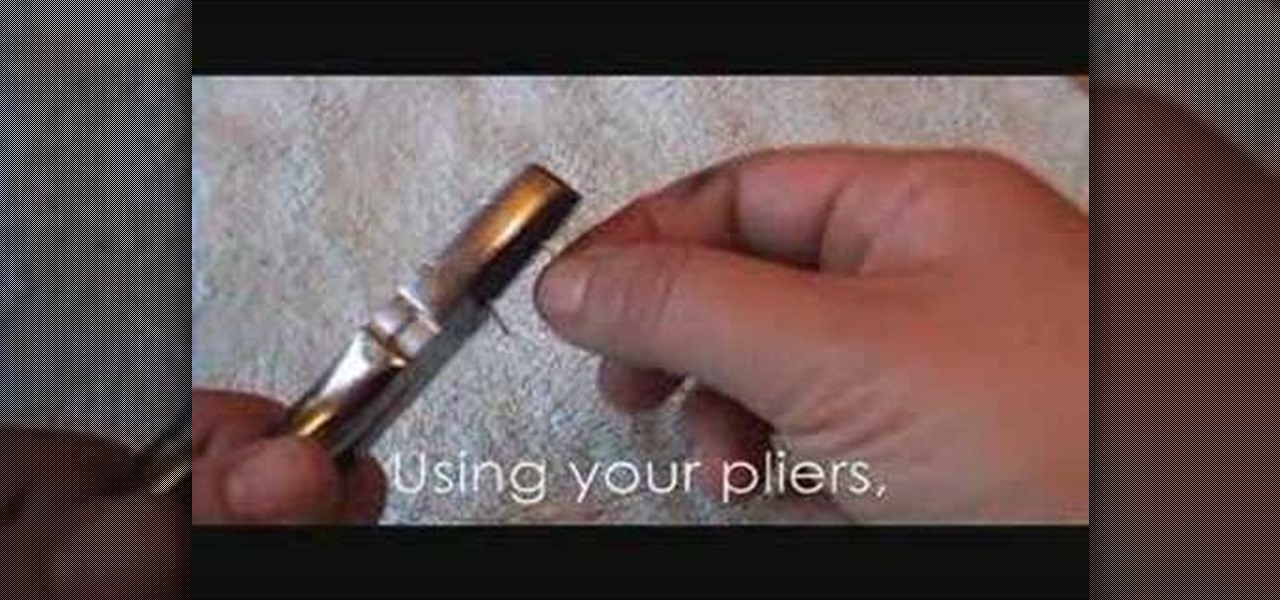
Turn a paper clip into a safety pin with a pair of pliers and some ingenuity.

Turn a paper clip into a safety pin with a pair of pliers and some ingenuity.
In this how-to video, Sensei Paul Adams will teach you how to tie your belt on your karate kid. The belt will be very stiff at first, but will loosen up over the years. Take the middle of the belt and place it on their belly. Take the ends and pull them all the way around until they reach the belly again. Make sure the belt is snug the whole time. Place the right side over the left and pull that end under both layers of the belt. Once this is done, pull the left end over the right and tie a t...

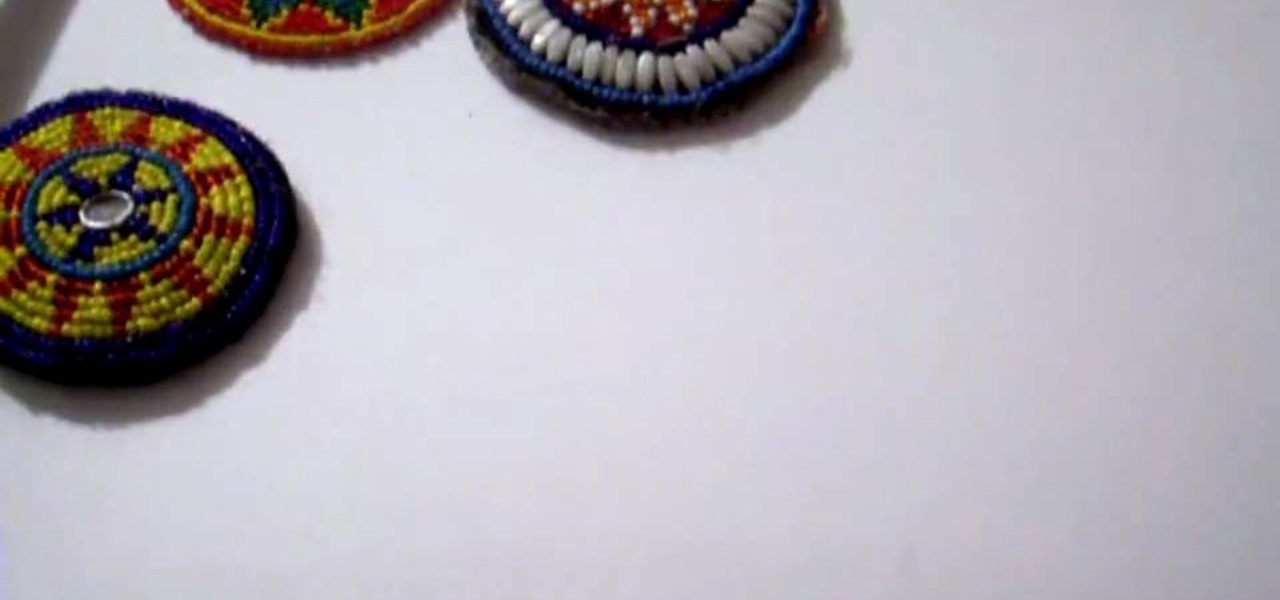
Celebrate the 4th of July by making holiday earrings. You will need:
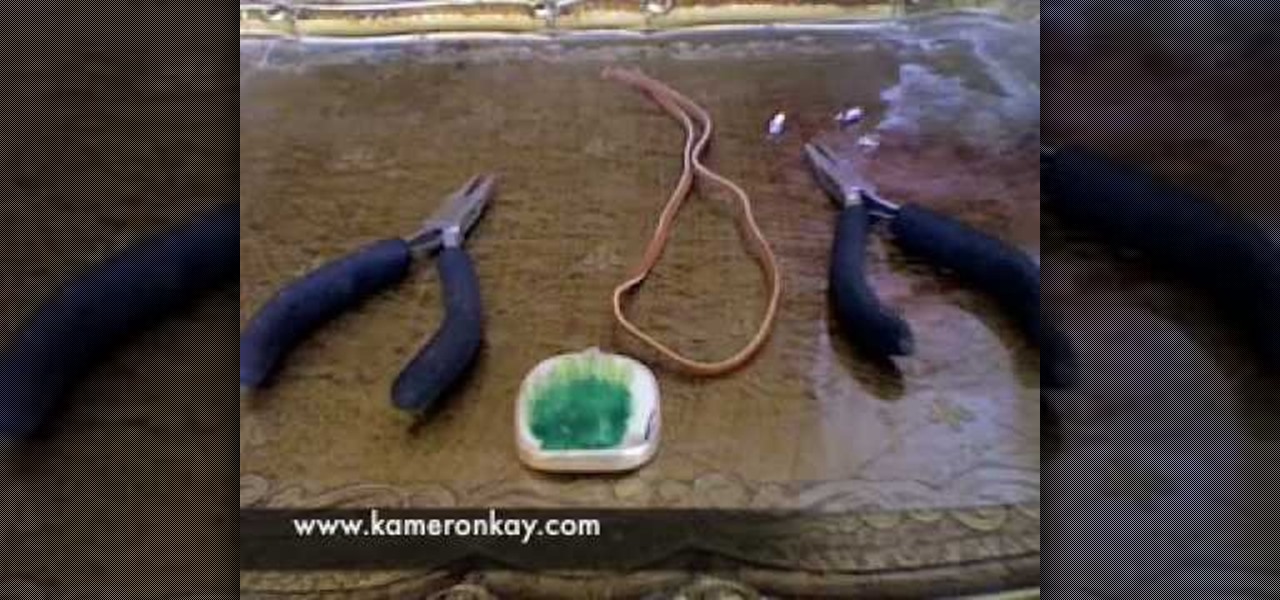
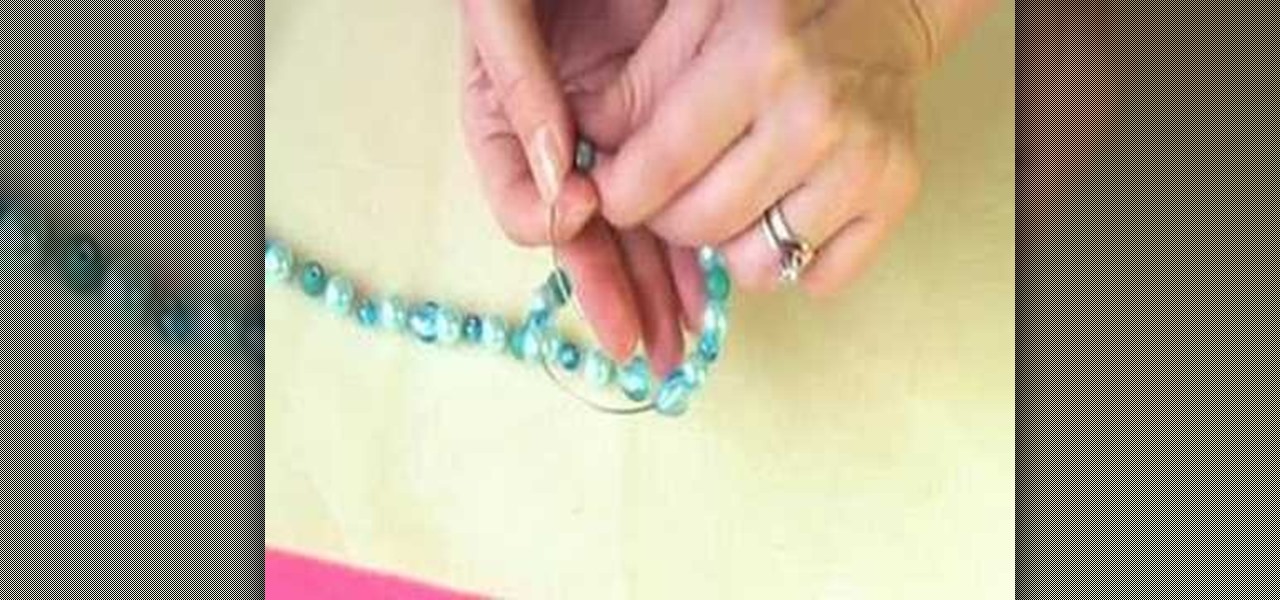
Same money at Christmas time by making some of your gifts. This video shows us how to make a pendant necklace.

This video clip from The Crafts Channel shows how to make a bead cage. A bead cage is where a piece of wire is wrapped decoratively around a large bead. For the example bead cage .8 mm wire was used. If the wire is too thin it will not hold its shape, but if it is too thick it will be hard to bend into the desired shape. Take some needle nosed pliers and make a complete circle, and then use some flat nosed pliers to begin forming a spiral going outwards. Now do the same thing beginning at the...
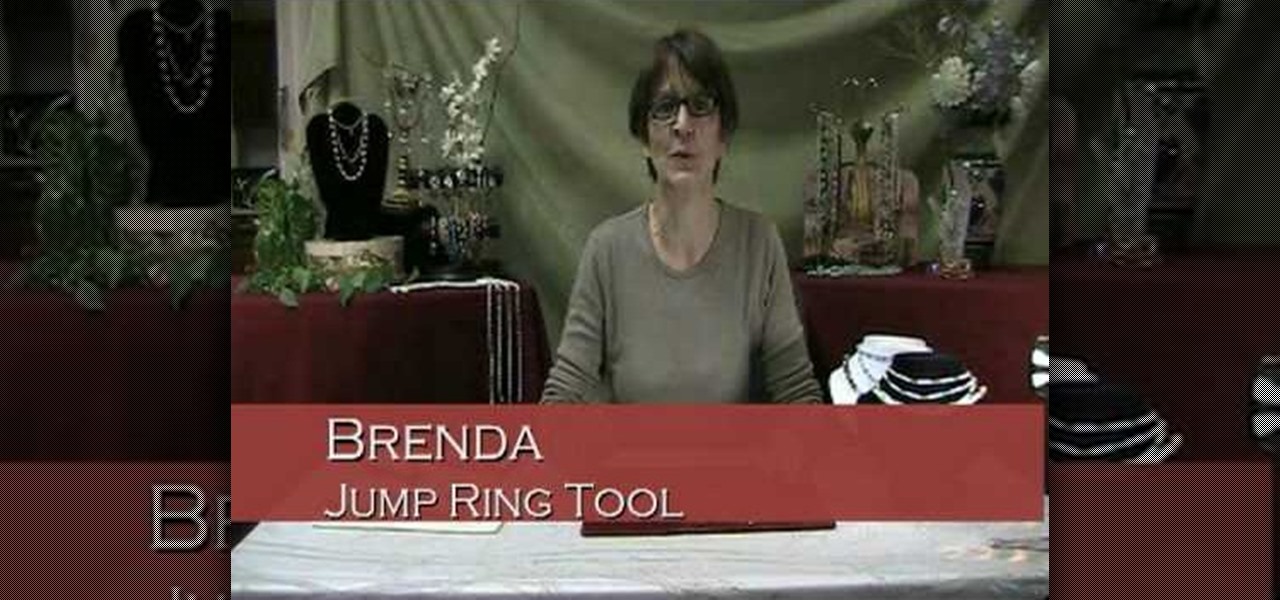
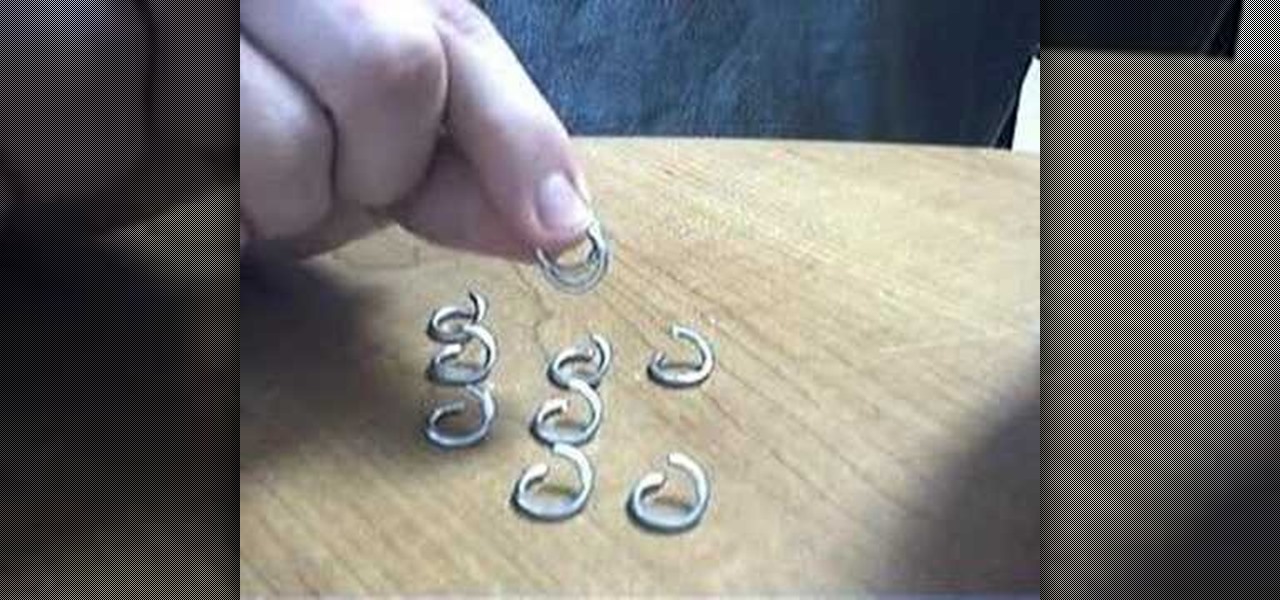
Brenda shows us how to use a jump ring tool as a part of beading techniques. The jump ring tool can be used in place of two pairs of pliers to easily open and close the jump rings. First place the jump ring tool on the index finger of your non-dominant hand. You will notice that there will be more slots and you need to choose the best one that fits the jump ring that you are using. Use a pair of pliers to position the jump ring on the slot on the tool with the opening of the jump ring just ou...

Clam Shell end tips, or knot covers, are normally used when you are stringing pearls or other beads on silk or nylon thread. They cover the knots on the ends of the thread so they can't be seen.
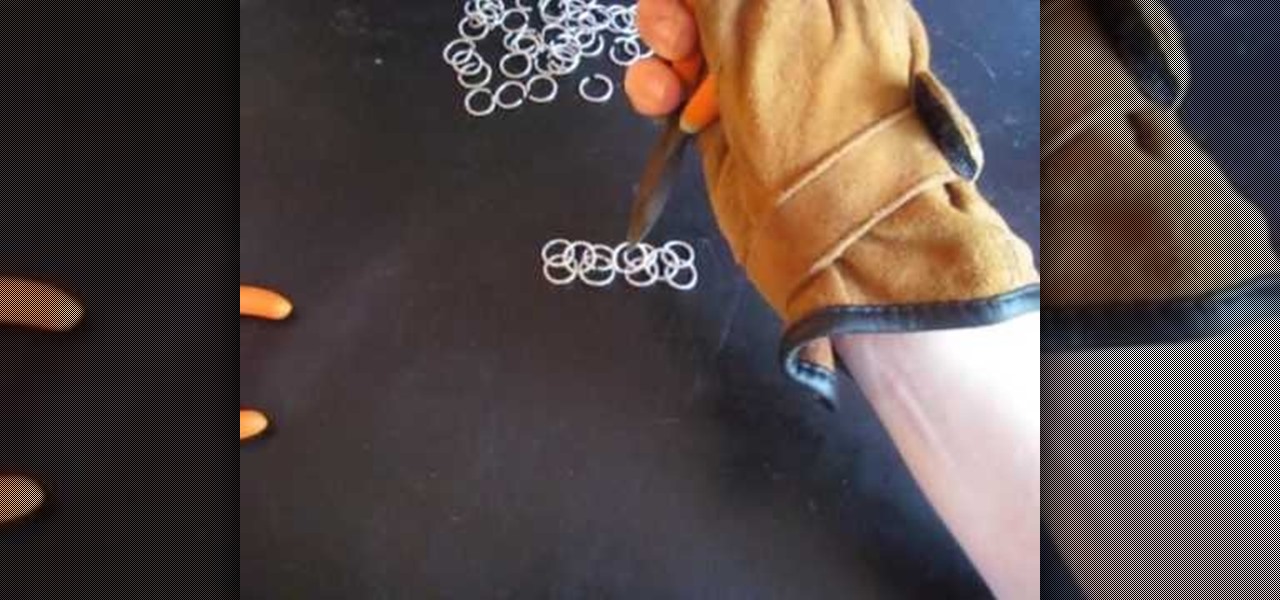
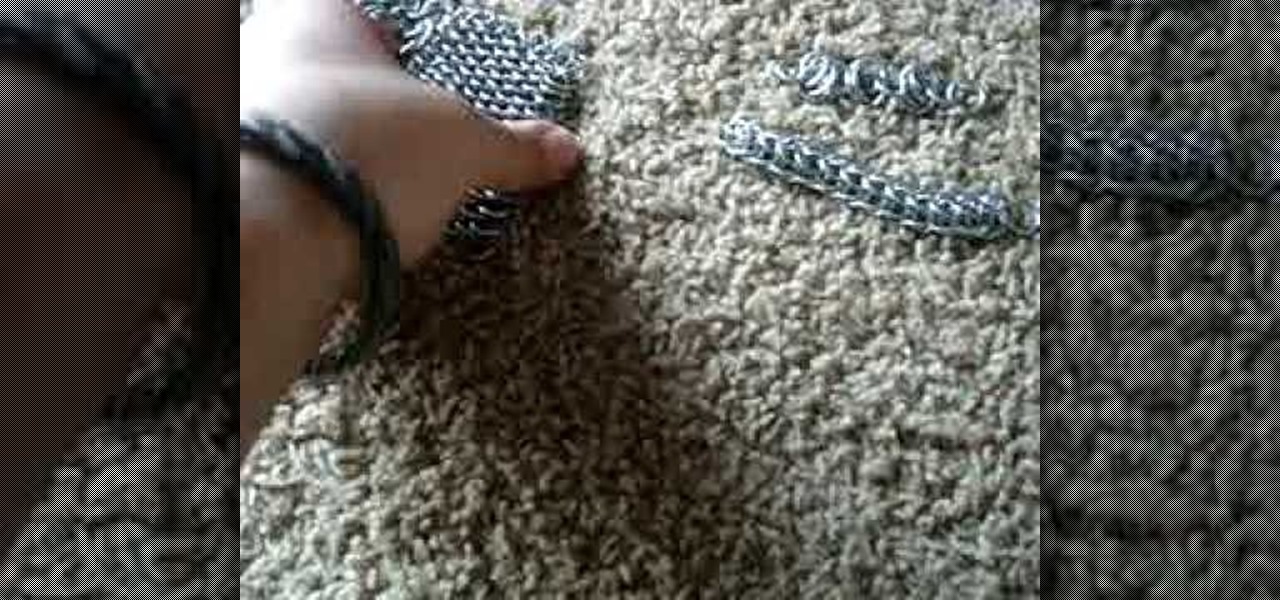
This tutorial shows you how to make chainmail following the tradition European four in one method. You'll need many small metal rings of uniform size and some metal pliers (work gloves are also recommended!) Afer you make each individual unit, you're also shown how to bring them together in a larger piece.
Replicate the style of hanging lamps sold in high end boutiques! You'll need two separate gauge of wire, a few pliers, spray paint, lamp parts and a screwdriver. Cut your wire and shape according to design. Then assemble this over your lightbulb, and you have your own hanging pendant lamp!
Want to make bows and arrows with paperclips, tape, a rubber band, and some Q-Tips?
Want AAA batteries for cheap? Learn how to hack a 9-volt battery with this money-saving video tutorial from Make Magazine's Kip Kay. All you'll need to replicate this hack at home is a pair of needle-nosed pliers and one or more Energizer 9-volt batteries. For instructions on how to extract quadruple A batteries from an Energizer 9-volt, watch this how-to video.

Raven Symone shows you how to make earrings using yarn. You will need yarn, a crochet needle, tapestry needle, silver hoops, pliers and earring hooks. Learn to crochet with Raven Symone to make a fun piece of jewelry. You can use your crochet skills to make other fashionable objects. Raven Symone explains that crocheting is about much more than doilies.
Art Jewelry Magazine associate editor Addie Kidd shows you how to make an S-hook clasp with hammered ends. You'll need silver wire, pliers, and a hammer. Learn how to craft an s-hook clasp for necklaces or bracelets by watching this video jewelry-making tutorial.
This beaded candle decoration adds some extra embellishment and flair even to ordinary candles. To make the candle charm, you will need beads, a wire coil, and pliers. Learn how to craft this beaded candle decoration by watching this video beading tutorial.
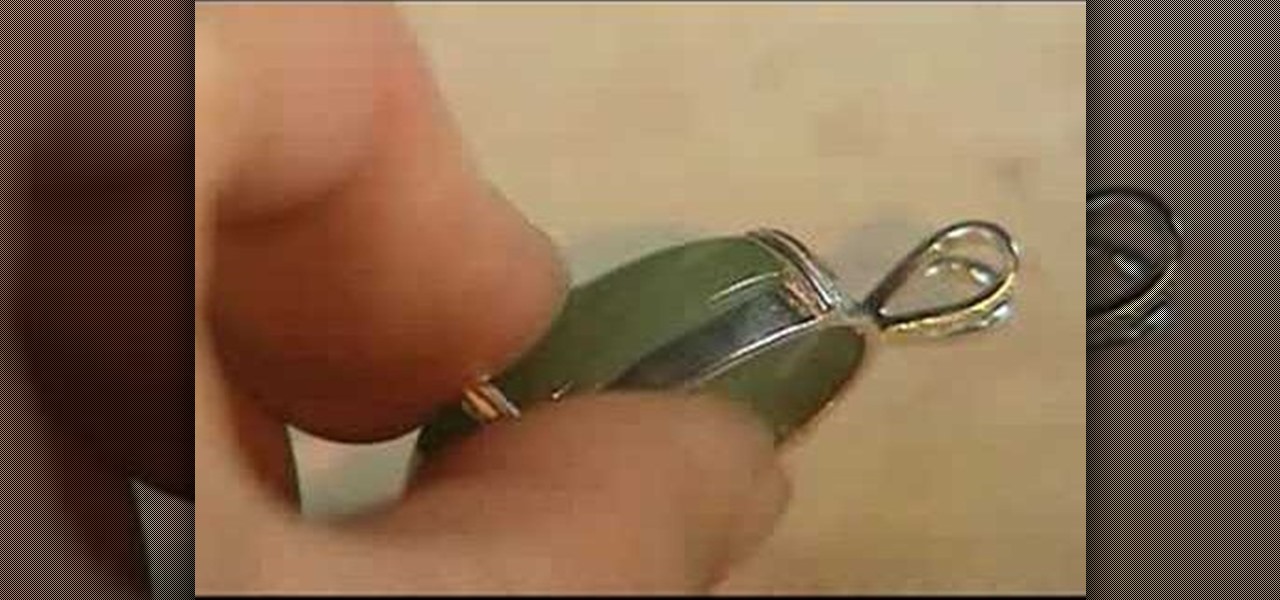
Gemstone necklaces are quick to make at home, not to mention cheaper and more customized. To make a gemstone round bezel necklace, you'll need a round bezel finding, a gemstone to match the finding, a jewelry chain, and bent chain nose pliers. Learn how to make a gemstone round bezel necklace by watching this video jewelry-making tutorial.

This video is in the Arts and Crafts category and you will learn how to make fish-shaped earrings in this video. It is really very simple and easy to do this. You will need some silver plated rings that have hooks at one end and round nose pliers. First, press the hook with your fingers to give it the shape of a fish. Then with the pliers, bend the non-hook end of the ring backwards to form the tail of the fish. Now you have the fish-shaped earring. You can hook it into another ring and you h...

If you want to replace a hose bib outside of your house make sure you take a look at this guide to learn what tools to use and how to prepare. For example, you will need to make sure you turn off the water in your home beforehand. So grab a crescent wrench and a set of pliers and install your new hose bib.
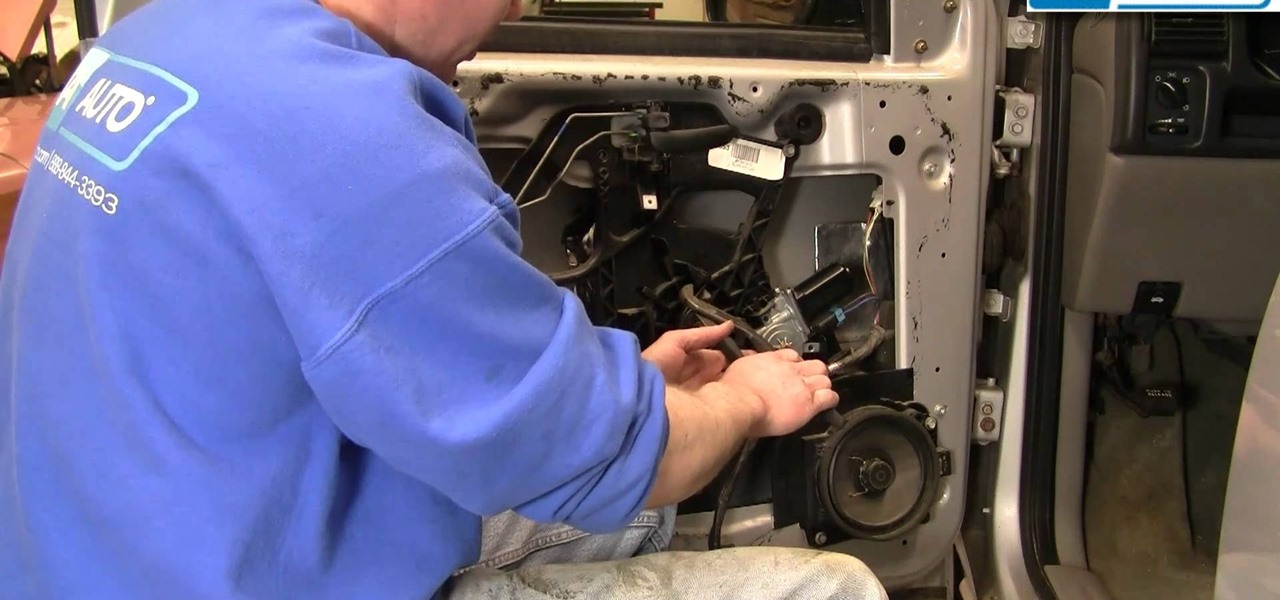
You're shown how to replace the driver's side regulator, but the procedure is the same on the passenger's side as well. You will need: a 10 mm socket and ratchet, a flat blade screwdriver and a pair of large pliers.

Upcycle your old T-shirts into a classy and fashionable corset top! All you need are some basic sewing notions, in addition to eyelets and eyelet pliers. Embellish your corset top with ribbon, appliques, rhinestones or any other accessory you fancy.

These make great embellishments for scrapbooks, garlands, presents or even as jewelry! All you need are some festive holiday beads or faux pearls, some flexible, thin wire to string them on, a sharp wire cutter and several pairs of various jewelry pliers.
These crafts are ideal handmade gifts, especially if there is a belly dancer on your list. You will need a needle, sturdy thread, scissors, small pliers, clear nail polish and craft glue. And, of course, the medallion you want to use!
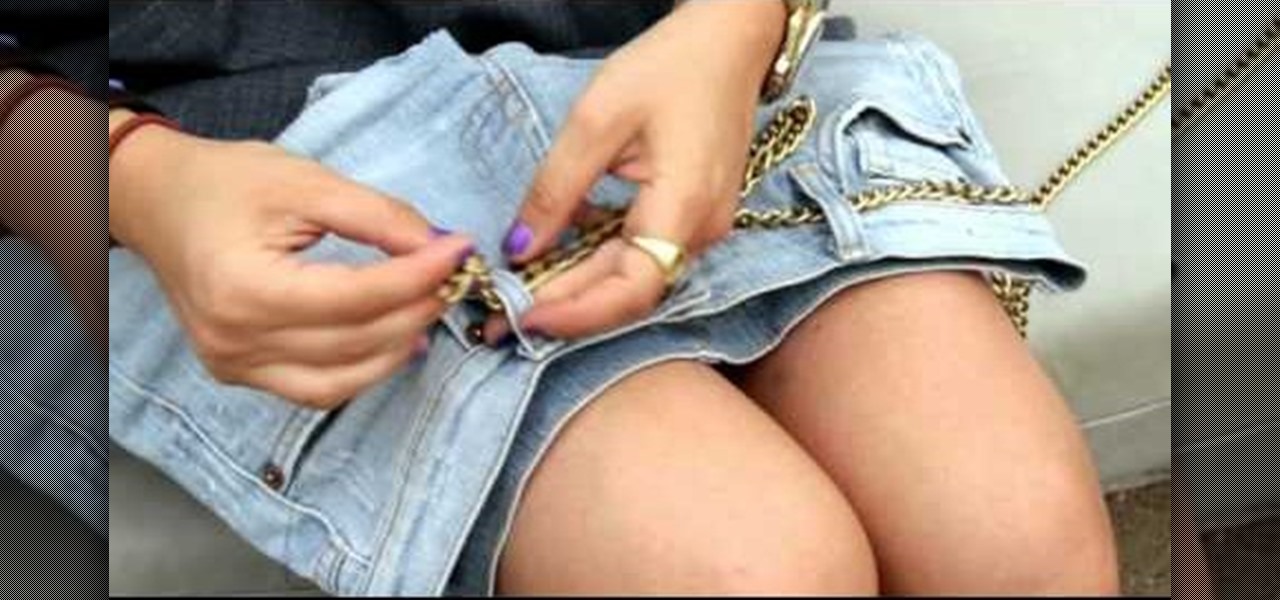
Repurpose a pair of denim shorts into a fun and cute messenger bag! You'll need a pair of denim shorts (or jeans), scissors, needle and thread, straight pins, pliers, chains, your favorite vintage brooches or buttons, and a length of Velcro.
If you don't want to buy your links pre-made, you can coil your own links. You'll need wire (sixteen gauge is the most common), metal dowel rods in the diameter you want, variable speed drills, wire cutters and at least two pair of pliers.
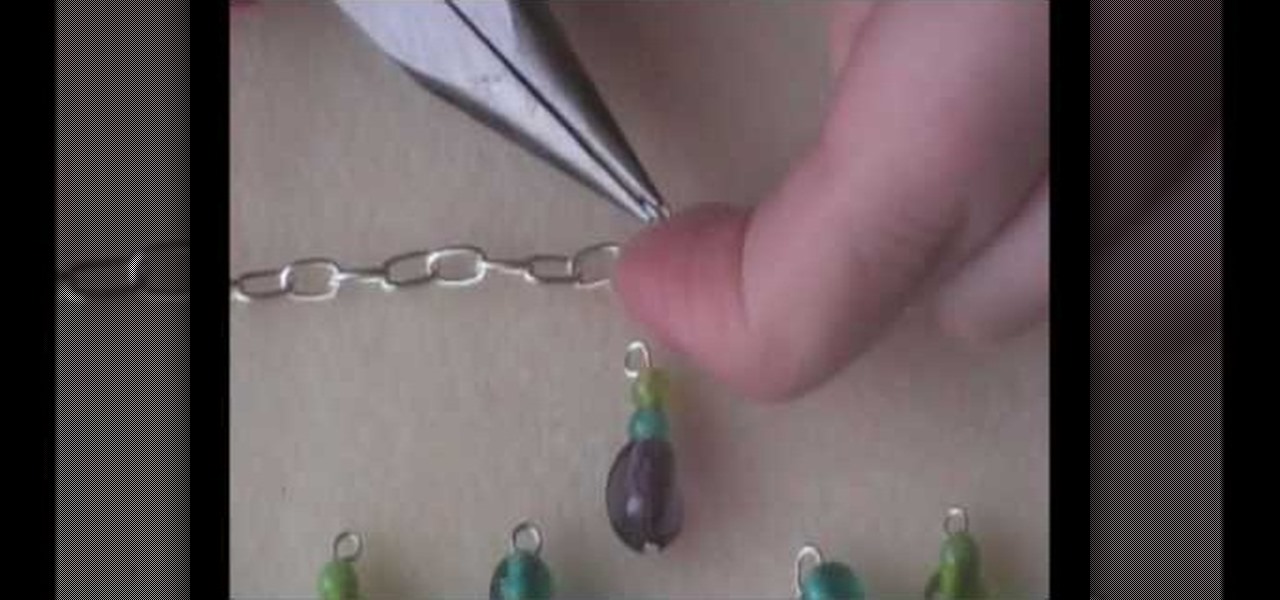
You may be able to find a blank silver chain for making a charm bracelet in stores, but if not, you can easily make your own with a length of jewelry chain, a toggle clasp and some jewelry pliers. Once you have the base chain, just string your beads using jump rings for a lovely beaded charm bracelet!
Lowe's brings you this video about how to fix your leaky faucet. More specifically, how to fix your Delta bathroom faucet. A leaking and dripping faucet could be a sign for bad seats and springs, so watch and learn how to replace them. You'll need an 1/8" allen wrench, needlenose pliers, channel locks, screwdriver, and replacement parts.

Starting with a pair of pliers, side-cutters, beads, wire, and a cross, you can make your own homemade rosary. This video demonstrates the basics to get you started.
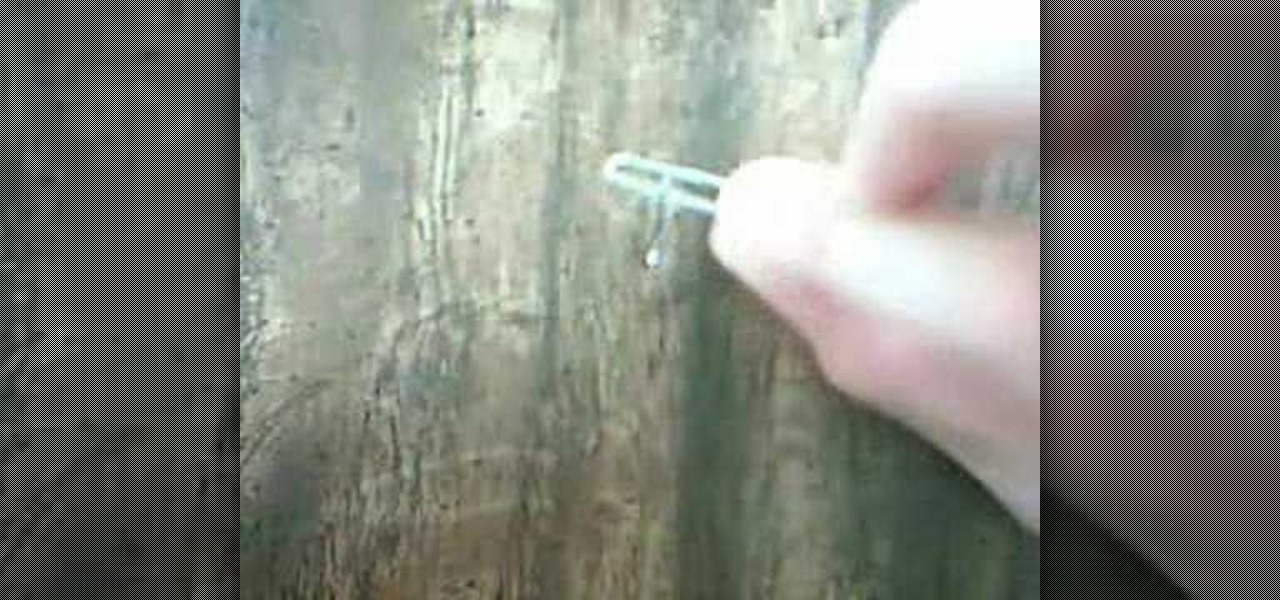
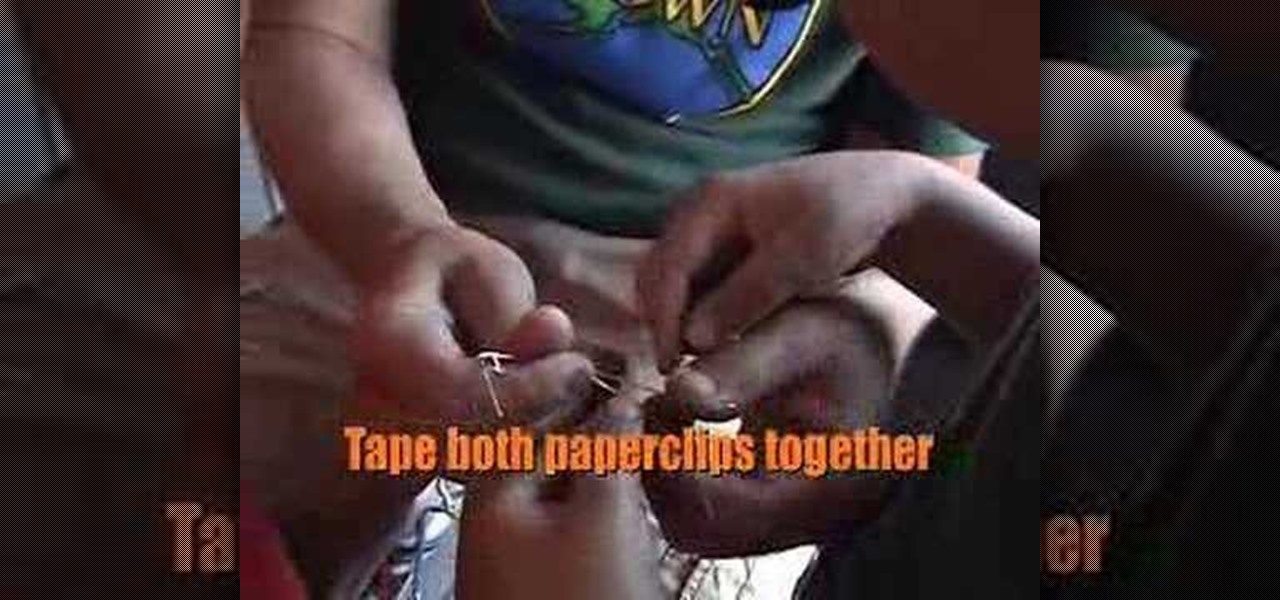
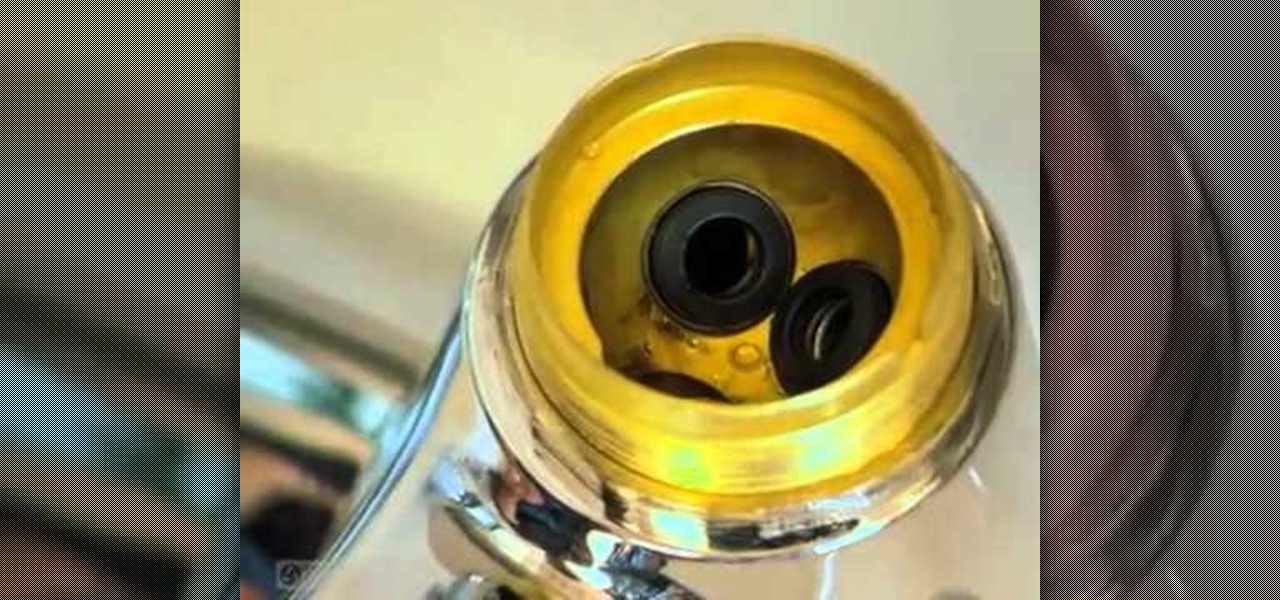
Learn how to pick a luggage lock with this lock picking tutorial. You need a baggage lock and a paperclip. Use needlenose pliers to bend the paperclip into a lock pick or a homemade key. Twist your lock pick around until the lock opens. Simple lockpicking tutorial.
The most important items in a tool kit, are the protection and safety equipment, like a breathing mask, ear muffs, and eye goggles. Other than that, tools vary on your needs. Some basics are a handsaw, a hacksaw, a level, a hammer, screwdrivers, a measuring tape, a shifting wrench, a chisel, pliers, a combination square, a utility knife, and a clamp. Watch this video home improvement tutorial and learn how to select tools for a basic tool kit.
This video jewelry-making tutorial shows how to make a pair of ear hooks to create your own dangling earrings. This video lesson will guide you step by step on how to make your own earrings findings - a pair of ear hooks to dangle your beads on. You will need flat nose pliers, 2 eye pins, 2 tiny beads, and you're ready to follow along with the instructions in this video to make a pair of earring hooks.
This little ring is a frequently used chainmailing tool. The ring tool substitutes for a pair of pliers, and works for about eighty percent of chainmail patterns. Watch this metalsmithing video to see how the ring tool is used.

Watch this instructional metalsmithing video to knit the chainmail box pattern. Use a quality set of pliers to knit this chainmail box pattern for complex chains. Use different widths of wire to make smaller or larger box patterns.
This instructional metalsmithing video demonstrates how to knit the spiraling chainmail pattern. This spiral pattern is useful for some chain link bracelets and necklace forms. Don't forget to use a quality set of pliers to save your hands some trying metal bending work.
Work with sterling silver wire to make a link for jewelry clasps, loops, chains, bead work, and earring hooks. All you need is some silver wire and a pair of needle nose pliers. Jewelers need to make these simple loops for beading necklaces, connecting rings, and making earrings. Follow the instructions to link two silver wire loops to begin making a chain.
This video shows aspiring jewelry makers how to make a simple wire loop using round nose pliers. This essential and fundamental wire working technique is one of those jewelry making tricks that you must master in order to make almost any kind of handmade jewelry.
Learn how to straighten wire with this jewelry making video. Use a pair of pliers to straighten a piece of warped wire. When making earrings, bracelets, rings and necklaces, don't throw away the bent pieces of left over wire. They can be salvaged!
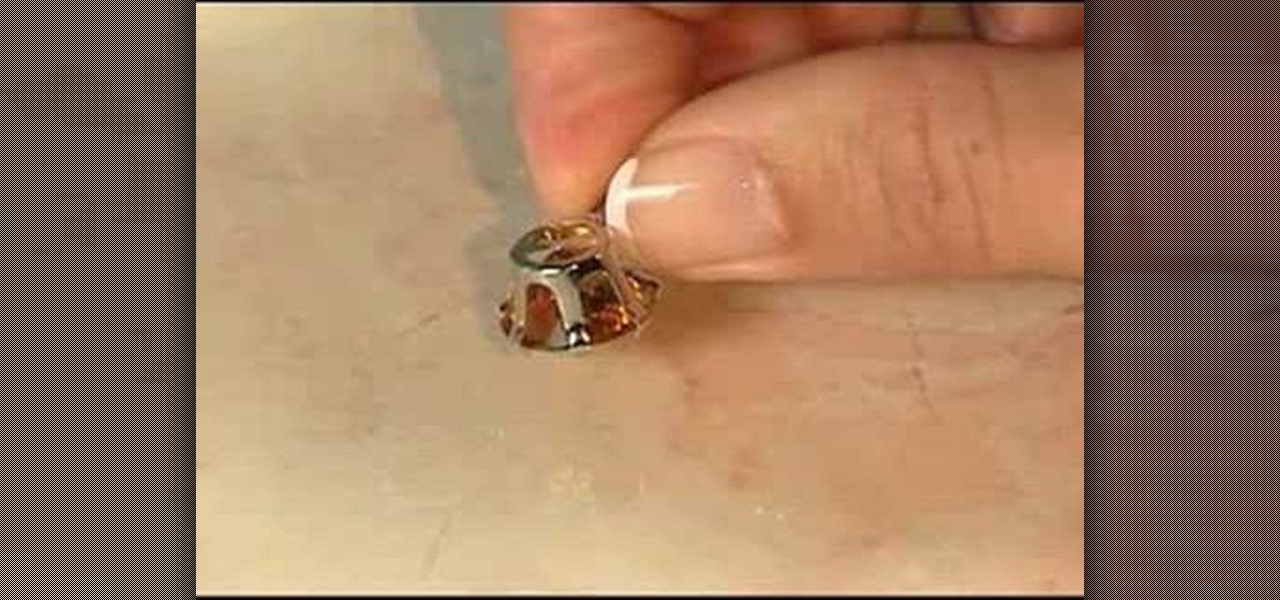
One important part of jewelery making involves properly setting stones. This jewelry how-to video demonstrates the proper way to snap set a six prong pendant. Begin with your stone flat face down on a surface, with your casting in hand gently press the setting down over the gem stone. You will feel it snap into place. To tighten and secure that your setting is in place use needle nose pliers.
One important part of jewelery making involves properly setting beads and gemstones. This jewelry how-to video demonstrates the proper way to set a gemstone in a basket setting. Begin by placing your stone face up inside the casting. Next, holding on to the casting, press the prongs down over the stone. Secure the fit with the round setting pliers.

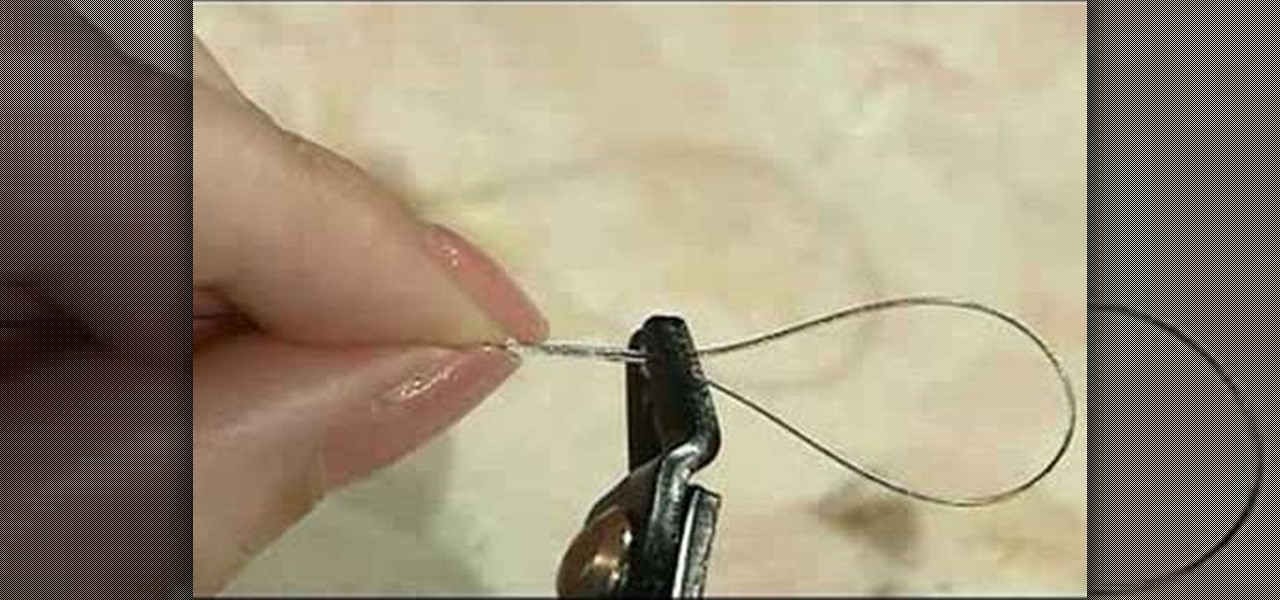
One important part of jewelery making involves properly opening and closing jump rings. This jewelry how-to video demonstrates the proper way to do just that with chain nose pliers. Watch and learn how easy it is to connect your pieces of jewelry with a simple jump ring.

One important part of jewelery making involves properly attaching hooks. This jewelry how-to video demonstrates the proper way to attach a hook, use it for making earing, bracelets or charms. Begin by holding the wire firmly in one hand. Using the chain nose pliers gently twist the ring at the end of the hook until it is open. Then place the completed piece of jewelry and secure it in place.
One important part of jewelery making involves properly crimping beads. This jewelry how-to video demonstrates the proper way to crimp beads on a wire. With the crimp bead on the wire place the bead in the first notch of the crimping pliers. Gently squeeze the tube until it is flat and secures the wire.