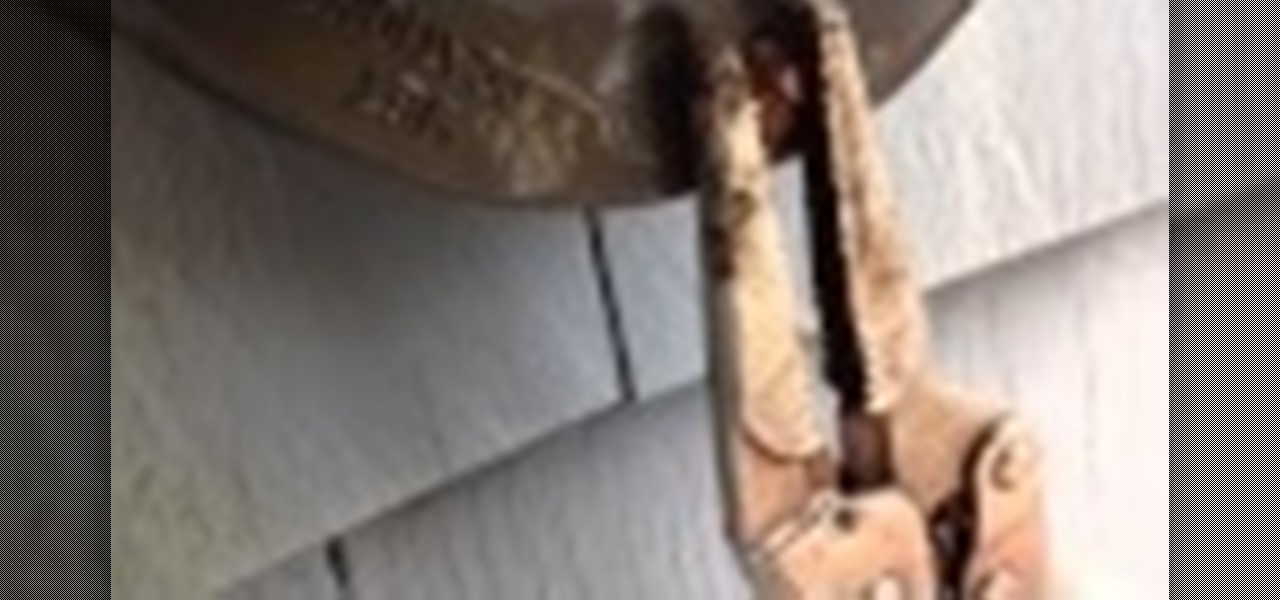
This video will show you how to remove a stubborn,stripped,damaged or rusty bolt using a set of alligator Vise Grip pliers. Usually this will do the trick and get a bolt with a stripped head out for you.
First of all you need roll of wire around 1 or 1.25 millimeter thick. Now take the roll of wire and using a round nose pliers bend the wire about 5 cm. now take a flat nose pliers and the hold the ends and bend it round to make a hook. Now taper off the end and then straighten the wire. This shall be the top portion of your pin. Now take round nose pliers and then wrap it in a complete circle and then repeat it two more times. This shall produce three loops and you can also adjust the length ...

In order to make this your going to need buttons (as many as you want depending on how you want it to look), some hook earrings, jump rings and a flat nose pliers. Take the buttons you wish to use, and open the jump ring with your flat nose pliers. Take another button and do the same thing. Link both of the jump rings together. Close the jump rings with the pliers. Next set up another jump ring with button. Repeat with as many buttons and jump rings as you wish. When your finished with adding...

Try these simple fixes to salvage your specs. Learn how to fix your eyeglasses with this helpful guide.
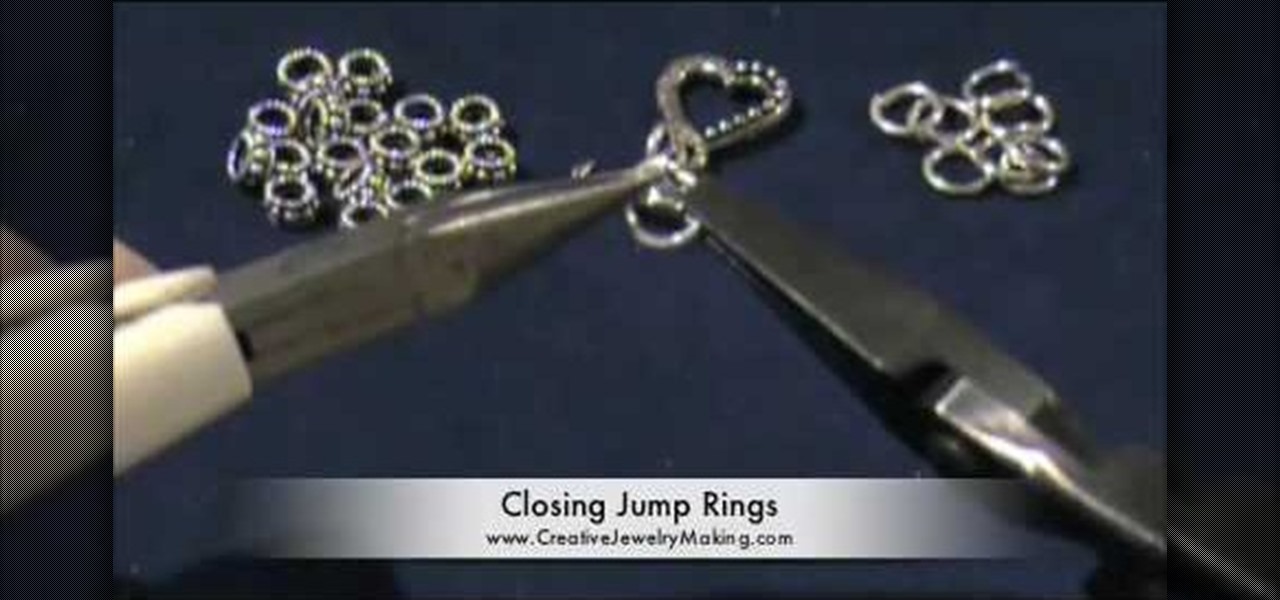
Jump rings serve a variety of purposes in jewelry making, the most common of which is connecting adjoining sections of a necklace, bracelet, or earring. If you would like to integrate jump rings into your jewelry crafting then check out this video to learn how to open and close a jump ring using two pairs of chain-nosed pliers.
In this video tutorial, viewers learn how to wire wrap a head pin loop. Begin by placing the bead on the head pin, or on a 5 inch piece of wire. Then make a bend on the head pin approximately 1/8 inches above the bead to a 90 degree angle. Now wrap the pin around the jaw of the pliers, pulling it slightly to one side. Holding the bead and wire, rotate the pliers back to form a loop. Finish by wrapping the tail of the wire around the exposed part of the headpin as many times as possible. This ...

In this video tutorial, viewers learn how to make a plain paper clip into a spinner. The materials required for this spinner are a paper clip and a pair of pliers. Take the paper clip and straighten it. Now use the pliers to bend the tip of the clip at 90 degrees. Then bend it 90 degrees to left side and start bending the wire into a circular shape. The shape will look like a pretzel. Now bend the end tip of the wire 90 degrees to the opposite direction of the first bend. You should end up wi...
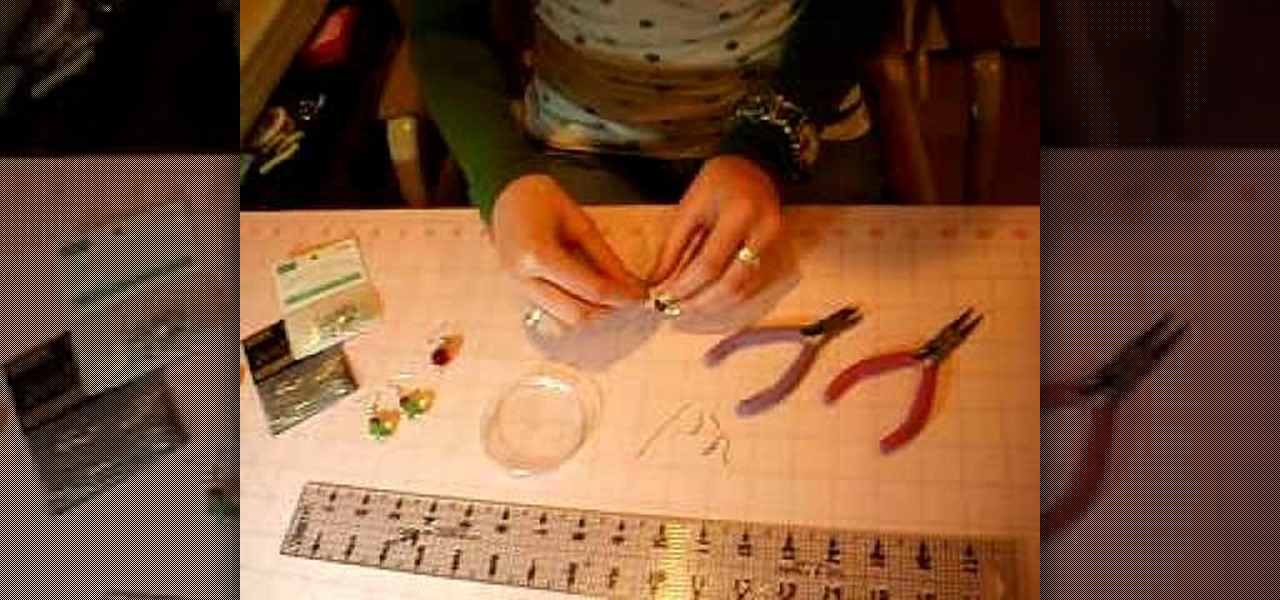
This video is about how to make earring from spoons. So to do this, just follow these simple steps. Things you'll need:
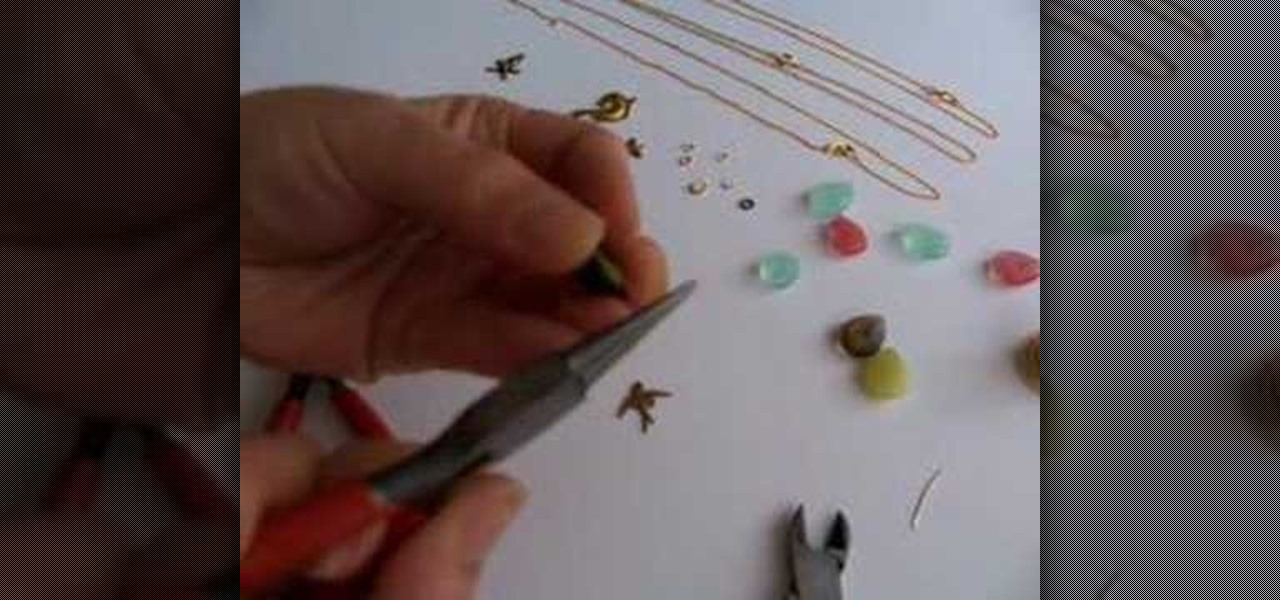
In this video tutorial, viewers will learn how to make a briolette charm drop necklace. The materials required to make the necklace include: a small piece of wire, briolette bead, charm of your choice, a jump ring (for the charm), chain necklace, round-nose pliers, long-nose pliers and cutters. Begin by putting the wire through the bead. Bend and cut the wire to shape a loop. Put the charm on the jump ring and attach it to the bead. Then add the bead to the chain and tighten the loop. This vi...
Learn how to make plastic costume chain mail for all your LARPing and Halloween needs. 1 Purchase enough 12" silver binding coil from the displayed suppliers for your project. 2 Using needle nose pliers, cut the rings as shown in the video. Make sure that there is plenty of overlap so the rings will stay closed. 3 Flatten the edge of the cut rings with your pliers. 4 Start to combine the rings together using the European 4 in 1 weave pattern. 5 Build squares of chain mail following this patte...
Creative Jewelry Making teaches the at home crafter how to make their own Bali bead and silver charm bracelet. This is not a video for jewelry making pros; it would be simple enough for a novice and can be completed in about half an hour. These are the tools you will need to complete the project: six Bali beads per inch of bracelet you will be making, six jump rings per inch, a Bali style toggle with a large hole for latching, and two pairs of flat nose pliers (make sure to use jewelry pliers...
Learn how to build your very own motor, but not just one motor, three motors. These motors you will learn to make a very simple, and the materials needed are minimum. Just watch to see how to make simple homemade battery-driven motors.
Cathedral earrings are so dazzling on the ear and so much fun to make. You will need for this project:
This is part one of two in how to make a beautiful tree of life pendant. It is very easy, and you'll only need a few items. Things you'll need: wire 2-3 mm thick, Round nose pliers, 4 pieces of thin wire, 12 inches long, wire cutters. With your round nose pliers, bend the thick wire about an inch form the end. Make a question mark shape, and twist the end around. Go down about 5mm, and make a 90 degree bend. Go across as far as you want, and make another 90 degree bend. Keep making bends unti...
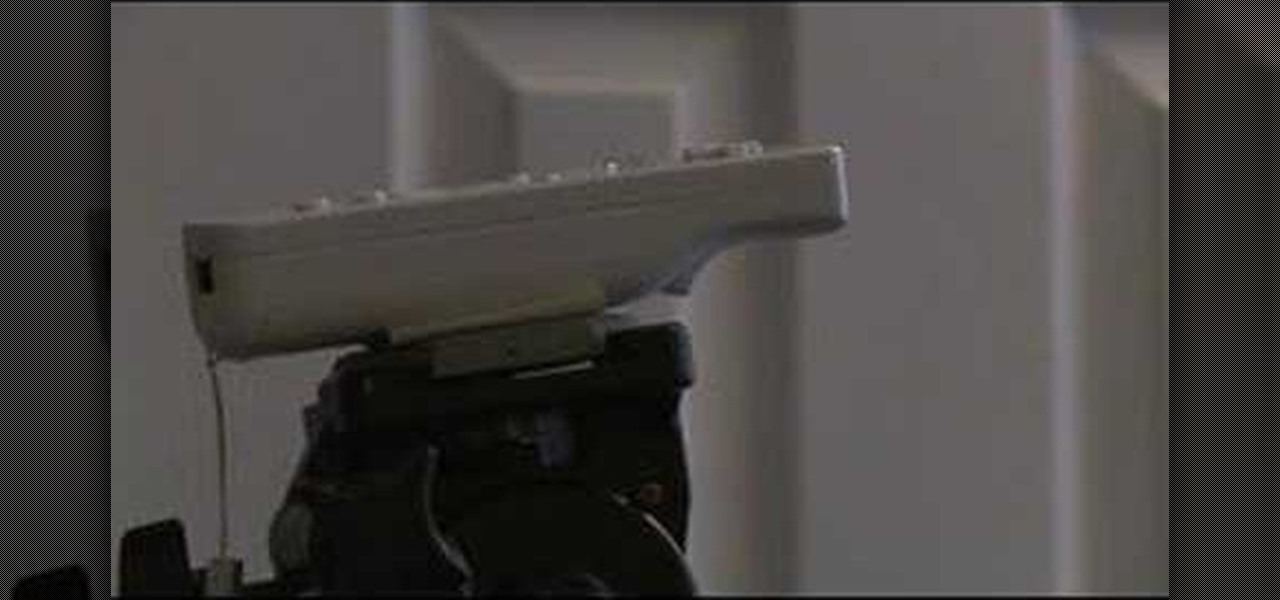
Save tons of money by building your own LED pen that works with a multitouch smart board / whiteboard. You'll also need a WiiMote (Wii Remote) to use in conjunction with your homemade LED pens that you'll be making in this video. To get started with this awesome project, you'll need a 1.5 volt tolerant infrared LED, momentary push button switch, AA-battery case holder, one AA battery, containment unit (Sharpie marker or highlighter body), pliers, superglue, thin copper wire and a soldering iron.
In this tutorial, we learn how to make a interchangeable beaded watch band. First, cut your beading wire to appropriate length, then slide a crimp bead and lobster trigger clasp to one side of the wire. Then, bring the end of the wire back through the crimp bead creating a snug fit. Using the rear notch on your pliers, crimp the bead tightly. Then, add a crimp bead cover using the front notch on the pliers to close the bead tightly. Next, string your chosen beads, then repeat the first steps ...
In order to make your own silver wire wrap earrings, you will need the following: sterling 20-gauge wire, chain nose or small round nose pliers, fine sterling wire, and multicolored crystal beads.
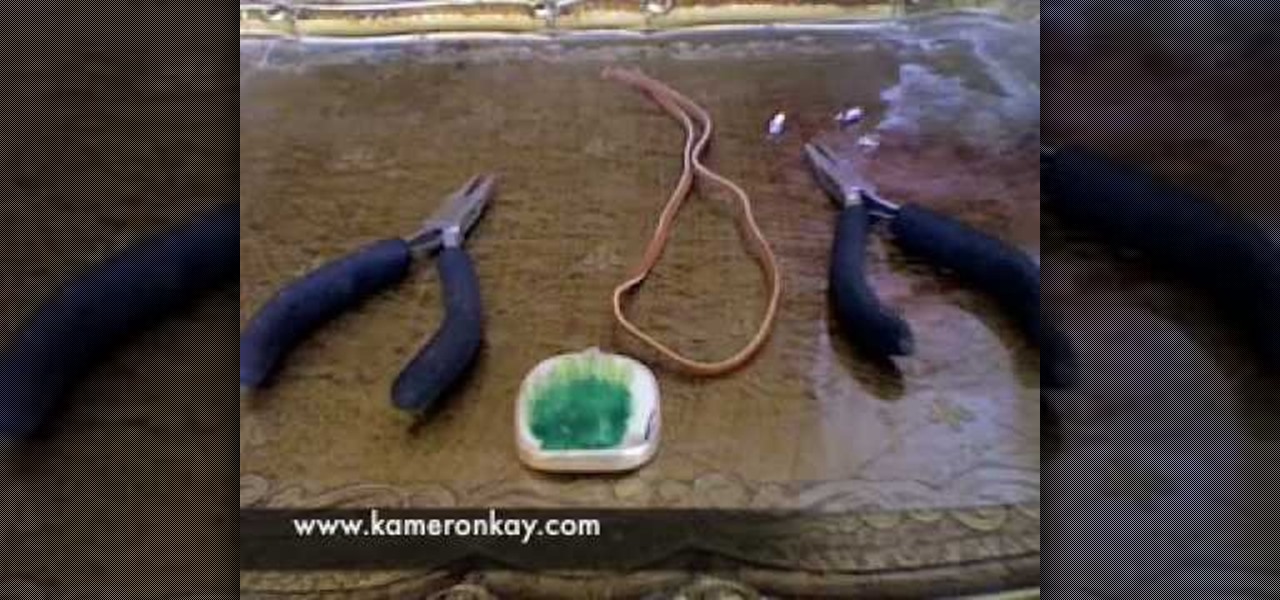
In order to make a neoprene necklace, you will need the following: neoprene, scissors, end caps, clasps, glue, and 2 pairs of pliers.
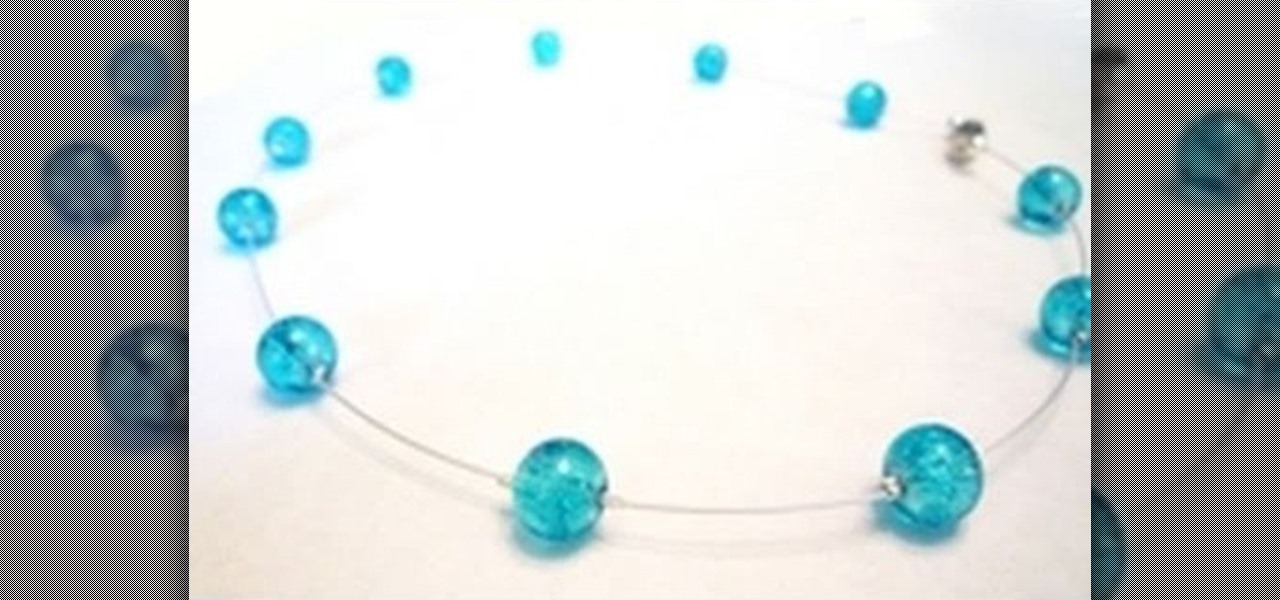
In this tutorial, we learn how to make a floating illusion style necklace. You will need: beading wire, crimping pliers, wire cutters, beads (your choice), crimp beads, crimp covers (3mm), and a clasp (barrel clasp). First, cut your beading wire to the length you want your necklace, add 3-4 extra inches. Next, space your beads out on a beading board evenly, 1 1/2" apart. Now string a crimp bead onto your wire and take the end of the wire and string it through the crimp bead on the opposite si...
Jessica VanDen shows us how to make a hand forged silver clasp in this video. Start off with two pieces of sterling silver wire. Now make a simple S clasp with pliers. Then grasp the wire at the thick end and wrap it around until the long piece meets the curve you made. Next, wrap a curve around the end of the wire with pliers to make the clasp. You will need to put the chain through it to attach it. Make sure your chain can fit through the loop that you have made. Now you're finished and mak...
Missa teaches us how to create a claspless lariat necklace in this video. First, cut your wire so it's 20 inches long and then make a loop on one of the ends, and attach a chain to it. Now put on the end bead and attach the chain to the metal wire. Now make a loop around the end where the bead is. Now take pliers and clamp the wire on the end down. You can now take wire cutter and cut an inch down on the chain and cut it off. You can now apply your favorite beads to the wire, and any pendants...
In order to repair a dent in a car with a stud nail gun, you will need the following: a stud nail gun, pliers, a grinder, protective gear, and a body hammer.
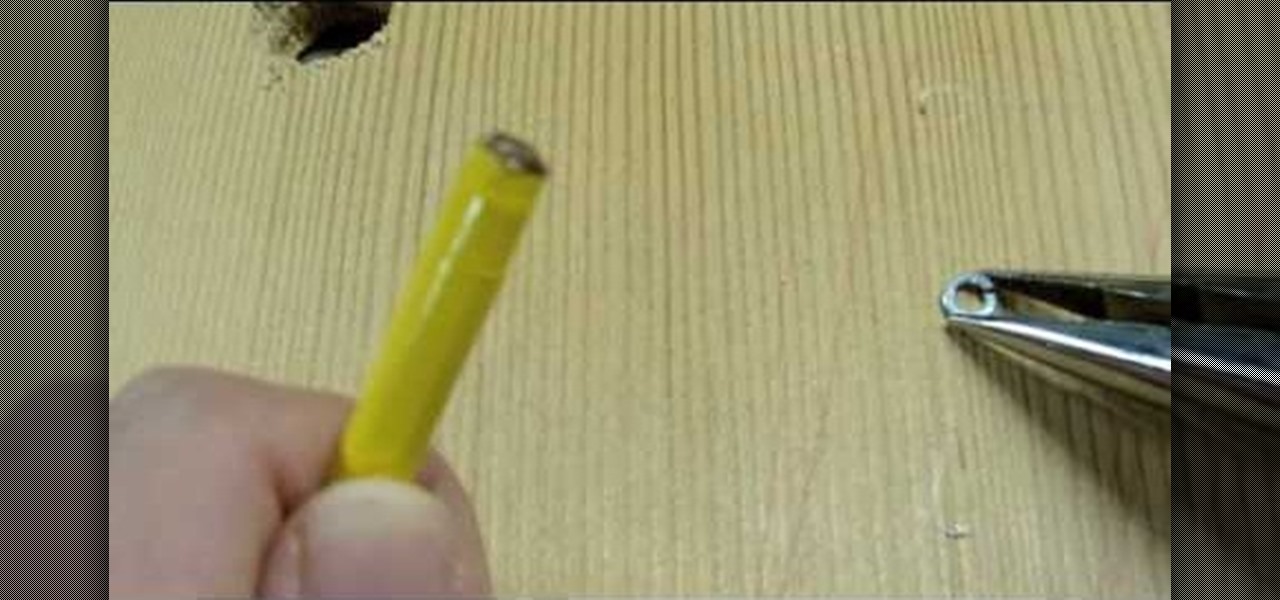
In this Hobbies & Toys video tutorial you are going to learn how to make deadly homemade bolts. Take a pencil and remove the ferrule from the end of the pencil. Make sure to pull it off completely so that you expose the flat end. Then take three pieces of electrical tape and tape them on the pencil and on to each other so that they form three wings. Now take a tack pin and with the help of nose pliers and pliers break off the rear end. Apply some hot glue to the ferrule end of the pencil and ...
This is a video using Swarovski Crystals to make jewelry. This video shows how to make one with a gold bow. You need a pendant with 2 hoops (in this case it is a gold bow), a pendant holder, a crystal, a bill, and pliers. You take the bill and hook the crystal on it. Then you hook the bow on it and secure it using the pliers. You take the pendant holder onto the top of the bow pendant, and press it down to secure it, and you’re finished. You can also make rings, earrings, necklaces, and many ...
In this jewelry-making basics tutorial, learn how to make an eye pin. To create an eye pin, you will need wire. Size 24 or 22 gauge wire is the best kind of wire to make an eye pin. The thicker the wire, the more difficult it may be to work with. To begin, straighten out your wire and cut the length you need to make your eye pin. Taking some round nose pliers, you will bend the wire up while rolling it toward yourself. Do not pinch the wire too tightly with the pliers because it can leave per...
In this video tutorial, viewers will learn how to make a charm bracelet. The materials needed to make the bracelet are: a light silver plated chain, 100 grams of plain glass mix, 1 toggle clasp and 100 headpins. All these materials can bought from Beads Unlimited. The tools needed for the bracelet are: flat-nosed pliers, round-nosed pliers and cutters. This video is descriptive and clearly explains all instructions. This video is at a slow pace and provides step-by-step instructions that will...
Catherine demonstrates how to create an eclectic, sunset-inspired necklace in this video. To create the necklace you must gather 40 yellow bugle beads, 18 orange chip beads, 3 mm red round beads, a barrel clasp, 2 crimp beads, 2 bead covers, about 20 inches of beading wire, clippers and pliers. The design is to start by threading a clap and a crimp bead onto the wire, leaving a 2 inch tail. Then thread on 15 yellow beads, remembering to cover the tail you left with the beads, 3 orange beads, ...
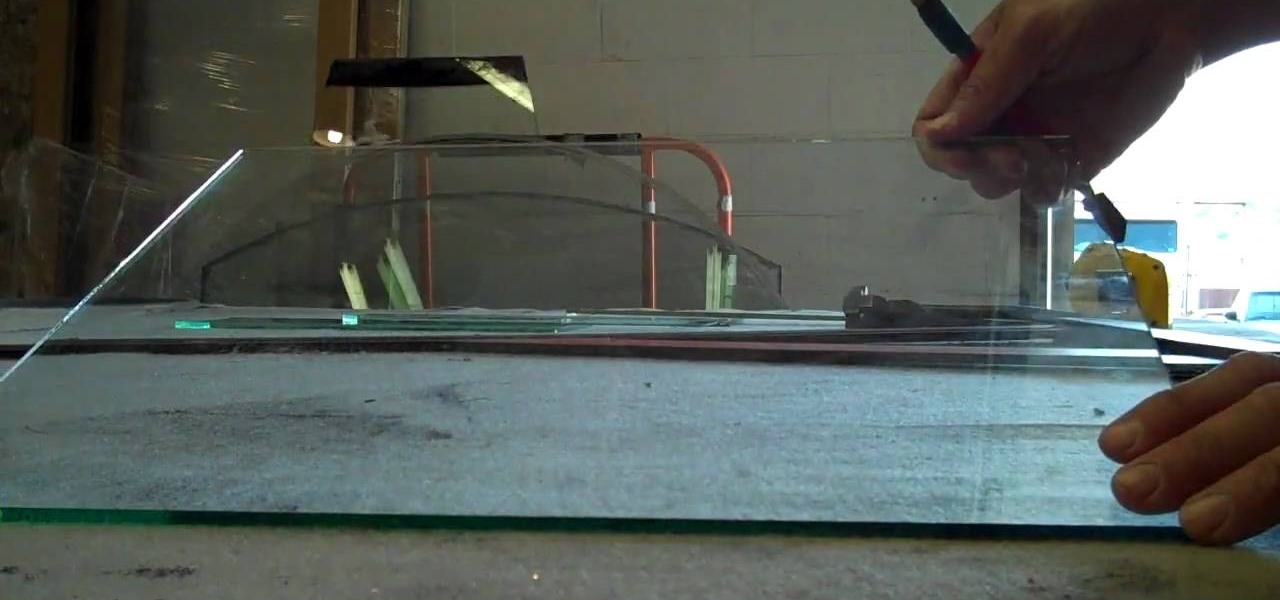
This is a Fine Art video tutorial where you will learn how to cut plate glass. Measure the plate glass and make sure the measurements are correct. Then place the guide along the line of the cut, take your glass cutter and score along the edge of the guide. If the plate is small in size, take the base of the cutter and place it underneath the score mark and apply equal pressure with your hands on both sides of the score. The plate will snap with a nice clean cut. Another way to snap the glass ...
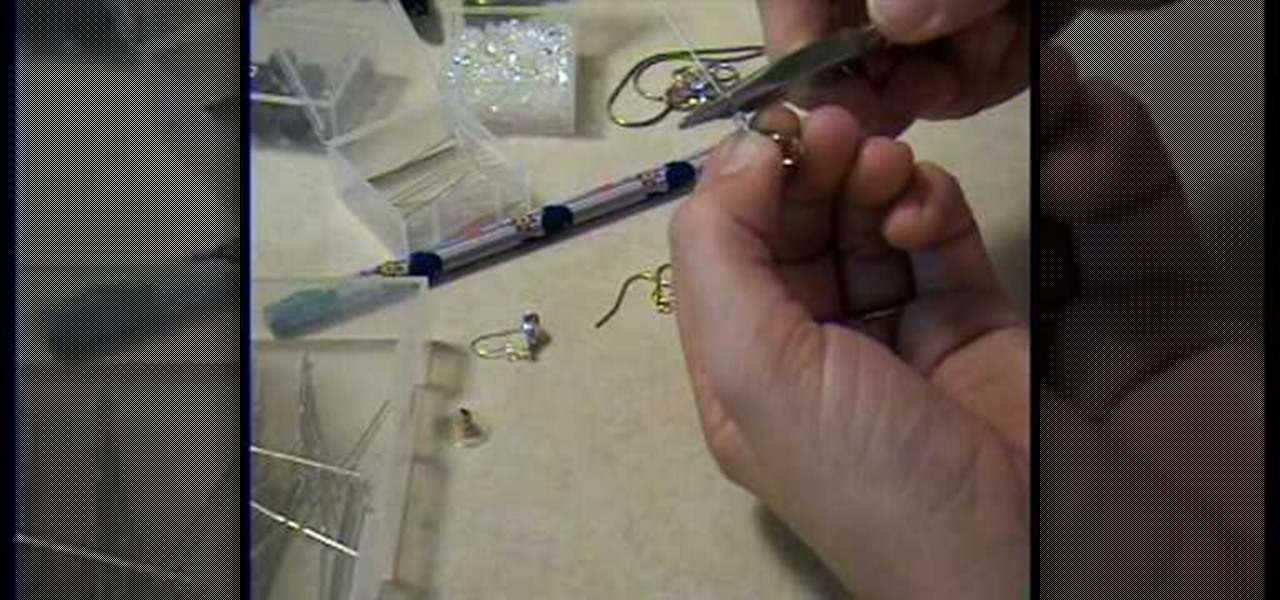
Learn how to make beautiful beaded earrings with this instructional video! The tools you will need are two head pins, ear wires, a pair of pliers, tweezers, and a nail clipper. First start off by choosing your favorite combinations of beads. Begin by stringing the beads in any order on the head pins. Next you will need to close the head pin off. The easiest way to do this is wrap it around with the pliers. You do this by easy twisting around the earring. You make sure to make a round loop whe...
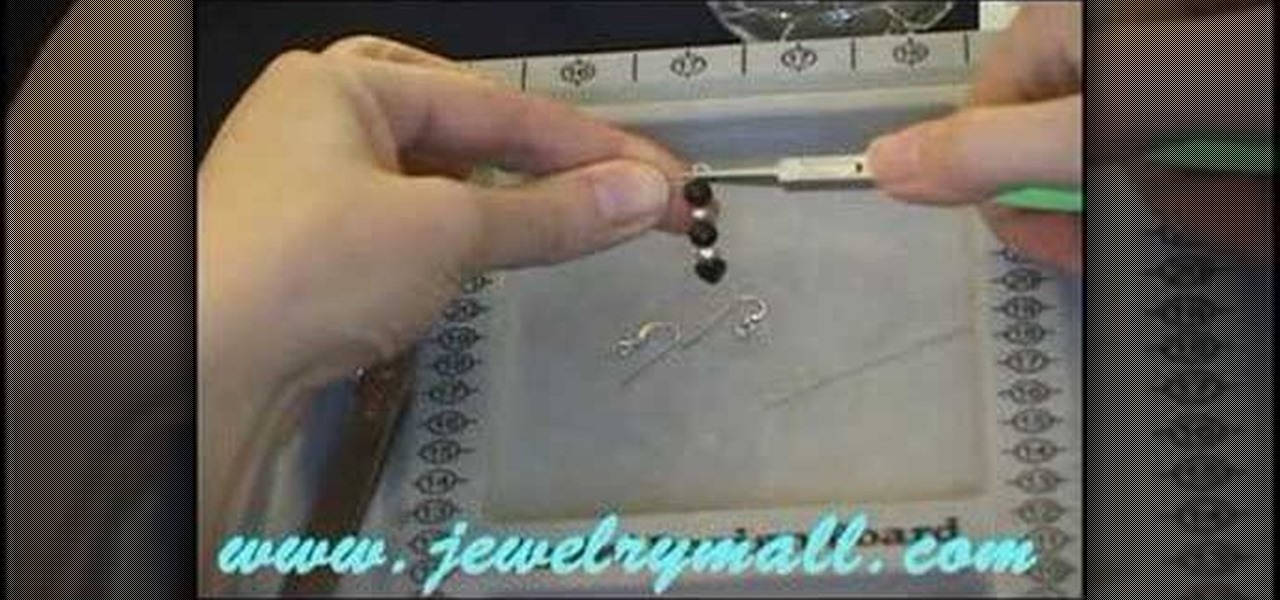
In this video tutorial, viewers learn how to make a simple pair of earrings. This craft only takes a minute to do. The materials required to make these earrings are: 2 large beads, 2 medium beads, 4 small beads, 2 seed beads, 2 earring pins, 2 earring hooks and pliers. Put the beads on the earring pin in this order: small, seed, medium, large and small. Use the pliers to bend the pin to a loop and hook it with the earring hook. This video will benefit those young viewers who enjoy making arts...
This video tutorial demonstrates how to make a simple vintage style button earring. Materials required are two pairs of vintage style buttons, a button shape remover or pliers, some earring poles and super glue
Take an inexpensive earring and use hot pliers to ease it away from the cheap metal fastening. Take a more expensive silver or gold earwire and pull it through the loop at the top of the pendant part. Squeeze the wire closed with the pliers. Using an inexpensive earring part as a model, bend your own wire to the same shape. You then take a 4mm Swarovski crystal and attach it. Bend your earwire round a smooth pencil and make sure the bead cannot slide off from the wire. You can use the same pr...
To begin you will need to gather the following supplies: needle-nose pliers, wire cutters, two fish hook wires, two head pin wires, and a few beads of your choosing. First take the head pin and string your beads onto the head pin. Once all of the beads are on the head pin bend the top of the pin at a 90 degree angle, then cut the wire about 3-4 cm from the top of the wire. Next use the needle nose pliers and bend the wire into a circle, place the fish hook wire on top of the head pin wire to ...
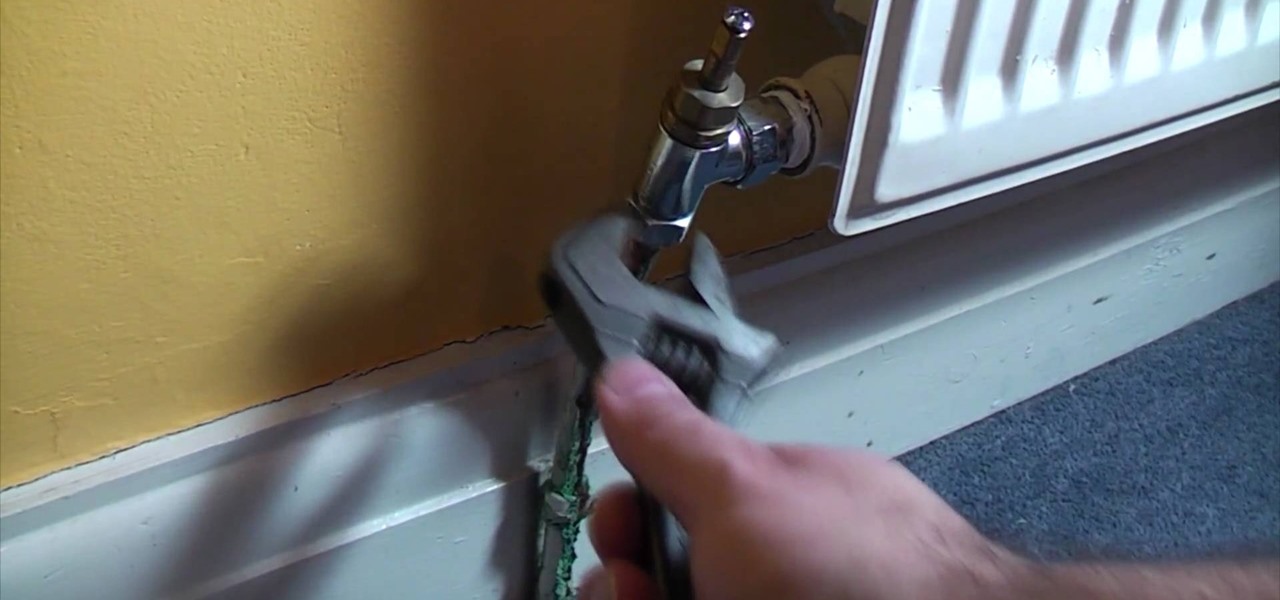
In this video you will learn how to tighten radiator valves using a spanner and water pump pliers. If you find that your radiator valves are leaking, follow these simple steps to remedy the situation: If you take a look at your lock shield valve, you may see signs that it has been leaking. Grip the valve with a pair of water pump pliers. This will prevent you from breaking the copper pipe. Tighten in a clockwise direction. Feel with your fingers to make sure there are no more leaks.
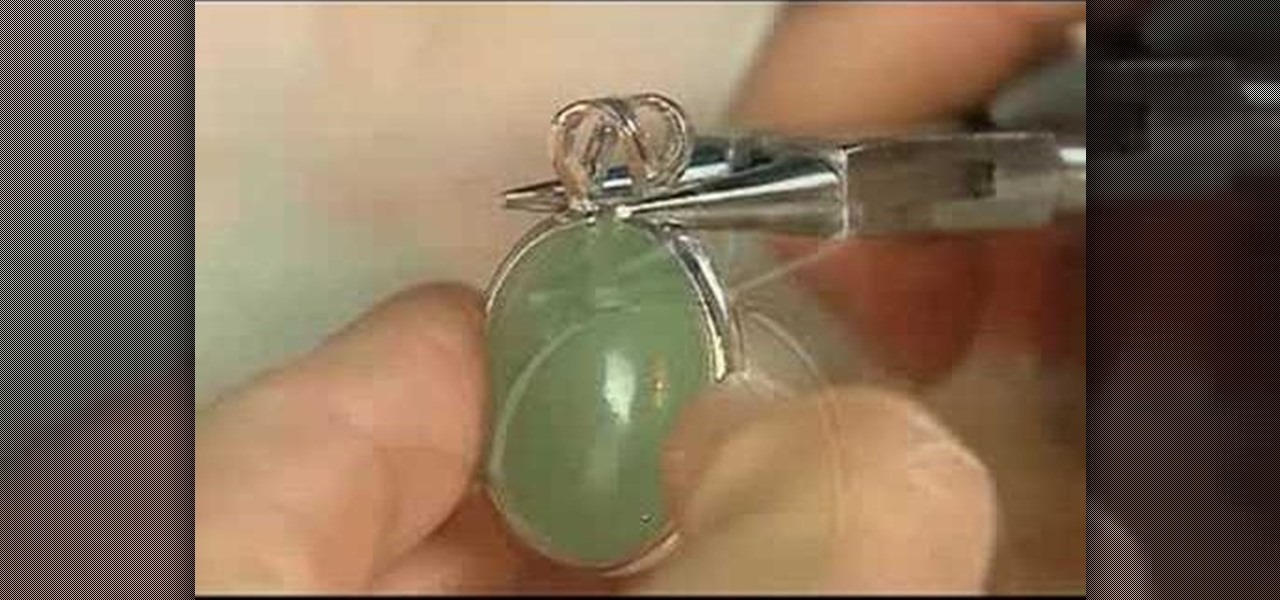
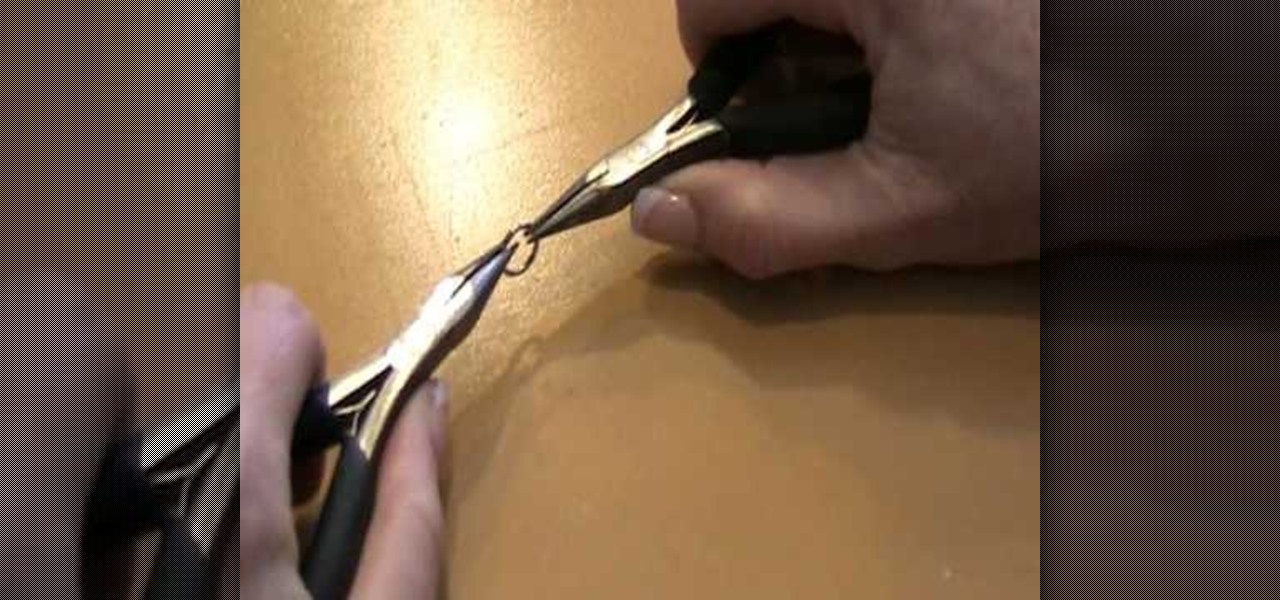
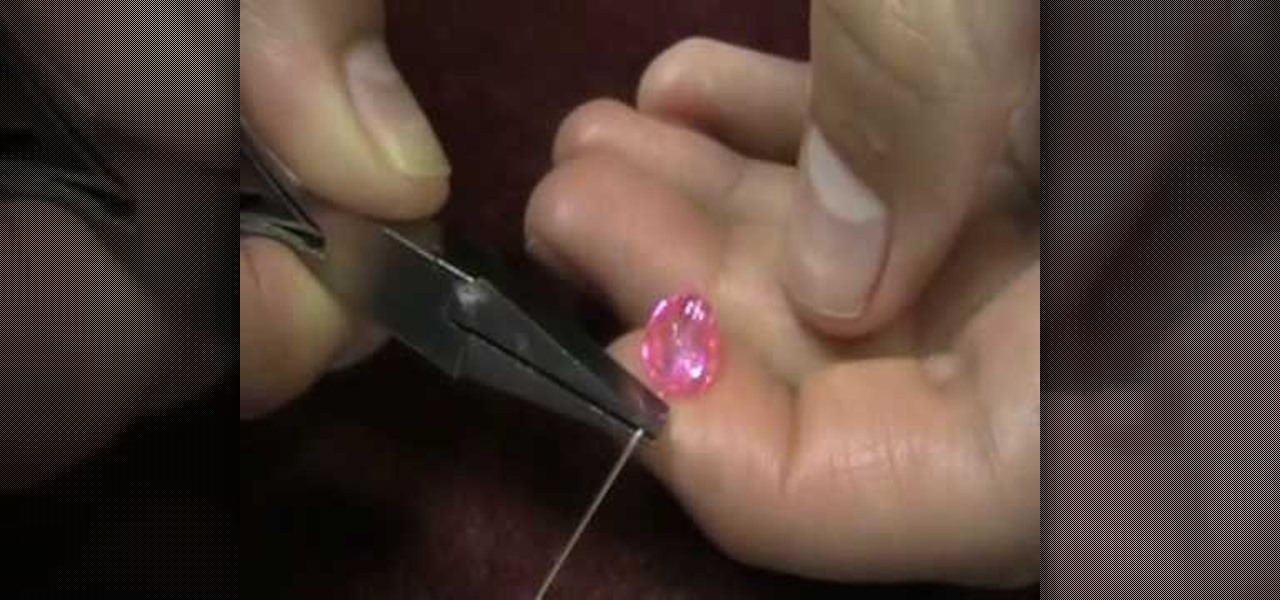
An important part of jewelry making involves properly setting gemstones. This how-to video tutorial demonstrates the proper way to set a stone in a cinch mount. Begin by placing the gemstone face side up in the casting. Use a pair of needle nose pliers to grasp the casting at the base of the bail. Gently squeeze the pliers to close the gap and tighten the casting around the stone. Test to ensure that the stone is properly set.
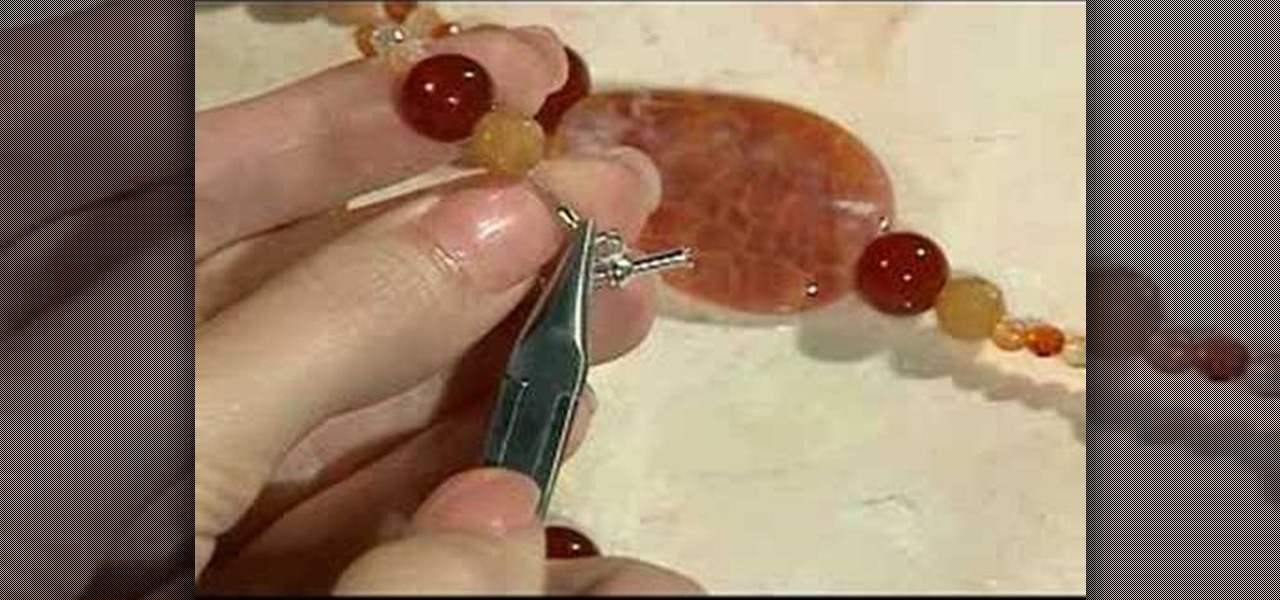
One important part of jewelery making involves properly attaching clasps. This how-to video jewelry making tutorial demonstrates the proper way to attach them. Begin by threading the crimp bead and the clasp onto the bead wire. Using chain nose pliers feed the thread around and loop it back around through the crimp bead. Use the pliers to hold the crimp bead tight. Crimp the bead down securing the wire and clasp.
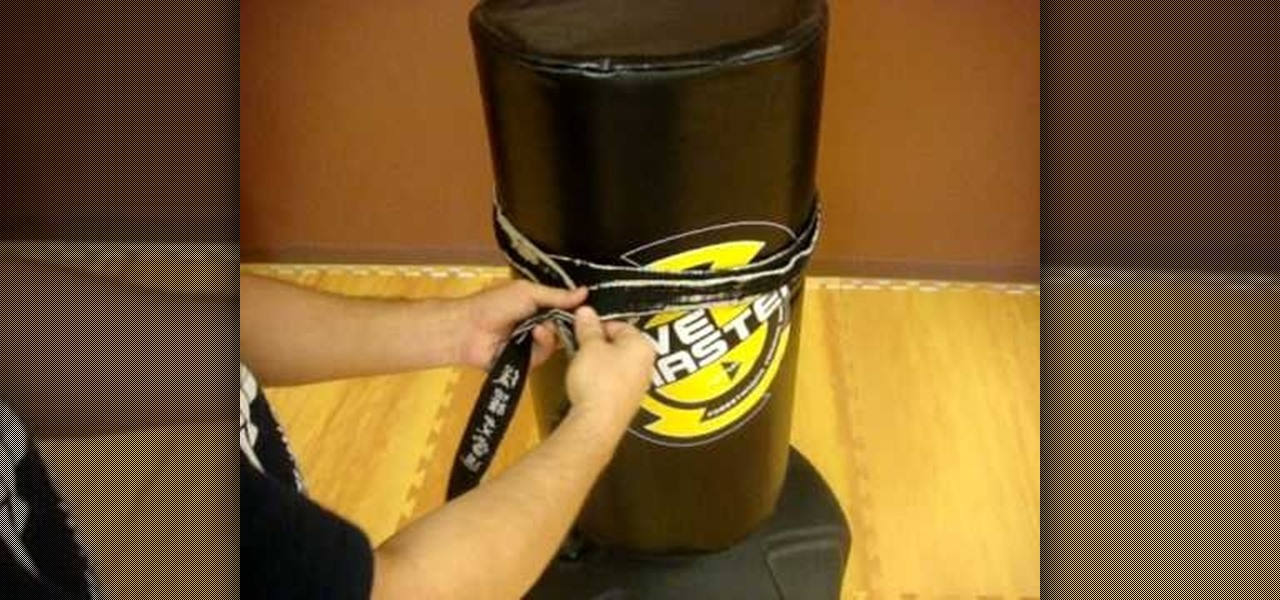
In this how-to video, Sensei Paul Adams will teach you how to tie your belt on your karate kid. The belt will be very stiff at first, but will loosen up over the years. Take the middle of the belt and place it on their belly. Take the ends and pull them all the way around until they reach the belly again. Make sure the belt is snug the whole time. Place the right side over the left and pull that end under both layers of the belt. Once this is done, pull the left end over the right and tie a t...
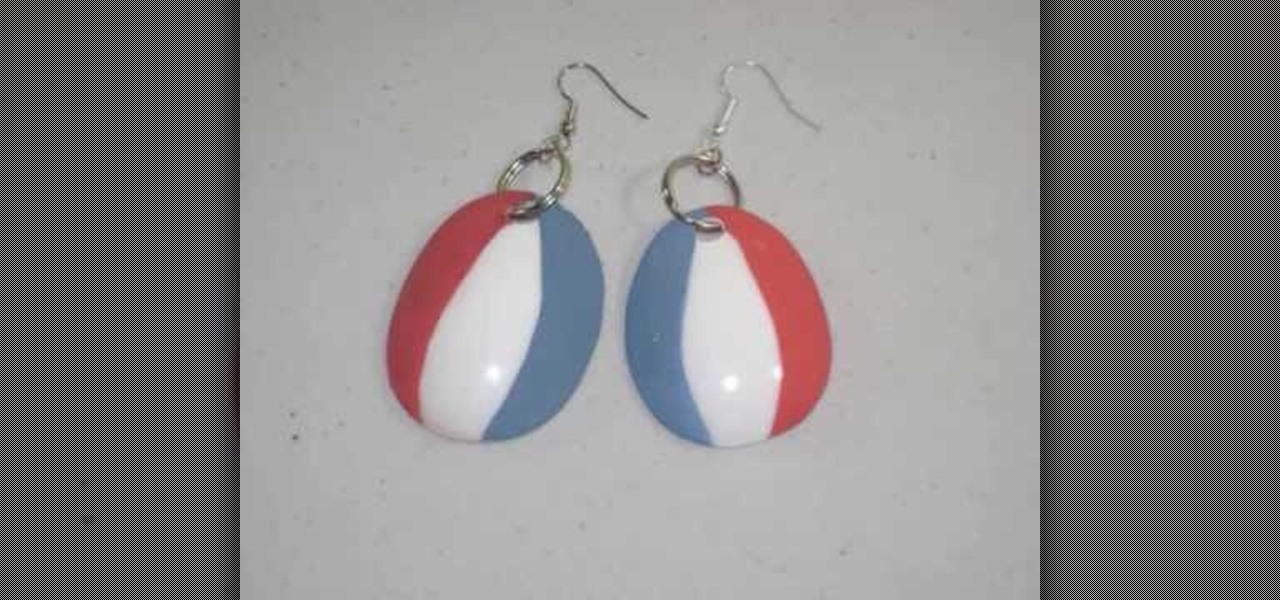
Celebrate the 4th of July by making holiday earrings. You will need:
Same money at Christmas time by making some of your gifts. This video shows us how to make a pendant necklace.
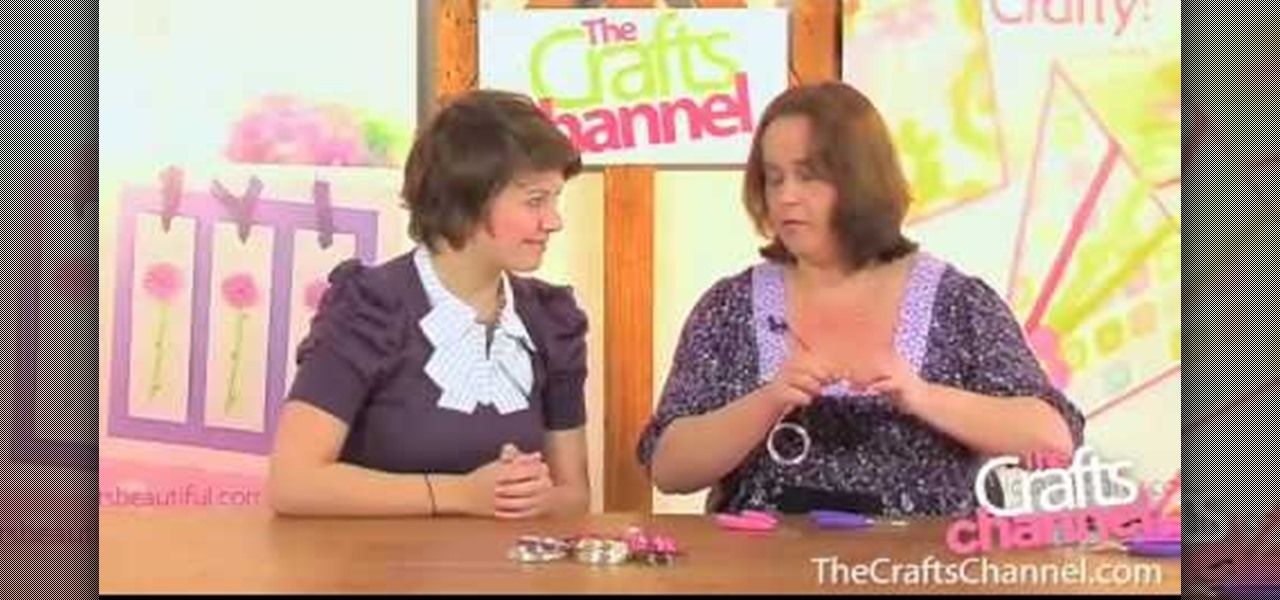
This video clip from The Crafts Channel shows how to make a bead cage. A bead cage is where a piece of wire is wrapped decoratively around a large bead. For the example bead cage .8 mm wire was used. If the wire is too thin it will not hold its shape, but if it is too thick it will be hard to bend into the desired shape. Take some needle nosed pliers and make a complete circle, and then use some flat nosed pliers to begin forming a spiral going outwards. Now do the same thing beginning at the...