This video tutorial is in the Arts & Crafts category which will show you how to tie a decorative Door Knocker knot. Take a piece of rope and make a loop at the center with the left hand end of the rope over the right hand end. Now pass the right end above and through the loop to make a half knot. Twist the loop to make a figure of eight, pass the right hand end through the lower loop of the "8" and back through the upper loop. Repeat this once again. Now repeat these steps with the left hand ...
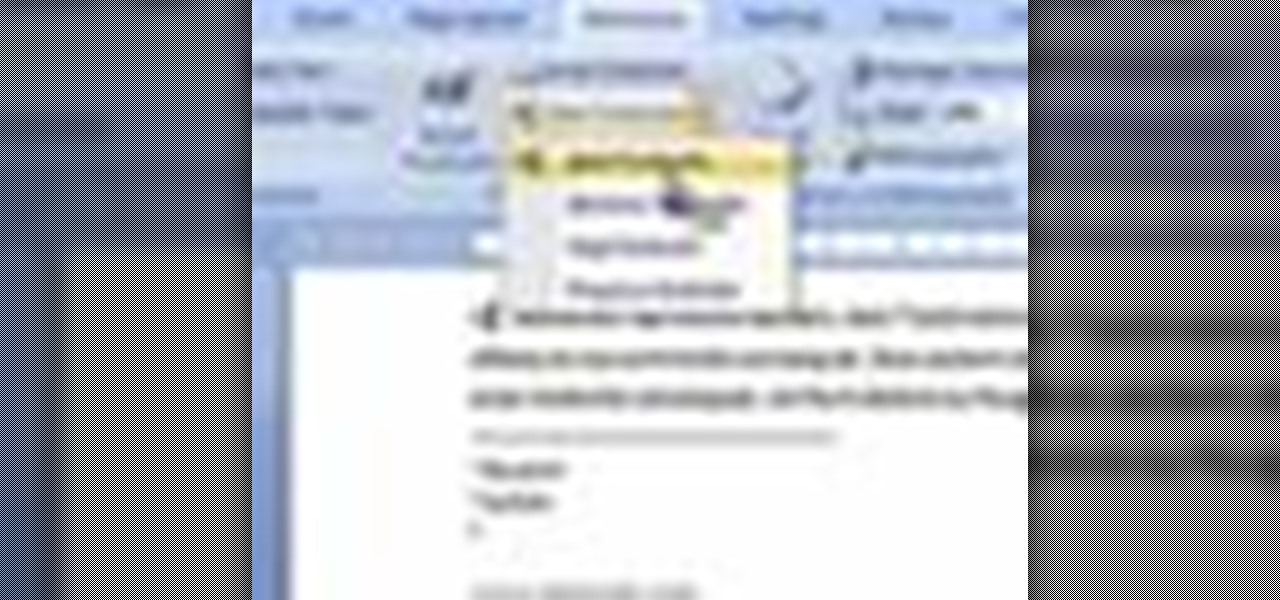
In this video tutorial, viewers learn how to insert or delete footnotes or end-notes in Microsoft Word 2007. A footnote is a little reference which will place a small number in subscript and link it to a comment. A end-note is similar except it links the comment to the end of the document, rather than the end of the page. Begin by highlighting the text. Then click on the Reference tab and select Insert Footnote/End-note. Then just add a comment to the subscript. This video will benefit those ...
In this Outdoor Recreation video tutorial you will learn how to decoratively wrap a wooden staff in rope. First make the clove hitch at one end of the wooden staff, and tighten it firmly. Pass the rope around the staff and take the working end of the rope above the standing end, take another turn and pass it under itself. Push the knot to the end of the staff and tighten firmly. Next step is making a spiral hitch. Take the other end of the rope to the other end of the staff, put a half clove ...

If you're new to the Visual Basic IDE, looking to brush up on your VB programming skills, or simply have a burning desire to code a simple calculator, this three-part video lesson is for you.
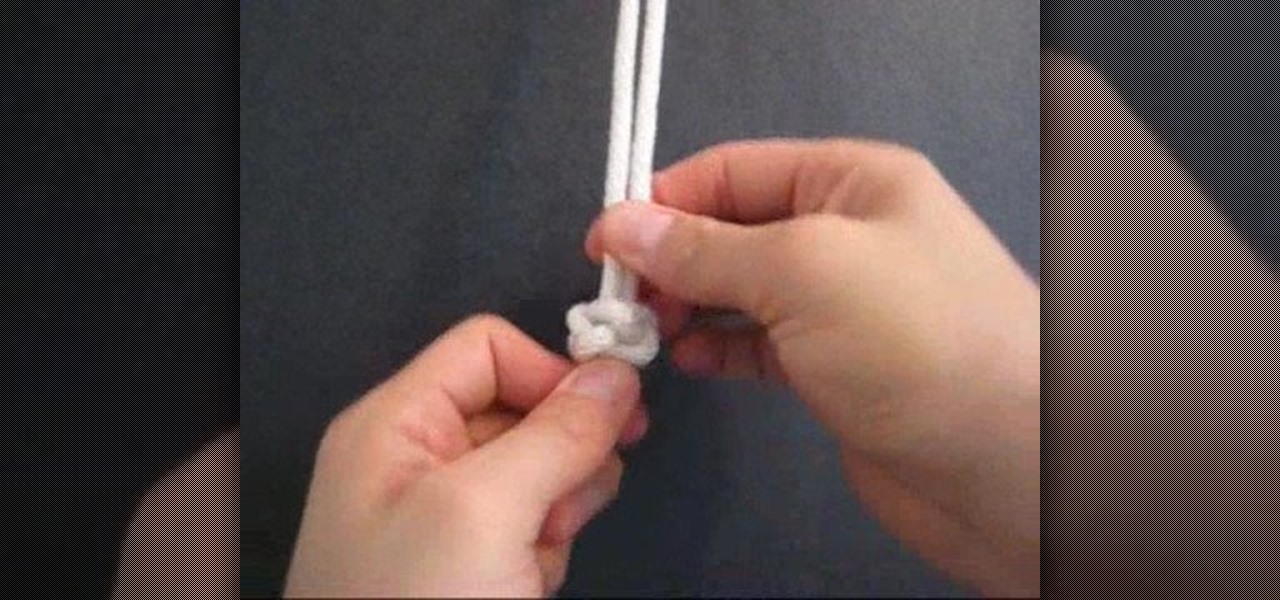
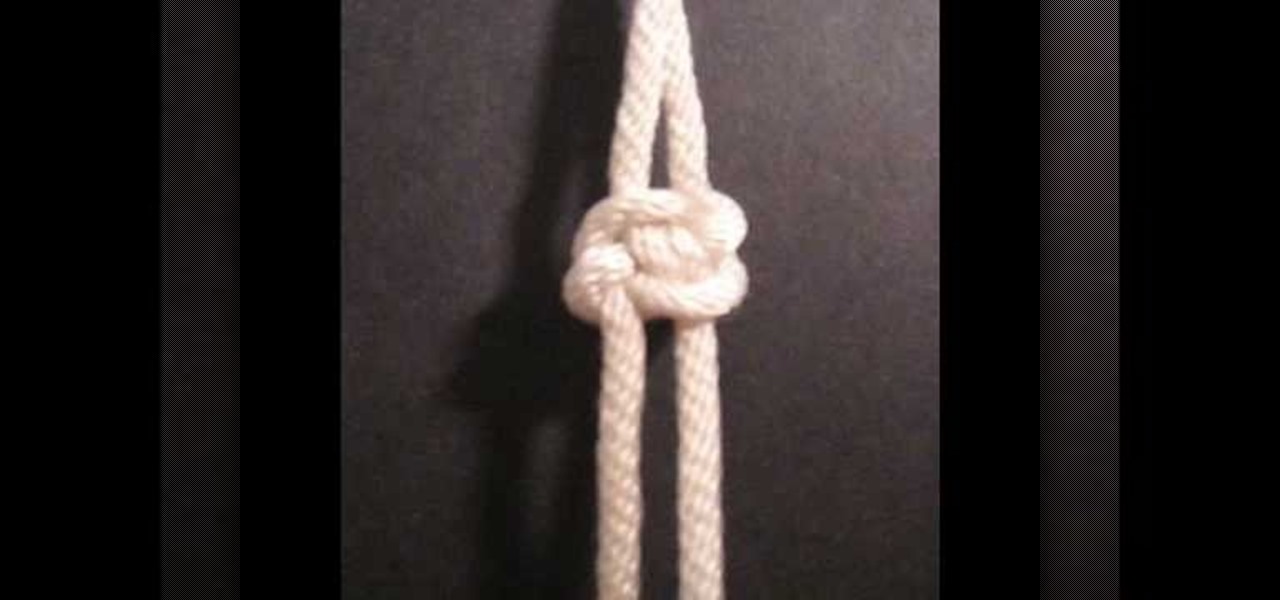
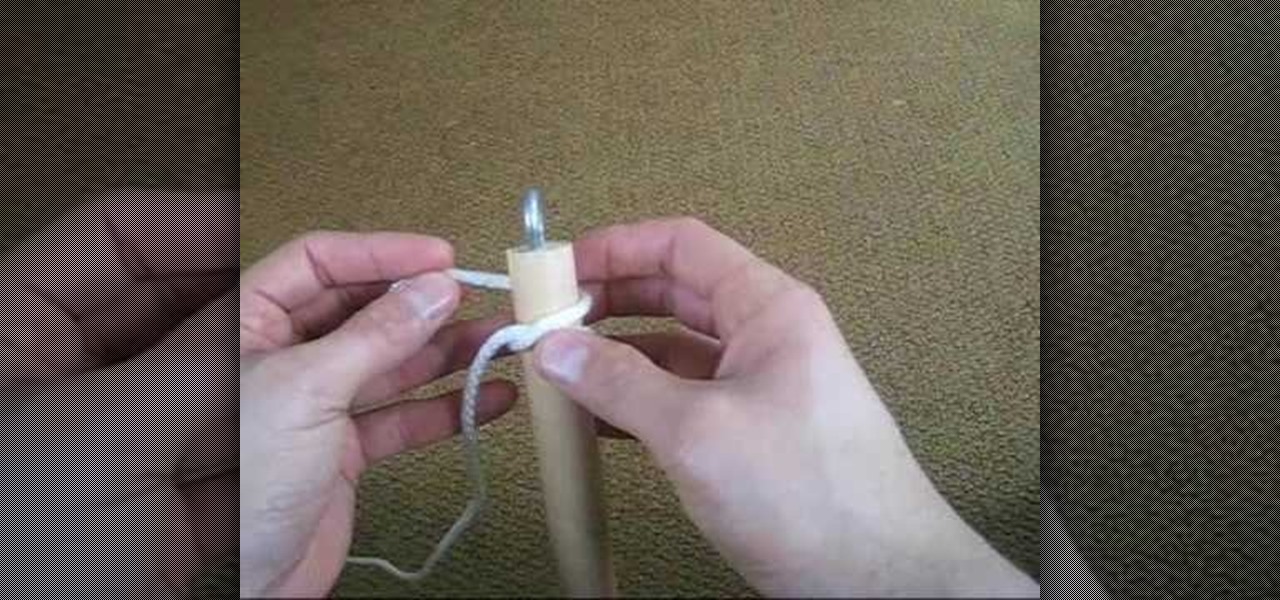
"How to Tie a Decorative Diamond Knot: Tying It All Together" explains how to tie a decorative diamond knot. The diamond knot is a decorative cylindrical knot, which is also known as the lanyard knot and the knife lanyard knot. Make a loop with one end of the string, and fold the other end parallel in the center of the loop. Feed the end of the right string over the left string and pull down. Fold the right string over and feed through the left side of the loop. Pull a second loop behind the ...
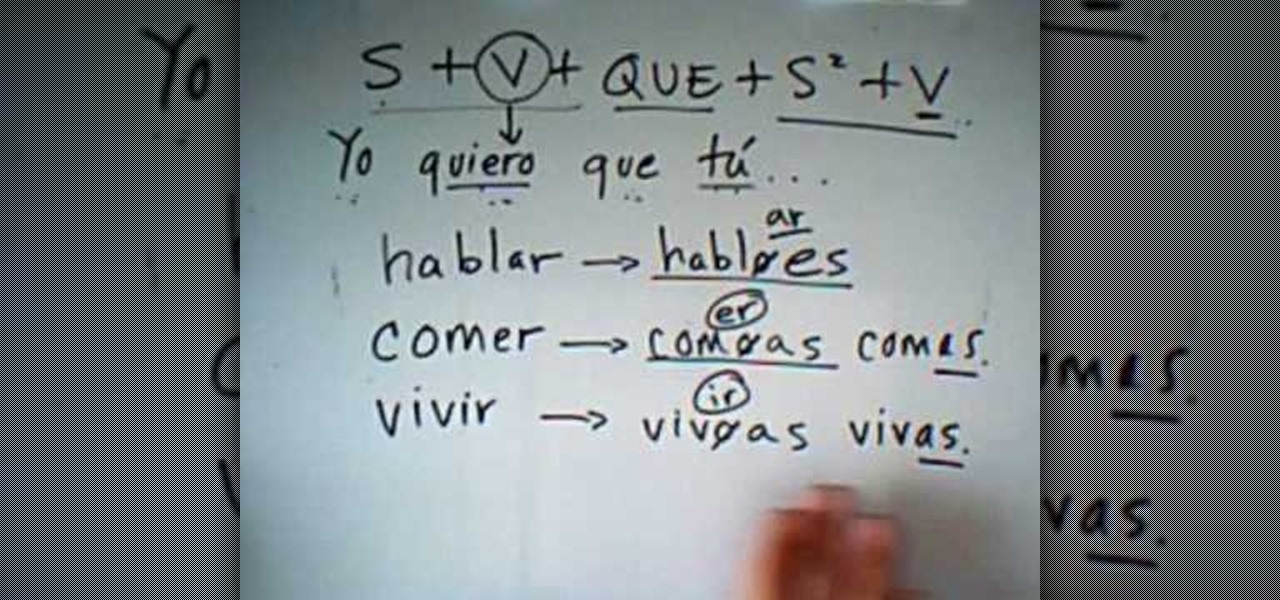
How to conjugate in the subjunctive in Spanish for the present tense.

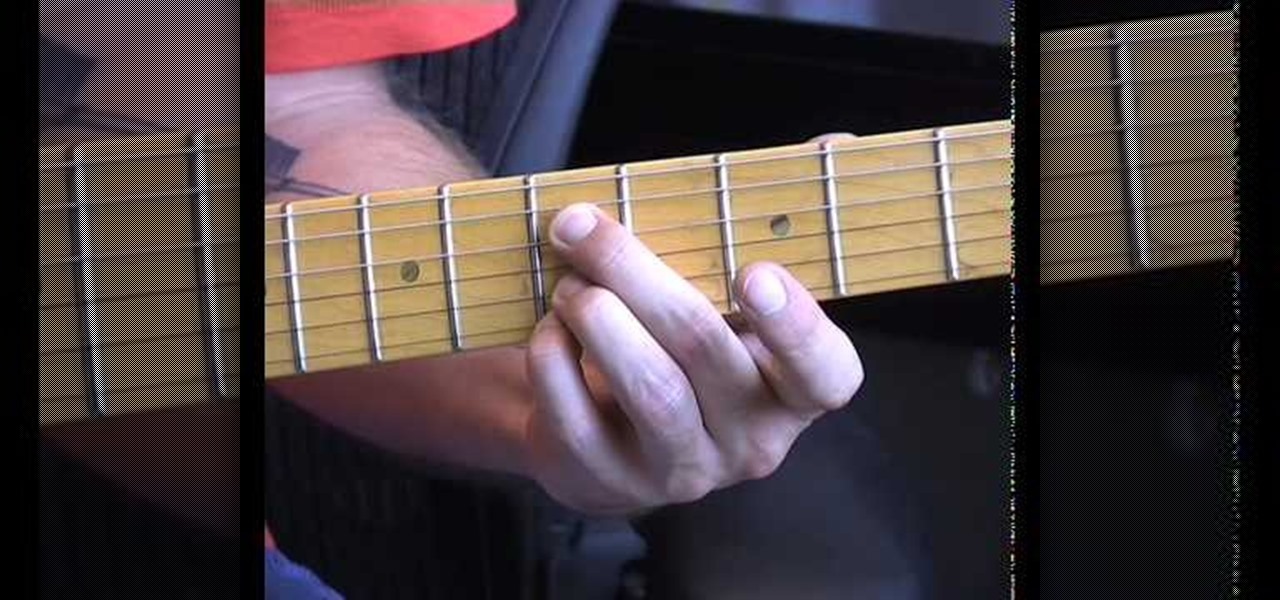
This lesson covers five intro and ending licks and how to use them. Intros and ending licks are an important part of blues guitar improvisation. They convey to the listener whether the song is continuing,in the case of an unresolved chord progression, or in the case a resolved chord progression conveys the ending of a tune. With this how to video you will learn several examples of licks for beginning and ending a blues guitar song.
Sometimes when you're camping it's necessary to pitch a little something called a tent after a long trek hiking and exploring the great outdoors. And when you're ready to call it a day, make sure you can do so peacefully without the fear that your tent contraption will fall down on you during the middle of the night.
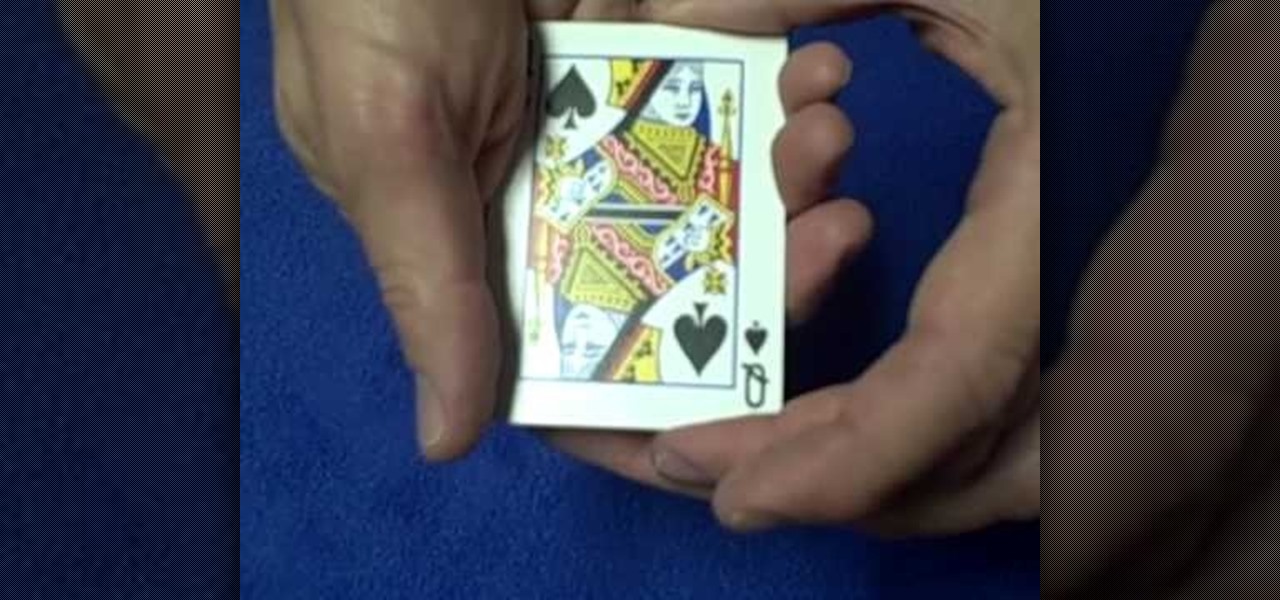
In this video tutorial, viewers learn how to do the "Jacks would be Queens" card trick. This trick begins with a story of 4 jacks who all want to become women. The magician begins with 4 identical jack of diamonds. The first jack is the bravest. He goes under the knife and ends up as an ugly woman. The other jacks do the same and all end up as ugly women. In the end, the magician ends up with 4 queen of spades. Users will need 2 jack of diamonds, 3 queen of spades and a fake card with both th...
A demonstration on how to make a lucky star from folded paper with origami is shown in this video. For this you need to get a strip of paper. Attractive papers are available at the stores for this. First to start up take an end of the strip of paper and tie a knot, flatten it and bring it as close together as you can. Then with the small free end fold it in, flip it over fold the long free end in such a way as it gets a pentagon shape. Next flip the free end over the edges. Continue to turn i...
In this tutorial, we learn how to tie a necktie on someone else. First, pop the collar and drape the tie around the neck with the wide end on your right. Then, tug the wide end down, so it hangs 12 inches below the narrow end. After this, cross the wide end over the narrow end, and bring it up through the neck loop and down the front. Swing the wide end to the right, pass it under the narrow end, then cross it back over the right. After this, push it up through the neck hole. Now, tuck it thr...
In order to make a neoprene necklace, you will need the following: neoprene, scissors, end caps, clasps, glue, and 2 pairs of pliers.
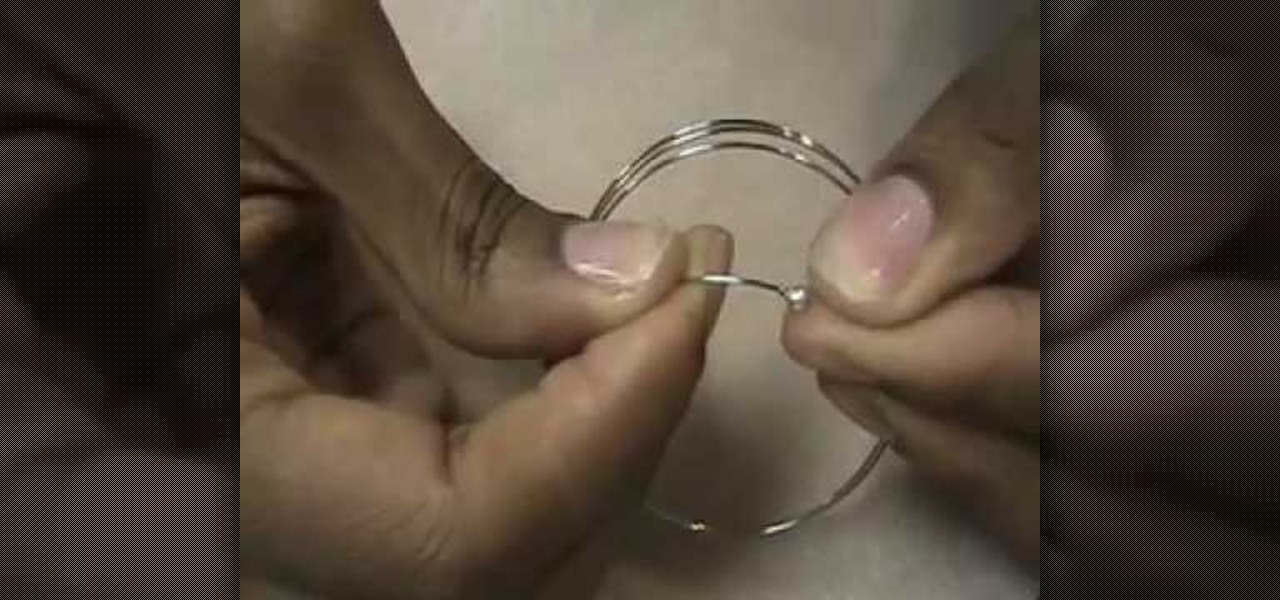
In this video tutorial, viewers learn how to make a Mediterranean blue bracelet. The materials required for this project are: memory wire, Mediterranean Czech glass bead mix, 4mm sea side mix Czech fire polish round beads, wire cutter, super glue, bead stopper and 2 3mm memory wire end caps. Begin by cutting 3 1/2 clamps of wire and glue one memory wire end cap to the end of the wire. Then string the beads. Users may decide to make a repetitive pattern with the beads or randomly string the be...
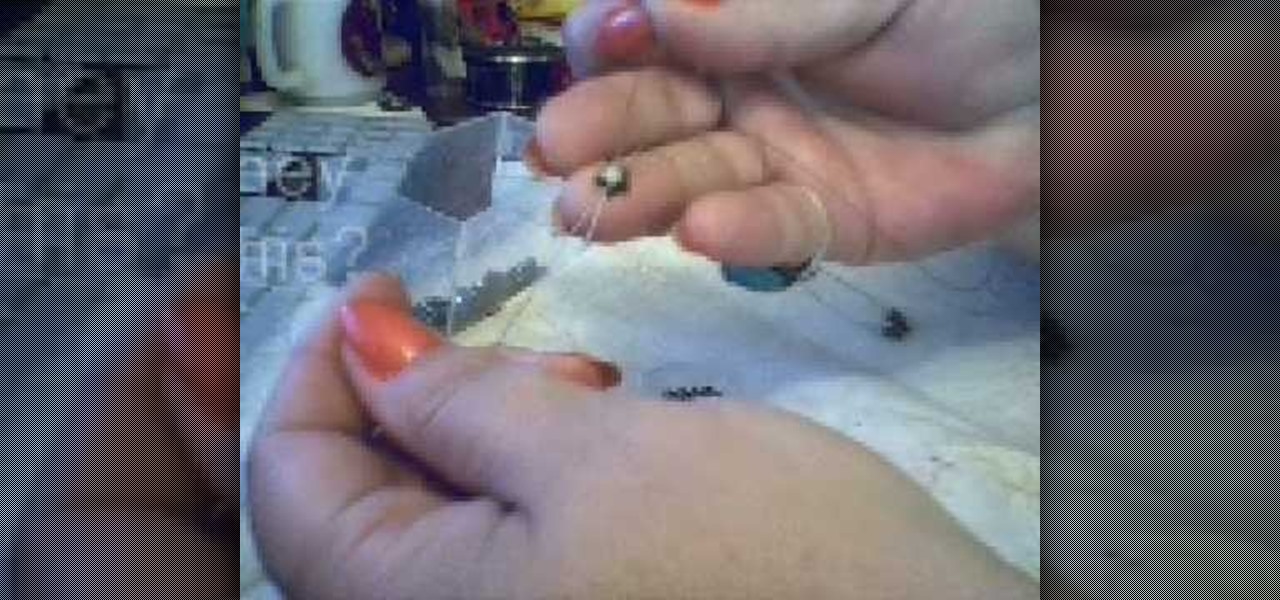
Make a hematite bead ring
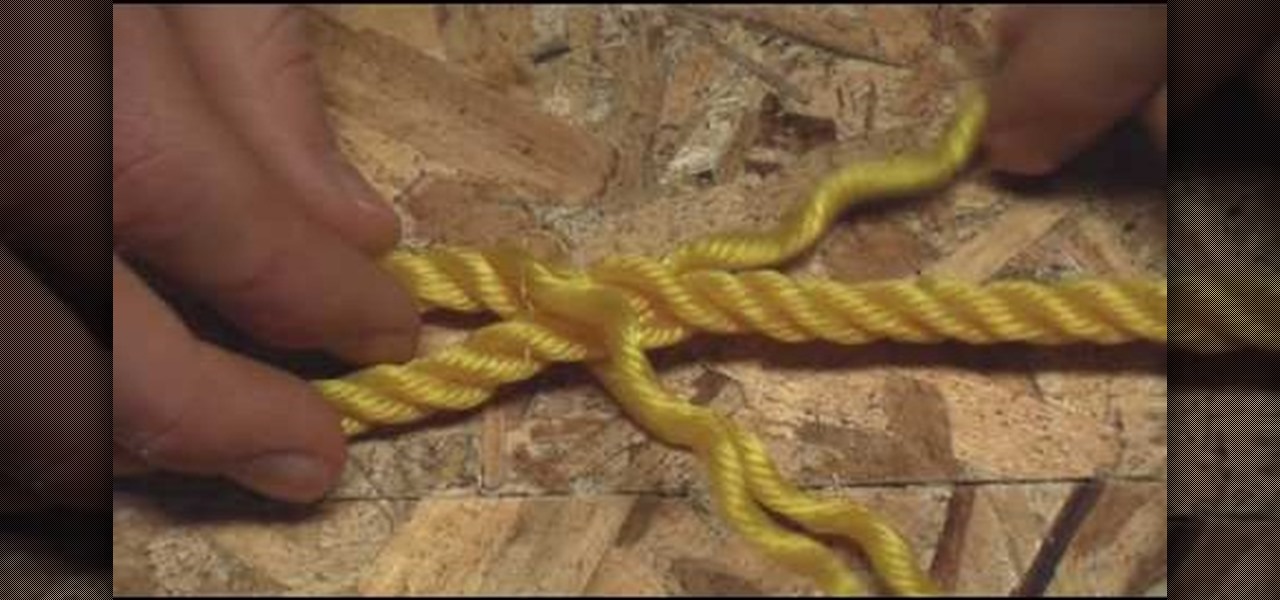
In this tutorial, we learn how to do useful survival knots. To make the sheet bend knot, you will join two different ropes together. First, make two loops, one on each end of the separate ropes. Next, take one of the ends and insert it into the other. After this, take the loose end and push it through the loops. After this, pull it tight and you have your sheet bend knot! The next knot is the bowline knot, which is a secure loop knot. First, make a loop in the rope, then take the smaller end ...
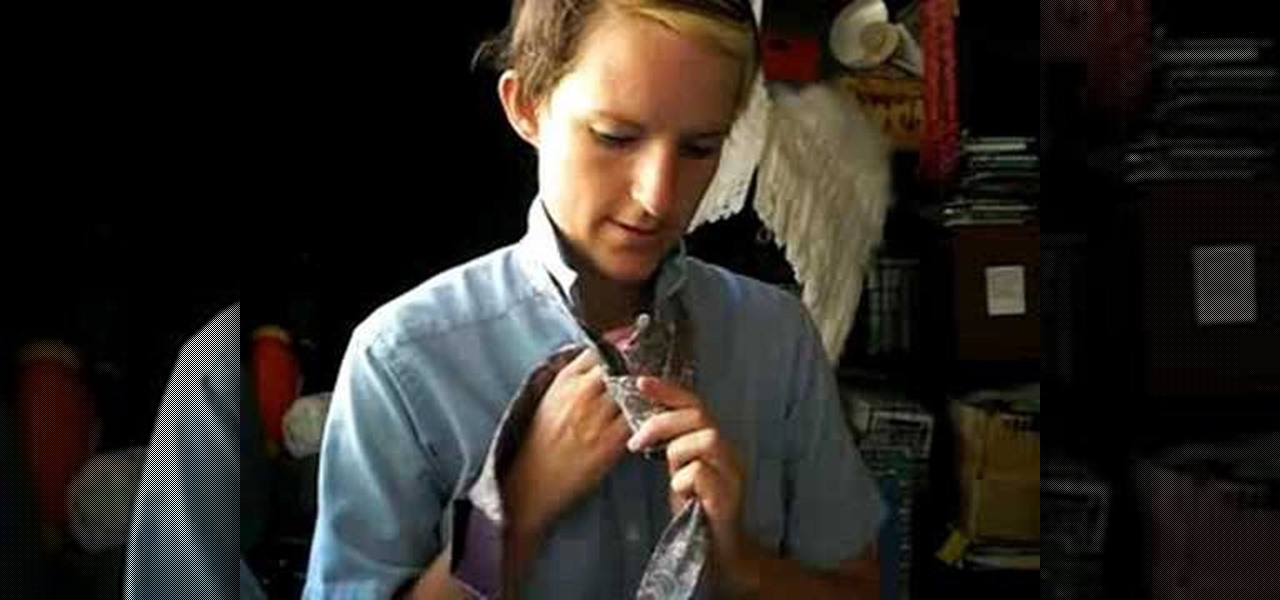
In this video tutorial, viewers learn how to tie a four-in-hand knot for a tie. Begin by putting the tie around your neck with the wide end on your right and narrow end on your left. Bring the wide end over the narrow end ad wrap it around. Wrap it around once more and bring it up through the loop at the neck. Now slide the wide end through the loop underneath it. Then hold the knot and pull the narrow end to tighten the tie. This video will benefit those viewers who are preparing for a forma...
Place you tie around your neck. Make one side longer and one side shorter. Then you will criss-cross the two sides of the tie, with the longer end being placed over the short end. Take the long end and loop it around the shorter end. Then you will take the longer end and bring it through the little loop that you have already formed by looping the end around. This will give you the ascot. To do a scrunchy tie, take the ends and pull them through the loop that has formed, and then you will have...
This video illustrates how to make paper ninja stars. This process includes the following steps.Step 1Take a sheet of printer paper and scissor.Step 2Fold it and cut it into two halves.Step 3:Fold one half of the rectangular piece again into half.Step 4:Fold the right end diagonally.Step 5:Now fold the left end diagonally.Step 6Fold both the ends in half.Step 7Fold the other rectangular piece again into half.Step 8Fold the right end diagonally.Step 9Now fold the left end diagonally.Step 10Fol...
Our host Roe is going to show you how to tie a double Windsor knot into a tie, with this quick step by step guide. To begin, you want to make sure the wider front end of the tie is on your right side and the little end is shortened to about the pectoral level of your chest. Next, you want to cross the two ends with the wider front end on top of the little end, hold where they cross and then bring the wider end through underneath the spot where you're holding. Now, hold the spot where the two ...
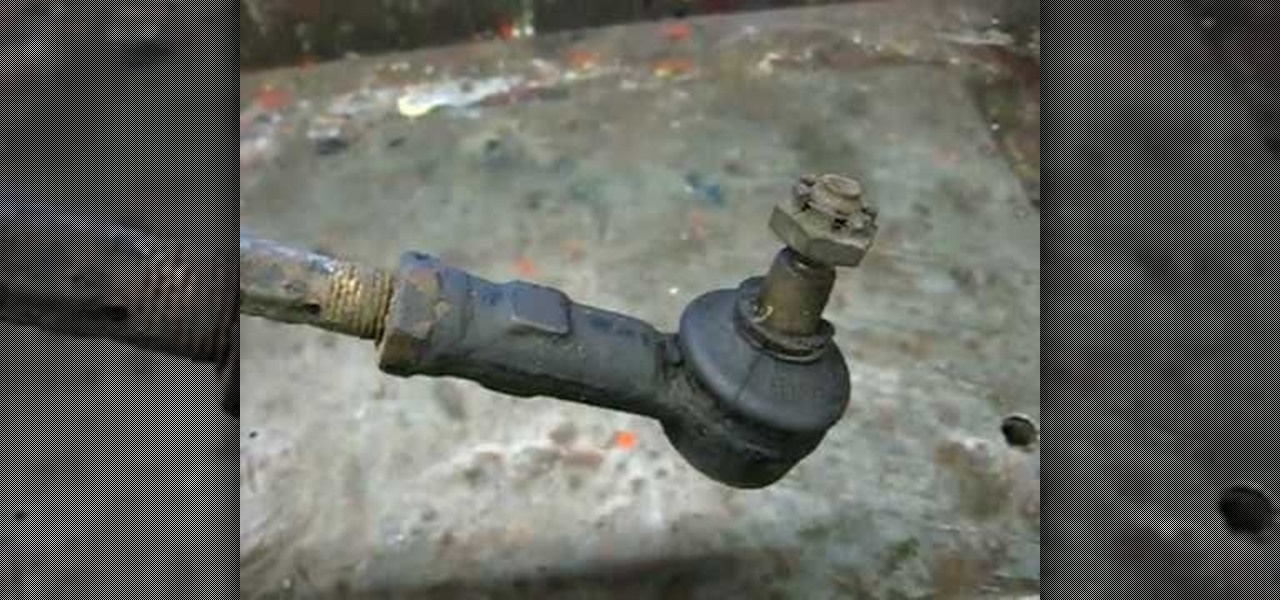
Richpin demonstrates how to remove the inner tie rod end on an automobile. First, get the car up in the air and support it by jack stands. Remove the wheel assembly.
To make a Kinky Lover's knot, first hang or keep the tag on something. Then take the first end. Tie it by keeping a loop. Then take the second end and pass it through the loop by leaving a loop. Then take the second end, which was taken earlier , through the loop made by the first end. Then pass the second end through the loop, which was made by the second end. The knot is ready! All we have to do now is to tighten the knot by pulling the two ends. Make it beautiful by arranging the tag clearly.
To tie the overhand knot, make a loop and pass one end of the string through the loop and tighten by pulling both ends. To tie a double overhand knot, make a loop and pass one end of the string through the loop twice before pulling both ends to tighten the knot. To tie a surgeon's knot, take the left string and bring it over and around the right string twice. Then take the right string over and around the left string and pull both ends to tighten, leaving a complete loop of string below the k...
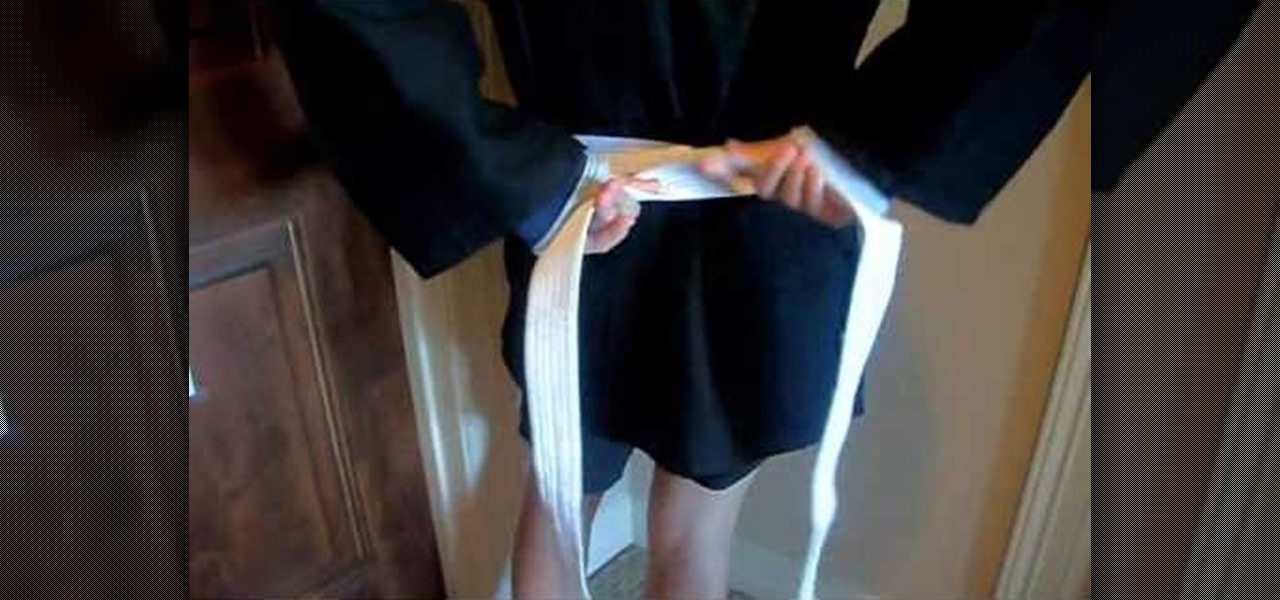
The video tutorial describes how to tie your belt (obi or sash) around your gi suit for aikido. This method is particularly good for aikido as the finished knot is fairly flat and the layers of the belt do not cross at the back.
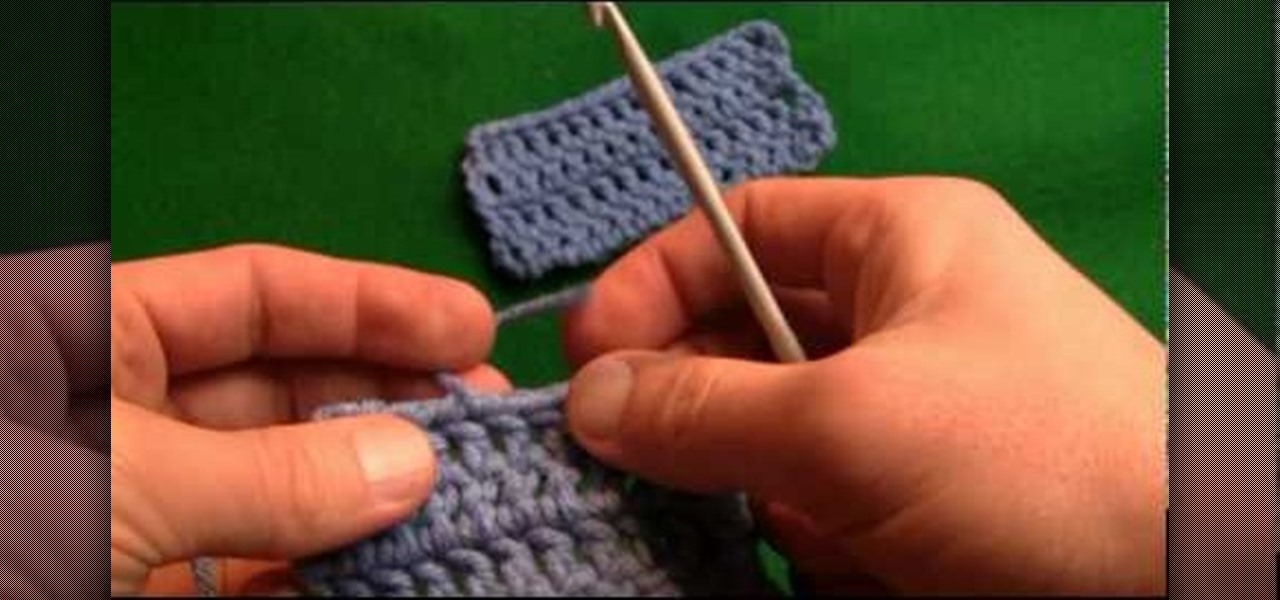
Watch this video and learn some of the fundamentals of crocheting. It will show you how to end a crochet project and weave in ends.
Nope, this isn't a cheesy Arnold Schwarzenegger movie, this is the tenth chapter in the hit PS3 game Dead Space. Is it the End of Days for you? Not if you follow along with this NextGenTactics video walkthrough series that takes you through the entire gameplay of End of Days. For more videos in this Dead Space series, see below:
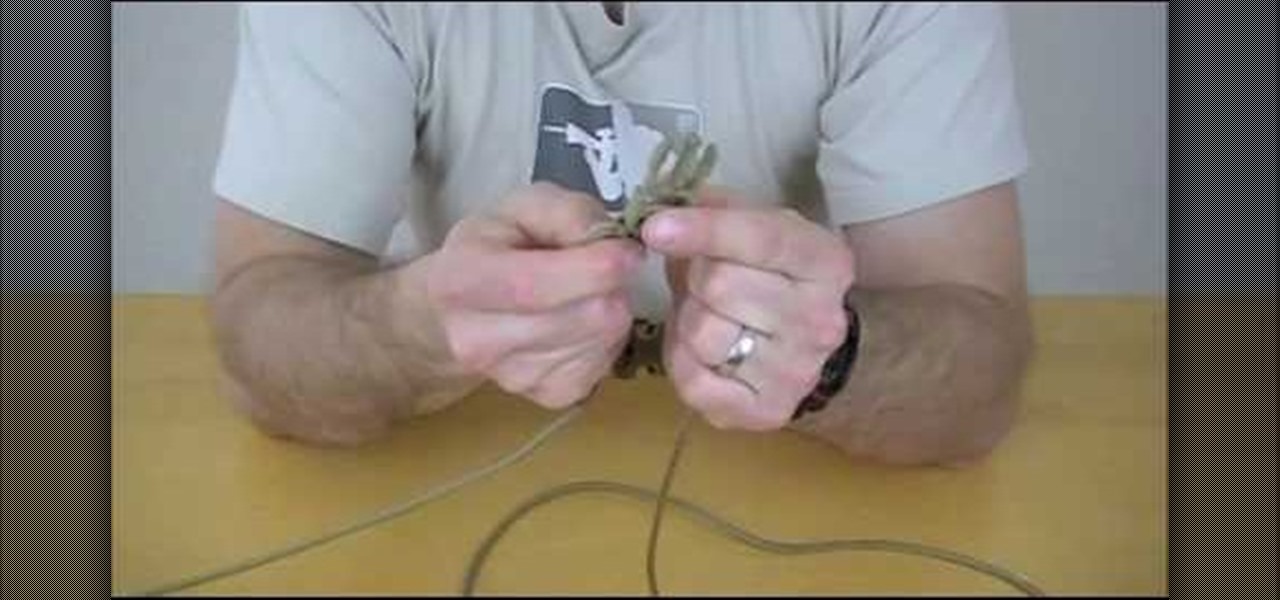
This video will show you how to make a very useful bracelet with 550 paracord. Once you watch this video, you'll have no excuse not to have any paracord on you. You'll always be prepared; after all, you never know what you could use this for! Just follow these steps:
Loose ends are never good, whether you're talking about who gets the kids and when once a relationship has ended or fixing a science project you did at the last minute five minutes before class.
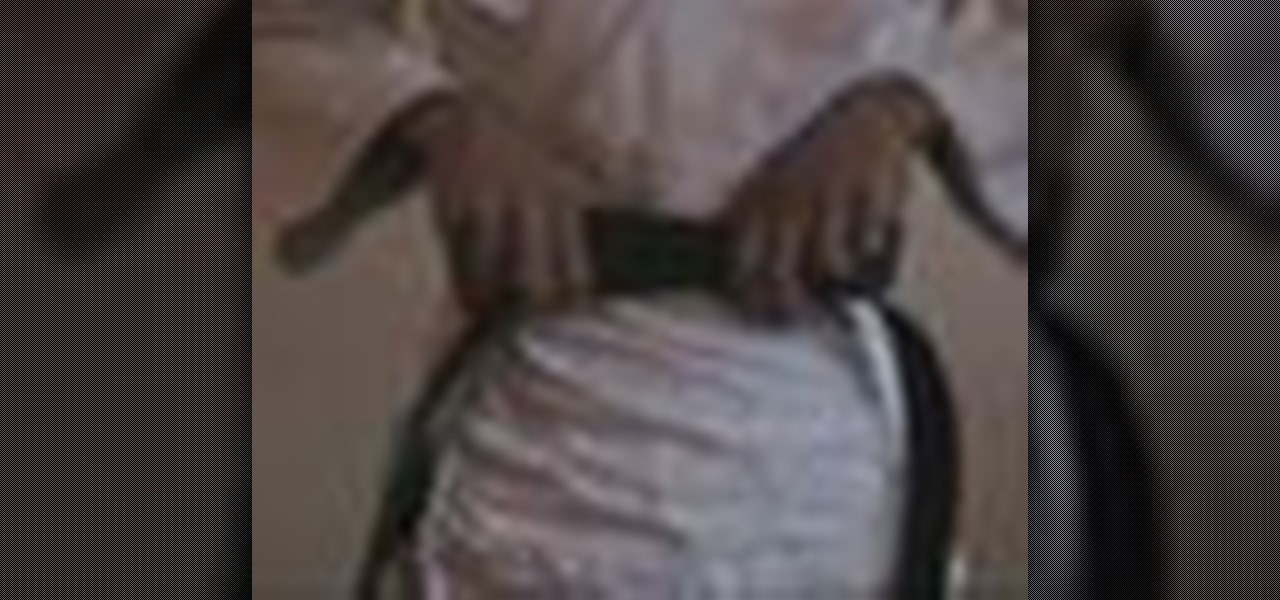
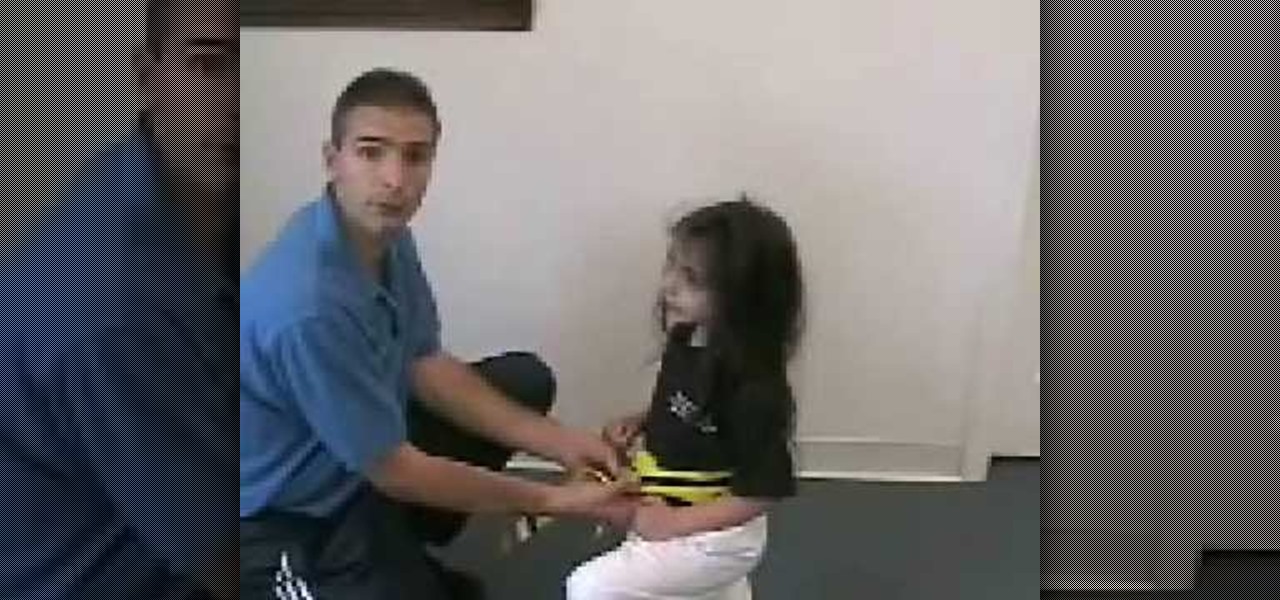
In this how-to video, Mark Denino will show you how to tie a karate belt tightly and safely onto a child. Have the child kneel down for you to tie the belt on. Unfold the belt and hold the middle. Place that section around the belly and wrap the ends around. Cross the ends over and pull one end under both strands. Take the other end cross them over. This will create a knot. Pull tightly so that it fits snugly on the child. Make sure the ends are about the same length. Viewing this video will ...
Windsor knots are among the most well-known type of knot. They look wonderful and they just seem to radiate talent and professionalism. However, the process is painless and takes only minutes to learn. You should watch this if you want to learn how to make Windsor knot. 1. Drape the tie over your shoulders (the same way that you would an Honors cords at a graduation) with the wide end hanging down roughly a foot over your right shoulder. 2. Take the wide end of the tie and cross it over the n...
This tutorial shows you how to find the last few items you need to get the Audiophile and Happy Ending? achievements when playing the horrorcore game Splatterhouse. Find all the gramaphones and photo fragments in The Ruined Heart, The Wicker Bride and Blood Eclipse.
This is a video tutorial in the Arts & Crafts category where you are going to learn how to tie a Bowline knot with one hand. Doing this is really simple and easy and doesn't take any time at all. Hang a line from any support. Take the lower end, that is the running end in one hand and pass it around the standing end. Then take it out through the loop and pass the running end around the standing end and pull it out through the loop. Tighten the knot and it's done. It's really that simple and e...
In this tutorial, we learn how to tie an Alpine Coil knot. When you start your coil you want the starting end to be inside your hand. First, take the working end of your rope on your last coil and make a loop in your rope. Then, wrap a couple of turns around the rope and lock it into place. Once you've made a couple of turns, the working end will go into the loop. To secure, go over to the end from the loop and give it a tug, which will lock the working end into the rope and make a nice way t...
In this Arts & Crafts video tutorial you will learn how to tie a Padlock style decorative knot. Padlock knot is a clever way to achieve the look and function of a padlock without having to bother about the key. Take a piece of rope, bend it in the center and make two loops on either side of the rope. Ensure the working end is over the rope in the left side loop and under the rope in the right side loop. Now overlap both the loops so that the left side loop is over the other loop. Now pass the...
Paul shows us how to make a gigantic three dimensional five-point star out of paper. First, glue A4 sized paper together to make a long strip. Make a U-shape on one end, cross the shorter end under the strip and make a knot by placing the end into the loop. The knot now looks like a pentagon. Flip the pentagon over and over until the end of the strip so that the paper strip is bundled into the pentagon shape. Stick the end of the strip to the pentagon shape. Press the centre on each side of t...
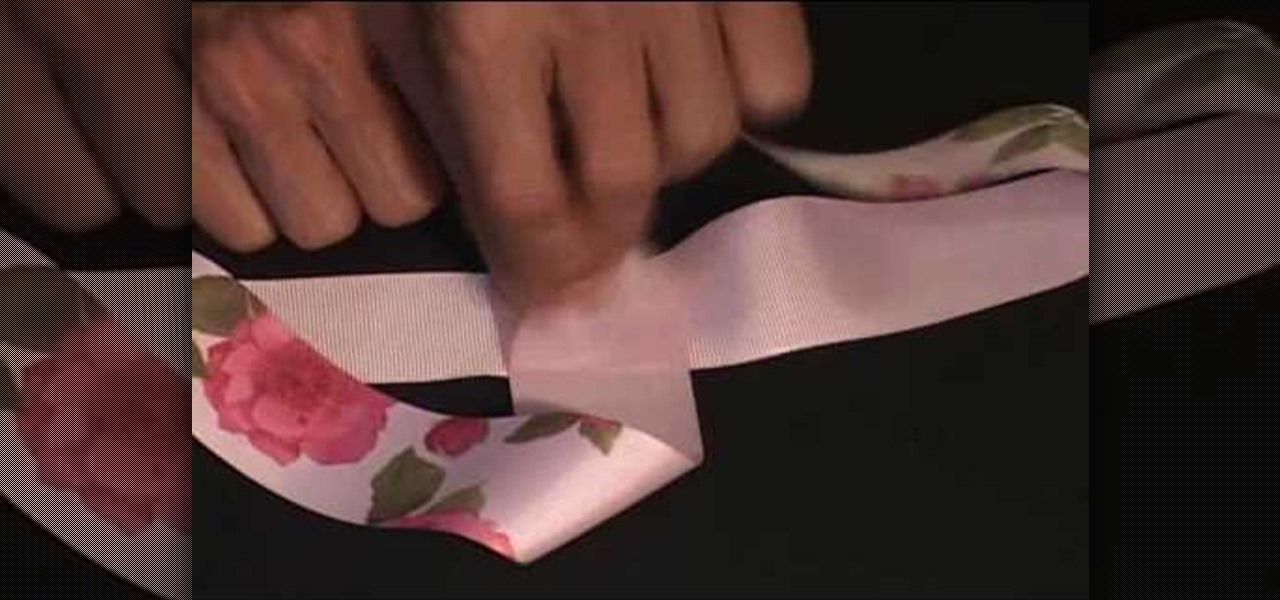
get a long piece of ribbon, put the ends together and make a crease at wear the ribbon folds, that'll be your center point. Now get one end of the ribbon, and without it flipping over, bring the end to the center of the ribbon and lay it perpendicular to the direction of the ribbon. Also bring the other end of the ribbon to the center of the ribbon but from the other direction. Hold the ribbon together using a gator clip. Obtain a piece of string or plastic strip, tie the folded ribbon tightl...
This video demonstrates how to tie a karate belt in a proper manner. Take the belt and fold it in half. Place the fold in the middle part of your abdomen where you need the knot. Cross the ends of the belt behind your back. The end in your right hand should be on the top and tuck in the end in the left hand underneath till the front. Take the end on the top and tuck beneath the belt, bottom to top on the other side. Pull the ends tightly, the two ends should be of almost equal length. Cross t...
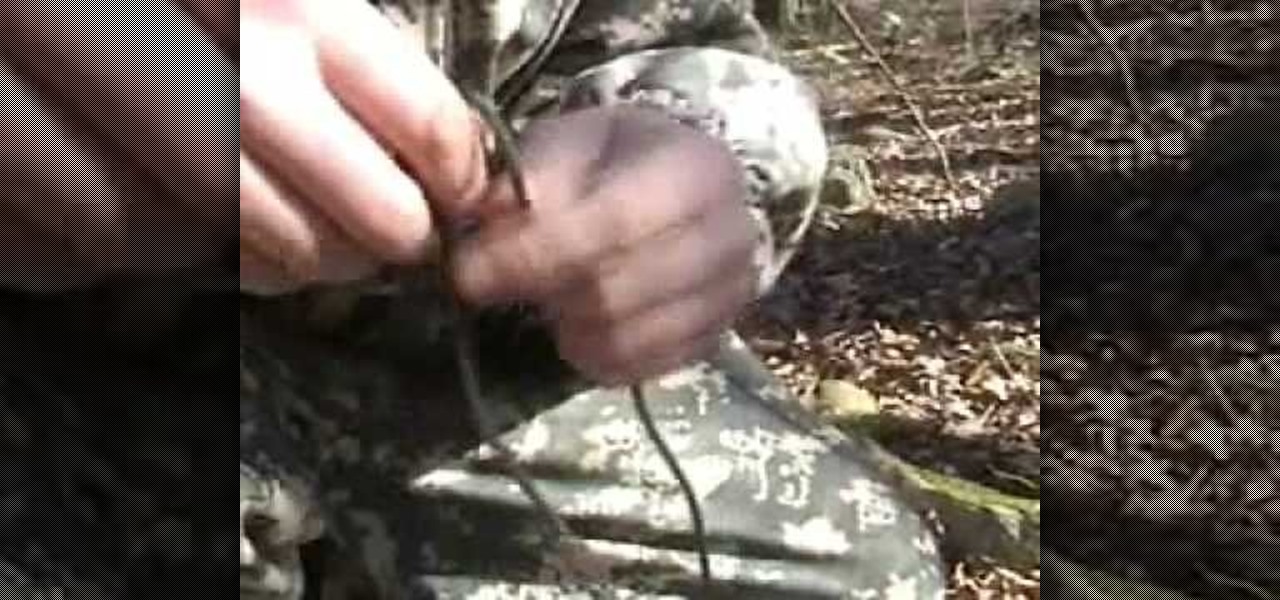
John Campbell, from azbushman, demonstrates how to make a quick bow and arrow in the wilderness by collecting natural materials and constructing them with cord. He starts by finding seep willow (also called coyote willow) that grows in clumps near rivers. He cuts ten willow sticks and ranges their lengths from about five feet down to about one foot, each a couple of inches shorter than the next.
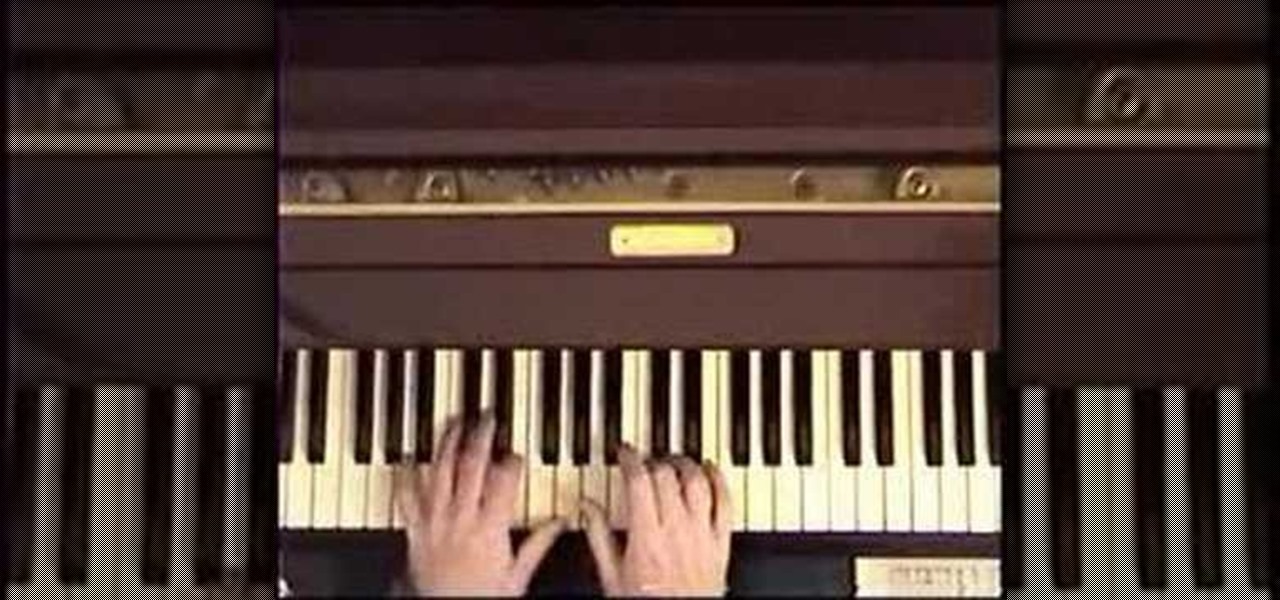
Playing along with your favorite songs is an enjoyable, and highly effective, way of developing your playing technique. In this piano tutorial, you'll learn how to play "The End" by Paul McCartney of the Beatles. While the lesson is geared toward players of an intermediate skill level, all players can follow along given adequate time and motivation. To get started playing "The End" on your own piano or keyboard, press play!
Learn how to play the Greenday song 'wake me up when september ends' on the guitar. Very easy to follow.
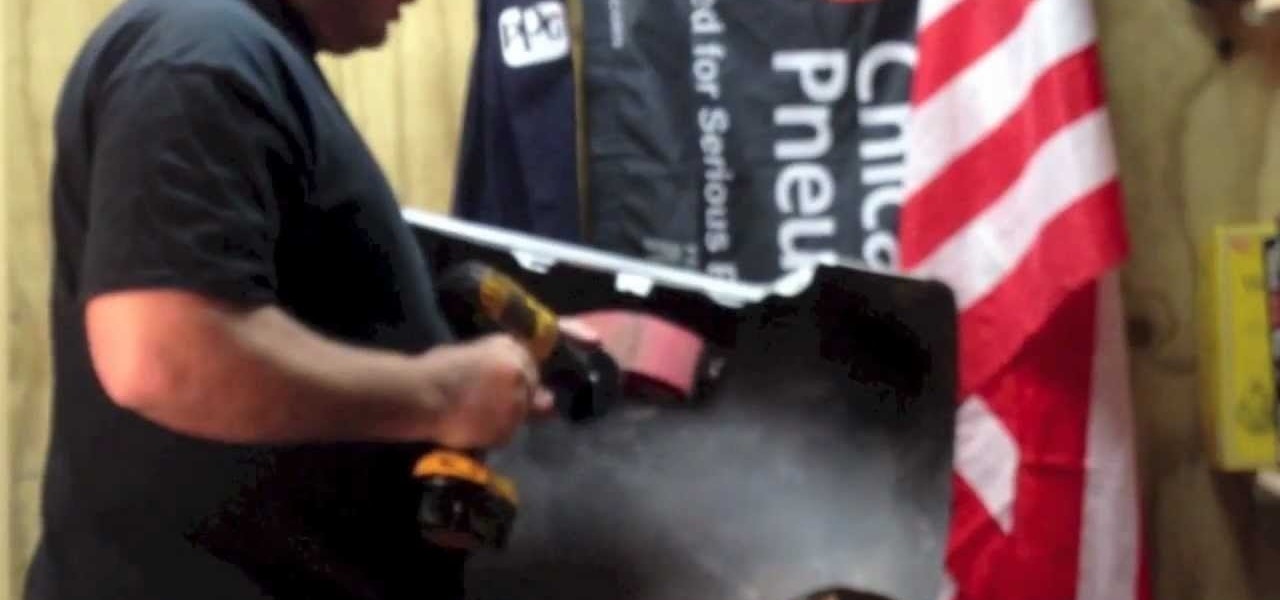
A common problem on bumper covers is that the tabs that attach the bumper to the car get broken. This is critical, as this is what secures and aligns the bumper cover. Many times, a broken tab is all that is wrong with the bumper cover. With the cost of these plastic parts $200 to $700, the replacement cost can break the bank.