
How To: Make a flipped honeycomb glass pendant
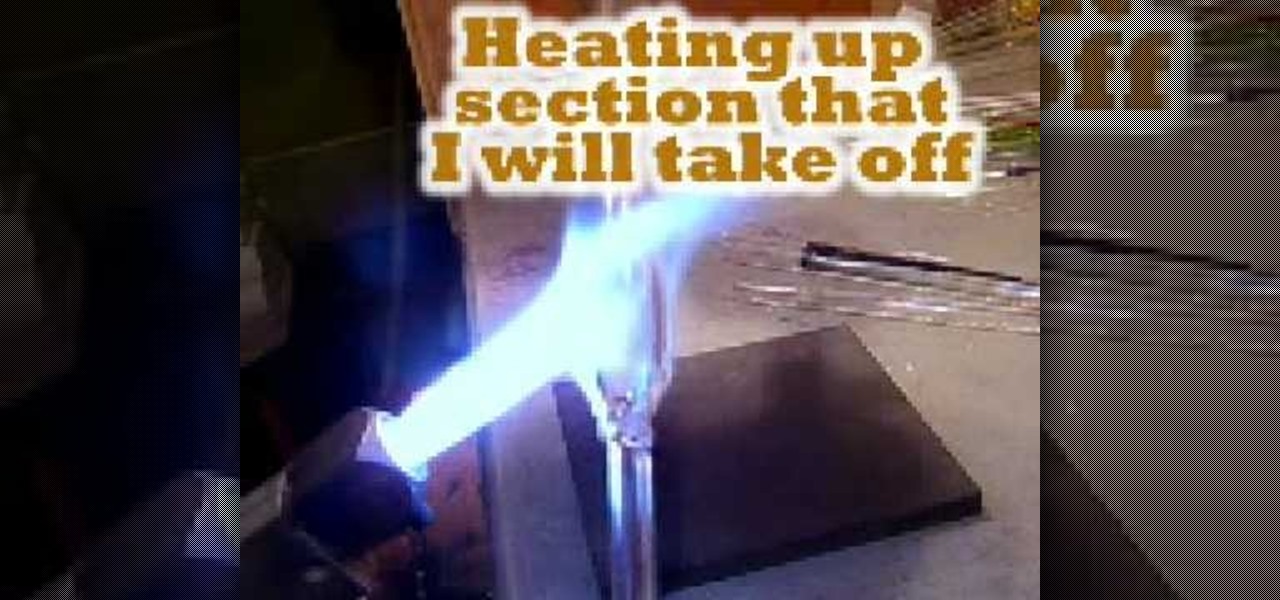
Watch this three part lampworking video series to learn how to make a flipped honeycomb glass pendant. You fume with silver and make a honeycomb. Then use the backside for the pendant.

Watch this three part lampworking video series to learn how to make a flipped honeycomb glass pendant. You fume with silver and make a honeycomb. Then use the backside for the pendant.
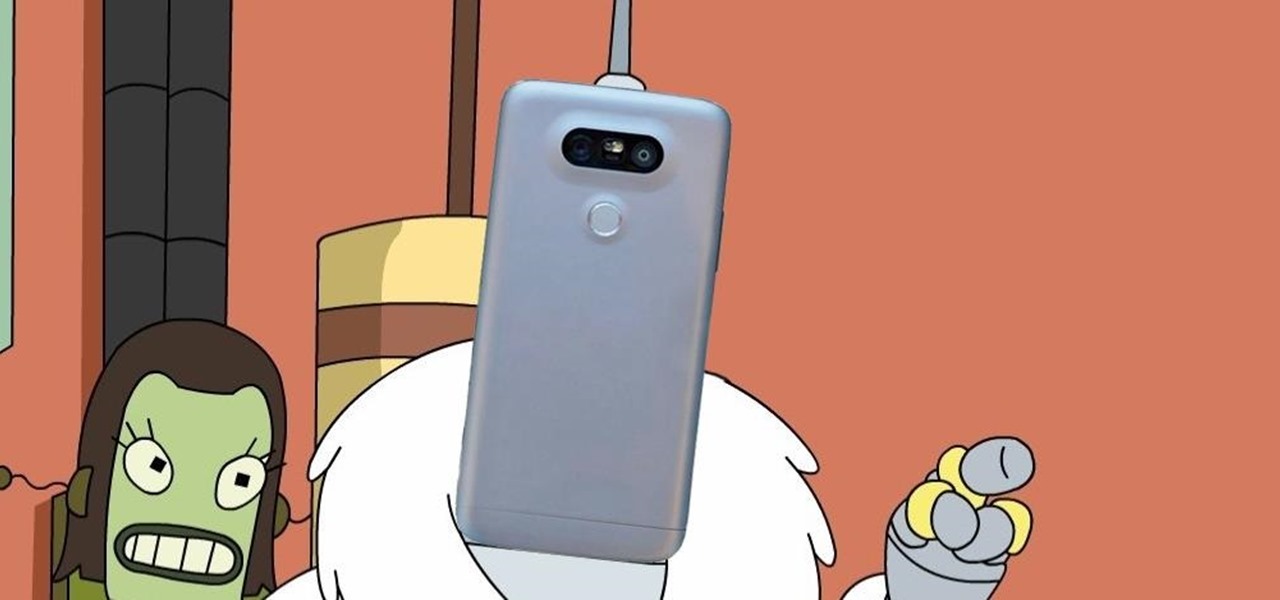
LG is set to launch its G5 handset on February 21st at the Mobile World Congress in Barcelona. This shouldn't be too much of a surprise, but images of the G5 have now been leaked ahead of the event by Evan Blass (@evleaks). This image shows that the handset will indeed have two lenses on its rear-facing camera so that you can shoot wide-angle 135º photos.
Park Skateboarding: Show Off Your Skills The first skateparks appeared in the 1970s, and nowadays, they're the epicenter of the skateboarding world, a place to see and be seen. That being the case, you don't want to show up to the park without your "A" game. Let our trick guide get you up to speed. Watch this video tutorial to see how to do skateboard rock n rolls at a skatepark.
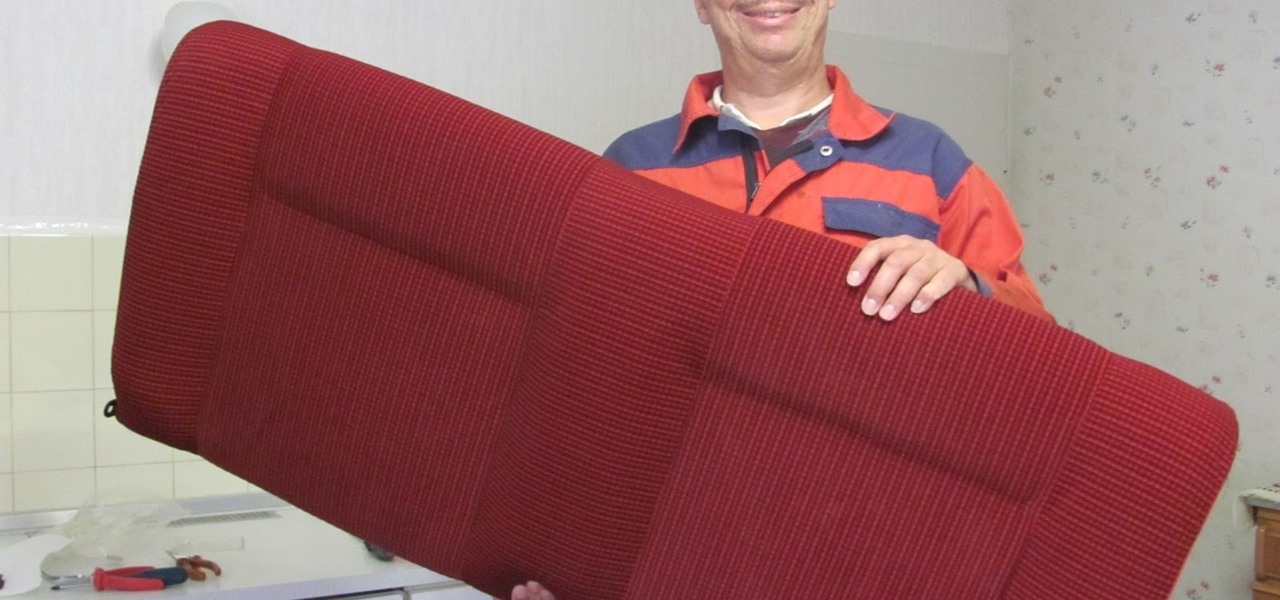
This video gives you a step by step tutorial how to recover the seats of your car. If you are a little familiar with sewing, this is easier as you imagine. All you need for this repair is new fabrics and a normal sewing machine.

In this video tutorial, viewers learn how to dress to flatter their body shape. The female body has three key physical inflection points. These points are: the chest, waist and hips. There are four basic body types. These body types are: apple, pear, hourglass and banana. The apple shape has a full face, broader shoulders, fuller breasts, undefined waist, narrow hips, flat rear ends ans shapely legs. The pear shape has slender neck, narrow shoulders, narrow back, small or medium bust, defined...

Who said the eighties were dead? Well, they might be, but that doesn't mean you can't still rock the hairstyles. Take your hair to new heights by ratting it, which is simply another way of saying backcombing.
How to do a Backside 180 Kickflip on a Tech Deck miniature toy skateboard.

Jason Ellis shares some trick tips on how to do a Smith Grind and a Backside Ollie.
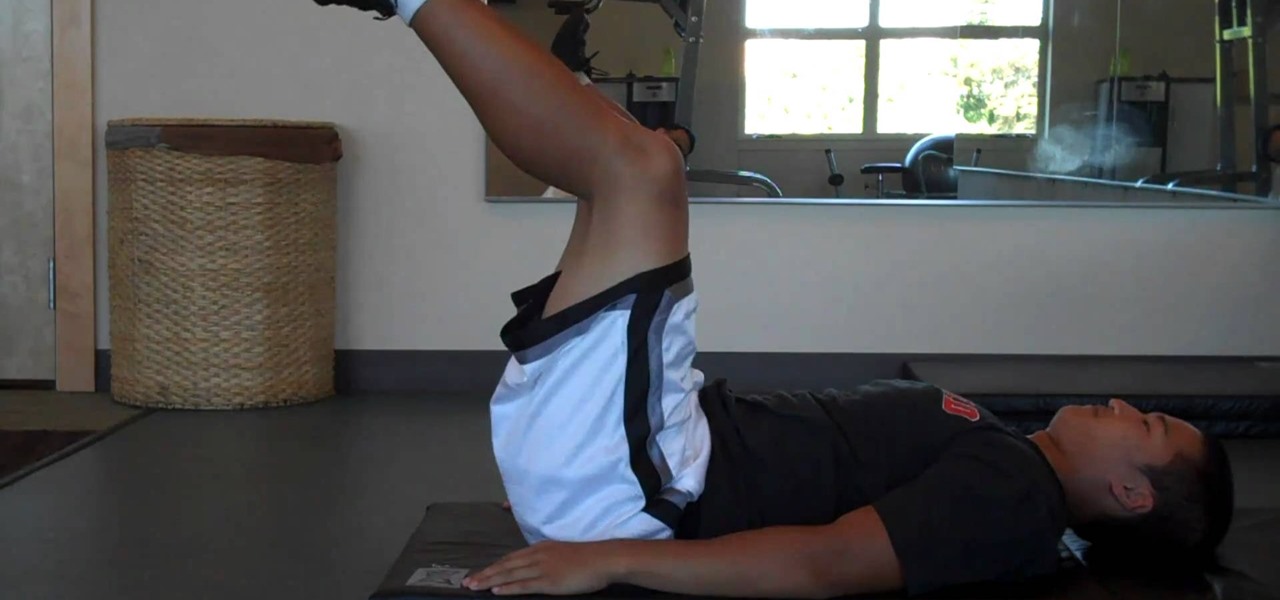
The truth is, it's not about how many repititions of an exercise you do; it's about how well you hold the form and what kind of exercise you do. Heck, you could probably do 1,000 sit ups a day and still have some extra flab on your belly. That's because sit ups only tone the upper portion of your core, making the rest liable to grow chub.
Boxing a table doesn't mean getting into the ring, but it does require a certain degree of skill to successfully complete. Boxing the tablecloth is a great technique for any occasion or party, and every caterer should know these moves.
Step 1: from the original six step position, kick your left leg to the right side as if you were going to 3step.

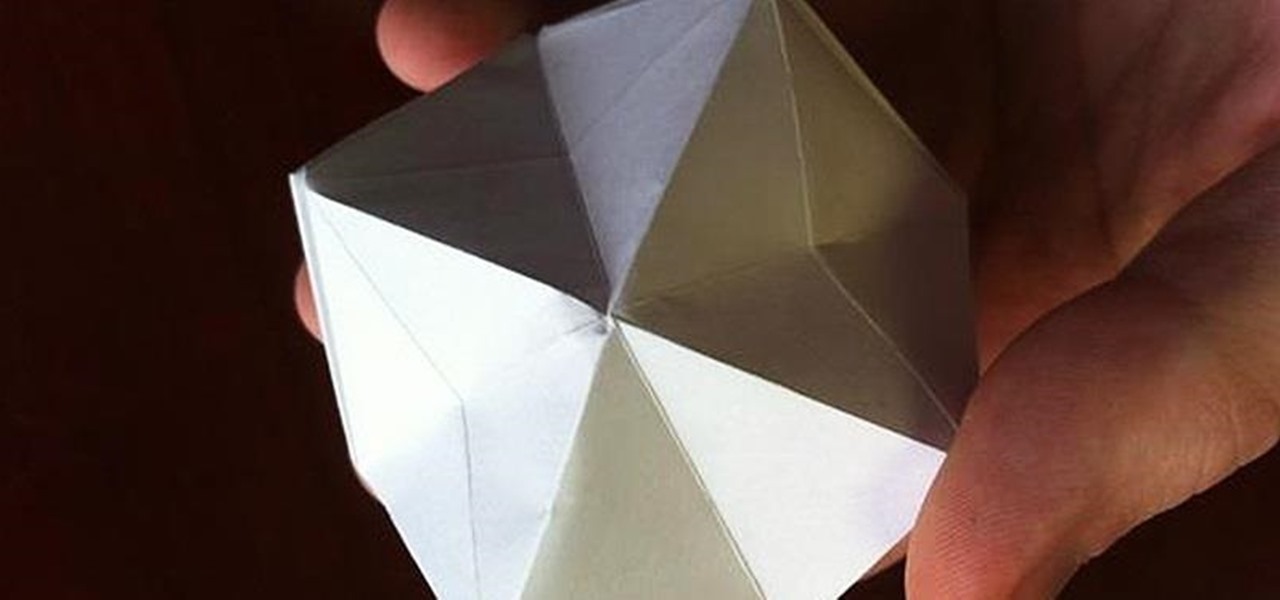
To create an origami buckyball, you must start with a piece of paper cut into a triangle with each side about two inches long. Fold the corner of each side into the middle of the opposite side and then unfold to create creases that will be your guide. Next, fold a side up to the midpoint of the creases and repeat on all sides. This will create a star-like shape. Now, fold two sides in and pinch out the extreme, outer corner and repeat on all sides. This will create a small star inside your pa...
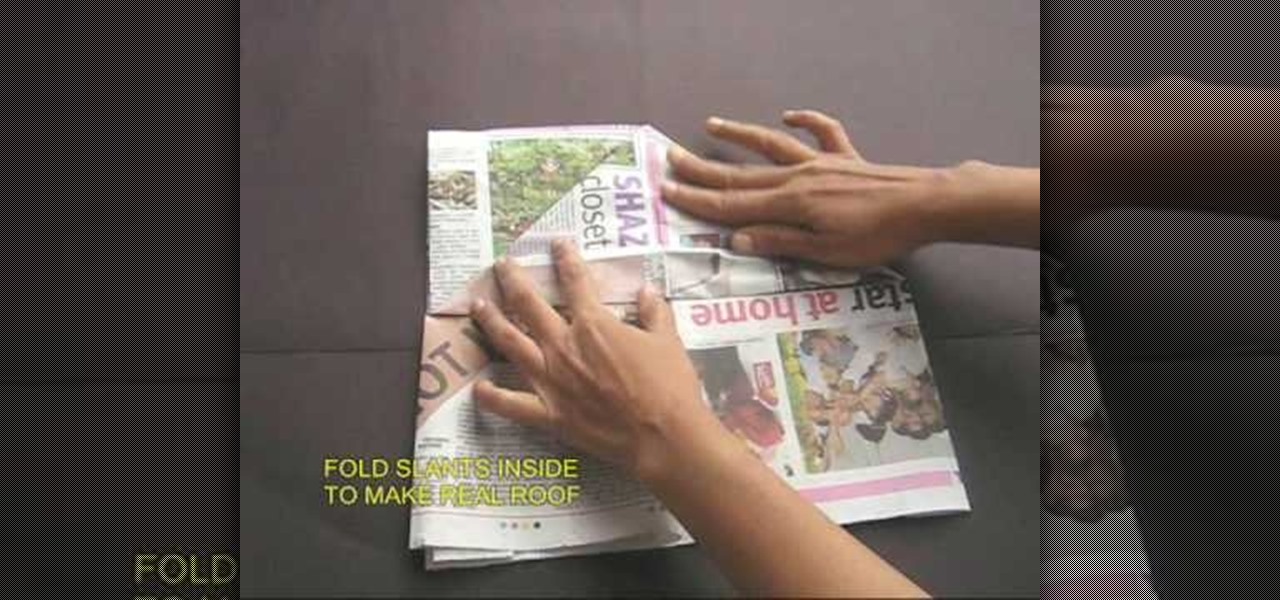
The man on the video explain how to make a cricket cap from just a half sheet of newspaper. You start off with a half sheet of news paper, and fold the sheet in half, and then fold it again into a quarter. Then it shows you to fold down the two tops sides as if you were making a "roof". Then you are to fold the roof to the mid point of the base. You are then told to open the whole sheet of newspaper again, fold in both of the long edges to about 4 cm. You are then to fold the sheet in half wi...

The person in the video demonstrates how to do a front post and a back post double crochet. First she shows you what a post is. The body of the previous row of double crochet is the post. To do a front post double crochet, you should loop the thread over the hook and put the hook under the post through the hole before it and bring it out from the hole on the other side of the post. Then you can loop the thread over the hook again and pull the hook out through the same way it went in. Then you...
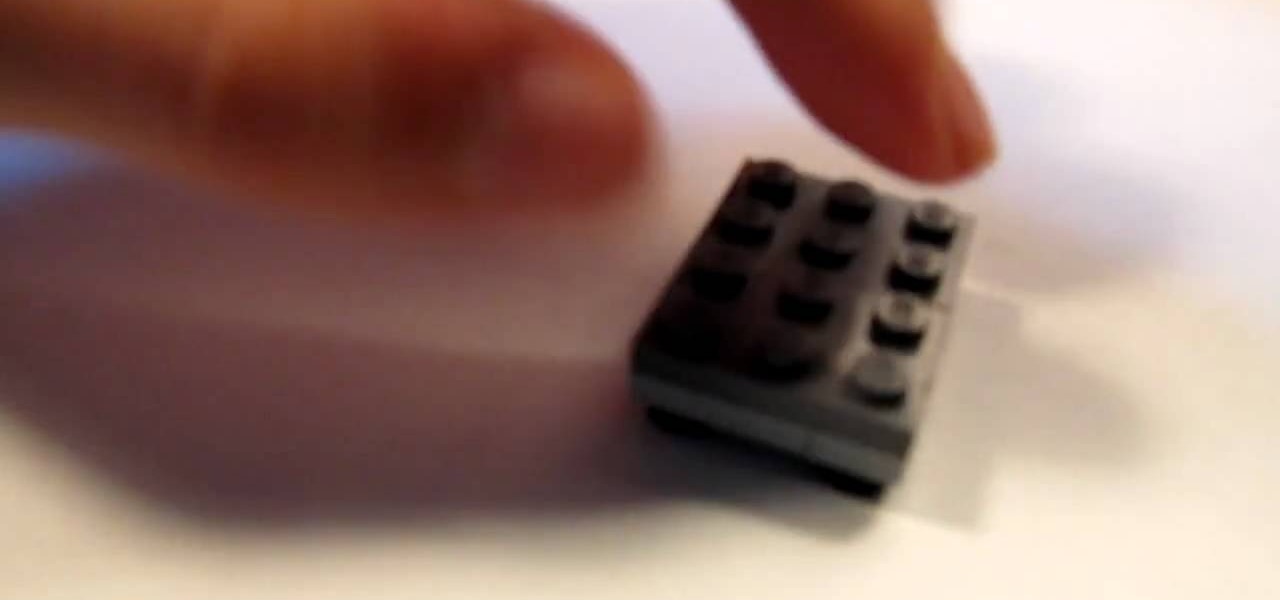
Learn how to make a LEGO Armchair with this video tutorial. You will need 4 1x2 flats, 1 2x2 flat, 1 2x2 flat smooth, 2 1x3 chunkies, 1 1x4 flat, 2 2x3 flats, 1 1x2 chunky, 2 curved 2x1 angle bricks, and 3 1x2 flat smooths. Take the four dots and take 1 1x2 flat and place it on top of one of the studs. Take the other flat and do the same. With the 1x4 flat, place it on top of the remaining two black studs. Take your 2 2x3 flats and take the 1x4 with the studs on the top and put them together ...
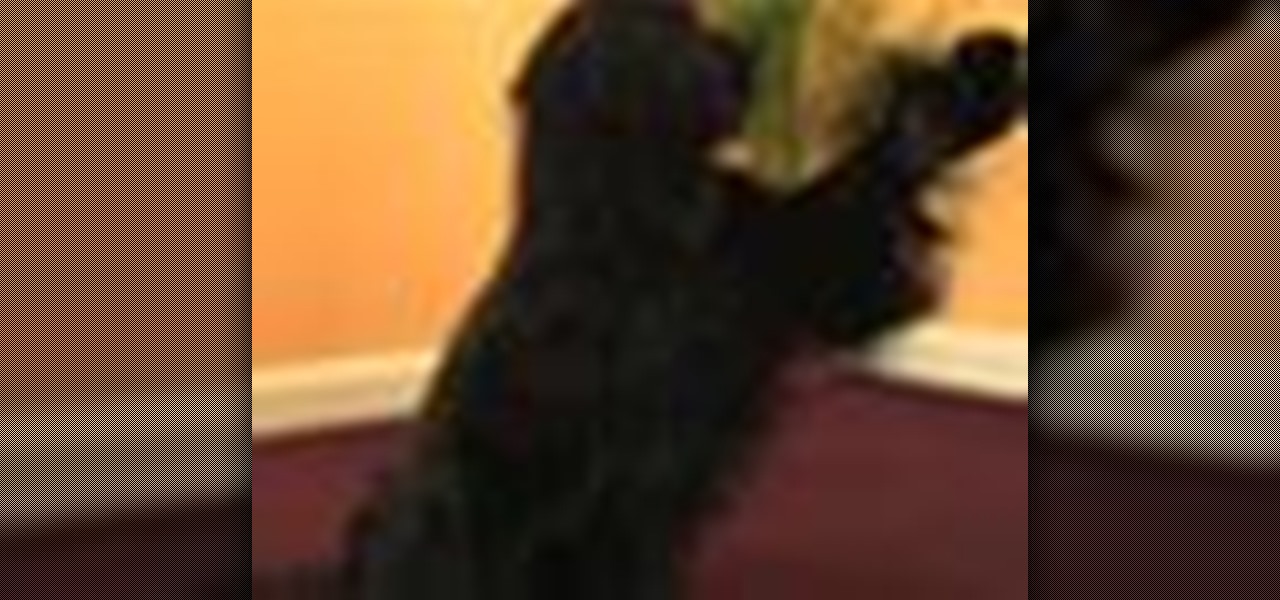
From housebreaking to traveling, crate training a puppy or dog can have long-term rewards for both owners and pets. Watch this how to video to learn how to teach a dog to shake hands.
Discomfort. Embarrassment. The wedgie. Get rid of the problem with these simple tips. Watch this video to learn how to pick a wedgie in public.

Apple announced their new iPhones today, and the 7 Plus features two camera lenses on its backside. That could push smartphone photography ahead in a major way. It may also serve as the basis for their foray into virtual, augmented, and mixed reality.
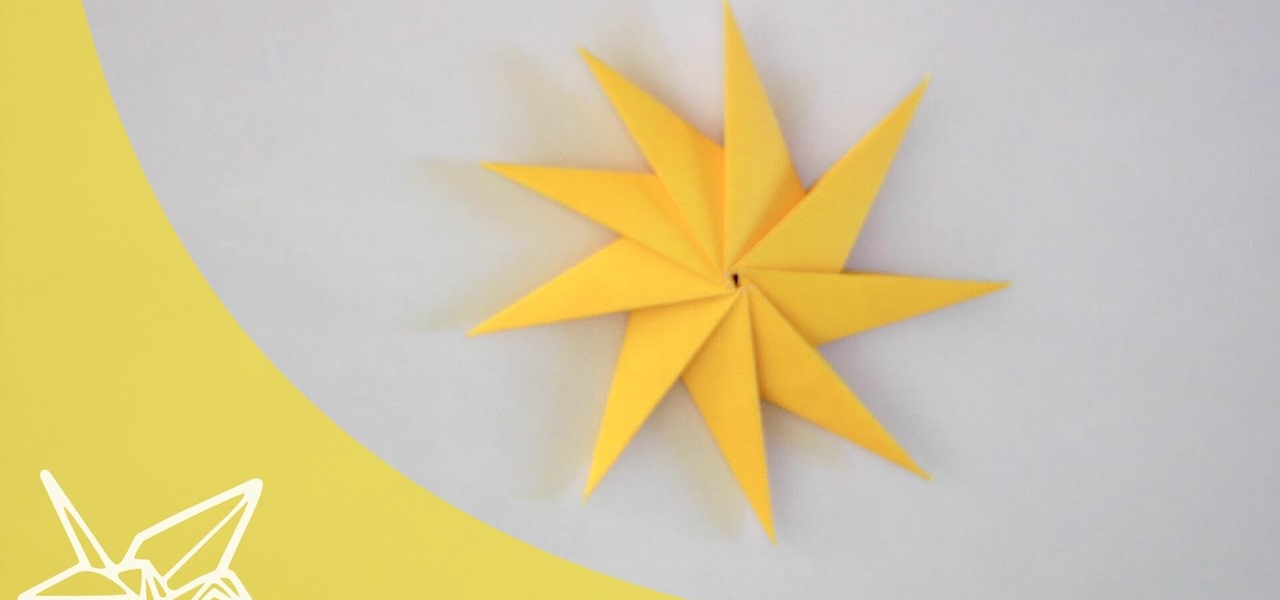
In this tutorial you'll learn how to fold a nice star from paper without the need for glue or scissors
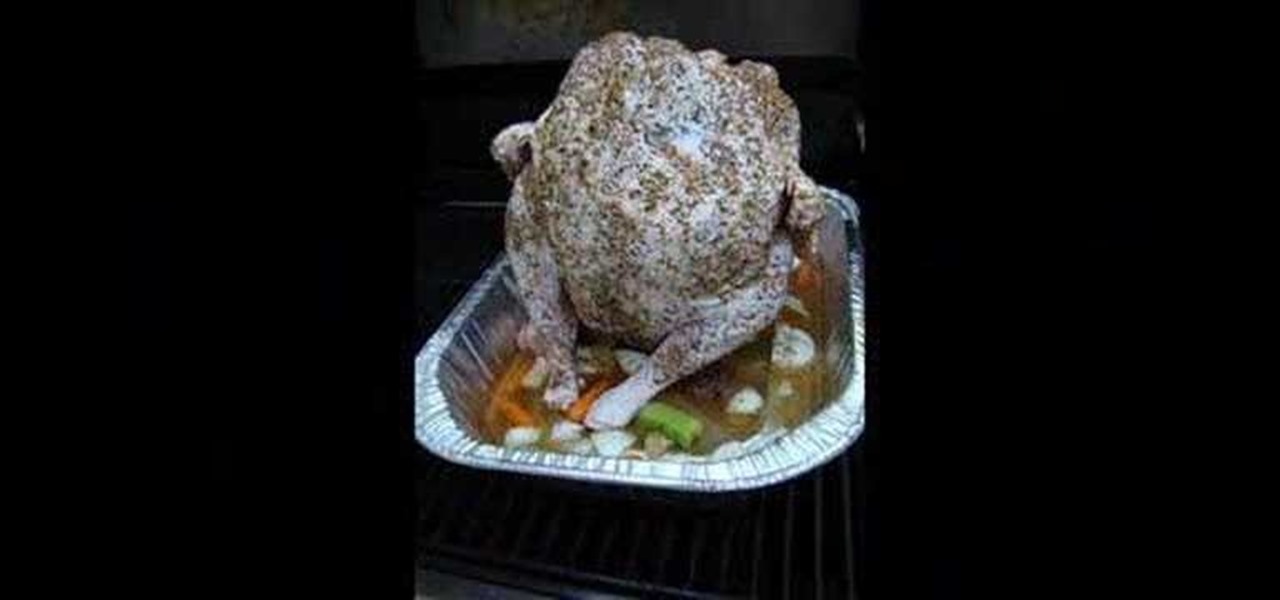
Beer can turkey? Sounds like a joke, right? Well, it may have started off as one, but now shoving a beer can up the butt of a turkey is a much favored cooking technique in lieu of the traditional Thanksgiving turkey. With the beer can up its butt, it helps steam the turkey to keep it moist and tender, all while giving it that perfect aroma and taste.

There have been plenty of rumors and lots of speculation about the Galaxy S7 and S7 Edge, and now we're finally getting our first look at Samsung's newest flagships—in the form of two images.

Cars are quite different than they used to be. Sure, modern cars have some cool things, but repairing them are becoming difficult. Even simple things like changing a headlight bulb.
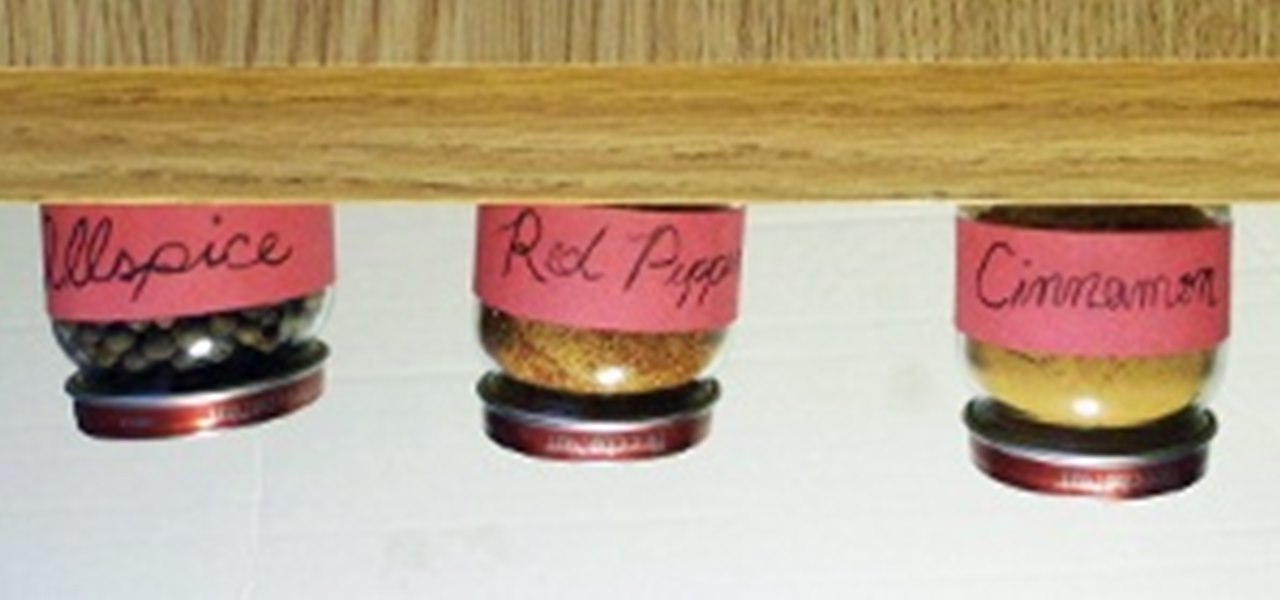
Spices are a necessary ingredient in any kitchen. It doesn't matter how good of chef you are—without proper spices, your food will always fall flat.

Everyone knows that using your phone and driving is illegal, and rightfully so. Tons of people die on the road everyday due to careless people texting or calling someone. Everybody knows that it's wrong, yet everyone still does it anyway.
This video shows you how to do the basic Running Man dance. 1) The Lift First, it is better to start with right foot on backside. Lift your right foot and slide your left foot back a bit at the same time with knee in the middle.

English can be difficult because few words are spelled phonetically, and every rule has exceptions. But you can become a champ in no time by memorizing a few basic rules.
One of the most popular and basic origami geometric shapes is the "water bomb," which is a simple inflated cube. With a few extra folds and only a minor shift in approach, a more complex geometric shape can be achieved.
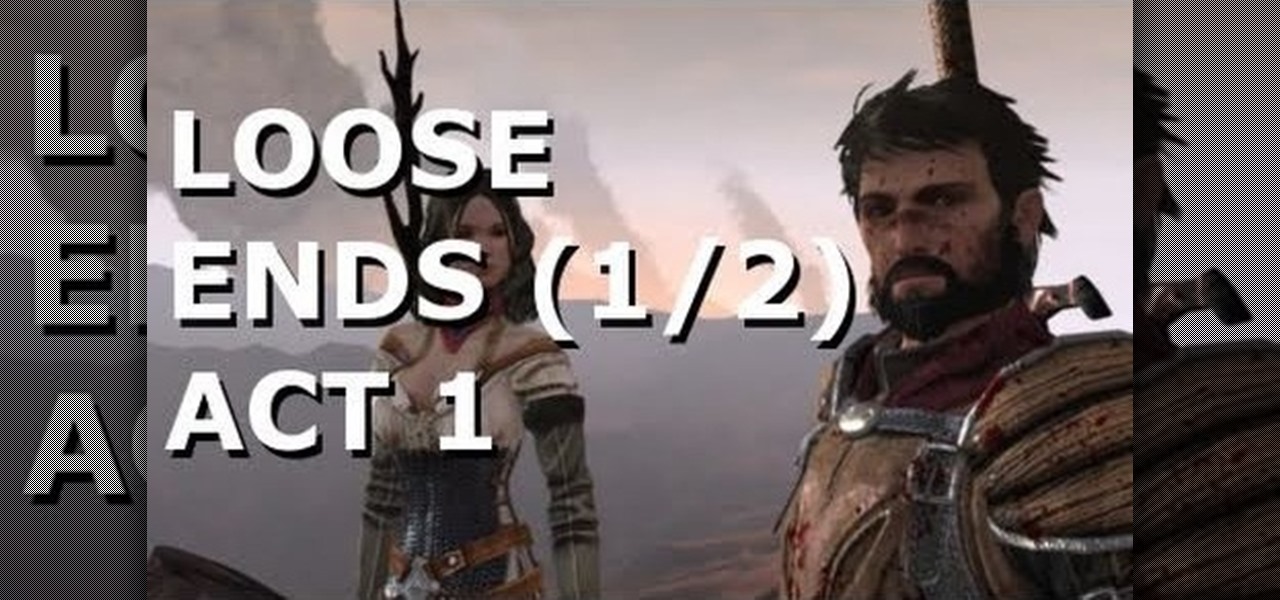
'Loose Change' is cool secondary quest in Dragon Age 2 that varies depending on whether you chose to be a smuggler or a mercenary when you enter Kirkwall. This video will walk you thorough the mercenary version of the quest, allowing you to, in fact, tie up your loose ends.
Okay, so you're fishing and you forget the basic essentials… you're fishing pole and your bobber. How are you going to catch a fish with just some fishing line? The answer? Plastic straw.

Tracie Cunniliers demonstrates how to wind a bobbin and thread the needle using an automatic needle threader in 'Elna 2800'.To wind a bobbin, place a spool of thread on the holder. Place a thread holder next to the spool of thread. Take the end of the thread and wind it around the clip situated on the other side of the machine. Now take a bobbin and pull the needle through the bobbin inside-out. Now place the bobbin on the holder and click into place. Hold the end of the thread and slowly pre...
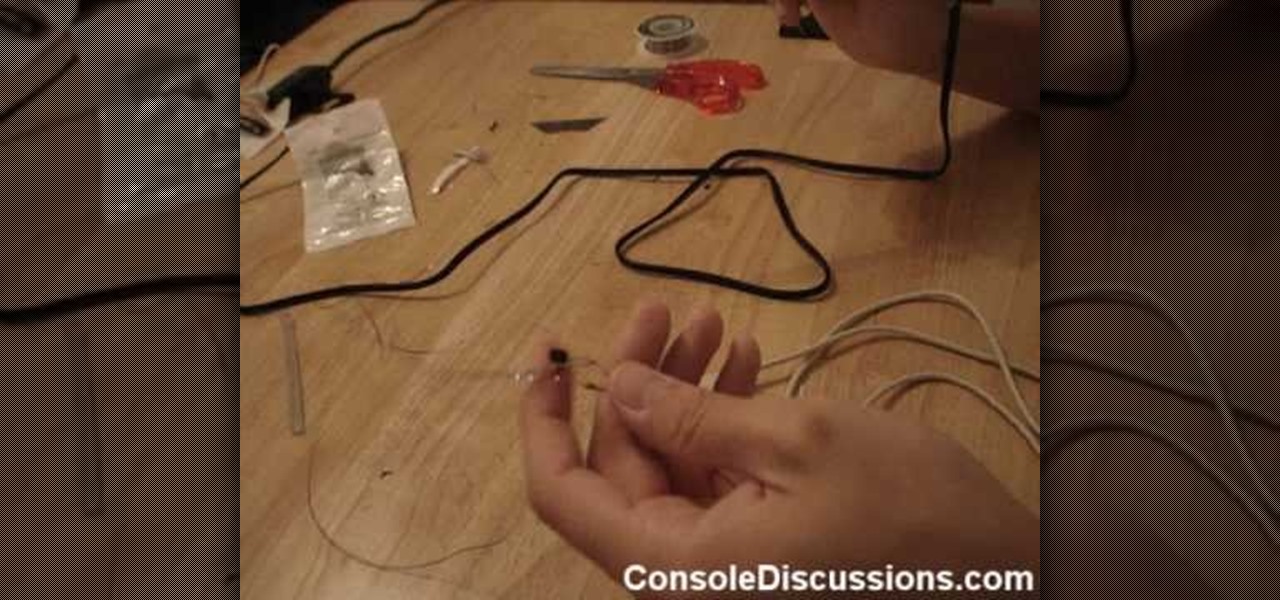
You like all things Xbox so instead of just playing with it try making your own stuff. You can make a your own Lite-on probe for your Xbox with items you can pick up at RadioShack or a comparable electronic store.
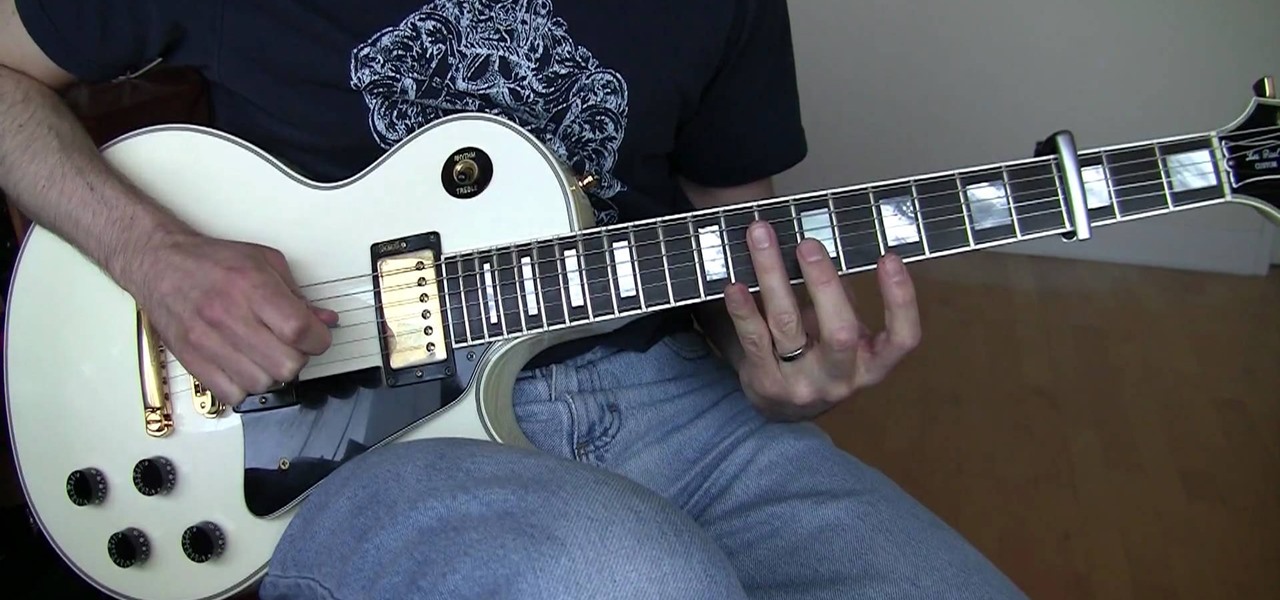
Want to play "Until the End of the World" by U2? See how it's done with this free video guitar lesson, which presents a complete (and we mean complete) breakdown of the song and its constituent parts. While this tutorial is geared toward those who already have some knowledge of the guitar, players of all skill level should be able to follow along given adequate time and effort. For more information, and to get started playing "Until the End of the World" on your own guitar, watch this video g...

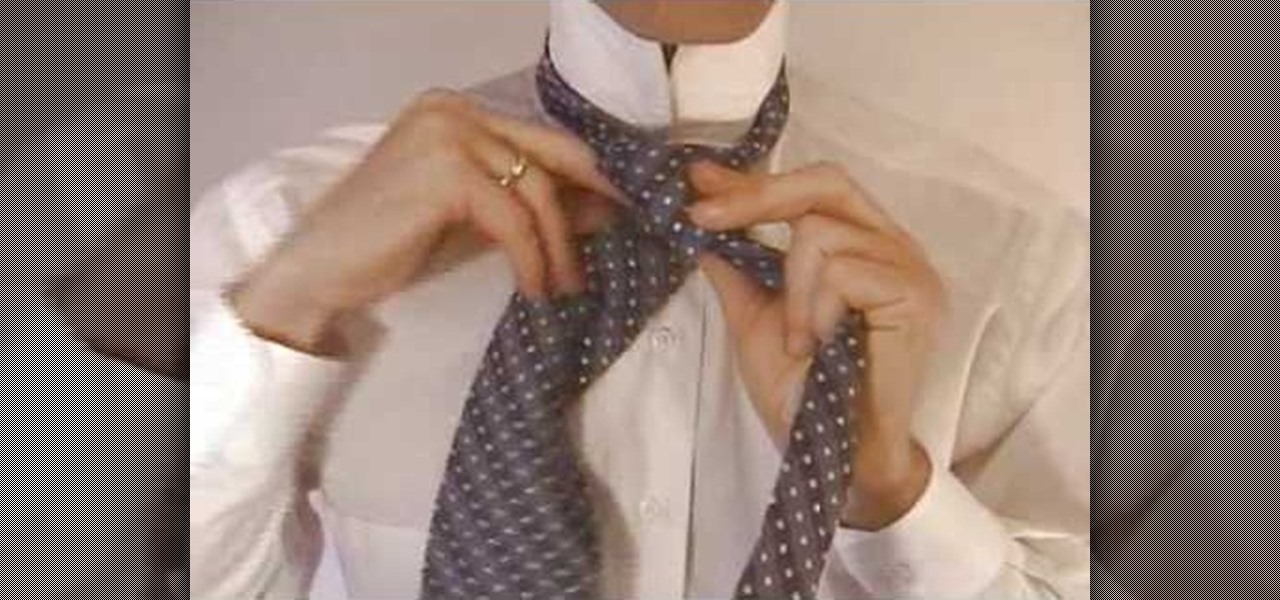
This video tutorial is in the Beauty & Style category which will show you how to tie a necktie in a four-in-hand knot. The broad end should hang lower and to the right. Take the short end of the tie in your left hand and bring the long end of the tie across it and hold it in your left hand. Then bring the long end back underneath the short end showing the back of the long end in front. From there you bring the long end back over the front of the tie to create a cross-section of the tie. Now p...

In this video, we learn how to tie a tie in ten easy steps. First, you will need to put the tie on and put the wide end in your right hand and the thin end in your left hand. After this, place the wide end over the top of the narrow, then put the wide end back over top the narrow end. Next, put the wide end through the loop made with the tie and your neck. After this, put the wide side through the front loop of the knot and pull the wide end down tightly. After this, hold the knot and pull th...
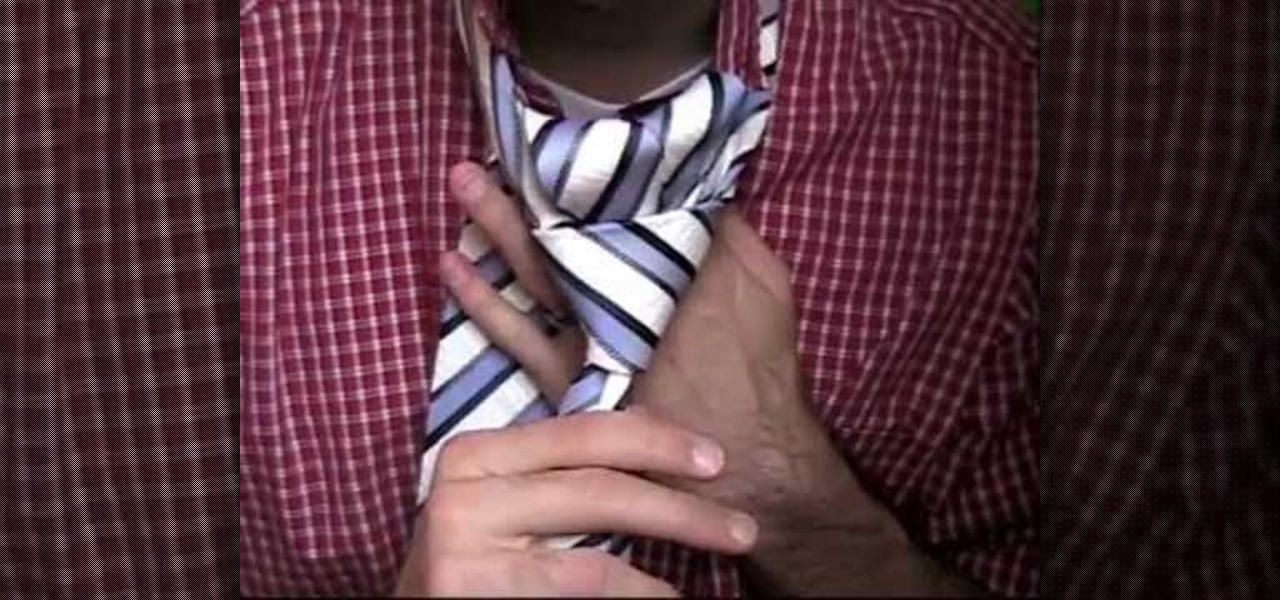
This video shows expert instructors tying a tie in the full Windsor knot. First you cross the wide end of the tie over the narrow end. After that you put the wide end up through the loop (behind the narrow end) and then you pull it through the tie. Next you cross the wide end behind the narrow end of the tie and then pull it back over the loop. Then you cross the wide end in front of the narrow end, go up the loop around your neck, and then down through the loop in the tie. You have now tied ...
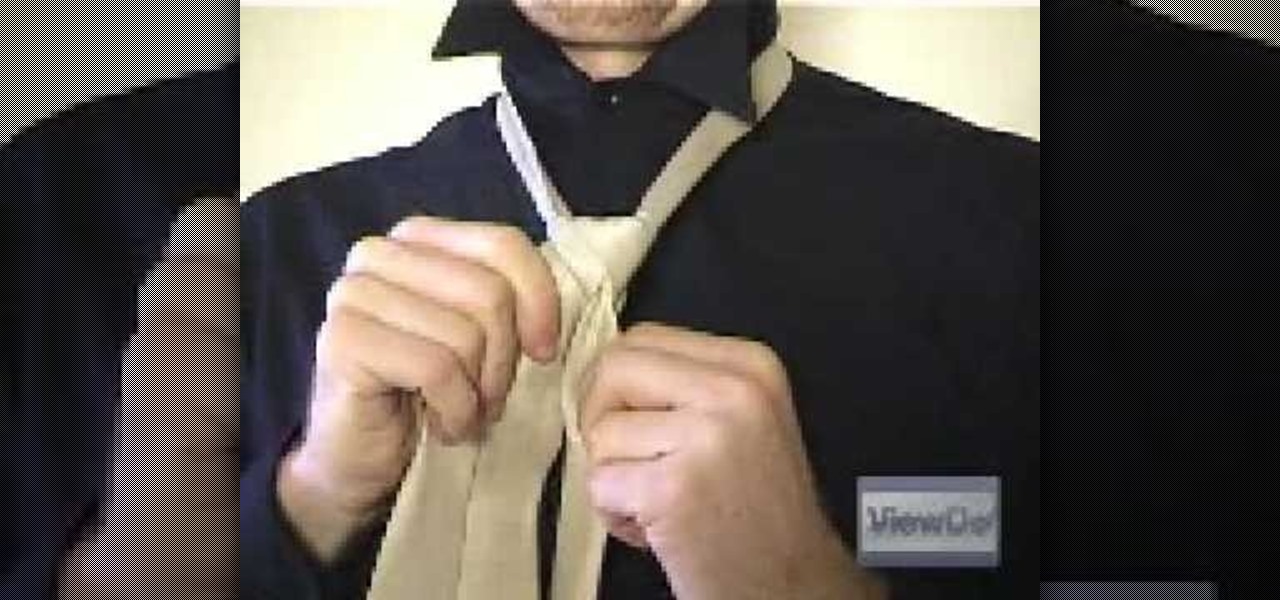
This video demonstrates how to tie a double Windsor knot, which is the neatest and most uniform looking tie knot. This knot can be tied in a few steps. First flip the shirt collar up and drape the tie around the neck as shown. Make sure to adjust the tie length so that the narrow end is just above the navel ring. Cross the wide end over the narrow end, pull the wide end back up the loop you just made, wrap the wide end behind the narrow end and back through the neck loop as shown. Pull both e...
If you want to know how to tie a Double Windsor knot, this video is for you. To tie a Double Windsor knot: Lift up the collar of your shirt. Place the tie around the back of your neck so that the wide end hangs down on the side of your dominant hand, a little more than twice as low as the thin end. Cross the wide end once over the front of the thin end and then around the back of the thin end a few inches below your neck. Slip the wide end through the back of the V-shape made by the knot, pul...

Linda shows us how to easily tie a tie for a woman. To tie a tie: Start with the wide end of your necktie on the right. make sure that it is longer than the one with narrow end. Then cross the wide end over the narrow end. Turn the wide end back underneath the narrow end. Do steps 2 and 3 thrice. Then, pull the wide end up and through the loop around your neck. Hold the front of the knot loosely with your index finger and bring the wide end down through the front loop. Lastly, remove your fin...
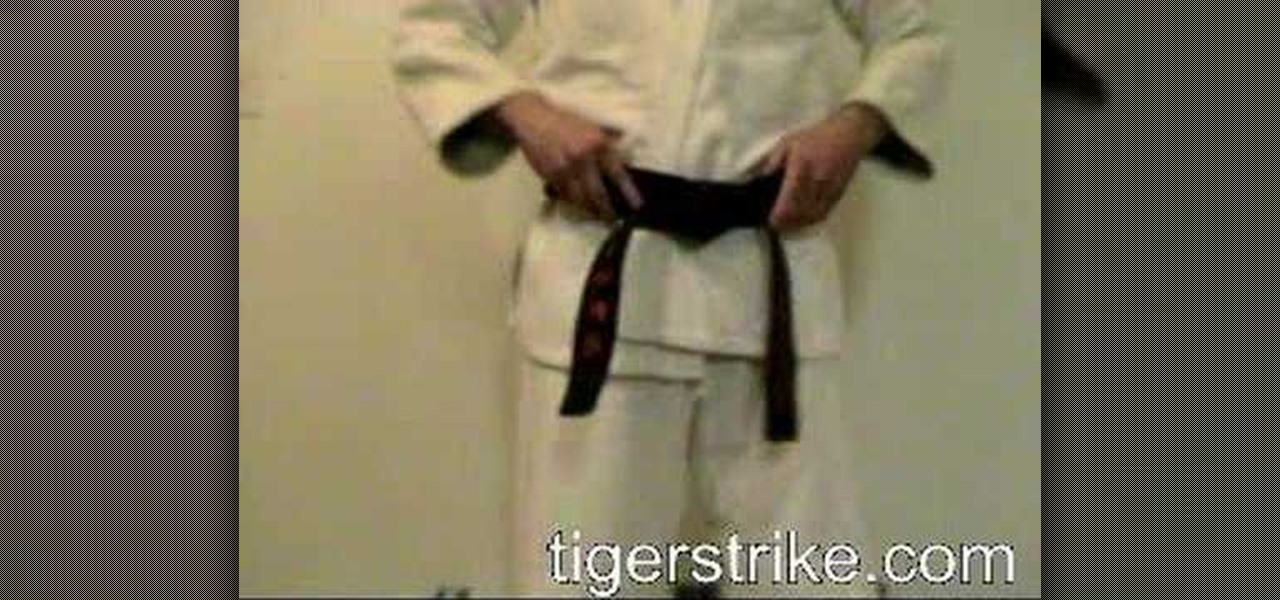
In this Sports video tutorial you will learn how to properly tie a karate belt. This video is from Tiger Strike. There are two ways of doing this. 1st method. Take 3 hand lengths of the belt from one end, place it on the right hip wrap the belt around the waist with the left hand twice. Then take the other end and pass it underneath both the layers of the belt from bottom to up, pull both the ends and make them even. Now take the left end, put it over the right side end then pass it through t...

He explains how to tie a "blood knot" and what the blood knot is used for, which is joining two separated rope/string ends. He demonstrates the knot, which starts by taking the two lines and lining them up one on top of the other, so they are parallel to each other. Then, start winding one end around the other, at least 3 or 4 times. Do the same with the other loose end as well. Then, place the first end through the wound part of the two ropes where you started. You pass the other end through...