In this web development software tutorial Paul Wyatt shows you how to use repeat images for Dreamweaver backgrounds. You’ll learn how to use AP (absolutely positioned) Divs in Dreamweaver, and create tiled backgrounds with ease. If you don't know how to use repeat images for Dreamweaver backgrounds, this tutorial will explain it all.
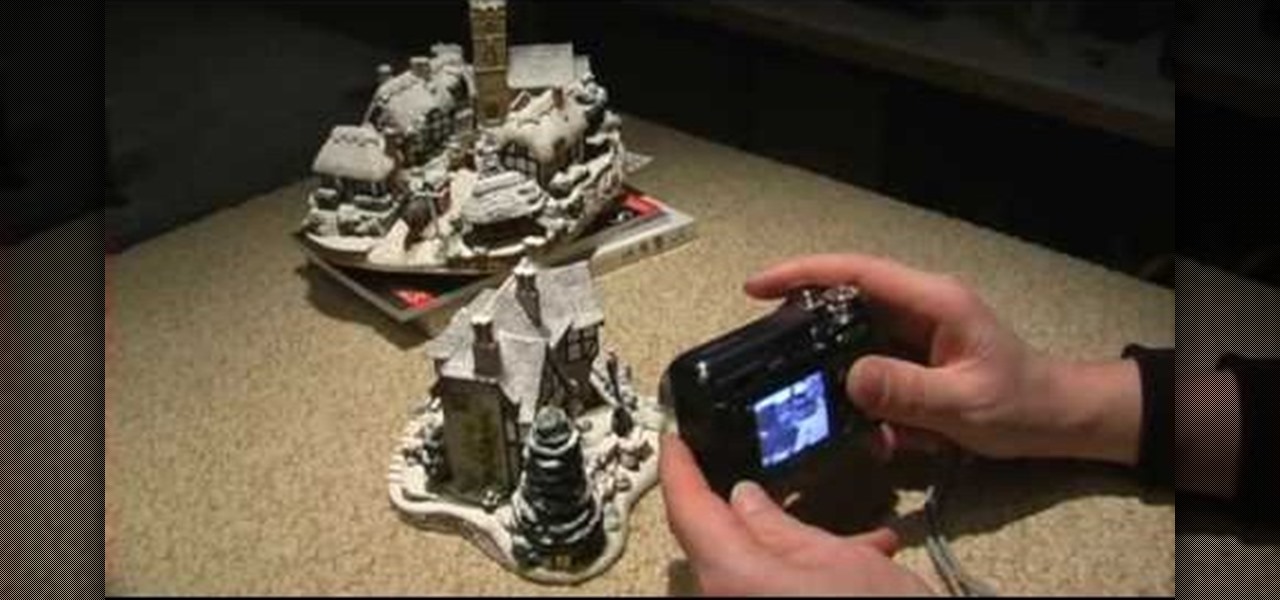
Rick Vanman reveals the secrets to professional video effects using your own computer software. Position your model houses into a setup of your liking. Take a picture of the houses with a digital camera using the macro setting. Edit your picture in Photoshop. Disguise any unwanted objects with the cloning tool. Separate the foreground and the background of the picture into 2 different layers. Film yourself in front of a green screen. Key out the green with your video editing software. Using y...
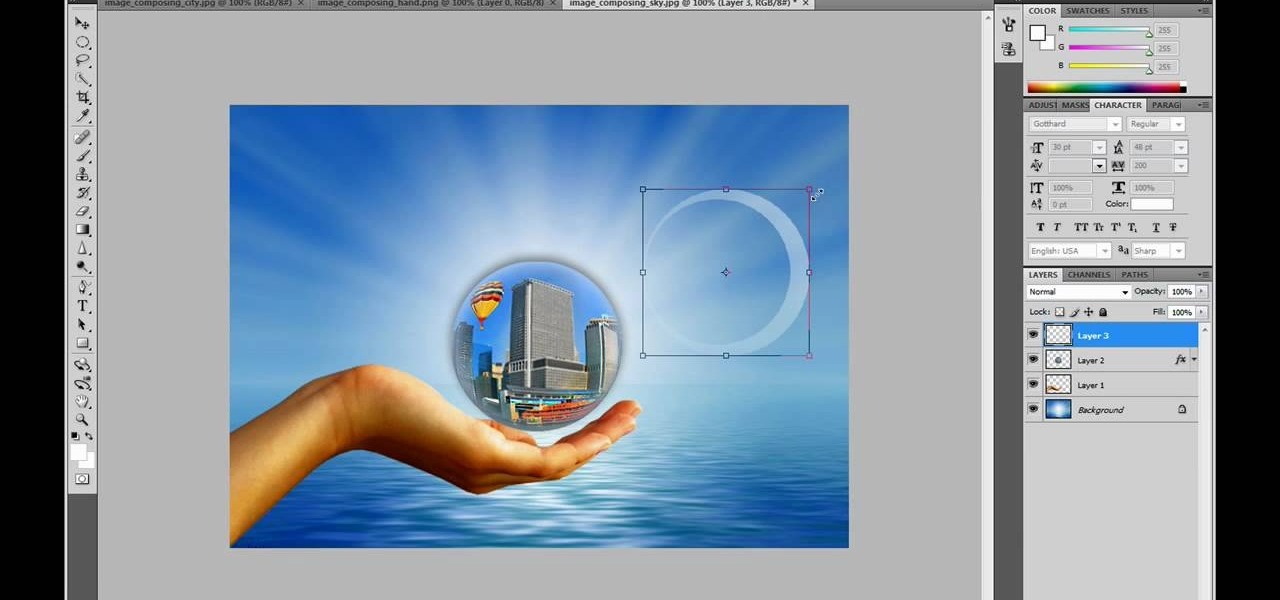
This video in the Software category will show you how to create a real cool manipulated globe in Photoshop. You will combine a few images and distort one of them to create a 3D image of a globe. There are 3 components; the background, a hand and an image globe. First open the background image. Then open the hand image, copy and paste it over the background, resize and position it correctly. Now open the third image, choose the elliptical marquee key, draw a circle and copy and paste it over t...

This video describes the "green screen" process in iMovie. The shirtless presenter has setup a green screen in his home along with several lights to provide realistic lighting. The presenter then places the object, in this case a porcelain troll, in front of the green screen. The background scene in this instance is a busy downtown area. By watching the background video while filming the green screen footage, the presenter is able to position the troll so it appears to be interacting with the...
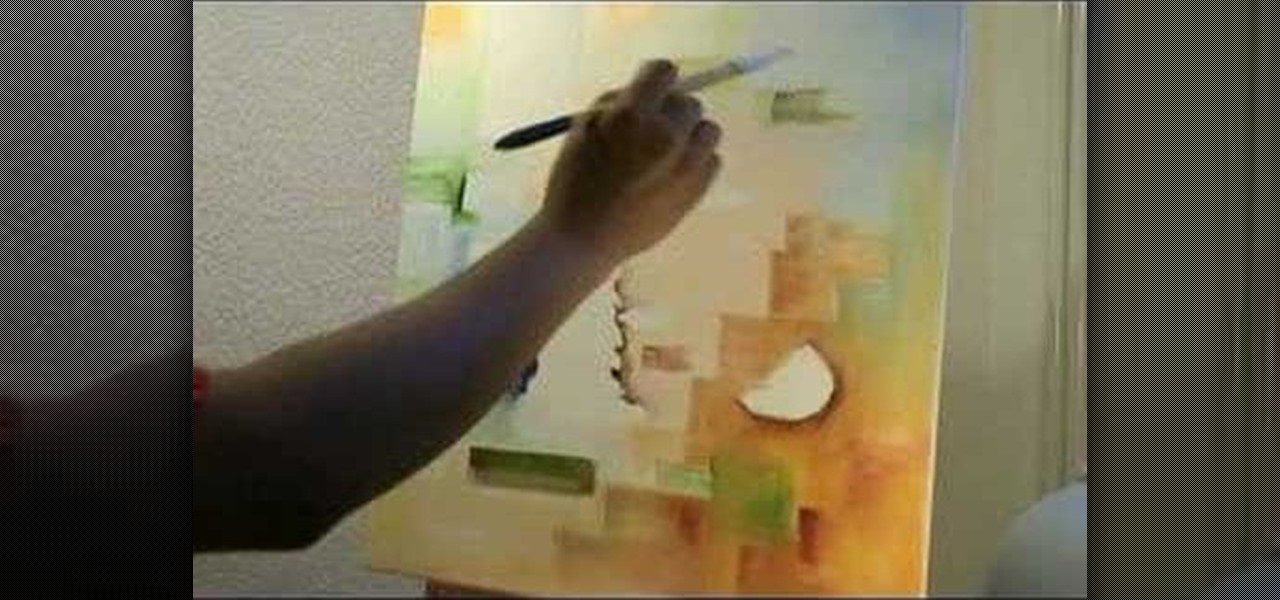
This video is a demonstration of painting a modern work with elements surrealism. The composition includes elements of cubism in the background, a simplified face, flat spacial depth, and a fantastical positioning of a candle. The work is done in oil paints.
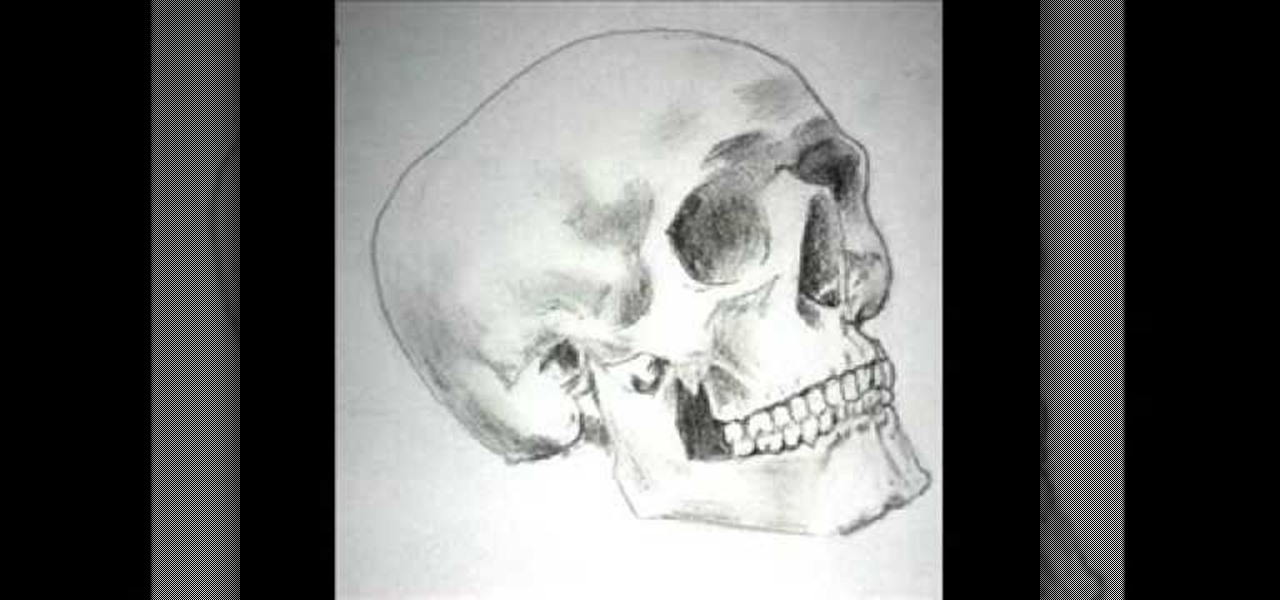
In this tutorial, we learn how to draw a skull. First, select a picture of a skull that you want to draw. Then, sketch a few lines so you know where you are going to position the sockets in the eyes. Also do this for where you're going to position the nose and mouth cavities. Then, erase any unwanted background lines. From here, you will draw over your original sketch and then tone the eyes and the sockets. From here, you will tone and add shading to the rest of the skull and the areas behind...

This Software video tutorial shows how to create a glass text effect in Photoshop CS3/CS4. Download a free trial version of Photoshop CS4 from Adobe. Open Photoshop, go to ‘file’ and click ‘open’. In the next box, give it a name, select width and height at 90 pixels, background contents to ‘transparent’ and click OK. Select the color palette and choose the background color and click OK. Now open ‘paint bucket tool’ and fill in the color. Then go to ‘text tool’, select the font, size and posit...
If you're designing a website but are uncomfortable slicing your interface up and reassembling it with CSS, or if you'd like to add easter-egg content to your site, then an image map might be a good option. And with Dreamweaver, the process is simple.
The Bow Position is a devotional pose and can relieve back pain. Learn how to do the Bow Pose in this yoga video lesson. Take action: get into plank position, bow knees, bow chest, bow hands, and bow chin. Cindy Mastry, the instructor of this how-to video, has practiced yoga since the age of eight, and also has a background in Jazz and Ballet. Active in the fitness industry for nearly twenty years, she teaches aerobics, kickboxing, and yoga at many fitness centers in the Tampa Bay area. Cindy...
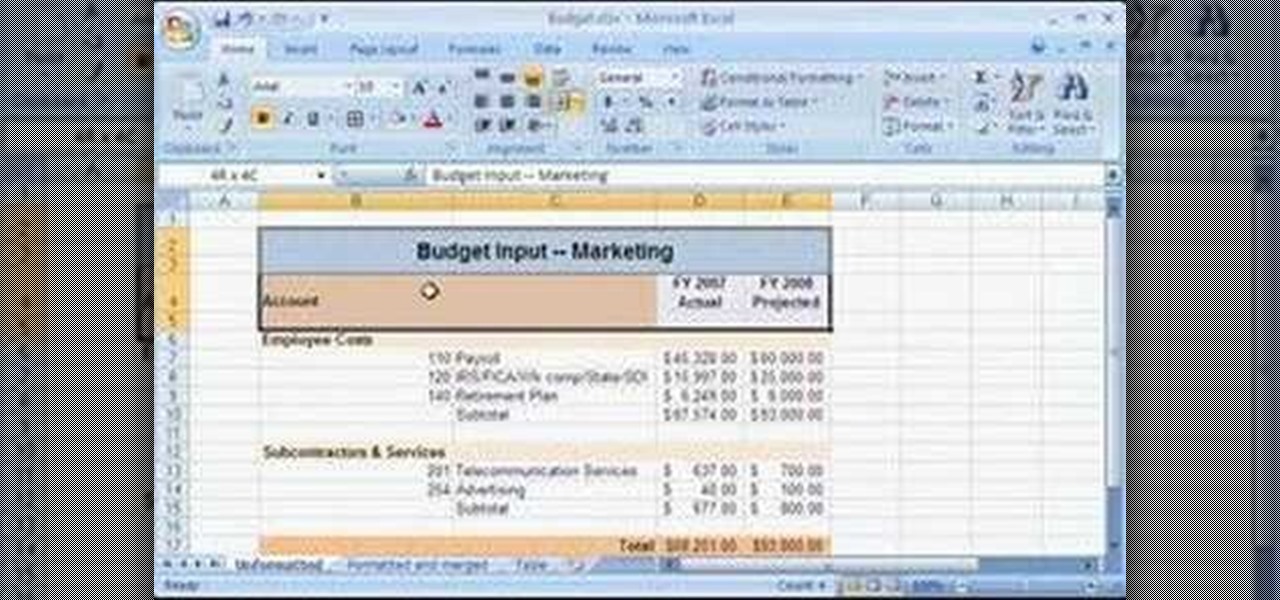
Using the Merge feature in Microsoft Office Excel 2007, you can quickly turn that worksheet into an easy-to-scan, appealing report. When you merge cells, you join several adjacent cells into one larger cell. Check out this tutorial and learn how to adjust the position of the contents of the merged cell and add borders and background colors.
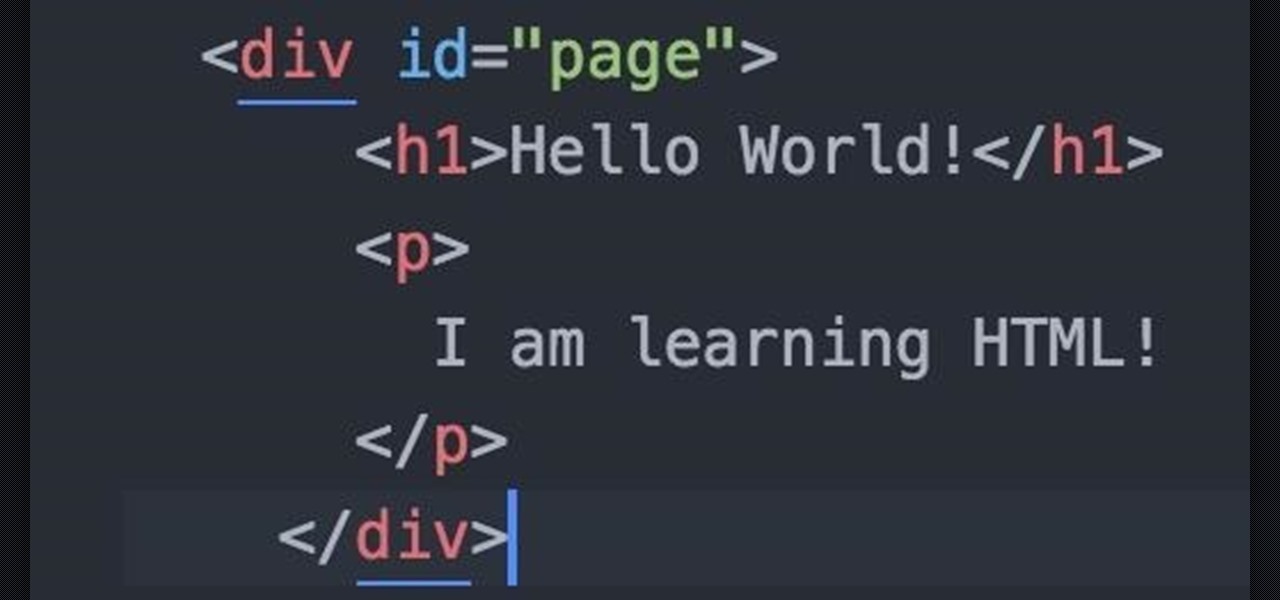
Welcome fellow Null-Byters! Sorry for the delay, this time of the year can be hectic for all of us. Hopefully this will not happen again. In this "tutorial" we will go over more styling and make our page look even better!
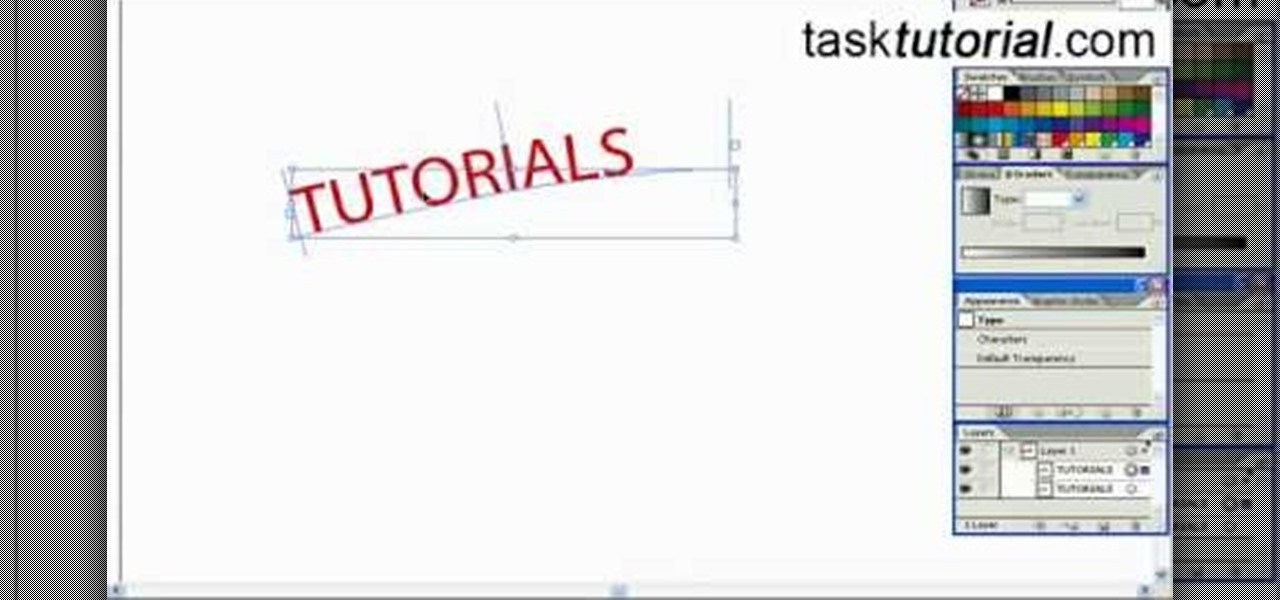
In this tutorial, we learn how to create a cool blend text effect in Illustrator. First, open up Illustrator and draw a path, then change the color to black. After this, click on the line and type in your desired text. Increase the font size to 36 points, then select the red color. After this, copy your path and select the duplicate button. Now, move the duplicated path and change the background color to yellow. Now, scale the path and resize, then place on to of the red path. When finished, ...
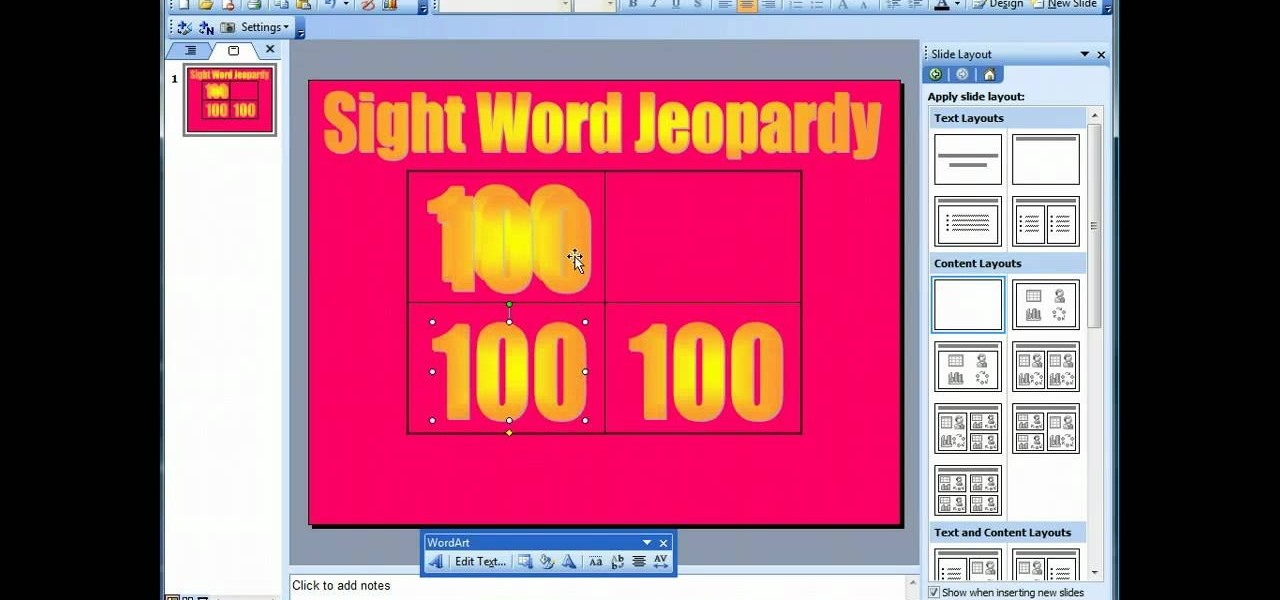
This video demonstrates how to make a basic Jeopardy game in Microsoft PowerPoint. First, choose a background color by clicking Format on the top bar menu. Select Background and choose the color you wish to have. Click Apply To All to apply it to your entire PowerPoint presentation. Then, click Insert on the top bar menu and select Table. Fill in the number of columns or rows you wish to have for your table and then click OK. In this example, create a 2x2 table. Make a title for your game by ...
This video tutorial is in the Software category which will show you how to "Photoshop' someone into an image. It is like cutting and pasting one image over another. First open both the images. Ctrl and click the person's image that you want to move over. Drag the cut out image over the other picture where you want to superimpose it. Then click "edit', resize, rotate and position the image where you desire. Then go to "Image Adjustments' and adjust the brightness and contrast to match with the...
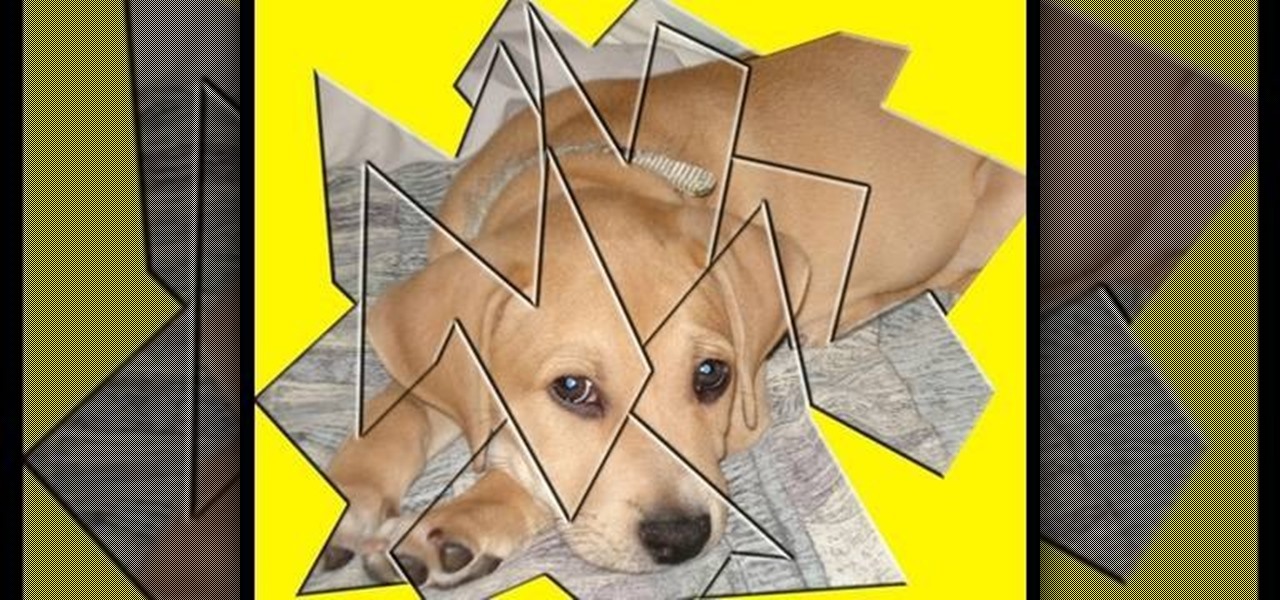
This video demonstrates how to make a broken mirror effect using Photoshop.
Once you've learned to draw sculptural forms in perspective you will naturally want to begin placing several objects within a common space. You would like to draw a background. The trouble is, when drawing in perspective, there is no flat background. It helps to map out the space using halfway points to make note of significant objects. Watch this four part instructional video to draw several objects against a single background.
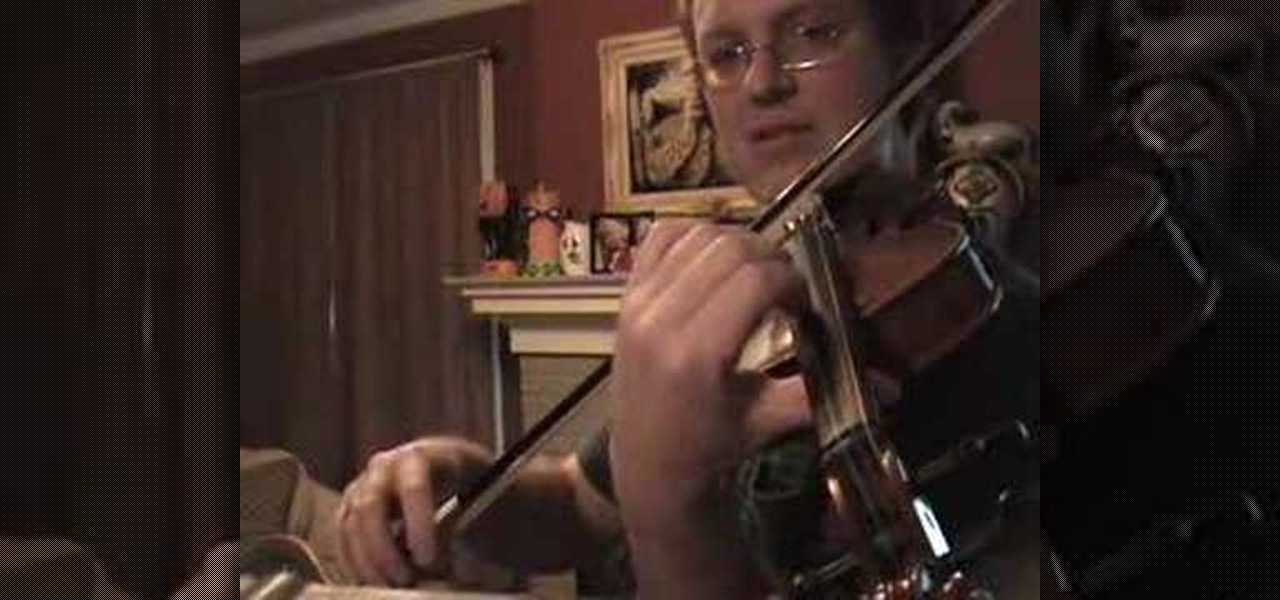
Violin Lesson #31 -- Finding the 2nd, 4th, 5th, 6th, 7th, and 8th Positions. Todd Ehle talks about how to learn the 2nd position and the 4th through 8th positions. For the 3rd position, see "find the 3rd position in Vivaldi a minor on the violin".
Muzei Live Wallpaper is a popular Android app that refreshes your home screen background at set intervals, turning it into blurred pieces of artwork or photography while keeping your icons and widgets in the spotlight.
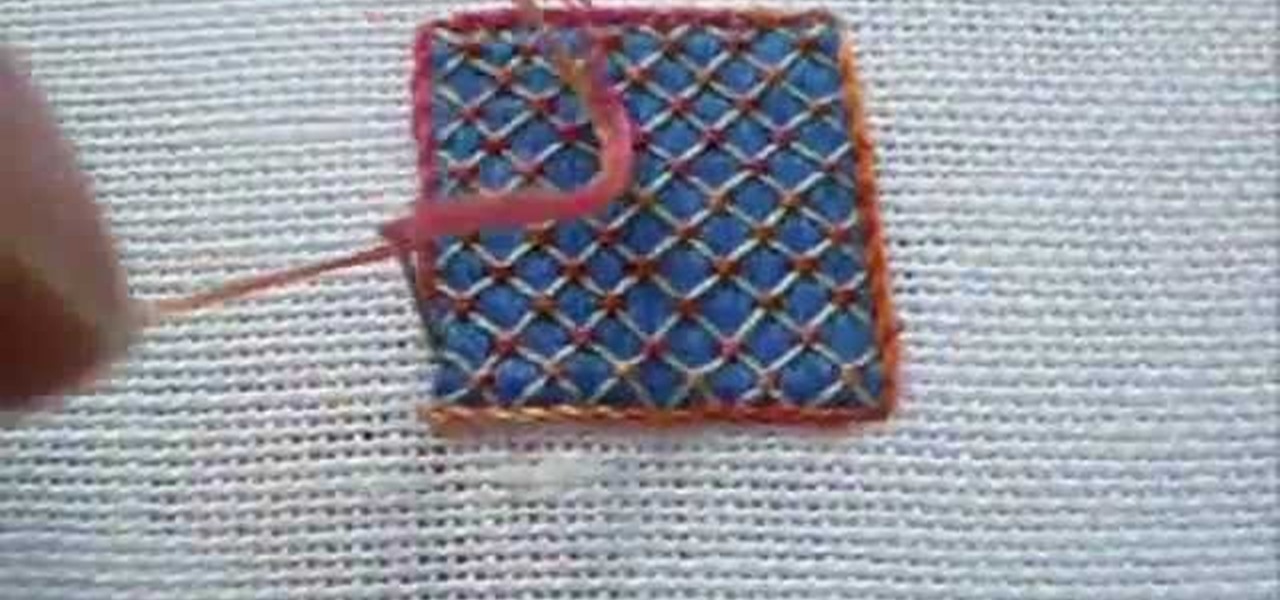
Lattice work is used as filling or for backgrounds. Worked on a plain ground (with only the fabric behind the lattice stitches) it can be easily managed by beginners. Adding a colored background (for example, a background worked in satin stitch) kicks the stitch up a notch to intermediate level. Here's a video tutorial from Needle 'n Thread on working lattice stitch over a satin stitch ground.
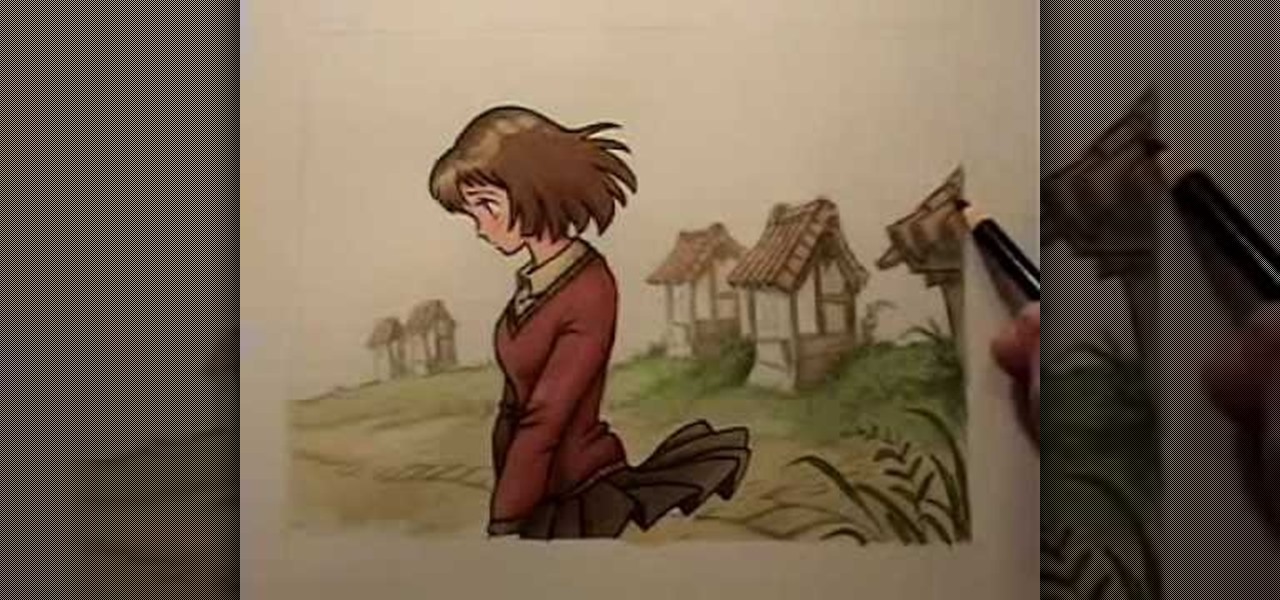
Watch this video to learn how to draw backgrounds for anime and manga. "Miki Falls" manga creator Mark Crilley presents a tutorial on how to draw and color backgrounds for a manga-style illustration. The emphasis is on using color and linework to create the illusion of depth.
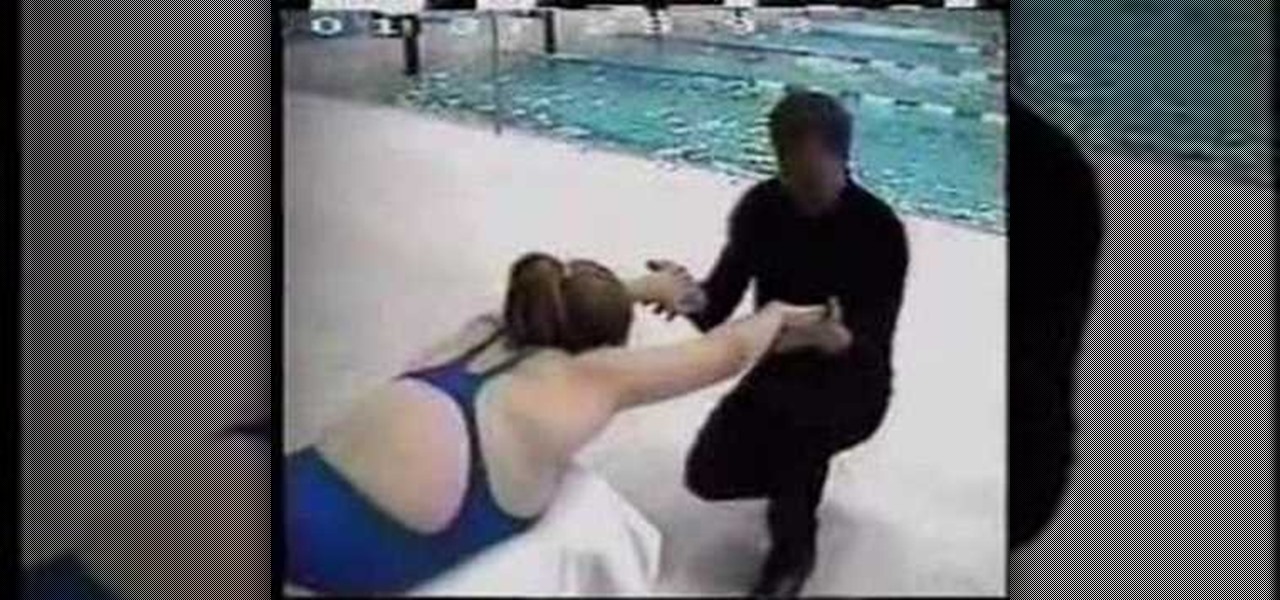
Dr Haljand instructs on position your elbows and shoulders for the butterfly stroke. This is a dry land exercise for perfecting the entry of your hands for the butterfly in swimming. This is a very detailed breakdown of how your body is positioned in the water.
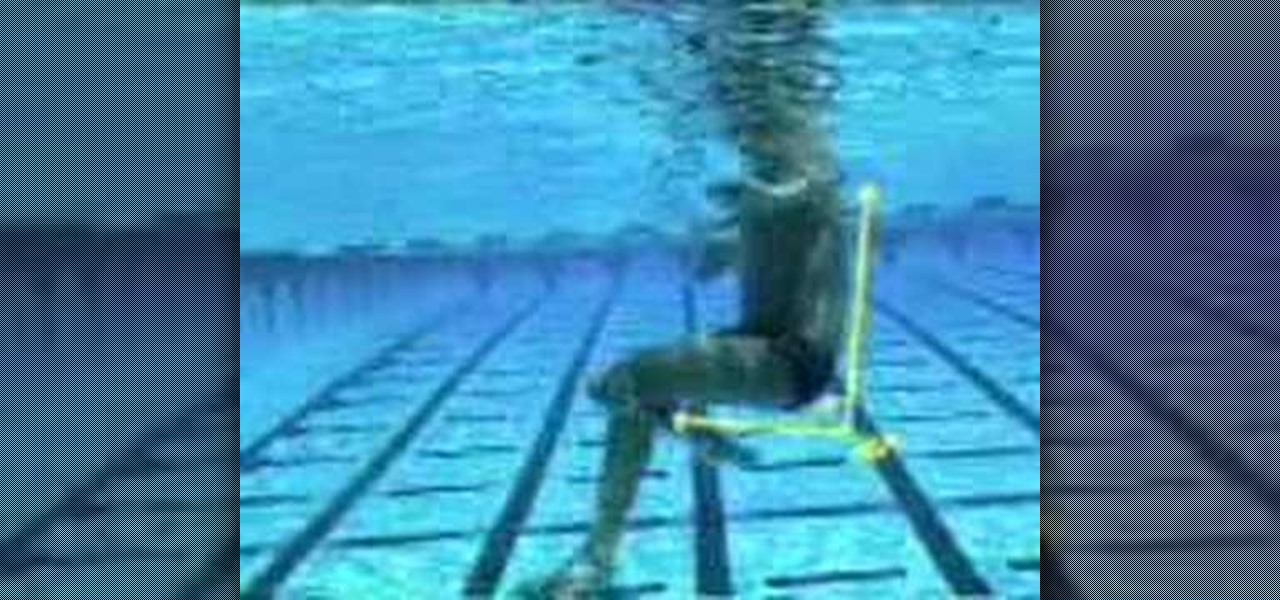
This is the classic water polo body position. You are in a seated chair position, sculling your hands while eggbeater with both legs. This is the position optimal for moving to and from the ball. This is also called the center forward position in water polo.
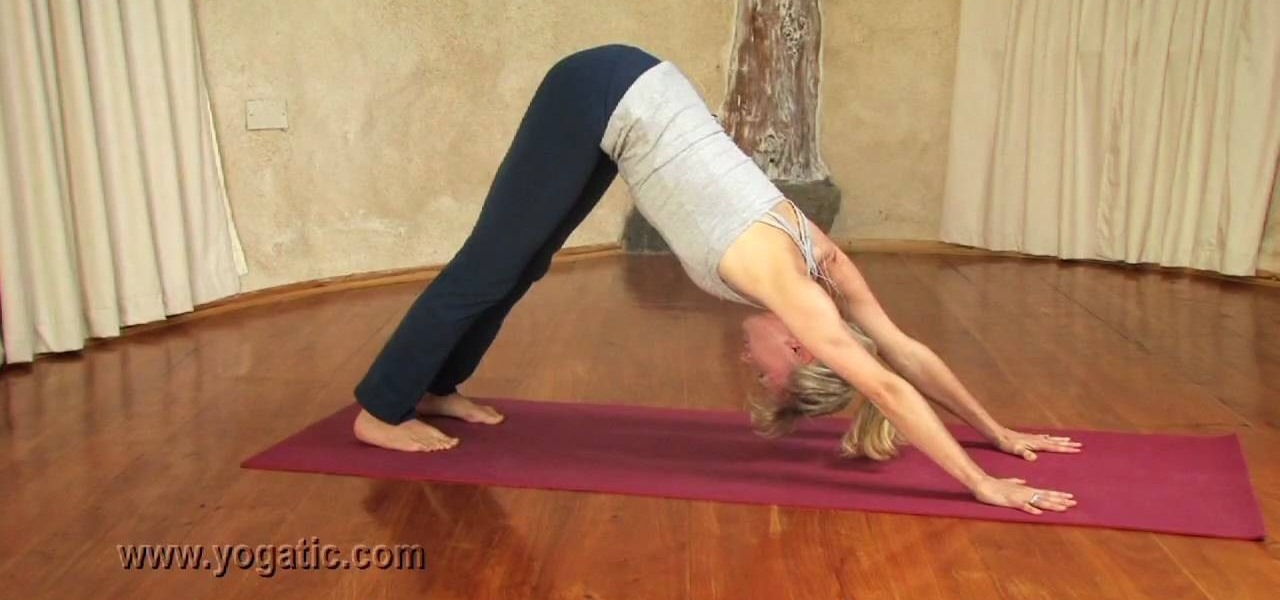
In this tutorial, we learn how to master the downward facing dog pose. When you do this pose, you will be opening up your entire body. Start by centering yourself for a few moments and center yourself. Place your hands on your stomach and feel yourself deep breathe. Start to clear your mind and stop thinking about your problems and issues for the day. Stay in this seated position for several minutes before you come into downward facing dog. When you get into this position, feel yourself breat...
In order to transition from the Running Man to the Melbourne Shuffle and the Melbourne Shuffle to the Running man, you need to remember that the 3rd step of one and the middle step of the other are the exact same step. This is the transition step.
Positioning in all important in billiards. Get expert tips and advice on pool cues and billiards tables in this free video.
Positioning in all important in billiards. Get expert tips and advice on pool cues and billiards tables in this free video.
Getting into position to hit a shot is a key element of the game. Learn how to get into position on the court in this tennis lesson video from a professional tennis instructor.
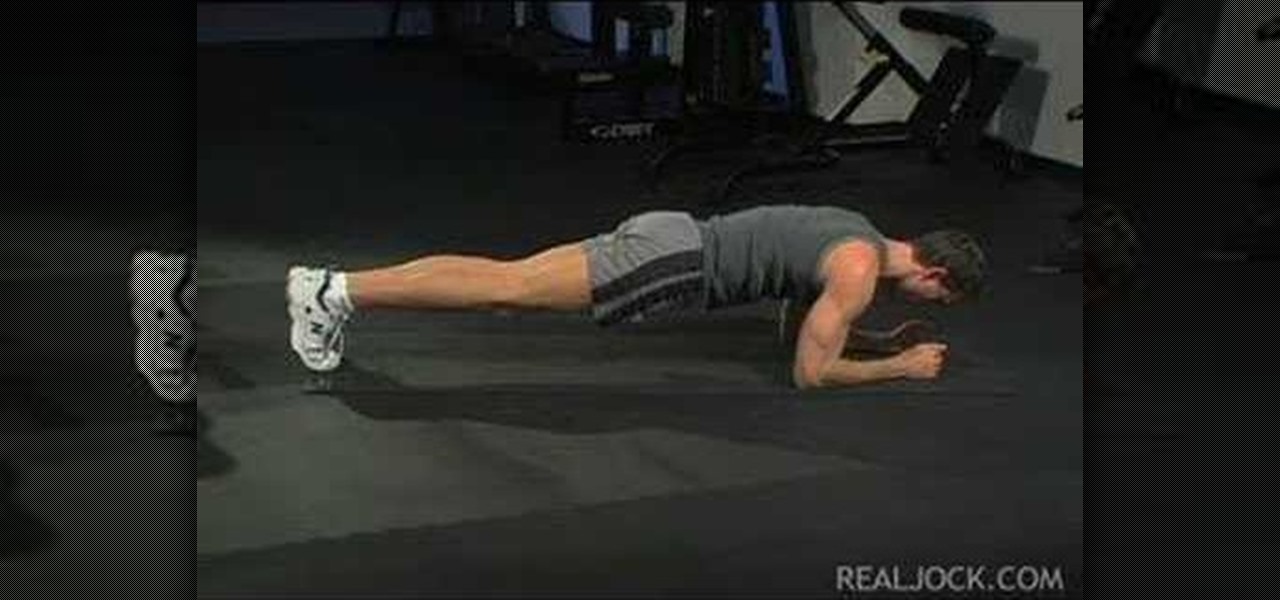
Learn how to do a floor bridge hold. Presented by Real Jock Gay Fitness Health & Life. Benefits
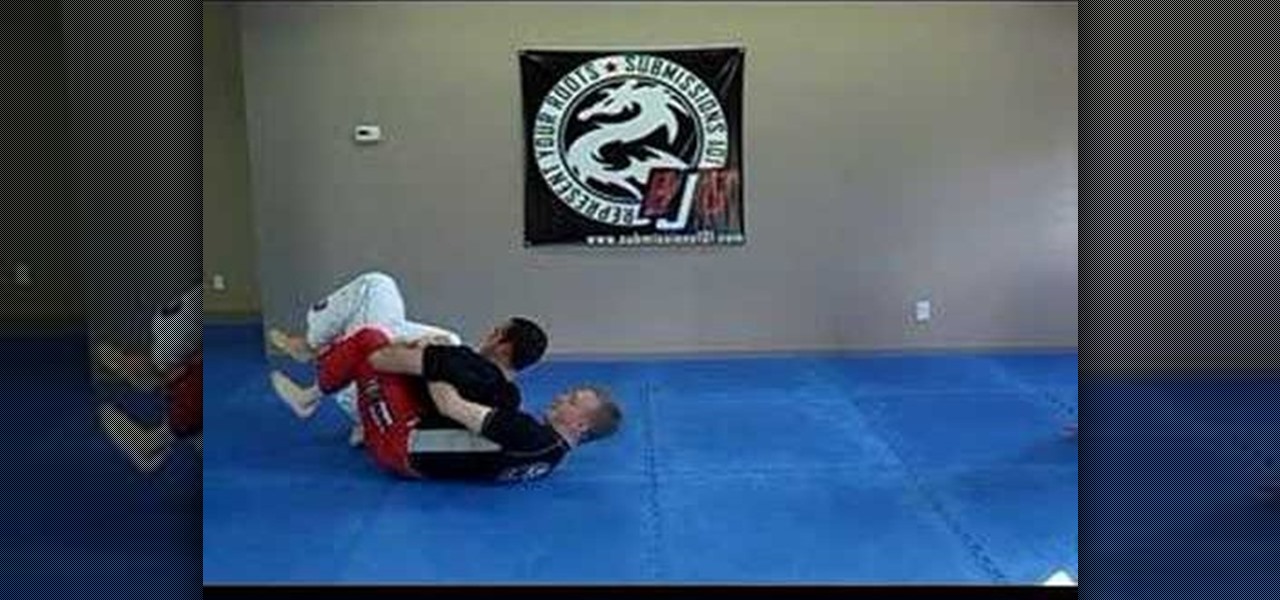
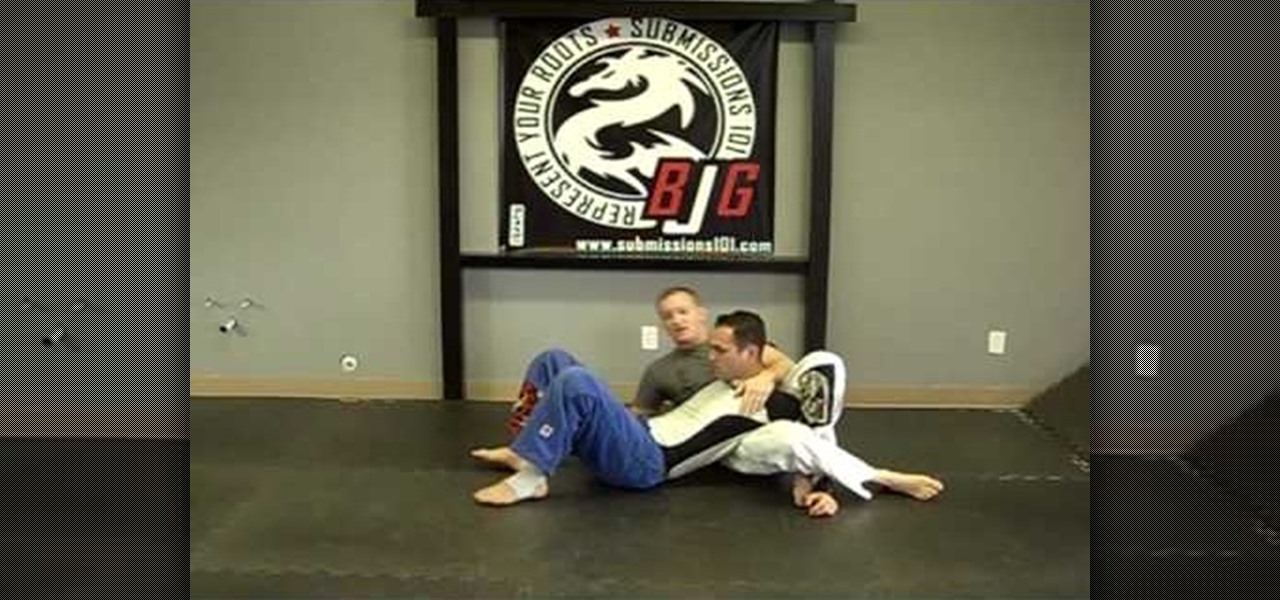
Here is an option in Jiu Jitsu to attack when your partner is balled up into the turtle position. (less)
Have you ever wanted to create a background with one of your photos? This video shows you how to use one of your photos to create a photo background using Adobe Photoshop. It will show you how to use the free transform tool, overlay blend modes, hue and saturation, drop shadows, and other cool effects. Learn all about creating photo backgrounds with this video tutorial.
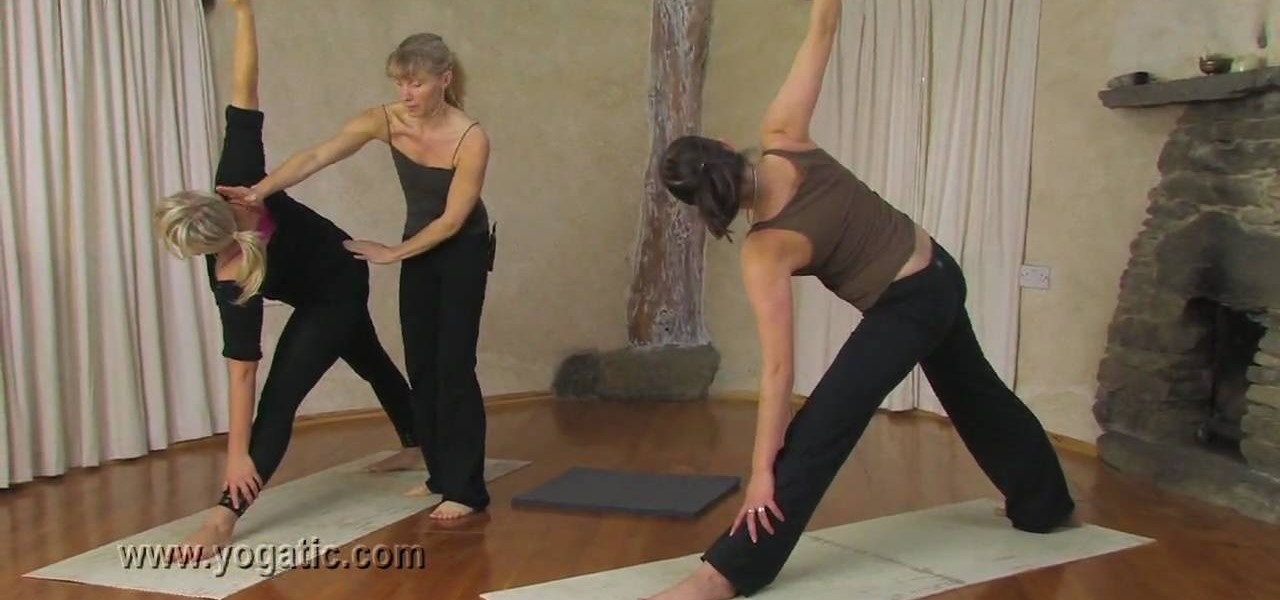
In this tutorial, we learn how to properly perform the triangle pose. Start off on your hands and knees, then place your knees further back behind your hips. Next, bring your shoulders back and go into a downward facing dog position. From here, lift your arms away from the floor, then take a step forward with your right leg between your hands. Then, drop your left heel to the floor and place your right hand next to your right foot. Bring your right hip back and straighten the leg. The left hi...
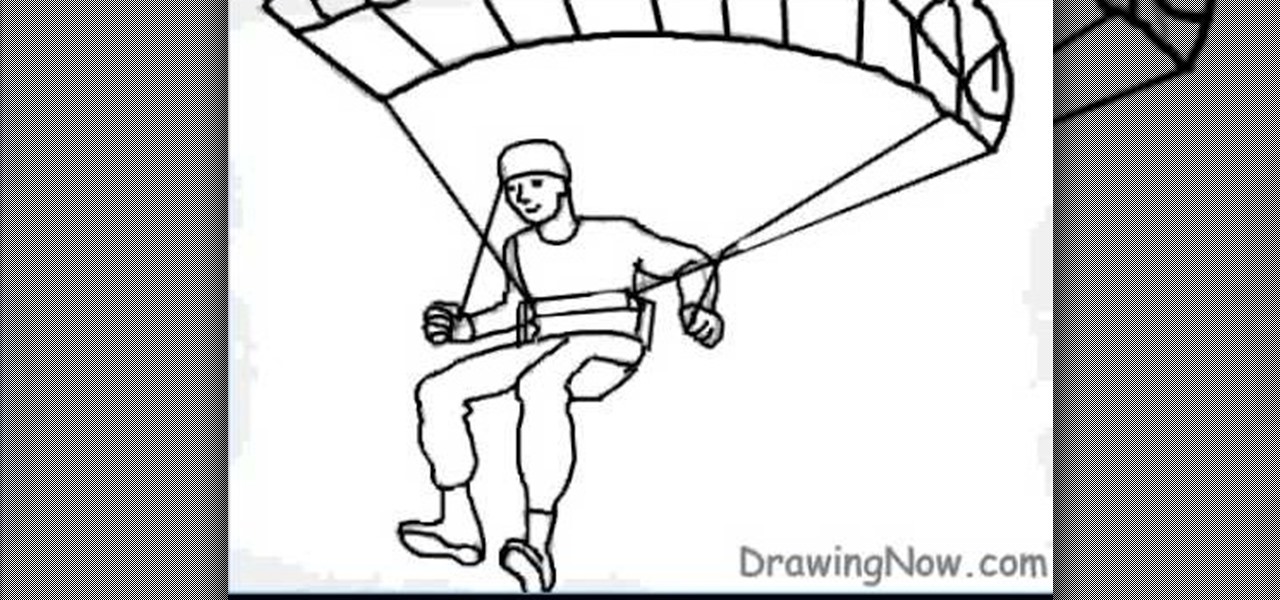
In this video tutorial, viewers learn how to draw a paraglider on a computer. Start by drawing an oval for the head and attach it with a torso. Now draw the hands in the gliding position. Draw a flat oval and connect it with legs. Now draw the parachute and connect it with the figure. Start outlining the figure and parachute. While outlining, add the details. Once finished outlining, add the colors. Add clouds or any anything else in the background. This video will benefit those viewers who e...
This video series thoroughly lays out topspin tennis forehand progression. Be sure to click on every video chapter to see the full tennis lesson series.
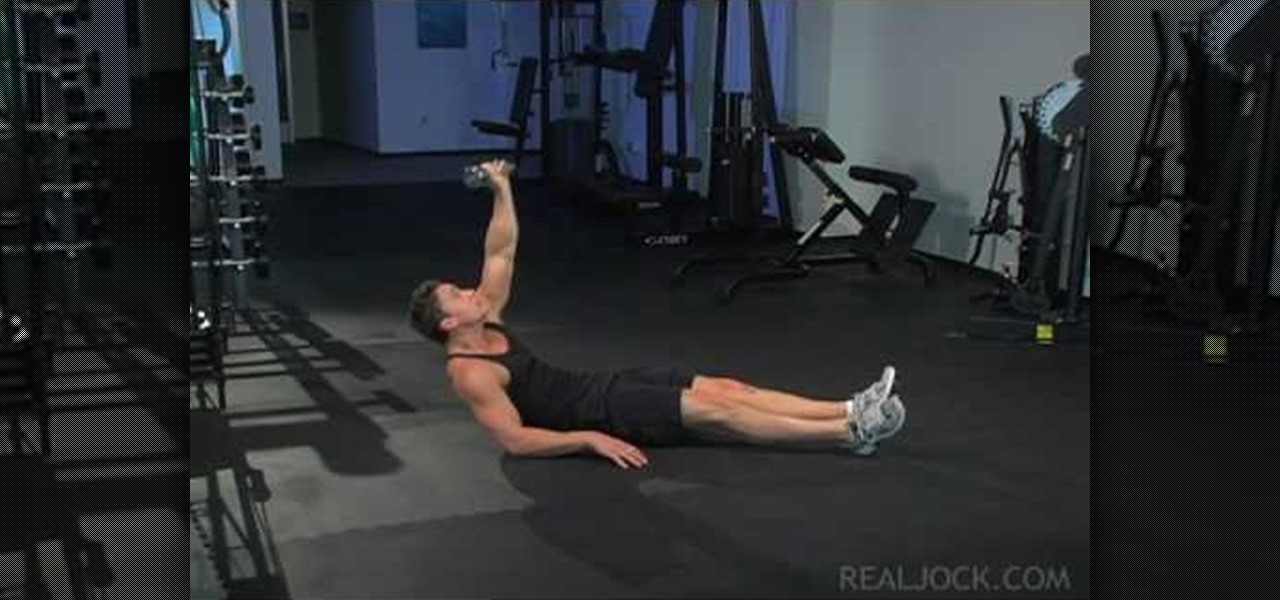
Learn how to do dumbbell Turkish get-ups. Presented by Real Jock Gay Fitness Health & Life. Benefits
In this video, we learn how to do the rack and crucifix jiu jitsu position. Start by starting in the cross position with your grip around the opponent, pushing their arm up. Now, lift up your forearm and it will prop them up to their side. Now, swing your legs over and catch over top the arm on their body. Now you can swivel to perform a neck crank. From this position, there are a lot of submissions you can do. To get the crucifix position, shift your leg back and fall backwards. Triangle you...
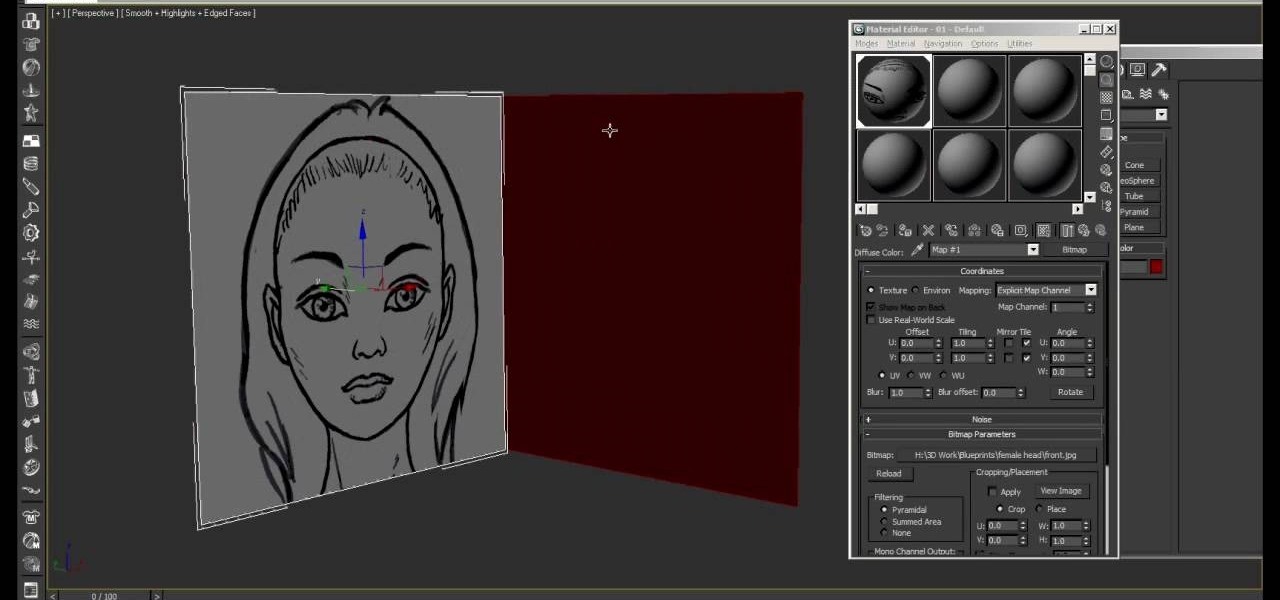
This video will explain to you how to preform one of the more fundamental but confusing tasks in 3D Studio MAX: setting up textures as a template background for you models. Doing this will make sure that your models are displayed in front of the proper background and that said background will function properly. If you need a little help setting the scene for your 3D modeling, watch this video.
In this how to video, you will learn how to create animated text flash using Flax. First, open the program. Now go to the menu and insert the text. We can modify the aspect, dimension, and position from here. The dimensions can be modified in the window or in the left menu. The position can be modified in the preview as well. In the right menu, different animations can be chosen. Each animation can be modified in the settings window shown. The text can also be personalized by adding different...
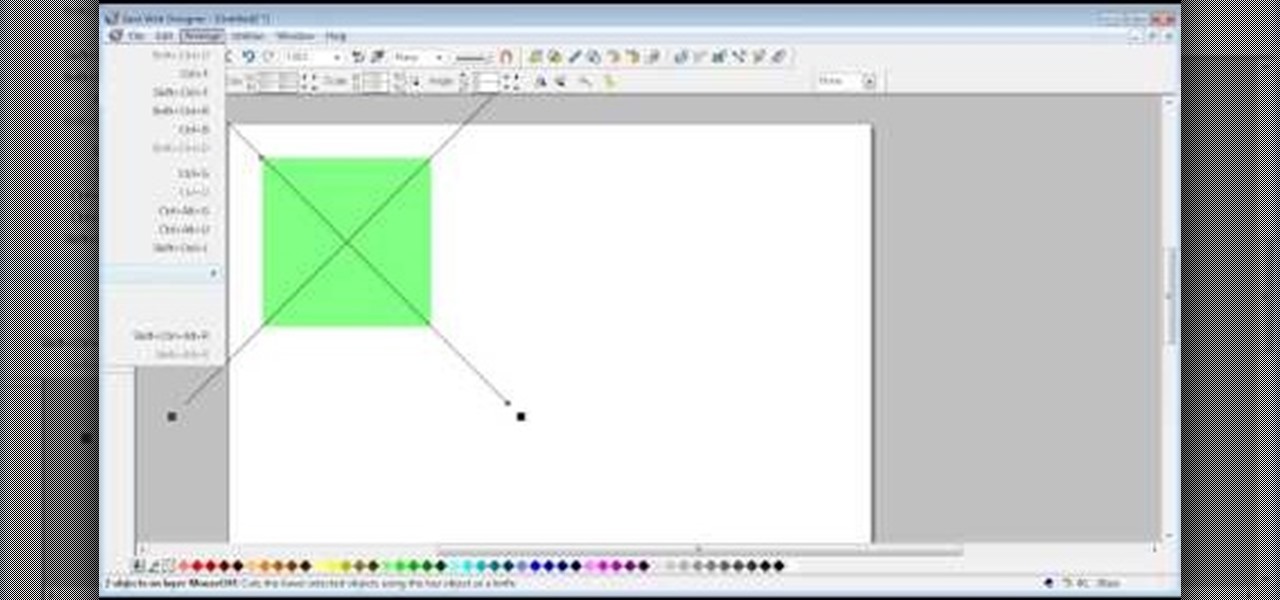
The video shows us how to create bevels in Xara web designer. Firstly using the rectangle tool hold down the Ctrl key to create a square. The problem with the Xara web designer is that it hasn't got a convert to edit the shape features which actually means that you cant select individual nodes with the shape editor tool which may create some other line. However you can select individual nodes by going to arrange/combine shapes/add shapes with selecting the rectangle. And by doing changes the ...
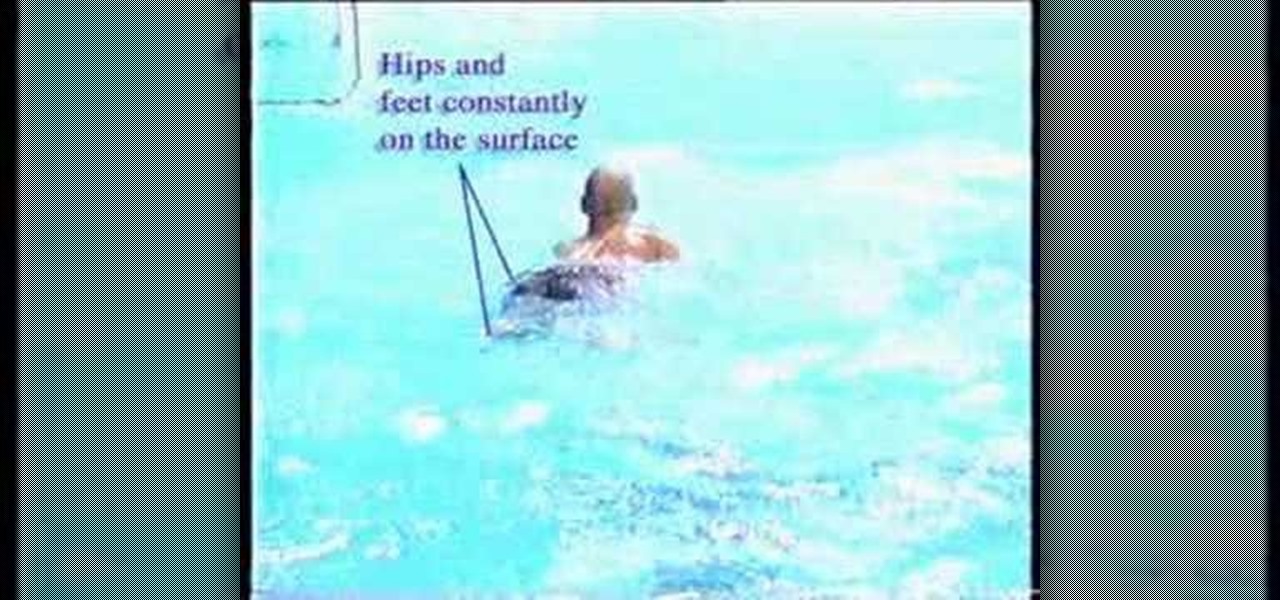
Defending proper position in water polo is crucial in improving your water polo game. Establish your defensive position with your hips no lower than 18" in the water. This is so you don't get a penalty. This allows for optimal mobility. Keep a high hip and foot position to accelerate in any direction. Work to keep your hips up for the most time.
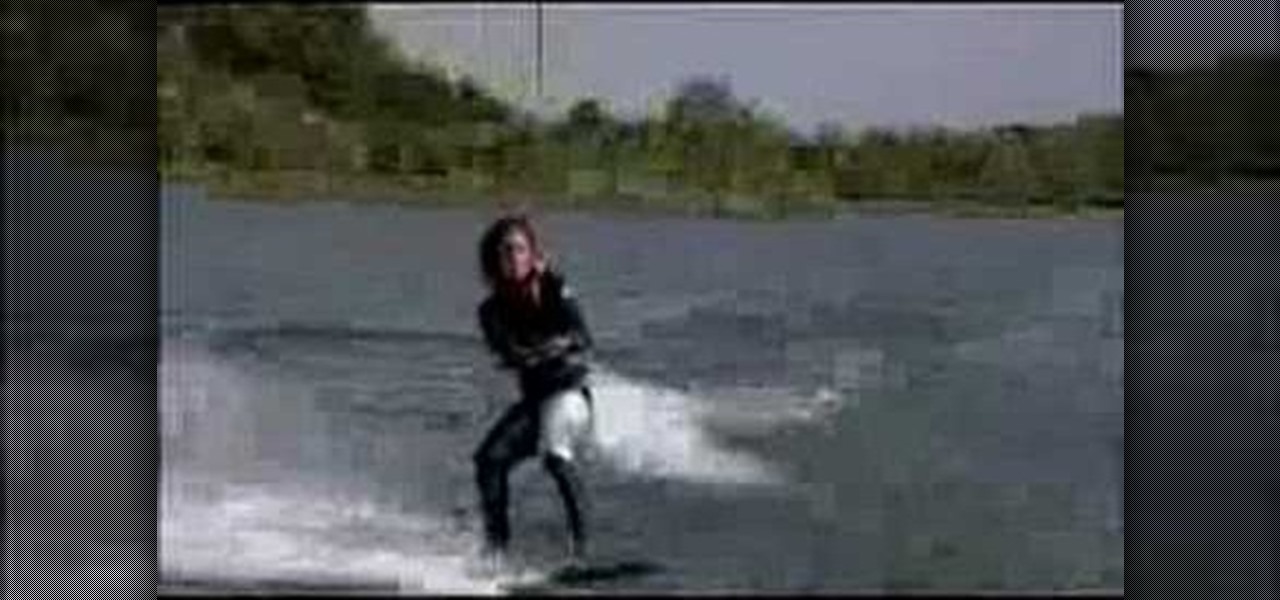
The correct position is the basis to everything. Check out this instructional wakeboarding video that shows you how to wakeboard in the correct position. Without the right foundations, achieving the advanced tricks will never happen. Learn the perfect basic position when wakeboarding by watching this tutorial video.