This video describes how to insert keywords and SEO with the fusion essentials in the website. He asks you to first go to the site mode and then click on the home page and from there you can get in to the property box. There you can find three choices or tabs. He explains that the first one can be used to change the page name and page title and also can adjust the master border. The second tab is used to mention the page status, if it is done and can be displayed to the viewers or if it shoul...
Nexus is a pre-approved trusted traveler program that allows approved people expedited travel between Canada and the US. The card is available to US and Canadian citizens or permanent residents who travel by air or land between the two countries. Anyone traveling between the two countries must have their own Nexus card including babies. The Nexus card is considered a privilege by both the US and Canadian governments. You must have a clean record with both the Canadian Border Services and The ...
Stumped on what frame to use for your favorite piece of artwork or photo? The perfect frame will make your painting, photograph, or piece of artwork stand out on your wall. Here's how to find an ideal match.
Sure, buying a quilt is fun, but making your own is much cooler! Learn how to design and sew your own quilt by watching this informative video.
Having a hard time making your bed? This video shows you how to properly make your bed. Kids, use this great tactic to impress your parents next time they ask you to make your bed!

While Magic Leap World gets its share of fun apps for playing with Porgs, watching TV, and exploring the ocean's depths, developers are making a strong business case for the Magic Leap One as well.

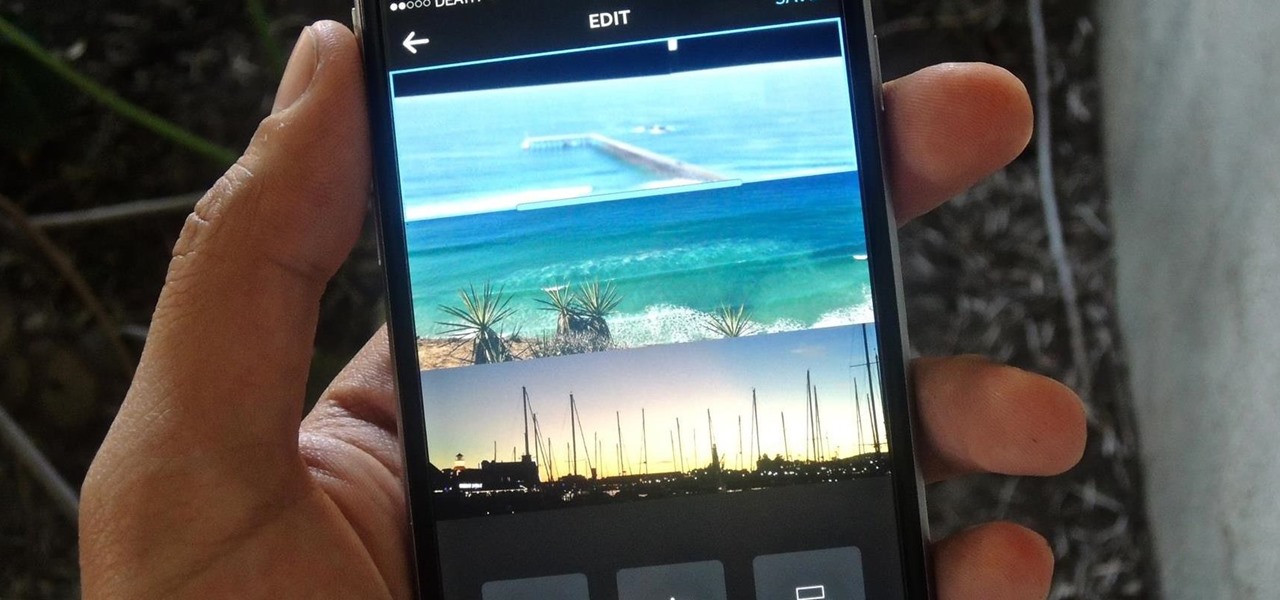
If you're one of the many that likes to upload collages to Instagram, the Facebook company has a new tool for you. Instagram released a brand new app in March called Layout to help facilitate the process of creating photo layouts to post onto social media or just share with friends.
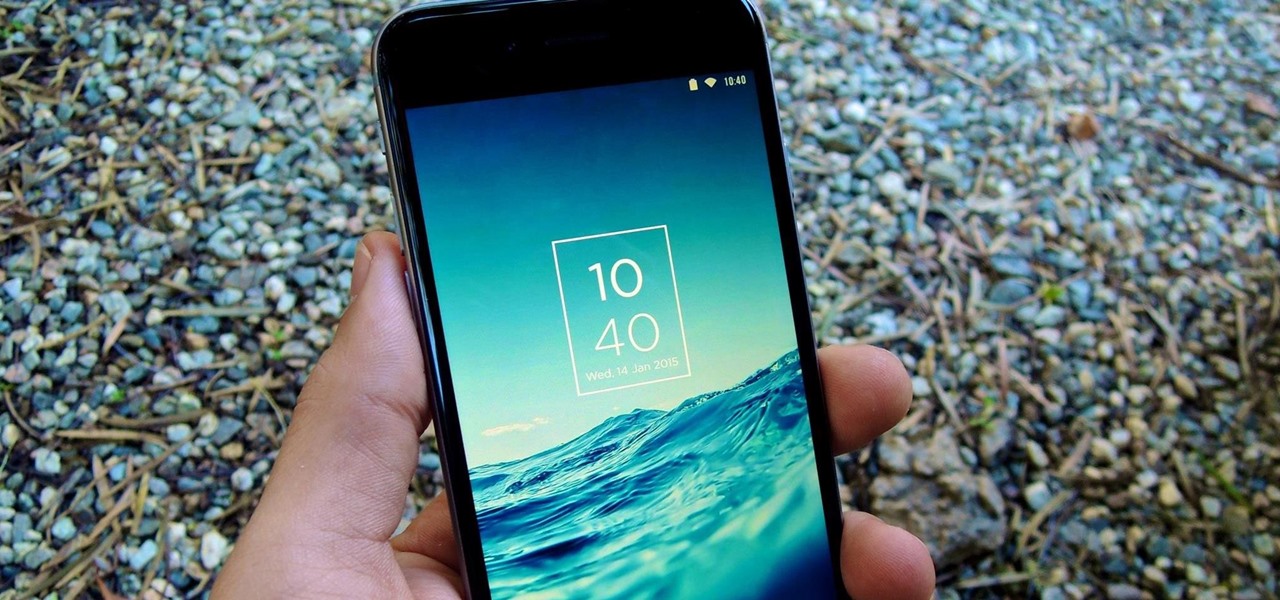
One of the most rewarding things about jailbreaking is theming. Unlike Android, iOS doesn't allow you to make small changes to certain aspects like the icons or the lock screen, so jailbreaking facilitates the ability to make some of these desired changes happen.
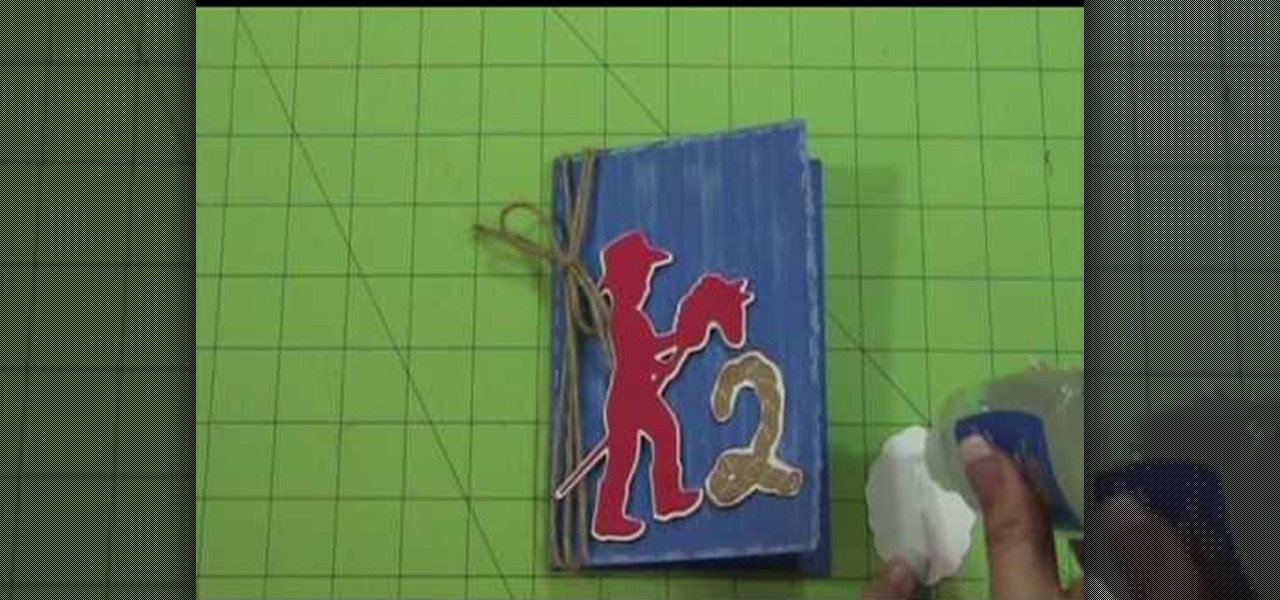
Why ever would you want to throw a cowboy-themed party for your little cowboy? Two words: John Wayne. The epitome of wild West cool and the exemplar of the "strong and silent" type, John Wayne made the cowboy badass. So give your boy the coolest party in the world by creating a cowboy theme.
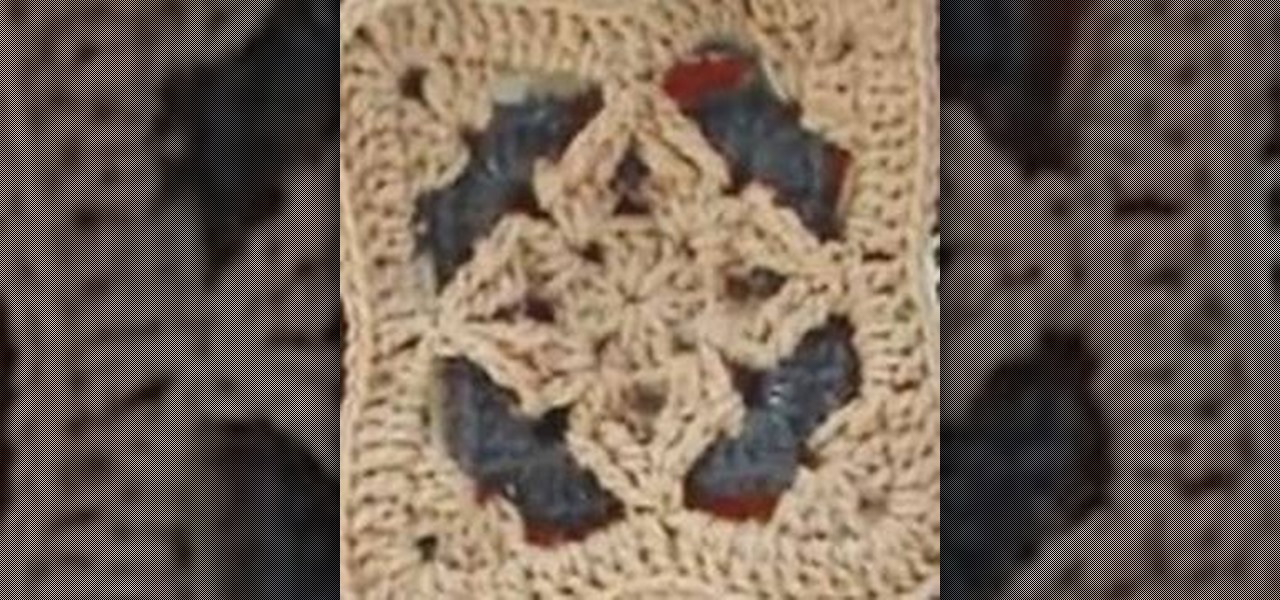
There definitely exists logic behind calling these fuzzy crochet squares granny squares. After all, the cozy texture and delicate, retro motif do remind us of Sundays visiting Grandma while she served us tea and sandwiches and she knitted the day away.
Quite honestly we're sick of getting storebought Christmas cards. Not that we don't appreciate them - many are pretty and well-written, it's just that we have received copycats in the past and they're too mass-produced to maintain any sort of special quality.
Fondant frills are magical cake trims that resemble frilly lace and pretty ruffles. On cakes and cupcakes, they can be used to adorn borders for an uber feminine touch, and are especially beautiful on wedding cakes.
This video by photoshopuniverse shows you how to make any photo seem as it was taken in a studio. Take the working photo and add a new layer over it and fill it in black as shown. Add a newer layer over that and add the filter> render> clouds effect. Increase the opacity of the cloud layer and merge it with the black layer as shown. Add the splatter effect and the sprayed stoke effect as shown onto the merged layer and add a hue and saturation adjustment layer and colorize it as desired. Go t...
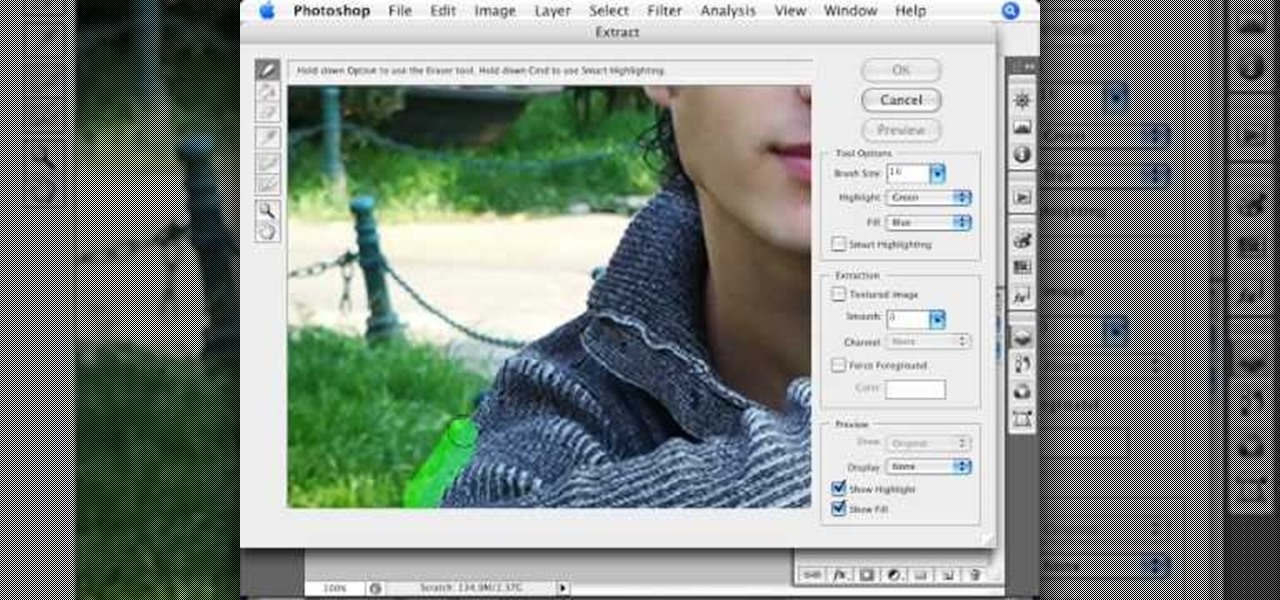
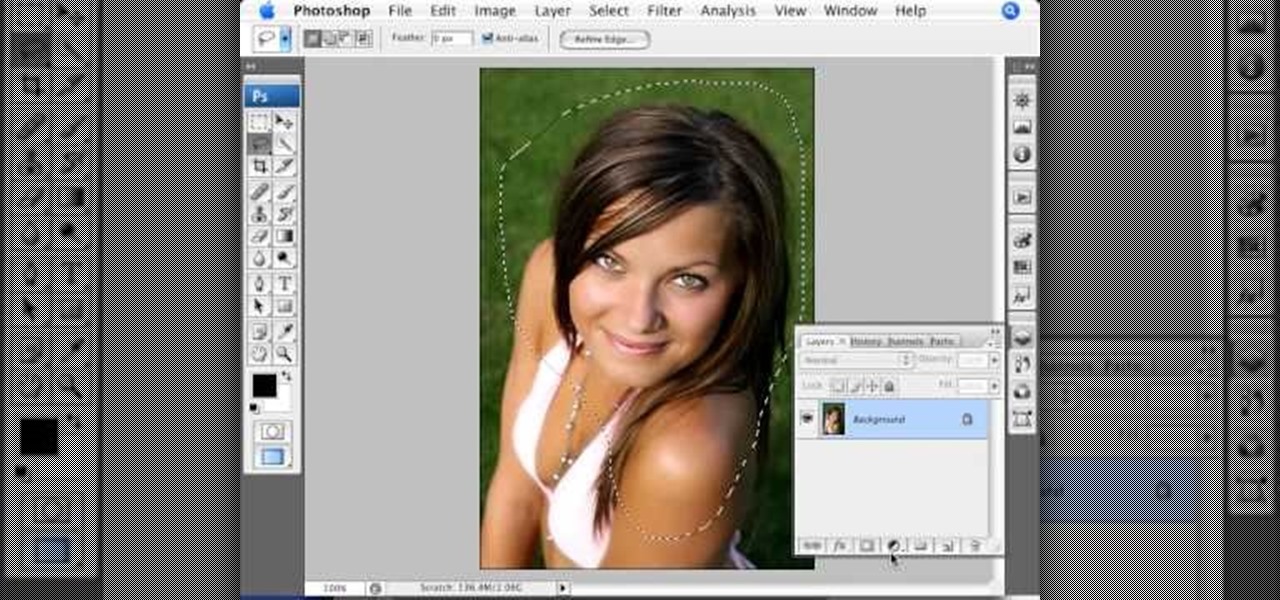
This video tutorial by photoshopuniverse, is to tele-transport people in photos using Photoshop. For this you will need two photos, one with a person and another of a suitable scene. Select the image with the person and extract the person using the extract tool by marking the edges. Make sure to change the brush size so that you can mark the edges with a bit of the border to be included and a bit of the outside to be excluded. Fill in the retaining area and extract the image. Using the move t...
Photoshopuniverse shows you how to quickly add rounded corners to photos using Photoshop. He talks about vector masks which he is going to use to give the photo in the video a rounded corner. He uses layers inside of Photoshop to complete this task and also use the Crop tool. He also adds a border around the image then makes it green. IF you watch this video, you will learn how to add rounded corners to photos and how to add boarders and color them.
The video is basically about how to modify the focal point of the image. When the image has some stuff on the background and when you want the viewers to focus more on one particular area and making the rest of the image darker, you need to modify the light values of the image, which will be taught in this video. This can be done by just selecting the area, which you need to highlight on the image by giving some border and then add curves. In the curves the area is made darker than the rest b...
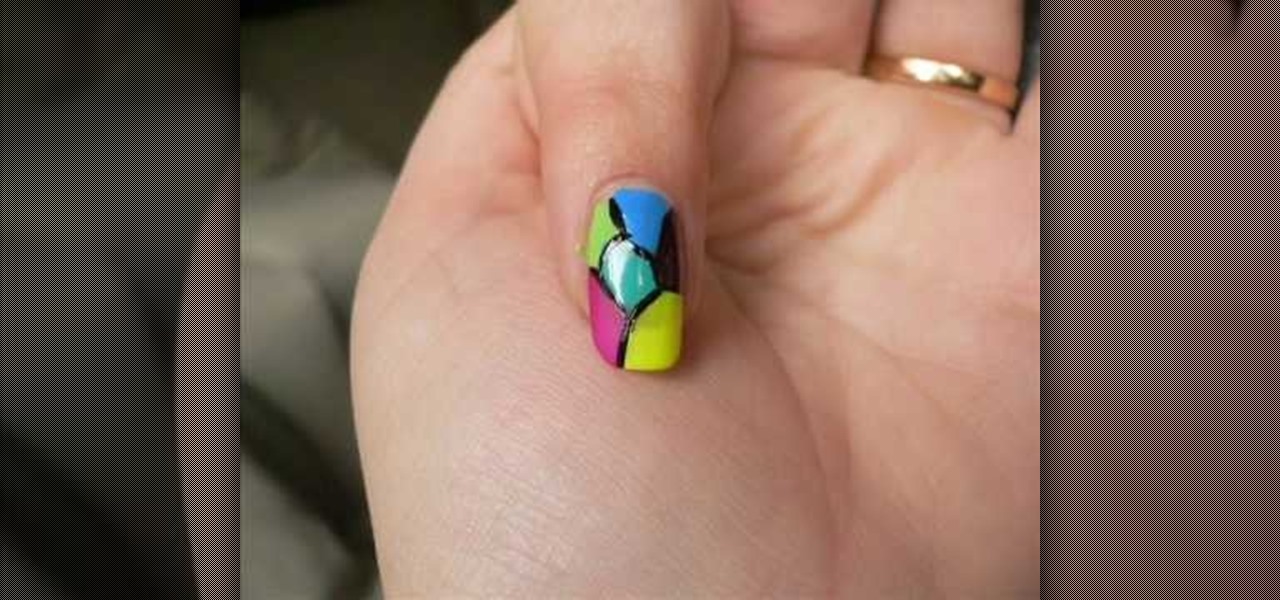
This video relates to Neon Mosaic Nail Tutorial. This video teaches how to make the nails good looking and also pleasing. In this video she teaches how to select the colors of nail polish and also she teaches the steps to be followed regarding which color nail polish to be applied first and also to create a mosaic by using multiple colors. She also add some border line to create and pleasing look. She also narrates to change the colors in applying to each nail. She also teaches how to create ...
In this tutorial, we learn how to make a family photo album from digital photos. iPhoto from Apple has a ton of different options for you to make a great photo album. You can first start out with loading these on your computer and then creating them into a book. After this, you can choose the borders and text that you want to include in this, then drag the pictures in. After this, you can add in captions for each of the photos and then design the layouts of the different pages. After this, yo...
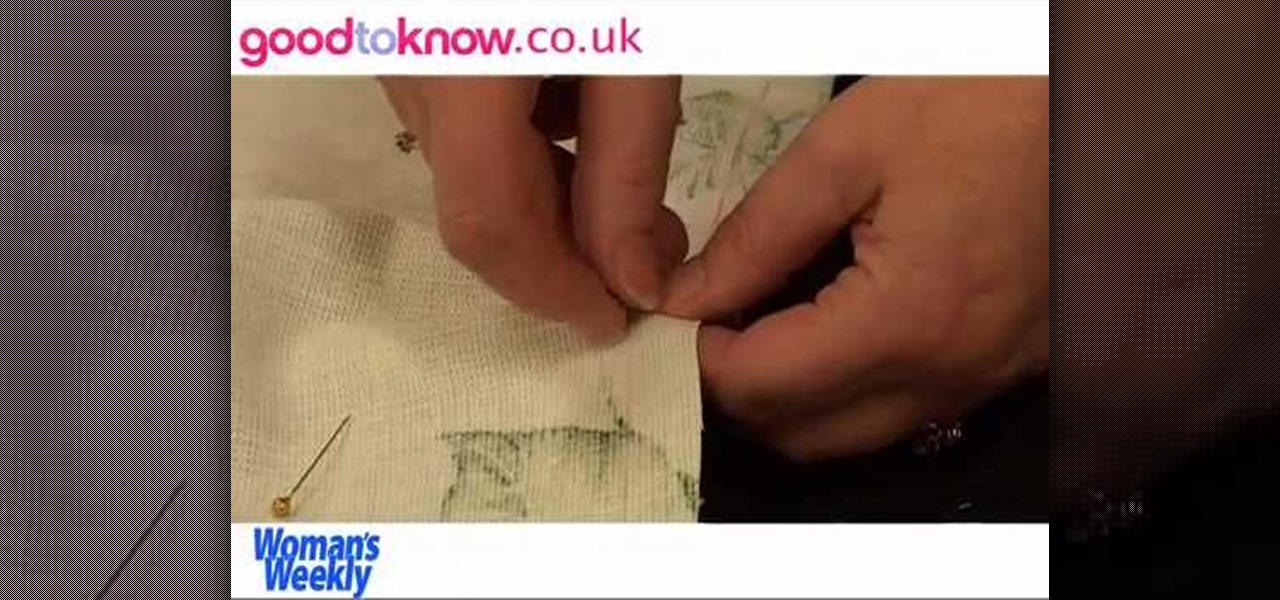
With a little practice a cushion cover can be made at home easily. The materials/equipments required are as follows: fabric of your choice (having appropriate dimensions) to make the cover, scissors, measuring tape and ruler, needles, threads, sewing machine and an iron.
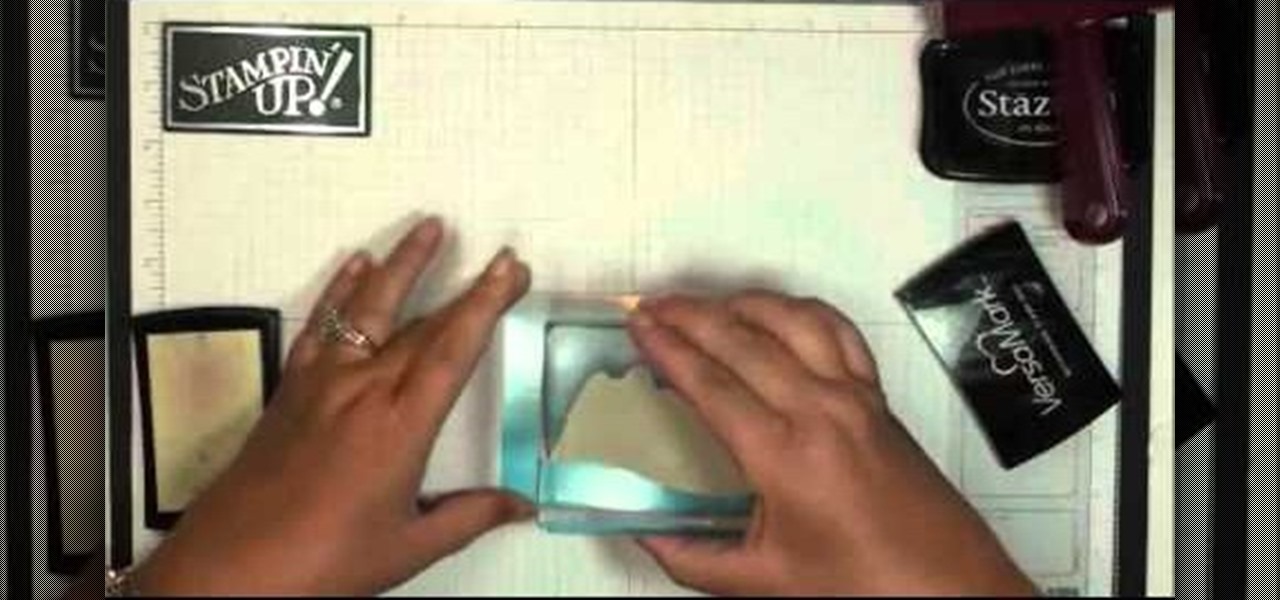
In this video, we learn how to make a double flap card with Stampin' Up!. First, cut out the card in green, then add a creamy caramel color to the top of a white piece of paper. Now, add a green piece of paper that is slightly smaller to the top of the caramel color paper. Add another piece of white on top of the green, then layer then together on the card. Add in a walrus and a little kid stamp to the cards and place them onto scalloped punches. On the bottom, apply striped paper, then apply...
In this video, we learn how to make January thank you notes with Stampin' Up. First, you want to choose what you want your notes to say. You can use a small card stock that is 3" x 3". Then, use a border hole punch and apply it on in different colors you prefer. After this, you will want to stamp on a message that says thank you in black on the front of the card. Next, you can lay a heart punch out on top of the card to give it more personality. You can also place the heart on first and let t...
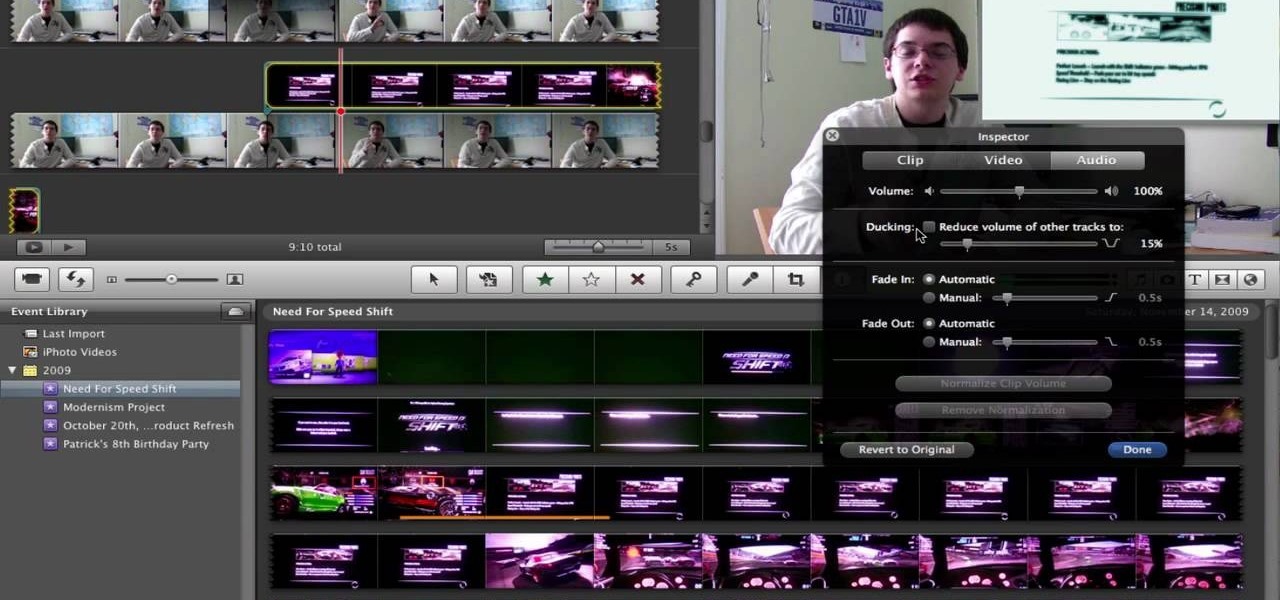
This video will show you how to take advantage of one of Apple's iMovie advanced editing feature, picture-in-picture effect. This feature allows you to embed either another video, or images into a base video. To enable this valuable tool in iMovie, go into the iMovie preferences by clicking on "iMovie" in the top left hand corner of your screen. Under the General tab make sure "Show advanced tools" is selected. Import a video from your event library by dragging it into iMovie and selecting pi...
In this tutorial, we learn how to wear a bandanna "homegirl" style. First, lay your bandanna out flat then fold a triangle in the bandanna so it has a slight border around it. Now, do your hair how you want to style it. Fold the bandanna over a few different times, making sure it is thick. Now, place it over the back of your neck and tie at the top with two knots. You can do this a different way by flipping it over and just placing that on your head, folding the corners into your hair and mak...
In this video, we learn how to navigate an HP TouchSmart computer homepage (Windows 7). First, double tap the HP TouchSmart house icon. You will now see several different applications. On the top are applications that are running, on the bottom are applications that are not running at the moment. You can run your finger to scroll along the different windows that you have open. You can use Paint, internet, photos, videos and much more all at the same time! To scroll between pages, grab the top...
This is a great activity for children to develop some fine motor skills. The blueprints of the Santa can be found on the website. Just print it out and depending on how young the children are they can cut out the Santa or you can cut out the Santa. With the Santa cut out glue him on a piece of construction paper so there is a border. Use some glue and place little dots all round the beard of Santa. Have the children separate the cottons balls from each other. Now the kids should place one cot...
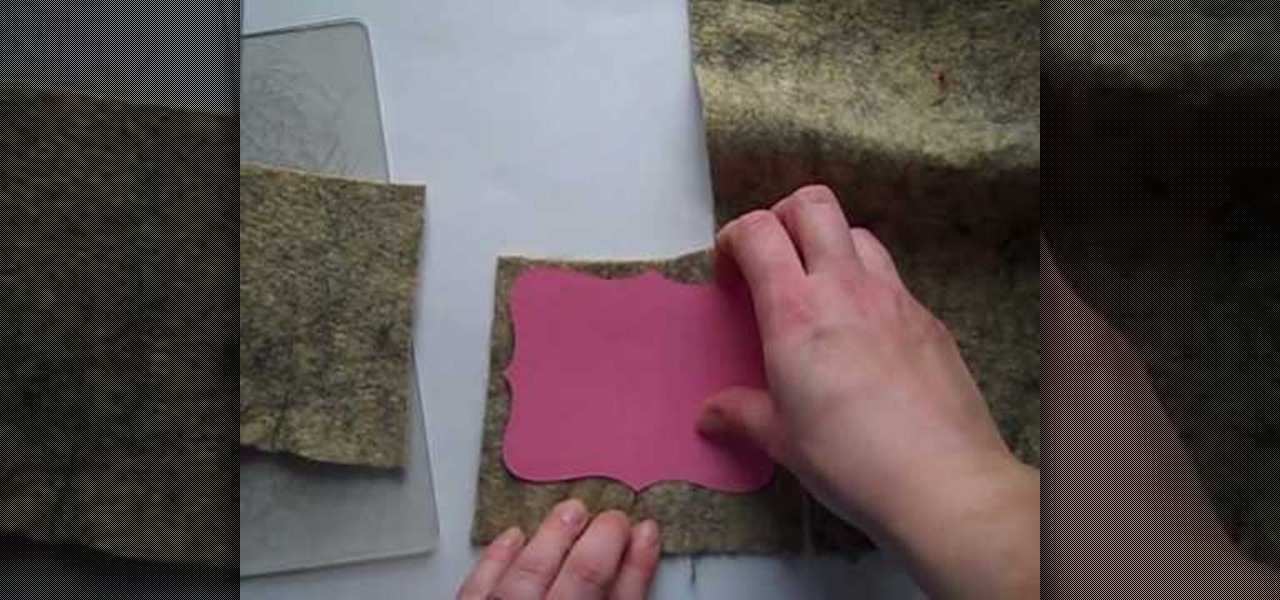
First cut out card stock using the Big Shot Dye. This card stock is great as a template to make sure you are getting the most out of your felt. Cut out pieces of your felt around your card stock template trying to get as close as you can to the border of the card stock. Next take your Big Shot machine and place your cutting plates on the bottom, as well as your dye. Then layer your cut out felt pieces on top of your dye. Start rolling your felt through by cranking the handle on your Big Shot....
Open Microsoft Office Excel. Across the top notice letters (columns), along the sides are numbers (rows). The columns and rows can be extended by highlighting sections and right clicking and choosing the high of the row. You can also select to add a border, and change the orientation of your cells.
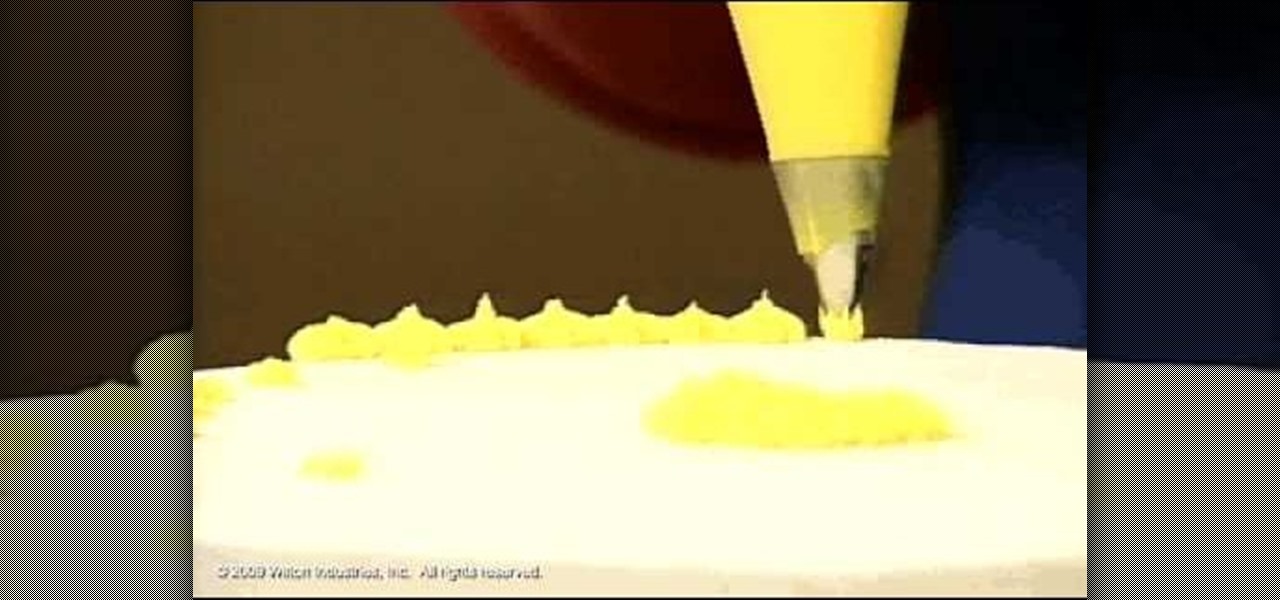
Decorating Tips demonstrates how to use the star tip to decorate a cake or cookies. Use a medium consistency icing and position the bag at a 90 degree angle. Hold the tip 1/4 of an inch above the surface of the cake or cookie. Use the count squeeze, stop squeezing and stop to create a delicate star look with a size #13 star tip. With a size #18 star tip, shorten the count and put the icing stars right next to each other to fill in a cake. Use different colored icings as accents. You can also ...
This is an instructional video on how to decorate a cake with icing in a basket-weave pattern. You start out by measuring out the cake and placing evenly spaced marks along the side so you know where to put each line in the weave pattern. You then use a flat, rigged tip and drag the icing horizontally from one of your lines to the next line. They suggest using a turn table so you can easily access the entire cake. Then they teach you how to put a "shell border" on your cake by using a differe...
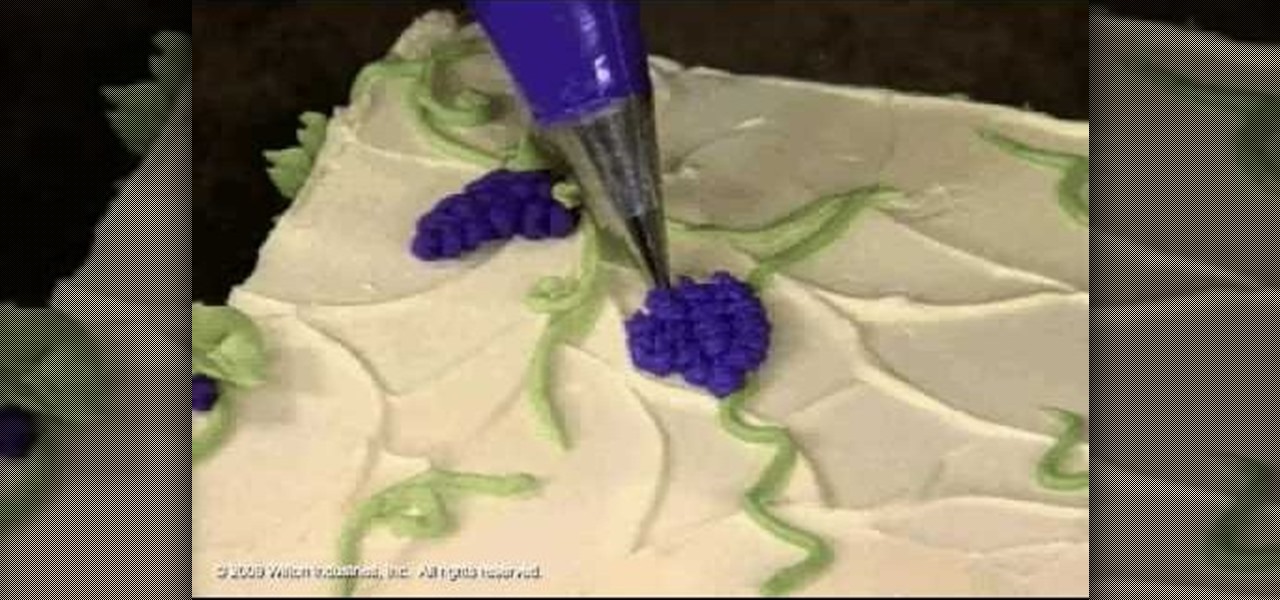
This video teaches the secrets of making and decorating a vintage celebration cake. First bake your favorite cake, apply cream over it and get it ready to decorate. Start by using green icing color pipe and design some vines on the cake. Now with violet icing color design the grapes by making beads and make some leaves with a big green icing tip. Use buttercup yellow icing color and make a leaf border all around the cake.
Windows 7 is the hot, new operating system replacing the past XP and Vista systems. Windows 7 is the most simplified, user-friendly version that Microsoft has developed - ever. Get acquainted with your new version of Windows straight from Microsoft.
Boris Title Toolkit gives Adobe After Effects users advanced titling capabilities for maximum quality, speed, and creativity. Using Title Toolkit, graphic artists can import ASCII or RTF files for fast, easy credit rolls, take advantage of rich text style options such as bevel borders, gradient fills, simulated extrusion, and embossing, and save or apply custom or preset text styles, gradients, and colors, all of which can be applied on a per character basis.
Here are some instructions on heat embossing on polymer clay. This video includes tips for embossing both baked and unbaked clay. You will need polymer clay, a rubber stamp, pigment ink, embossing powder and a heat gun. Roll out the clay onto a nice thin sheet of clay and bake the selected piece. Then stamp the baked clay with ink as desired. Sprinkle the embossment powder onto the stamped area, and tap off the excess powder. Next, heat the embossed area with the embossment gun and watch the ...
While texting and driving may get you a ticket, there are still a ton of uses for your phone in your car, music and navigation just to name a couple. Every Android device comes with access to GPS and traffic updates, but none of those apps really have your back in real-time.
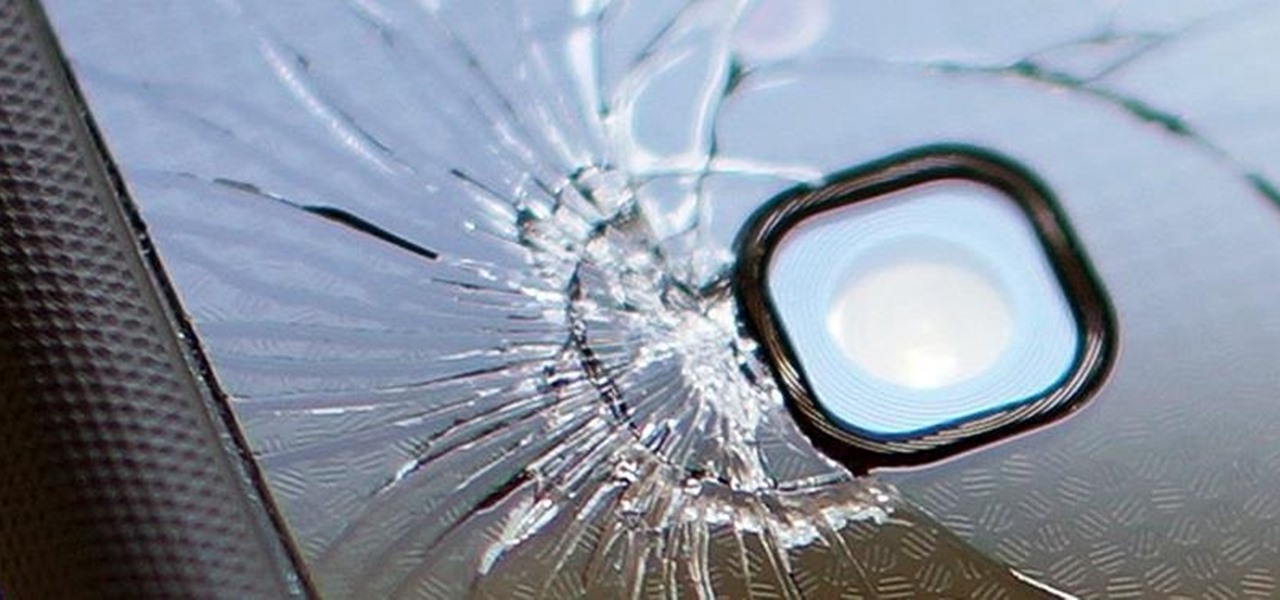
Just about everyone I know has broken a phone at least once in their life. It's almost inevitable considering we carry them everywhere we go, but that doesn't make it any less irritating. A cracked screen is difficult to read and can actually be a little dangerous if there are loose pieces of glass. Simon, a designer and producer over at Sugru, came up with a quick fix that'll help hold your screen together in the meantime until you can get it fixed properly. He figured out that a paper-thin ...
Uploading certain pictures to Instagram can be problematic, especially when the dimensions of your picture exceed the dimensions of the square crop that's forced upon you. Why should I be forced to hack up my awesome fisheye picture inside of a lame square? I get the whole square thing, and I love it, but there's just some times when you can't be bound by the rules.
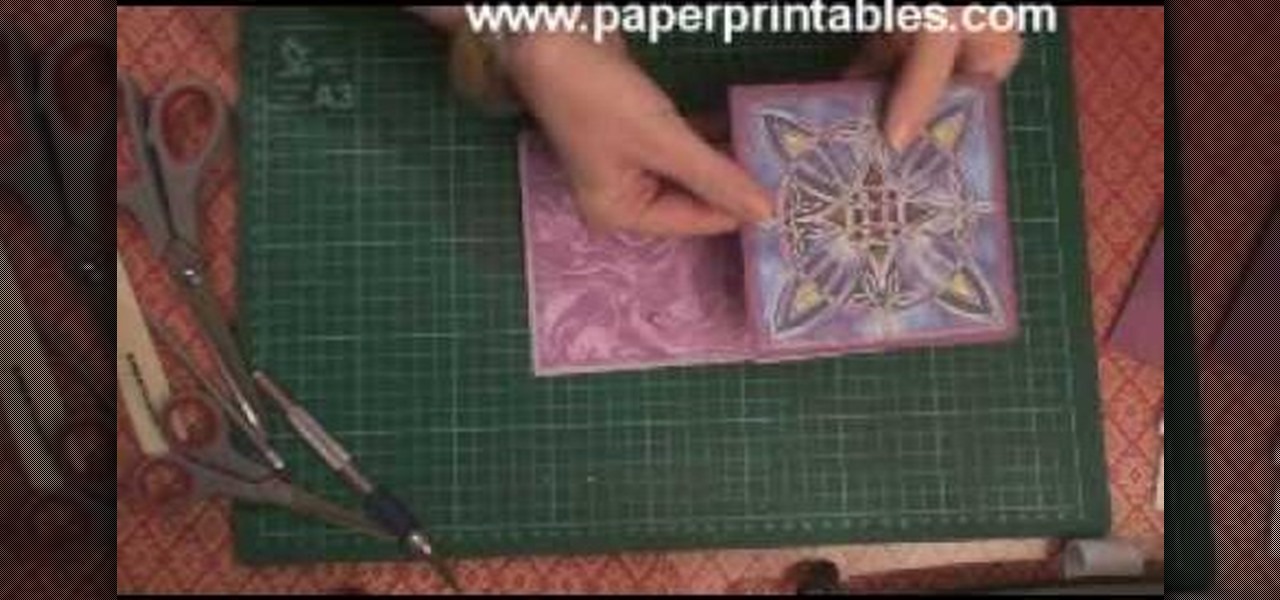
In this tutorial, we learn how to make a half/quarter easel card. First, grab several pieces of colors of card stock that you like. After this, fold the main one up into a square. After you have folded this, fold the edges into the middle and push the creases down. From here, you will glue the bottoms of the other pieces and glue them onto each other so they are backgrounds. After this, you will create a border around the front main picture. When finished, fold this up and then you will have ...
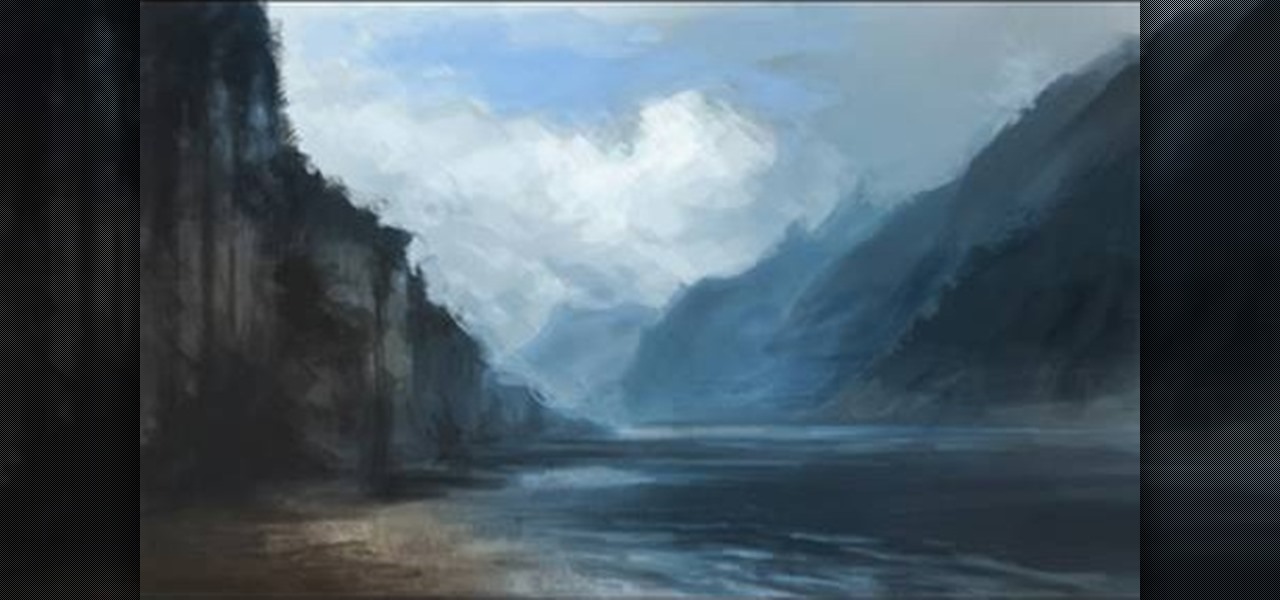
Want to draw a quick scene in Photoshop that contains mountains, clouds and water. Just watch this video.
In this video, we learn how Canadian citizens can get visas to Brazil. You must obtain an entry Visa before you can travel into Brazil. Without this, you will be denied entry at the Brazilian border. To get this, you need to have the correct forms and information filled out and submitted to receive your visa. There are different types of visas you need, make sure you choose the one that is correct for you. After this, you will need to figure out how long the processing time is and what the fe...
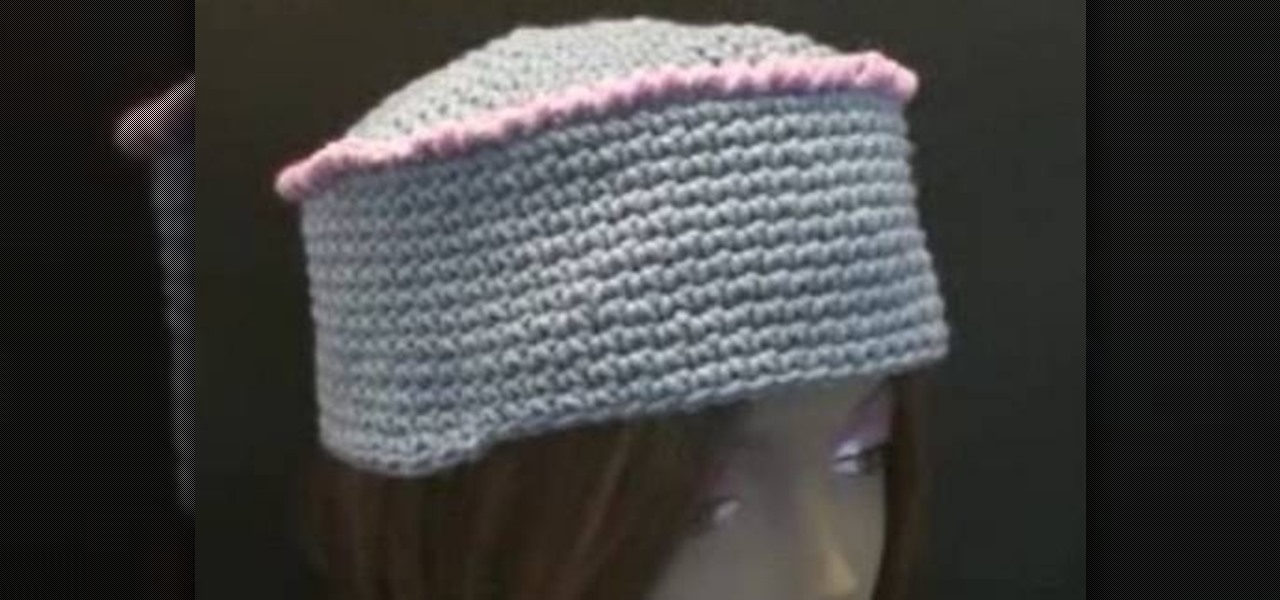
Would you like a touch of mod and whimsy all in one? Then this hat is perfect for you because it strikes the perfect balance between the two. Made of cozy, soft blue yarn, embellished with a pretty pink border, and done up in a sort of inverse bowl shape, this is not your everyday baseball cap or beret.