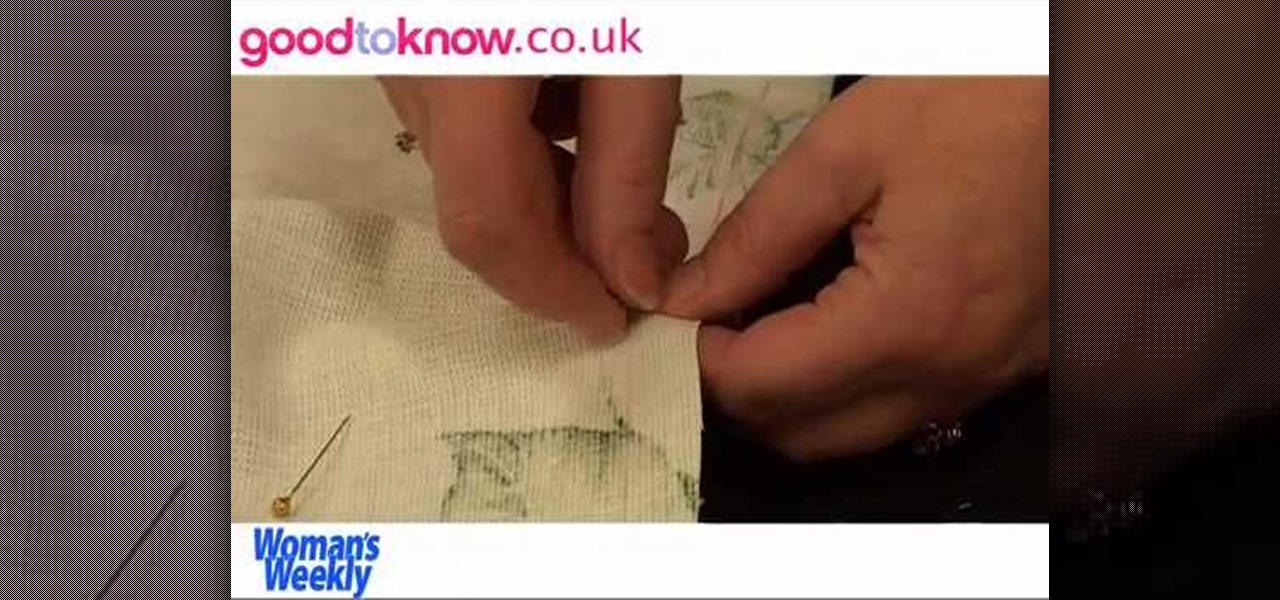
With a little practice a cushion cover can be made at home easily. The materials/equipments required are as follows: fabric of your choice (having appropriate dimensions) to make the cover, scissors, measuring tape and ruler, needles, threads, sewing machine and an iron.
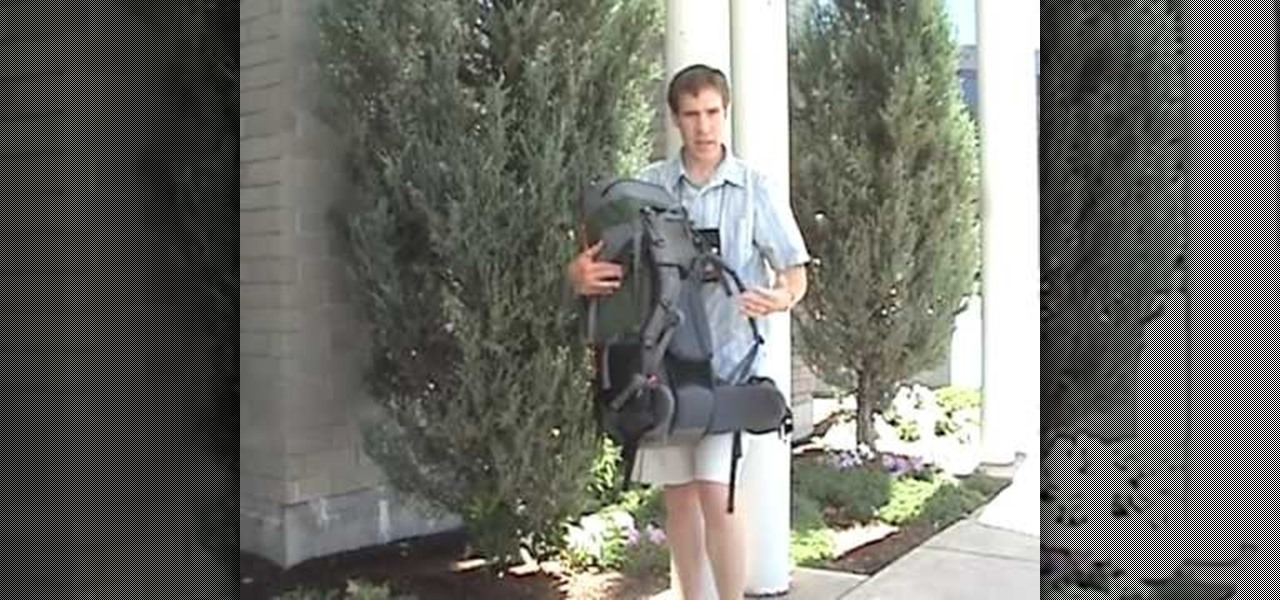
In this tutorial, we learn how to fit a backpack for long distance hiking. For scouts, look for a backpack with an adjustable torso so the pack can grow with you. After this, have the sales staff help you adjust your pack correctly, and measure how long the pack is on your back. You want the pack to fit you perfectly so you don't have back problems later. Try the pack on both on the hip section and shoulder to see how it feels on you. Tighten any adjustments to make it more secure, then you w...
Living with quadriplegia requires a lot of adjustments. Physical therapy and occupational therapy are a necessity, after your physical condition has been stabilized. Physical therapy is necessary to regain and maintain as much coordination and strength and flexibility possible. The occupational therapy will teach you how to perform as many of your daily activities of living independently as possible. It is important to have emotional support. Attitude is important. You have to stay positive. ...
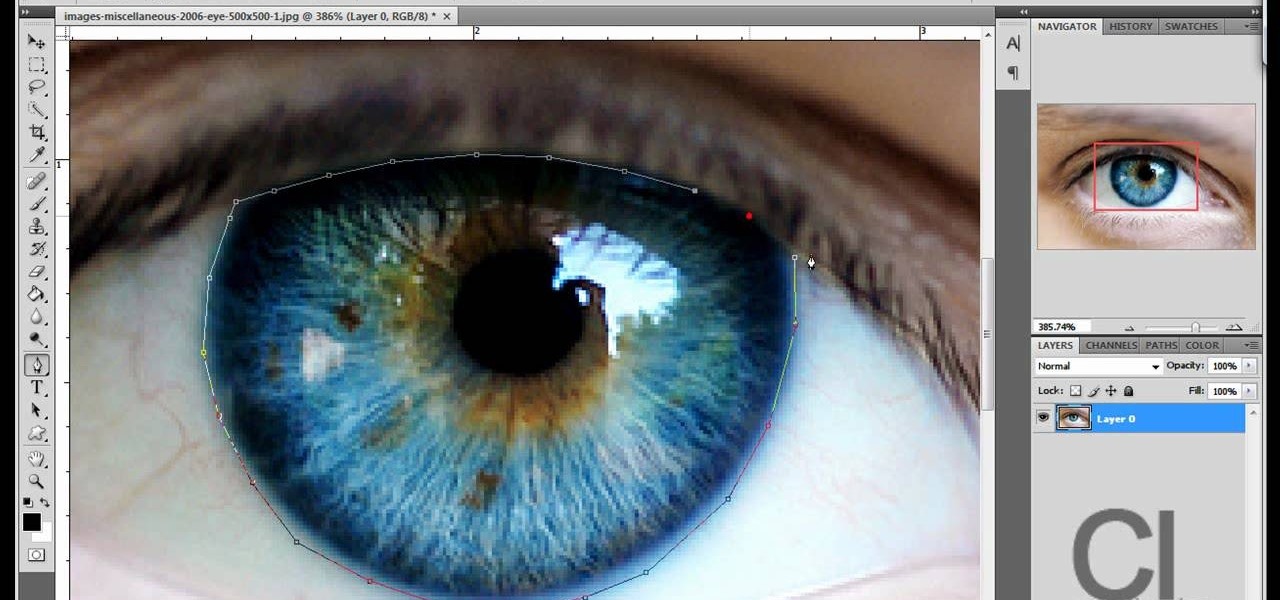
Changing the color of your eyes is very quick using Photoshop and this handy video. After using the selection tool of your choice to outline the eye (this video uses the pen tool) with a little bit of feathering, just change the hue of the eye. The video shows how to do this by pressing control + h, however it can also be selected by choosing the image menu, then adjustments, then hue/saturation. This great effect can be used as shown on close up eyes or on smaller eyes further away. Both way...
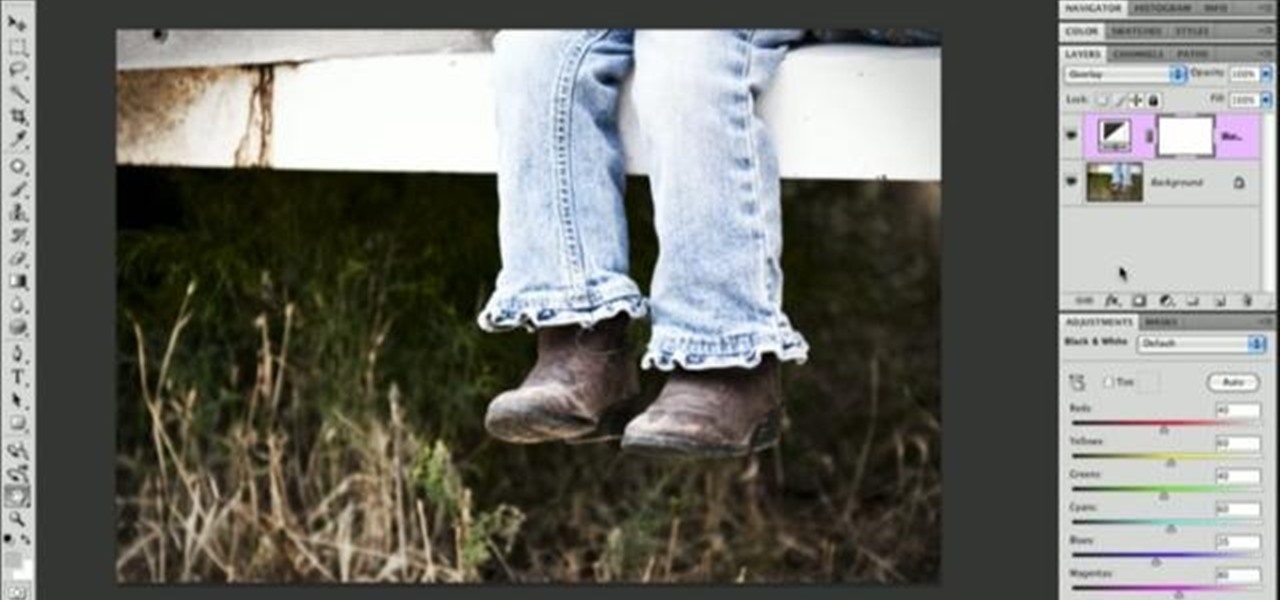
In order to add a nice contrast punch to an image using Photoshop, go to your adjustment layer and click on the black and white adjustment layer. Then go to your "blend modes" and change it to "overlay". If you find that the effect is too harsh you can adjust your opacity settings or you can switch your blend mode to "soft lights". In "overlay" using the black and white adjustment panel you can change your settings to meet your preference. If you are using a previous version of Photoshop that...
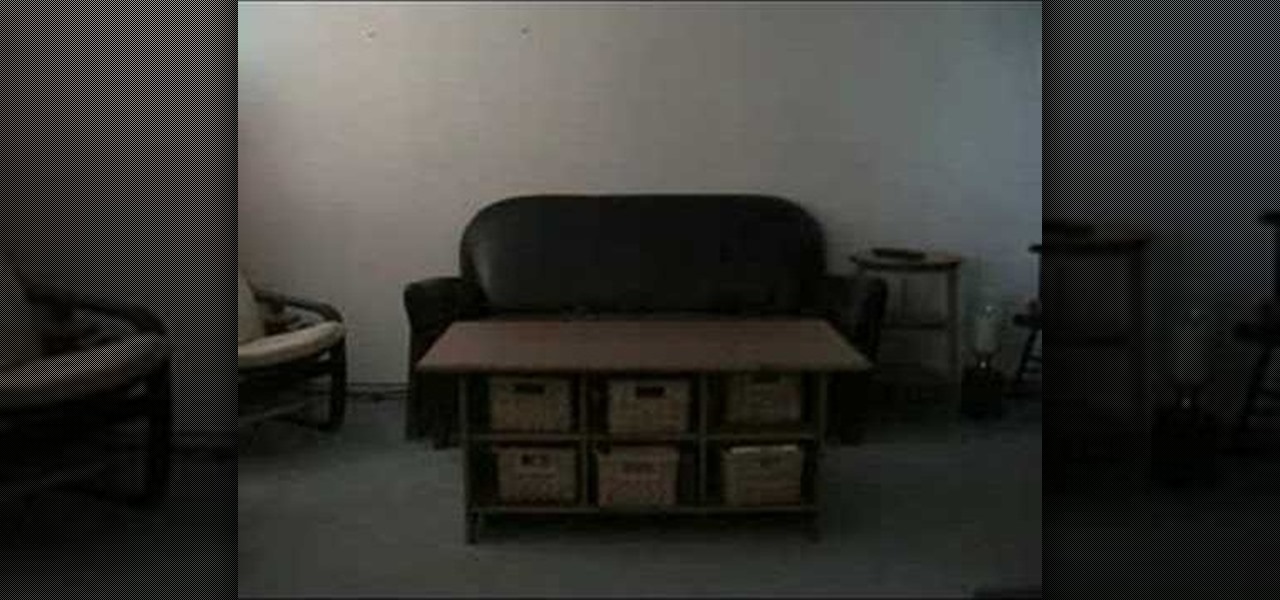
In this video from FiveSprockets we learn how to light an interior space while filming on a budget. For this you need two Chinese lanterns which he found for $2.95 each. You need 2 light bulbs which he found for $3.95 each. Make sure you get extra ones. Then get a couple of pan lights. They are day light and mood light. They were $7 and $5. You also need a multi colored gel pack which is $6.00. He uses C-stands to hold the lights up but he suggests coming up with other ways if you don't have ...

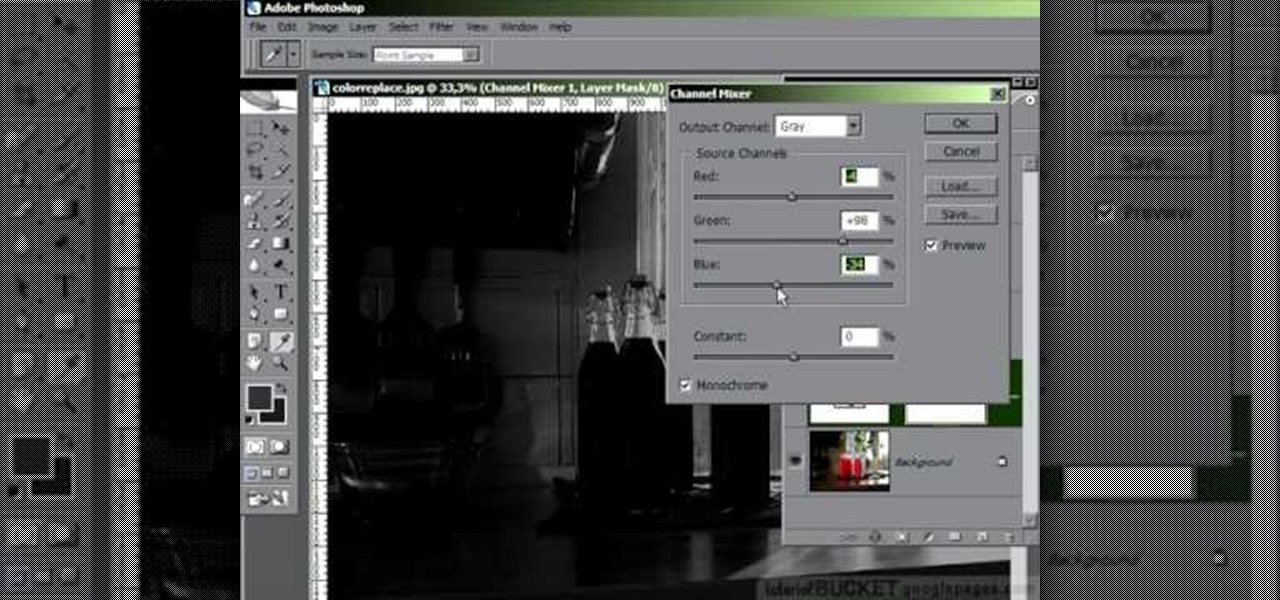
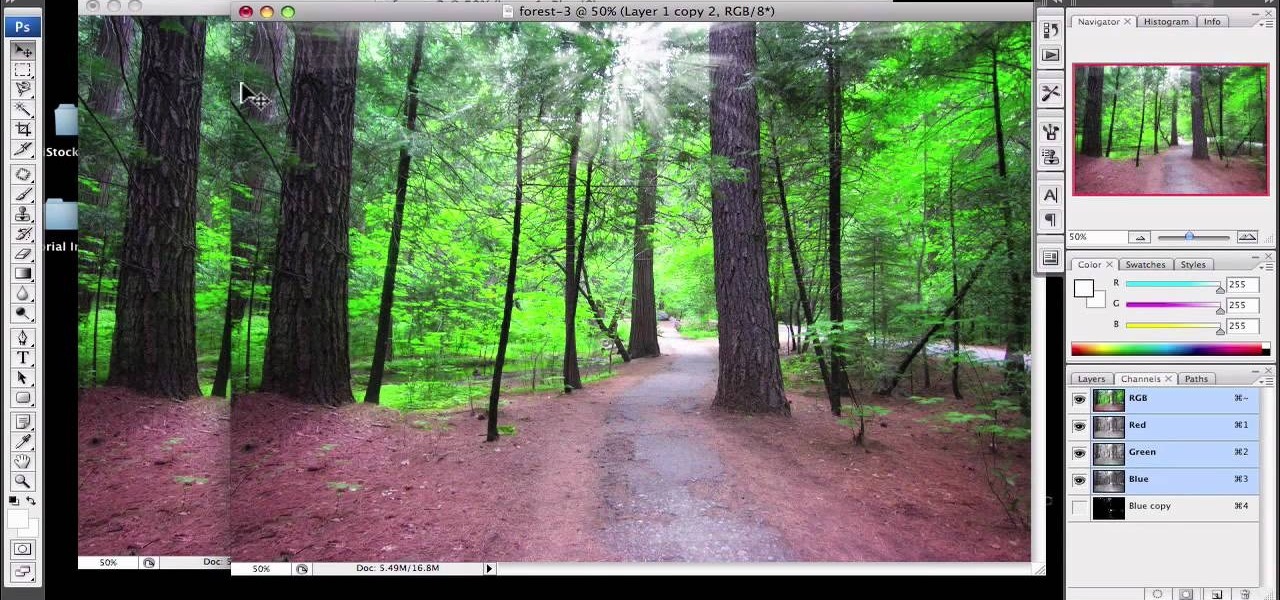
In this video tutorial, learn the several methods to get black & white images from color originals in Photoshop. The first method is the simple desaturate by going to image > adjustments > desaturate and it will wipe out the color from your image. The second non-destructive way of doing this is going into the layers palette, adding a new adjustment layer, choosing hue and saturation and dragging the saturation slide all the way down to minus (-) 100. The next method is going to the channels p...
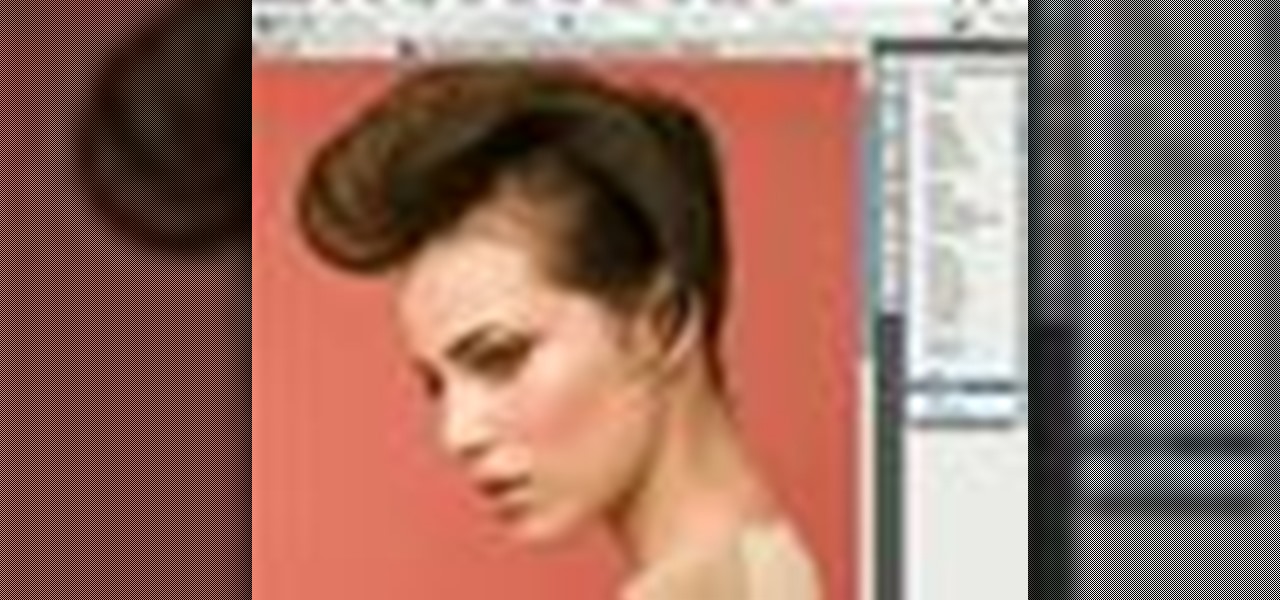
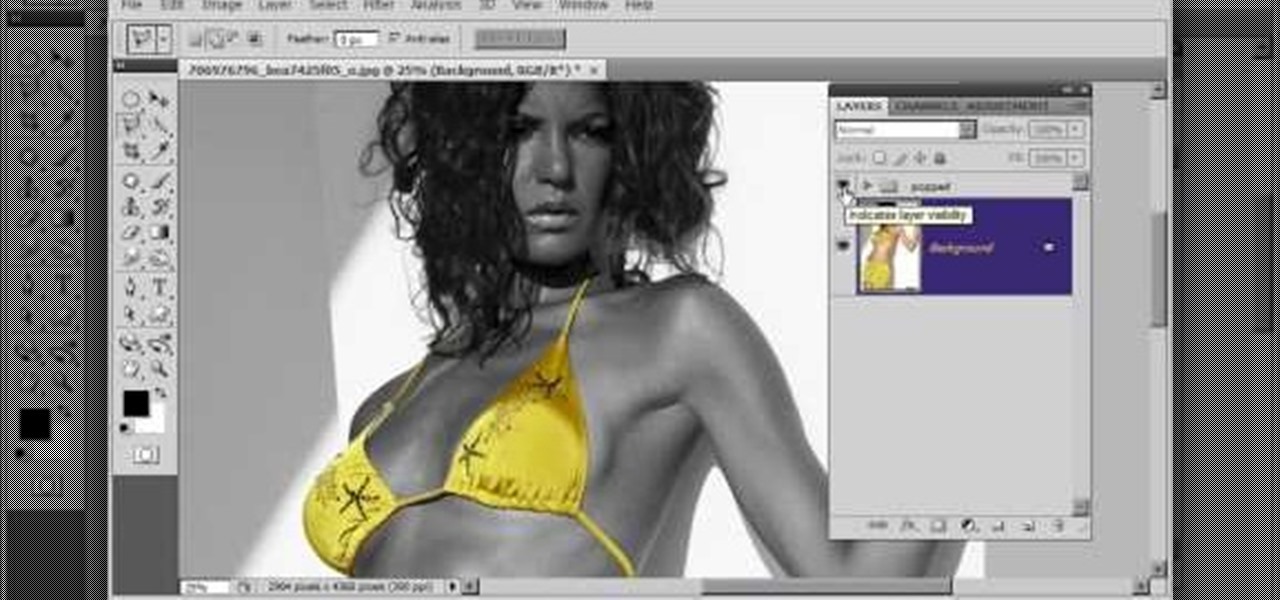
This video tutorial by VvCompHelpvV gives you two methods to achieve the Sin City effect in your photos using Photoshop. The Sin City effect is making the main subject of the photo appear colored while the rest of the photo looks black and white. In the first method the subject should be selected using a pen-tool using the settings mentioned. After that right click on the selected areas and make the feather radius 3, inverse the selection and go to image > adjustments and de-saturate and your...
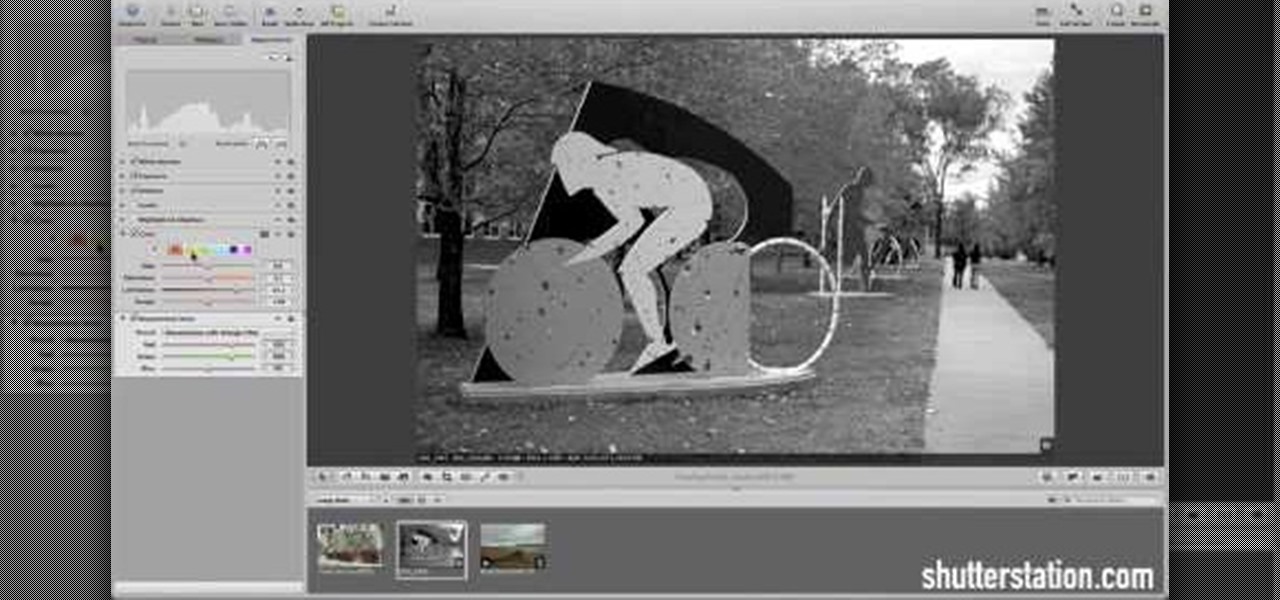
New to Apple's Aperture 2? Aperture 2 offers photographers a streamlined way to speed through edits, make essential adjustments, and deliver photos online and in print.
This software tutorial shows you how to use Dr. Brown's Place-A-Matic script in Photoshop. Learn how Place-A-Matic allows you to open multiple images as Smart Objects in Photoshop.
Changing positions on a surfboard is one of the hardest things to learn how to do. Get expert advice on surfing techniques in this video lesson. Take action: use proper foot position, shuffle feet to make minor adjustments, and remember that sweet spots are different for every individual. Mike Jones, the instructor of this how-to video, has been surfing since he was only six years old. He was lucky enough to surf the pro tour for a few years before starting his own surf shop and clothing bran...
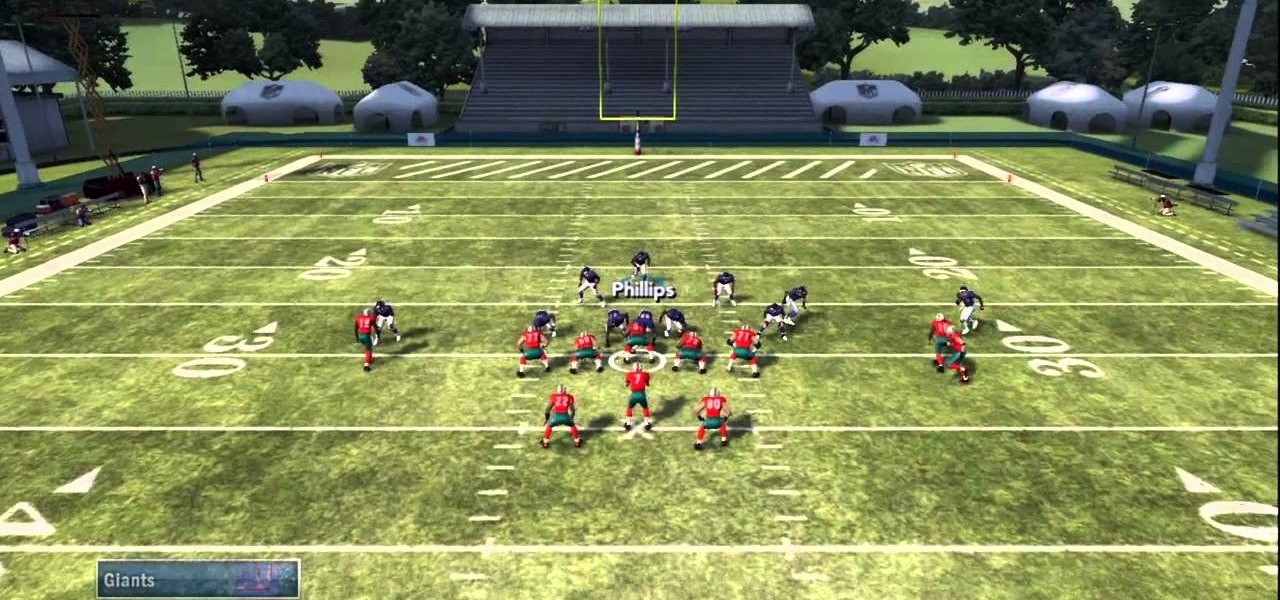
If you're looking for a solid defensive play while enjoying Madden NFL 12, try out this ultra fast nano blitz in the 46 bear formation. The adjustments on this play are very simple and allow you to sack the QB before he even knows what's coming.
If you're looking to get a faster Android phone without resorting to installing a custom ROM, check out this helpful video to learn seven tips for speeding up an Android smartphone. There are a number of easy adjustments to the standard Android settings that will make the phone seem much faster.
A few simple adjustments can turn a boring old plastic fork into a terrific iPod stand. Give your hards a break and watch videos on your iPod using this iPod stand. You'll be glad you kept those plastic forks laying around!
Sprinkler Daddy's Sean Stefan demonstrates how to make minor adjustments to spray distances on your sprinkler spray heads.
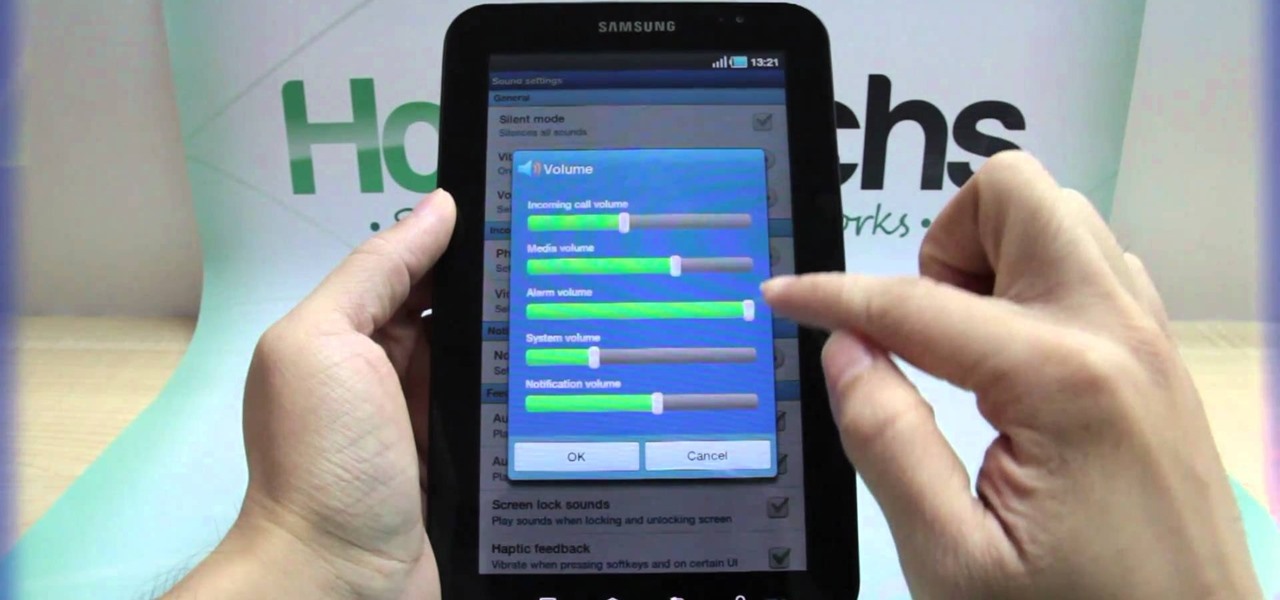
If your alarm is too low or the music isn't loud enough on your Samsung Galaxy Tab, then you need to turn the volume up. Adjusting the volume is an easy task, thanks to the Android OS. All you need to do is hit MENU < SETTINGS < SOUND SETTINGS < VOLUME and make your adjustments.
Of course your website will be continually undergoing edits, adjustments and revisions. You can use PHP scripts to edit your already existing pages using the Dreamweaver software. This tutorial also covers a few extra tricks you can use when editing your pages.
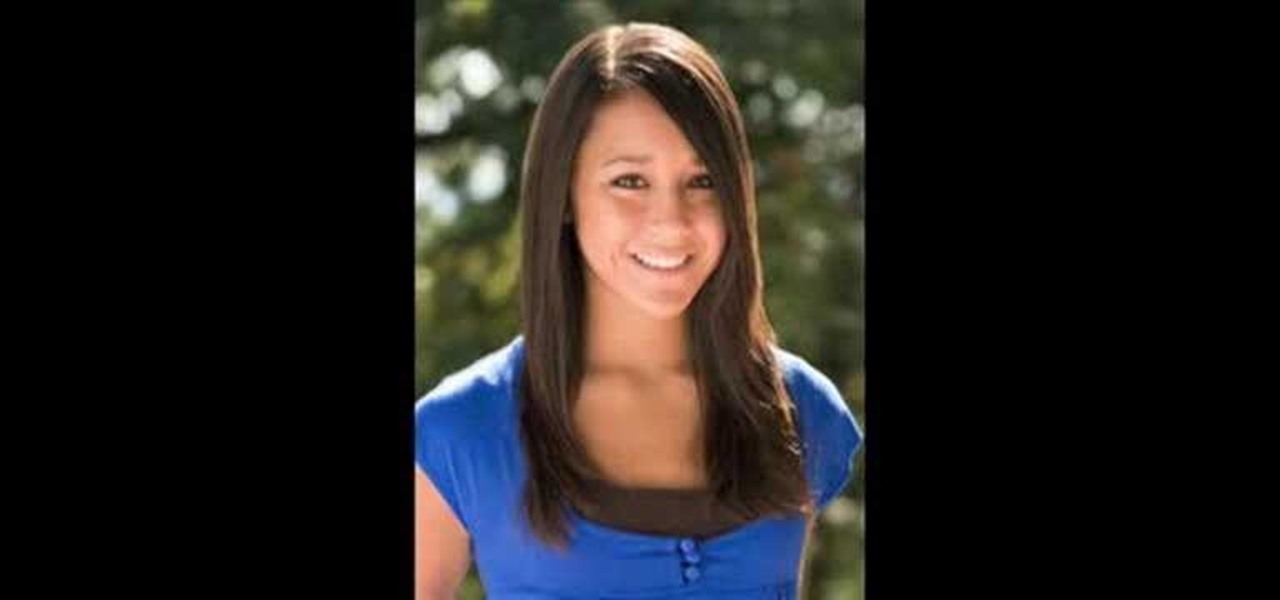
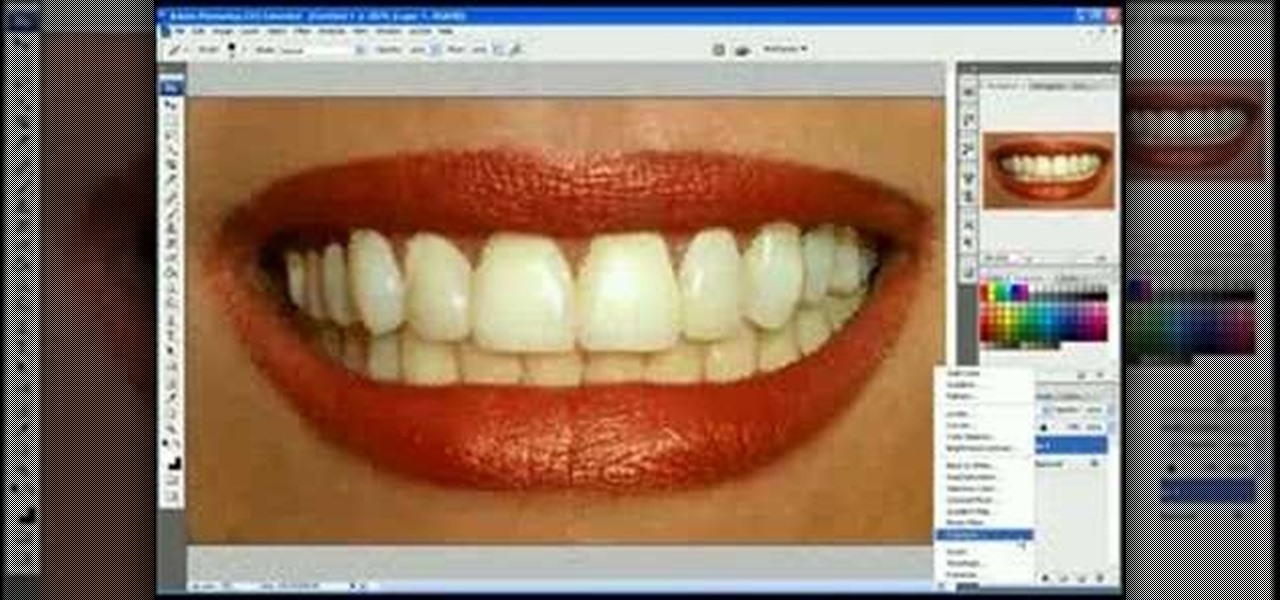
In this how to video, you will learn how to whiten teeth in Photoshop. First, open an image that you want to edit in Photoshop. Zoom in to the teeth as much as you can. Next, go to the brush tool and set the diameter to 21. Hold shift and q to put you into quick mask mode. Now paint over the teeth with your brush. Whatever is red will be your selection. Once you are done painting the teeth, select press shift and q again. Go to select and choose inverse. Next, go to image and adjustments and ...
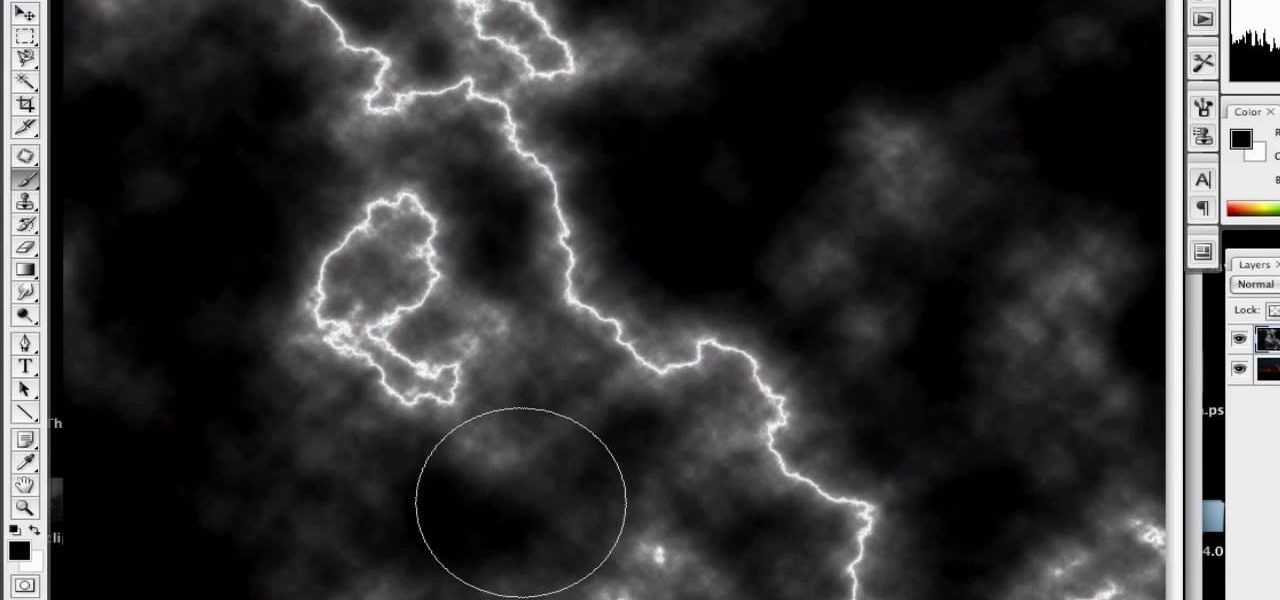
First of all open an image which shows many different lights in a night background. Now make a new layer now set the color of background to black by first and the foreground color set to white. Click the background for the bottom of the left bar and then pressing 'd'’. Next select the 'gradient' tool. Make sure to select the style from the foreground to background. Select the 'mode' to 'normal' and ‘opacity’ to '100%'. Now drag the top right hand corner to the bottom of the left hand corner. ...
1)Open image, go to channel. Look for the channel that gives the most contrast by going through them one by one.
Understanding the EV Compensation feature on Nikon DSLR's is extremely valuable when shooting with a flash. Adjustments enable you to fine-tune exposure, flash settings, as well as more general settings.
Here is another cool photo manipulation you can do using Photoshop CS3. You can take a normal photo you’ve taken and really make it look unique by giving it harder edges and some more texture to the shot. Mix up your photos with this effect.
Ever wonder what those bars and lines on the LCD screen on your digital camera do? In this great tutorial, Ethan Wilding demonstrates how to read one of the most useful features on your camera: the histogram.
Learn to create a fashion editorial style color in Photoshop! 1. From CHANNELS button select color of the Model. It will show different colors select as per your choice. 2. Click on Levels it will show the image selected. 3. Right click and select Black&White it will open ADJUSTMENTS button adjust the color. 4. Go back to CHANNELS button they all images will look same. Copy channel Blue and Select Blue copy3 and color model's body and hair with black. 3. Click on ADJUSTMENT button and adjust ...
Open the Adobe Photoshop program. Choose a picture with a head shot. This maybe something that is already in your pictures folder on your computer, downloaded from the internet or transferred from your flash drives, and those photos you may have scanned and saved in your computer.
Want to get a Weezer girl hairstyle look? *Use a FHI Curling Iron. *Measure your front bangs and roll them up to the thickness you want. *Set it into place with a pin, split your hair right at the top in half, behind your head at the crown area, open the top behind your ear. *Take the front part and curl it with your iron, take your time and curl the other sections back setting them down with bobby pins. Once this has been repeated on both sides, let your hair cool down. *Tie the back of your...
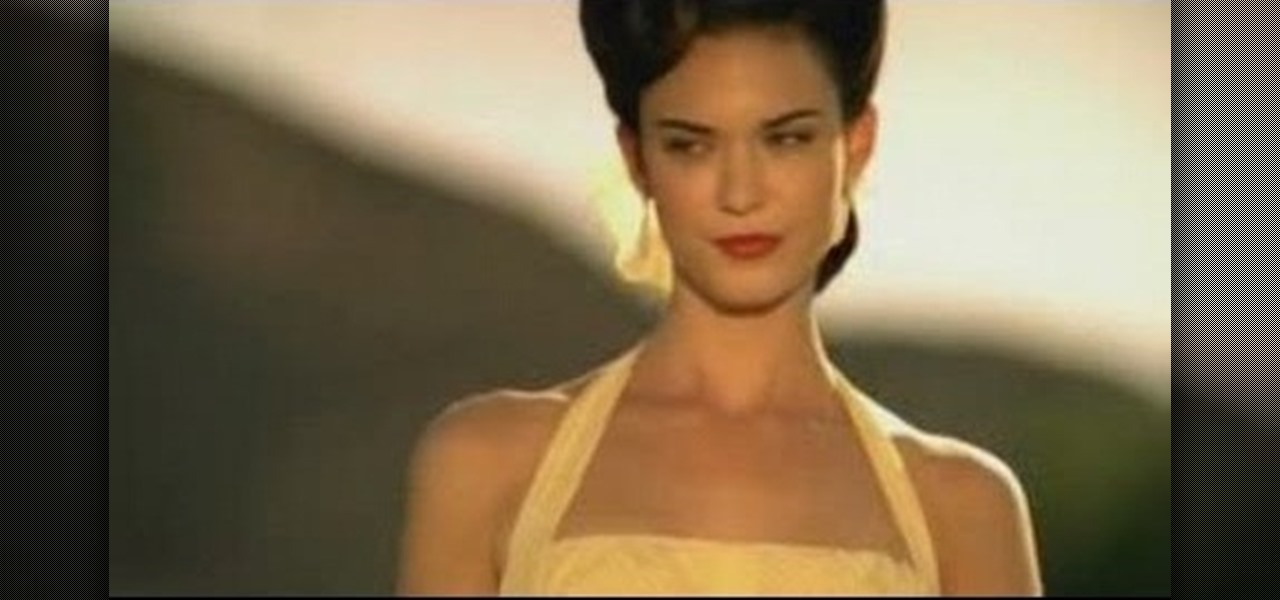
Here's how to take a well lit outdoor portrait. It's best to shoot outdoor photographs in the morning or late afternoon to catch the best light. Use light reflectors to deflect light coming from below. This instructional photography video will show you how to make subtle lighting adjustments to take a stunning photo portrait.
Adobe's Frederick Johnson is back to talk about where you can store files in Lightroom, how it keeps track of your adjustments, and new features in version 1.3 of Lightroom. Get all your basic Adobe Lightroom questions answered in this tutorial.
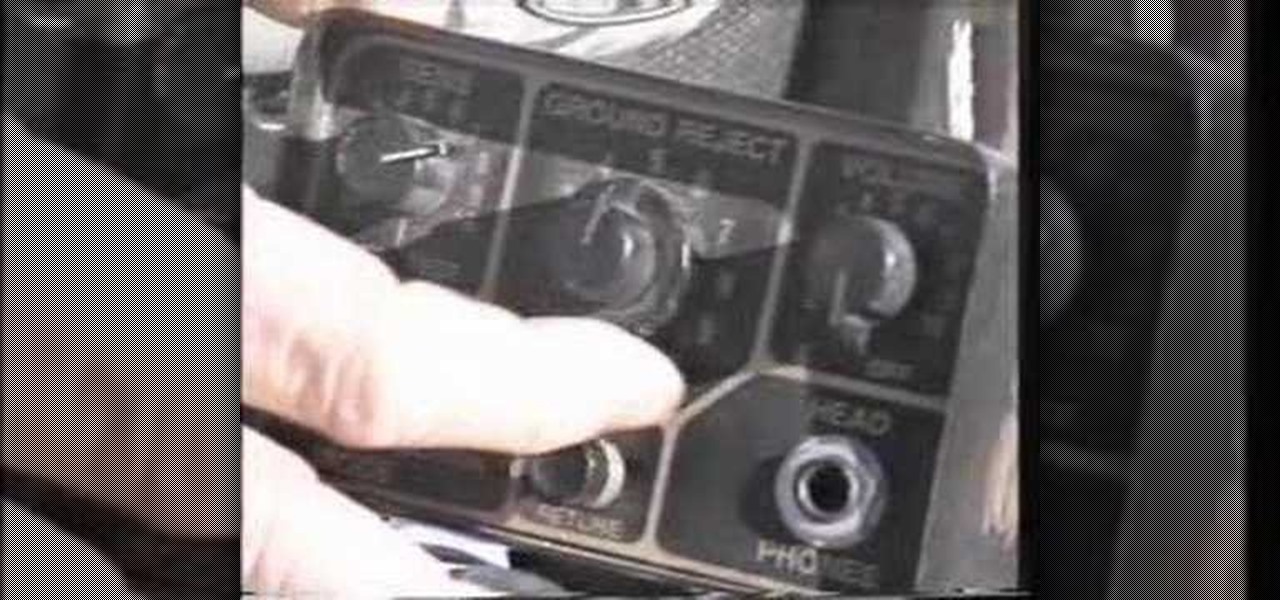
Do you not know how to use your Gold Bug metal detector? Well, see how to make adjustments for ground detection in this video tutorial. You'll cover ground reject, volume, retune, ground balance, and much more. So, find your next treasure with a little metal detector know-how.
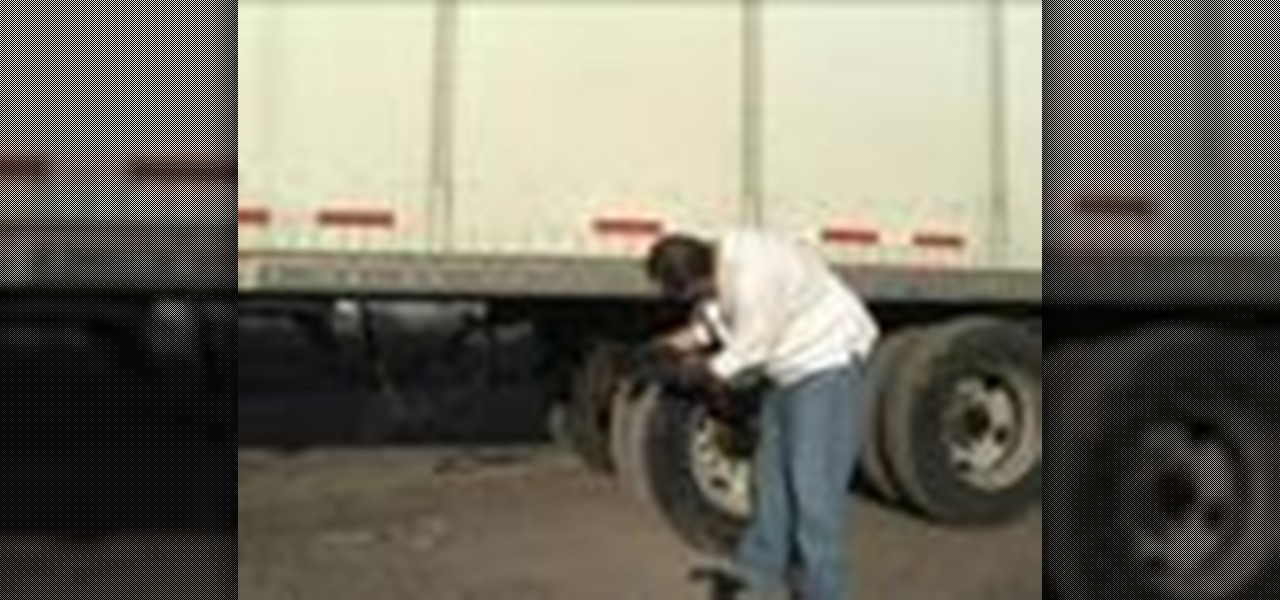
Trucker Steve takes some time out to show those interested in driving a semi truck or big rig how to make proper weight adjustments safely. Enjoy.
Here are a few little tricks you can use to make a free call using fring. After a few simple adjustments free calls can be made to your friends and loved one for free.
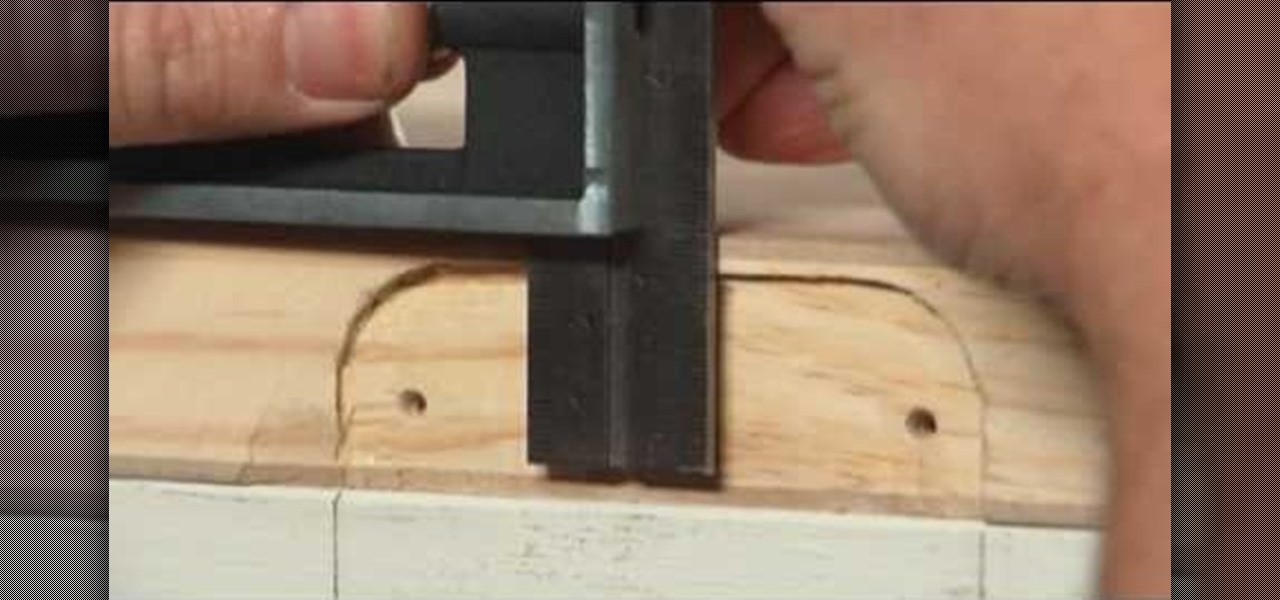
To replace a door, refer to Lowe's do-it-yourself for a step by step guide. Replacement is not very difficult. To replace just the door, tools and material required are: a new door, hammer, screw driver, tape measure, pencil, combination square, saw horses, clamps, chisel, a door lock installation kit, a drill with bits, circular saw, level, work gloves, dust mask, safety glasses, plane, shims, cardboard, and a utility knife. Before removing the old door, take a few measurements like the widt...
Design your own clothes by making sewing patterns, but pay attention to the details. You Will Need
Got video files on your computer? Watch them on your big-screen TV – using your Xbox! You Will Need
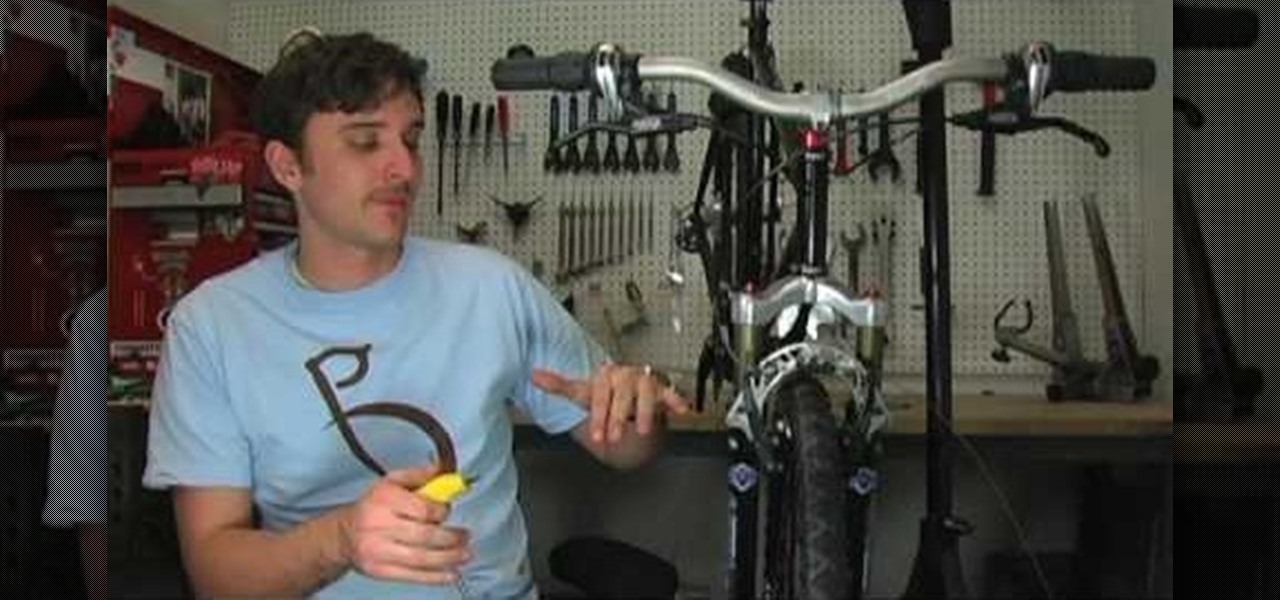
This video tutorial is in the Sports category which will show you how to adjust your front brakes on your bike. The brake pads are very adjustable. It has 360 degrees rotation which helps in installing it on the bike easily. First install the brake arms. Then loosen up the brake pad screw and lower it to bring it in line with the rim of the wheel. Now hold it in place and tighten the screw. Thereafter you can any vertical and horizontal adjustments. You can then repeat the same procedure for ...
In this video we learn how to whiten teeth in Photoshop like a professional. Start off by opening up Photoshop and zooming in on the teeth in your photo. Start out by selecting a hollow brush and then paint the selection onto the teeth. Paint around them carefully and make sure you don't touch the gums in the middle and on the top of the teeth. Once you have selected the entire area of the teeth you will see them all covered in red. Then, go to "select" and "inverse", then press the button fo...
In this video, we learn how to repaint your car in Photoshop CS4. First, open up Photoshop and open up the car you want to change. Now go to image, adjustments, then hue/saturation. After this, choose a yellow hue and click on different areas to change the colors that you are seeing. You can choose a different color if your vehicle is blue, brown, black, etc. After this, move the bar on the hue lever and you can change the entire color of the car. You can change it from purple to pink to neon...
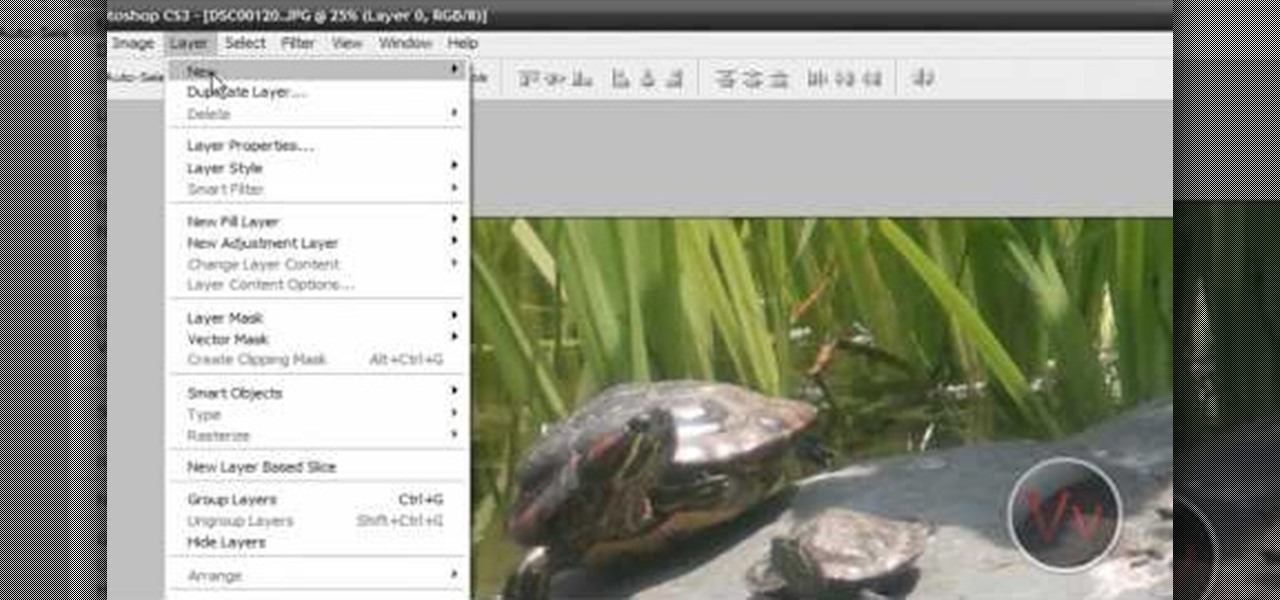
In this tutorial, we learn how to create a Lomo effect in Photoshop. This is a contrast that gives the photo a "cool" vibe and change up the effect that you see. First, load up your picture into Photoshop and then go to adjustments, then curve. From here, add a slight s-curve and then add a green channel with the same s-curve that you just created. Go to the blue channel and create the opposite s-channel from the others, then click "ok". Now, go to layer, new adjustment layer, then gradient m...
In this video tutorial, viewers learn how to adjust a hiking backpack. Begin by loosening all the straps on the backpack. Then load the backpack onto yourself. Have the majority weight of the backpack on the hips. Tighten the hip belt and strap it around the hips. Make adjustments on the shoulder straps. Pull down the load lifters. Finish by tighten and connecting the sternum strap. This video will benefit those viewers who are planning to camp and learn how to survive in the wilderness, and ...
Bob Schmidt teaches us how to screw drywall to studs with a drywall screw gun. A countersink bit is a great option to help you screw drywall studs in. This will fit in a variable speed drill for setting counters and drywall. Use a DeWalt screw gun, which is specifically made to install drywall. It has a clutch driven head with different adjustments on the head for different screws. The gun should be inexpensive and doesn't have a very large motor, so it's perfect for a homeowner. If you just ...