
How To: Paint portraits with acrylic
Acrylic paintings of the human face are a great form of artistic expression. Paint acrylic portraits with tips from an illustrator in this free video series on art and painting.


Acrylic paintings of the human face are a great form of artistic expression. Paint acrylic portraits with tips from an illustrator in this free video series on art and painting.

Watch this painting tutorial and learn a method to paint acrylic paintings using an imaging editing program called Gimp. No drawing skills required. If you want to learn how to use acrylic paint but don't want to spend a ton of cash on supplies, here's how. The supplies are student grade and inexpensive. You can get them all for under $15. Learn how to become a better painter & be sure to stay tuned in for all 6 chapters!
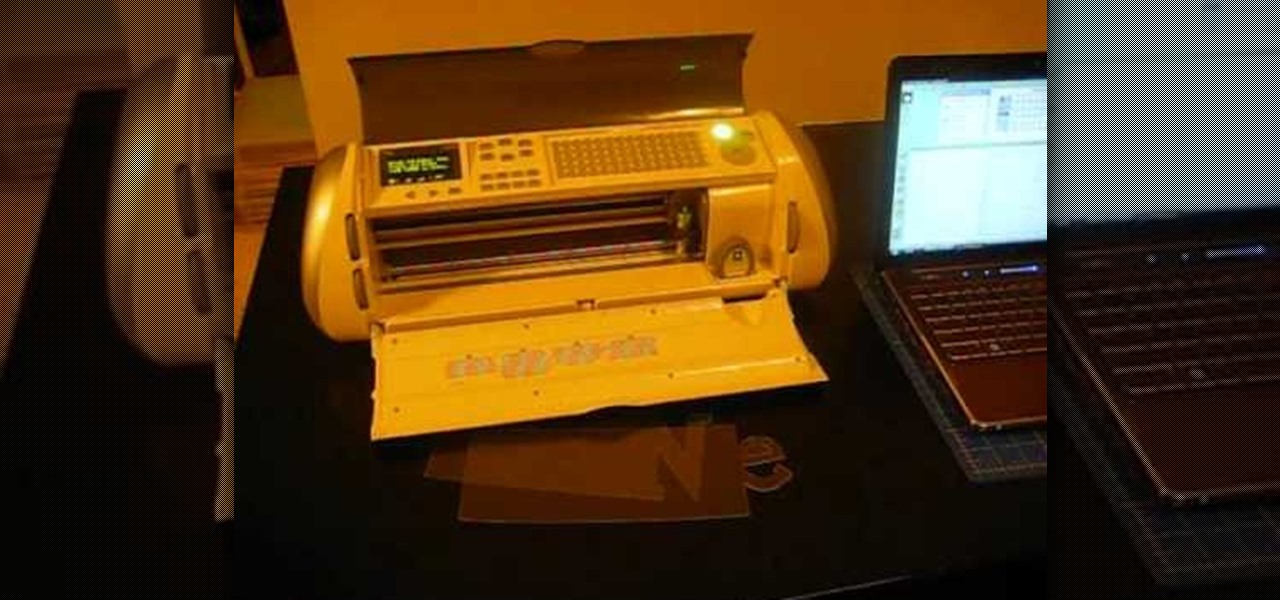
In this video, we learn how to cut acrylic on the Cricut Expression. First, you will need to have an acrylic cutter installed on your Cricut Expression. Now, place the acrylic on the mat and insert the mat into your machine. After this, choose the type of cut you want, then make sure the blade depth is at six and the pressure is at maximum. Now you can start to cut the acrylic, and when it's finished, it will pop back out of the machine and be finished! You can then use the acrylic for what p...
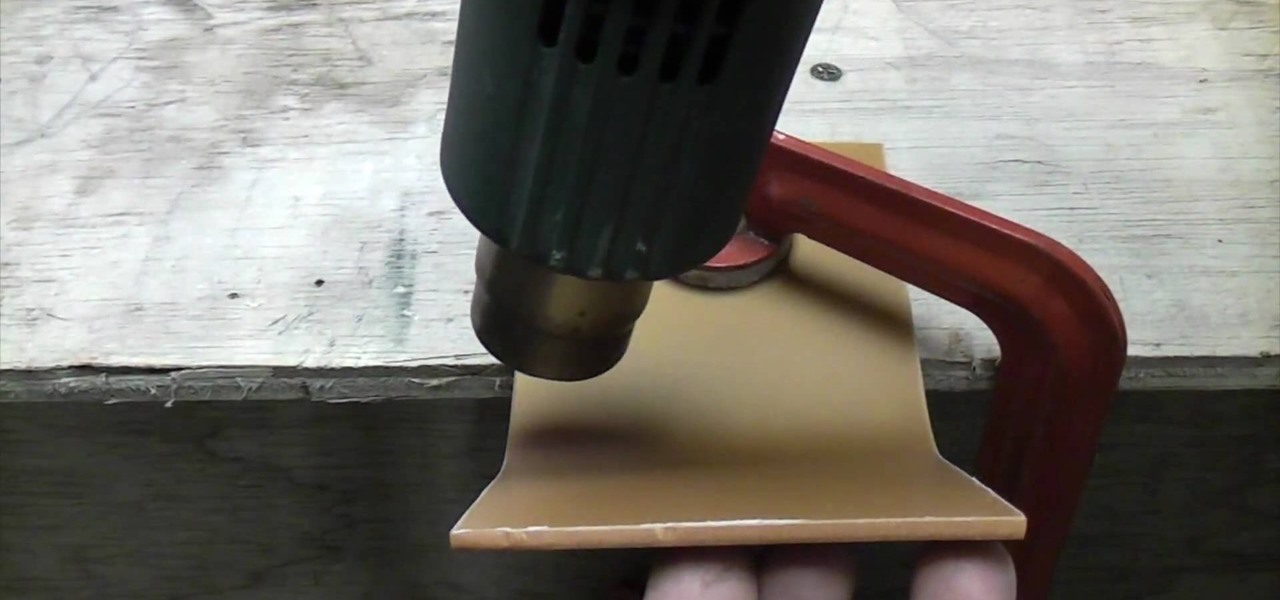
Have you ever wanted to bend a small piece of acrylic? Well now you can with the help of a traditional hot air gun and this informative video. Make sure to wear safety glasses and gloves before trying this project. Clamp the acrylic to a work table, and proceed to turn the gun on and heat up the piece of acrylic, using a steady back-and-forth sweeping motion. As it heats up, you can use your fingers to gently bend the acrylic upward. Leave it at 90 degrees to cool down for a couple minutes, a...
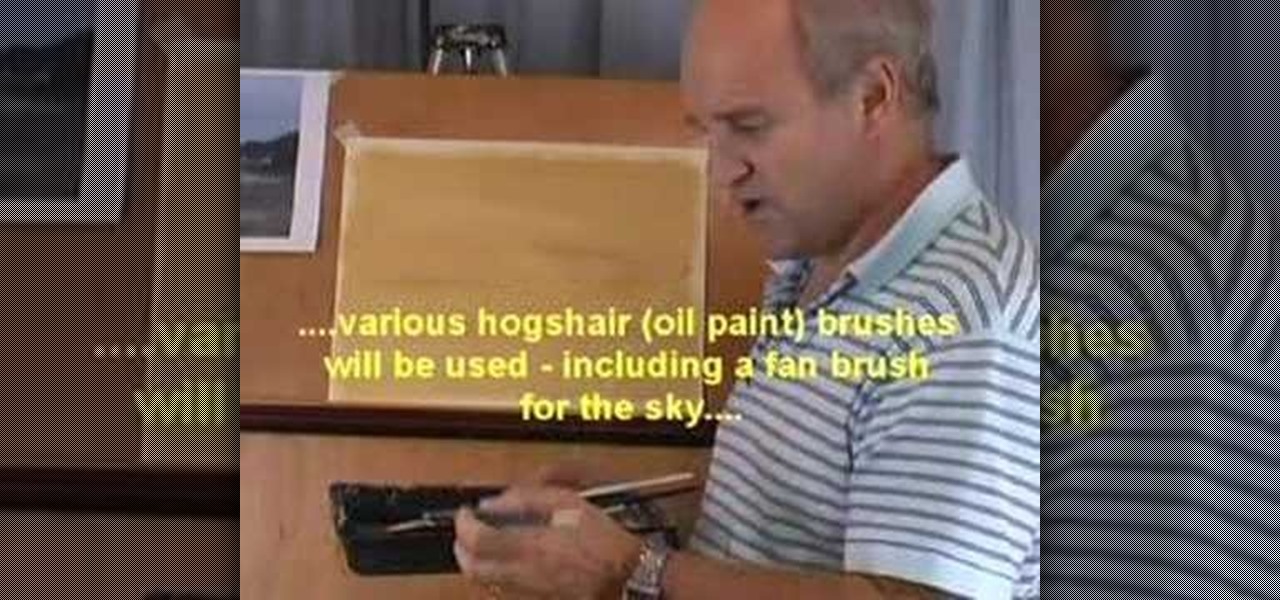
Part 1 of a three part video showing how to paint a tranquil harbourside scene in acrylics. Part 1 deals with the composition and tonal values. Part 2 continues by adding the base colours and developing aerial perspective. Part 3 concludes with the details and highlights.
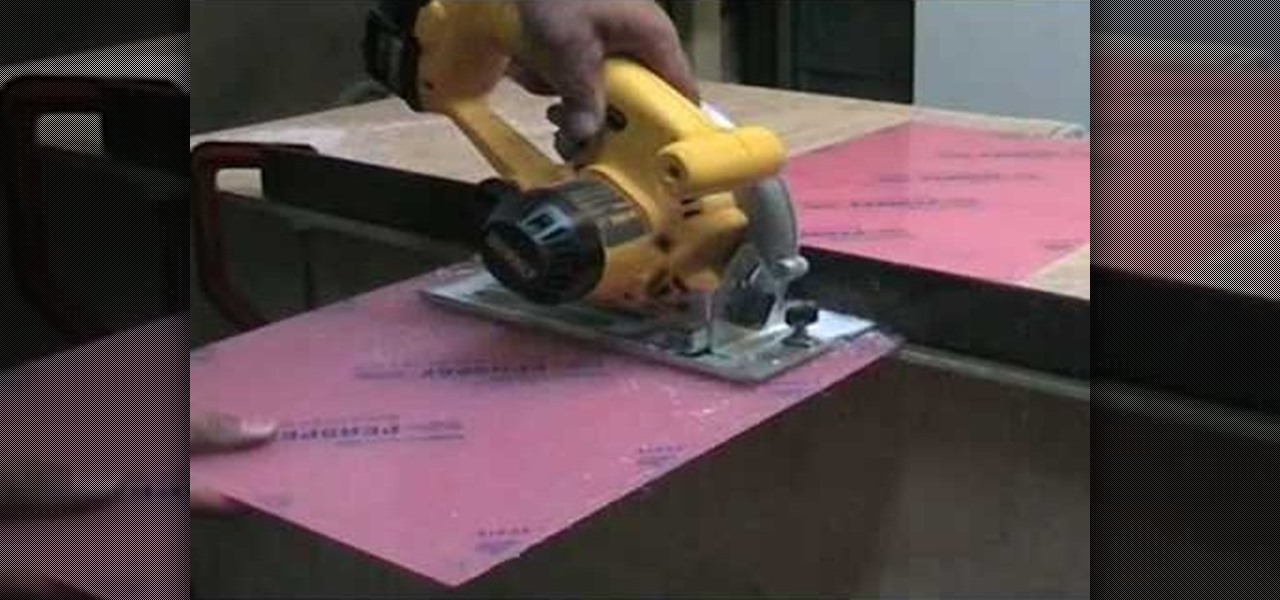
Wondering how to cut Perspex (or acrylic glass) easily? When cutting Perspex at home, you're more or less limited to using circular saws and jigsaws. For cutting straight lines, the circular law works best; for curvy lines, you'll want to use your jigsaw. For more information, including step-by-step instructions on cutting your own acrylic sheet, watch this DIY home tutorial.
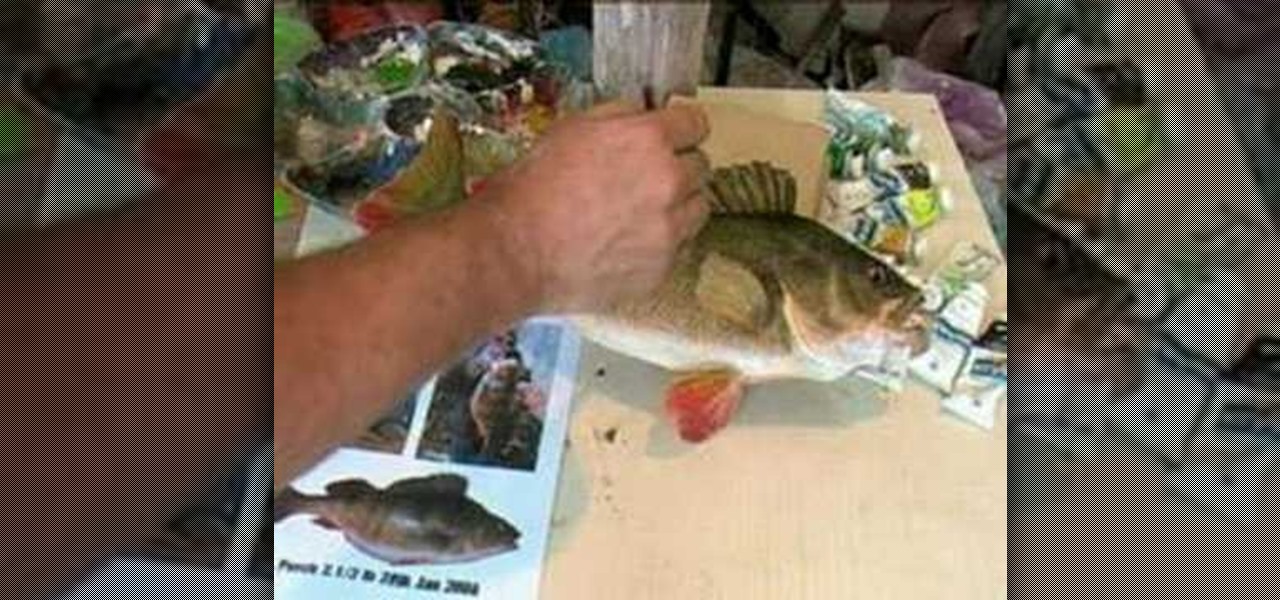
The colors on a dead fish can get a bit dull, but a little bit of acrylic paint will add a life-like vibrancy to the stuffed taxidermy mount. The demonstrator walks through the steps of adding fresh and realistic color to a perch mount with the help of some paint. Watch this video taxidermy tutorial and learn how to paint a stuffed perch with acrylic paints.
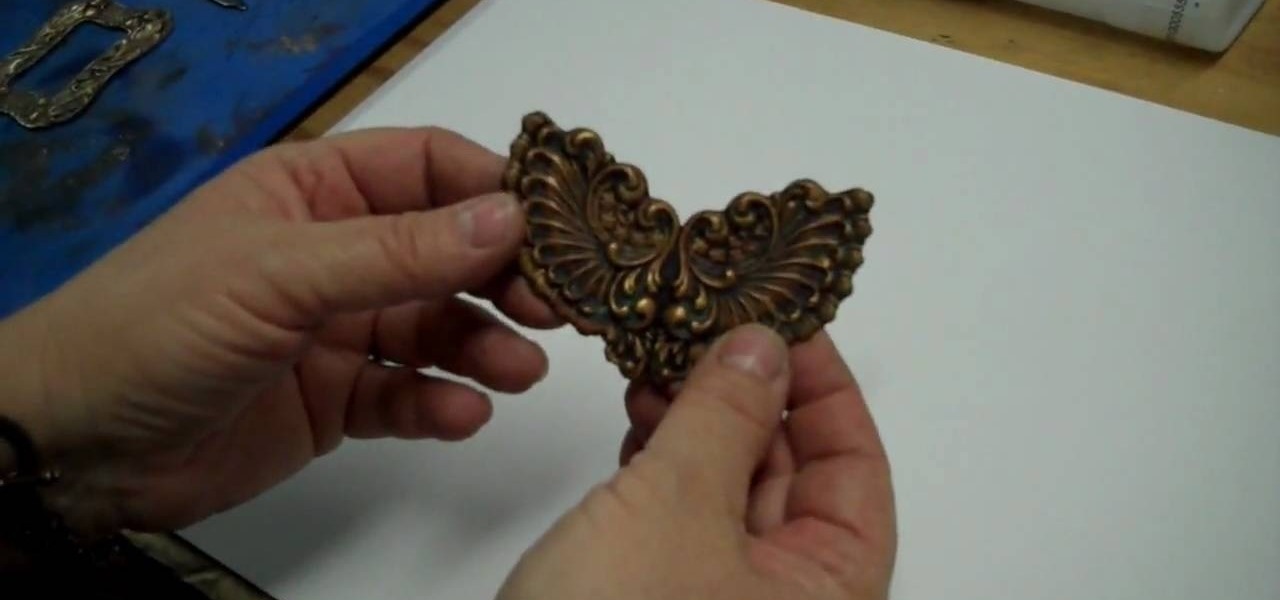
Adding a patina to brass stampings is what gives it an aged, beautifully vintage look. If you've never worked with patinas before, then check out this jewelry crafting video to learn about how to use different types of patinas - including resin and acrylic paint - to make a flower you can attach to a pin to make into a brooch.
If you consider yourself a "laser" man, then you probably know all about front-surface mirrors. But do you know how to make an FS mirror? This video from AP Digital light will show you how to make cheap first surface mirrors.
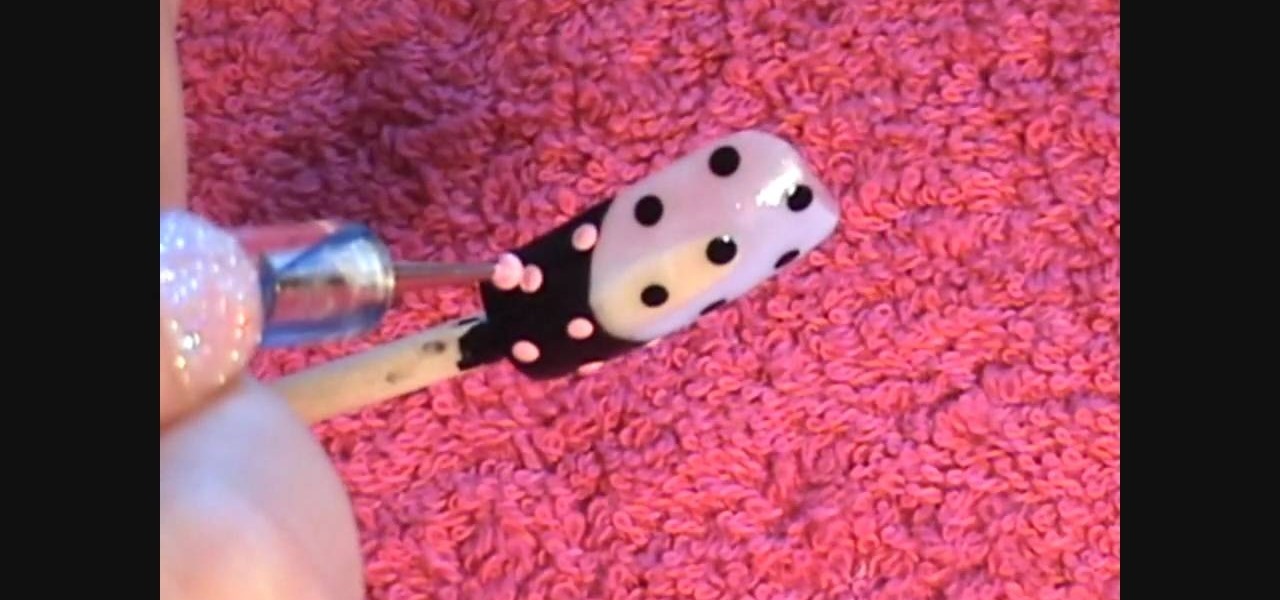
In this Beauty & Style video tutorial you will learn how to create cute polka dot acrylic nails. For this you will need acrylic paint and acrylic nails. First paint the lower part of the nail with black paint in a curved manner. Then you put three black polka dots in the unpainted area along the centerline of the nail. Now put two more black dots on either edges of the nail. Then you put light pink dots over the painted area in line with the black dots. Paint the smile line and the bow with l...
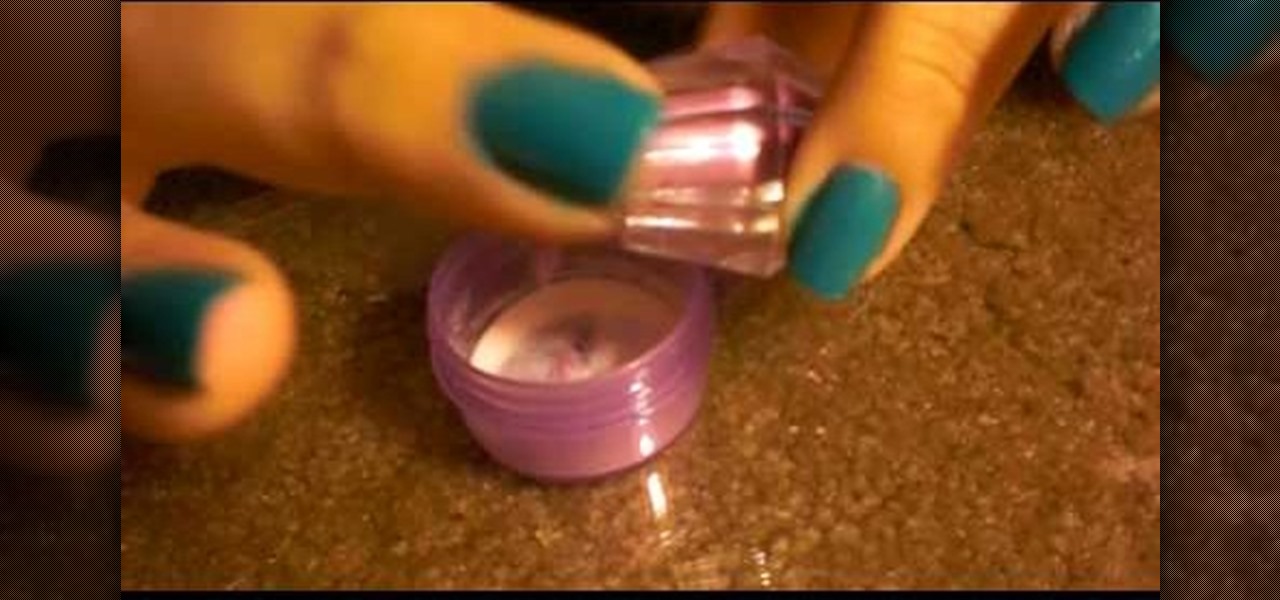
Alwaysnforever559 teaches viewers how they can make their own color acrylic for nails! First, you will need a container, a clear powder (Acrylic) and an eyeshadow color that you will like for your nails. Pour in the acrylic clear powder in the container and pour the same amount of your simmer or eyeshadow color into the container. Close this container and shake the ingredients to mix them up. Now, your powder should be a mix of the white and the eyeshadow color you put in. First, get your bru...
In this video, the instructor shows us how to remove acrylic nails quickly and easily. First, remove some of the acrylic using a professional nail tool, you can find this online or at a beauty supply store. Next, take a big bowl of warm water and a small bowl of pure acetone. Soak your nail in each of these for a few minutes. After this, you should be able to gently push the acrylic nail off while it is still wet. Once you have removed the acrylic, brush your nail with cuticle oil to help pre...
In this video, we learn how to remove acrylic nails easily! First, you can cut down the acrylic nails using fingernail clippers if you want to keep your natural nails the same length. Next, take a drill or buffer to remove the shine from the acrylic. After this, put acetone on a cotton pad and place on nail, then wrap the nail in foil. Repeat this for all nails then leave on for one hour. Next, you should be able to easily remove the acrylic. Make sure you buff off any excess material then ap...
Got an old pair of Nikes or other sneakers lying around? Learn how to customize your shoes and paint your own designs and graphics on them. You'll need acetone to treat the sneakers and water-based acrylic paint.
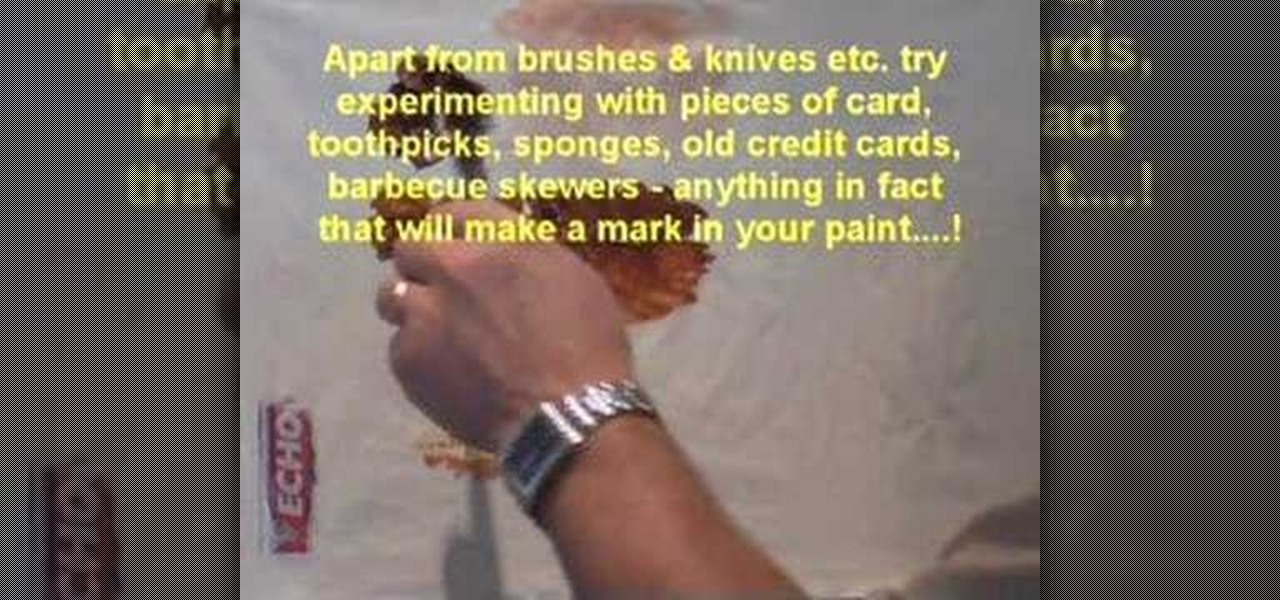
Check out this video to learn how to paint in acrylic paints. This video with Bob Davies is an introduction to acrylic painting.
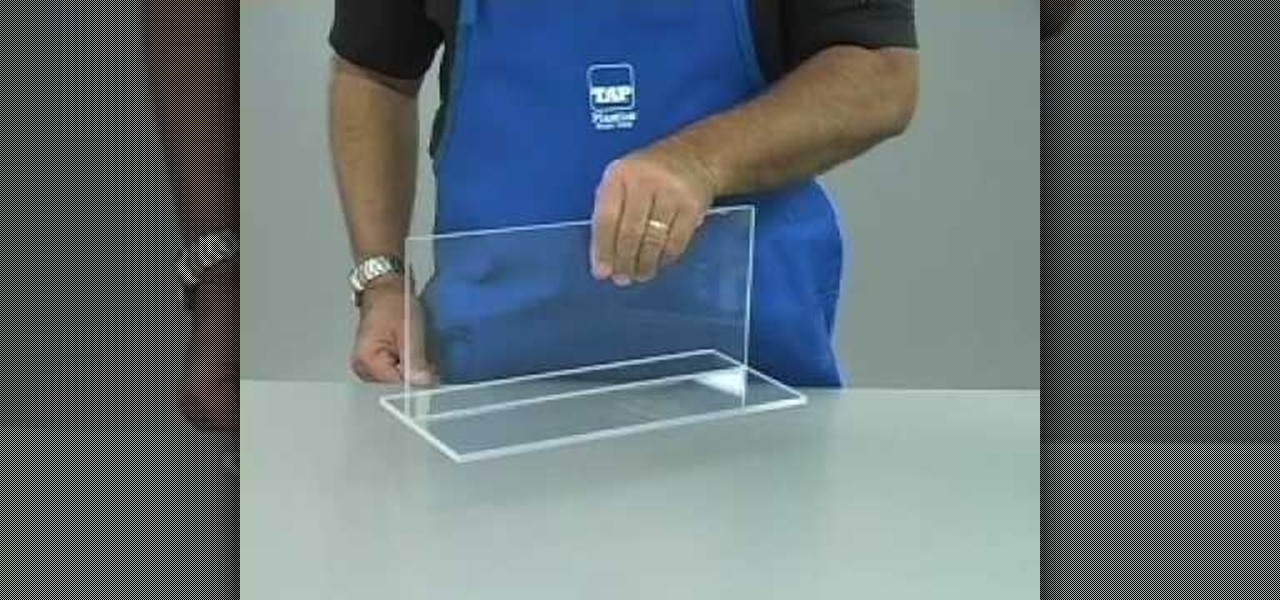
This video segment will show you the basics of gluing acrylic. The concepts shown here also apply to other plastics with gluing properties similar to acrylic.

Demonstration of Helen's unique acrylic pouring technique. This technique comes to life when the acrylic paint is mixed with water and, literally, poured onto the canvas, creating free-flowing shapes and forms.

This video shows you how to remove acrylic nails using a nail tip. It takes a long time to soak the nails in acetone to remove them, and this method is quicker. To do it, slide one of the corners under any part of the tip. Force it in and slide it over across the nail and you will be able to see the acrylic nail lift up. Gently work on it to pull the nail off. It might hurt a little bit. The nail will look kind of rough, so you'll have to file it, and use some nail strengthener. Nail technici...

How to remove acrylic nails with a soak

First, prep the nails. Apply the white tips to the end of your nail. Use a nail clipper to clip the edges and a nail file to round the edges so they are not pointy. Next, apply primer to the bed of the nail. Then apply white acrylic with a brush to the tips that you put on earlier. Use the brush to make sure it fits the shape you want. Next, apply nail polish on the nail bed until it is the same height as the acrylic. File the edges down again if needed. Coat with transparent pink mix (a mixt...
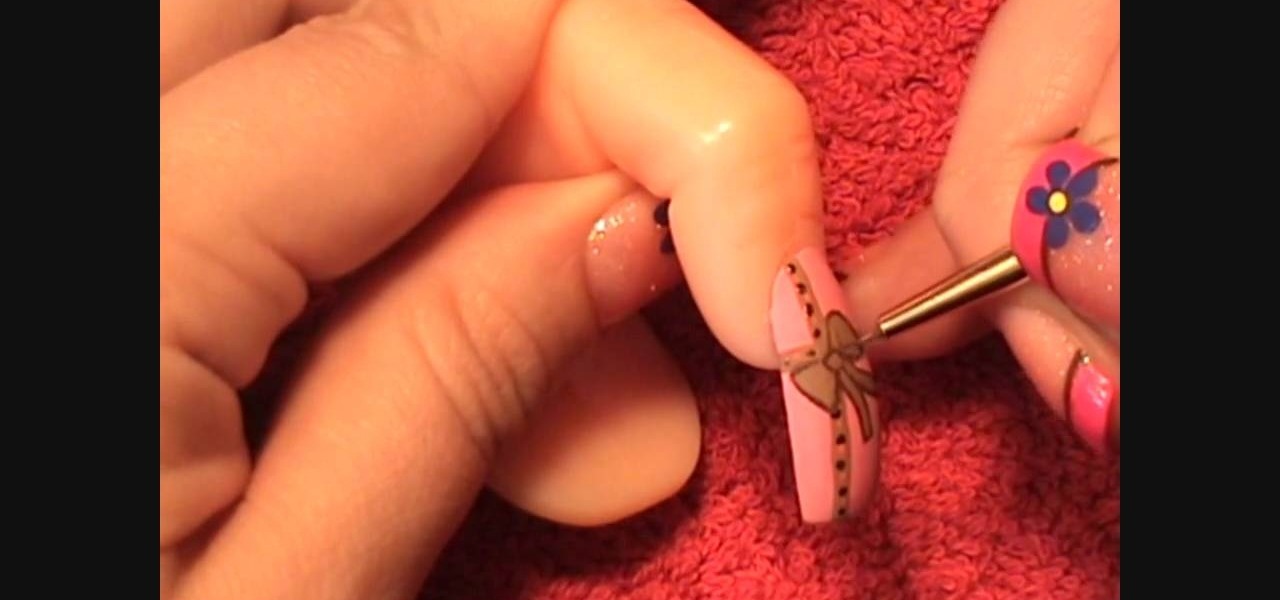
First, apply base coat to your nails. Then apply 2 coats of pink bubble gum acrylic paint to the nails. Then use a thin brush to draw an off centered cross on the nail with caramel candy acrylic paint. Using a dotting tool, apply hot pink and metallic antique copper acrylic paint in alternating dots along the cross. Then use the caramel candy color again and make a bow in the center of the cross and outline it with brown oxide paint. Let the paint dry and then apply a coat of base coat to sea...
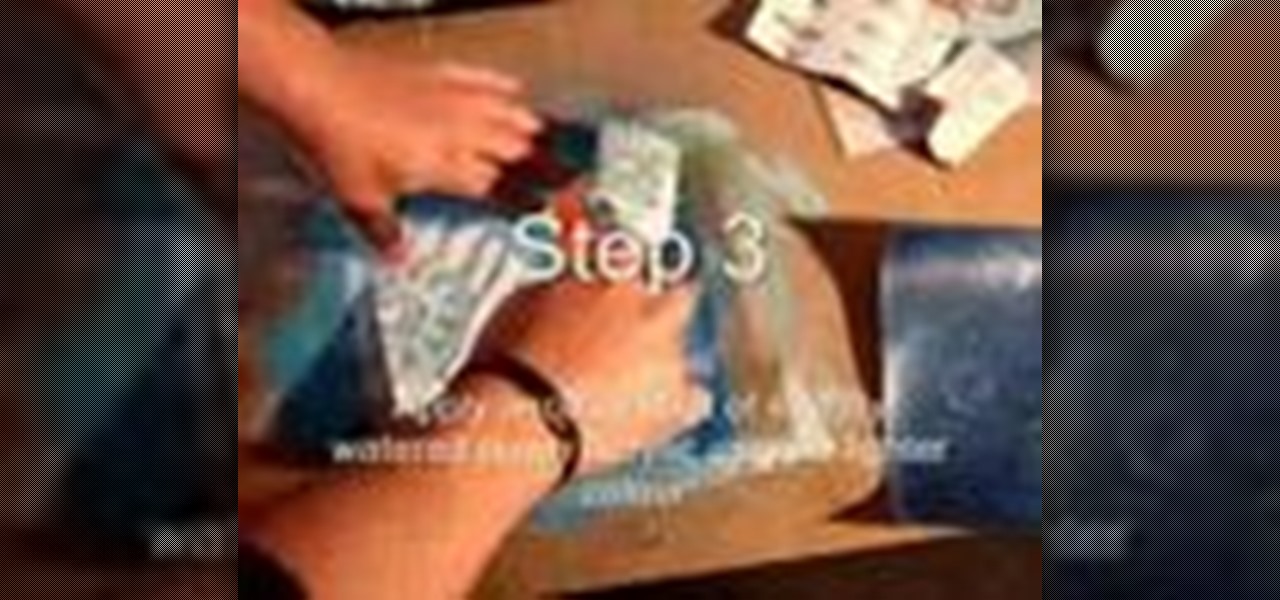
This instructional video demonstrates how to paint, collage and stencil using a layering technique. Experiment with as many layers as you want. Make sure each layer is completely dry before beginning the next layer.
Need a smooth, polished, and glossy surfaced piece of acrylic for your next project? Then check out this video for a handy guide on how to sand, cut, and polish Perspex, a type of acrylic, for a high-gloss finish. Perspex is thick and difficult to work with, but this video will give you tips for a professional look.
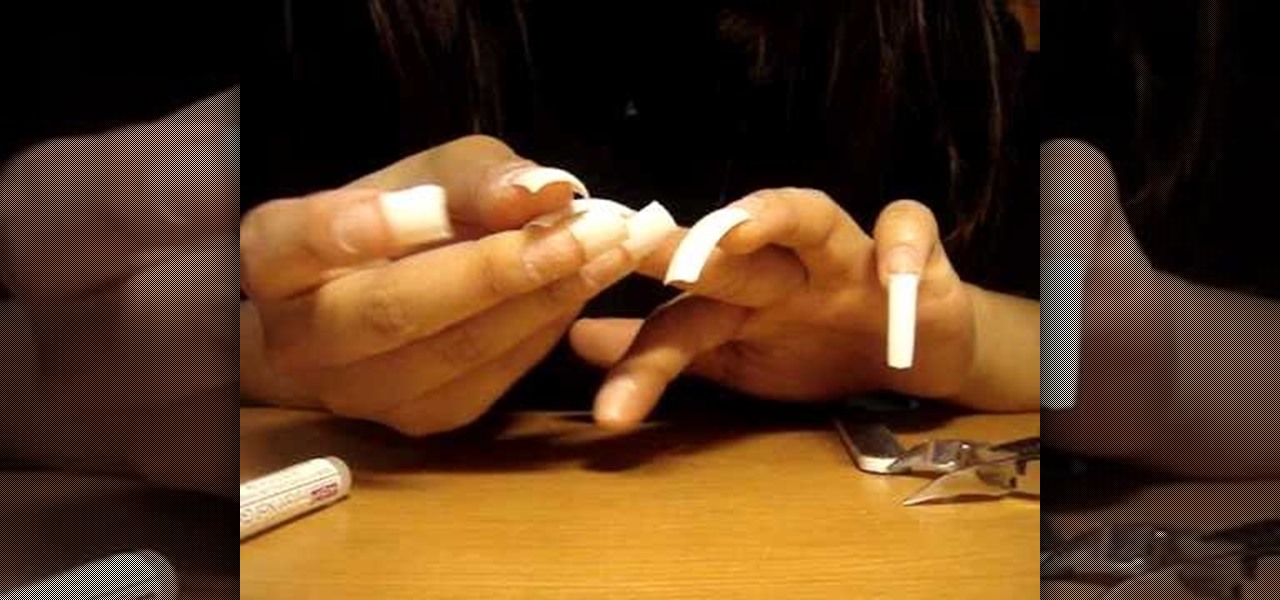
If you're a fan of some nail looks, but can't grow the nails required for them, consider doing acrylic nails. With a few tools, you can create great nail looks at home! Watch this video and follow along with Hanh as she shows you how you, too, can do this as easily as pie.
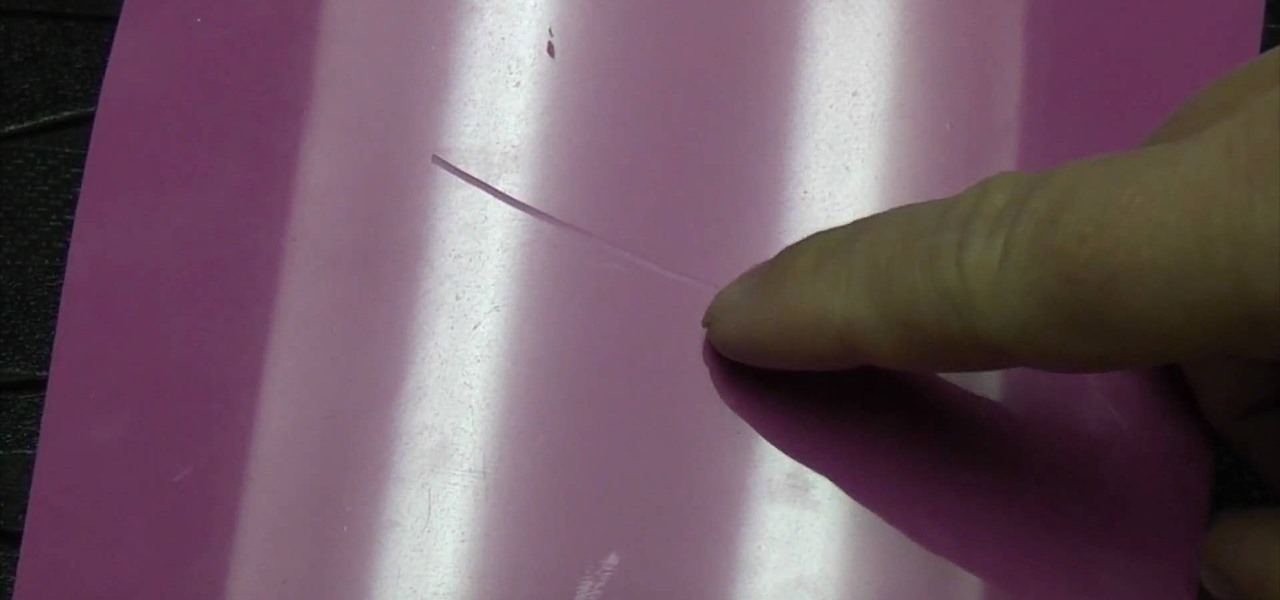
To remove the scratch in acrylic you need to first use Silicon Carbide water proof paper of 600CW grade. Turn over the paper and rub the scratched area of acrylic in a circular motion. You will see the scratch disappears after few minutes. Thereafter use the Silicon Carbide water proof paper of 1200CW grade which is more fine. Again rub over the scratched area in circular motion. Then wipe off the area and you can see after some time of rubbing the scratch is completely disappeared. But it le...
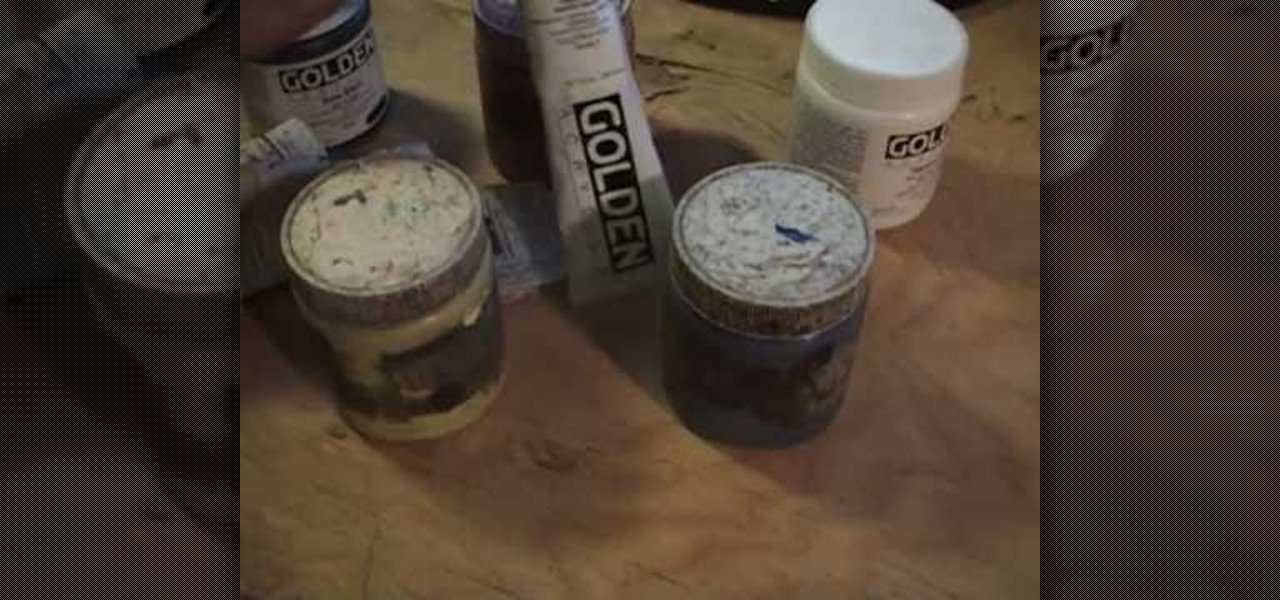
This introduction to acrylic painting will help you decide what paints you need to get started. Cy Porter of Solomation.com gives seasoned advice on thich acrylic paints to choose.
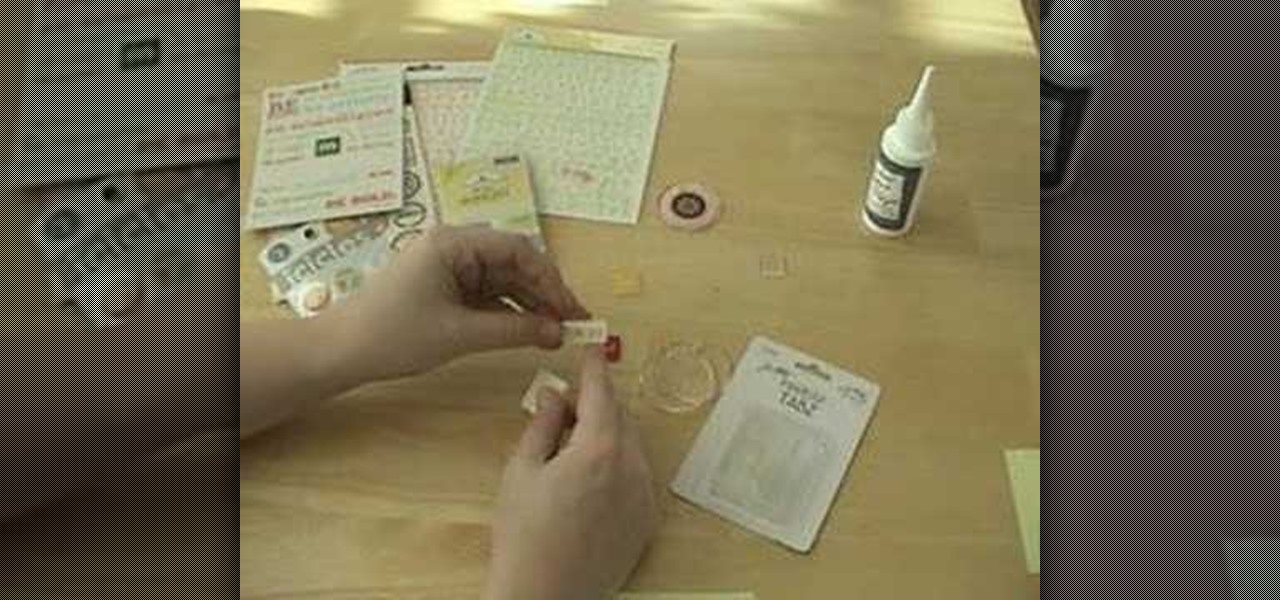
Have you ever been in the middle of making a layout and wanted an acrylic embellishment but couldn't find the right saying or color? We're here to keep you from ever having that problem again! In this quick video learn how to take clear acrylic pieces and turn them into the cute designer pieces you find at the store. This video has tips and techniques to use in scrapbooking.
Tim Carter demonstrates why acrylic house paint is one to consider for your home. Tim points out how the painting process is and should be the cheapest part of home remodleing, but if you use the wrong paint you will be repainting too soon. The video uses an exterior house paint which contains both urethane and acrylic polymers.
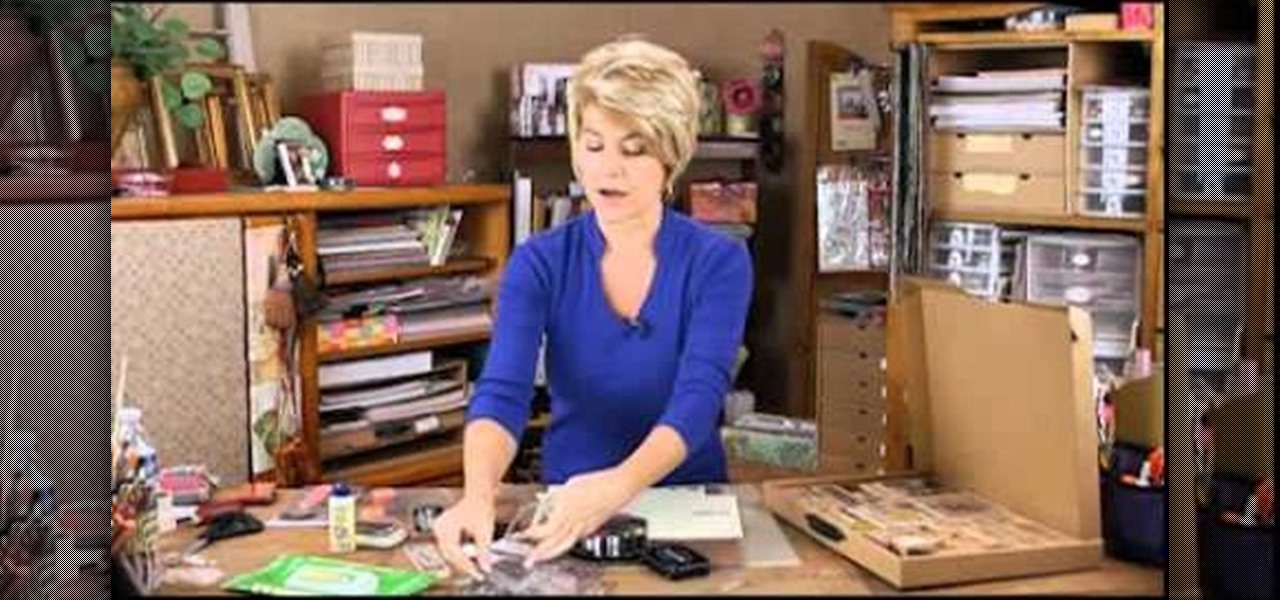
There are so many choices at the craft stores when you go to buy some new stamps! Do you get wood or acrylic? How do you choose the best one? This video shows you everything you'll ever need to know when it comes to stamp types.
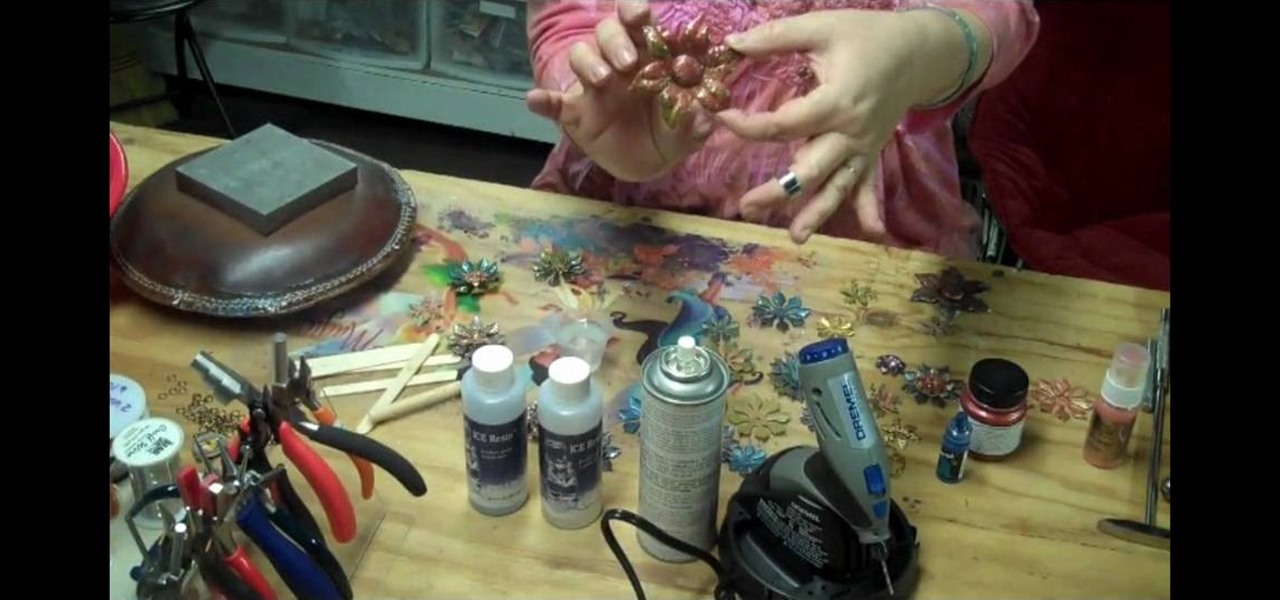
If you enjoy creating vintage inspired jewelry, then there's no way you can get around not using brass stampings. Already infused with a rusty colored hue, they're very antique-looking and their colors can be altered. Check out this jewelry crafting video to learn how to color vintage flower brass stampings using materials including acrylic paint and resin.
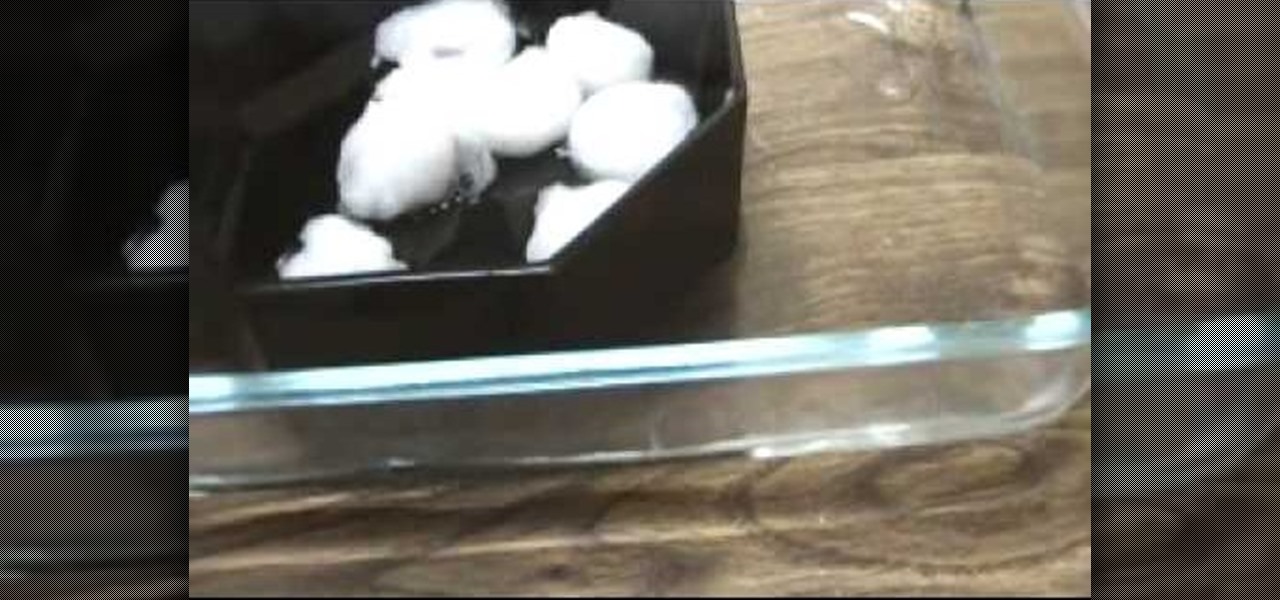
In this tutorial, we learn how to remove acrylic and gel nails. First, fill a large dish with warm water, large enough to fit a small glass bowl inside. After this, fill the small glass dish with pure acetone. From here, place the bowl inside the large dish and then add in several cotton balls to this. From here, you will place the cotton balls on your nails and then cover them with foil wrappers. Leave these on your nails for around 1 hour and then check on them to see if the acrylic nail is...

In this tutorial, we learn how to scribe break an acrylic sheet. You just need a Stanley knife and a straight edge to do this to any acrylic sheet. First, put some gloves on and safety glasses. From here, level out the area you want to cut on your sheet, then clamp the angle while laying down. Next, use your knife to cut along the edge, going over the same spot several times. Press down hard to ensure it's completely cut. To finish, all you have to do is to bend the excess piece down and it s...
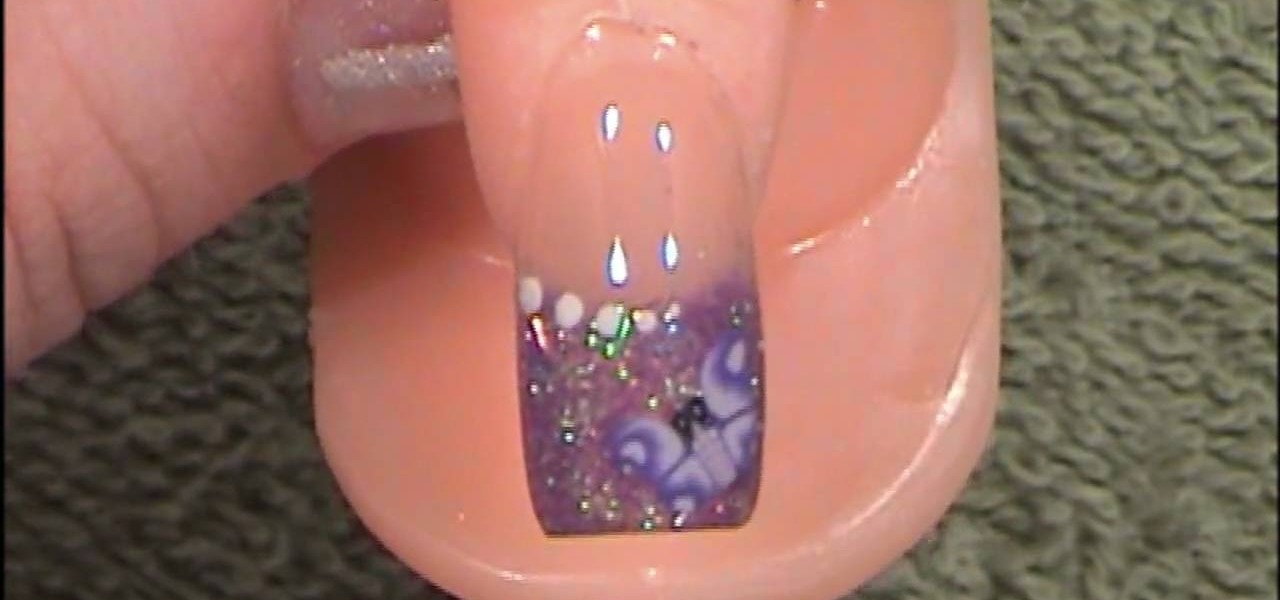
In this tutorial, we learn how to create purple glitter with butterflies acrylic nails. To start, you will apply purple glitter acrylic to the top of the nail. After this, you will let the nail polish dry and then paint on four dots on the middle of the nail where it crosses into the clear part of the nail on the bottom. After this, paint on a butterfly to the corner of the nail or apply a butterfly applique. When this is finished adhering, you will be able to paint on the clear gloss to the ...
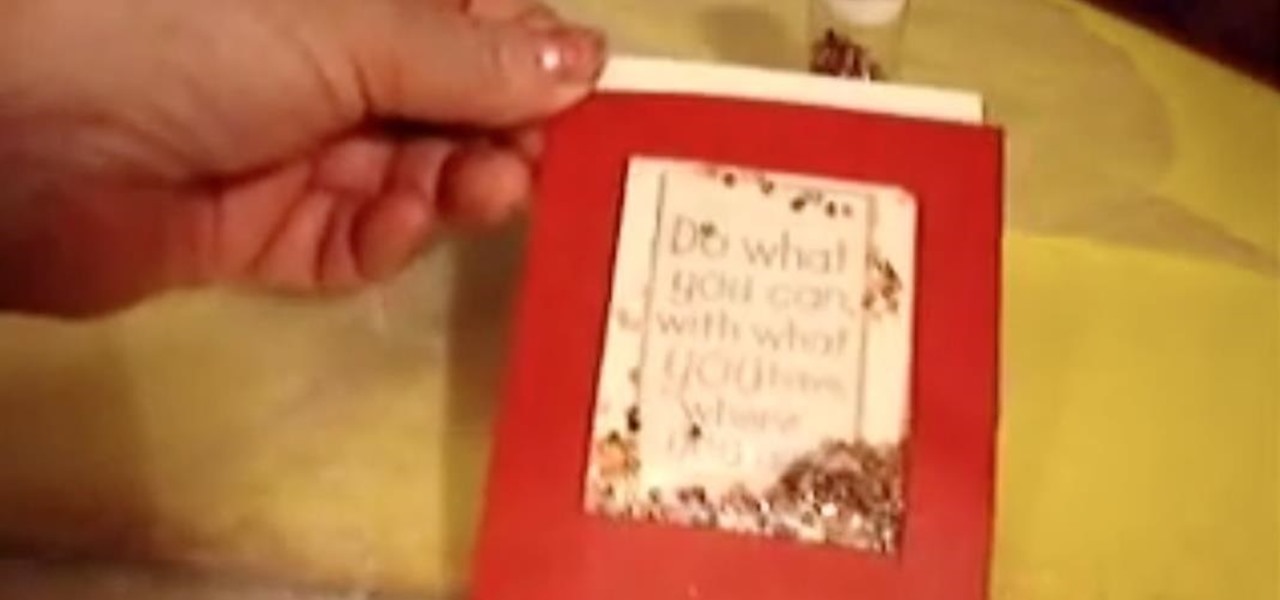
In this tutorial, we learn how to make a scrapbook shaker box at home. You will need: square card stock shape, another square card stock shape with a hole in the middle, and a piece of acrylic. First, place the acrylic along the piece of card stock with a hole on it and glue them down together on all four sides. Next, attach a journal entry to the center of the other card stock square. Now, line adhesive to the acrylic piece on three sides and stick the card stock to the adhesive. You can now...
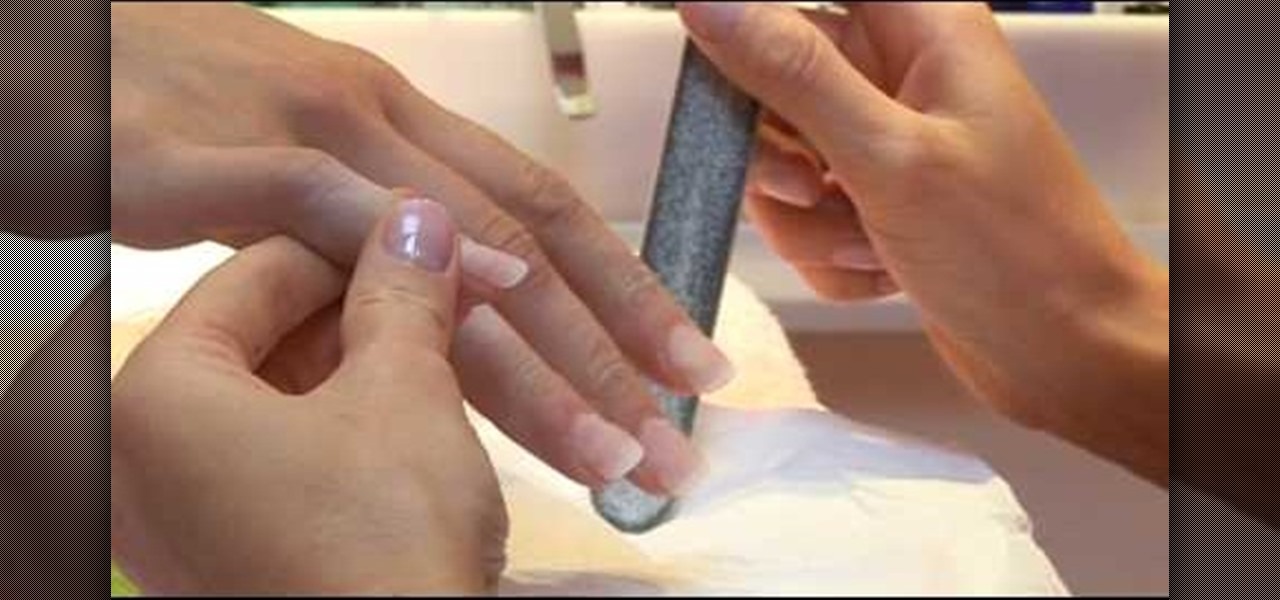
Acrylic nails make your talons look beautiful, long, and slender...until you rip them off, along with part of your own nail.
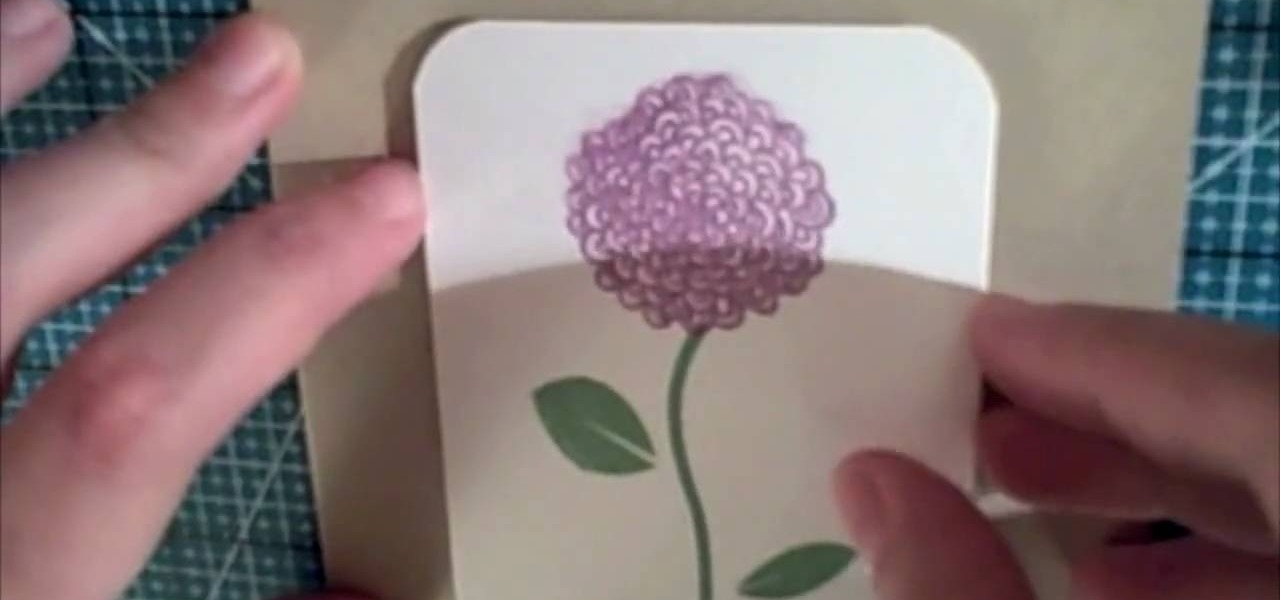
In this Arts & Crafts video tutorial you will learn how to use clear stamps & make a card. You will need acrylic stamps for this project. The products used in the video are from papertrayink.com. The stamps are clear and have a sticky back with which you can attach them to an acrylic base to make the stamp block. Then ink the stamp and stamp it on the paper. Since, it is clear, you can ass and align it properly on the paper. The other cool thing about acrylic stamps is that you can take more ...
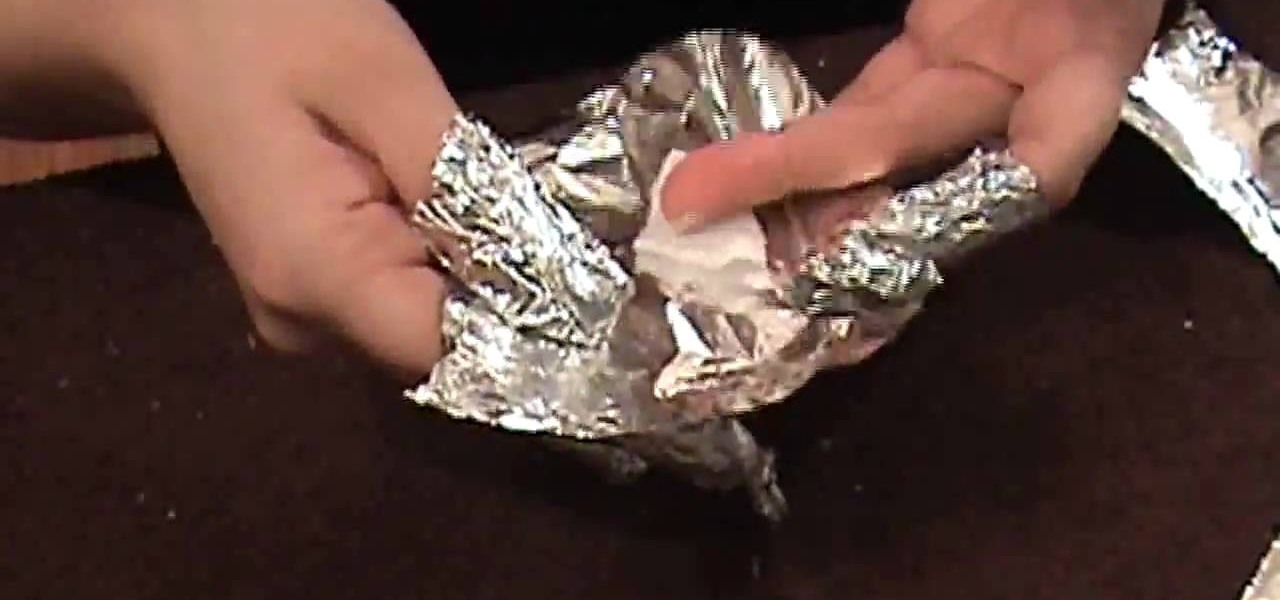
The first step in removing acrylic from nails is to cut nails down with clippers. Next file off gel sealer and seventy percent of acrylic with file or nail dimmer. The demonstrator then cut ten squares of foil, one for each nail. After the foil is completed cut cotton rounds into four pieces. You will only need two and a half cotton rounds. Using one hundred percent acetone saturate each cotton piece that you cut. Place saturated cotton pieces on each finger and then wrap securely with foil. ...
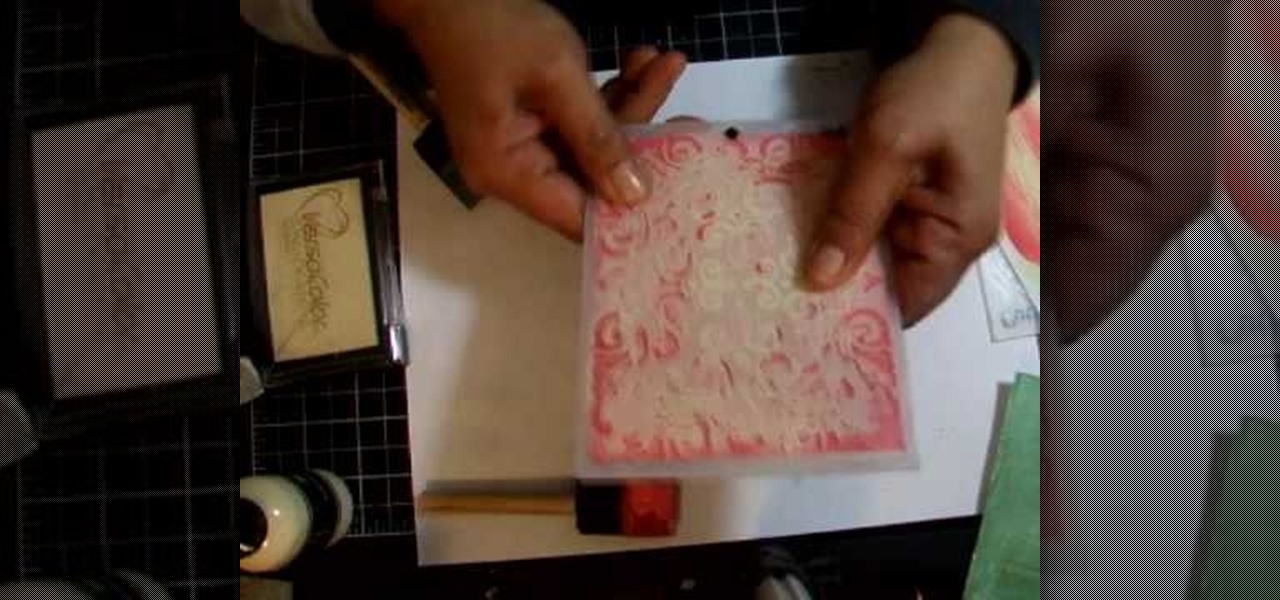
This video discusses how to emboss using acrylic paints, like faux plastic.
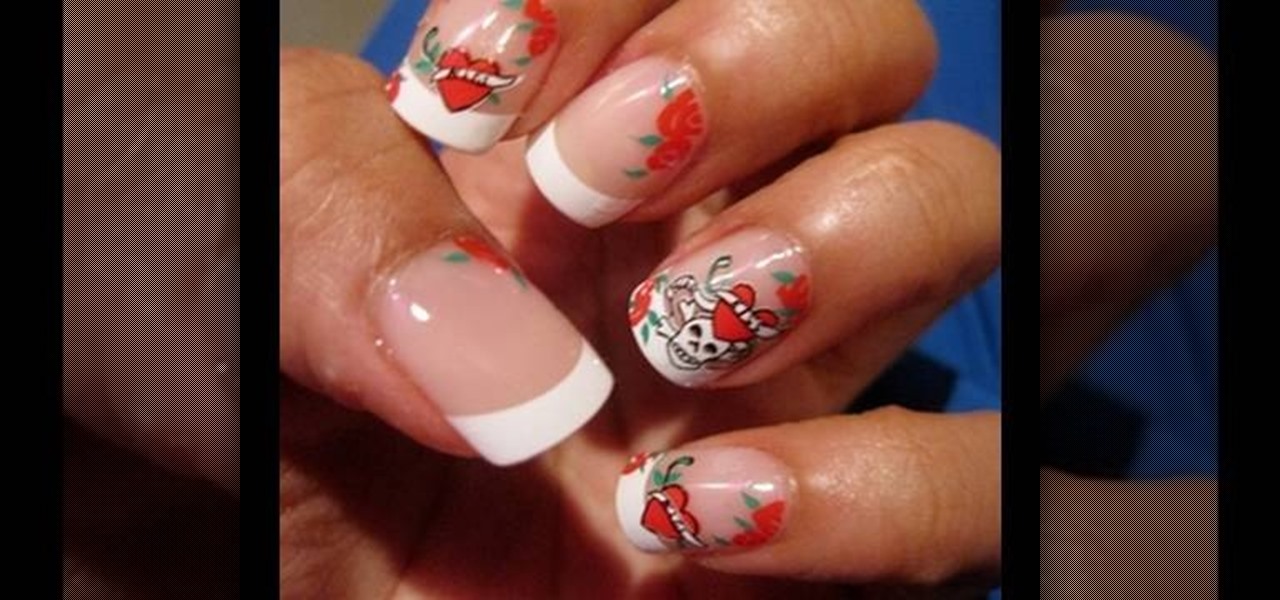
If you want to add interest to your nails, follow the steps in this video tutorial from Broadway Fashion Diva Nails. It shows you how to apply acrylic skulls, crossbones, and roses nails. The first step before application is to select nails that fit each of your fingers of one hand. Then, lay the nails out so that they are ready for application. Using pink gel glue, begin with your pinky finger. Utilize the tab to have control of the acrylic nail without actually holding the nail and getting ...
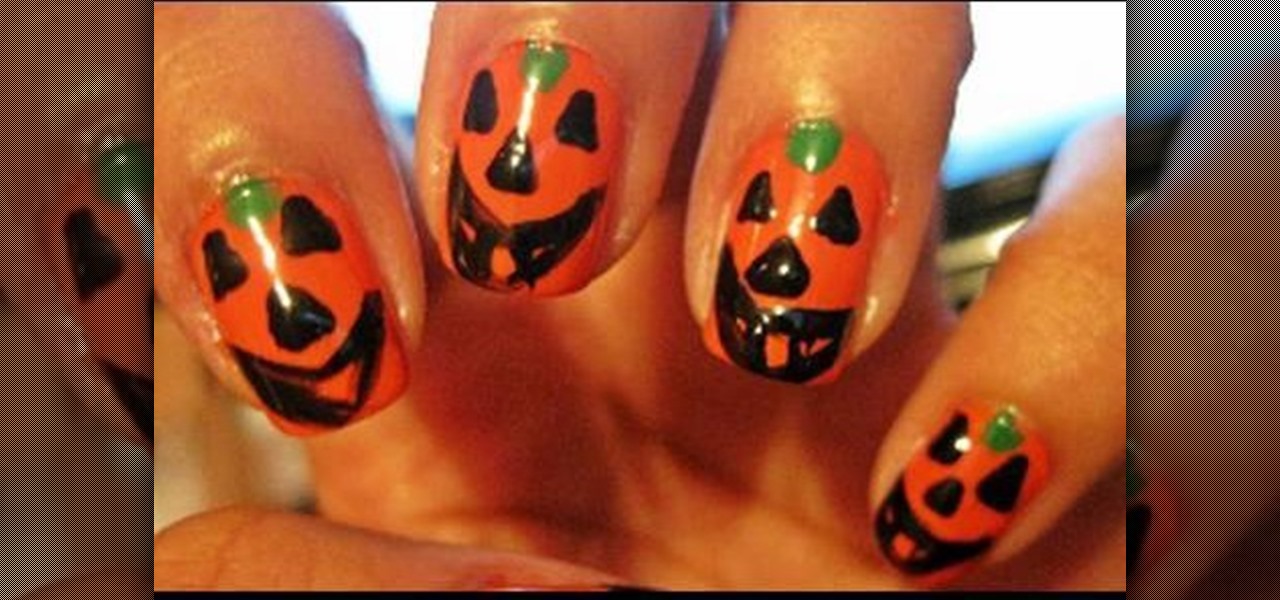
Begin by painting your full nails orange. Any orange will work for this design; just keep in mind that more than one coat of nail polish may be needed to get a bold and opaque shade. I did two coats of orange to get the coverage shown in the photograph.