
How To: Build three homemade toys
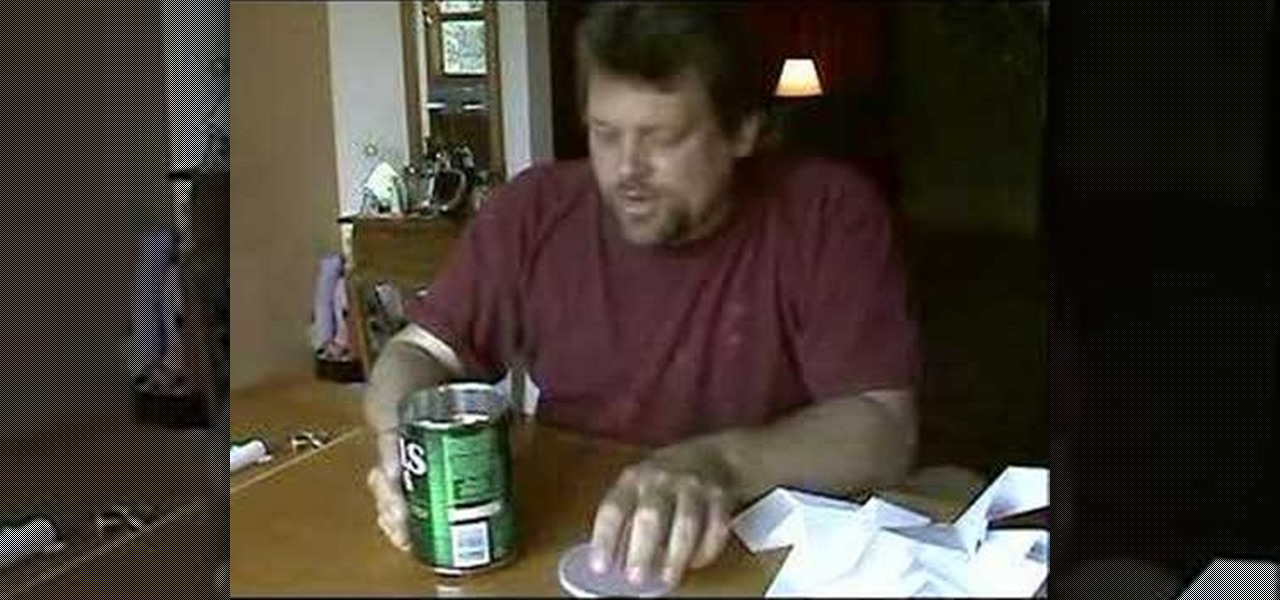
Mr.G shows you three simple kids toys you can make from items found at home - a paper airplane, a spool tractor, and a returning can.

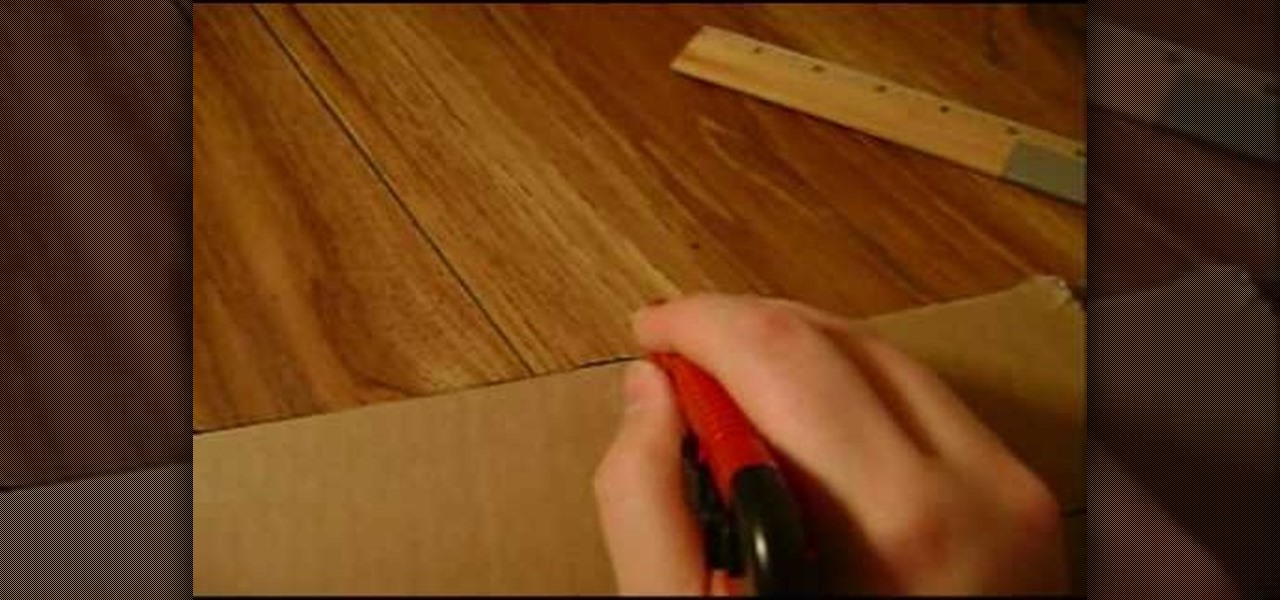
Mr.G shows you three simple kids toys you can make from items found at home - a paper airplane, a spool tractor, and a returning can.
In this clip, learn how to create a nail look inspired by Jessie from Toy Story 3. This cute cowgirl provides the perfect basis for a rockin' nail style. Follow along and design this adorable manicure to celebrate the release of Toy Story 3.
This five part series shows you everything you need to do build a mousetrap from beginning to end. An extensive, and thorough explanation on building this fun and classic toy. This is a great tutorial for the entire family to enjoy. It's also fun to build your own toy from you own hands on a budget and using things you can find right in your home.
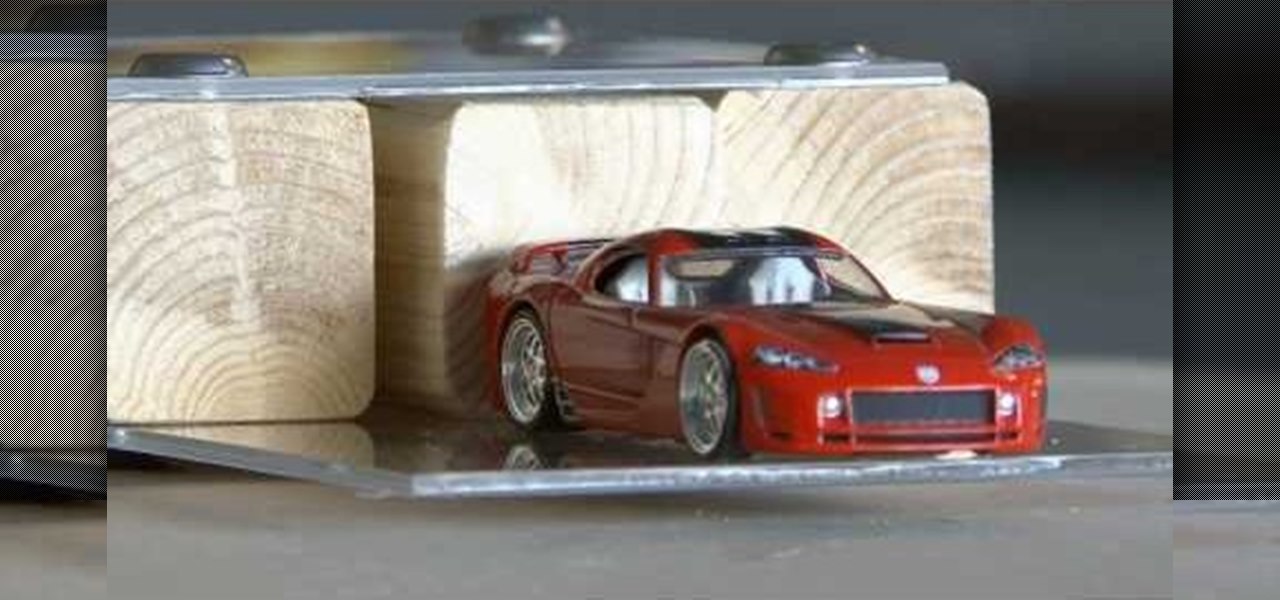
What is it about boys and toy cars? Speed, motors, and lots of fun! In this video, Kipkay shows us how to make a mini toy car launcher that is powered by rubber bands. Make sure an adult supervises this project, as power drills are required. Once it's completed, your kid will have a blast with his or her Hot Wheels and some rubber bands. Don't forget to download the PDF of the project before you start.
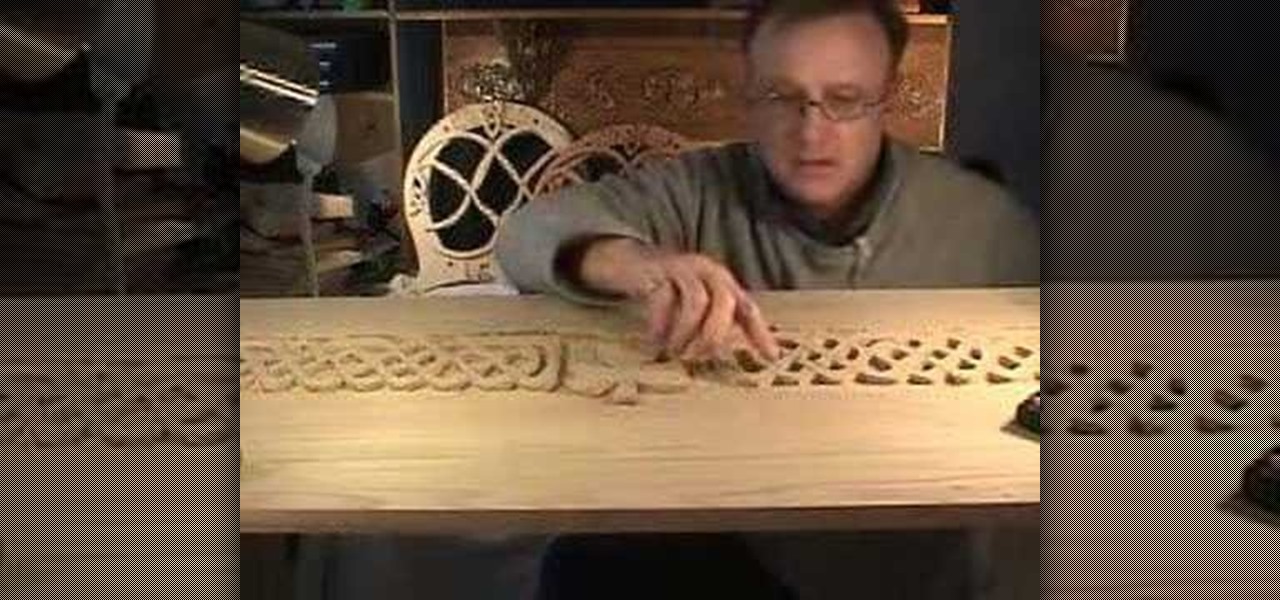
Celebrate your Irish heritage, or just bring some beauty to your home with this Celtic chest, that's great for storing anything from linens to toys. You will need to have the cedar chest already made, a carving tool, and a pattern. Watch this video woodworking tutorial and learn how to carve an Irish Celtic toy chest.

Today's smartphones and tablets offer a great way for children to learn through interactive sight, sound, and touch, but they can also provide hours of genuine fun. If you have a spare tablet laying around—or at least a nice, durable case—the only thing you need to get your child started in this world of fun and learning is a handful of good apps.

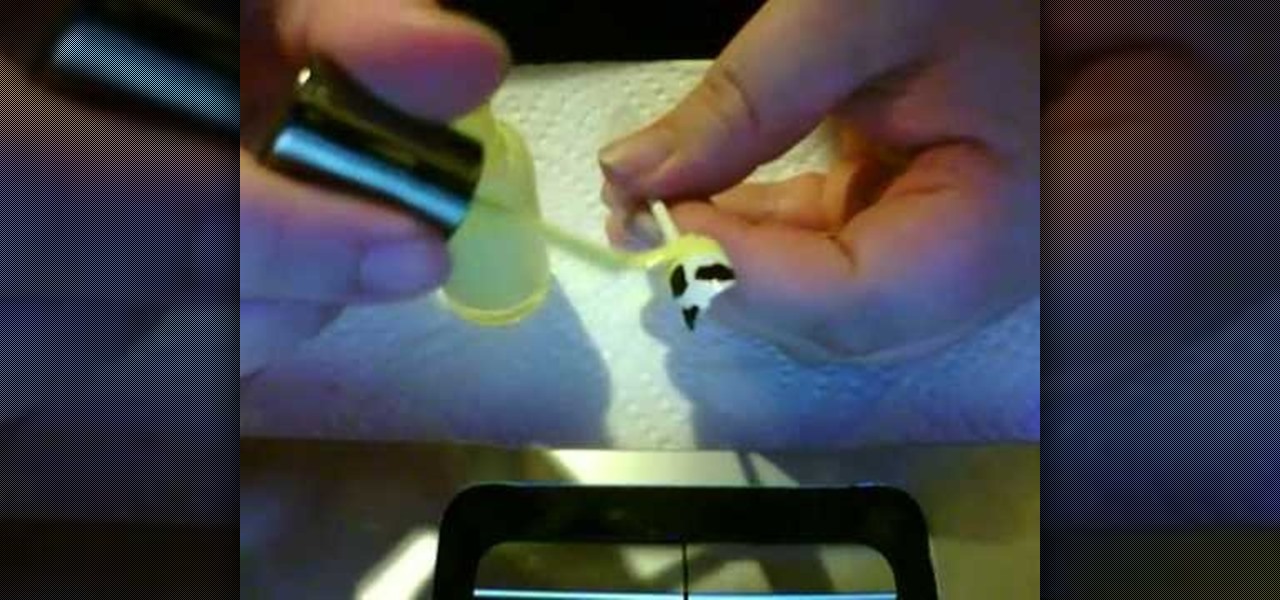
Is your iPhone frozen and stuck on a single screen? Don't worry: In most cases, your iPhone isn't broen. A frozen iPhone seems to be a common problem and thanks to this youngster, fixable. Learn how to fix and turn a frozen iPhone back on with help from these steps.

In his famous 1996 "Content is King" essay, Bill Gates predicted that content is where tech companies will make money on the Internet. The adage clearly holds true in the current phase of augmented reality experience.

According to the National Safety Federation (NSF), pet bowls and toys carry coliform bacteria, including Staph bacteria, yeast, and mold. Additionally, an (unscientific) survey from Petco found that almost one-third of pet owners do not know the extent of contamination that their pet toys contain.
This is a create creation as a toddler toy. My girl loves this toy, she even wanted to take it to bed at night ... Sometimes, some of the most simple toys are some of the most like toys. This toy is cheap and can be completed in 10 minutes at most.

Turn a 'toy' radar gun into the real thing! Cops don't even have one like this! While this is a completely new and different design, the inspiration for this video is from an article by Ken Delahoussaye in MAKE Magazine. Just watch this video tutorial on how to hack a toy radar gun into a real one.
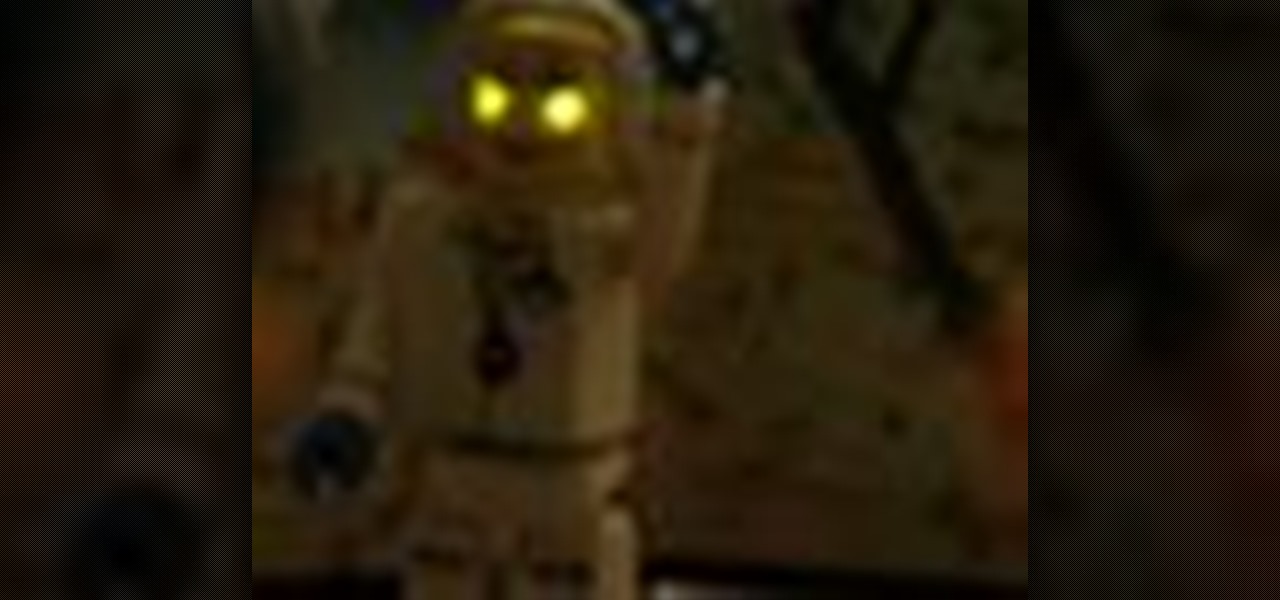
Action figures may be on the way out as mainstream toys, but all your old ones are awesome, we swear. If you don't mind modifying your precious toys a little bit, check out this video to learn how to insert LED lights into plastic action figures and make them light up awesomely.

In this clip, learn how to complete your Toy Story 3 manicure with a Woody finger. In this video, make your fingers look just like Woody with this adorable design.
In this tutorial, learn how to create a nail look inspired by everyone's favorite spaceman, Buzz Lightyear! Buzz is fearless and so is this look. Whether you are decorating for a costume, styling your young daughter's fingers, trying to look like the coolest mom in school or are just super excited for the premiere of Toy Story 3, give this look a shot. Have fun!

Looking to add specimens to your paper menagerie? With this guide, you'll learn how to make a moving paper butterfly toy from a folded sheet of square paper using origami, the traditional art of Japanese paper folding. For more information, including a step-by-step overview of the folding process, as well as to get started making your own colorful paper butterflies, watch this free origami lesson.
This is a great guessing game you can play at any party. You Will Need
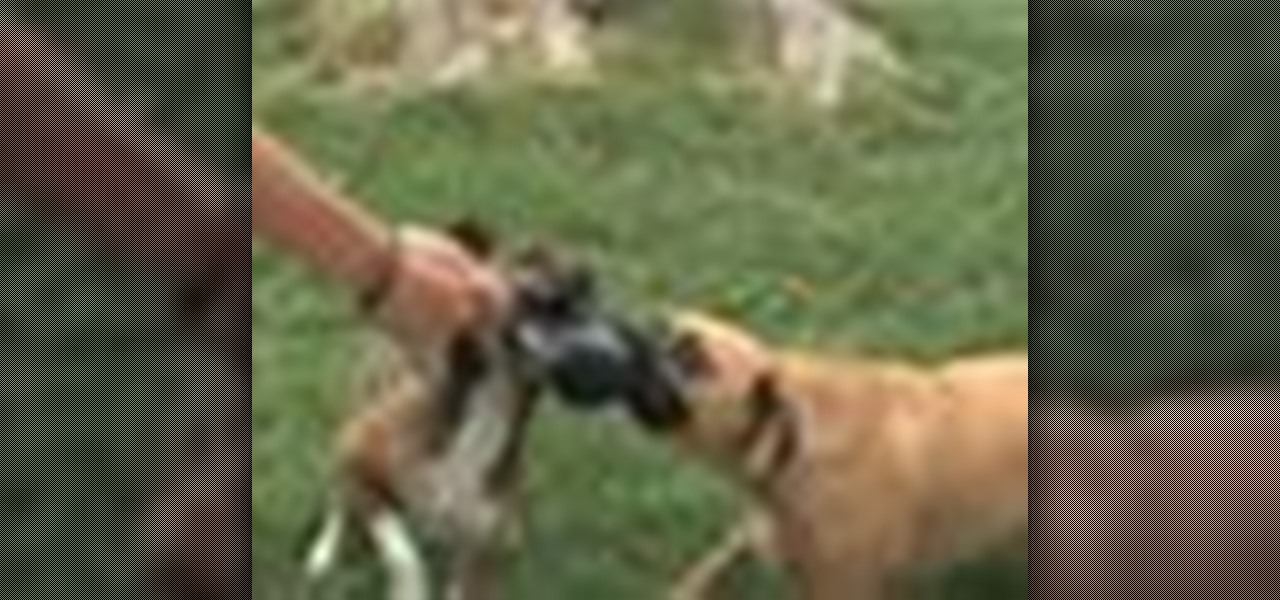
Your dog doesn't care how much you spend on their toys – they just want to play! Here's how to provide some homemade fun.
From housebreaking to traveling, crate training a puppy or dog can have long-term rewards for both owners and pets. This Howcast guide demonstrates how to crate train a dog.

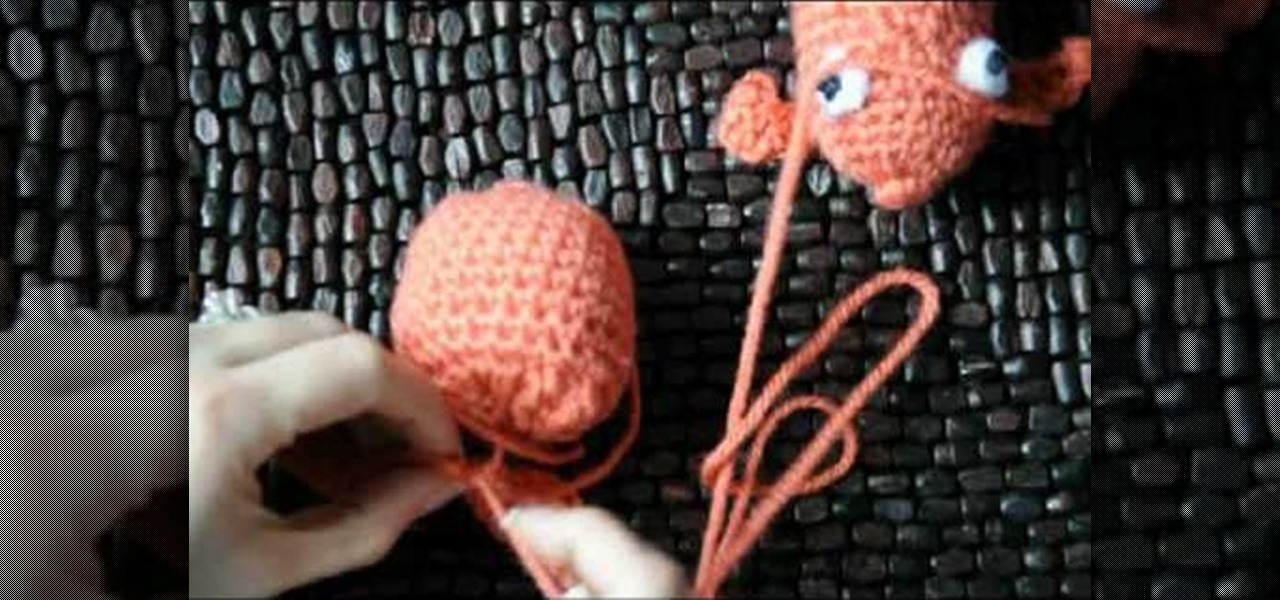
Want to make a cute stuffed animal or doll? Why not crochet an amigurumi toy? Learn how to crochet a tube for an amigurumi arm or leg by watching this video crafting tutorial.

Add even more personal touches to your crocheted items. This how to video is a tutorial on how to add yarn fur to crocheted toy projects. Use a latch hook to add some hair to crocheted animals.

Origami a chicken, stars, an owl, and other easy to make gifts and toys for children.
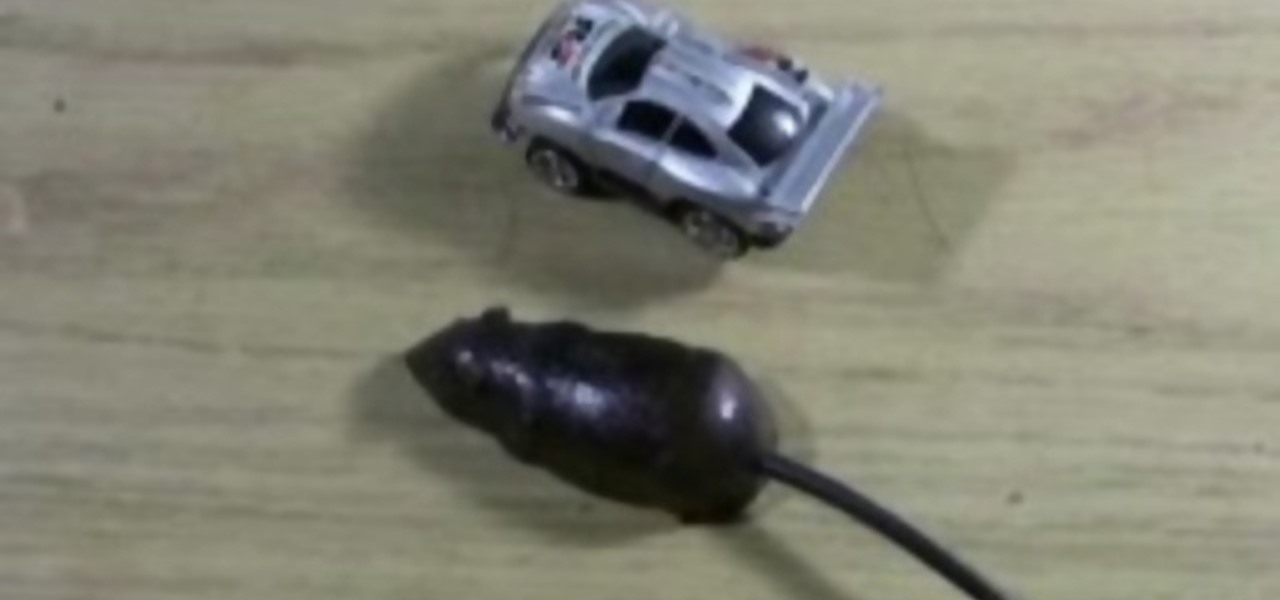
If your cat insists that you do a DIY on how to turn an old mini RC car into a kitty toy that will cause a feline frenzy, check out this video!
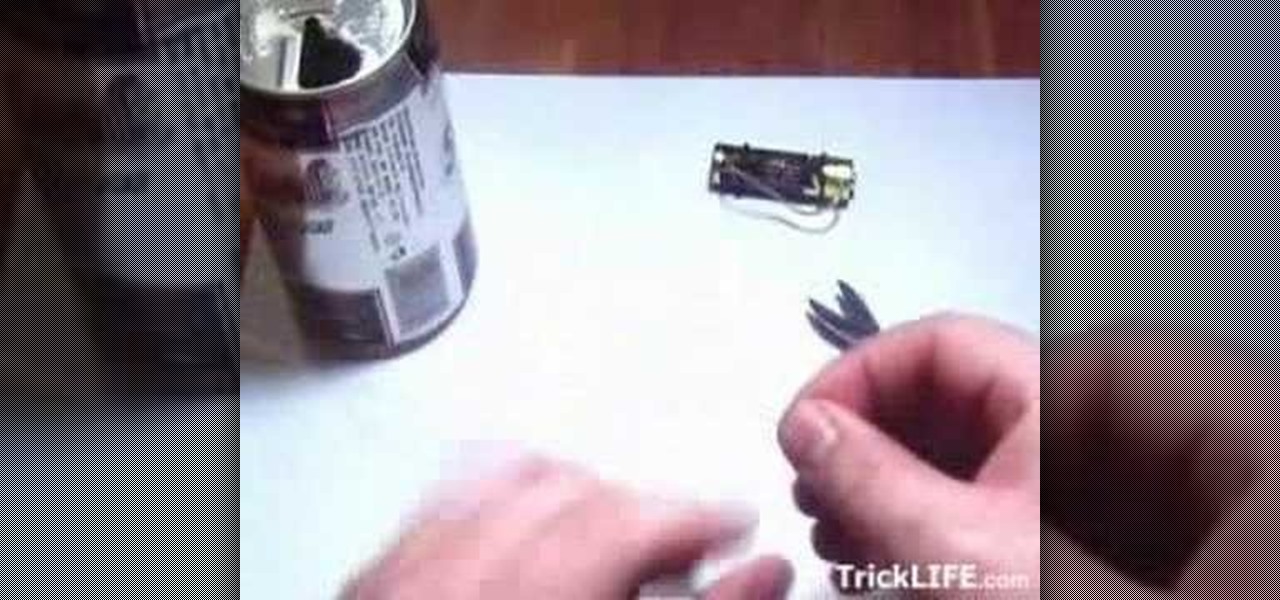
Watch these easy tips on how to make a cool cola can toy. You only need two staples, wire, a band, a AA battery, and a cola can.

Check out this video to learn how to make a toy out of a balloon and wheat.
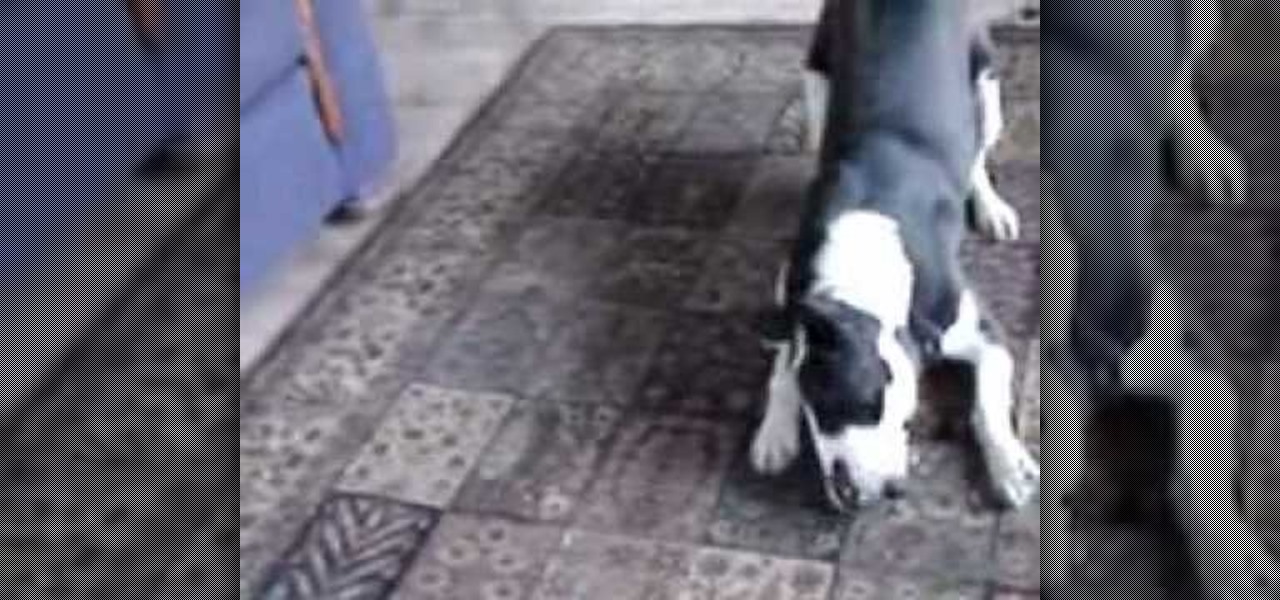
Learn how a small robot-like toy can be an endless supply of fun for a dog...and apparently the humans who own them.
In this tutorial, we learn how to crochet a goldfish style dog or cat chew toy. Start with a slipknot, then chain 2. Now, do 5 single crochets next to the hook. Then, do a slip stitch to finish and then knot. Now, make the eyeball by using a yarn needle and black yarn. Go through the center of the eye, then wrap the yarn around the needle and go back into the center. This will give you a knot that you can cut off when done. Repeat this once more to make the other eye. Now, using your yarn nee...

If you loved the movie Toy Story 3, then you'll have a good time playing the game as well. Aside from all the missions and objectives you have to complete, you can also unlock some easy achievements as well. In this tutorial, you'll find out how to get the Space Ranger Elite achievement in the game.
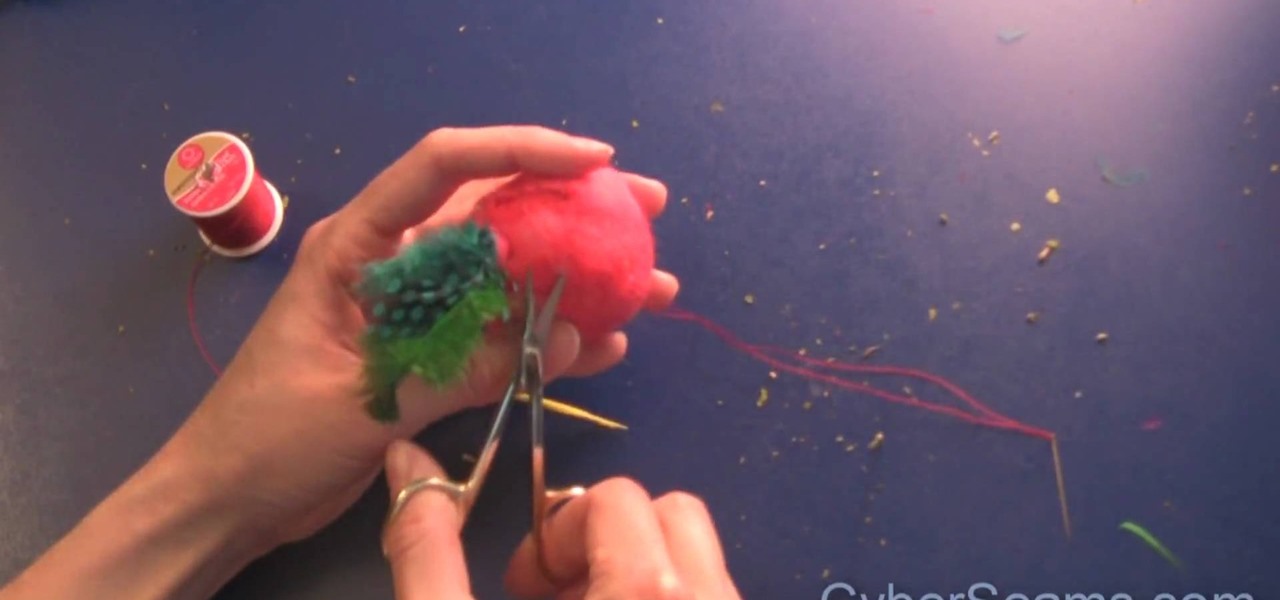
It's not easy being a cat. After all, sleeping twelve hours a day really takes its toll on your body after a while. Give your cat a break from her difficult day shift by crafting one of these adorable felted cat chew toys.
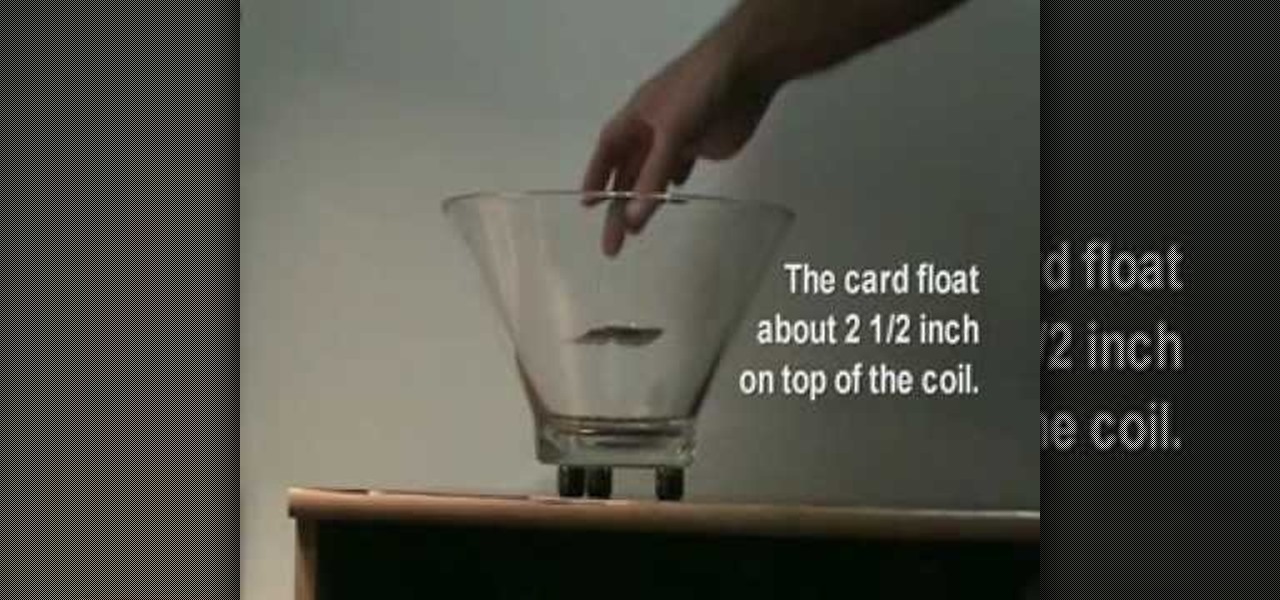
Make an antigravity toy with just some magnets, a pyrex bowl, coper wire, a playing card and some aluminium foil. This is really cool! You can even interact with the flying card when the bowl is shut! Put 3 magnets somewhere, making a circle,over them, place a bowl, then wrap the card with aluminum and place a neodium magnet on each corner, then make about 15 loops with the copper wire (make it a copper coil) and put it inside the bowl. Then put the card in the bowl. Be careful, The negative ...
Pixel Perfect is the "perfect" show to help you with your Photoshop skills. Be amazed and learn as master digital artist Bert Monroy takes a stylus and a digital pad and treats it as Monet and Picasso do with oil and canvas. Learn the tips and tricks you need to whip those digital pictures into shape with Adobe Photoshop and Illustrator. In this episode, Ben shows you how to recreate a Toys "R" Us display in Photoshop.
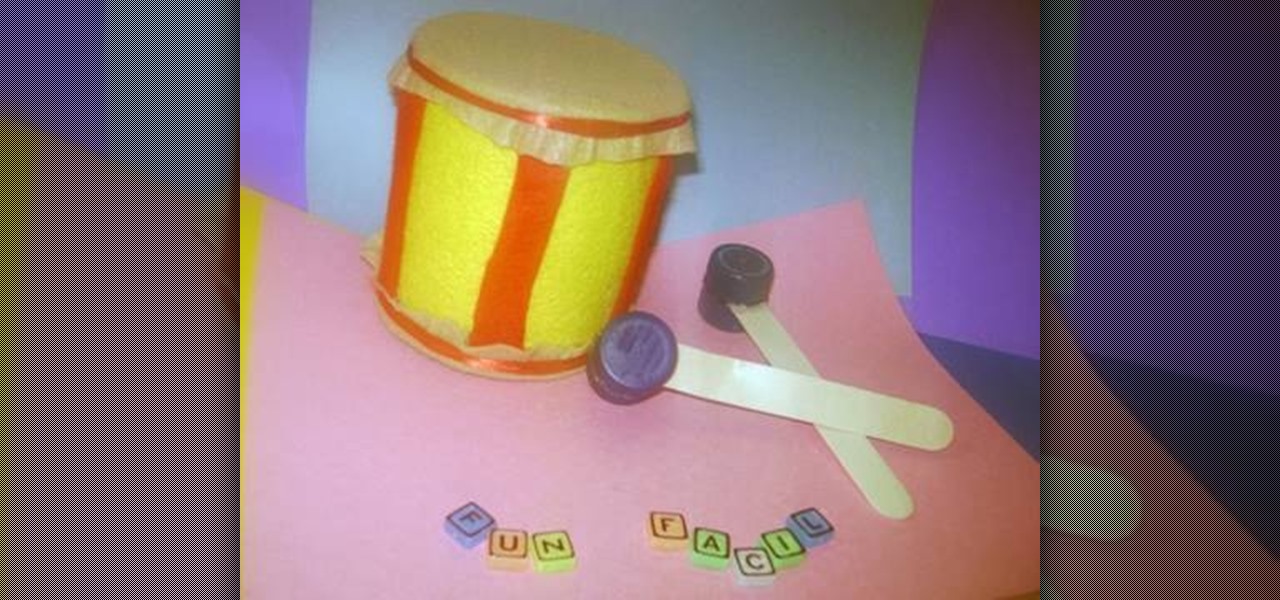
In this tutorial, we learn how to make a toy drum. You will need: felt, recycled tin can, 1 red lace, 4 soda caps, 2 popsicle sticks, glue, and scissors. Cit, cut the felt into a circle and glue it around the tin can. After this, take red felt and cut it into strips, then glue on the side of the tin can so it's striped. When finished, apply glue to the top of the can and then cover with additional pieces of felt. Tie a ribbon around the top and the bottom of the felt on the fan. To make the s...
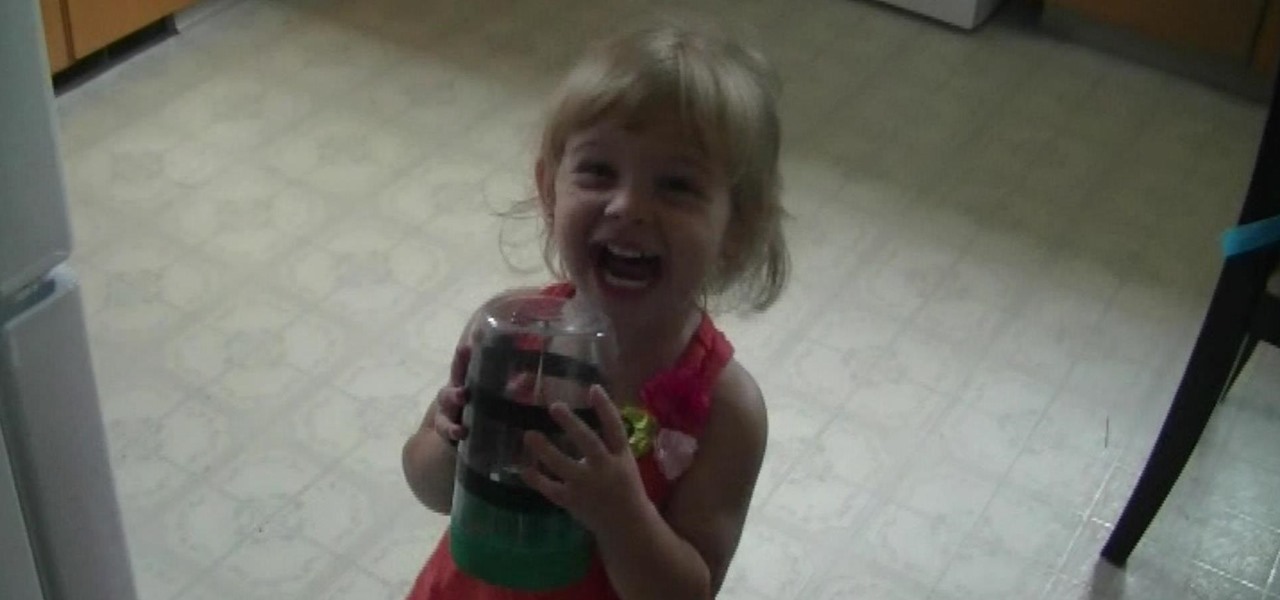
In this tutorial, we learn how to recycle a plastic bottle to make a toy bottle rocket. First, take a large plastic bottle and a sharp knife, then cut it in half. After this, take the side with the cap on it and then paint on the inside of the bottle. You can paint whatever you want on the inside, feel free to use different colors and get as creative as you want! From here, take some bottle caps and poke holes in the center of them. Then, string these together by pushing a string in the middl...
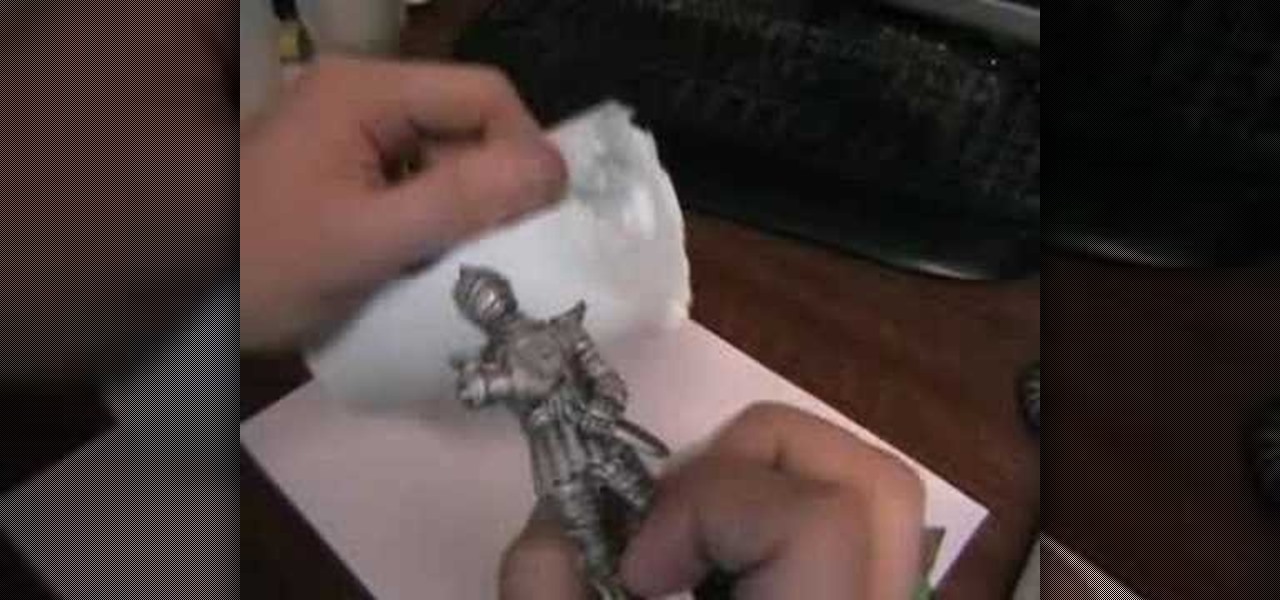
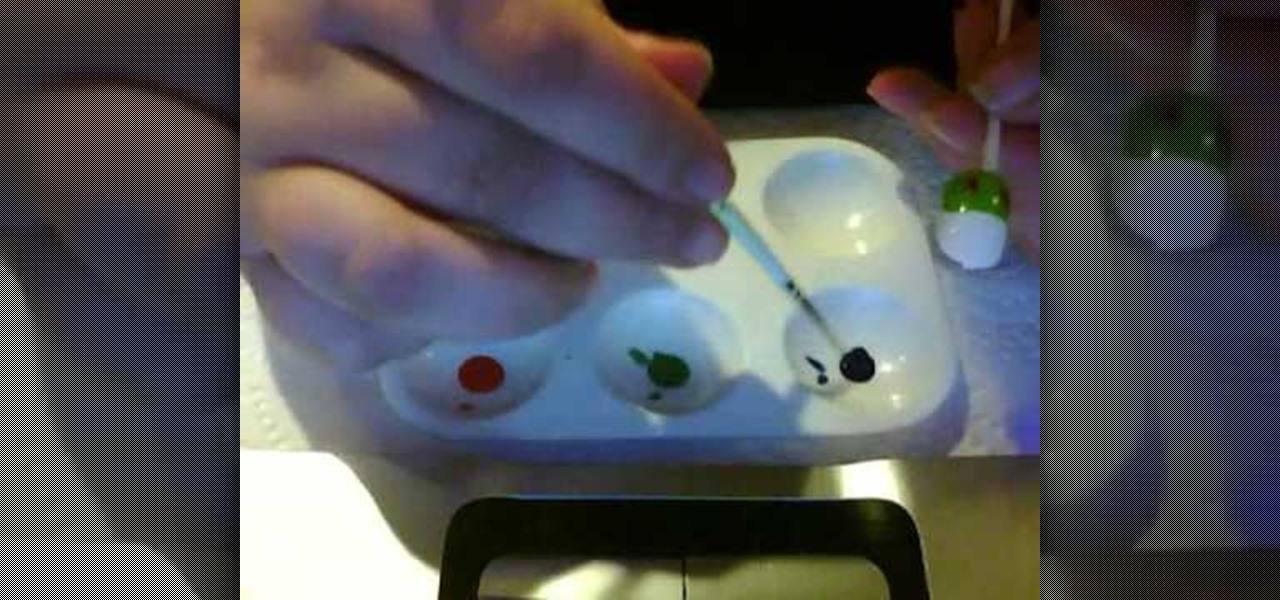
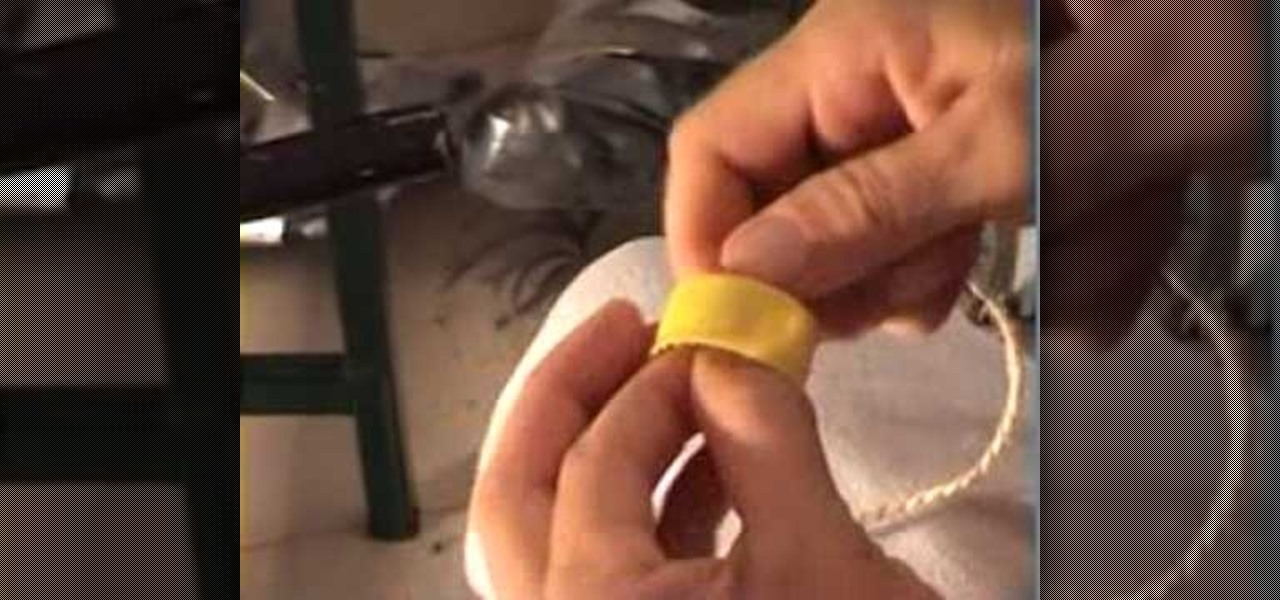
In this tutorial, we learn how to make a silicone mold of a toy figurine. First, roll out clay and press the bottom of the figurine into the center. Next, use a plastic bottle to create the mold box. Cut the bottom off of the bottle, then press the bottle into the clay to make sure the figurine is centered. Now, press the bottle down into the clay and make the silicone mixture. When you're done mixing, pour it into the bottle. Pour in a stream to avoid any bubbles inside of it. Let this sit o...
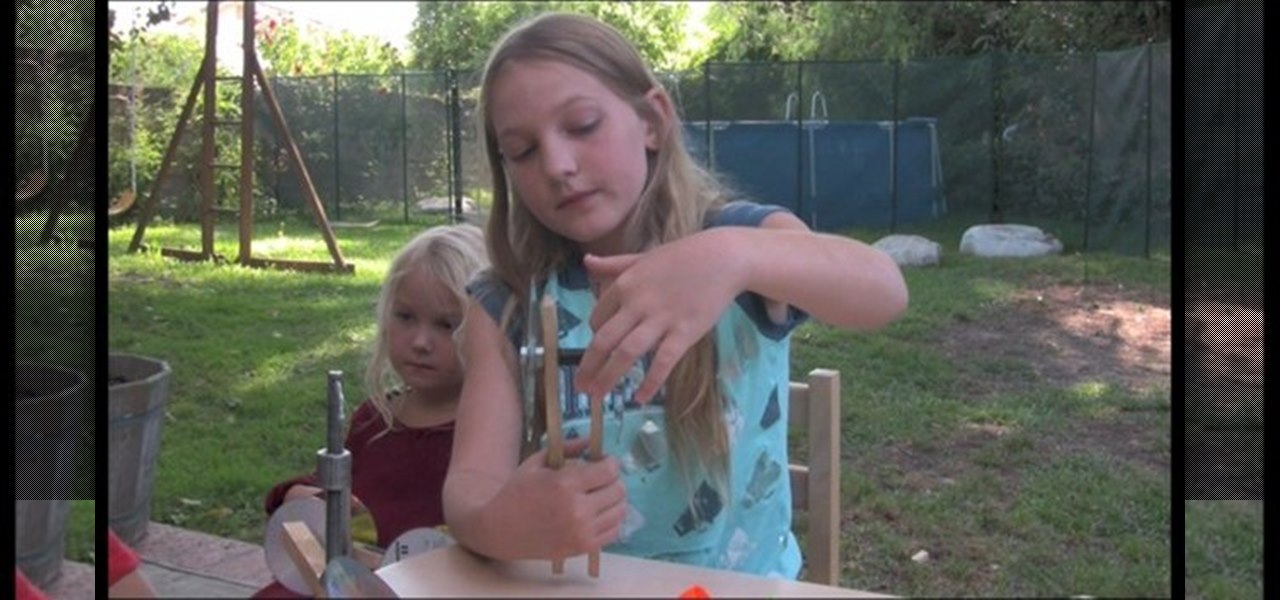
In this video tutorial, viewers learn how to make a toy car with CD wheels. The materials required for this task are: 2 thread spools, long piece of thing wood, 4 CD's, 2 screws, 2 washers and 2 bolts. Begin by drilling a hole in the spools and 2 holes in the wood. Then place a washer on the screw. Now place the CD on the washer. Then add another washer and secure it by screwing on a bolt. Now put the wheel through the first board of wood. Then put it through the spool and other wood board. N...

Playdough is a fun toy for any age, but it can get expensive, and even though the package says it is non-toxic, how do you know exactly what is in it?
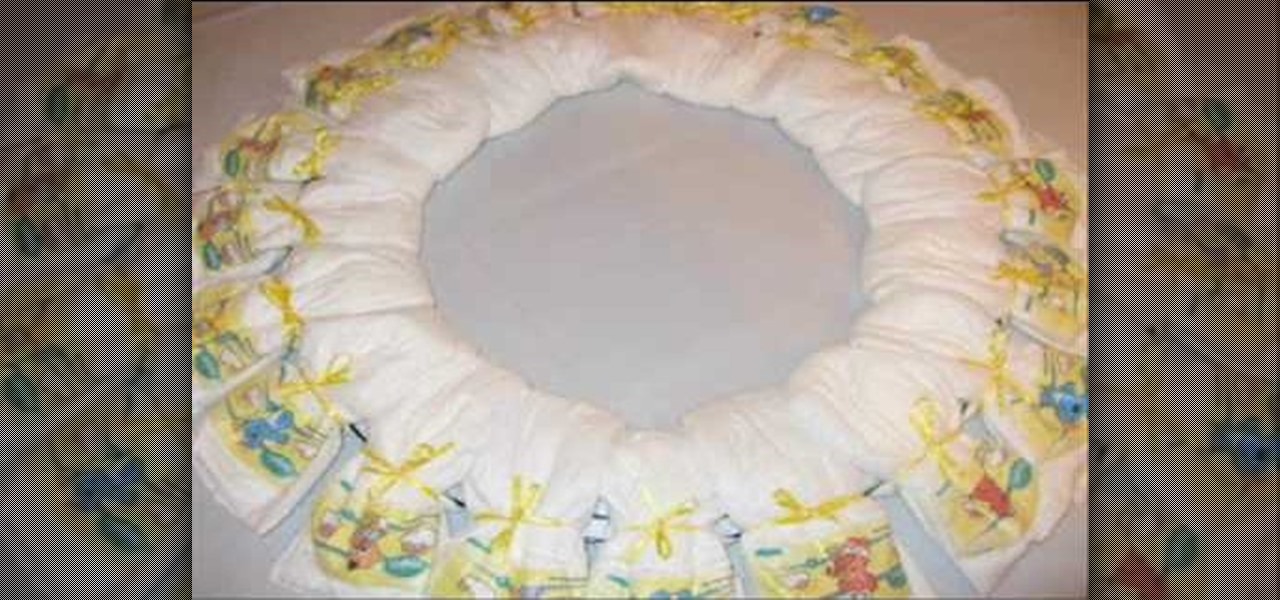
In this how-to video, you will learn how to make a disposable baby diaper wreath. You will need 20 size 1 disposable diapers and a wreath that is 12" to 18". Scissors, ribbon, and bows will be needed. Purchase some baby accessories such as pacifiers and toys. First, open the diapers. Put them in a sandwich shape around the wreath. Time them to the wreath with the ribbon. Do this until the entire wreath is filled. Make sure they are tied on tight. Place a toy on every three or so diapers. Tie ...

Teresa demonstrates how left-handed people can complete a crochet project. The project is a round cap for a toy Ogeechee bear. Using her left hand to hold the crochet needle, she starts with a circle of crochet stitches to form the crown of the cap, and counts out the number of stitches needed for each row. A yarn marker is used to keep the rows organized, and Theresa shows how to utilize a slip stitch to make turns in the crochet to complete partial-rows that form a brim to the cap. She ends...
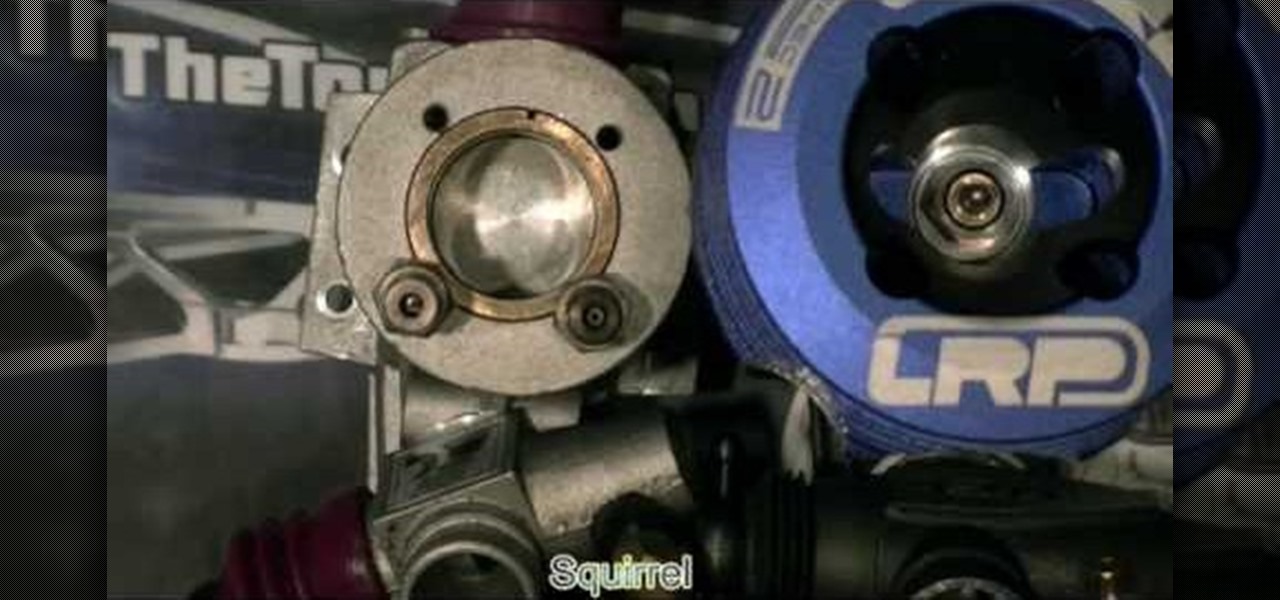
Learn how to tune a nitro engine for a remote control toy with this video tutorial from Squirrelrod. This particular tutorial focuses on tuning by glow plugs, which sits at the top of the piston. Squirrel explains the various parts and equipment necessary as well as each step in the tuning process. If you're having engine trouble with your remote control toy, this video tutorial shows you how to troubleshoot the problem through the glow plugs. This video will show you how to tune your RC engine.
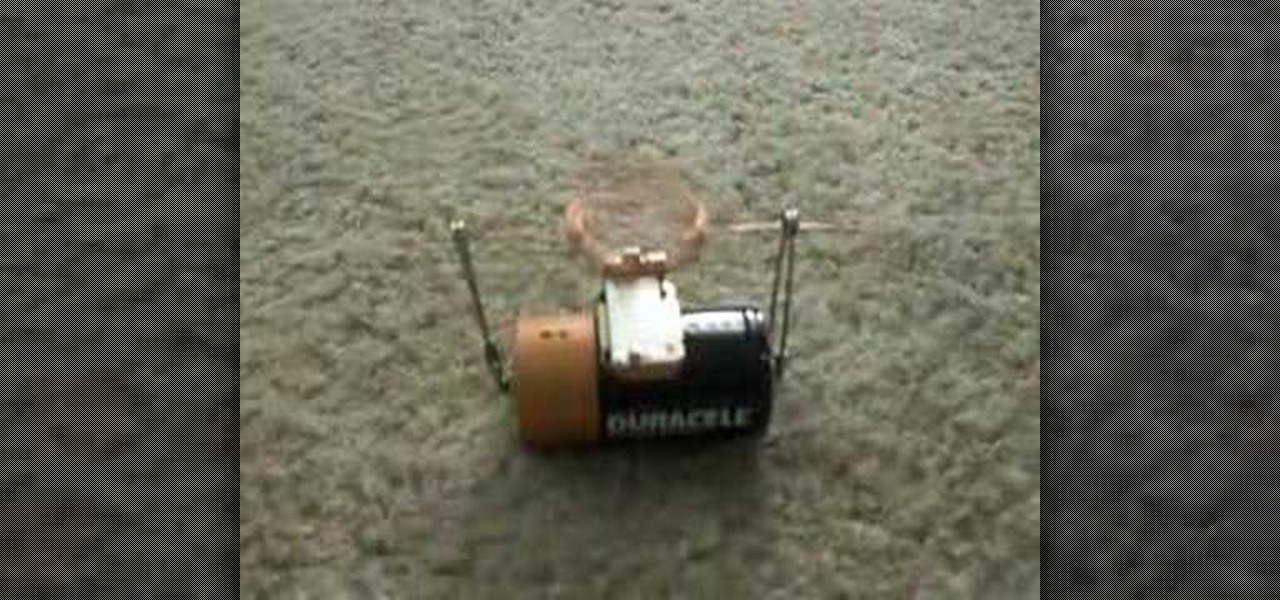
It’s just a few steps to make a toy motor. Take a battery of any brand, then take two safety pins. Attach them to both the sides of battery as they act as positive and negative. Then take a magnet, keep it on the battery. Now take a strip, which is rolled into a circle, and take two leading wires from it. Then keep this strip in between the safety pins and just start it up by rotating to one side. Then leave it aside, it rotates continuously.
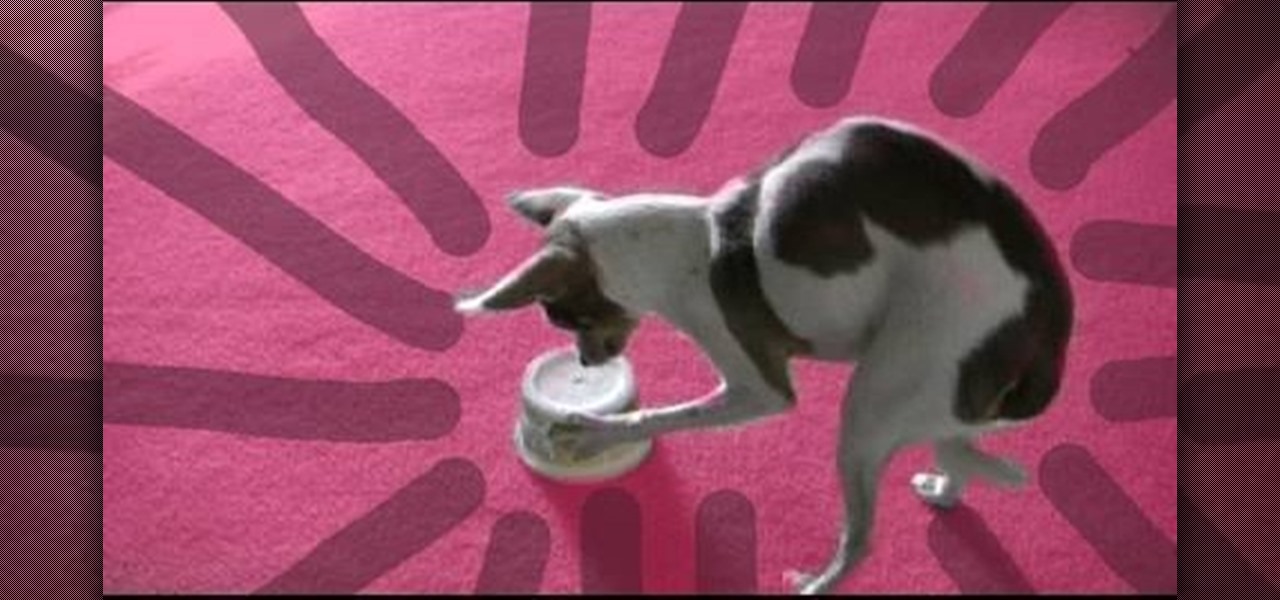
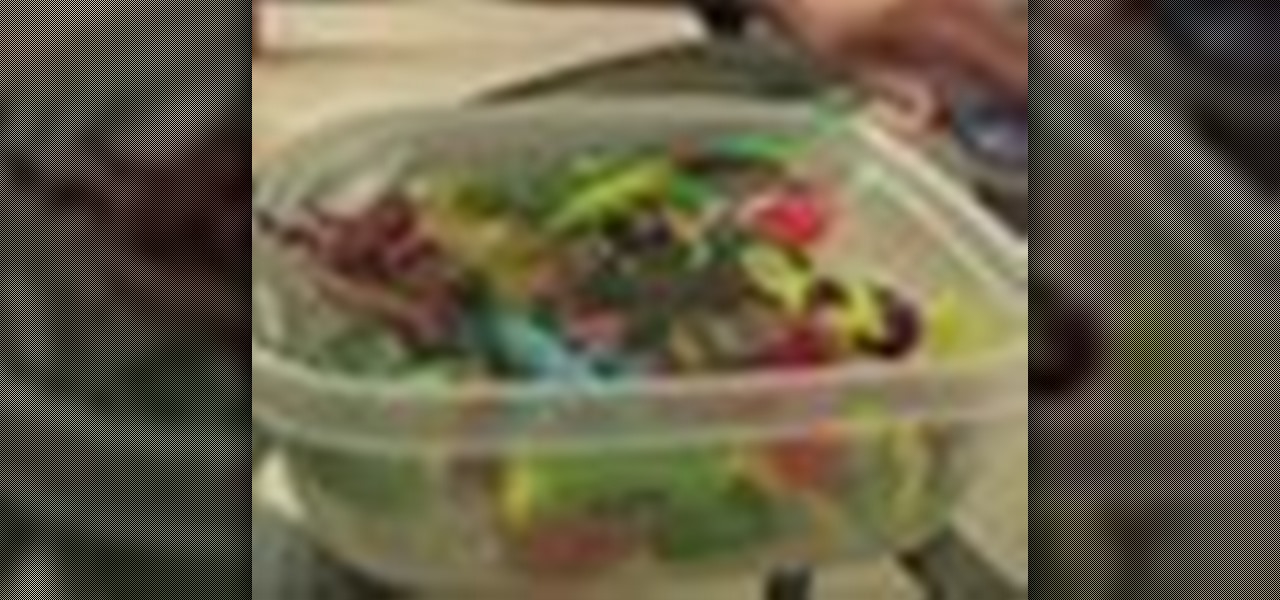
In this video by Dogmantics, dog trainer Emily Larlham goes over how to make an interactive dog toy for your pooch to play with just a plastic container, a pair of scissors, and some dog food.