
How To: Create PDF presentations from layer comps in Photoshop
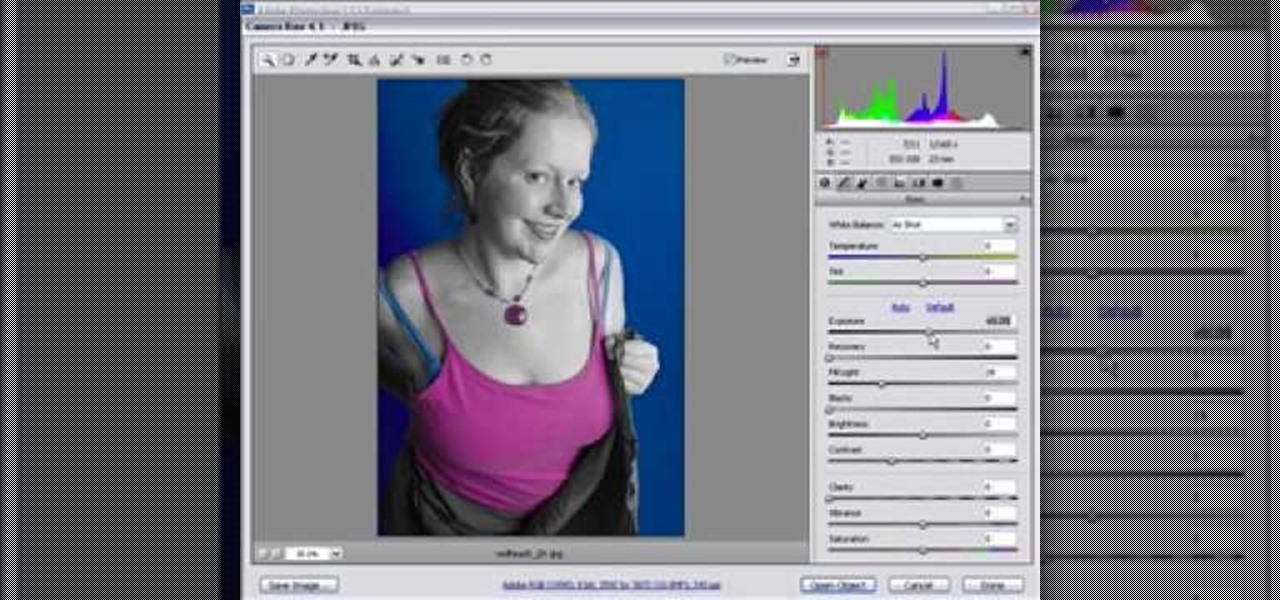
Learn to use a Layer Style, Color Overlay to create variety on a 1 layered document in Photoshop and generate a PDF slide show presentation containing 4 color variations!

Learn to use a Layer Style, Color Overlay to create variety on a 1 layered document in Photoshop and generate a PDF slide show presentation containing 4 color variations!
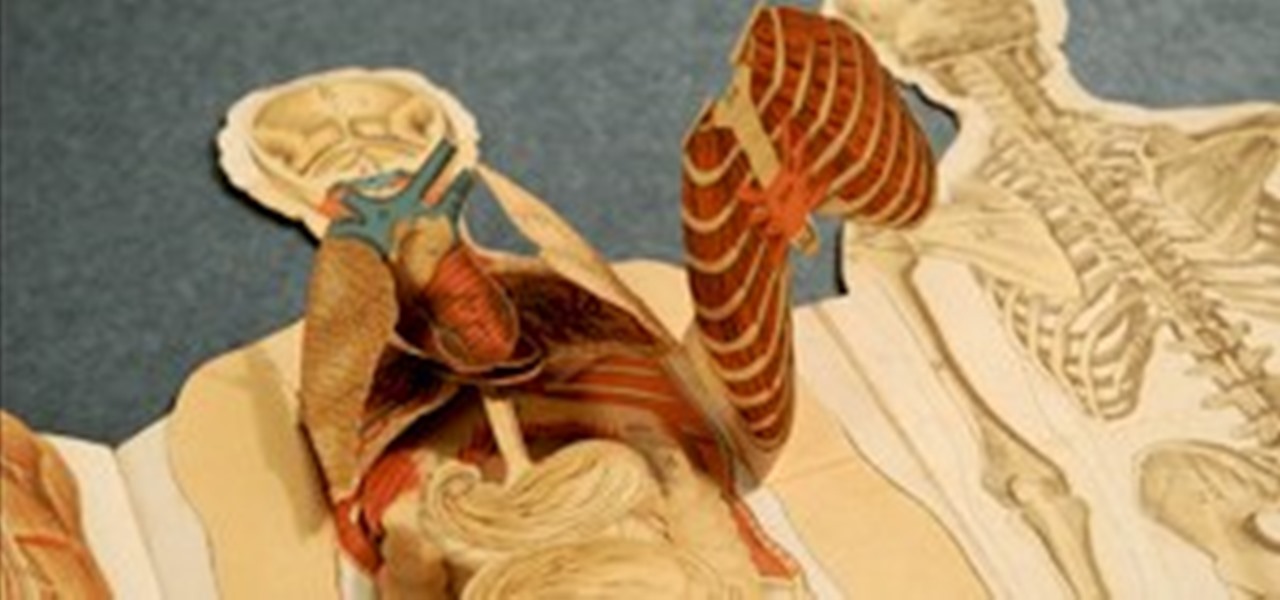
Before there was Gray's Anatomy, physicians and medical students used anatomical flap books to explore the inner workings of the human body—a scientific illustrated guide that takes its name from the moveable paper flaps that can be "dissected" to reveal hidden anatomy underneath. Similar to pop-up books, these instructional tools mimic the act of human dissection, allowing doctors and students to study the intricacies of the body normally concealed by flesh.
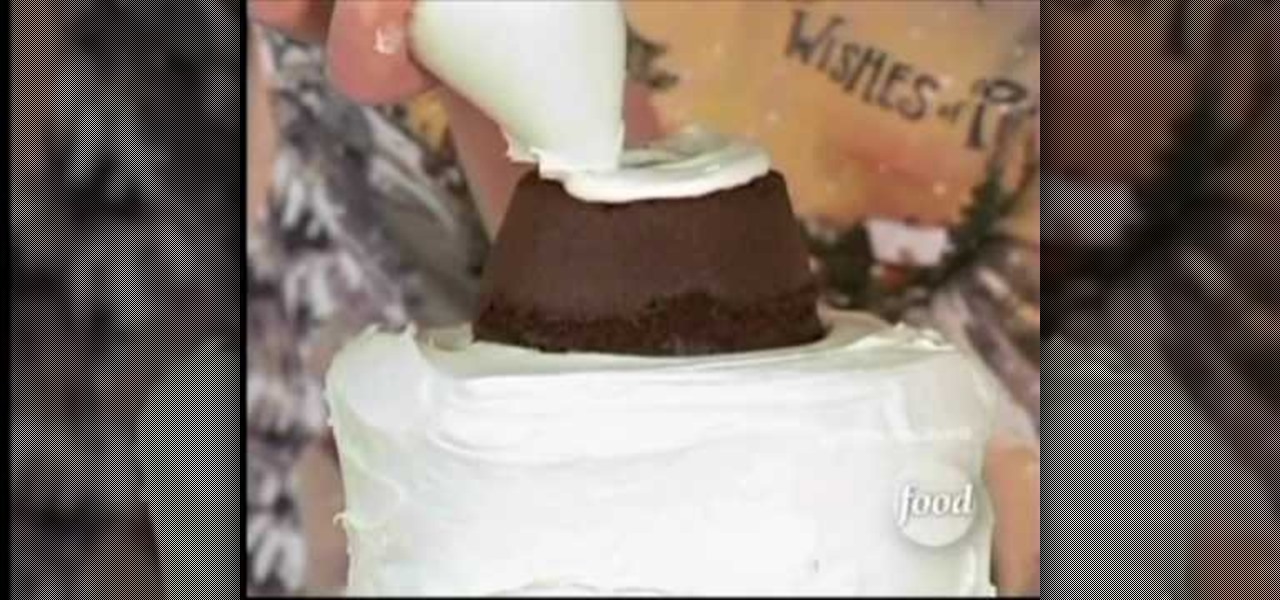
To decorate a noel cake, buy four layers of chocolate (two large sized, two small sized), two layers of spice cake (two medium sized), and a chocolate cupcake. Using a long serated knife, trim the tops of the cake to make the even. Put the one of the large chocoate cakes on your serving plater and put some frosting on top to "glue" it to the next layer. Now put the other large chocolate cake on top and gently press it into place. Frost the sides of the layer. Place a cardboard circle that is ...
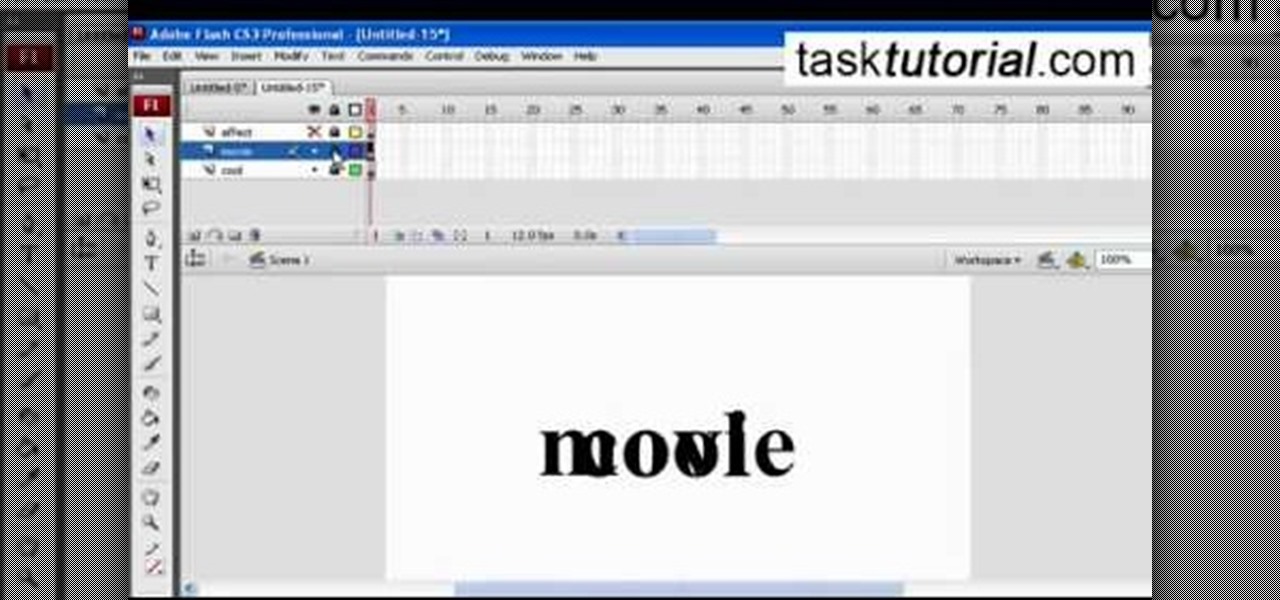
A great free video training from tasktutorial on how to create a cool movie text effect in Flash. Start by creating the text; type in "cool", rename the layer and lock it. Now type "movie" and rename the layer. Type in "effect" and rename this layer as well. Now focus on the first layer. Convert it to movie clip. Now convert the other two layers to movie clips as well. Stack the three layers on top of each other. Next add a key frame starting from frame 10. Select the "cool" layer. Re-size it...
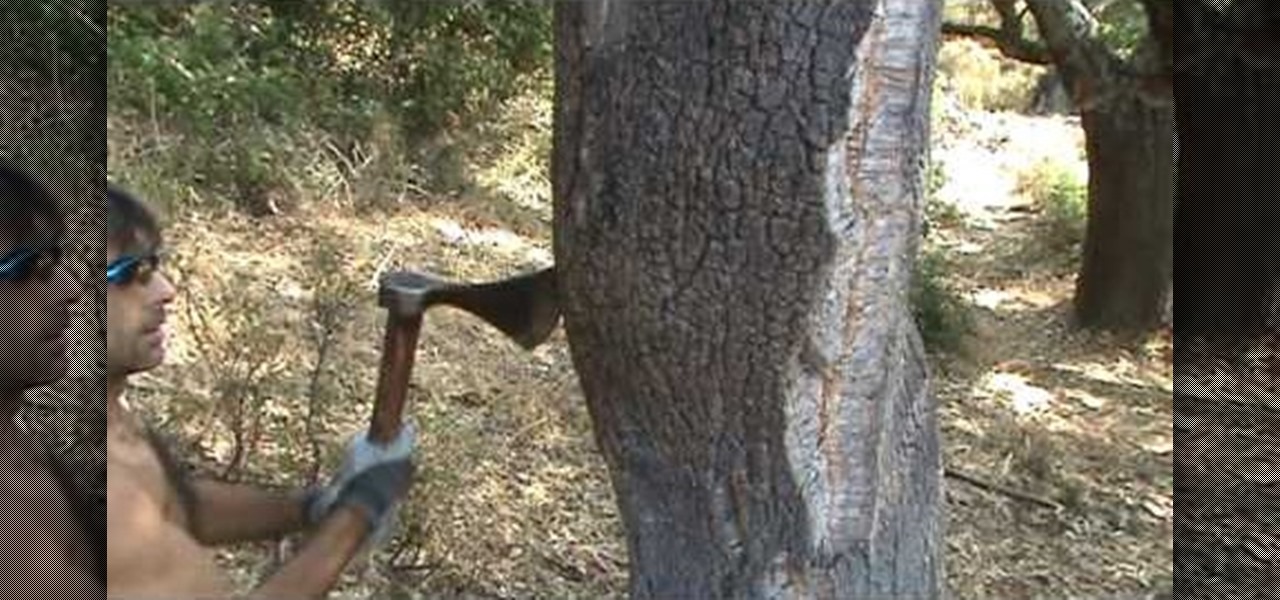
Have you ever bought a cork product? Cork liner? Cork coasters? Wine… with a cork? Well, did you ever wonder where it comes from? Watch this video demonstration and you'll find out how raw cork is extracted from the Cork Oak.
Pixel Perfect is the "perfect" show to help you with your Photoshop skills. Be amazed and learn as master digital artist Bert Monroy takes a stylus and a digital pad and treats it as Monet and Picasso do with oil and canvas. Learn the tips and tricks you need to whip those digital pictures into shape with Adobe Photoshop and Illustrator. In this episode, Ben shows you how to transform a photo into a flashy poster in Photoshop.
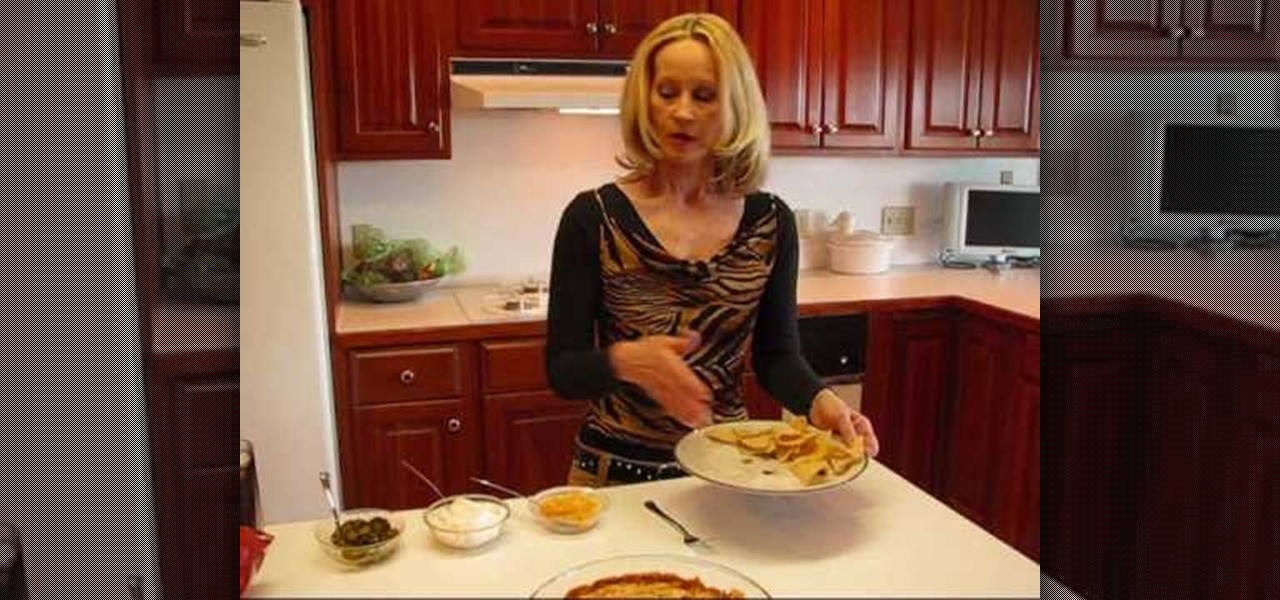
Nachos are a great snack food but did you ever think you could eat them for dinner? Well, in this tutorial, Betty shows us how to make her chili cheese nacho casserole, and it is so tasty you may never eat 'normal' nachos again! This is a great way to get rid of that stale old bag of Tostitos in your pantry and turn it into something fantastic. Ready? Vamenos!
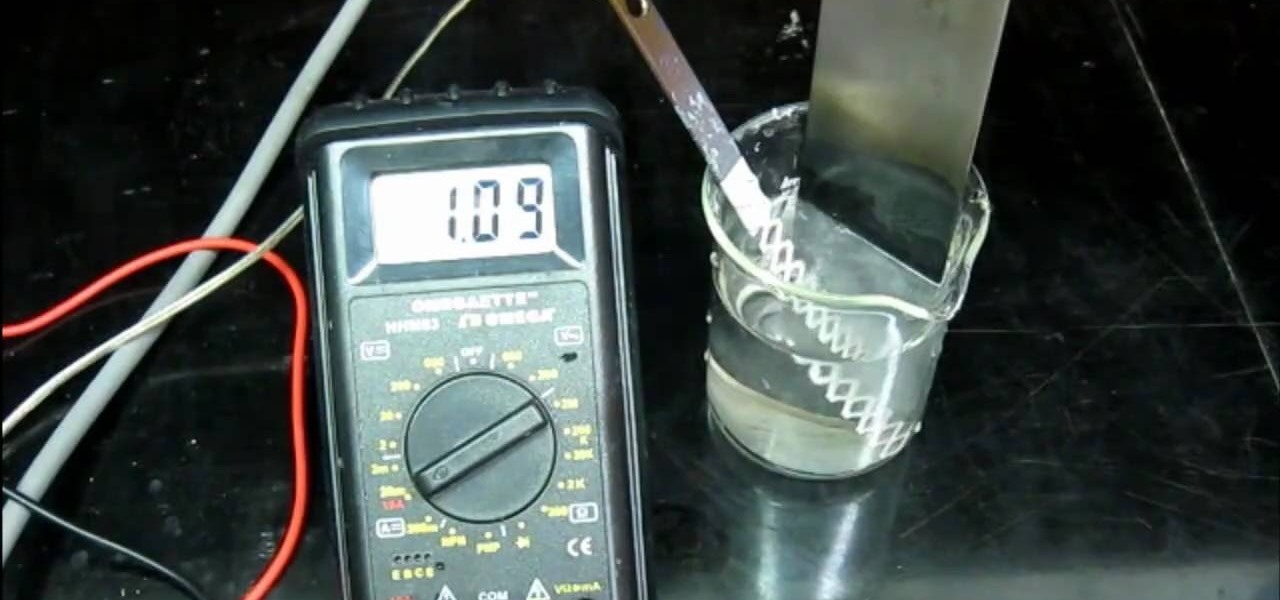
Various electrochemical reactions requires that anodes do not degrade when used. Carbon is cheap, but degrades easily and platinum is extremely expensive. In a previous video, you learned "How to make cobalt and manganese nitrates", and you saw that titanium could be used as a cathode, but not as an anode due to an effect called passivation.

Let TutVid teach you how to make metallic text is Adobe Illustrator CS3. This video shows you how to do it step by step. You only need basic knowledge of Adobe Illustrator CS3 to do this.
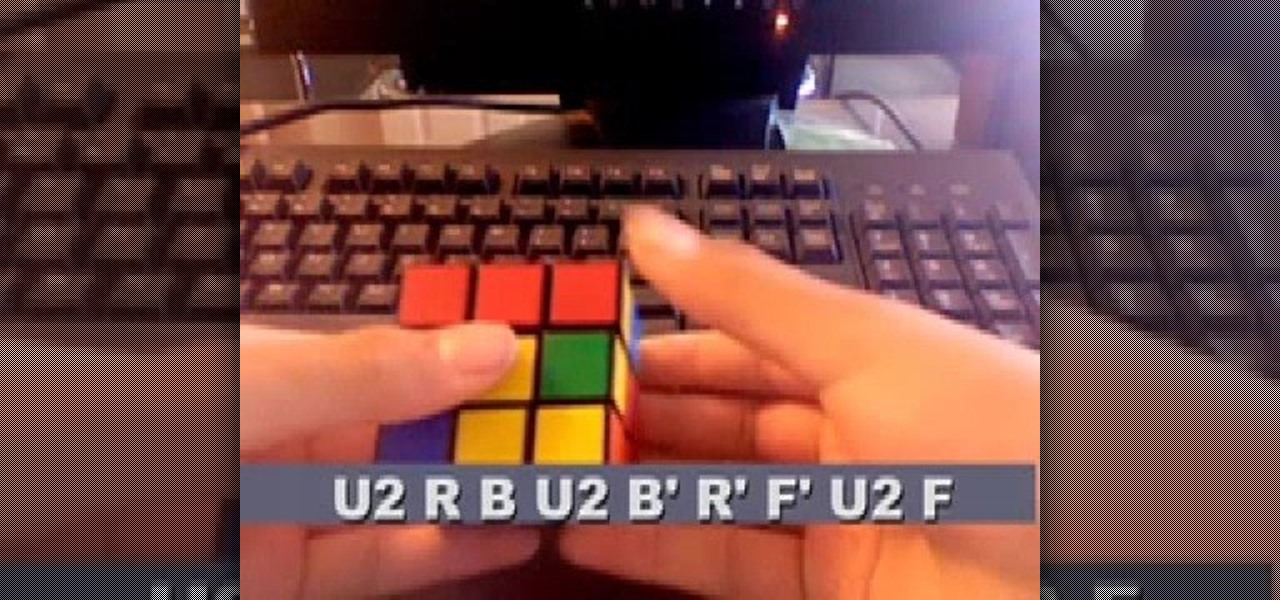
This video tutorial is for beginner puzzlers who are getting more advanced in their speedsolving of the Rubik's Cube. When solving the Rubiks Cube, there are these mathematical equations called algorithms, which I'm sure you already know. With an endless supply of them out there for this puzzle, how can you possibly remember them all? By watching videos, that's how. This one will help teach you how to use the ZBF2L algorithms to solve the Rubik's Cube. What is the ZBF2L? It's the ZB Method of...

Here is a quick tutorial on showing and hiding different layers when you're using the picture editing program Adobe Photoshop. Or, focus only on one specific layer so you can work on that one and nothing else. This tutorial shows you several other good tips when using Photoshop layers.

Layer masks create a viewing window to the layer(s) behind it. Manipulating the mask can create certain effects or animation without editing the object or layer directly.
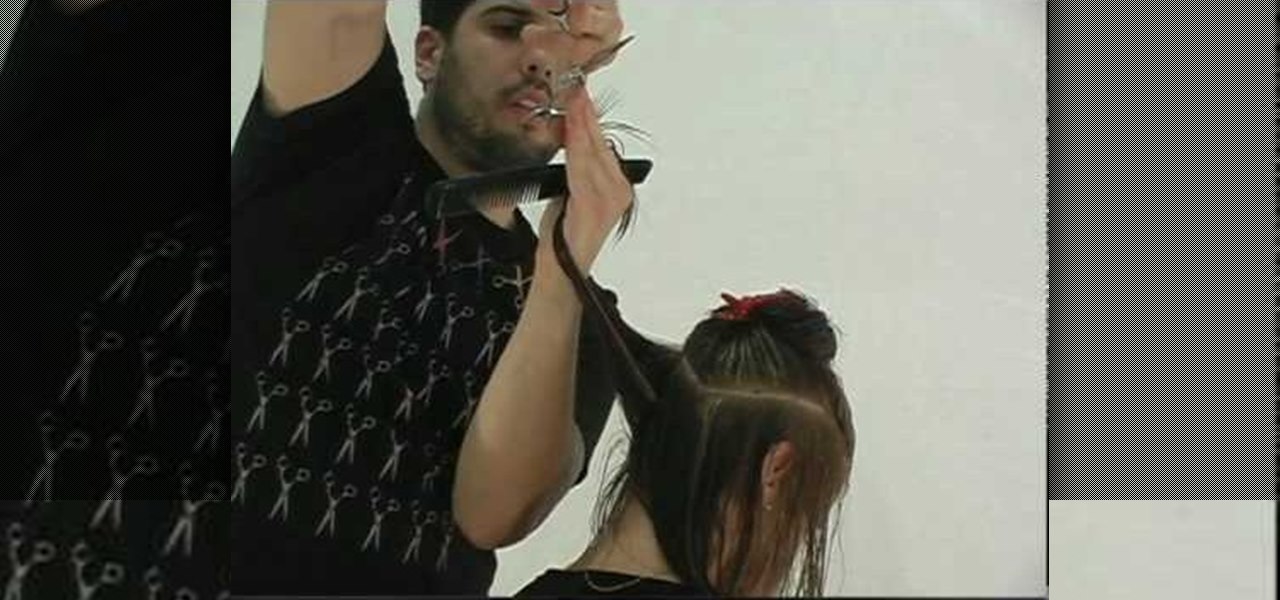
This video illustrate how to do long layered hair cut step by step. Here are the following steps:Step 1: First of all clean your hair and then take all your hair and hold them through a clip.Step 2: Now release a inch of your hair from the lower bottom and cut it.step 3: Now release the upper inch layer and cut it slightly above the lower most layer.Step 4: Similarly take the next layers and cut them so that each layer has sharp cutting and is differentiated easily.Step 5: Release hair on the...
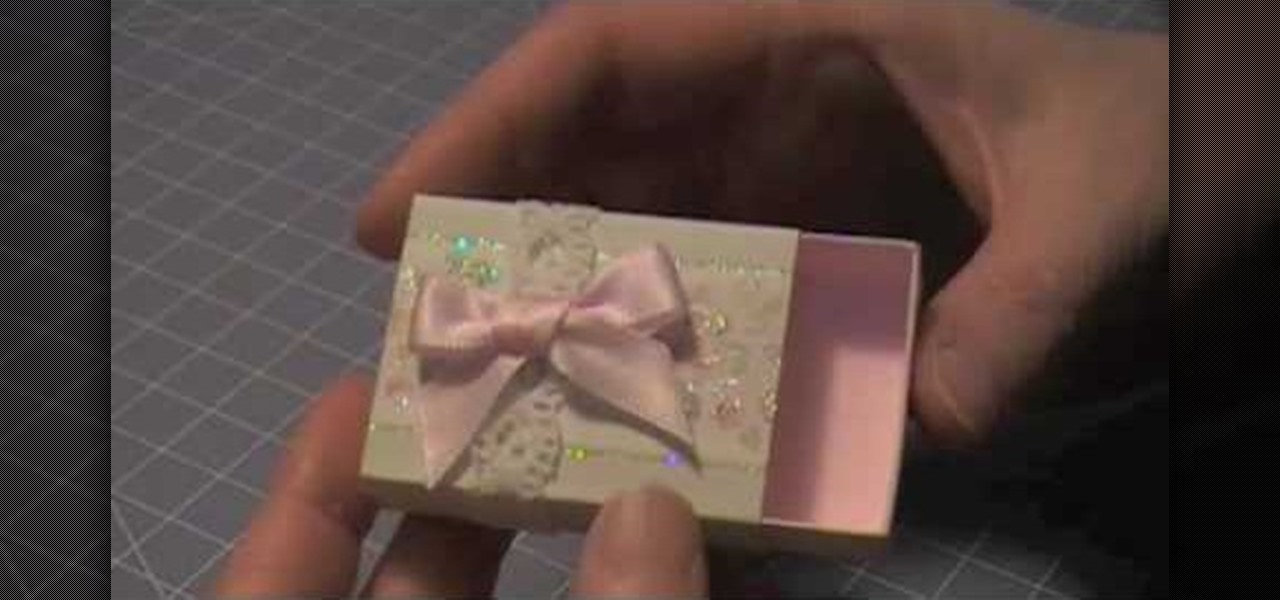
The Artful Paper Doll demonstrates how to make a Marie Antoinette inspired matchbox. Trace the matchbox template onto a piece of decorative paper. Score the template on the creases and then cut the template out of the decorative paper. Fold the creases up. Affix the creases into a square basket shape with dabs of glue to hold the flaps closed. Fold and glue the ends of the box sleeve together. Slide the basket into the sleeve to form the matchbox. Embellish the box as desired. The box can be ...
Before meeting with an architect, you may want to review this video tutorial which outlines what you ought to consider when meeting with an architect that will be helping you renovate your home. Homeowners should visit places and take down notes and photos of what designs they appreciate so that they can bring it to the architect. This will help you to train your senses and language to describe what you like and dislike in terms of style. You should also bring magazine clippings or books of s...

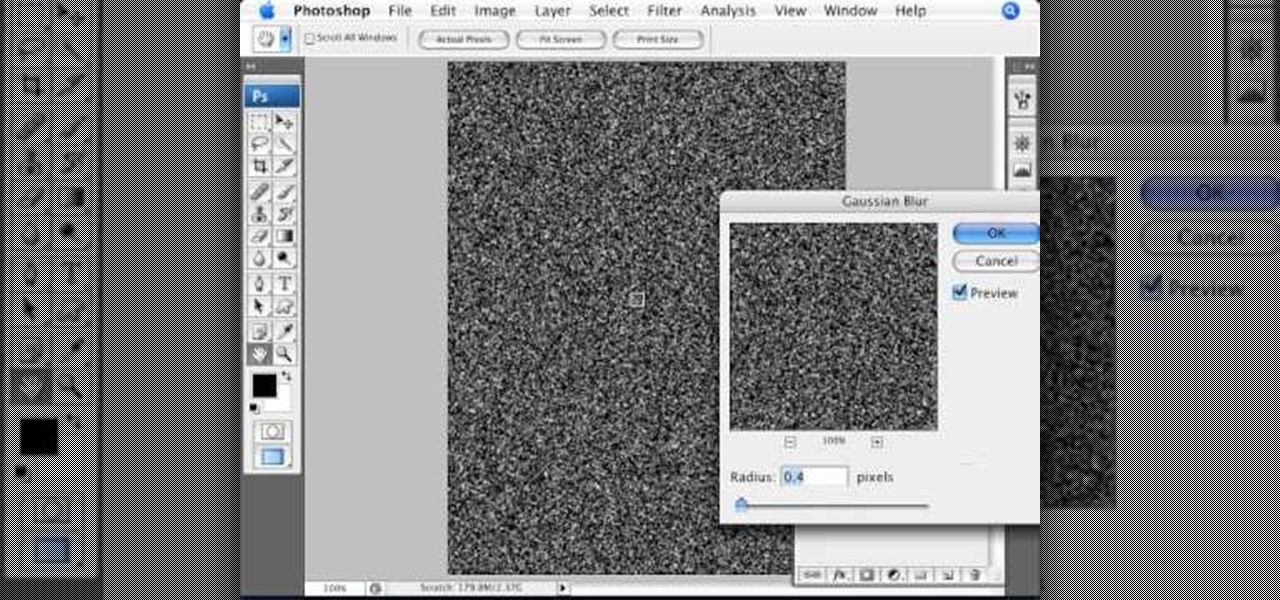
StephanieValentin teaches you how to draw a realistic ear in Adobe Photoshop. You create a new document of 1300x1900 pixels and then create 9 layers named L00, L01 and so on until L08. The first layer should be black. On Layer 01 use a soft round brush with a white color, 100 pixels width and 50% opacity. This is the base sketch of the ear. You then apply a gaussian blur of 30 pixels. For Layer 02 you use a soft round brush with a white color, 50 pixels width and 50% opacity. Apply a gaussian...
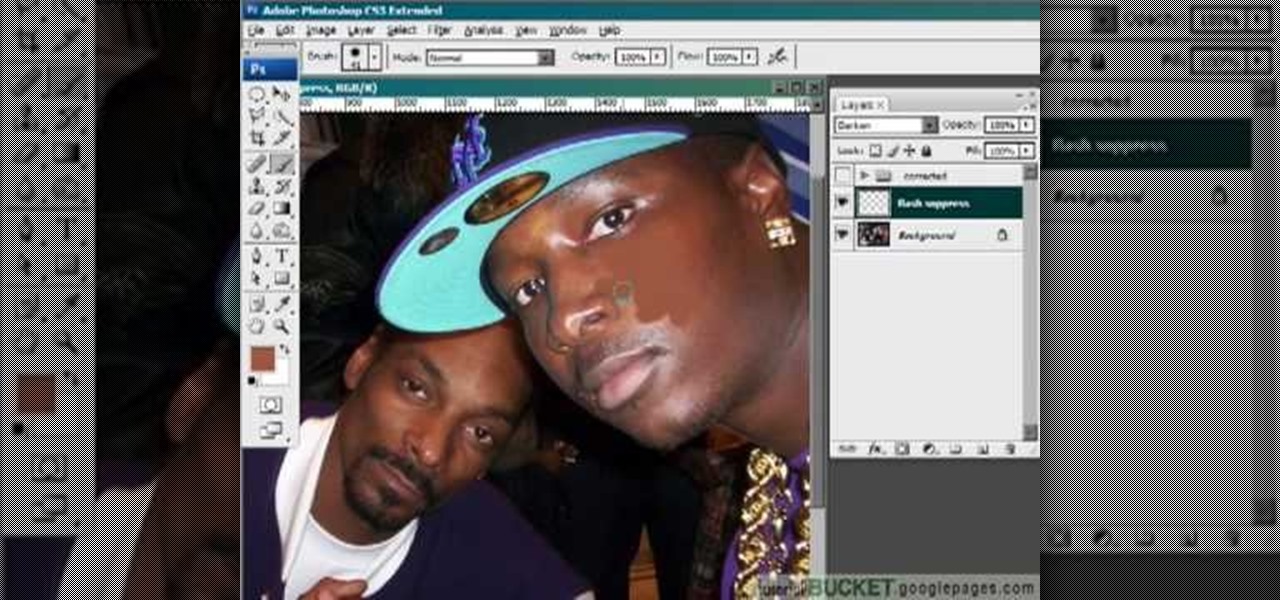
This video gives detailed instructions for removing a hotspot or flash reflection in a photo by using layers and masks. Start by adding a new blank layer and naming it something like Flash Suppress. You will use a special blending mode for this layer called darken. With your paintbrush you will loosely paint out the hotspot, having selected the color tone that you need with the eyedropper tool. Later on you can use layer masks to clean this up. Adjust the opacity of the layer until you have t...
Open an image and on the layers panel add a new layer by clicking on the fifth icon below the layers panel. A new layer is created with the name 'layer 1' and your previous layer would have the name 'background'. These names can be changed by you. For now we'll leave them as they are.

This video is about how to draw a camouflage pattern. For this project you need a paper, ruler and writing utensils. You only have to remember a few easy steps. Draw a square box. Draw out the first pattern layer. Draw out the second pattern layer. Draw out the third pattern layer. Color the first pattern layer with any color, the second pattern layer with any other color and the third pattern layer with any color except the colors you used for the first and second pattern layers.

Learn how to use layers when working in After Effects CS5. Whether you're new to Adobe's popular motion graphics and compositing software or a seasoned video professional just looking to better acquaint yourself with CS5's new features, you're sure to be well served by this video tutorial. For more information, and to get started using layers in your own AE projects, watch this free video guide.
Photoshopuniverse teaches you how to use the Dodge and Burn tools in a non destructive manner, in Adobe Photoshop. Dodge makes things lighter. Burn does the opposite. The problem is that this is destructive operation. Use the Brush tool at 20% opacity. Create a new layer with 50% grey. Change the layer's mode to Overlay. With the black color you will make things darker and with the white lighter. To view the changes, review the overlay layer. To correct a mistake on this layer, use a brush wi...
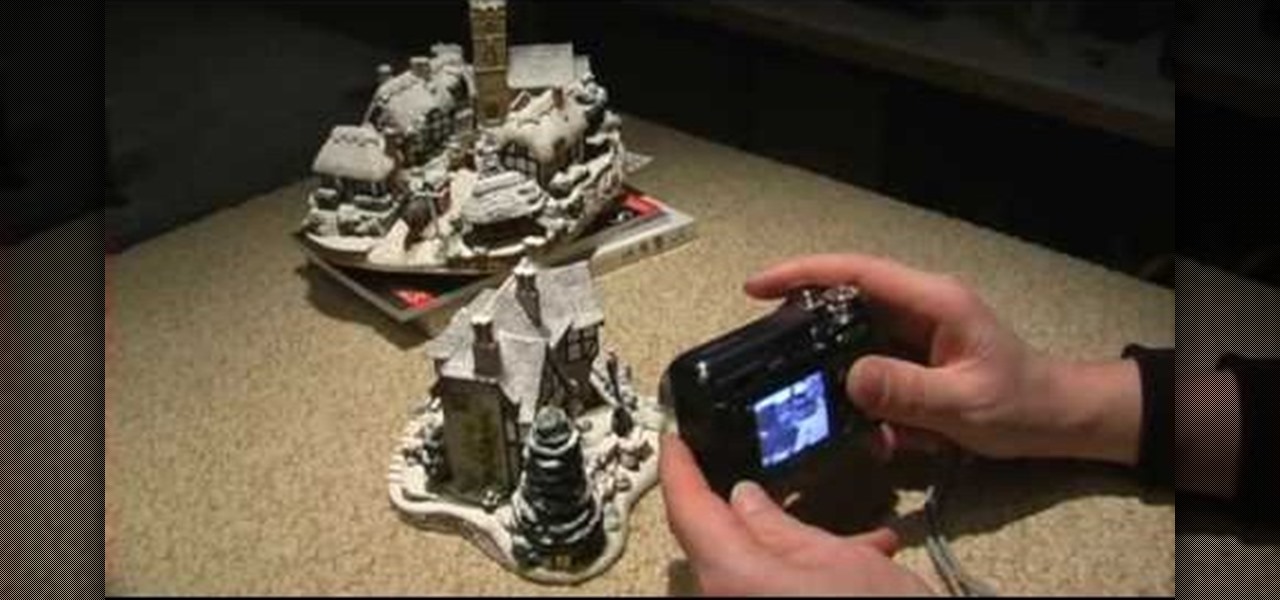
Rick Vanman reveals the secrets to professional video effects using your own computer software. Position your model houses into a setup of your liking. Take a picture of the houses with a digital camera using the macro setting. Edit your picture in Photoshop. Disguise any unwanted objects with the cloning tool. Separate the foreground and the background of the picture into 2 different layers. Film yourself in front of a green screen. Key out the green with your video editing software. Using y...
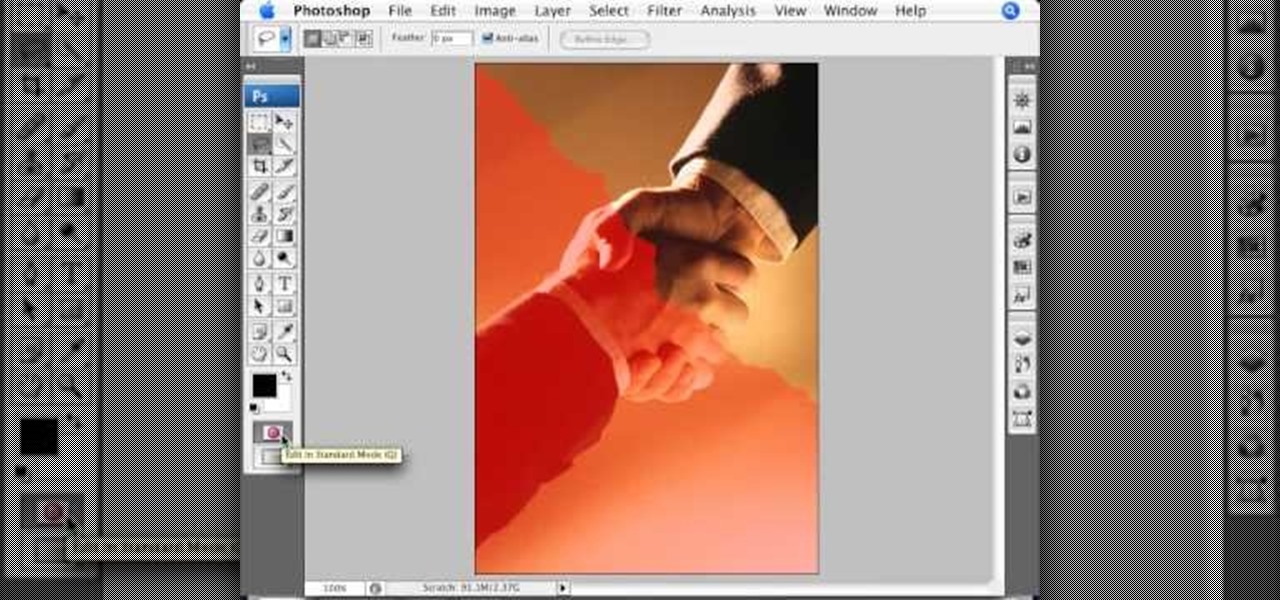
In this video we learn how to make it seem like your photo is torn in half using Adobe Photoshop. The first step is to decide how you would like to have your photo "torn" up. The second step is to select the lasso tool and draw the tear line through the photo. The third step is to select the rest of the image you want to keep. The fourth step is to go into Quick Mask mode and select Filter, Brush Strokes, then Splatter. This creates the jagged edge torn effect. Finally select a smoothness bet...
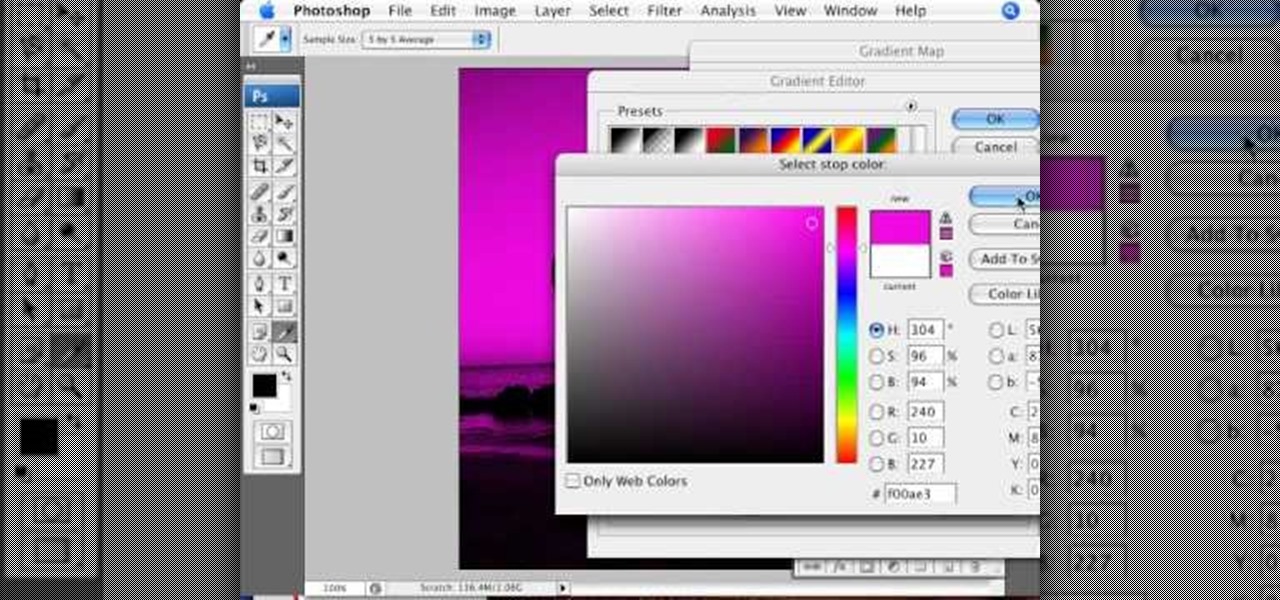
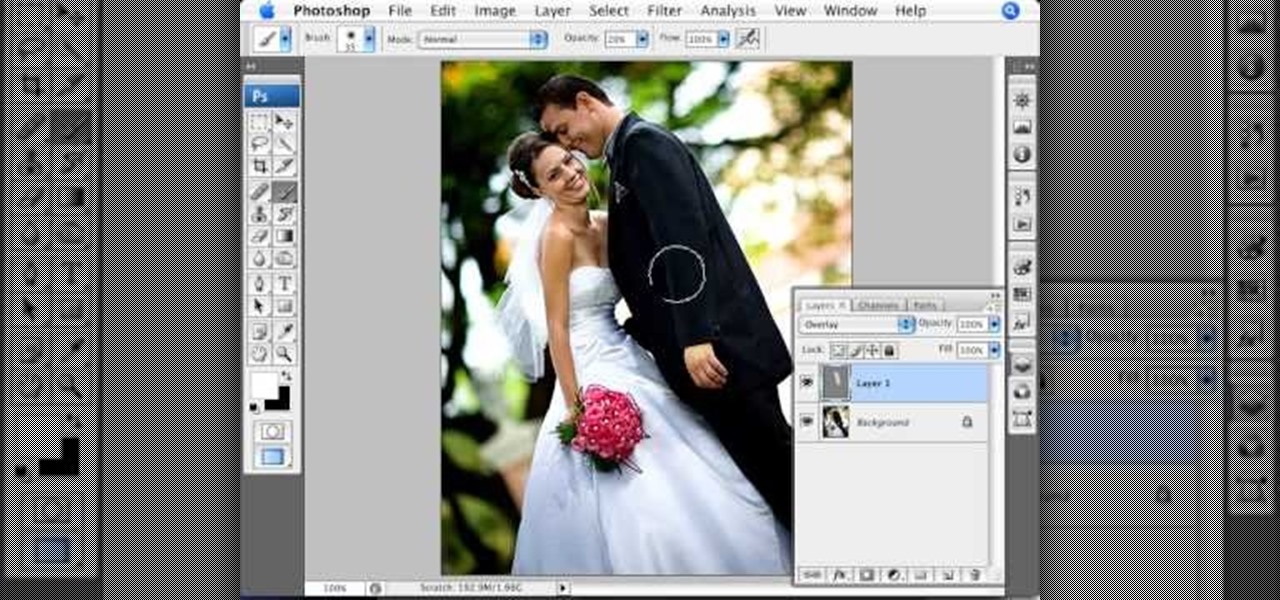
In this video tutorial brought to you by photoshopuniverse, you will learn how to apply mood lighting to images in Photoshop. This is achieved by applying an adjustment layer, called a gradient map, which allows you to adjust the color of the light in an image. You will learn how to access the gradient map from the adjustment layers menu, how to apply the gradient map, then overlay the new layer and fine tune the gradient to create more dramatic looking images.
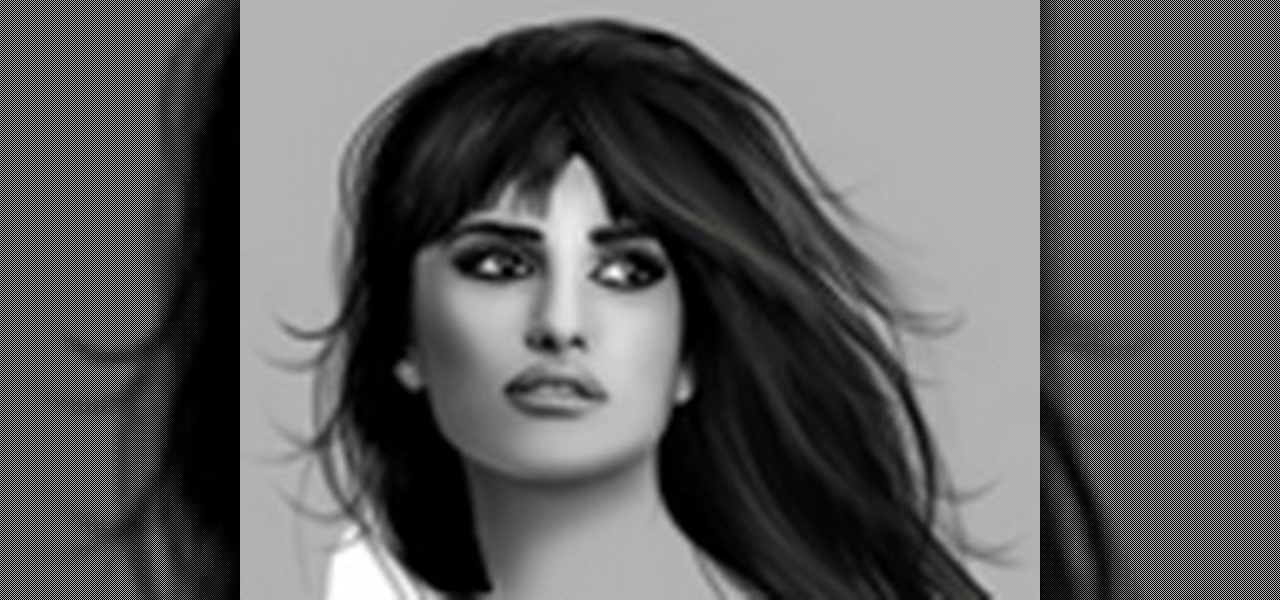
Stephanie Valentin will show you how to draw realistic hair in Photoshop. Add a new layer of paint to shape the hair, and do it with a round brush. Create hairs all around the shape with a smudge tool. Then add a new layer and draw a line with a soft round brush and smudge tool. Repeat the last step several times drawing more hair if you want. Add a new layer and add some light with a smudge brush and a round brush. When done, adjust the layer of opacity. Again, add another layer and add ligh...
Pixel Perfect is the "perfect" show to help you with your Photoshop skills. Be amazed and learn as master digital artist Bert Monroy takes a stylus and a digital pad and treats it as Monet and Picasso do with oil and canvas. Learn the tips and tricks you need to whip those digital pictures into shape with Adobe Photoshop and Illustrator. In this episode, Ben shows you how to build a sign in Photoshop with 3D lightbulbs.

For this Final Cut Studio video tutorial, Zach King will teach you how to use layers in Motion. If you want to cover the basics of layers in the Motion 3 program, this is perfect video to help you out. Let the Final Cut King show you how!

Welcome back, my hacker novitiates! There are many ways to hack databases, and most of these techniques require SQL injection (SQLi), which is a way of sending SQL commands back to the database from a web form or other input. In this tutorial, we will use SQL injection to get access to the underlying server. So instead of getting access to the database and its data, we will use the database as an intermediary to gain access to the underlying server.
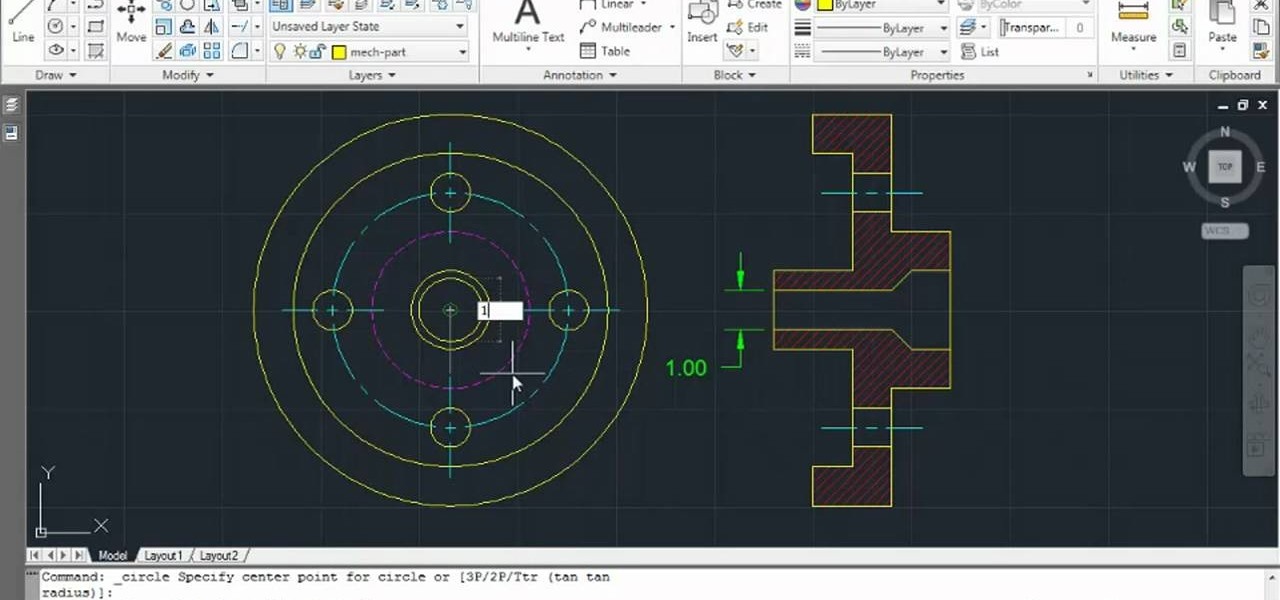
Learn how to set the current layer by selecting elements within an AutoCAD 2011 project. This clip will teach you everything you'll need to know. Whether you're new to Autodesk's popular 3D drafting application or a seasoned professional just looking to better acquaint yourself with the newest iteration of the program, you're sure to be well served by this video tutorial. For more information, including step-by-step instructions, watch this free video guide.
In this clip, you'll learn how to use nondestructive layer masks in Adobe Photoshop to create modern-looking posters and backgrounds. Whether you're new to Adobe's popular raster graphics editing software or a seasoned professional just looking to better acquaint yourself with the program and its various features and filters, you're sure to be well served by this video tutorial. For more information, including detailed, step-by-step instructions, watch this free video guide.

Painting a room is pretty easy stuff: just add a layer or two of primer if your wall color is extremely dark or has crack and bumps, and then load on a few layers of paint.
If you're not familiar with its mask tools, you're not taking full advantage of Adobe Photoshop. Learn how to use them with this clip. Whether you're new to Adobe's popular image editing software or simply looking to pick up a few new tips and tricks, you're sure to benefit from this free video tutorial from Tutvid. For more information, and to get started layer, vector and clipping masks yourself, watch this graphic designer's guide.
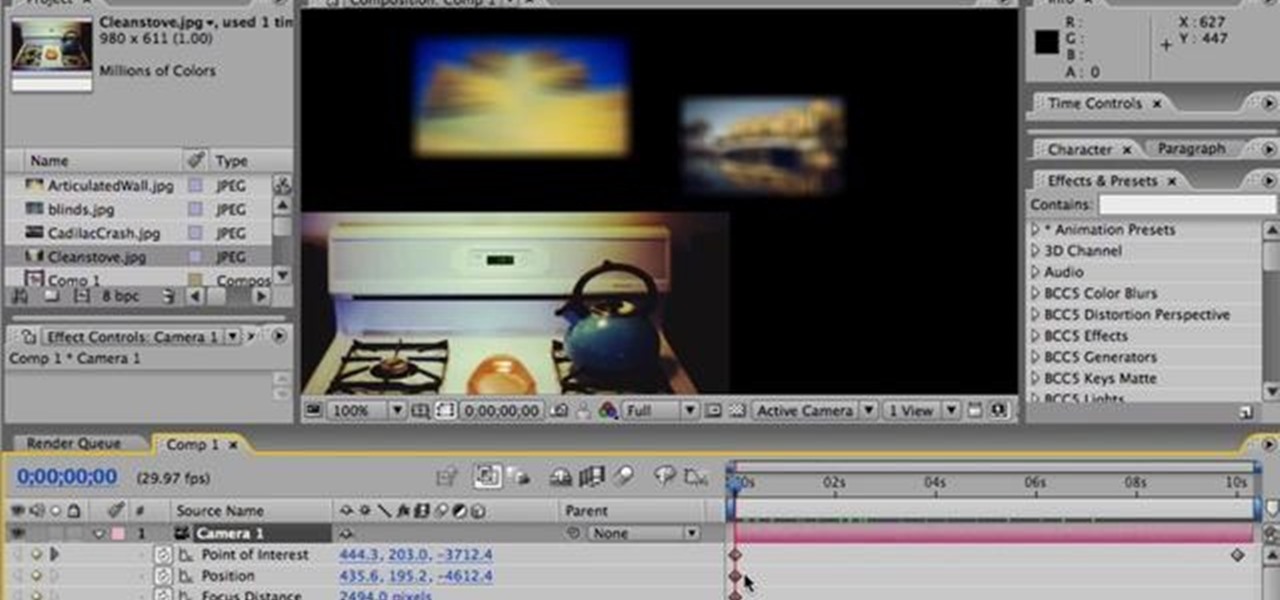
Nick from Greyscale Gorilla shows you how to do intermediate level camera animation in After Effects. He also demonstrates 3d layers and the use of depth of field for creating believable and realistic VFX.
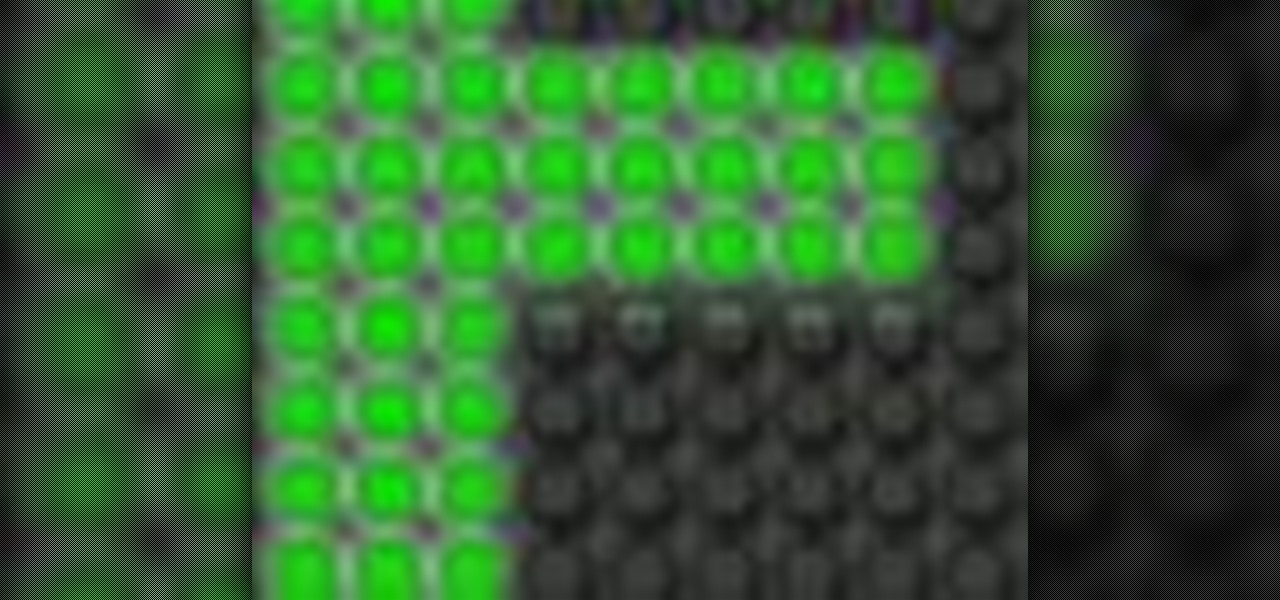
In this Photoshop CS3 tutorial you will learn how to use the knockout feature. This advanced masking technique allows you to move a targeted layer around, revealing the layer underneath. This video will show you how to reveal a creepy skeleton under a monster werewolf right in Photoshop. This classic technique lives again! Learn the subtle qualities of the Deep, and Shallow, Knockout feature in Photoshop.
This tutorial covers how to use layers to composite footage together and then how to keyframe footage layers. The tutorial gives a clear and easy step-by-step breakdown of using compositing and keyframing in Final Cut Pro 6.
In this video tutorial you will learn to use custom shape clipping masks in Photoshop CS2. The masks offer you great control over your design. This example involves the use of layers and layer style.

In this how to video, you will learn how create glowing eyes in the darkness using Photoshop. First, open your image in Photoshop. Next, duplicate the background layer. Go to hue and saturation and make the image really dark by turning down the lightness and saturation. Next, select a paintbrush for the eraser and start erasing around the eyes. Once this is done, make a selection around the pupils. Create a new layer and paint the selection red. Next, lower the flow of the paint brush and cho...

Sandra Lee shows viewers how to make a No-Bake Love Cake in this video. You will need the following ingredients:
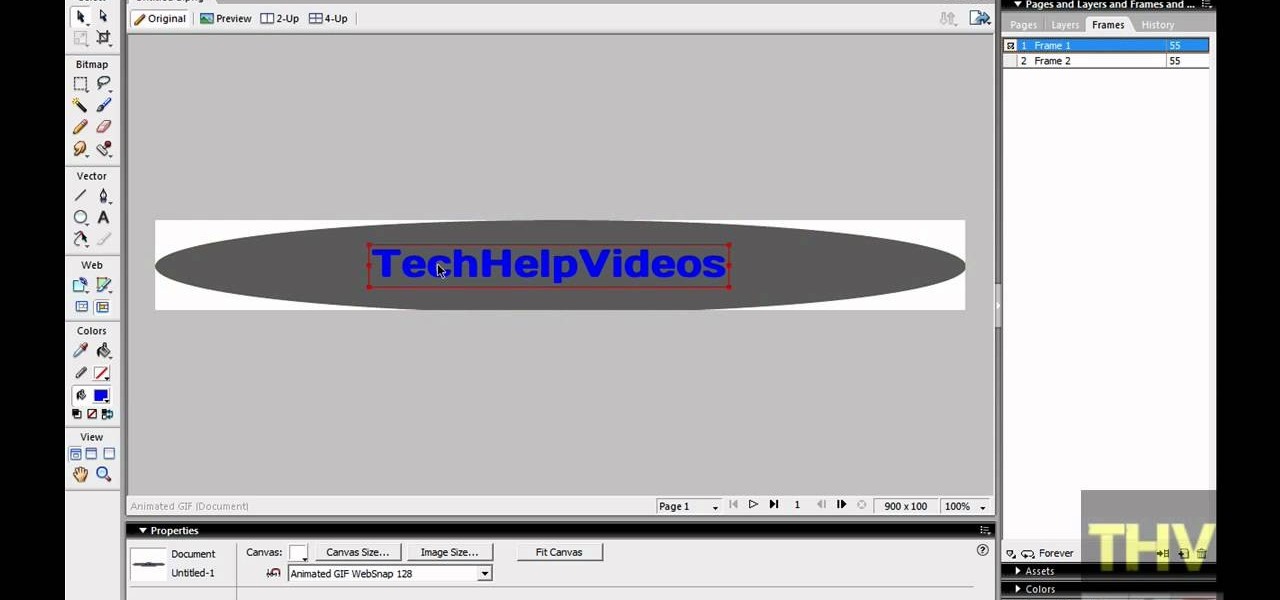
First of all open adobe Firework CS3/CS4. Open the 'file', then 'new' and set a banner with 'width' as 900, 'height' as 100 and ‘resolution’ set as 72. It shall open a banner for you on the screen. Now from the side bar underneath the vector, select the 'ellipse tool' and then drag the ellipse to fill in the whole banner as shown in the video. Now from the right side bar you have to expand the 'pages and layers'. Now select 'optimize and align' and select 'animated website 1. 2a’. Now minimiz...

First double click on the image in layer window then name it and click on OK. Now if you use magic tool on the image and delete the background, it will also delete some of the image part. So to fix it you need to find that kind of places of the image and use brush tool to fill up that space. Now you can delete the background by selecting it with magic tool.