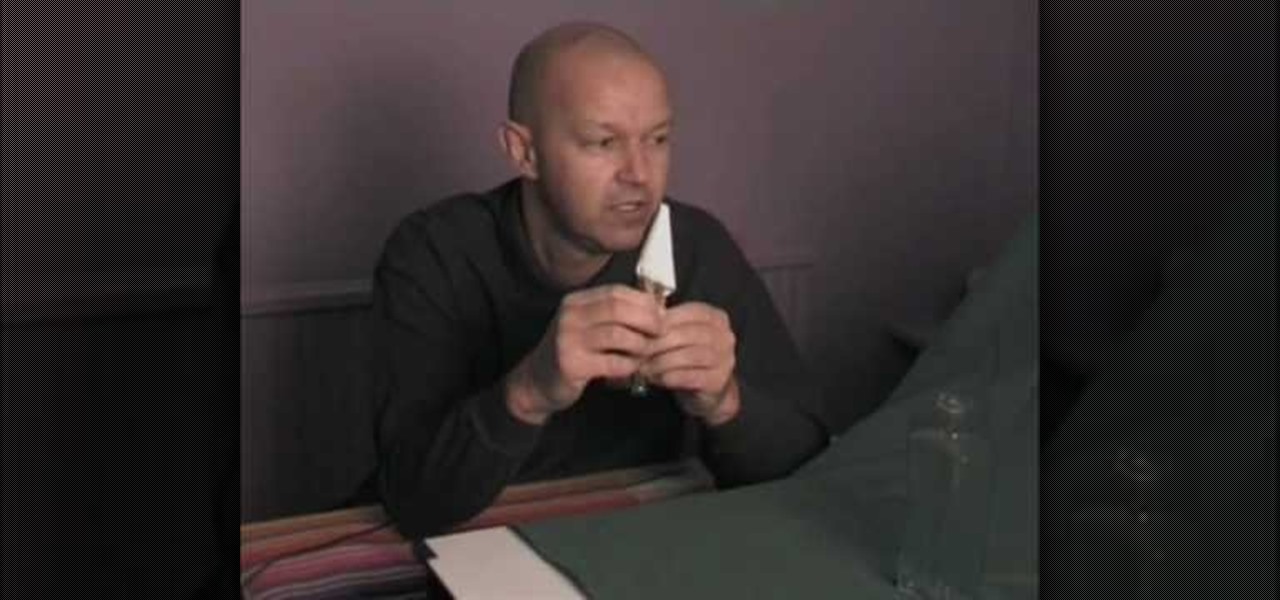
This video shows you how to light a bottle with long exposure in photography. The end result is to have a picture of a bottle with glowing edges with a black background. For starters you set your SLR camera settings to a 30 second manual shutter speed and a f5. 6 set aperture. Put the camera on a tripod for steadiness and set up your subject. For the subject, on a table, place your bottle in front of your chosen drop cloth. It is best to choose a color similar to the bottle. Then you use a li...
This video will show you how to make a stop motion film using an editing program called Windows Movie Maker. Find a place to film your stop motion movie. Preferably a well lit area where the light source is constant. Set your camera on a tripod and position at the angle you prefer. Place the object you want to use in your film outside of the camera's view, and take a picture. Move your object slightly into the camera's view and take another picture. Repeat this many times, until your object i...
This tutorial shows you how to make a professional looking video. Specifically: panning, tilting, zolly effect, dynamic dutch angle, and proper handheld technique.

This software tutorial shows you how you can blend three differently exposed images using Photomatix, and then demonstrate how to use some basic Photoshop techniques to touch-up the resulting image. [Note: the Flash overlay in this video doesn't sync completely with the audio; pausing for a second and then resuming it fixes the problem.]
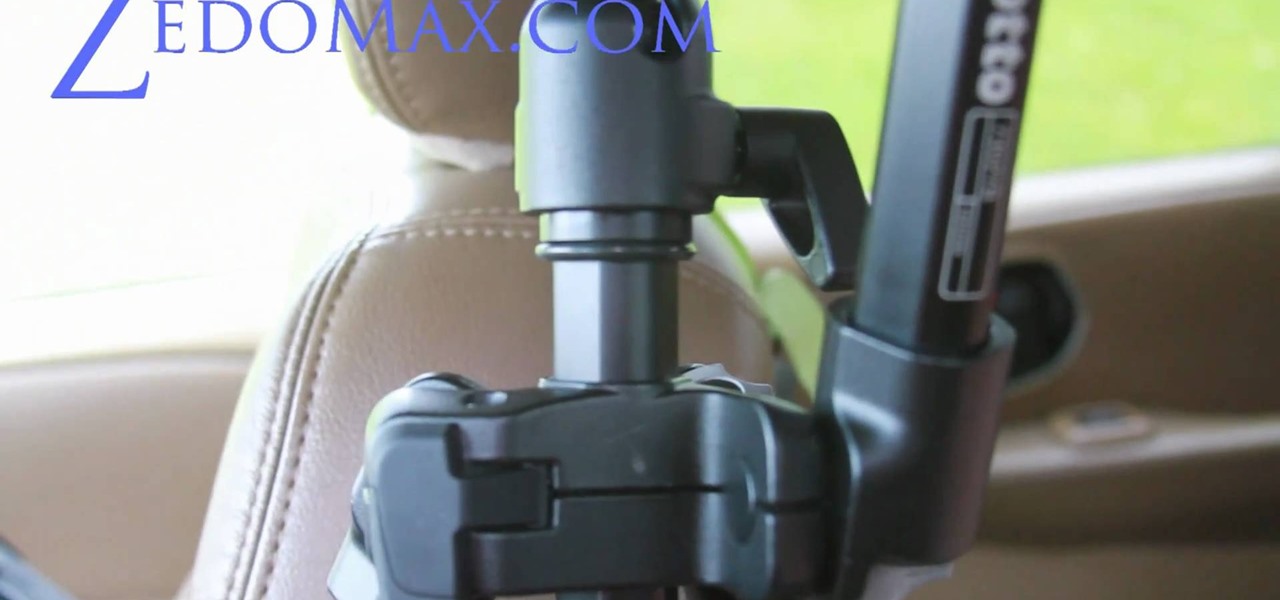
If you've ever wanted to do in-car filming, you know how difficult the set up is. The Tripshot mount can help you master your next taxicab confession, or your next car chase scene. This video explains proper setup and installation for maximum flexibility and diversity of camera angles.
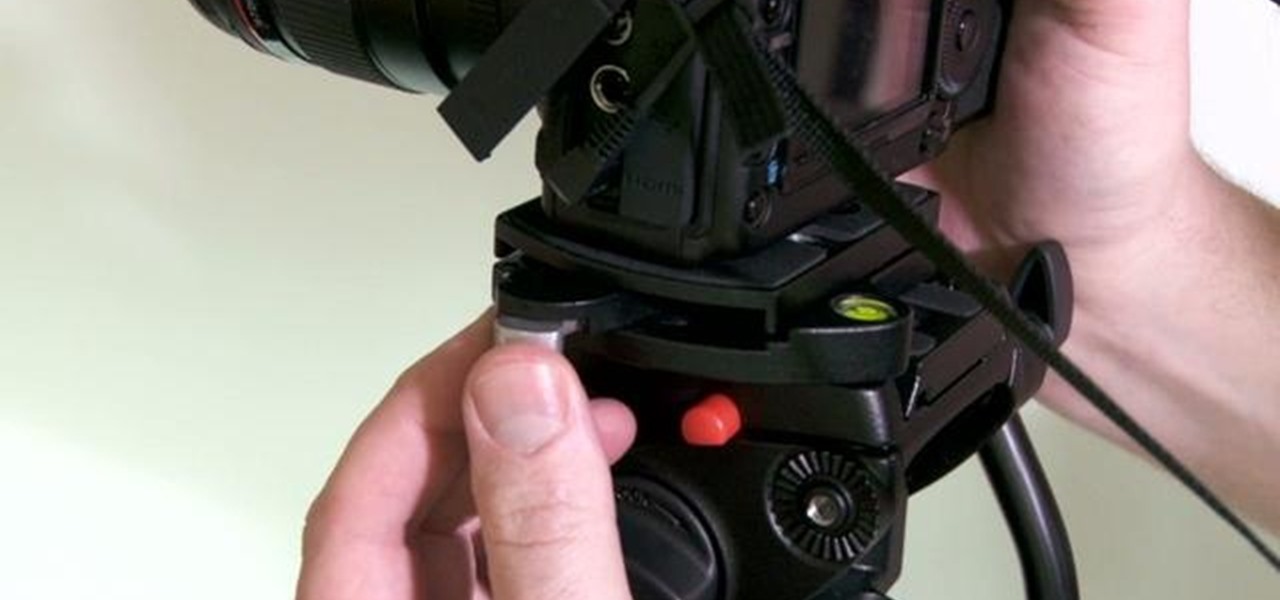
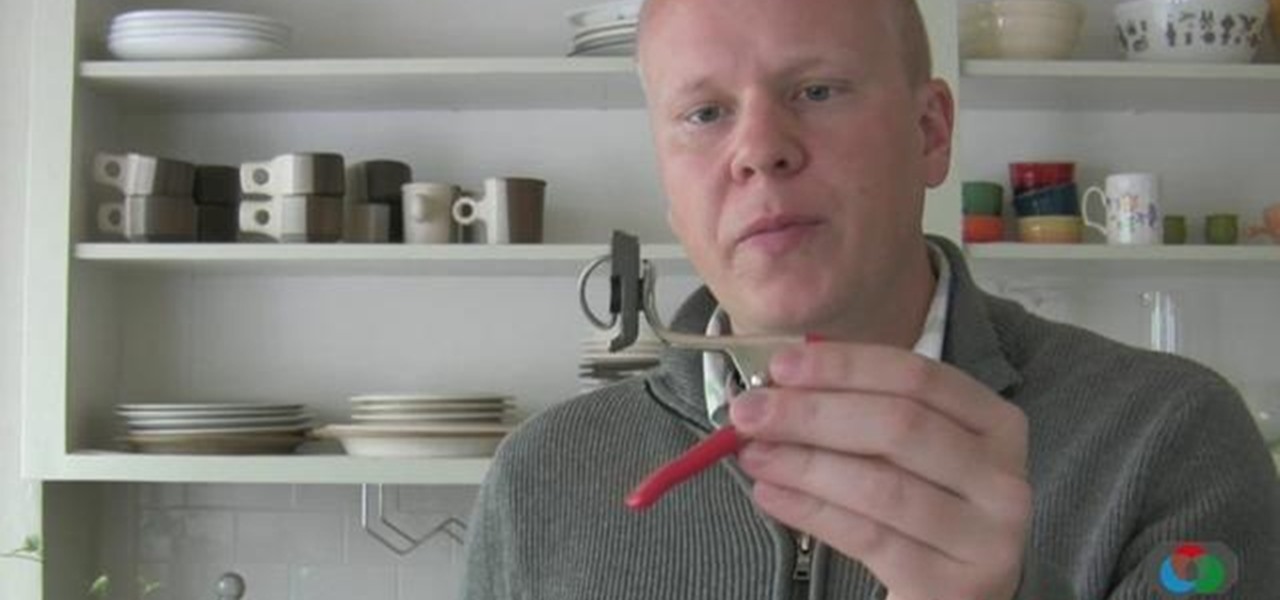
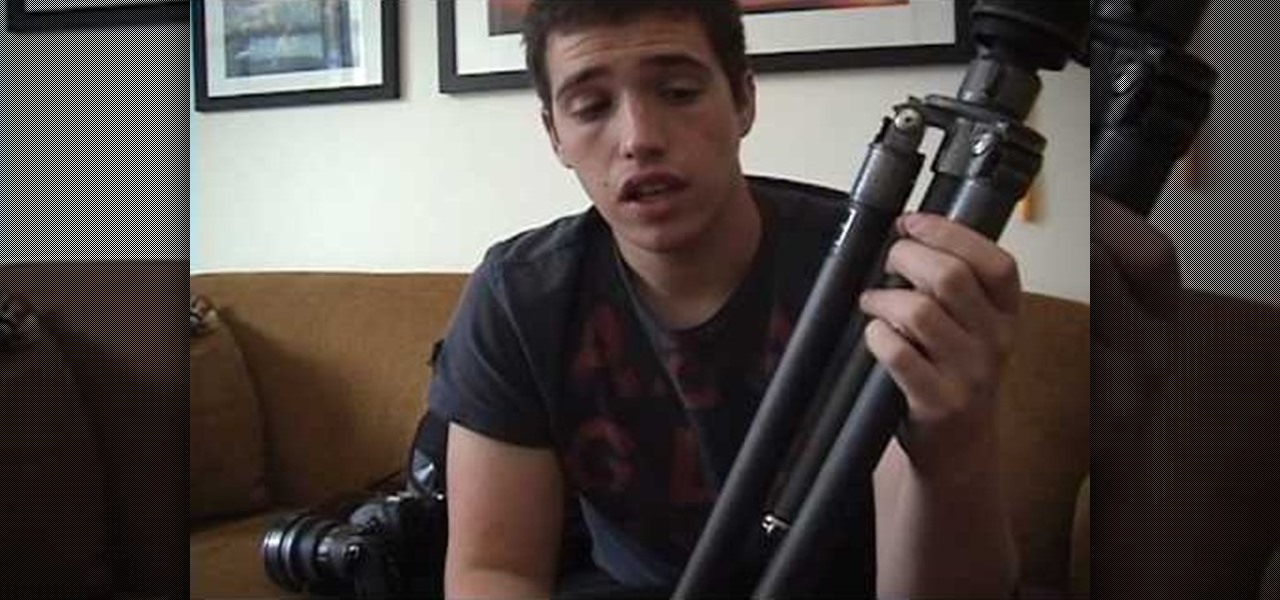
This tutorial shows you how to use the Mafrotto 394 quick release plates, which allows you to quickly move or change cameras on your tripod. This saves you a lot of time you'd otherwise spend screwing and unscrewing your camera from the tripod.

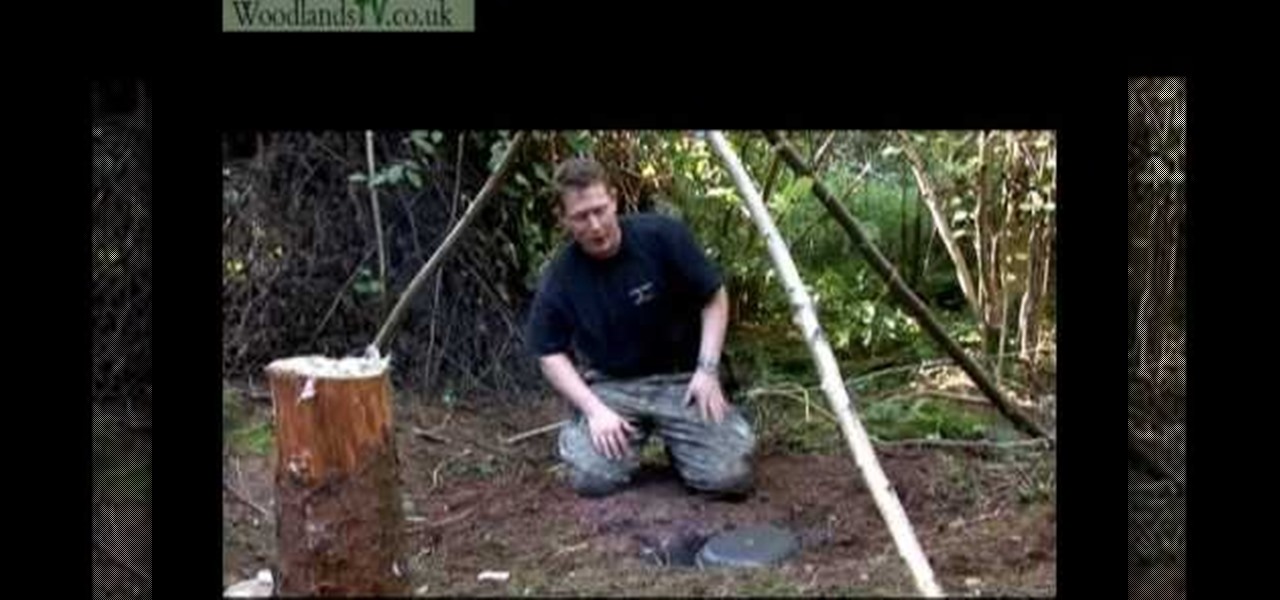
This video demonstrates the tripod method of setting up a campfire for cooking in the wilderness. In order to set up the tripod, you will need three large branches of hazel, some copper wire, and a hooked branch to be used to hang a pot from the tripod. The copper wire will be used to attach the hooked branch to the tripod setup and cord or rope may be substituted. Another method of cooking which is demonstrated is to cook food in a pot over some embers. A hole is dug in the ground and a fire...
Watch this instructional photography video that shows how to build a useful, inexpensive tripod for the amateur photographer on a budget. This tripod will be more useful than most commercial tripods with only a plastic bag full of beans. The result is a stable, useful extension with minimal photographic inhibitions that works on any surface. A great how to video for the amatuer photographer.
A tripod keeps your camera steady, which is useful for anyone taking either time lapse shots or using a long exposure. This quick tutorial shows you how to use the small GoPro camera tripod mount to put your digital camera on a tripod.
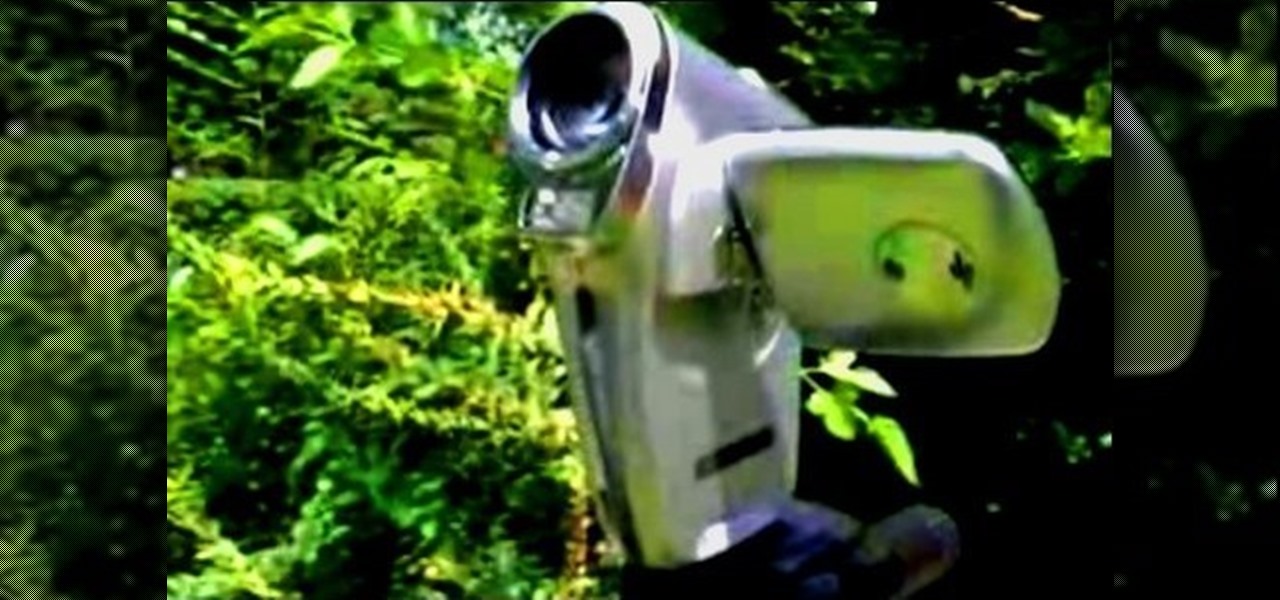
Understand basic video tricks. A great way to prop up your camcorder when you don't have a tripod and you want a low angle shot from the ground is to use a rubber doorstop. It stays put and you can move it up and back to set the shot higher or lower.
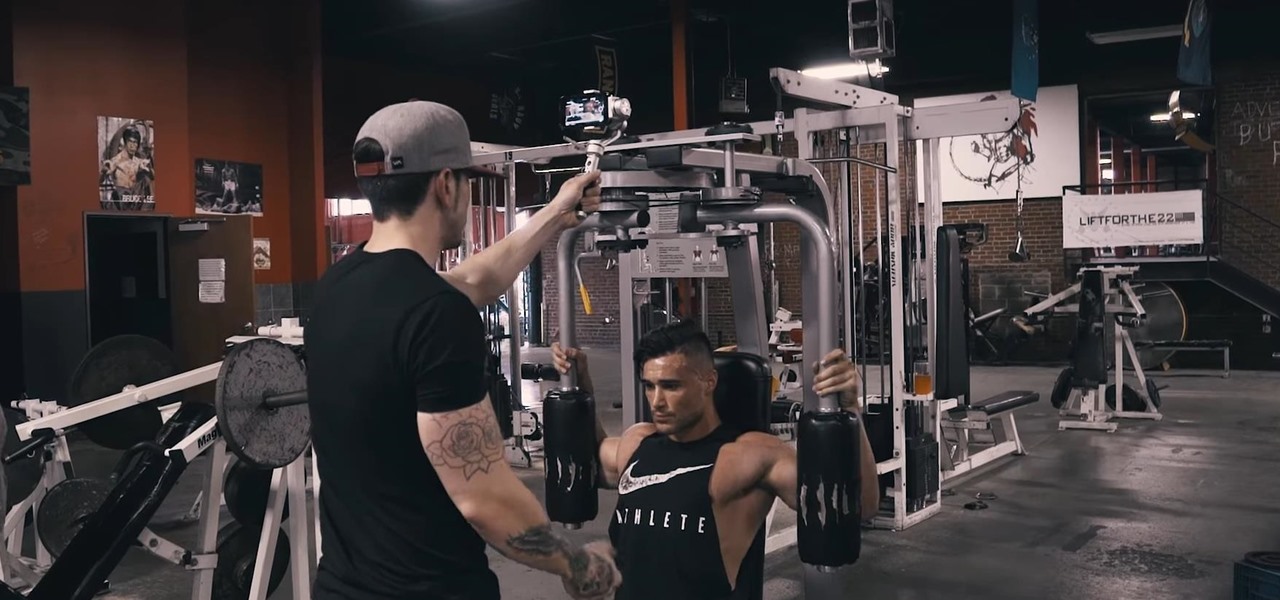
Chance are, you or someone you know is that person in the gym: flexing in front of a mirror, posing for the perfect photos to show off your workout results. But finding the right picture is hard. The thing is, it doesn't need to be.
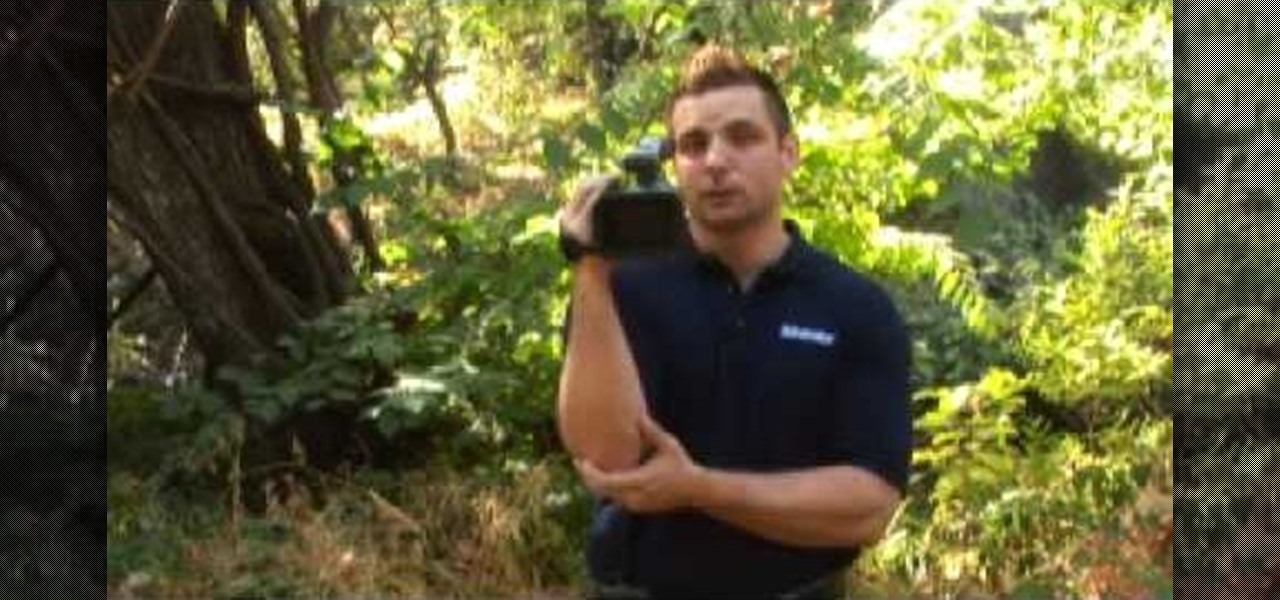
Ok, shutterbug, you need to keep your camera from shaking, but there’s no tripod in sight. Relax--you can still get the perfect shot. Here a couple easy tricks to help you get a steady shot without a tripod.
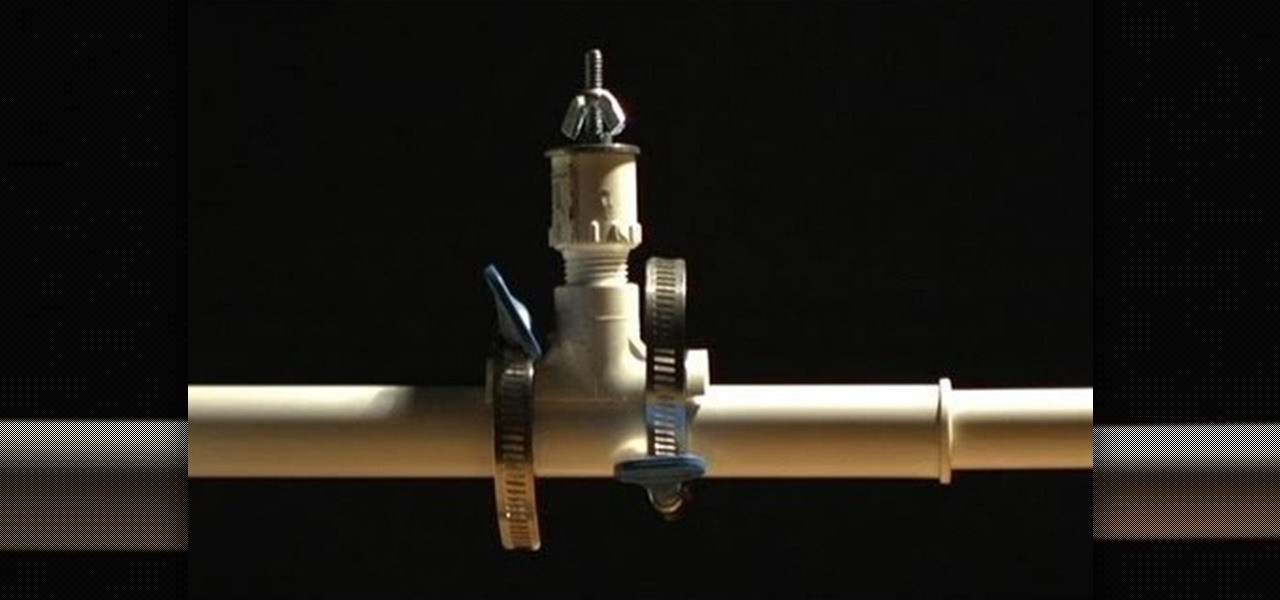
This system won't replace the need for a tripod entirely, but it's a great way to use both a superclamp and an articulated arm to give you a little extra camera support if you can't use a tripod for a particular shot.
In this clip, you'll learn a simple method for modifying a Manfrotto tripod into a fun, functional car mount for your Canon or Nikon digital single-lens reflex camera. For more information, including a complete demonstration, and detailed, step-by-step instructions, take a look.
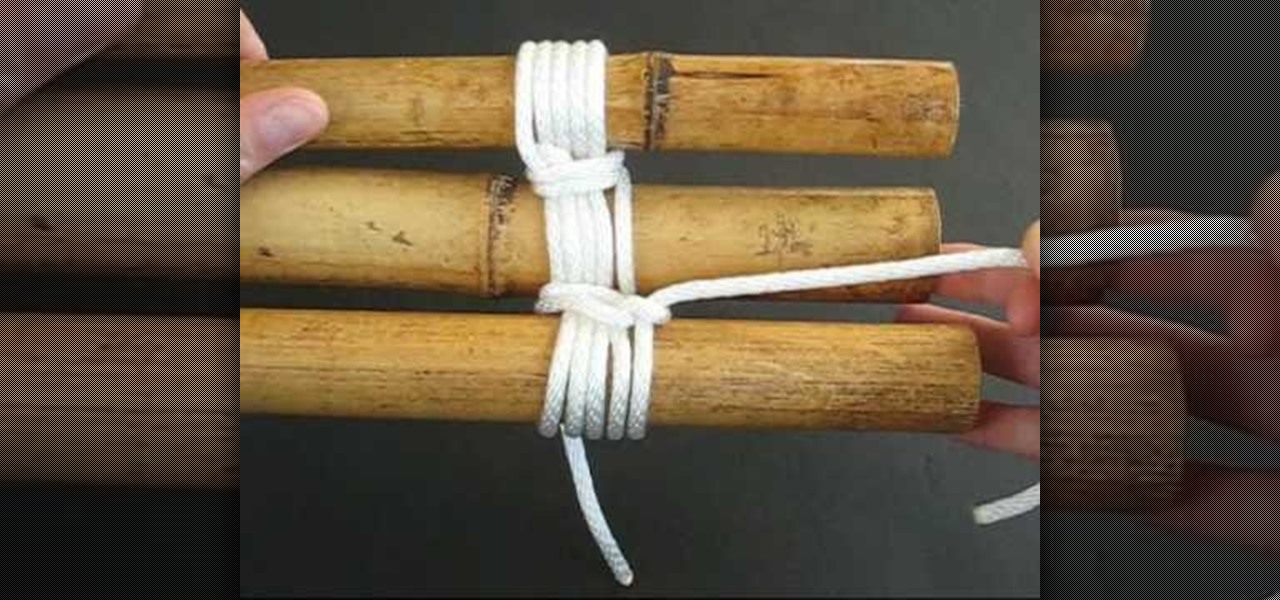
In this tutorial, we learn how to lash a bamboo tripod. First, you will tie a clove hitch by taking one piece of bamboo and wrapping the rope around it, then crossing the two sides of the string together to make a hitch. Next, you will secure the clove hitch around the third piece of bamboo. Now, you will rap all the pieces of bamboo together with the rope. Continue to do this until all the pieces feel secure together. Wrap the rope several times around each of the pieces, then wrap it in the...
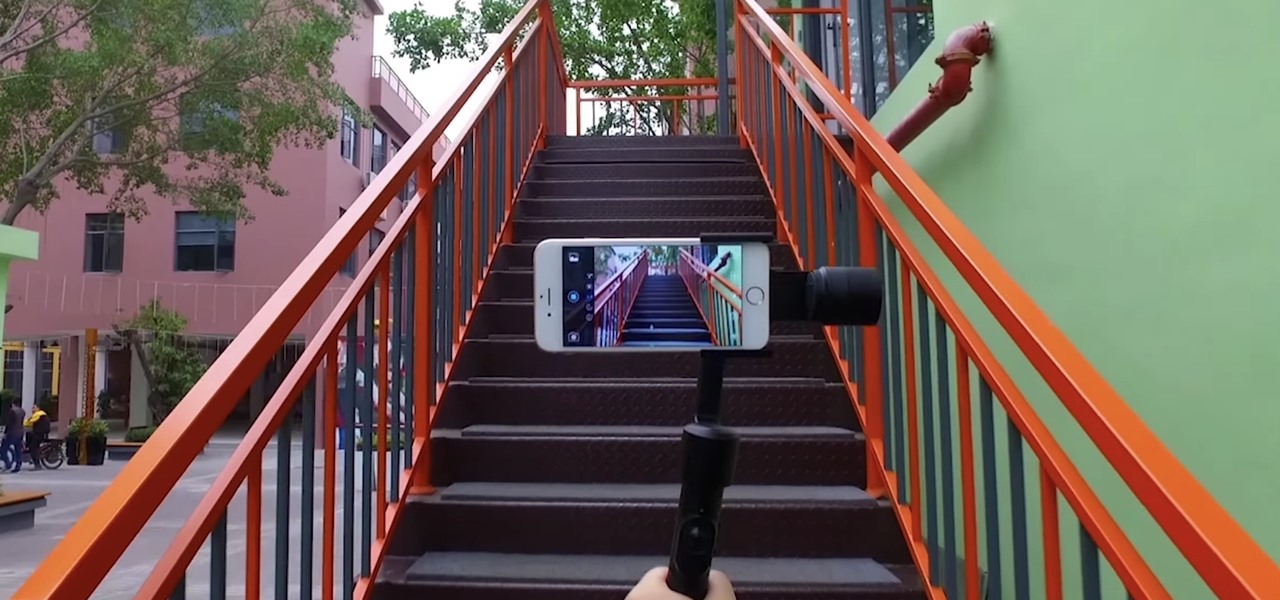
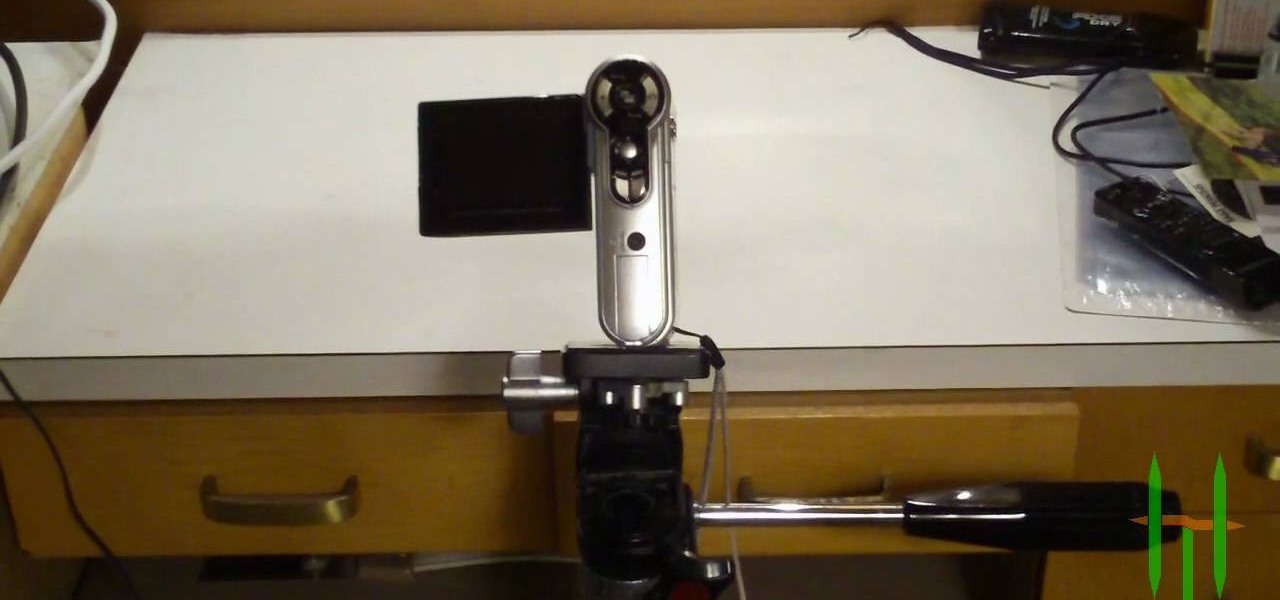
The iPhone has some pretty awesome video capabilities. Whether you are working with Cycorder from a jailbroken 2G or 3G, or Apple's own video camera in the 3GS, you will get pretty great picture resolution in a handy pocket size. In this tutorial, learn how to create your own tripod, on the cheap, for use with your otherwise handheld device. This will help you keep your image steady and stable and take great shots.
Looking to get your family together somehow? Why not a family portrait? It's both a great keepsake and as an excuse to get everyone together. In this video, learn how to snap a great family portrait.
In this video tutorial, Wess does some research and builds a steady-cam for under fourteen bucks. Hooray for no more motion sickness!
It doesn't matter how great a photographer if you don't have the right tools. Even Annie Liebvitz would get only average shots with a lower grade digital camera because it's very limited in terms of settings that you can control.
In this video, we learn how to photograph a fast car in motion. First, place a tripod on the camera and place the camera on top of the tripod. Take some still shots on the hood of the camera and have someone inside of the car. Now, start taking pictures and have the person take their foot off the brakes. Push the car and continue taking pictures on the hook while the car is rolling. When you have enough shots, have the person put their foot back on the brake, then you will be able to view you...
In this video tutorial, see how to transform a cheap goose neck lamp into a flexible camera holder. It's very cheap and easy to do... you'll love the results of this flexible camera tripod.
This Sports video tutorial will show you how to correct shoulder tilted golf push shots. This video is from Golf Link. One of the common problems is that people tend to push the shots too much to the right. This is because when they set up, they are tilted too much to the right. So, you need to raise your right shoulder so that the spine is more or less vertical. A good drill to correct this is to follow the tripod drill. Stand up with both legs at the same angle. Then take the club right in ...
Did you ever have trouble keeping a steady shot with a camera or camcorder when you didn't have a tripod ready? In this video, Steve from Cameras Brookwood shows you why a Manfrotto Super Clamp might just be the tool for you. A Super Clamp can open up to three inches and attaches any camera weighing up to fifteen kilograms to a post, beam, or table. To use the Super Clamp, open it fully and place it around the object that you want to attach it to. Turn the crank until the Super Clamp is snug,...
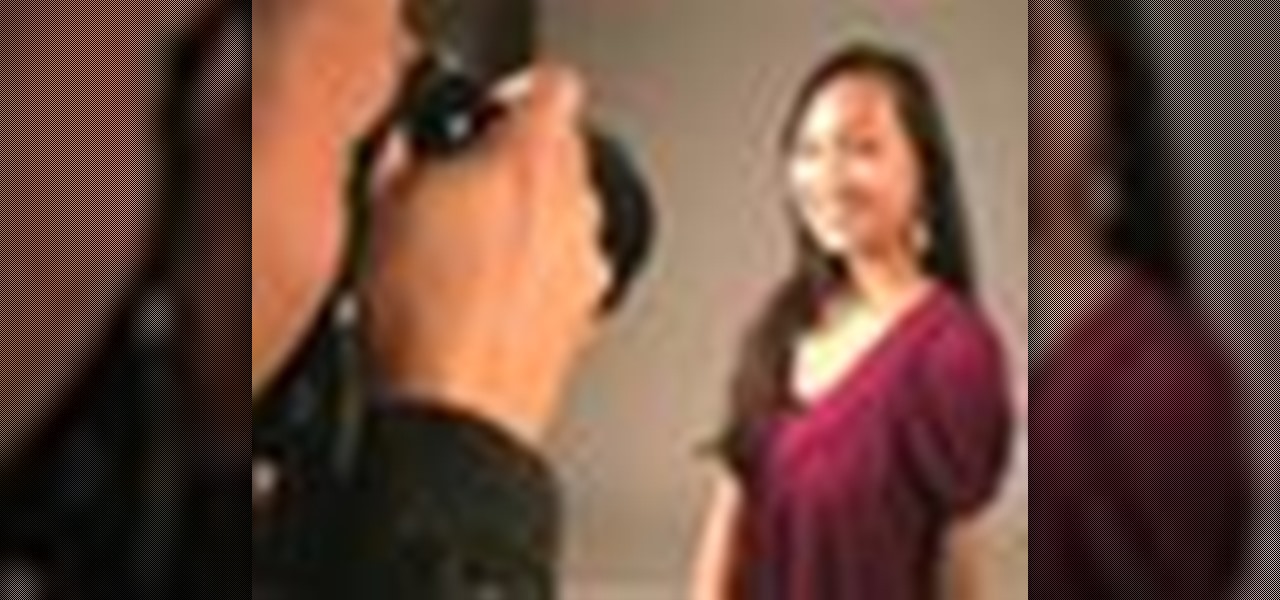
Portraits come in all shapes and sizes, but follow a few basic guidelines and you'll set the scene for a beautiful and professional shot.
In this episode, we dive into the expensive, or, at the least, tedious realm of camera stabilization equipment. This ranges from the all-powerful, all-knowing fluid tripod head, to the much used and often abused dolly. We don't own and operate an actual Steadicam or a jib or a crane, but hey, we'll mention them, too.
Advancements in technology have made it perfectly possible to make a short film or even an entire movie with your iPhone or Android — as long as you've got the right gear. Lenses, stabilizers, tripods, lighting, microphones, chargers, and cases can make the difference between a good movie and a great film, all of which can make a great gift for those aspiring (or current) filmmakers in your life.
If you are interested in low-budget filmmaking, this video will show you a clever way to construct a camera mount. Instead of spending money on a tripod or camera mount, pick up a few materials from a hardware store and make your own.
Turn your digital footage into something that looks more like film! Set your frame rate to 24 and shoot with a low depth of field to mimic the look of a film camera. Also make sure you pick the right aspect ratio, resolution and use a tripod!
You need a flash to add light to dark photography settings, but a flash might make your picture look blown out or overexposed. Here are some good tips, like adjusting your aperture or manual ISO to maximize your available light. A tripod will also help you by allowing a longer shutter speed. Or, use a diffuser made over an old, translucent film canister!
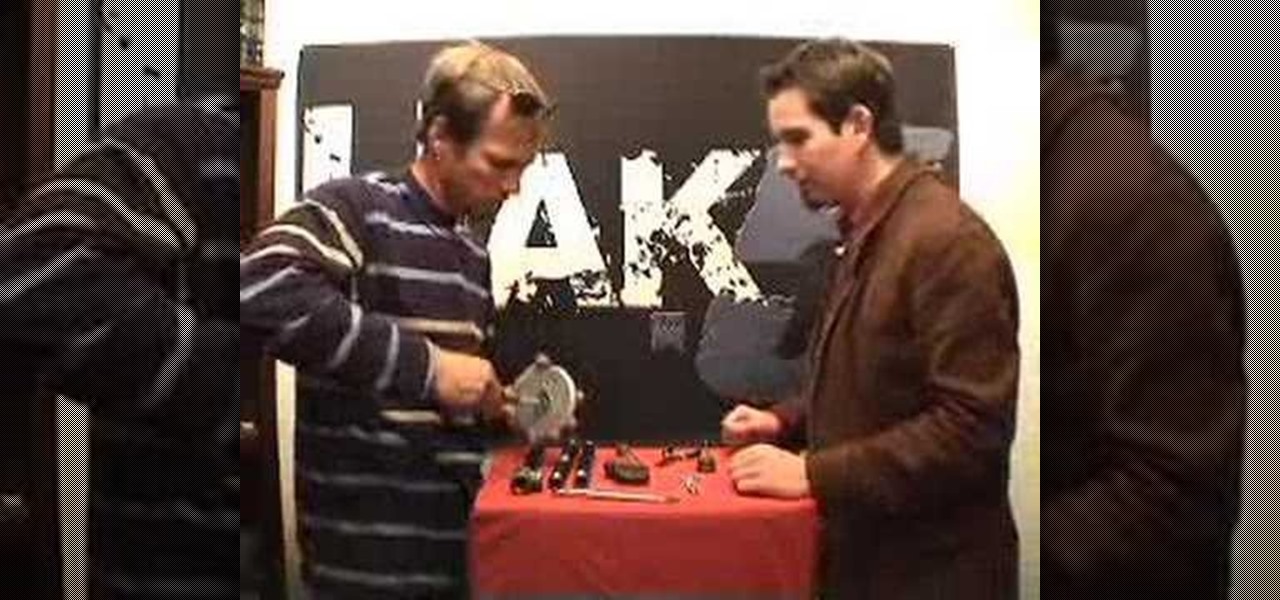
Kip Kay, from Make Magazine, shows you how to take your radio controlled vehicle and turn it into a spy car, by mounting a camera onto it. Follow Kip, as he shows you how to remove the body from your radio controlled car, mount the camera inside the chassis using the triPod mounting screw hole on your video camera, and put it all back together. In just few short steps you, too, can have your very own radio controlled spy car.
In this DIY video, we show you how we built our camera crane. This was all done with a table saw, drill and hack saw.
Alan K. from Indy Mogul shows you how to create a your own film production setup including a camera, tripod, and recording media for under $250. Of course this assumes you already have a computer for editing.
In this video, we learn how to create a memorable birth video. You will first need to buy a video camera or use a digital camera that takes movies as well. Make sure it has a microphone so you capture all the action. Make sure you have a large memory card to capture everything as well. Also, purchase a triPod that will allow you to take photos of the family and you will get steady pictures. Make the movie into different acts, but make sure to be with your wife during the process. Take lots of...
In this tutorial, we learn how to break an arm in half & blow up a head in film. To do this, you will need: a tripod, after effects, and actors. First, you need to record a shot with the background and the person whose head you want to blow up. After this, put the clean plate clip over the head of your actor. Now, you will be able to clear out the person and add a mask that is exploding in the frame instead of the head. Add in some fake blood and sound effects, then you will be finished with ...
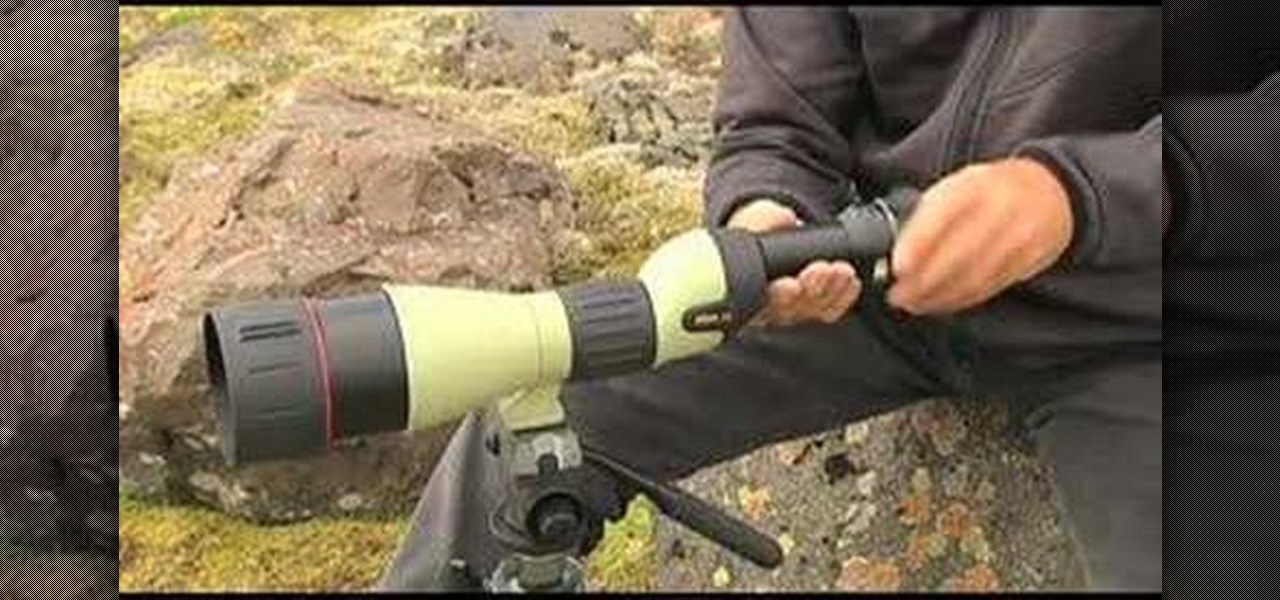
In this tutorial, we learn how to use Nikon digiscopes. This means taking digital pictures with a digital camera through a lens. You can use two different versions of lenses with the Nikon Coolpix camera. You will need an eyepiece to use the camera with these lenses. You can get up to 75x magnification while using these, but risk of camera shake is greater. First, mount the camera on the triPod and apply the lens adapter, then the Coolpix camera. After this, use the view finder to see through...
Forget dogs - tripods are a man's best friend (well, if he's a photographer). Eliminating many of the factors that create crappy photos, including the instability of holding the camera up by hand, photo blurs, and general strain of weilding those hulking digital SLRs, tripods are always there to lend a helping leg. Or three.
Rescue the sky in your pictures. Sometimes, the blue sky and the white clouds are the most exhilarating part of a photograph, so making sure it's as vivid as it is in real life is key to having a good pic. To do this, you'll need to do some touchup work in Photoshop.
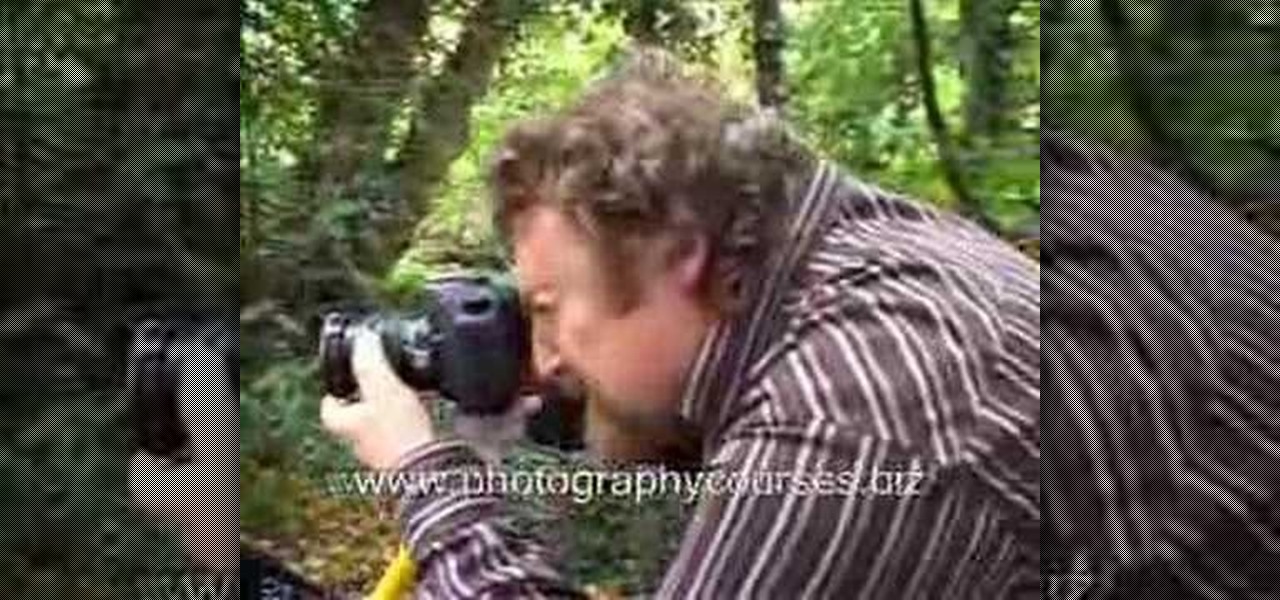
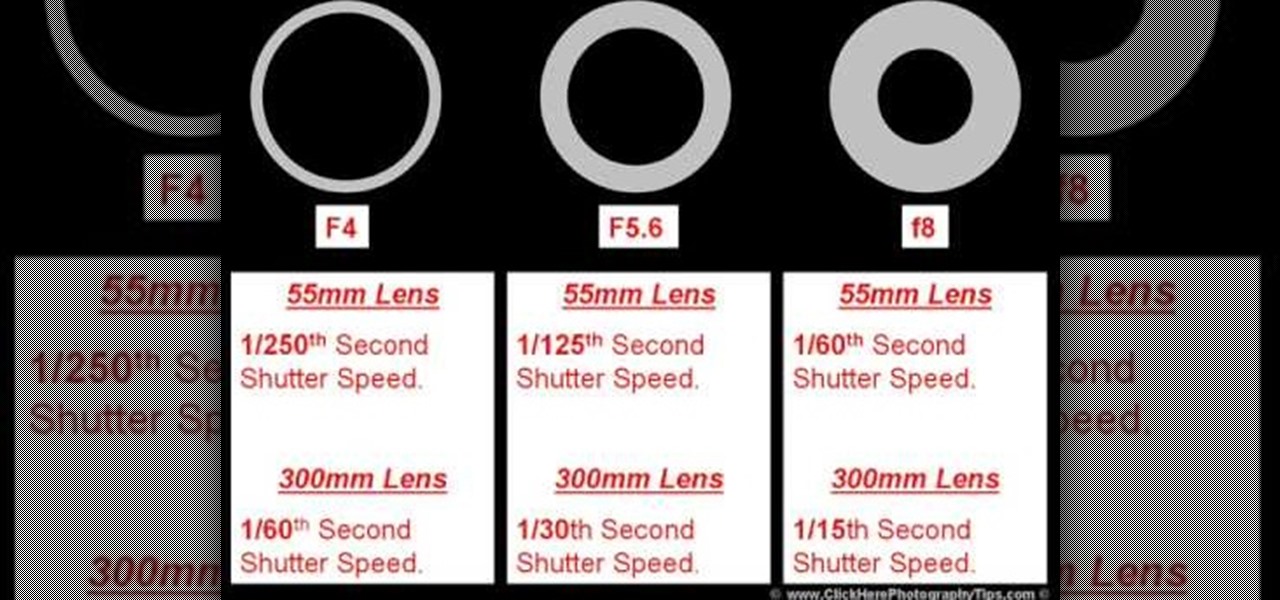
To understand and use depth of field you should realize that depth of field is the area behind and in front of your focusing point - the thing or object you are shooting. Depth of field is determined by apreture or f -stop, the shutter speed of your camera and the focal length of the lens. If you have the right combination of shutter speed and the f-stop, your picture will have the right exposure. If you change either the f-stop or the shutter, you need to remember to adjust the other! Differ...
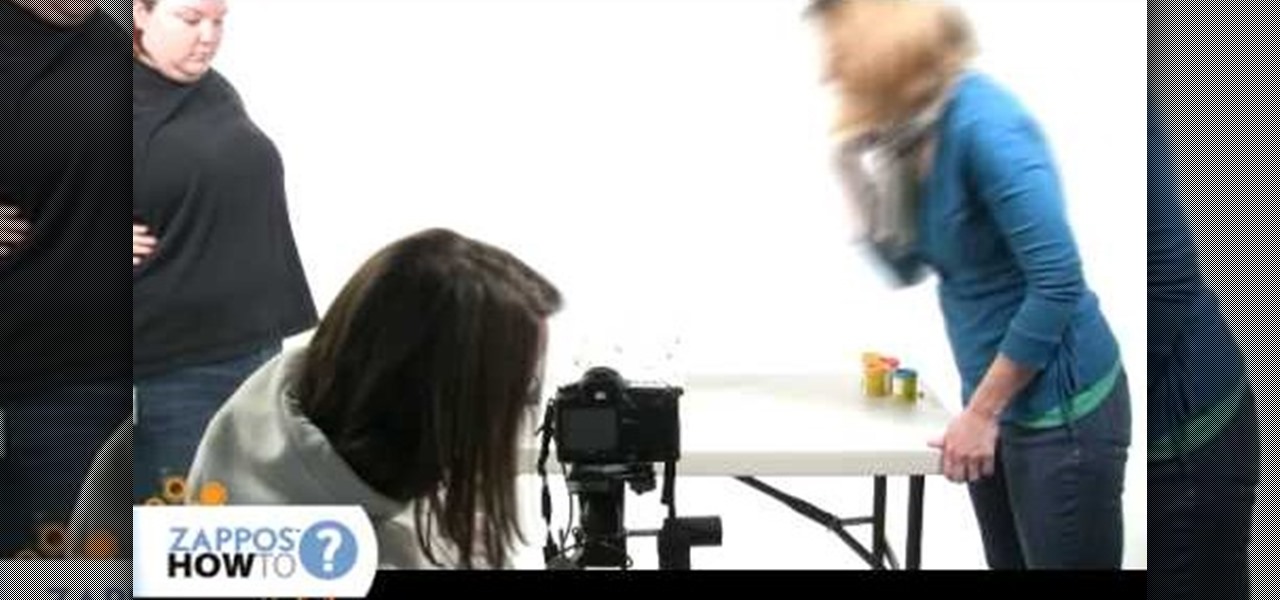
In this Film and Theater video tutorial you will learn how to make a claymation animation video. This is a Zappos how to video. The equipments that you will need for this are a camera on a tripod, a trigger so that your camera stays steady, constant source of light and clay. Make some animation characters with the clay. Start moving your characters around and take a picture of the movement. When you are editing, each picture will take up two frames. If you want to be in slow motion, then put ...
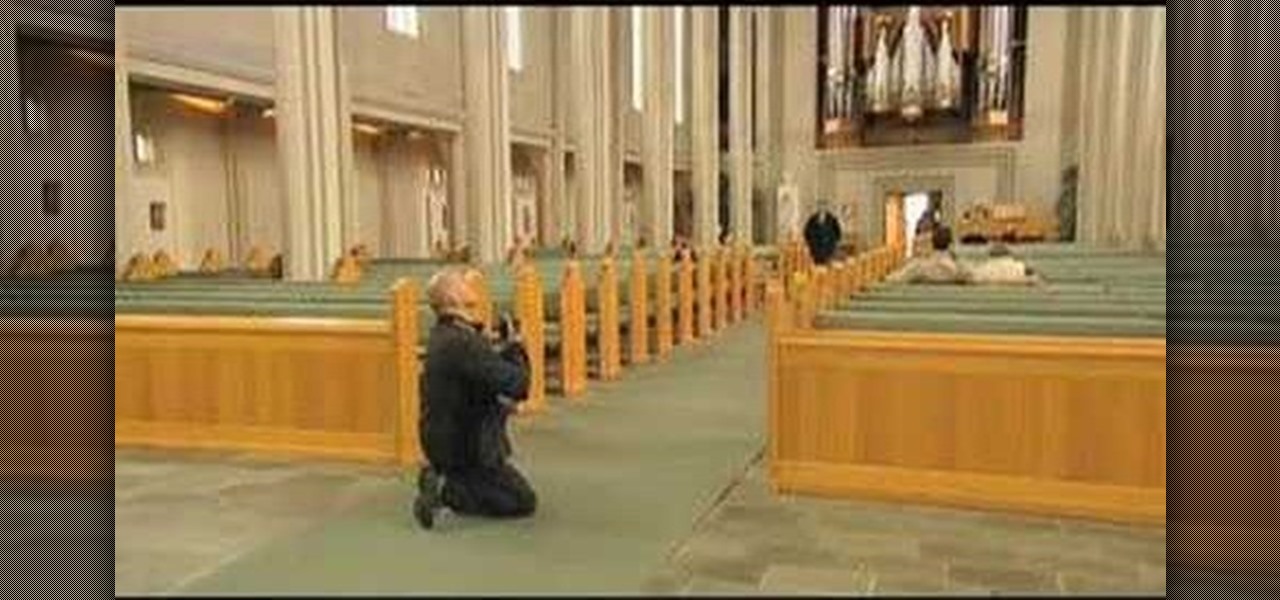
This 5 minute video covers the basics of photographing architecture using Nikon equipment. It gives good basic explanation of basic lessons in architecture photography, including selecting a proper position and distance to either provide or avoid distortion as desired, selecting the proper lens, selecting the film speed for indoor photographs, and how this may affect your choice to use a triPod, and even how to use Nikon's software to correct or adjust photographs after they've been taken. If...