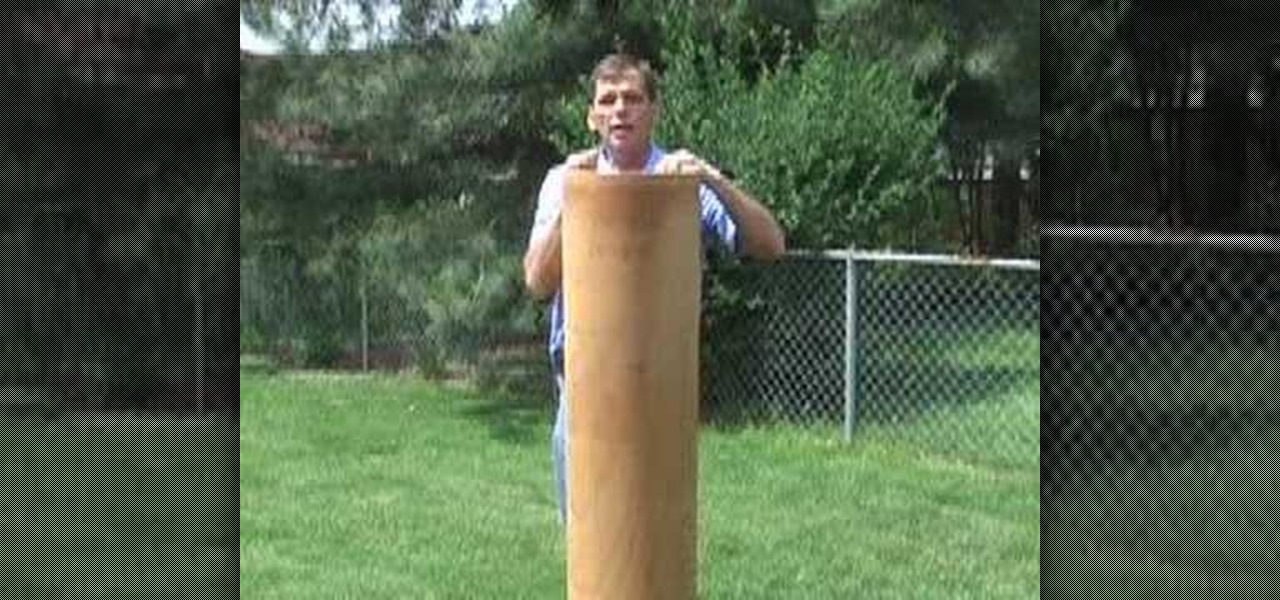
This is kind of a hard trick to pull off, but if you're playing a soccer match in Fifa 12 and want to try something risky, go for a curved in corner kick goal. With any luck, the goalie won't be able to block it and you'll score!

In this tutorial, we learn how to pick up stitches along a curved edge. You can see the slope on your fabric that you can work with. If you slip the first stitch you can avoid this. First, slip the first stitch and then bind off the next stitch as usual. This will create a nice curve. To pick up stitches, you will use a circular needle and then poke it through the area in the last row. Find a 'v' shape and then push the needle through this. Pull through just like you are normally knitting and...
In this free video software tutorial, you'll learn how to use the Saturation Curve editor when color correcting or grading footage in Color. Whether you're new to Apple's popular non-linear editor or a seasoned digital video professional merely looking to pick up a few new tips and tricks, you're certain to be well served by this video guide. Take a look.
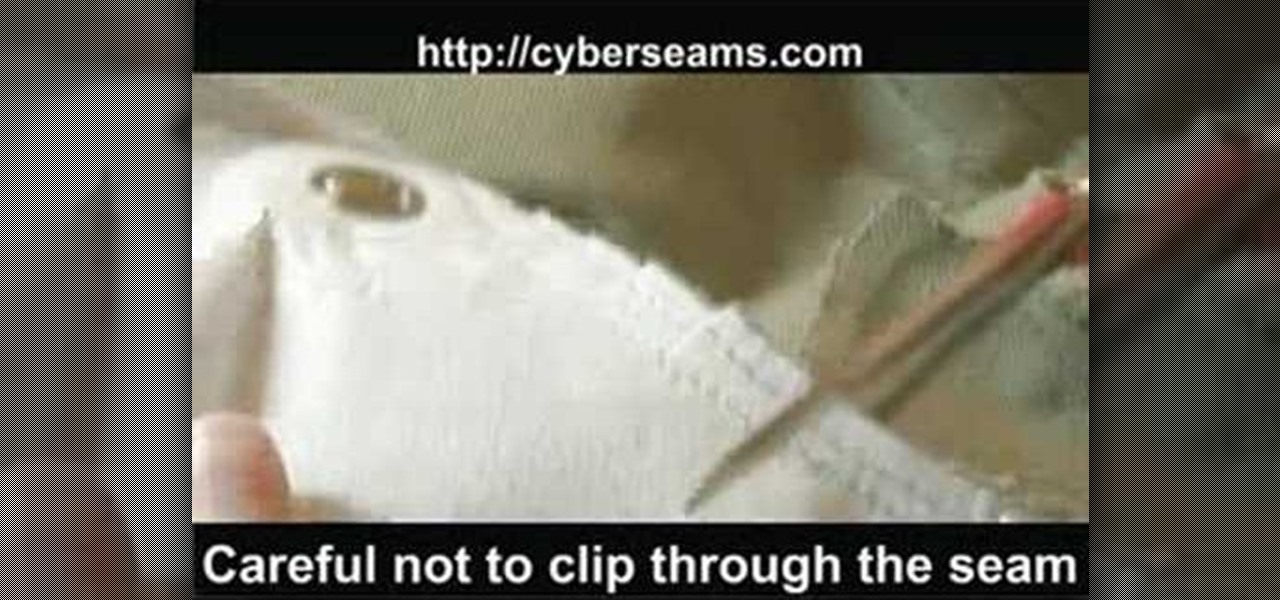
In this tutorial, we learn how to clip curves when sewing with rounded seams or edges. First, you will take your piece of clothing, then grab your scissors. Put the edge of the clothing (with the seam) and lay it flat. Then, put the scissors onto the seams with the very back of the scissors over the fabric. Clip close to the seam, but do not clip through the seam as you are cutting. Once you are finished, you will be able to sew in curves and will be able to easily get around the seams withou...

In this tutorial, we learn how to find abc, curve direction & y-intercept (quadratic eq). First, you need to find the a,b, and c of the equation. A will equal what the coefficient is in the equation, B will equal the second, and C will equal the third term. This tells us if the numbers are positive or negative, so so know if the parabola opens up or down. To graph C, you will know what the y-intercept is going to be, then find the matching units. After this, you will use B to shape the parabo...

Even though your Blackberry Curve comes with MMS capabilities, the factory settings do not have this turned on. To turn on MMS, you'll have to go within several settings on your phone and adjust them in order to be able to receive MMS messages.

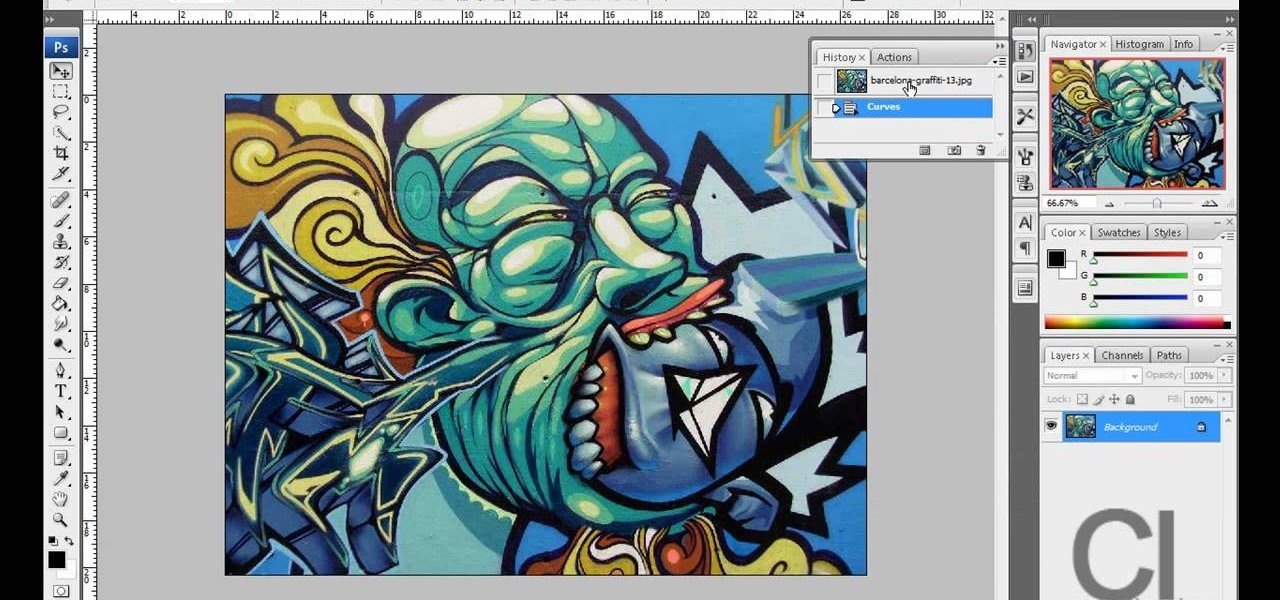
In this tutorial, we learn how to create a Lomo effect in Photoshop. This is a contrast that gives the photo a "cool" vibe and change up the effect that you see. First, load up your picture into Photoshop and then go to adjustments, then curve. From here, add a slight s-curve and then add a green channel with the same s-curve that you just created. Go to the blue channel and create the opposite s-channel from the others, then click "ok". Now, go to layer, new adjustment layer, then gradient m...
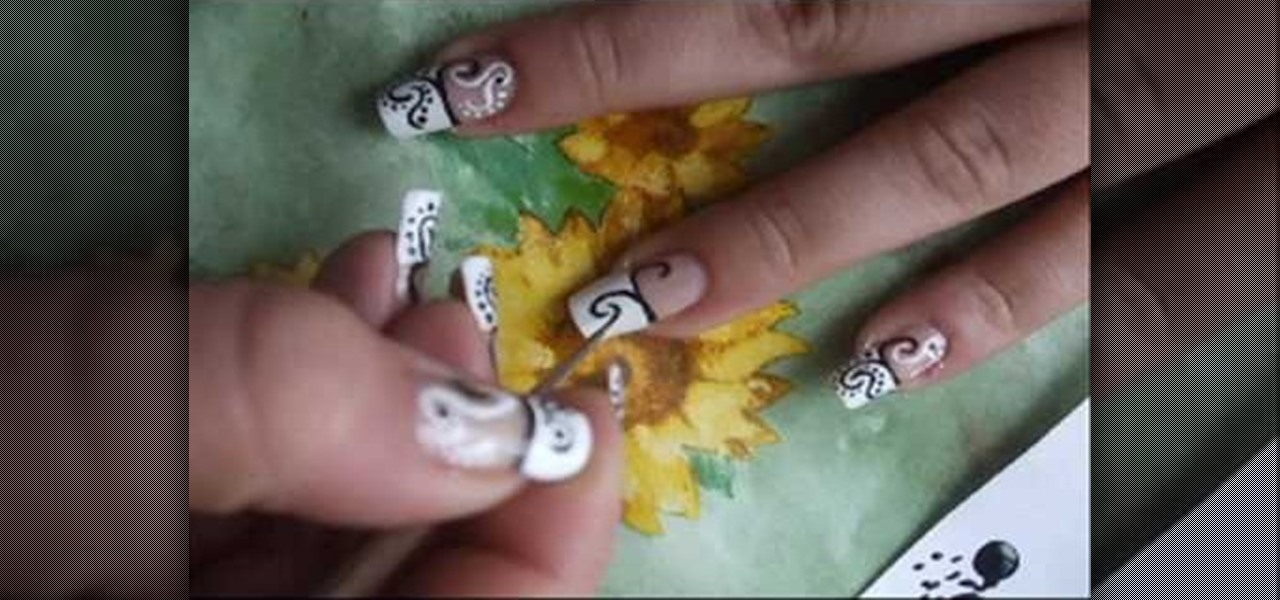
Create swirly black & white nail art Use base and top coat, black and white nail polish and paint brush nr 2/0.
This video tutorial is in the Fine Art category which will show you how to draw a deer from a triangle. First you draw an inverted triangle which will make up the face of the deer. Then you draw two small curves starting at the two top corners of the triangle to make the horns of the deer. You can also draw more short curves or straight lines starting from these curves to make up the complete horns. Then you draw the ears starting just below the horns. Draw the eyes and color in the ears and ...
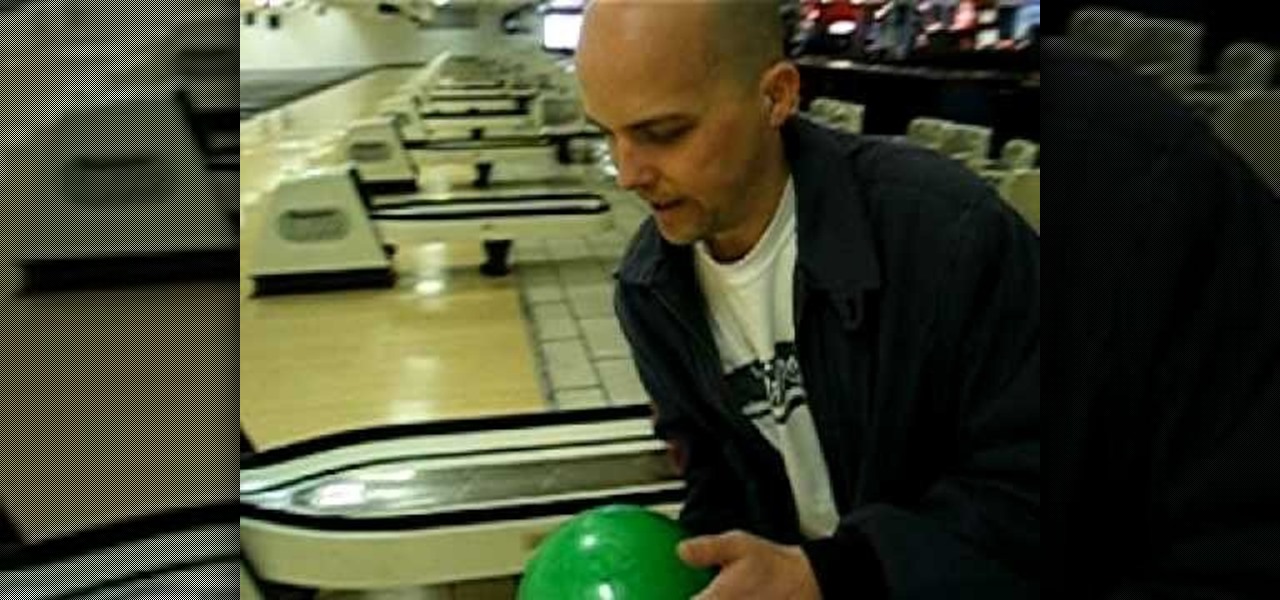
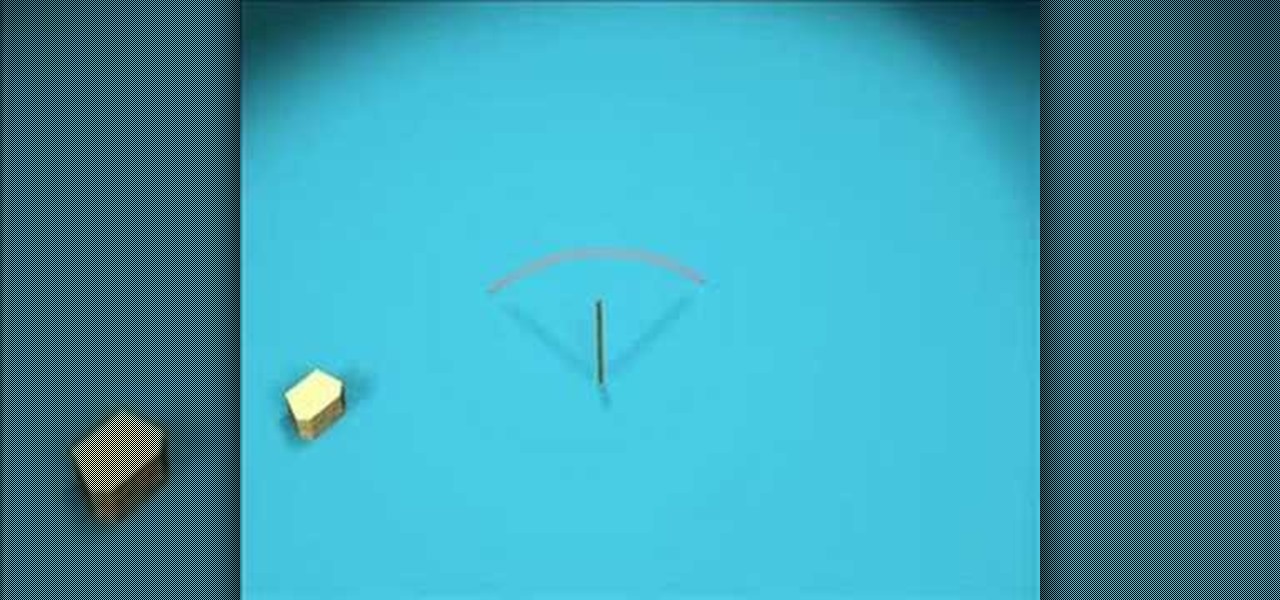
In this video tutorial, viewers learn how to curve a bowling ball. When holding the ball, users will only be using 2 fingers: the middle and index finger. Place the middle finger in the left hole and index finger in the right hole. Make sure that the bowling ball is not too heavy. Do not use your thumb to hold the third hole. When you let go of the ball, spin the ball really hard with just one finger. This video will benefit those viewers who enjoy bowling, and would like to learn how to curv...
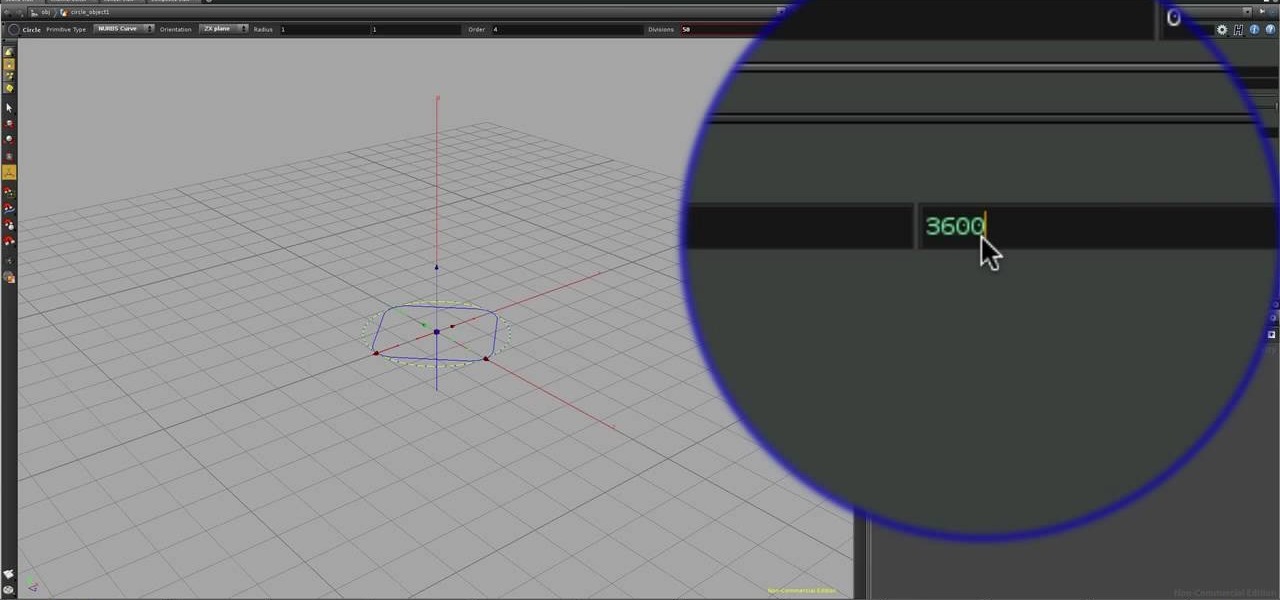
See how to build a simple coil spring using the curve, sweep, and skin nodes in Houdini. Whether you're new to Side Effects Software's popular 3D production program or a seasoned graphic artist just interested in better acquainting yourself with the application, you're sure to be well served by this free video tutorial. For more information, including detailed instructions, take a look.
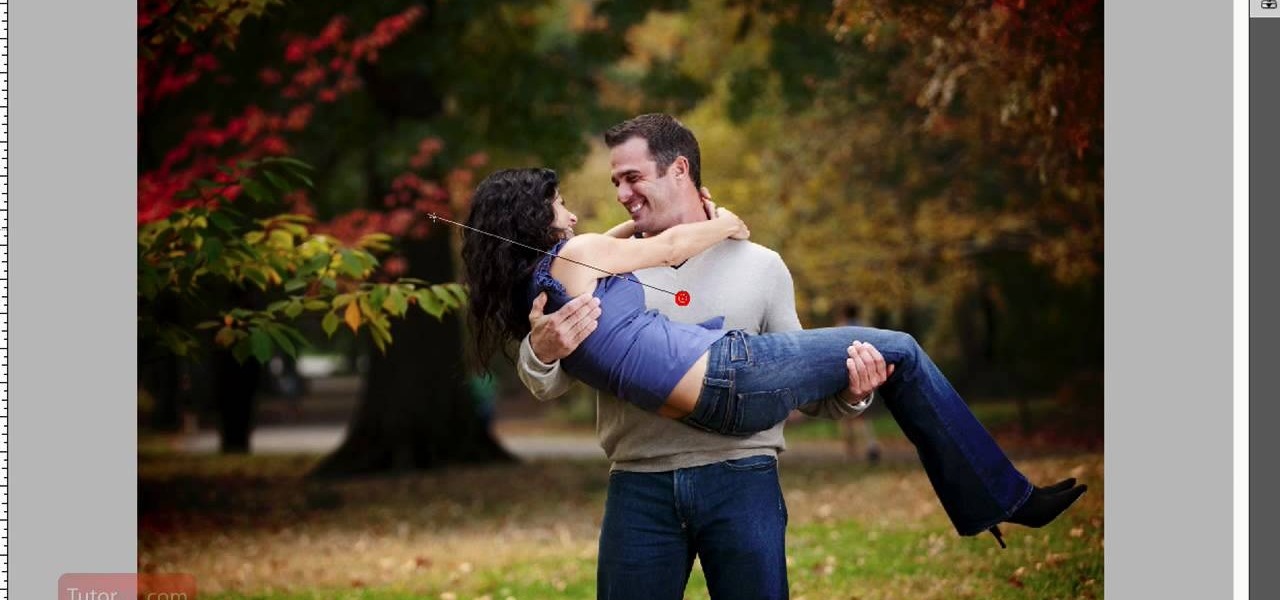
This tutorial is for those looking to get an understanding of Photoshop CS4. It's a beginner video and shows you the best way to create a vignette with curves easily. It's a great way to add a little something to your photos without making it look fake. So sit back and enjoy!
First of all select the 'pen' tool from the side bar. Now select the 'paths' box from the top screen. Now make two different points to make a curve and then make a third point to make another curve as shown. Now select the 'text' button. Now change the 'color' of the text to ‘black’. Now run your cursor over the path till it ‘changes’. Then click. Now you can actually ‘type’ on this path. Type in "text goes in a curve". This shall be written on the curved path that you have just m...
This video shows the method to suture arterial lines using a curved needle. We will use the new arterial line kit for our demonstration. We will use a curved needle as it is safer than the straight needle. Hold the suture with the hamostat at about sixty percent from the tip of the needle. Do the turn the key method to bring the needle out from the other side. Unclamp it and re-clamp it at the tip of the needle. Continue the turn the key method. Pull the suture up and through. Cut the suture ...
Brightstorm explains how to use definite integrals to find area. There are two basic area problems: one in which the area lies between the function and the x-axis, and one where the area lies between the two functions. In the first case, if the curve lies above the x-axis for x=a to x=b, the definite integral returns the area. If it lies below the x-axis for x=a to x=b, then the definite integral returns a negative area. In the second case, we assume that f(x) is the higher curve and g(x) is ...
This video shows you how to measure the length of someone's sleeves precisely. For it, you will need a meter, and to keep your arm straight, near your body. Begin measuring from where the arm starts, where the shoulder naturally begins to curve. Measure straight down the arm until you reach the desired length, where you want the sleeve to end. Be careful to stop at the elbow and position the meter exactly where the curve hits its peek, so that you measure will be precise, and not come shorter...
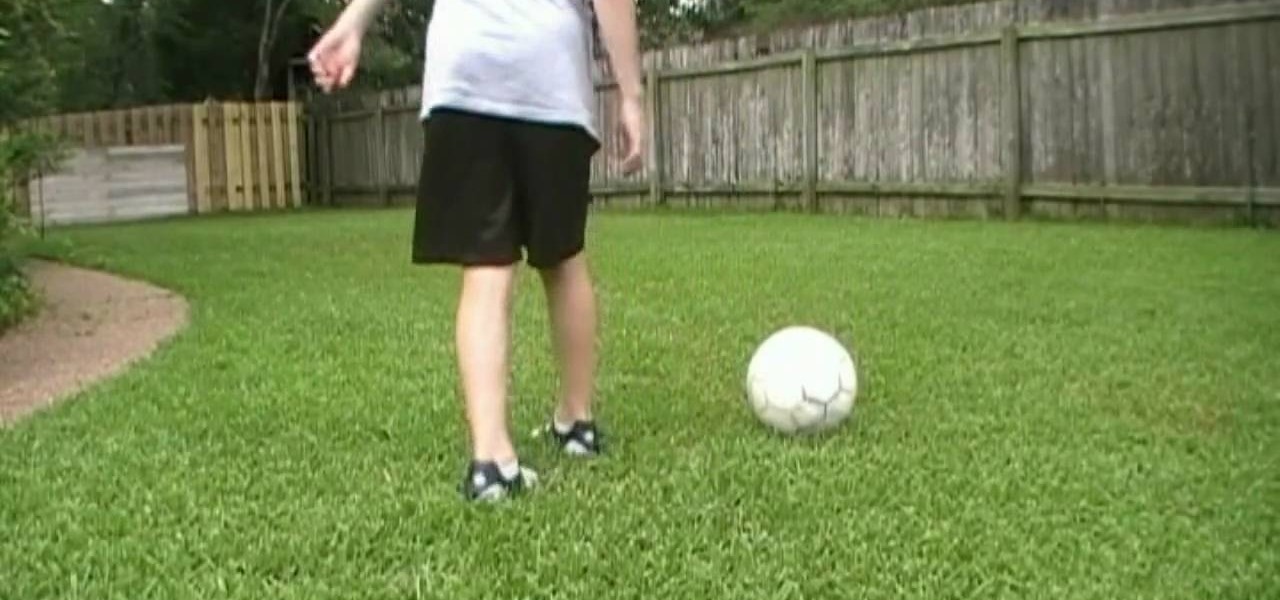
In this video tutorial, viewers learn how to curve a soccer ball with the inside of the foot. The kick is also referred to as the banana kick. When kick the ball, use the inside of your foot. Kick the ball at the lower middle section. As your hitting it, wrap your foot around the ball. Do not place your foot too close to the ball when your planting your foot and make an L-shape with the leg. Kick the ball at an angle. This video will benefit those viewers who enjoy playing soccer and would li...
This video demonstrates a way to use the lomo effect on pictures in Photoshop. The effect makes colors stand out more, thus making the picture stand out more. The first step in adding the lomo effect is to change the color curve levels of the picture by going to Image > Adjustment > Curves in Photoshop. They should be changed very slightly, from a straight line to a slight "s" shape curve. After this, the gradient map should be changed to a black to white gradient. Finally, the mode of the ne...
Cross processing is a Photoshop version of slide processing. The result would be you get all these weird color shifts. For reasons best known to people who run the fashion magazines, this look became very popular in the 1990s. Start by adding in a curves layer. Add a new adjustment layer for curves. If you've never used curves before it is recommended that you take a curves tutorial first as for this effect we will need to adjust individual color channels. It is not difficult but if you don't...
This video tutorial shows both the basic features and more in-depth uses of the Blackberry Curve II camera's capabilities. The tutorial goes through many options, providing a good description of how to access and use each. The viewer will learn the specifications of the camera including its mega-pixels, zooming capabilities, and so forth. Manipulation of lighting effects, color effects, and options when saving and deleting pictures are just some of the components reviewed.
Skull crushers are an important part of strength training and weight lifting. This fitness HowTo video tutorial shows you the proper way to do skull crushers with a curved barbell. Start the skull crusher by grabbing the bar with a close grip. Proceed to lay down on the bench and lower the bar toward your forehead. Keep watching to learn more about proper form for doing barbell skull crushers.
Learn all about curves and how to manipulate their components in Autodesk's Maya 3D modeling and animating software.
This video tutorial shows you how build a retaining wall system with an outside radius curve. This how-to video is a must-watch for everyone in the building and construction business.
This video tutorial shows you how build a retaining wall system with an inside radius curve. This video is a must-watch for everyone in the construction business.
Get the finest level of control over your animation with the curve editor. Just check out this 3ds Max video tutorial on how to do low level animating.
In this home construction video Bob Schmidt shows you a building product that will help you build something with a curve in it.
You may know how to cut and sand plywood, but bending it is a totally different skill set you need to master, but this woodworking how-to will show you the right moves in seven easy steps. In the video, a bend is being applied to plywood for a curved chair leg, but this method could be used for any kind of plywood bends.
Alright BlackBerry users, it's time to wipe all that information before you sell, or pass on your BB to someone else. This simple how-to video will let you wipe it all, simply and easily. If you desire you can also choose to leave in your sim card and wipe the contents of that as well. The tutorial hose will guide you you step by step on how to remove your personal information from your Blackberry 8350i Curve. This instructional video is a simple but very detailed tutorial that instructs you ...
First of all you have to draw the two big eyes and a curved line supporting them. Now draw and darken the two eyeballs. Draw the top portion of the head and make some curves of hair at the top. Draw the round cheeks on both sides. Now you have to draw the round beak and the mouth as shown. Then draw the narrow neck and then draw two lines around it. Draw two nostrils over the beak and then also draw the two eyebrows. Now color the drawing as shown. Fill in black color in the face and neck. Le...
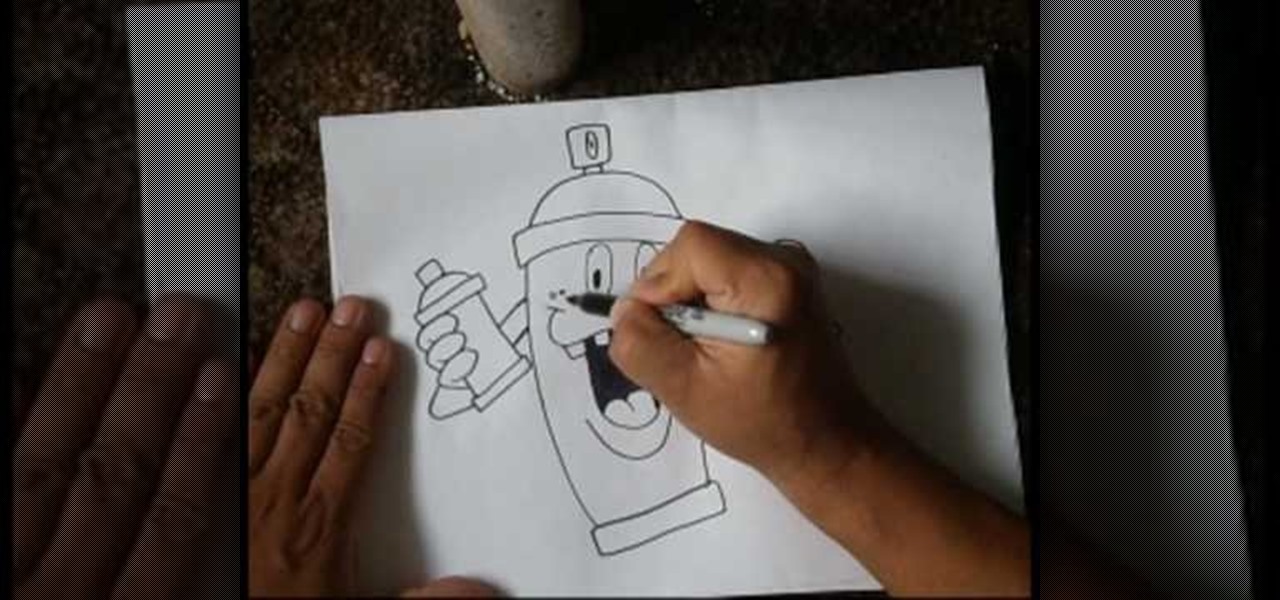
Cholowiz13 demonstrates how to draw an anamorphic spray can character, which can inspire your own cartoon characters for any artistic purpose. Without using any words, Cholowiz13 demonstrates the creation of a cartoon spray can character by starting with the eyes and mouth. He keeps the face simple and adjusts the body of the spray can to show action while fitting the face. A few simple curves form the hands and fingers. But for the best expression, add shading (especially inside the mouth, a...
The runways are not the likeliest of places to look for makeup trends that are immediately wearable (think the recent fashion show in Spain where models went bald and wore thinning gray beards), but this fall the overall makeup trend has been one that's surprisingly translatable off the runway.
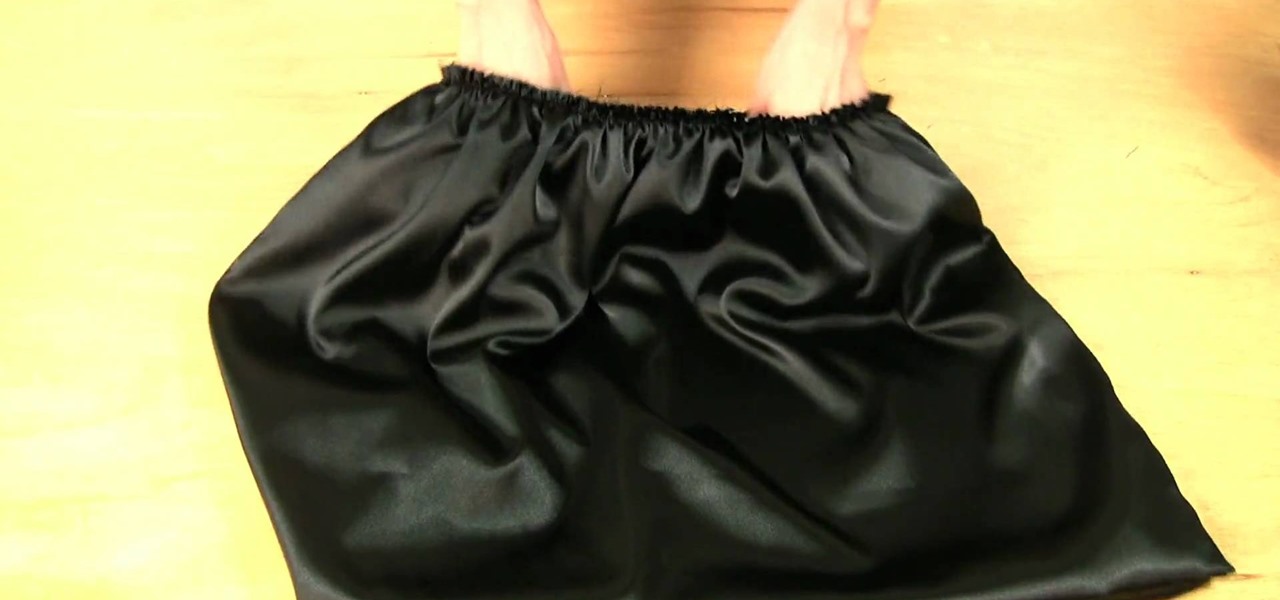
High waists and poofy balloon skirts are both two of the hottest fashion trends this season, seen on stars like Lauren Conrad and Jessica Simpson (yes, of the famous "Mom jean" snafu).
SoundCloud is a really interesting alternative to Spotify and Pandora in that it will never really give you the exact mainstream song that you want. If you're looking for new up-and-coming artists that are making some wonderful alternative remixes to mainstream music, then SoundCloud is the right music streaming app for you.
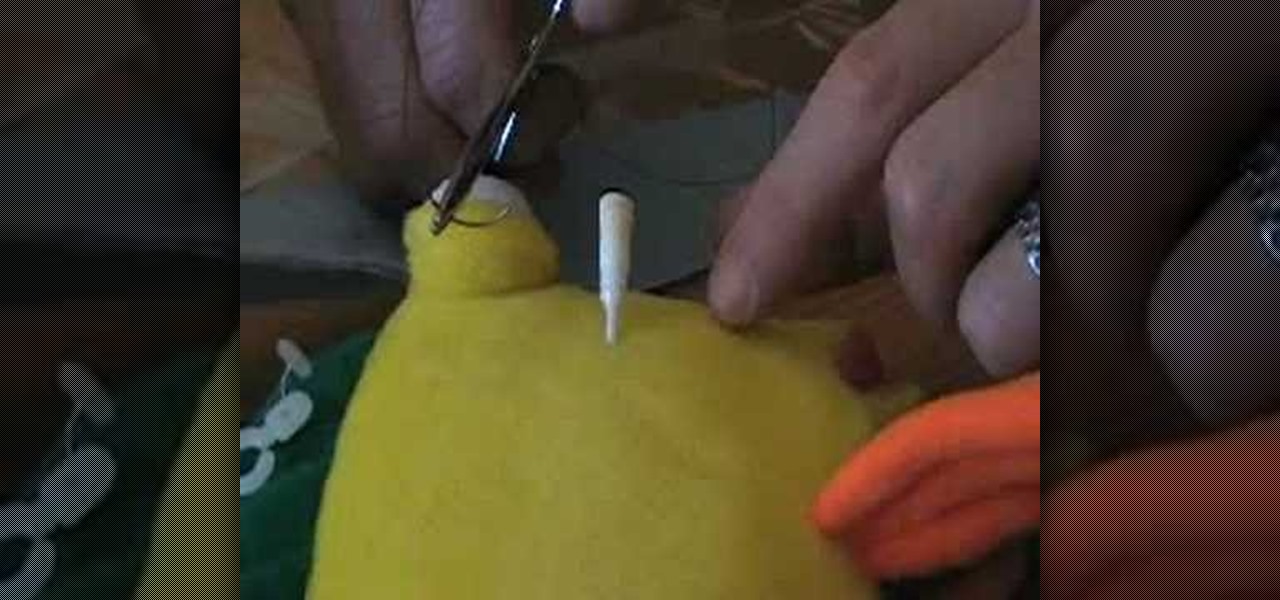
This video will teach you how to make a curvy fox tail for a fursuit! From the Creator:
Drawing Now presents this simple video tutorial on how to draw Betty Boop. Begin by drawing an apple shape for her head. In the center of her head draw her part and extend the curved line down to her cheek finishing off with an upturned curl. Next draw the other half of her part and the front curved line of her hair. Then add two circles for her eyes. Inside these circles, shade in small half circle areas so it appears she is looking to the side. On the opposite side of the eye, add an accent...
1. To make tilt shift take one picture which is taken from high angle with any content like car and buses. Now open the picture in Photoshop and change it to quick mask mode to create and edit the selection.
A recent trend in freshwater fishing is adding a fluorocarbon leader to your braided fishing line. The benefits of this are mainly allowing for some more absorbtion of pull, resulting in less twist and potential tangling. This how-to will show you how to tie this knot yourself, so when you're in the middle of that beautiful pond, and you feel the bite, you'll be able to successfully land that big one with less stress on you or your gear.
In an age of trend-following stars and fast fashion turnaround, there are few celebrities left whose looks hearken back to the golden age of Hollywood.
Bangs are the hottest hair trend for spring and summer, but who wants to drop $100 for trim at a salon?
Learn all about the recent Hollywood pregnancy trend of belly casting. The Pregnancy Show gives you an exclusive look at how to make your own belly cast.