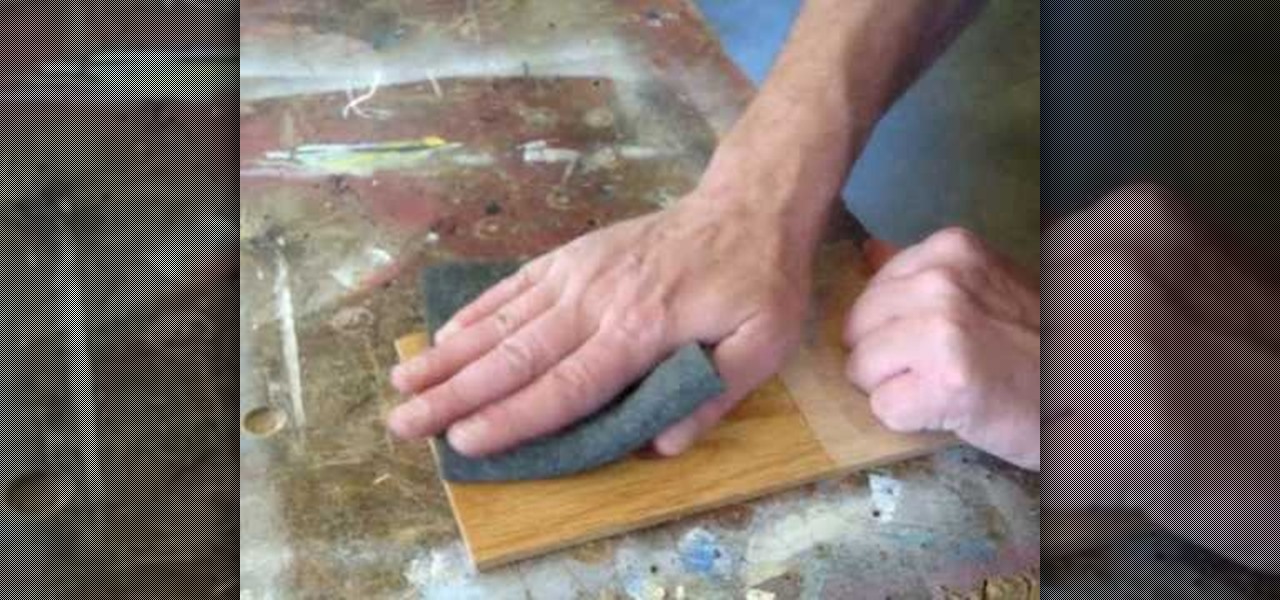
Many may not realize it, but finishing any kind of wood project is a great way for ensuring that it will last longer, as well as look great in the end. In this tutorial above, you'll find out some helpful tips for finishing your wood finish. You'll find an easy way to smooth out your lacquer or polyurethane wood finish after you've applied it. So good luck and enjoy!
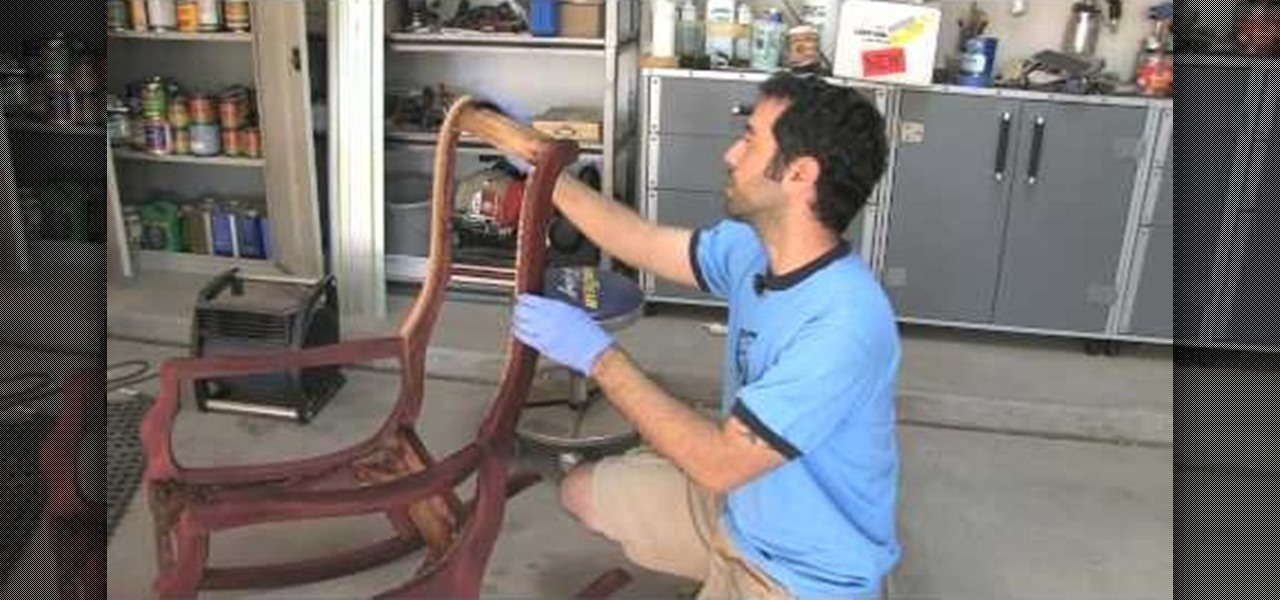
Add shimmer and color to your wood furniture with a Deep Red Mahogany Finish. Watch as The Wood Whisper's Marc Spagnuolo shows you how to apply this look to anything wood in your home. First Marc tells you about narrowing down whether or not you have to mask the wood or enhance the wood. After you figure that out you must choose how to color your wood. There are stains, oils, dyes and more! Marc chooses both a Merlot General Finishes Water Based Dye and Brown Mahogany General Finishes Gel Sta...

Weather can really do some damage to the wood siding on your home. When your siding becomes worn and rotten due to the elements, it's time to break out the tools and install new wood. This instructional video walks you through the basic steps of repairing the wood siding on your home. Follow along with the tutorial and keep your home fortified.
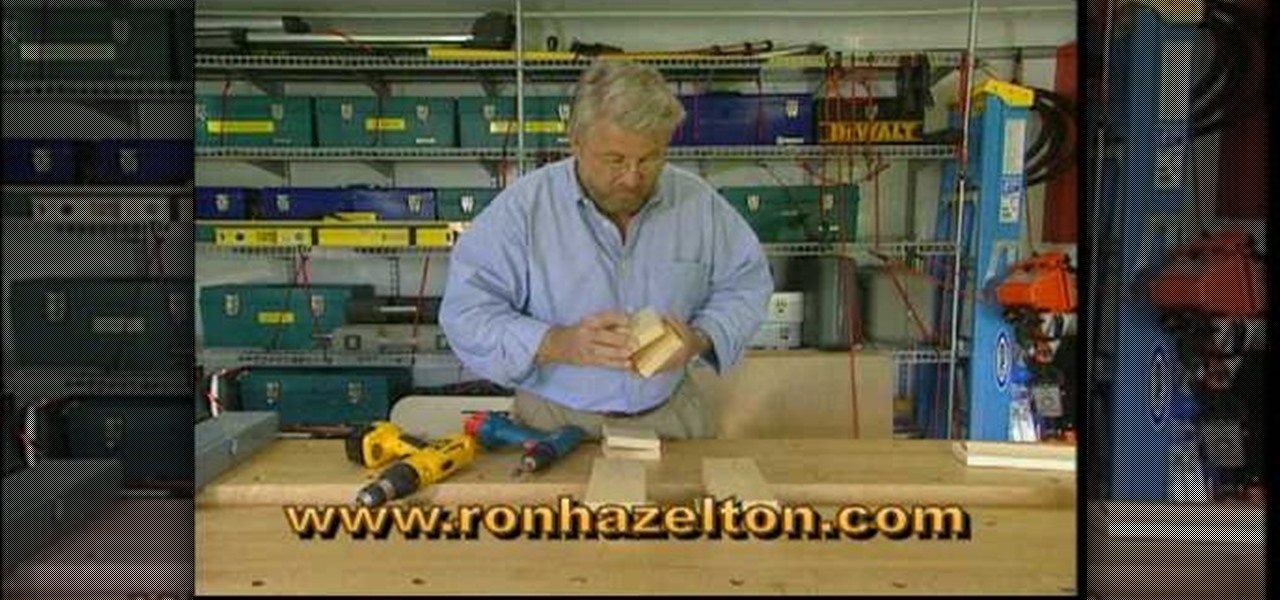
Drywall screws were originally created specifically for drywall projects. But they have become increasing popular for woodworking projects because you can often screw them into a soft piece of wood without having to drill a pilot hole. But because they have threads all the way up to the head of the screw they will not pull two pieces of wood tightly together. So to get the drywall screw to hold two pieces of wood tightly together you have to drill a shank hole through the first piece of wood ...

Robinia frisia limbs are prone to dying, that is why it is important to prune them properly. If you wait until the winter to prune the dead wood you wont be able to tell the difference between the dead wood and the dormant tree limb. In this how to video Martin Fish from Garden News explains how and when to prune dead wood from Robinia 'Frisia'.
This video tutorial instructs how to use marbling techniques to make a faux wood finish out of polymer clay. Learn how to manipulate different colors of polymer clay to create a fake wood effect. This tutorial teaches how to make a faux wood polymer clay picture frame.

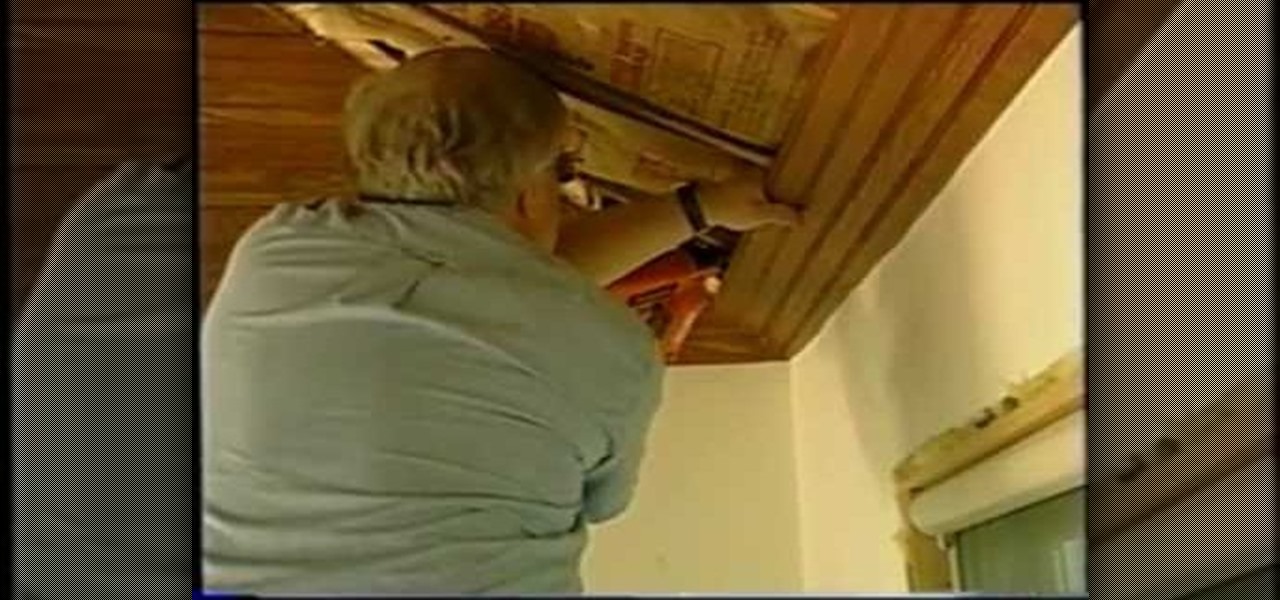
Tim Carter, of Ask the Builder, demonstrates how to use solid-wood beaded ceiling planks to make a wood ceiling for your house. It is important to prestain and urethane the wood before it is installed.
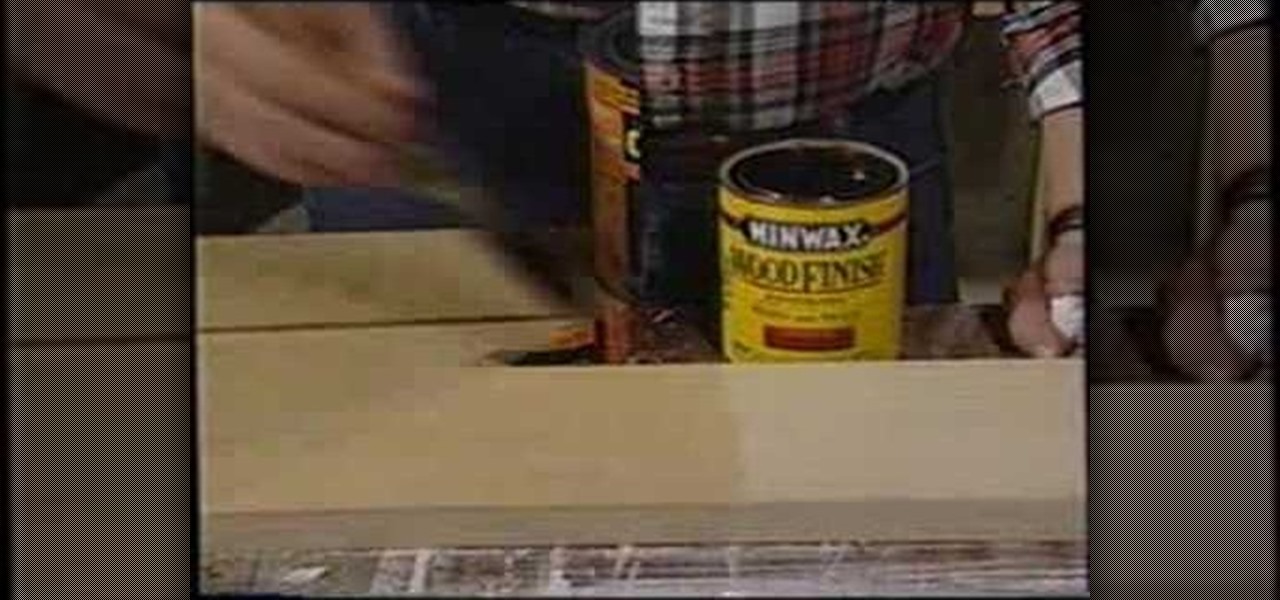
A good stain and varnish can add shine and luster to any piece of wood furniture. Check out these simple steps for staining wood. You will need a painter drop cloth, 2 or 3 1 inch foam brushes, fine grit sandpaper, tack cloth, couple of towels or rags, oil base wood stain and oil base satin varnish.
One of the many significant changes in Minecraft Beta 1.3 is the way half-blocks or slabs work. Before you could make stone slabs out of three pieces of stone and use them to builds stairs, but it took a lot of material and was limiting as far as choices. Now you can make slabs out of wood, cobblestone, sandstone, or normal stone, and this video will show you how it works.
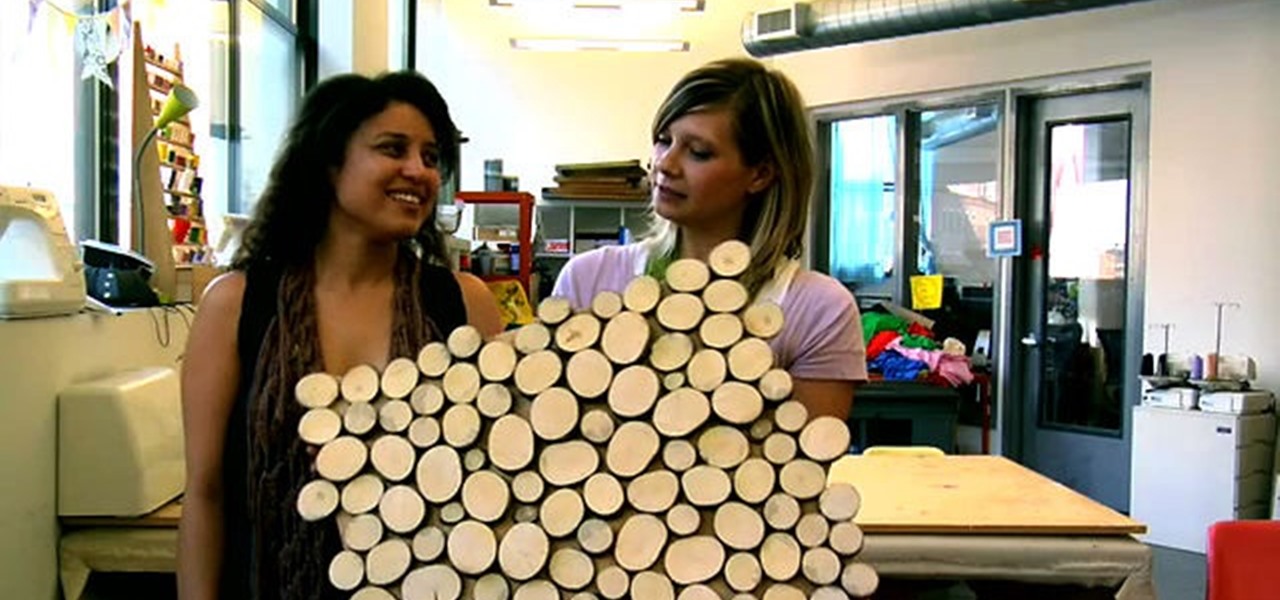
Remember summer camp? Remember the smell of the log cabins? The feel of the treated wood? Well, you can create something for your home that's perfect for a nostalgic summer camp aesthetic. Meg Allen Cole (recently of Threadbanger) was inspired to make this mid-century modern wall hanging piece made from a small wooden log (or branch) when she was at a relaxing, wooded vacation spot in Maine. And she shows you how to make one, too!
In this video tutorial, you'll learn how to make utensils in the wilderness. You'll see how to make a wooden fork, spoon, pot hanger and support when out in the woods. Also, learn how to clean your knife using moss. A nice piece of hazel wood is what you'll want for this survival bushcraft technique.
Watch Ray Mears from the BBC give you a how-to guide for making fire in the desert. (You don't even have to carry matches!) Put on your gloves to handle the fauna for cutting wood. Make a notch in the wood--good luck trying to make fire by friction!
Explore the veins and structures that create the cellulose of wood. Understand this visually stunning wonderment.
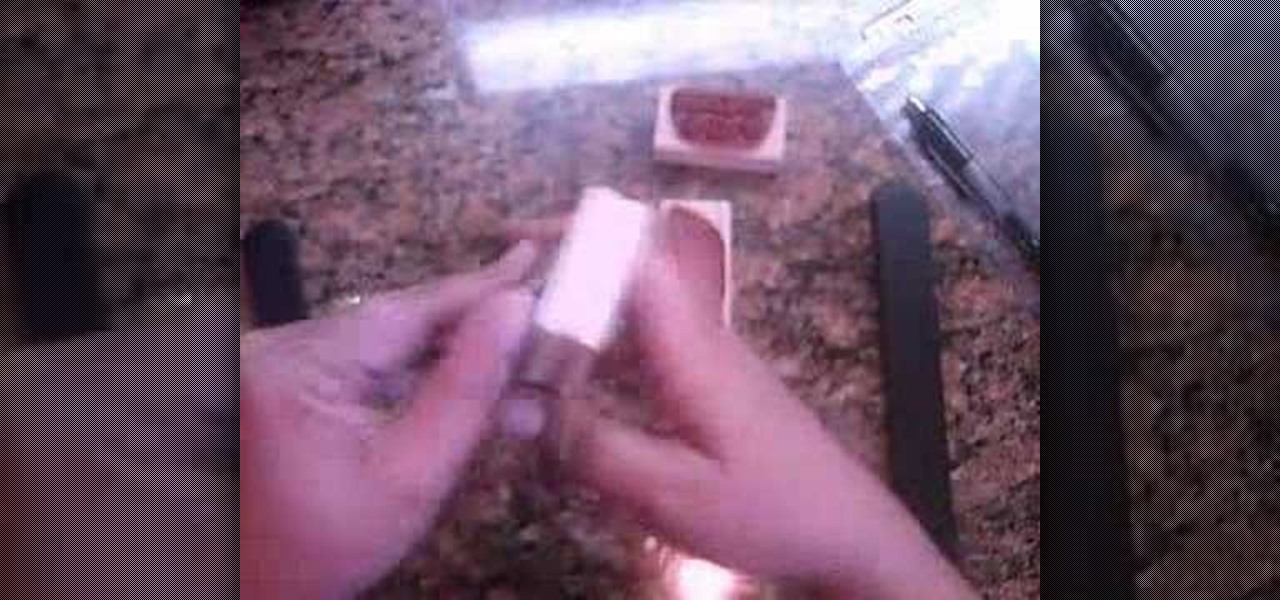
In this video, we learn how to make zebra and tiger prints with Ranger's alcohol inks. First, you will need some alcohol ink in black, gloss paper, a stamp, and felt. Now, take your felt and cut it into small strips. Make lines like a zebra or tiger would have. Next, push these strips onto the stamp bottom, arranging them to look like a zebra. After these are stuck on securely, trim off any edges and make some pointed. After this, you will squirt the black ink onto the bottom of the stamp on ...
In this video, we learn how to do tiger face paint in two minutes. This is a simple tiger, so it will be perfect for family outings or something you need done quickly. First, use a sponge and orange paint to paint the middle of the face orange. After this, use a sponge with white paint to make the eyes white and the section underneath the nose white. Now, take your orange paint again and paint the cheeks and chin orange. Use the white paint to make fangs on the lips going down to the chin. Ne...
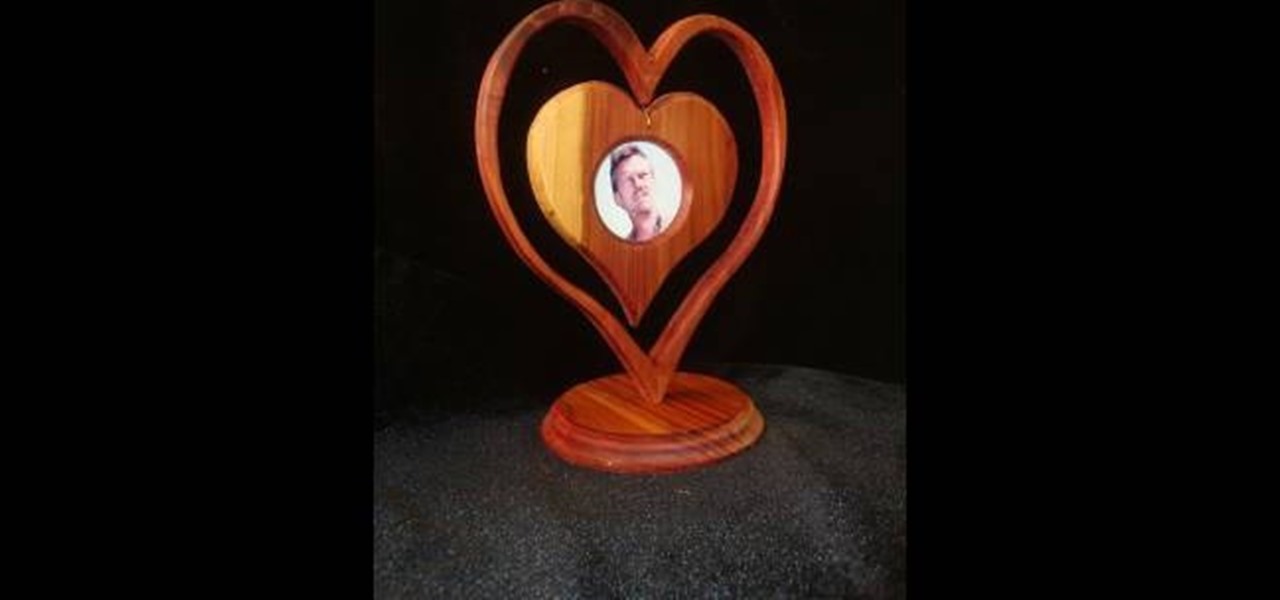
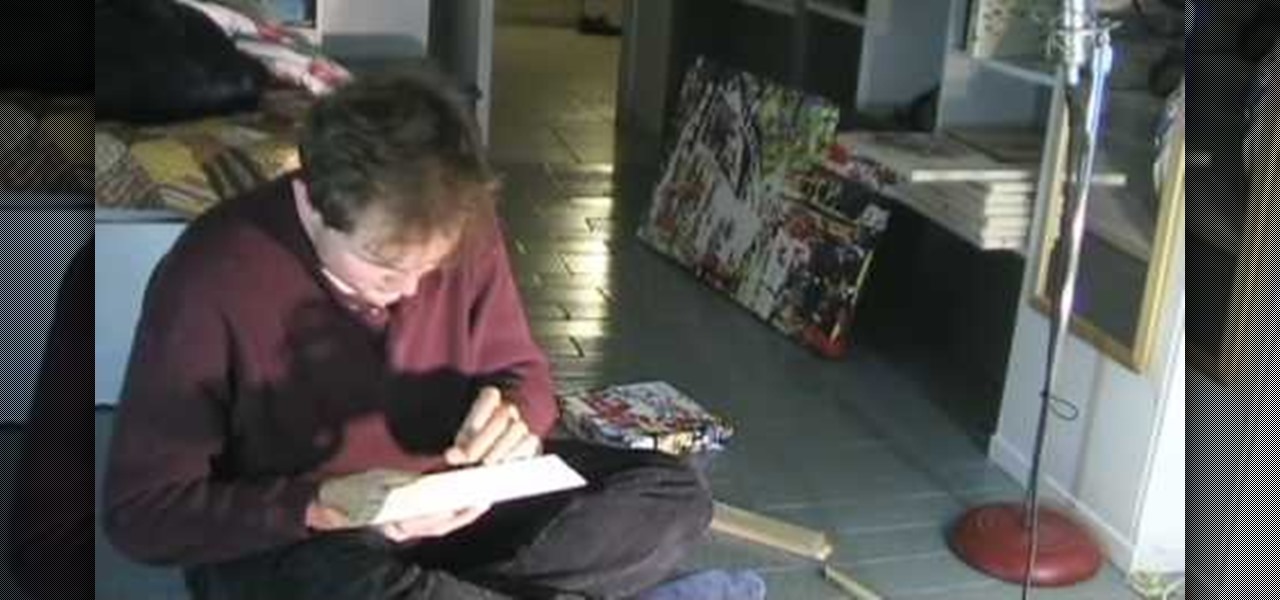
Nothing says 'I Love You' more than a gift that was made from scratch. Especially if that gift is shaped like a heart and is made from wood.
Brush up on your survival skills with help from this video conducted by the Maine Primitive Skills School. In this video, learn how to start a fire in the woods practicing the fire thong friction fire method using rattan wood.
DominickDiy teaches you how to use a wood router. You figure out what and how you will use it for by looking at it and adjusting the blade. Then lock it into place and you're ready to cut. The piece of wood you'll be working on should be on top of a piece of rubber mat, so that the wood doesn't slip. You also don't want the router to slip, as it might injure you or cut a wrong way. You go from a rip to a cross cut, when going from one side to another, via a corner. So one time you will be pus...
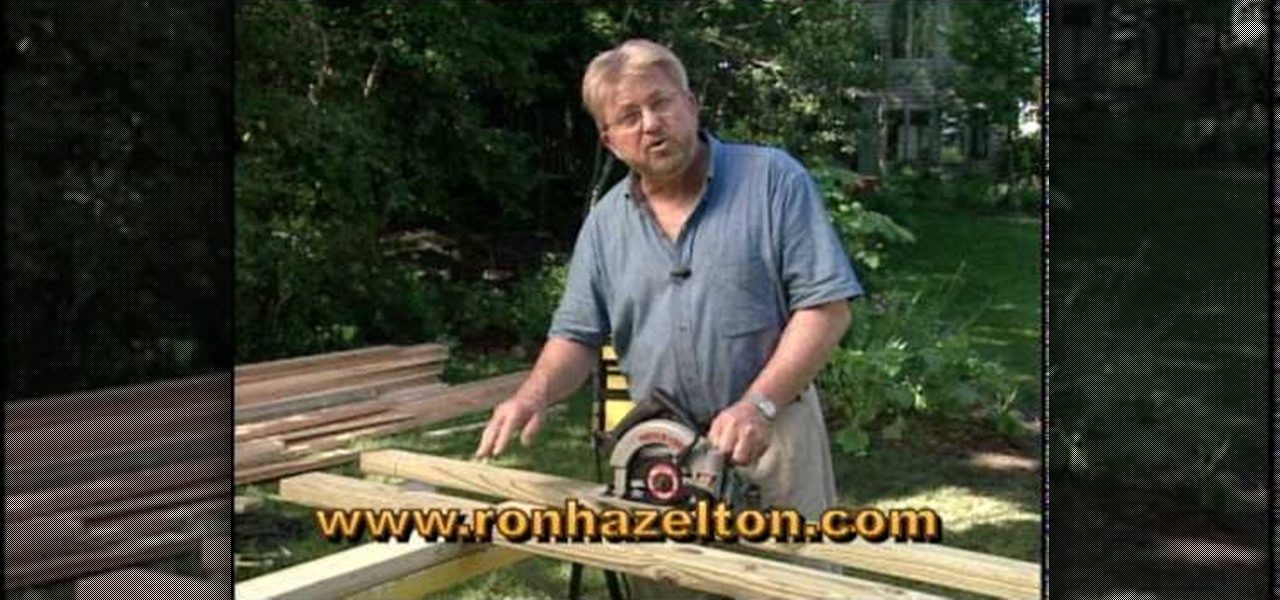
Ron Hazelton shows how to rip cut a very long piece of wood using a circular saw instead of a table saw. First, place sawhorses approximately every 4 feet under the wood. Choose the correct blade for the wood. Affix the circular saw with an edge guide. Set the blade depth so that the blade barely goes past the wood. Put scrap pieces of lumber on the sawhorses under the wood. Then the long rip cut can be a zip.
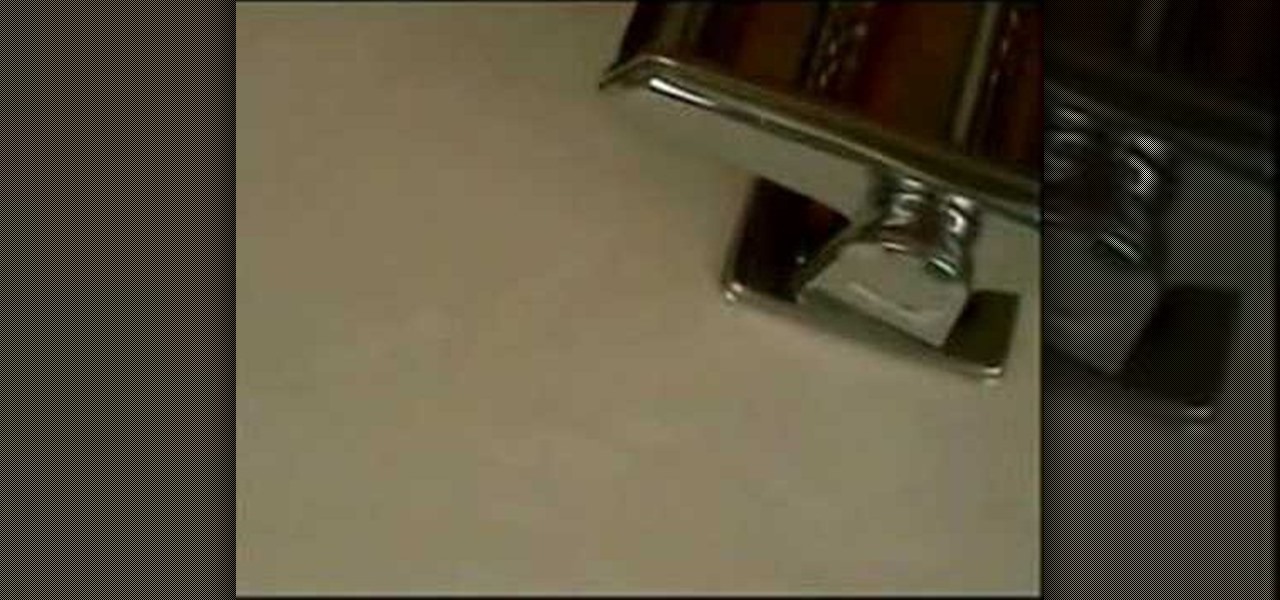
Need some advice for playing golf? Well, Sports Illustrated has this video tutorial that will show you how to make the perfect divot with your fairway wood on the golf course. These tips from SI and professional golfer Tim Mahoney will show you exactly how to get that perfect divot every time with your fairway wood.
In this song tutorial, you'll learn how to play the introductions to two popular songs, "Norwegian Wood" by John Lennon of the Beatles and "Sweet Home Alabama" by Lynard Skynard. While this tutorial is best suited for intermediate and advanced guitarists, players of all skill levels can play along. Watch this lesson to get started playing "Norwegian Wood" and "Sweet Home Alabama" on your guitar!
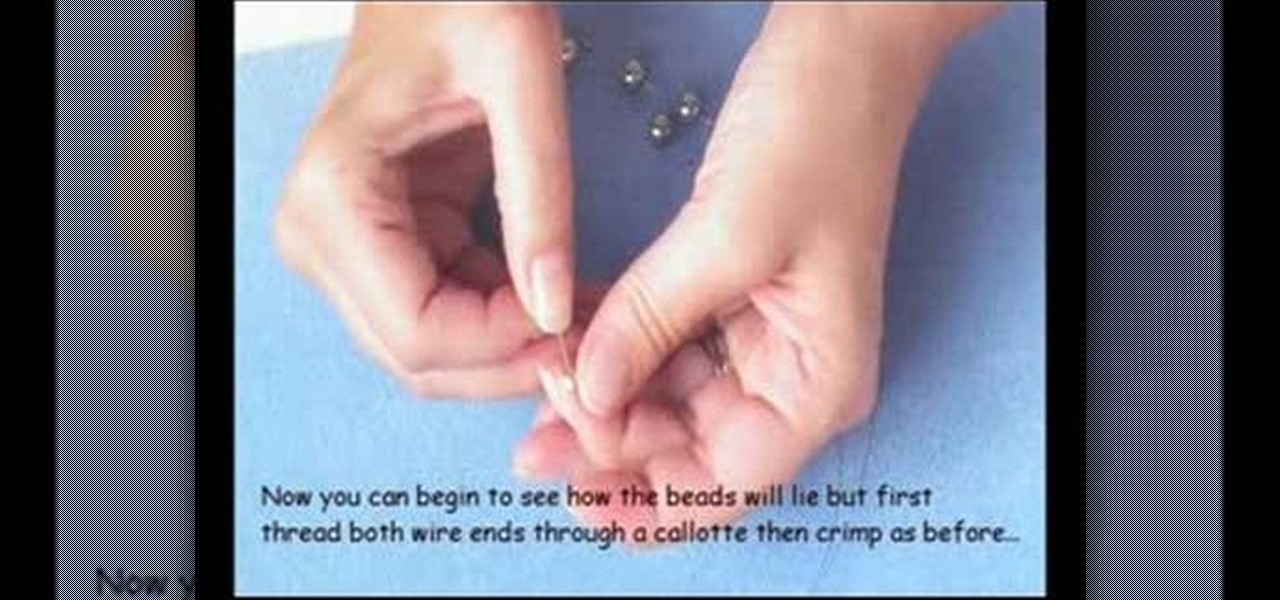
Create a necklace with the 'floating' style look using the nearly invisible tiger tail jewelry wire. Follow this tutorial and thread the beads, then use the flat crimp technique to keep the beads in place. Attach a clasp, and your new necklace is ready to wear!
In order to make a tiger mask with makeup for Halloween, you will need the following: moisturizer, white and black liner pencils, black liquid liner, eye shadows, blush, and lipstick.
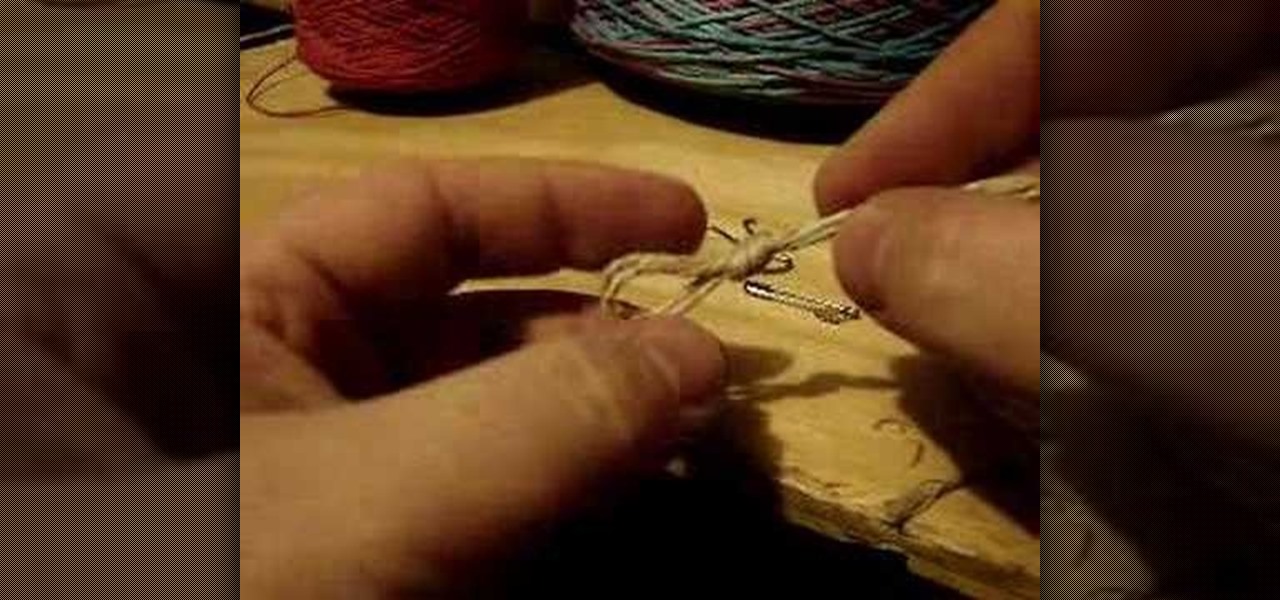
Hemp jewelry is crunchy granola chic no matter how you style it. Made of rustic, slightly frayed natural hemp and adorned with natural materials like seashells and wood beads, hemp jewelry is as surfer chic as you can get.
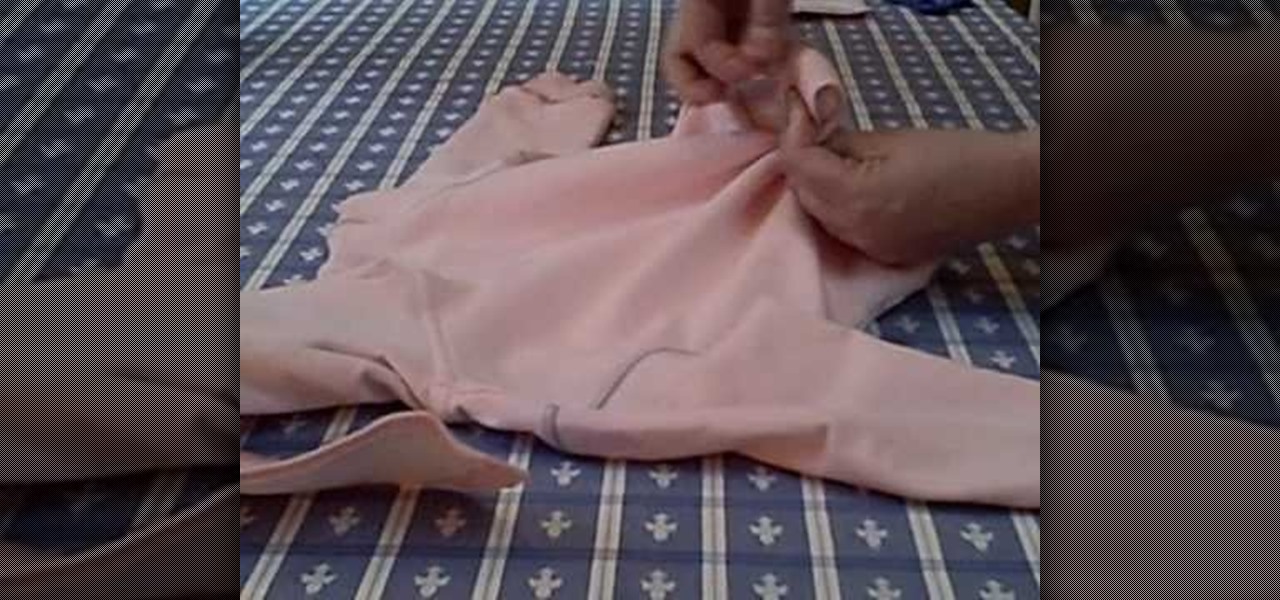
In this clip, learn the easiest way to sew a tail onto a costume. Whether you are dressing as a bunny, bear, lion, tiger or anything else with an animal bum, check out this tutorial. This video covers fluffy tails like rabbits and long tails like cats and tigers. Have fun!
Looking for a primer on how to laminate a panel of wood? Well, you're in luck, as this DIY video guide provides just that — and in just under six minutes! For more information, including detailed, step-by-step instructions, and to get started laminating your own wood panels, watch this home improvement how-to.
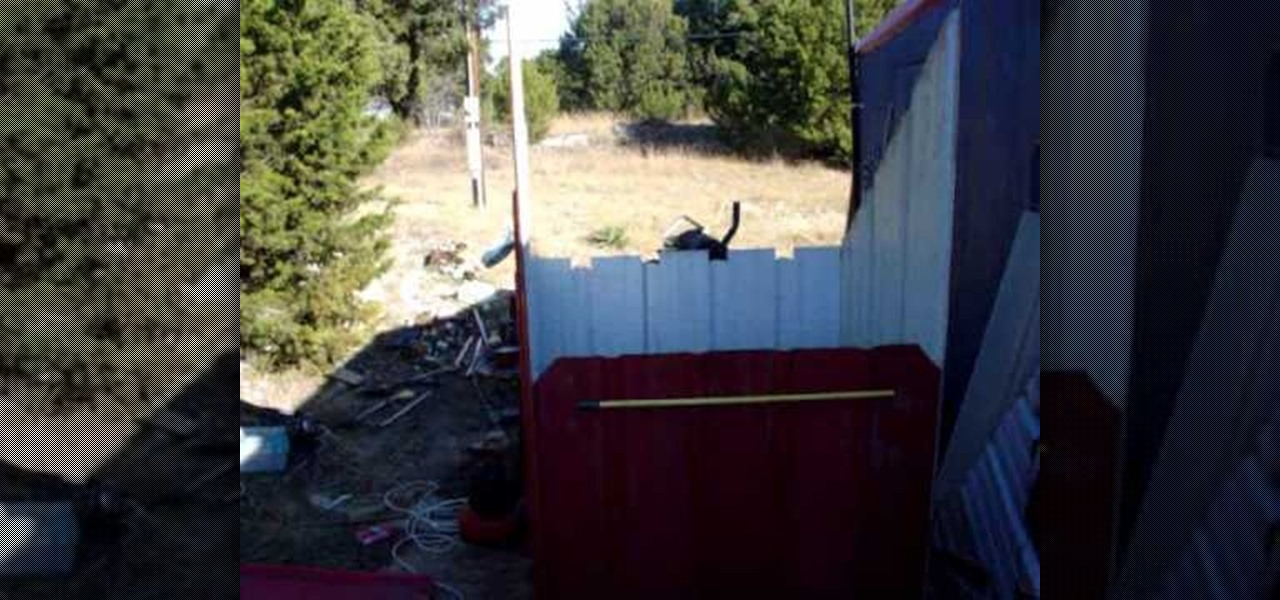
There is really no limit to the recycling that a somewhat handy person can do given only some tools and a good supply of scrap. This video walks you through one recycling project, making a wood-burning stove enclosure for your yard using only old roofing tin. If you have access to a wood-burning stove and some old roofing tin scraps, then this video should be very helpful to you.
Building a frame for your paintings can save you money and provide one more creation of which to be proud. Normally recommended for abstract paintings, basic float frames offer a professional feel to your art. This video demonstrates how to build a very simple float frame, which compliments a modern, contemporary, abstract painting rather nicely.
Attention card maker enthusiasts! In this three-part stamp tutorial, learn how to unmount your wood mounted rubber stamps and how to store your unmounted stamps. For more card ideas, tips, and tricks visit the Stampin Inspirations.
Attention animals! Give yourself a tiger print French manicure with help from this nail art tutorial. This look is perfect for wearing to parties, concerts, or dates! Show off your creative side by spicing up your nail polish!
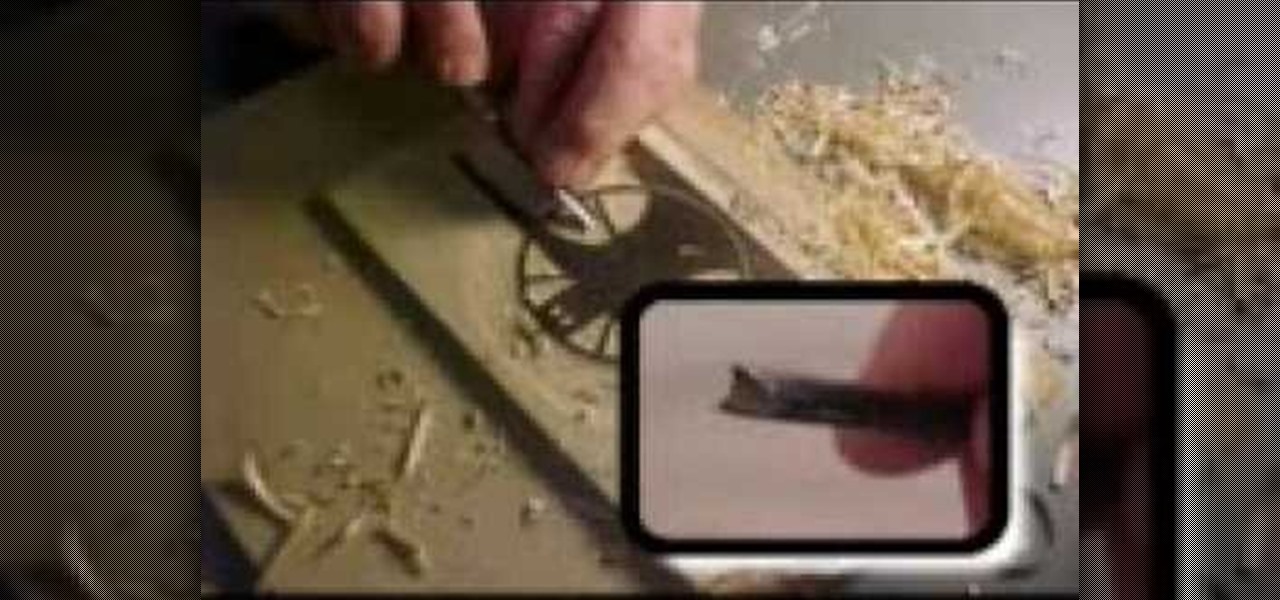
Watch this one minute printmaking demonstration to make a wood block for woodcut printing. First, transfer a laser inkjet print to a wood block. Then carve a relief image into the wood block. Next, ink and print on a Mini Halfwood Press using a chase device. With the right set up, woodcut printing is a fine art worth learning.
Here are some of necessary the tools for hobby crafting and diorama making. This model maker uses wood rasps, sanding pencils, wire cutters, small pliers, a box cutter, a wood carving knife, and a Japanese pull saw. When building miniatures you may find yourself making your own tools or finding useful sculpting aids around the house. Occasionally, a wood burning gun can help you achieve detail for tiny window shutters and other fine work.
If you are a dedicated model maker, watch this instructional video to make a handy tool for sculpting and working with miniatures. These homemade wood tools are good for a variety of purposes. It can be made from wood as small as match stick stock up to 1/2'' by 1'' stock. Use this wood tool for modeling clay, greenery or spreading glue plaster and wiping off the excess.
Tim Carter demonstrates why it's a must to use wood sealant before staining soft wood.
Face paint a tiger using these tips and techniques offered in this video.
Roar! Take your child's imagination to the next level using face paint to create a tiger look.
We will show you how to make tiger stripe beads in this lampworking video.
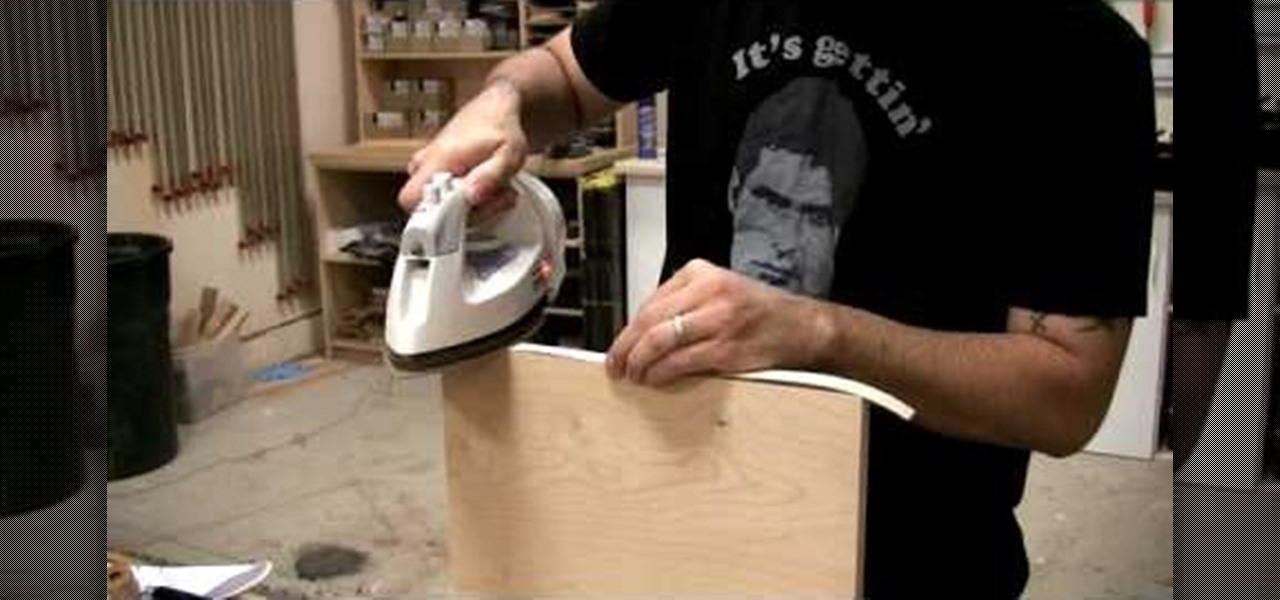
Watch this video to learn a few of the many ways you can cover the exposed edges of plywood. The Wood Whisperer demonstrates how to iron on veneer, thin solid wood, and thick solid wood.
In this tutorial, we learn how to create a realistic looking cut using cinema makeup. This is a great look for a new year or holiday look that you want to make yourself look more unique and stand out! First, take a brow pencil and redefine your brows so they are darker and more intense. Avoid using black, most people cannot pull this look off. Now, use eyeshadow primer on the eyelids to enhance the eyeshadow color. After this, use gold eyeshadow and apply on the outer v of the eye. Then, take...
In this video, we learn how to start a great fire in a wood stove. First, you will need premium kindling, gloves, and a small axe. Next, you will chop the wood into small pieces using the axe, making small splits. After you have a large pile of kindling together, store the pieces that you won't use in a waterproof container. Now, carefully stack your wood into your wood stove. Place the first two pieces going across, then the other pieces going front to back. Continue this pattern, then apply...