
How To: Replace the Steering Gear Boots on a VW Passat
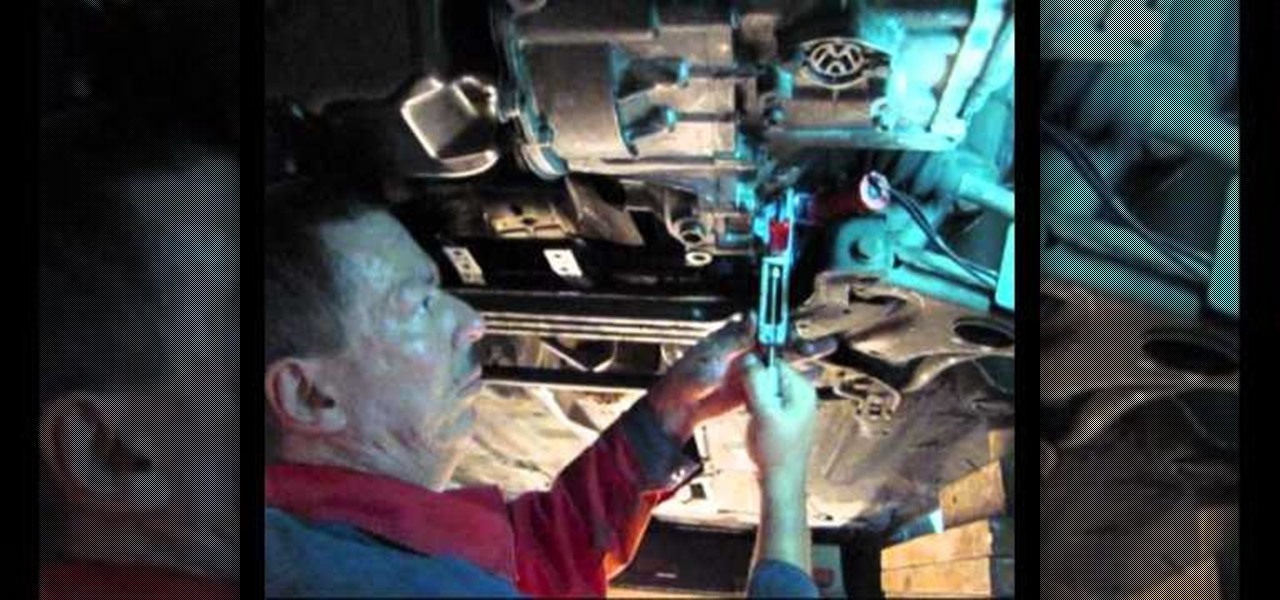
The video gives you a step by step tutorial how to replace the steering gear boots of a Volkswagen Passat B3 without dismounting the steering gear.

The video gives you a step by step tutorial how to replace the steering gear boots of a Volkswagen Passat B3 without dismounting the steering gear.

This video illustrates to adjust the interior lights in a 2010 model Toyota 4Runner. Procedure: To adjust the intensity of the instrument panel lights, rotate the thumb wheel that is located to left of the steering wheel. Rotating it upwards increases the intensity of the lights, rotating it downwards dims the instrument panel lights. A central interior light switch located on the roof has two positions, all the way to the left is off. All the way to the right turn the lights on and off when ...
Google largely helped to pioneer the concept of a steering wheel- and pedal-free self-driving experience when it began testing its Firefly pod-like vehicles a few years ago.
In this video we will explain the difference between these two steering racks for you Volkswagen Jetta of Golf.
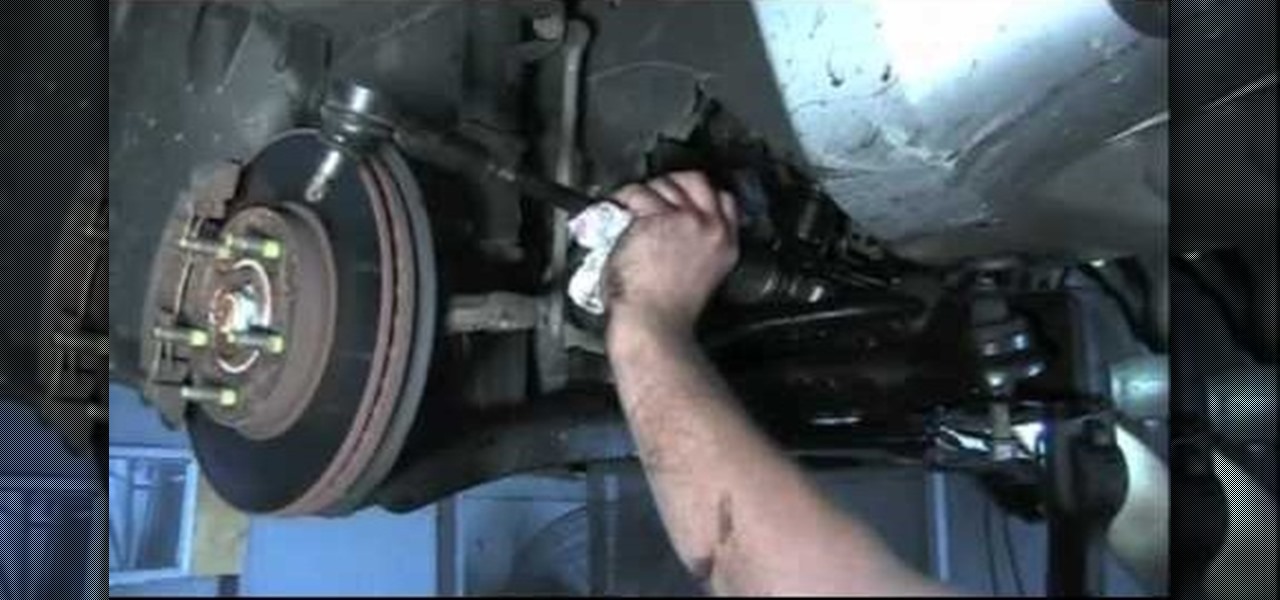
In this video we will show you how to replace the inner steering tie rod linkage on a 00-07 Chevy Silverado; this process is also the same on a 00-07 GMC Sierra.
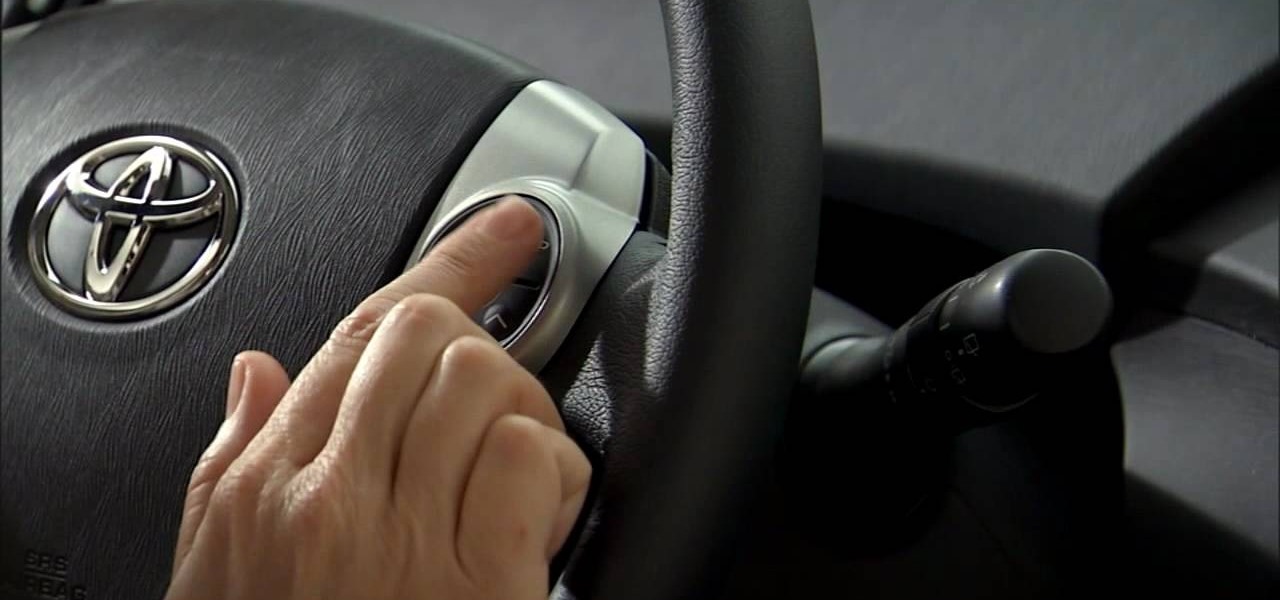
In this tutorial, we learn how to utilize the informational display in the 2010 Prius. This is in the middle of the panel display and appears after the welcoming screen. It includes a clock at the top and can be changed when you press the correct button on the steering wheel. Pressing the display button will bring up different screens to give you information on how your vehicle is running and give you history of it. It will also provide access to settings of your car so you can change the clo...
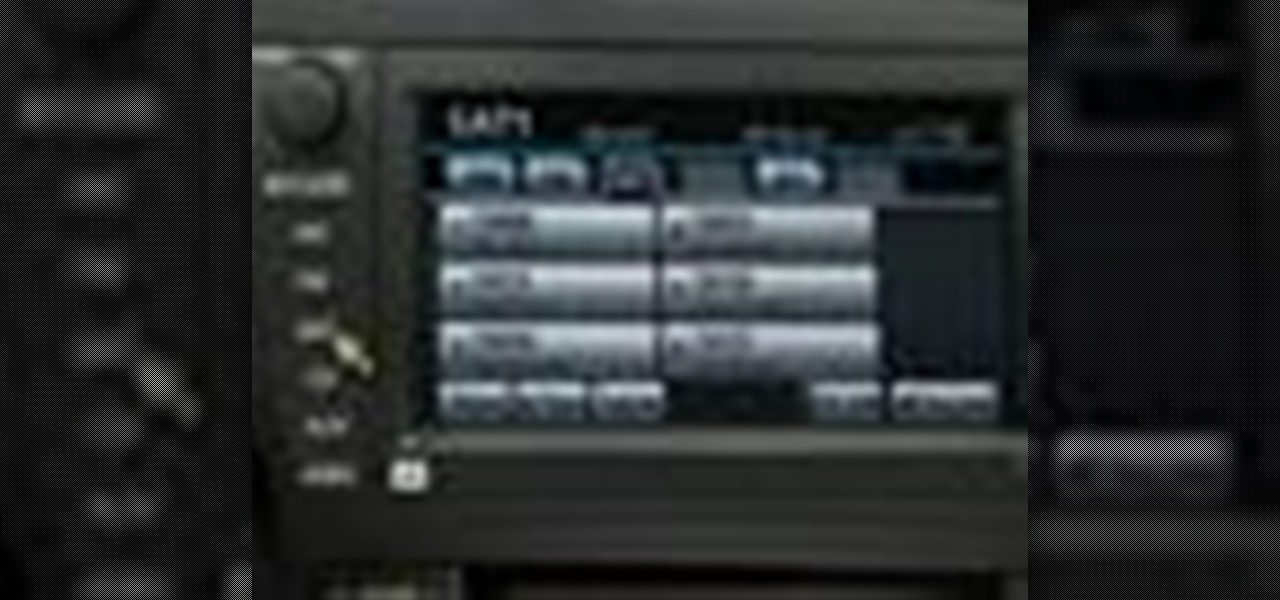
In this tutorial, we learn how to access XM satellite radio in a 2010 Prius. To access this feature, press the "sat" button the dash or the "sat" button the steering wheel. You can also use the voice recognition button on the steering wheel by saying "satellite radio" out loud after pressing it. You can search for music by channel or use the type scan button while in audio mode to find the type of music you prefer. There are a variety of channels offered, look at your channel guide to find th...
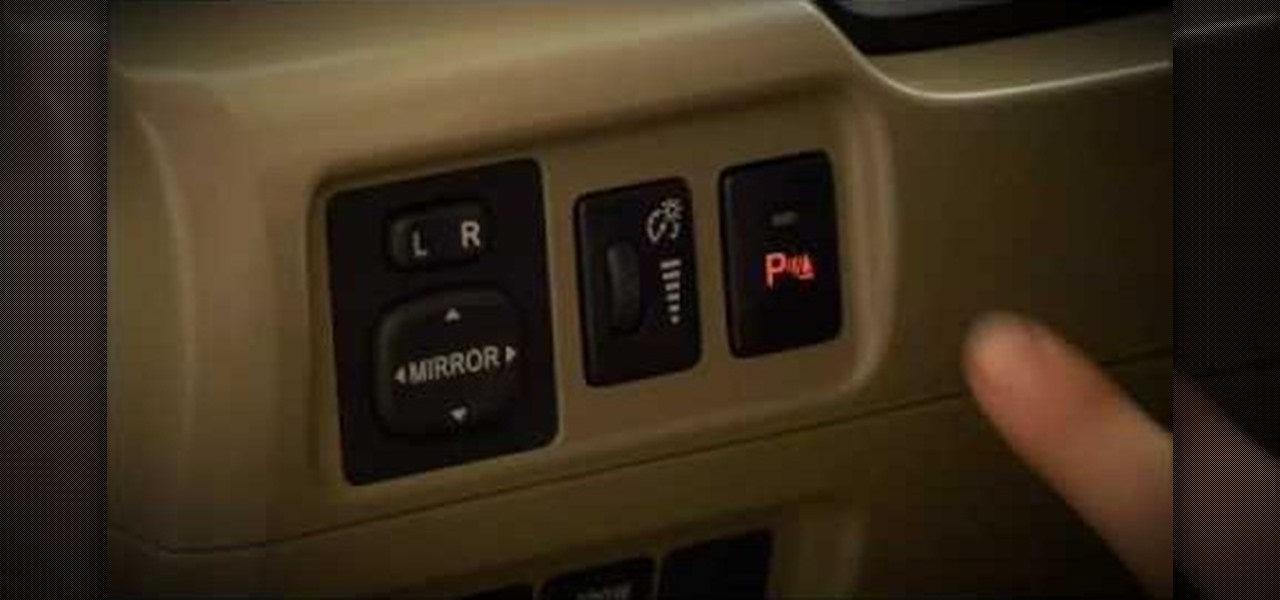
One of the many features that comes with the 2010 Toyota 4Runner is Rear Parking Assist. To use this feature, press the button to the left of the steering wheel that is marked P. The system will beep and the green LED will be lit, confirming that the feature is turned on. When the car is put into reverse, the parking assist will start beeping. As the car gets closer to an object, the beeping will gradually get faster and faster. When the car becomes very close to an object, the beeping will b...

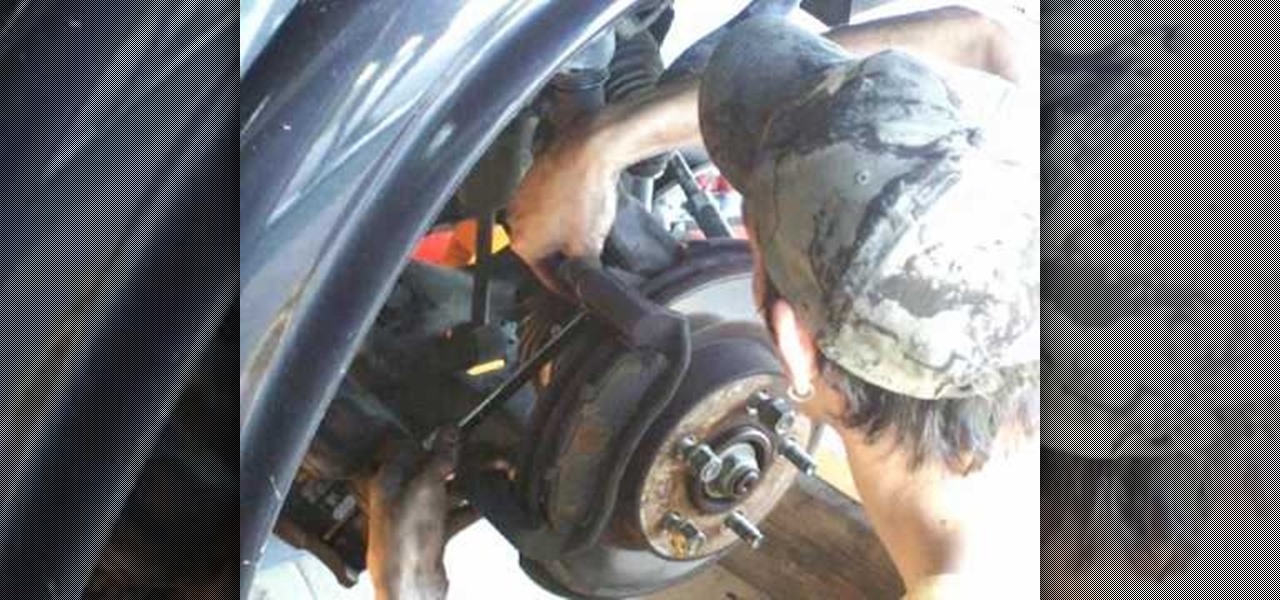
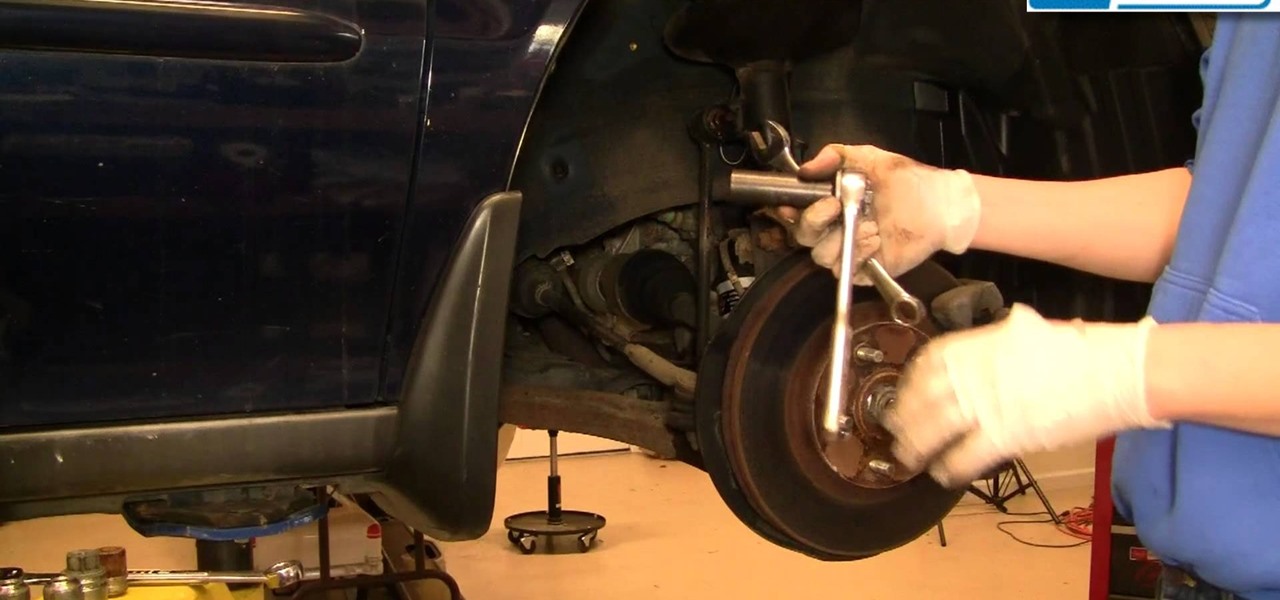
If the steering wheel on your car shakes when you apply pressure to the brakes, you probably have warped brake rotors. In this video, you'll learn how to access your brake rotors, remove them, and install new working ones on your front brakes.
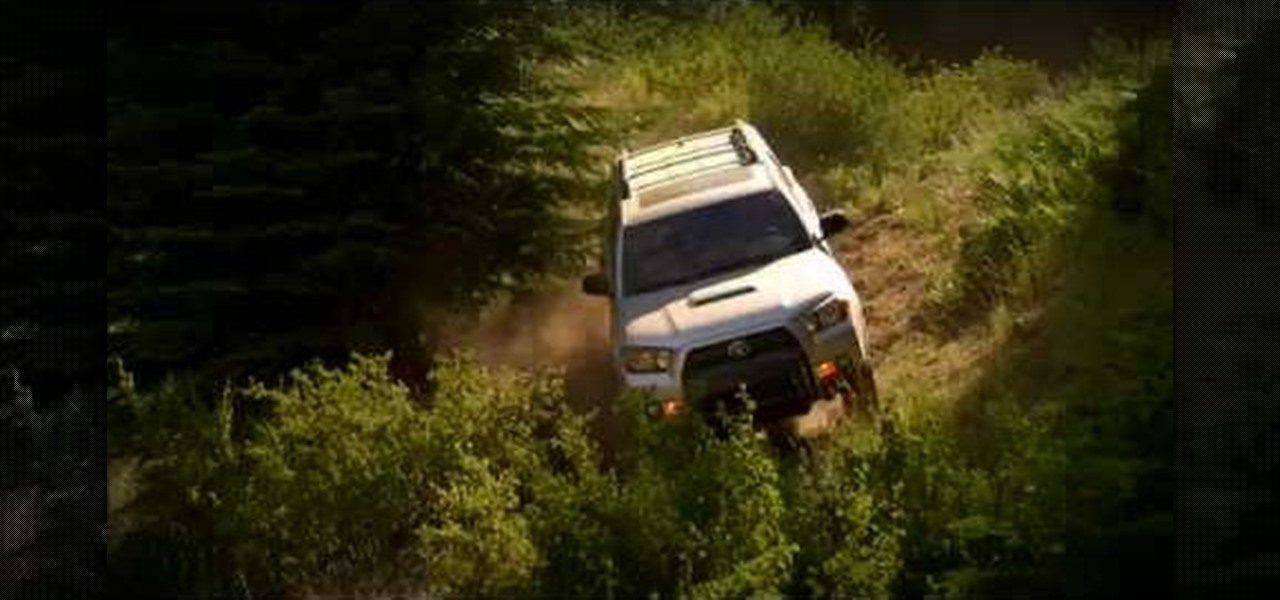
Learn how to use vehicle stability control on a 2010 Toyota 4Runner by following the steps in this video. VSC allows a driver to maintain steering control in the event that traction for the vehicle is lost. This Toyota USA tutorial explains the purpose of the VSC system and what indicator to look out for on your vehicle's panel to know when the system has been activated. To better understand how your 2010 Toyota 4Runner maintains steering stability and traction, listen to this video tutorial.

General Motors (GM) seems to have gone to great lengths to avoid lawsuits as it launches its first hands-off driving system in its soon-to-be-launched Cadillac CT6.
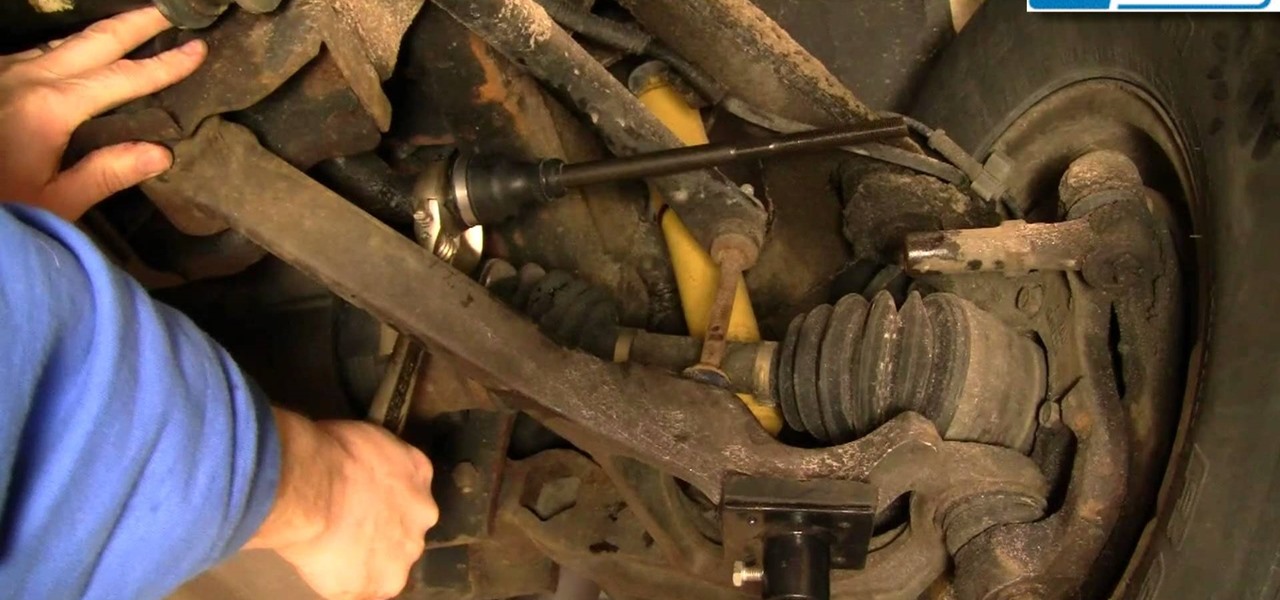
In this next tutorial, you'll find out what tools you'll need to replace the ball joints on a 1999 Ford Explorer. It's a pretty easy to follow, especially if you know anything about cars, so good luck and enjoy!

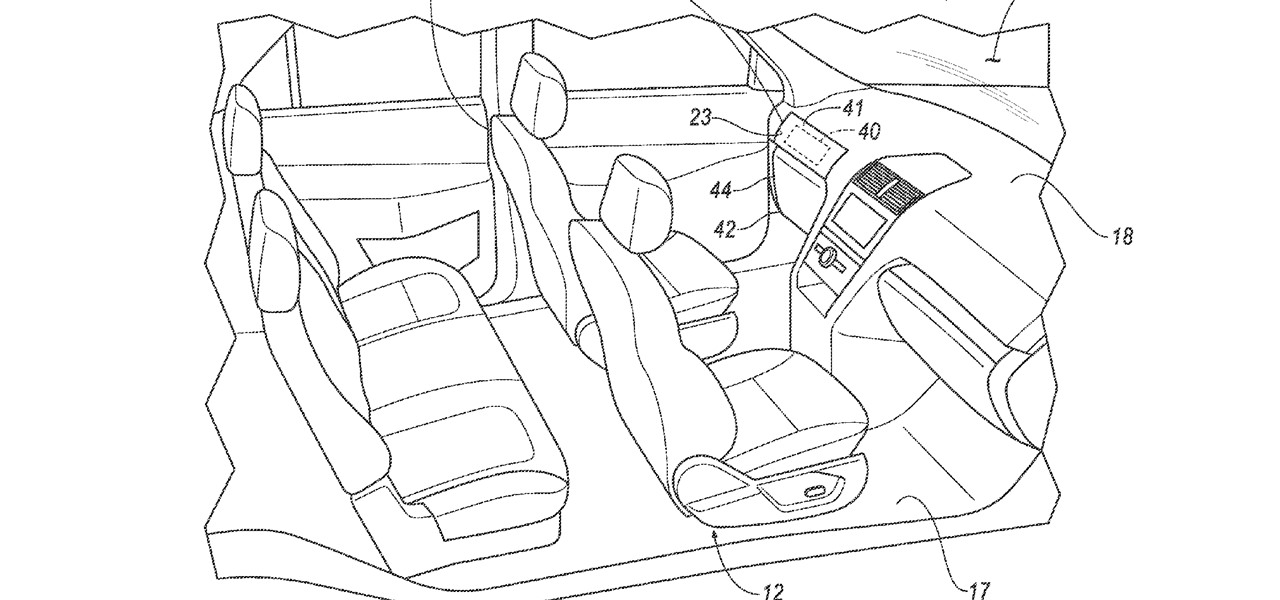
Waymo just received approval on a patent for a push-button console that replaces not only a steering wheel in a car but the brake and gas pedals, too. This reflects Alphabet's driverless arm could remain true to its original mantra of developing cars that pilot themselves without human intervention.
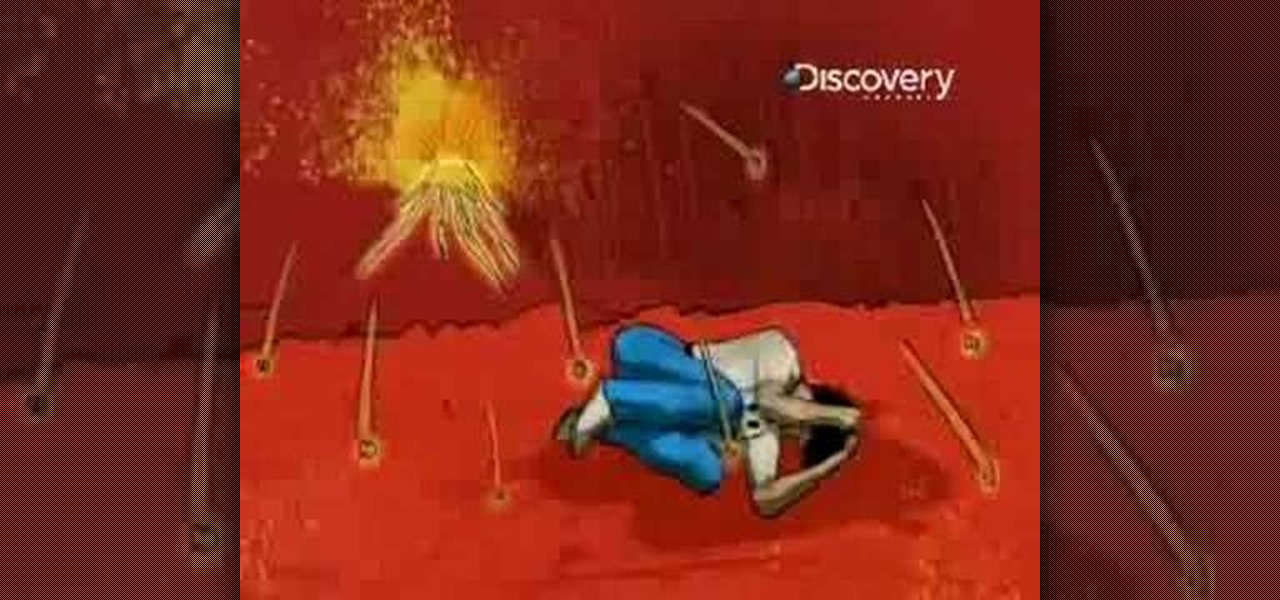
When the mountaintop blows there's little time to waste, so HOW TO SURVIVE instructs you how to dodge falling debris, listen for a Lahar roar, steer clear of ash, and find shelter in order to survive. Watch this video tutorial and learn how to survive a volcano explosion.
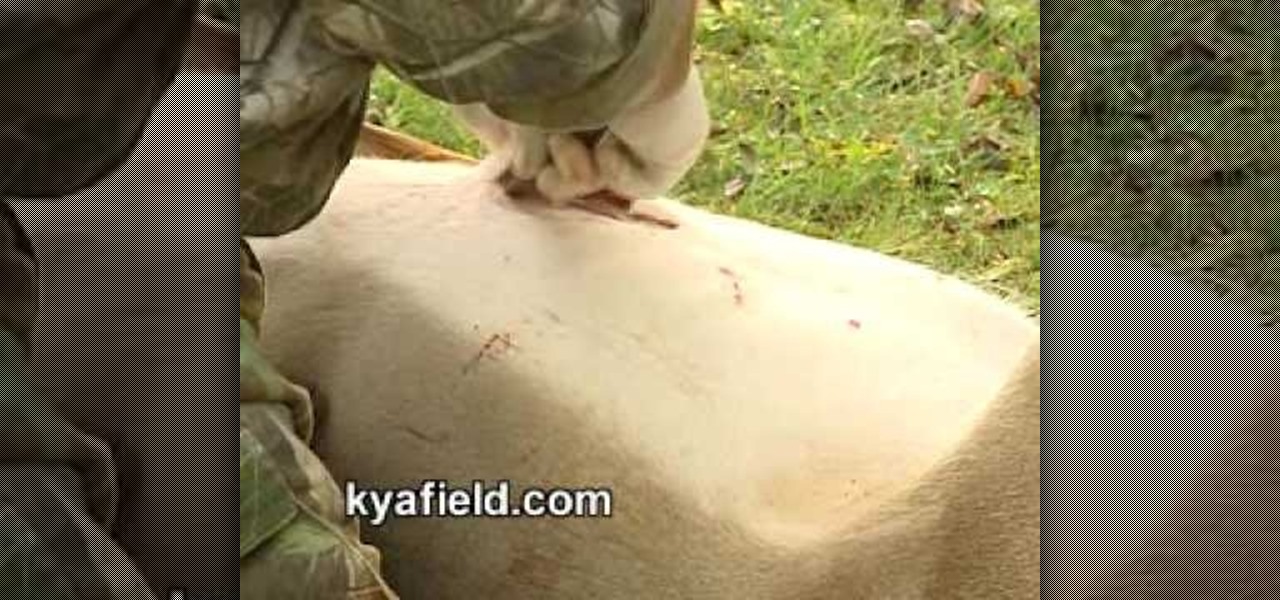
Find out a better way to get more quality cuts from the deer that you harvested by watching this how-to video. This instructional video will steer you to the best way of deboning and packaging your meat for the freezer. Watch and learn how to field dress a deer, without the inconvenience of ending the hunt. Let's go slaughter some more deer!

In this video, we learn how to remove the dashboard and wheel to replace bulbs. First, remove the negative battery cable, then remove the steering wheel. Next, remove the cluster bezel, with Phillips head screwdrivers for the screws. Pull back on the bezel and remove the clips from the bottom by prying it apart. Remove the cluster next, followed by the top piece of the steering wheel joint. Once this is removed, you will be able to slide the cluster out and squeeze the cables to remove it. Fr...
It takes talent and training to drive a semitrailer. See if you have what it takes to operate one of these rigs on the open road.

Please only use the information in this video if you have lost your own car key or you are helping out a friend who has lost theirs! If you need to start a car without the key, this tutorial shows you how to find the wires in the steering column to find the eight cables underneath. Here's what to look for and then what to do so you can get your car running and go to where you need to be.
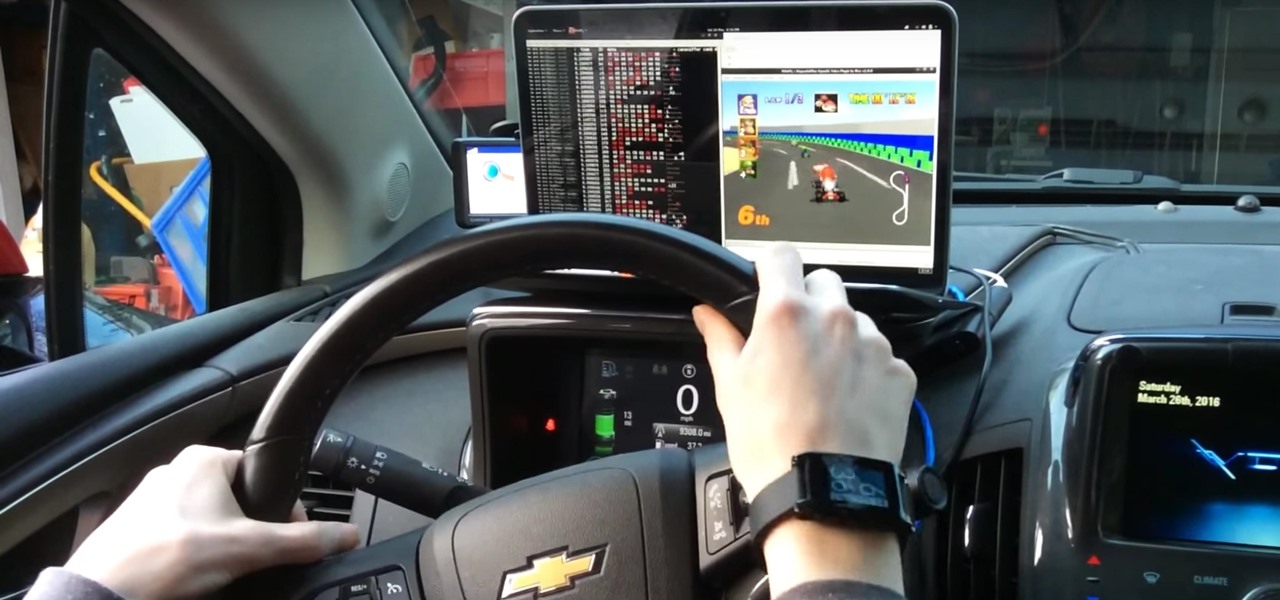
Oh, Mario. The guy that's been a part of our lives since as long as we can all remember. Well, Adam Ringwood and his friends did something pretty cool with one of Mario's most exciting games at the HackIllinois event in February 2016—they hacked a Chevrolet Volt's steering wheel into one big Nintendo 64 controller for Mario Kart.
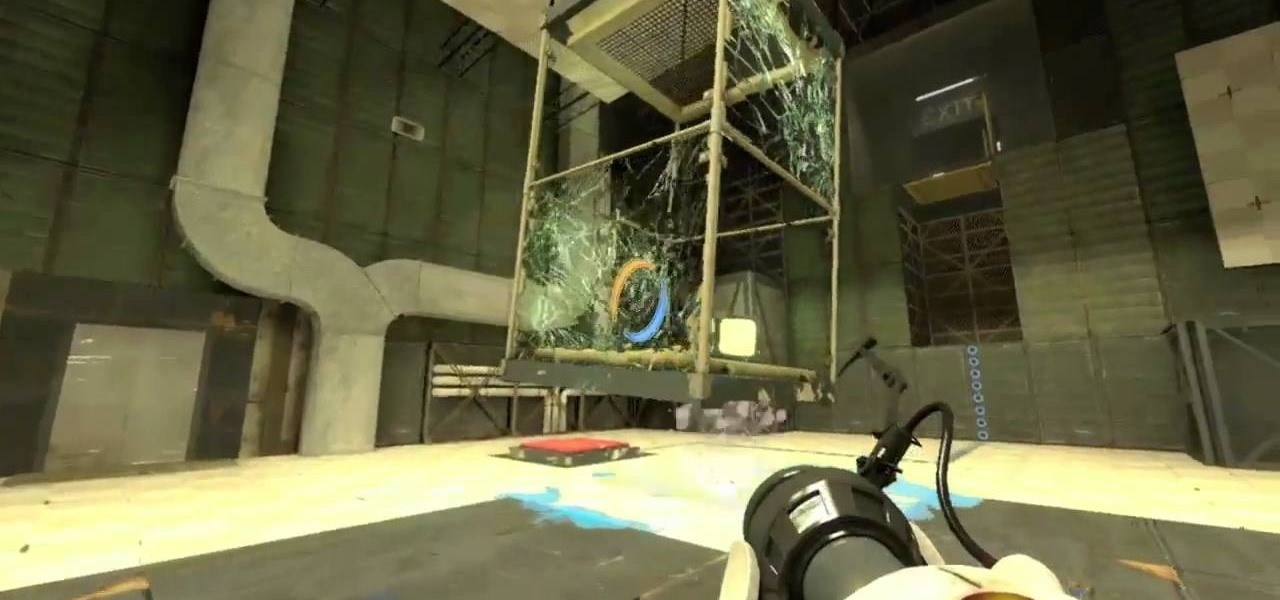
There's a right way and a wrong way to get the Schrodinger's Catch Achievement in Portal 2. Would we every steer you wrong? This video will explain how to get the achievement so you can continue on your way to beating Portal 2 100%.

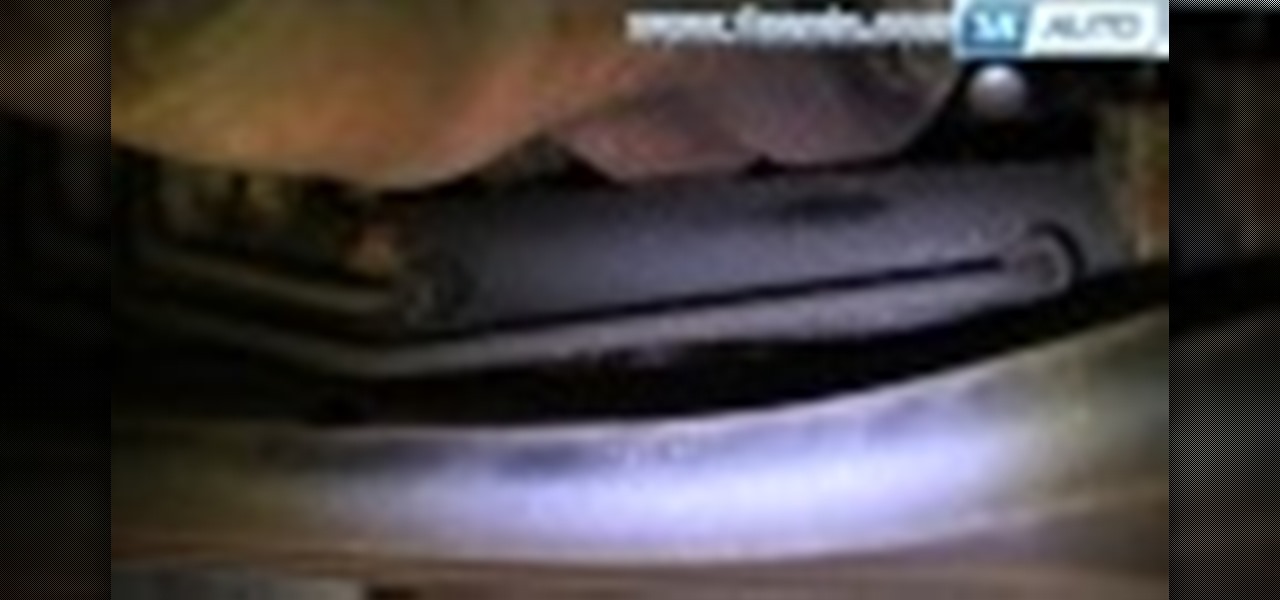
If your Astro van is performing poorly (or perhaps not at all), one solution is to replace the hydroboost. Fix your power brakes and power steering with a new hydroboost. You'll need some moderate familiarity with auto mechanics to do this.
The Mercury Mariner, Ford Escape, and Mazda Tribute are the exact same car with different skins, so what works on one works exactly the same on the others. Watch this video to learn how to replace the rack and pinion steering gears on any of these cars.
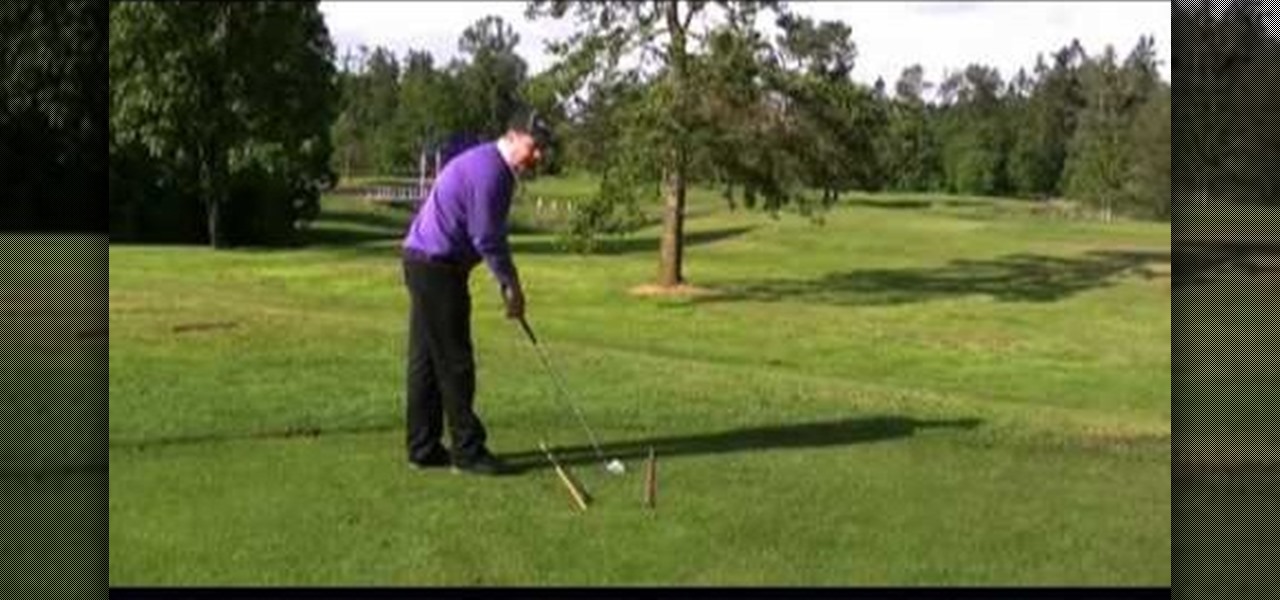
In this brief tutorial, you'll learn how to steer a golf ball around a tree when playing a game of golf. For more information, including a complete demonstration of the proper technique and detailed, step-by-step instructions, watch this free video golfing lesson.

In sailing, the term "heave to" means slowing down the boat's progression in such a way that the boat doesn't need to be steered directly. Take a look at this instructional video and learn how to heave to in sailing. To do this, the rudder will need to be turned so it's forcing the bow into the wind. The rudder and the jib counteract one another in the process, and the boat ends up stalling.

Video entailing the ease of installation of the Revelation Racing Supplies power rack and pinion kit into a 1964 Ford Falcon

If you hear clicking noises or rattles in your headset when you brake, hit bumps, or steer, you may need to tighten your bike's headset. It only takes a minute or two, and will get rid of the annoying clicks.
This automotive video tutorial will show you the steps on how to properly drive a manual transmission car.

Tutti a Bordo: This mission is a whopper, so be careful. You get transported to Forli, a new city. To the far, far northeast corner you'll find Leonardo, who's ready to board a ship with you. But before you can join, you get interrupted with this mission to save a woman who got herself into trouble.

Adyashanti invites you to slide over into the passenger's seat and stop trying to steer life in the direction of imagined happiness. This profound and transformative satsang makes the alternatives starkly clear: suffer, or surrender and fully enjoy life's incredible journey.
This video will show you how to replace the worn front steering stabilizer links on your 1999-2004 Honda Odyssey.

This video will show you how to perform the turn in the road driving test manoeuvre. Commonly know as the three point turn, it is used to turn the car around in the road to face the other way. You will need to keep the car slow and move the steering wheel quickly when you do this.
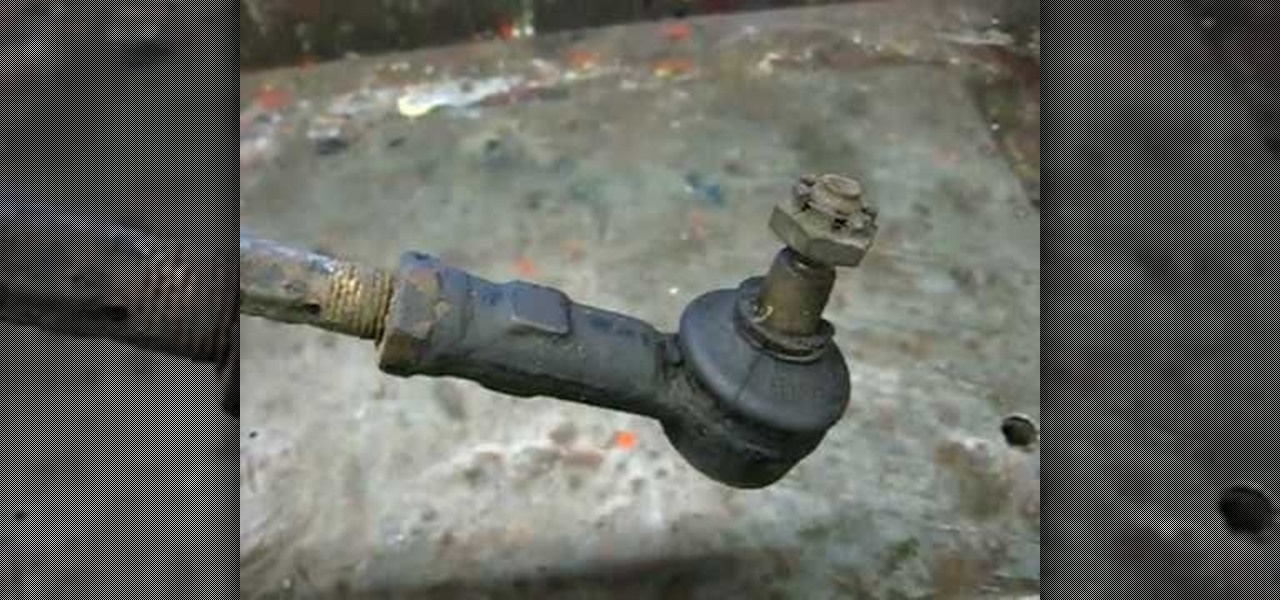
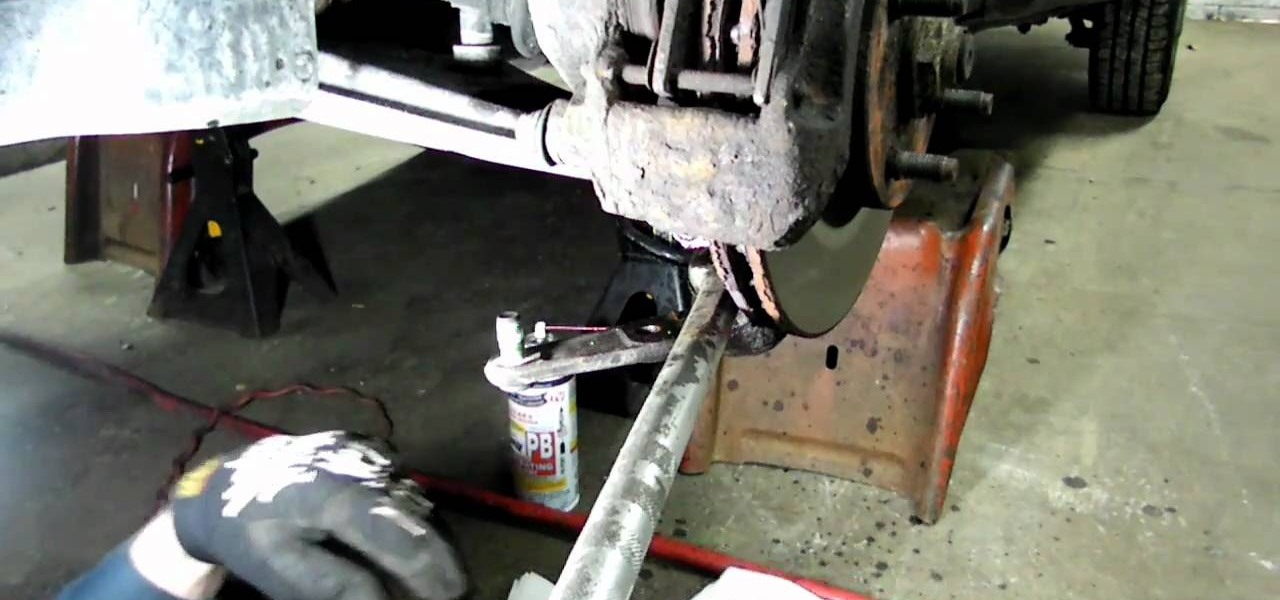
Richpin demonstrates how to remove the inner tie rod end on an automobile. First, get the car up in the air and support it by jack stands. Remove the wheel assembly.
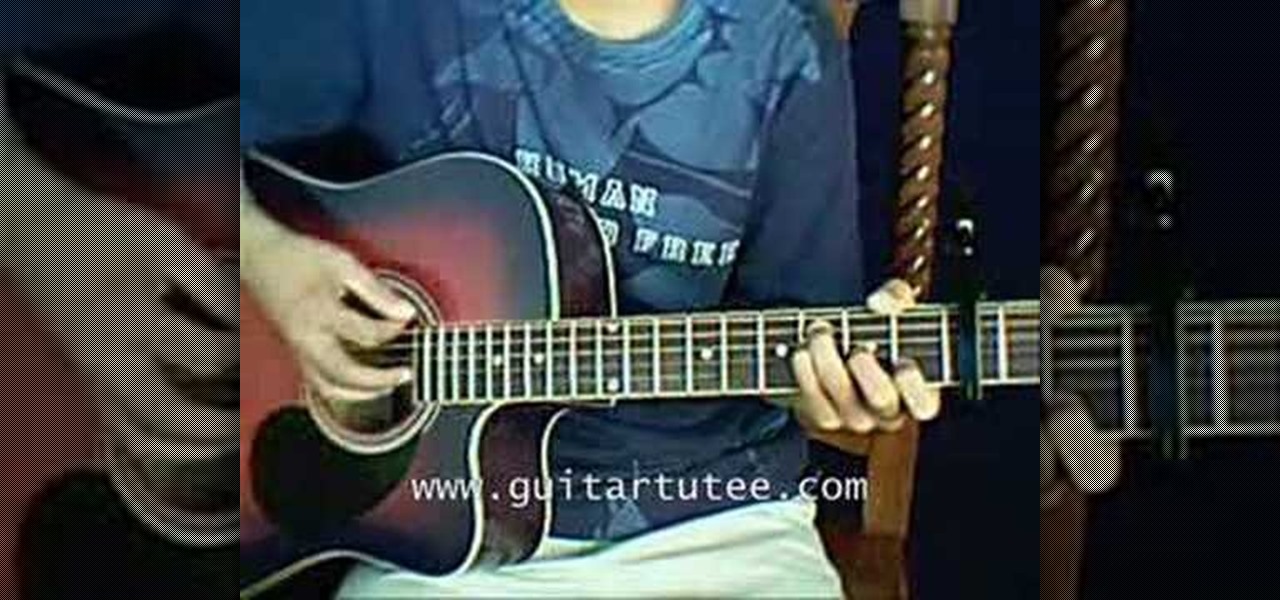
Learn how to play "After Tonight" by Justin Nozuka, an acoustic guitar tutorial. Follow along with this demonstration, tabs and lyrics here:
This video tutorial will show you how to apply four styles of lighting. This video teaches you how to apply four styles of lighting, namely Rembrandt, Beauty, Cameo and filling in from the Key Side. You will learn about high contrast lighting schemes, dealing with the amount of contrast used to highlight a person's face, as well as spotlight effects, and how these tend to draw the viewer into the scene. You will be shown how the Rembrandt Lighting setup contains three steps, namely taking a K...
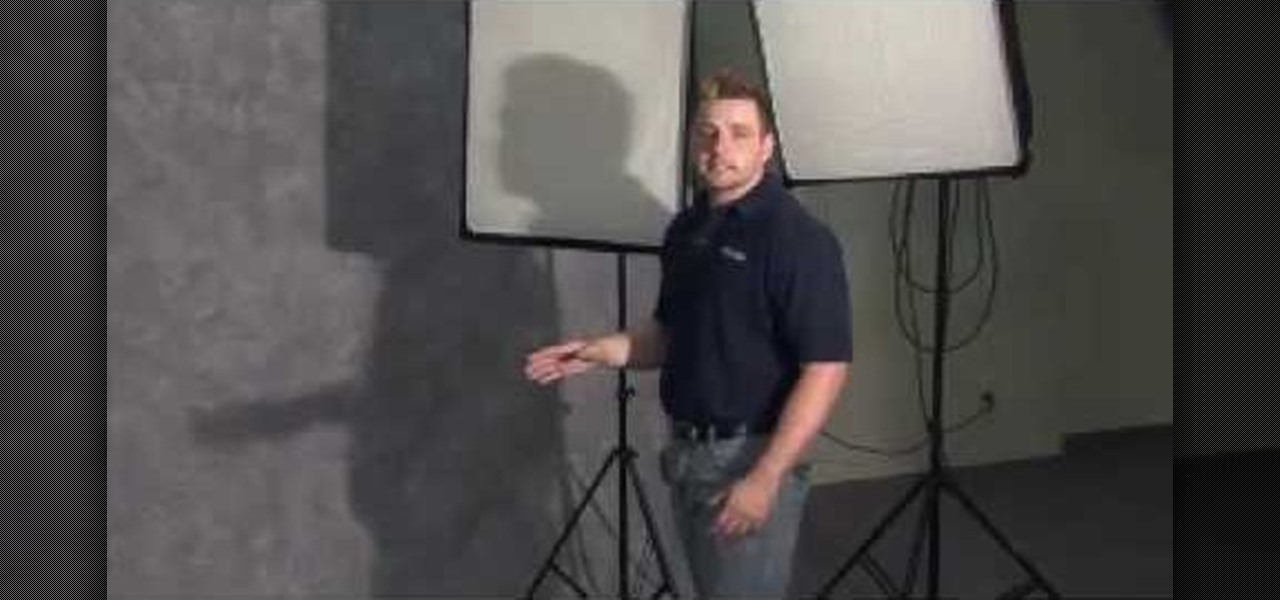
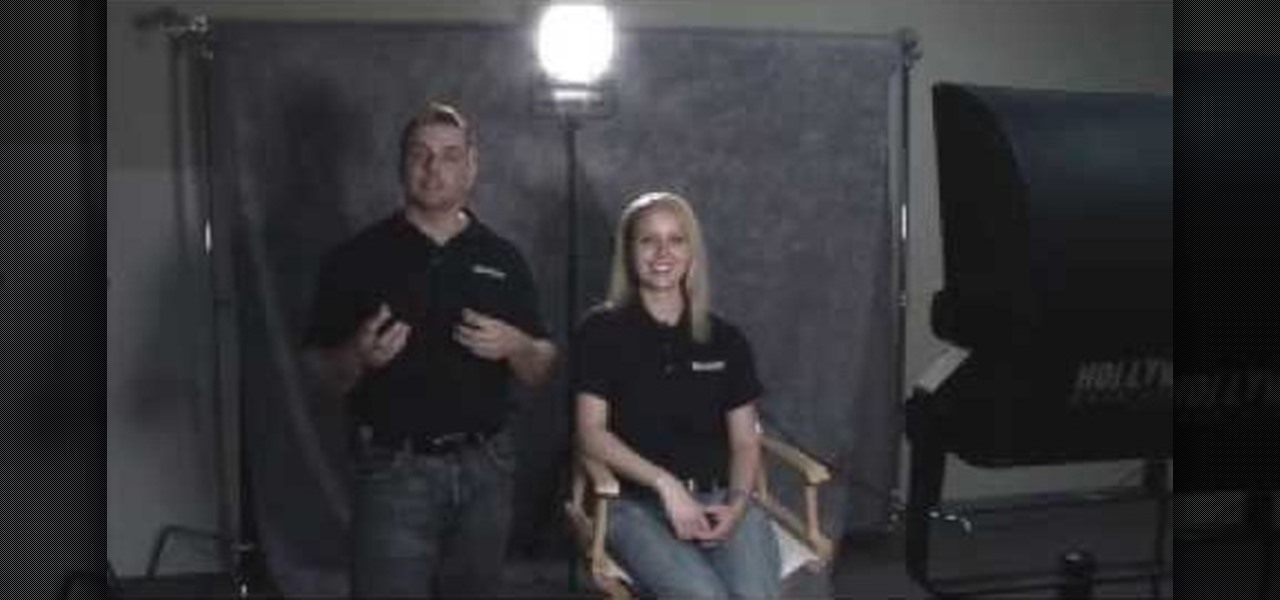
Three point lighting is the key to MAKING videos look professional. Tom Skowronski, the associate editor of Videomaker, guides us through the process of three point lighting. Three point lighting involves the use of three types of light to create a professional appearance when video taping. First, a key light is used to provide bright illumination of the subject. Then, a fill light cleans up the dark areas on the face. Lastly, a backlight fills serves to separate the subject from the background.
A light meter can prove to be an invaluable tool on any film set, allowing you to quickly and efficiently set lights and know the correct exposure values of those lights. Light meters were initially designed for still photographers and cinematographers can easily calibrate them to a given film stock speed for shooting film. But what about today’s digital cinematographer? I’m glad you asked. In this video tutorial you'll see how you can use a light meter to quickly and efficiently light a scen...

No light no movie. Indy Mogul teaches you how to create your own basic lighting kit for $25. Also covered are lighting basics, including three-point lighting.
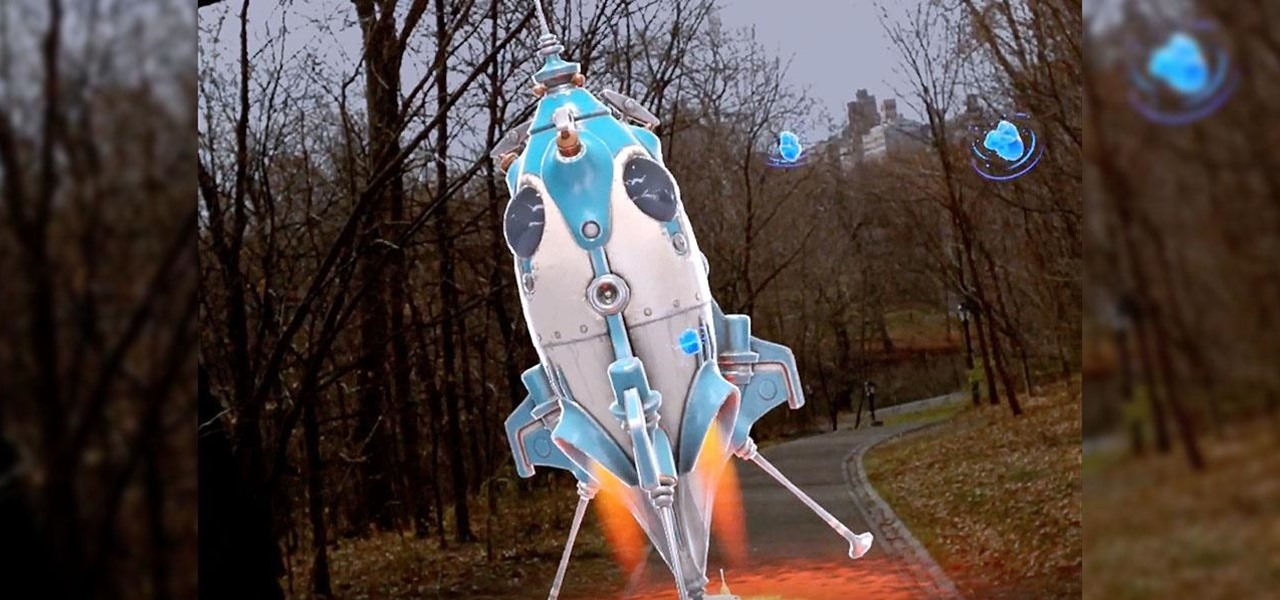
We're a few weeks away from the fireworks associated with New Year's celebrations, but that doesn't mean you can't start a little early — in augmented reality.

Nissan has confirmed reports that the Nissan Leaf's Propilot option will go on sale in the US in September, but when it does, don't expect it to compete against the Tesla Model 3's driverless features.
Make sure your vehicle passes inspection. If you feel any play in the steering wheel of your car, jack up the vehicle and try jostling the tire from side to side. If there is play, it may be time to replace a bad ball joint.