

How To: Store unmounted rubber stamps
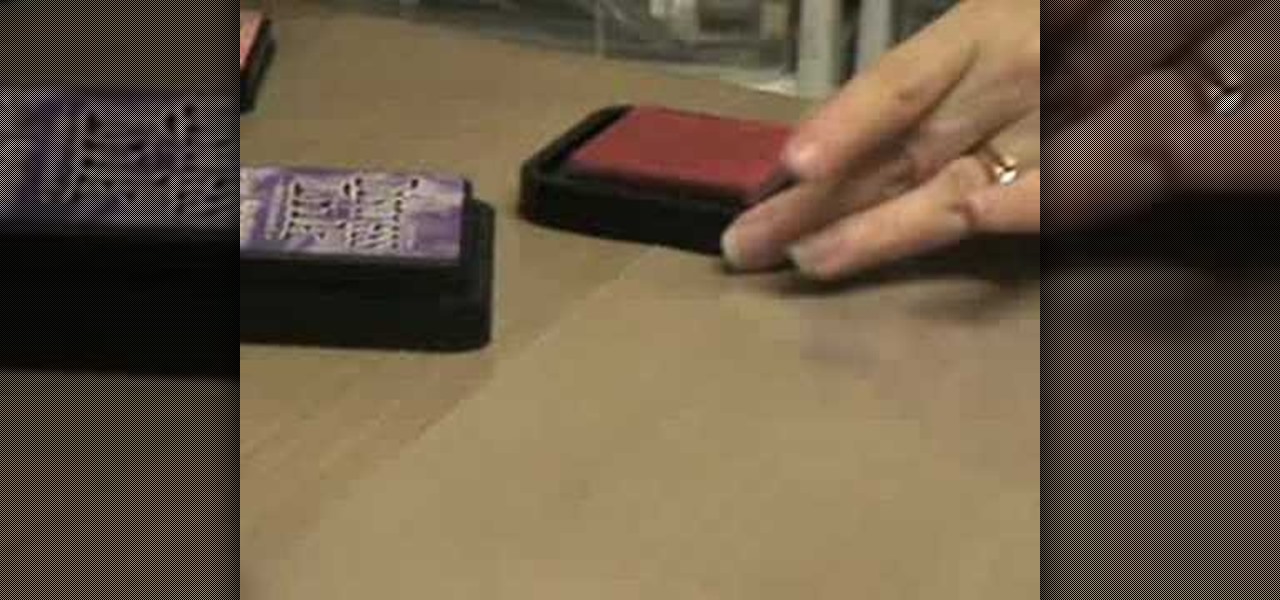
This video demonstrates three ways to store your unmounted rubber stamps. The video discusses using CD cases, laminated storage panels and plastic baggies. This is great for scrapbookers.

This video demonstrates three ways to store your unmounted rubber stamps. The video discusses using CD cases, laminated storage panels and plastic baggies. This is great for scrapbookers.
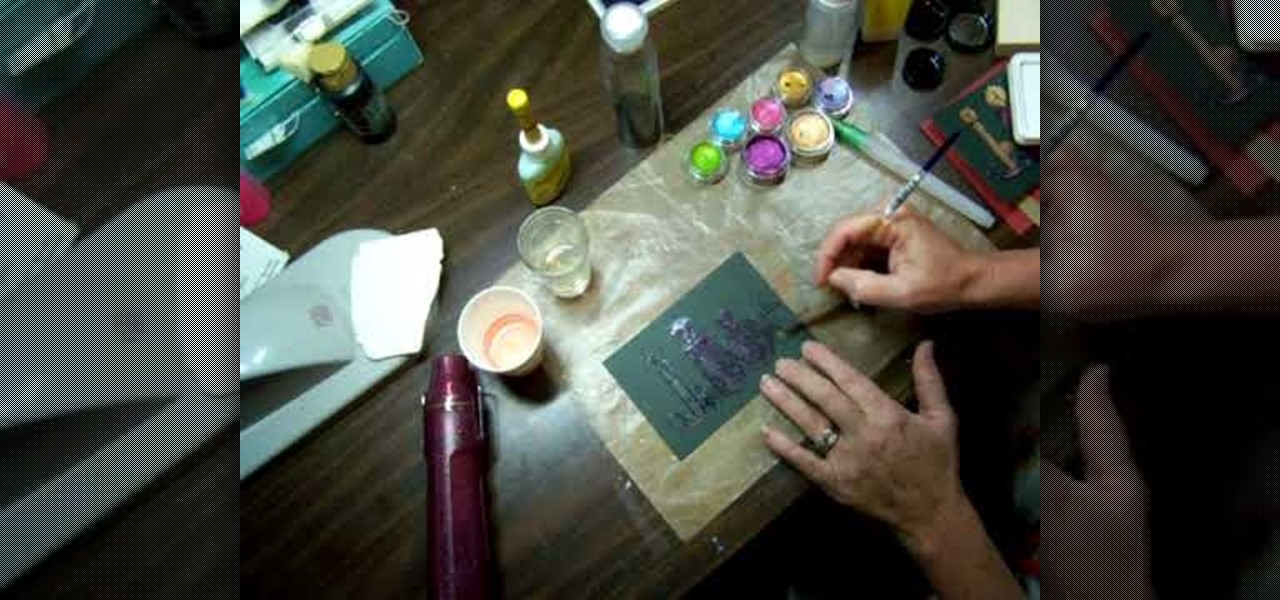
This video tutorial is going to show you how to bleach paper to make the color pop. First take a piece of black paper, apply a bit of bleach and see what color it turns. Because, different cards change color differently. Next you will need a stamp, embossing ink and black embossing powder. Apply embossing ink on the stamp, stamp the black paper and put black embossing powder on the paper and dust it off. You then need to heat the paper. Bleach out the portions that you want color. Follow the ...
In this Arts & Crafts video tutorial you will learn how to use clear stamps & make a card. You will need acrylic stamps for this project. The products used in the video are from papertrayink.com. The stamps are clear and have a sticky back with which you can attach them to an acrylic base to make the stamp block. Then ink the stamp and stamp it on the paper. Since, it is clear, you can ass and align it properly on the paper. The other cool thing about acrylic stamps is that you can take more ...
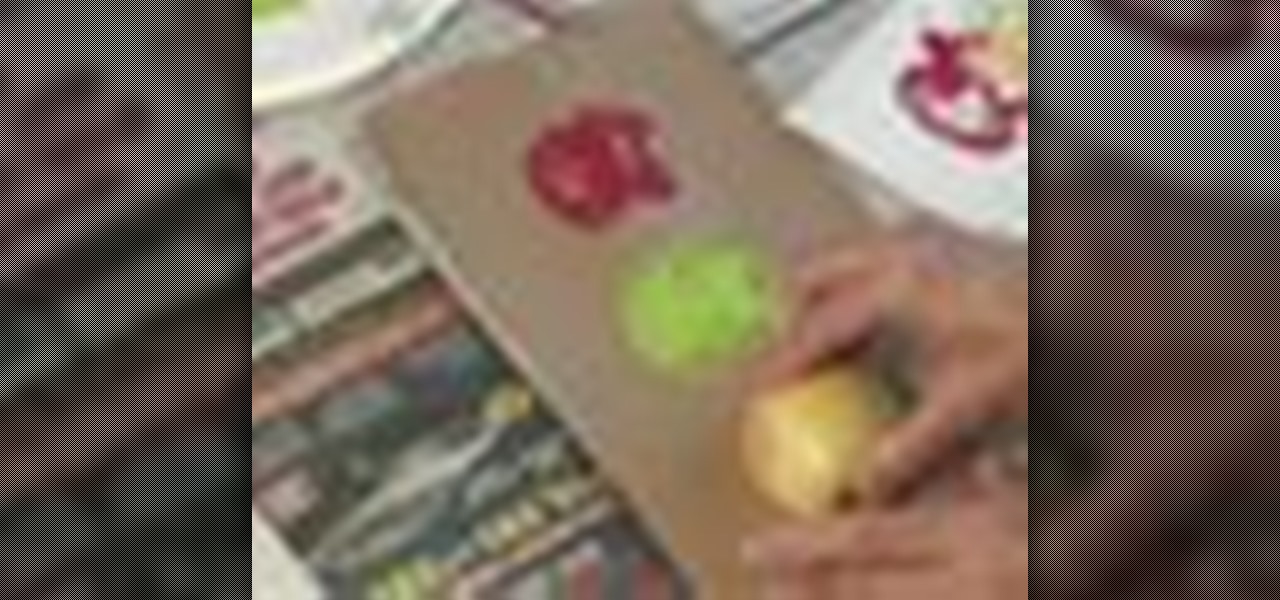
Here's a great craft project you can do with kids or in a classroom. You can use an apple half to stamp apple shapes onto everything from lunch bags to tote bags. This is an easy and cute project to do for the fall.
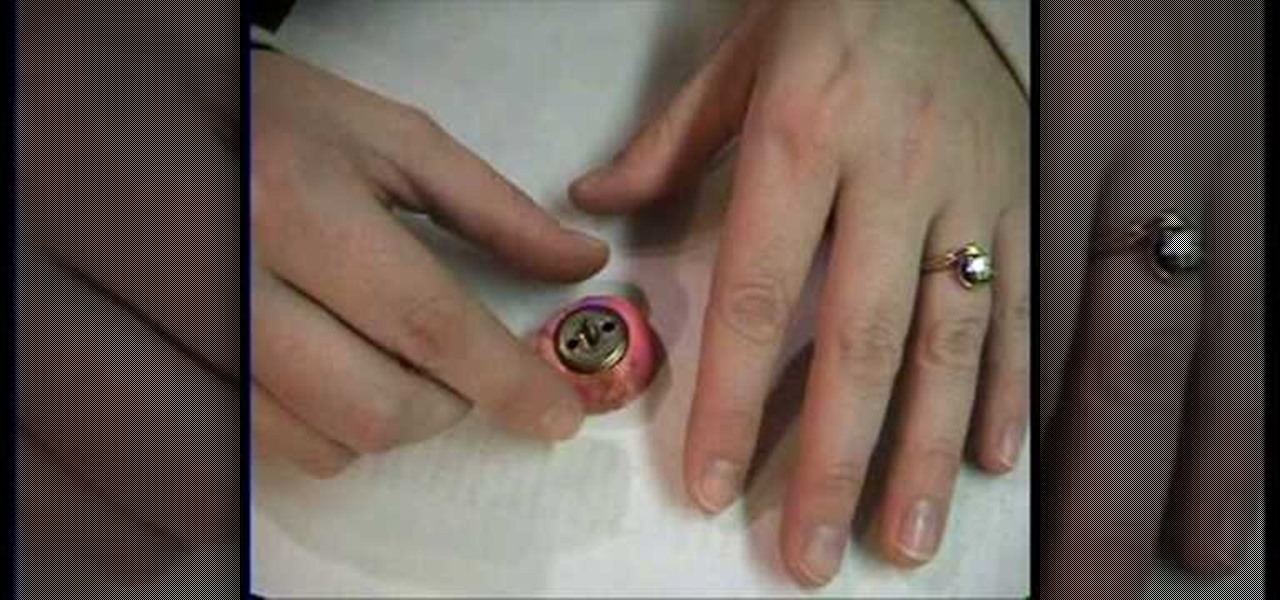
In this how-to video, you will learn how to convert your wood mounted stamps to clear mounts. First, be careful and go slow if your stamps are already mounted on wood. You will need stamps and an EZ mount. Find a spot where the image fits and trim it around the stamp. Once this is done, remove everything from the rubber. Next, peel back the sticky side of the EZ mount piece that has been cut. Now, position the piece so that it is completely covered. Trim the excess EZ mount. Make sure you use...
Find out the best ways to use the creep swab in Houdini. An architect in New York came up with a very clever means of distributing various shapes onto a surface using a creep swab. So, if you want to know how it's done, watch this two-part video, which focuses on using the creep tool in conjunction with copy stamping to achieve some unique results in Houdini 9.
Make a Christmas Gift Card Holder Materials
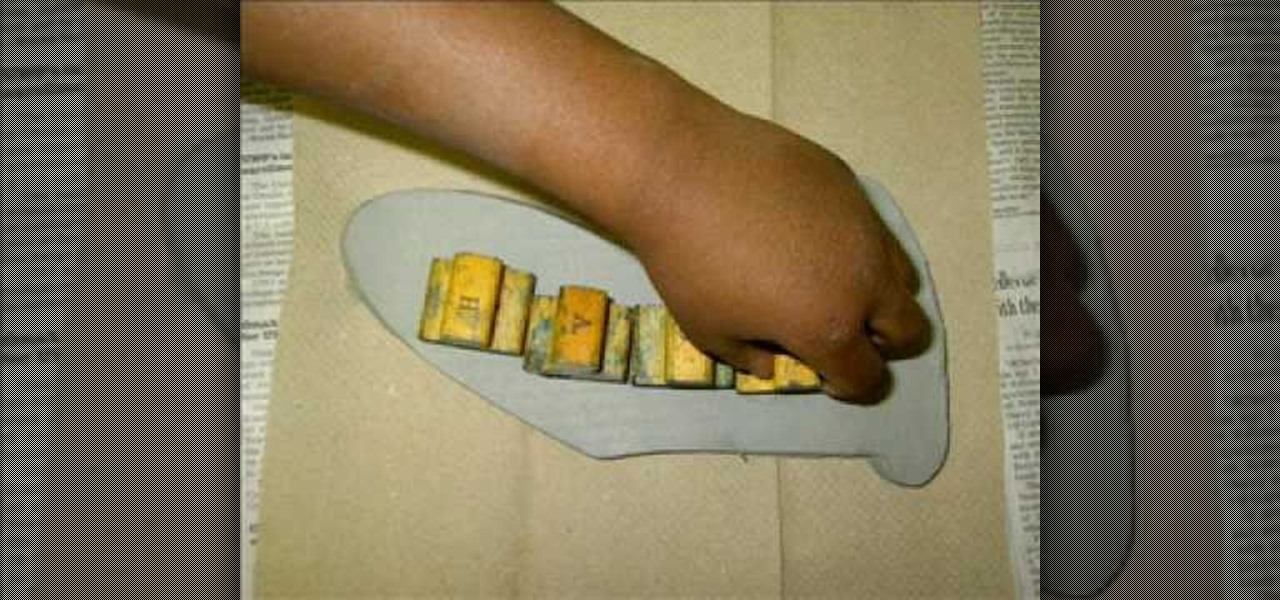
GardenOfImagination demonstrates how to make clay molds. To make clay molds with rubber stamps you can use your scrap clay. First, you need to condition your clay by working it in your hands. This will make it easy to work with and get all of the wrinkles in it. Then roll it into a ball and flatten it out just a tiny bit to get it ready for the rubber stamp. Next, pick out the rubber stamp you wish to use for your mold. Make sure that the clay is spread out to the size that you need. Then tak...

With iOS 8.4 and iTunes 12.2, we got our first look at Apple Music, Apple's new streaming subscription service. While it's a little late to the party, there is definitely an incentive for iOS and Mac OS X users to switch over from competitors due to its heavy integration with the Apple ecosystem.
In this Arts & Crafts video tutorial you will learn how to stamp & heat emboss on a card. First you rub in a powder on the paper on which you are going to emboss, because embossing powder is really sticky. Then you select the stamp that you want to emboss and apply sticky transparent ink on the stamp. Make sure you do a through job of this. This will make the embossing powder stick to it. Now stamp the card and press it evenly to ensure that the impression is complete. Then pour embossing pow...
In this first of a two-part video tutorial on the Clone Stamp tool in Photoshop. Learn to use the "Alt" key to sample. Beside removing blemishes, you will learn that you could use Clone Stamp tool to create objects in your image.
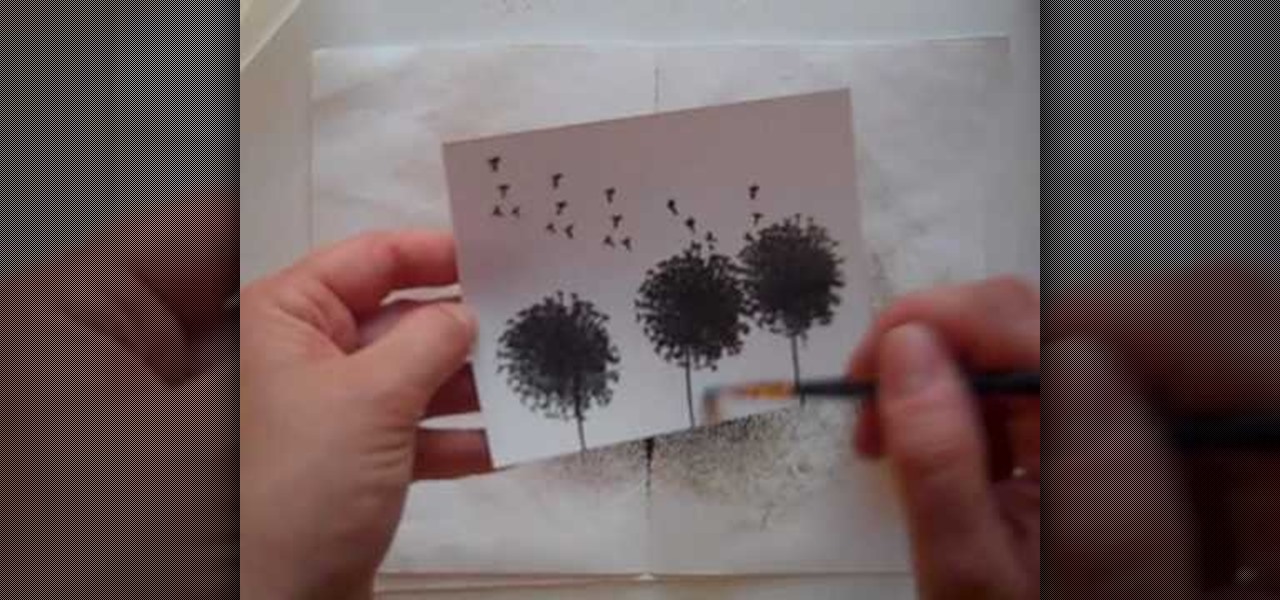
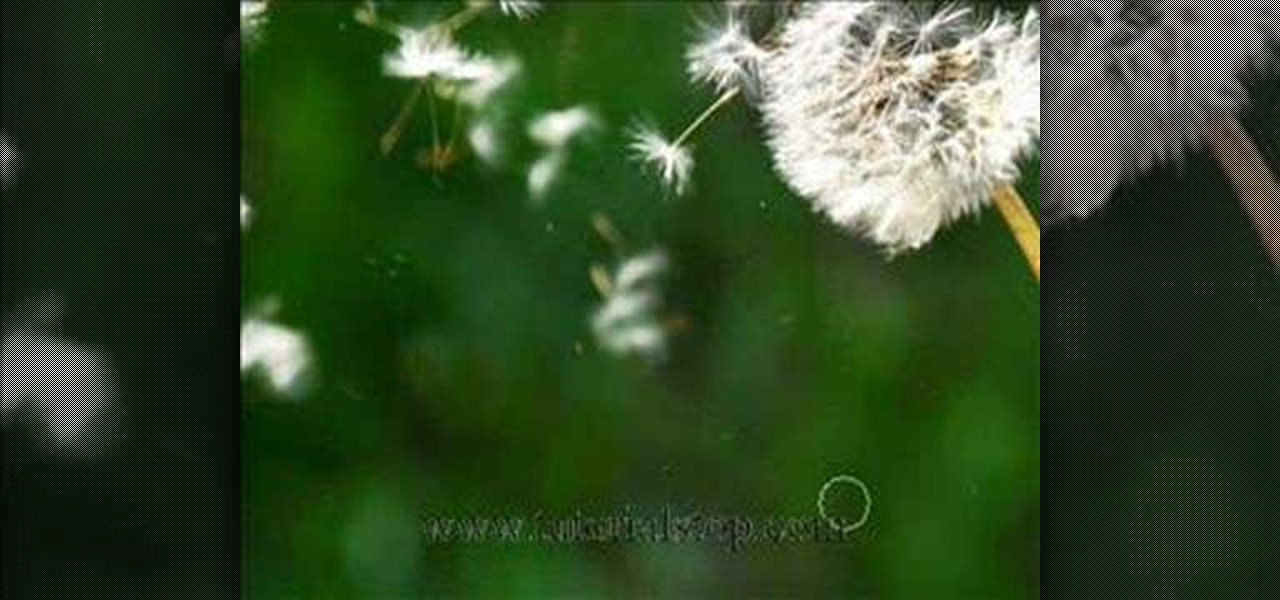
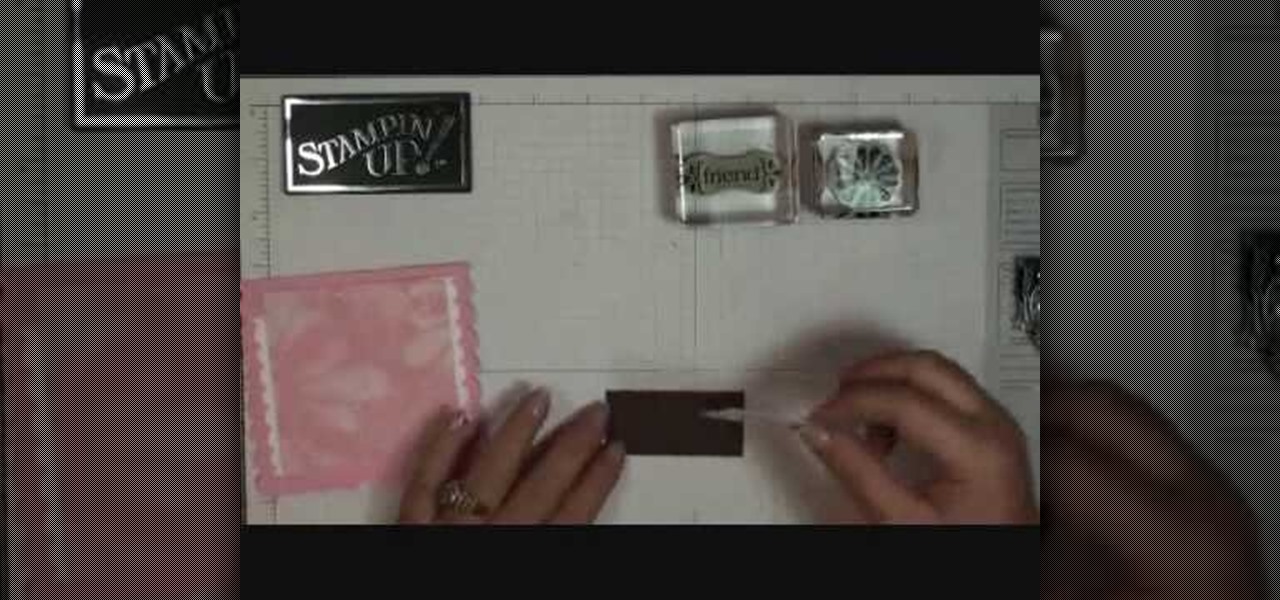
Anyone interested in scrapbooking can learn how to do the Brayer technique with ink refills for cards with this video tutorial. You will need a piece of glossy cardstock as well as stamps. Make sure to keep your fingers off the paper to avoid smudging. You will need the dandelion stamp to stamp the cardstock. Add a stem stamp to your flowers followed by the dandelion fluff along the top of your paper. Then, emboss your stamps with black embossing powder making sure to use a separate piece of ...
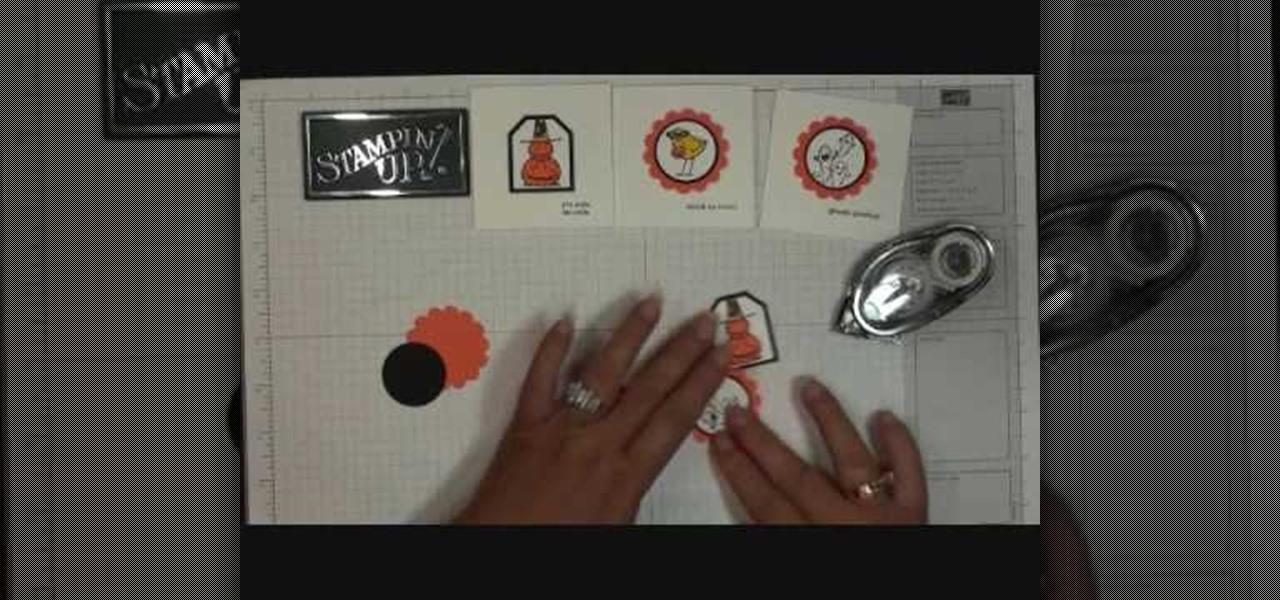
We learn how to make a fall themed thank you card with Stampin' up. The Stampin' up set she used today was the Halloween theme. Firstly cut out your stamps. Then choose the colors of your liking to color your stamps with. Thereafter, cut out your stamps in any design. Continue on with cutting a rectangle that is just a little bigger than your stamp. Glue the stamp to the orange rectangle for a background. Then you are done, but you can add even more to your stamp with glitter and sparkles.
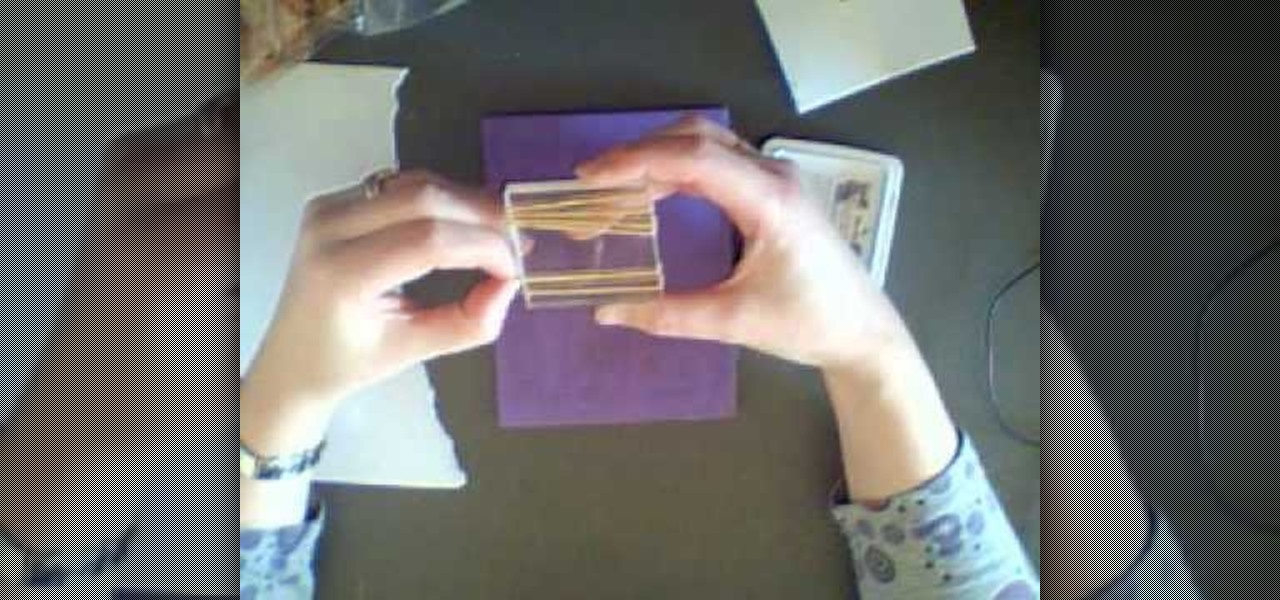
First of all you need an acrylic block, stamping pad, packet of rubber bands and a piece of paper. Open the rubber band packet and then you have to choose several rubber bands which are of same size. Now you have to get these rubber bands on your acrylic block. You can also use a wooden block or an old stamp instead of acrylic block. Now you have to sort out the rubber bands so that they are placed in order with a gap of around a quarter of an inch between each one. You also have to adjust th...

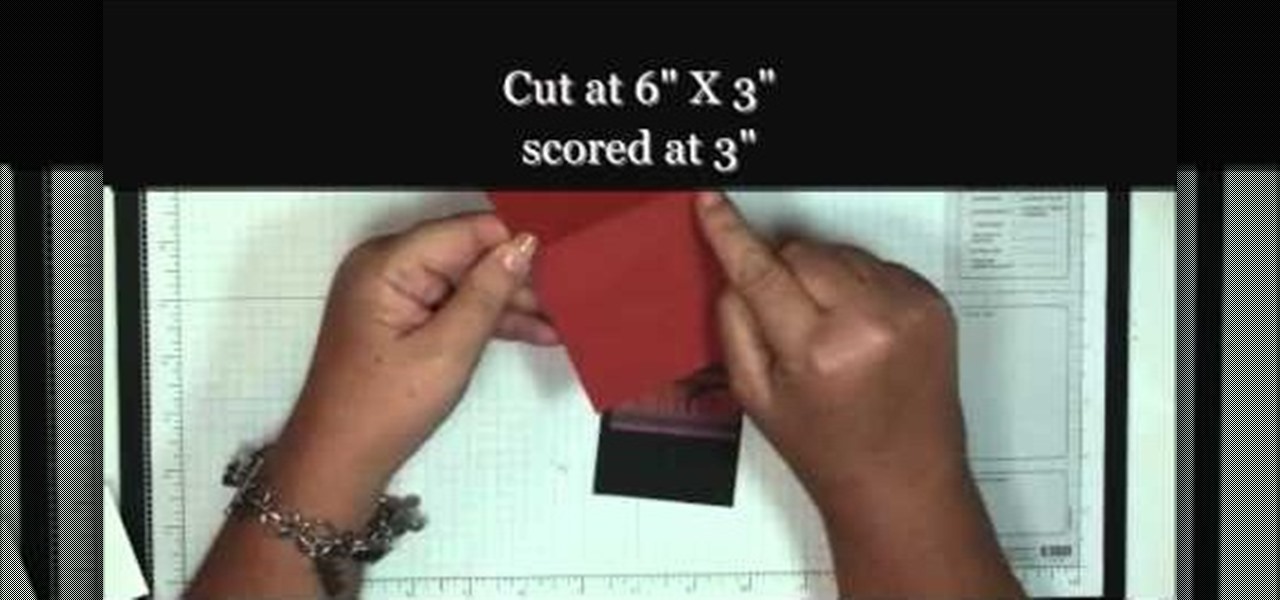
You will need the following materials: a Green Galore #101768, cut at 4 1/4" by 11' scored at 5 1/2", a piece of Whisper White #100730 cut at 2 1/2" by 1/4", Real Red #102482 cut at 2 3/4" by 1/2", a piece of Whisper White for the door to release the treats from the card, cut at 2" by 2/12", a strip of Real Red cut at 1" by 5 1/2" and a circle of Green Galore with a 1 3/8" circle punch #104401. First use the larger piece of white and the stamp set #120780. Use the clear block #118485 and Gree...

This video tutorial shows a technique to mock watercolor with stamps and markers. Learn how to create the look of watercolor without the mess.

Make It Mine associate editor Tea Benduhn shows you how to emboss velvet using a rubber stamp.
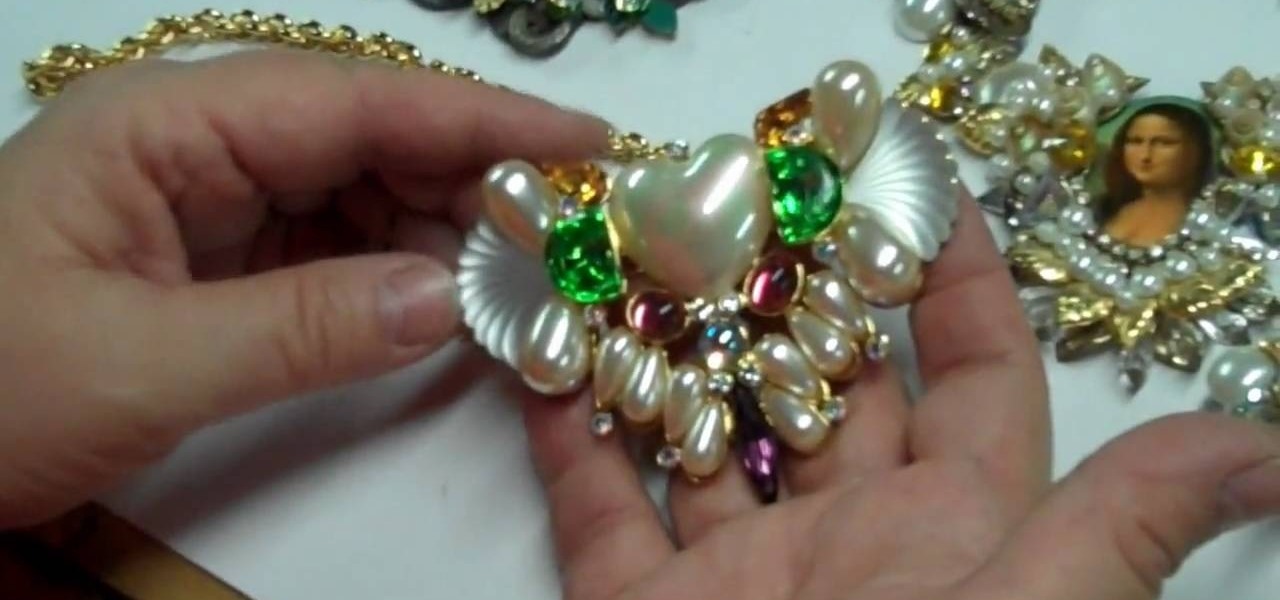
This Mona Lisa necklace is really as unique and charming as it gets. Why wear the same old stringy bohemian necklace as everyone else when you can fabricate your own neck wear using vintage brooches, brass stampings, and other found knick knacks?
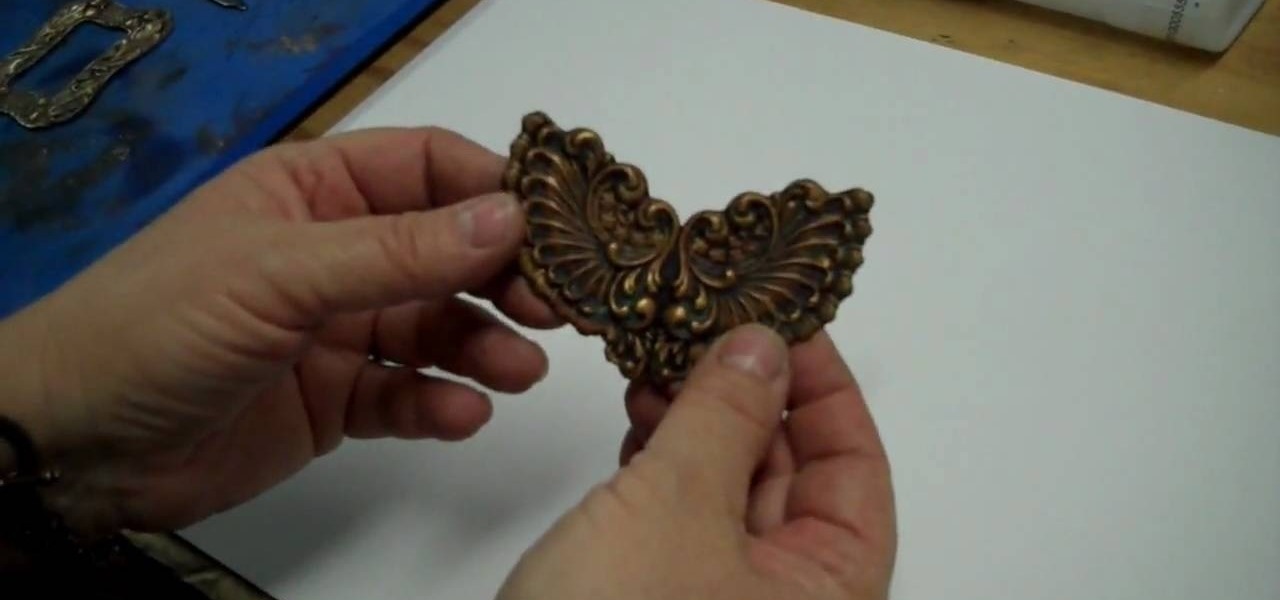
Adding a patina to brass stampings is what gives it an aged, beautifully vintage look. If you've never worked with patinas before, then check out this jewelry crafting video to learn about how to use different types of patinas - including resin and acrylic paint - to make a flower you can attach to a pin to make into a brooch.
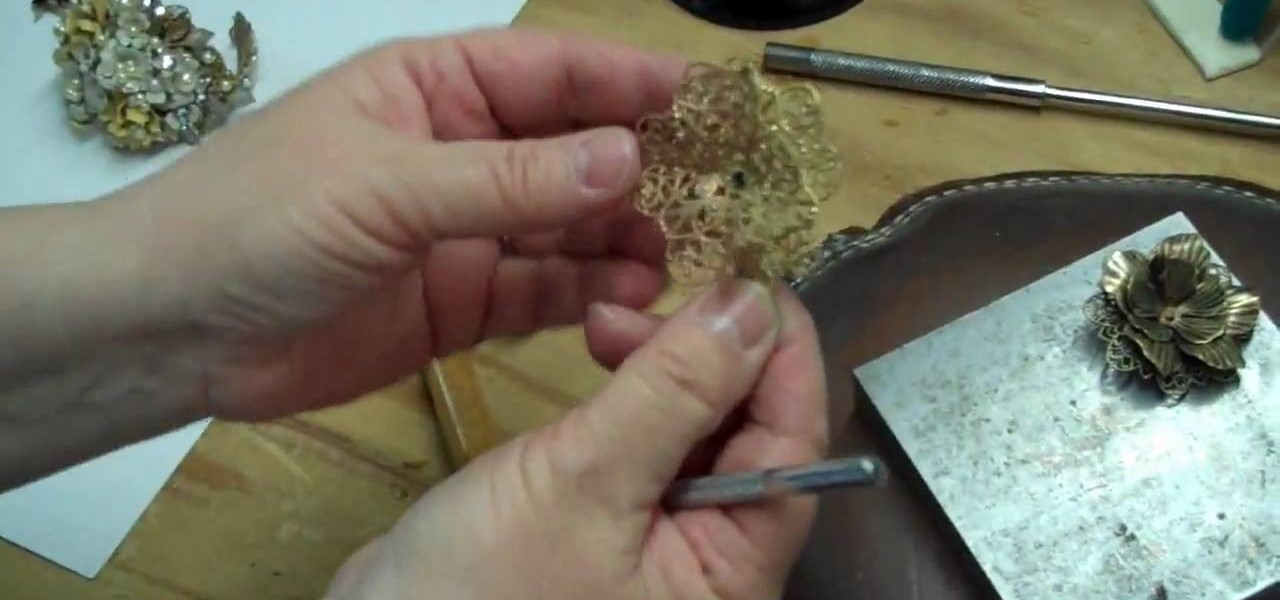
Brass stampings add that perfect metallic touch to any jewelry project you're working on. While brass stampings are usually made into filigree shapes, they can also be manipulated into pretty floral designs.

This video tutorial by photoshopuniverse shows you how to create a postage stamp in Photoshop. First take a suitable image and decide the shape of the stamp. Corp the image to suit the shape of the stamp by selecting the area and choosing corp and increase the canvas size as shown in order to create the perforated cutout. Transform the image into a regular layer and once again increase the canvas size to create a back ground with an appropriate color as shown. Add a layer mask, chose the brus...

This is what we'd call a hybrid craft if we've ever seen one. Using a rubber stamp on a cake does sound kind of strange (they usually go on paper, right?), but as long as these stamps are new and unused, they actually function really great for decorating on fondant.

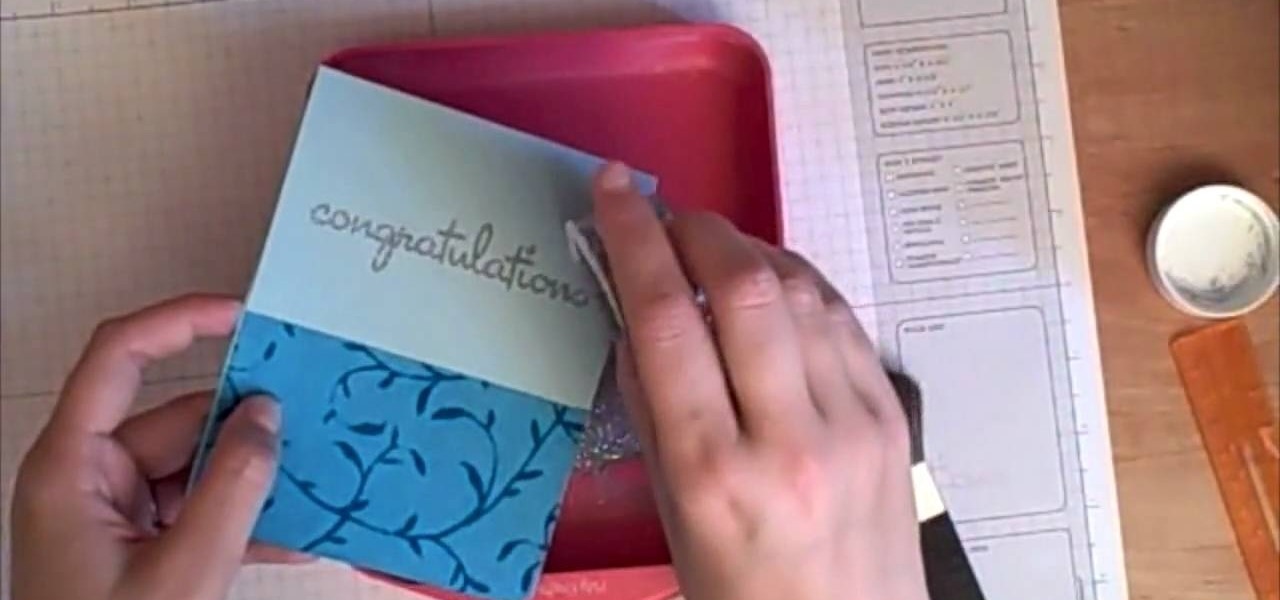
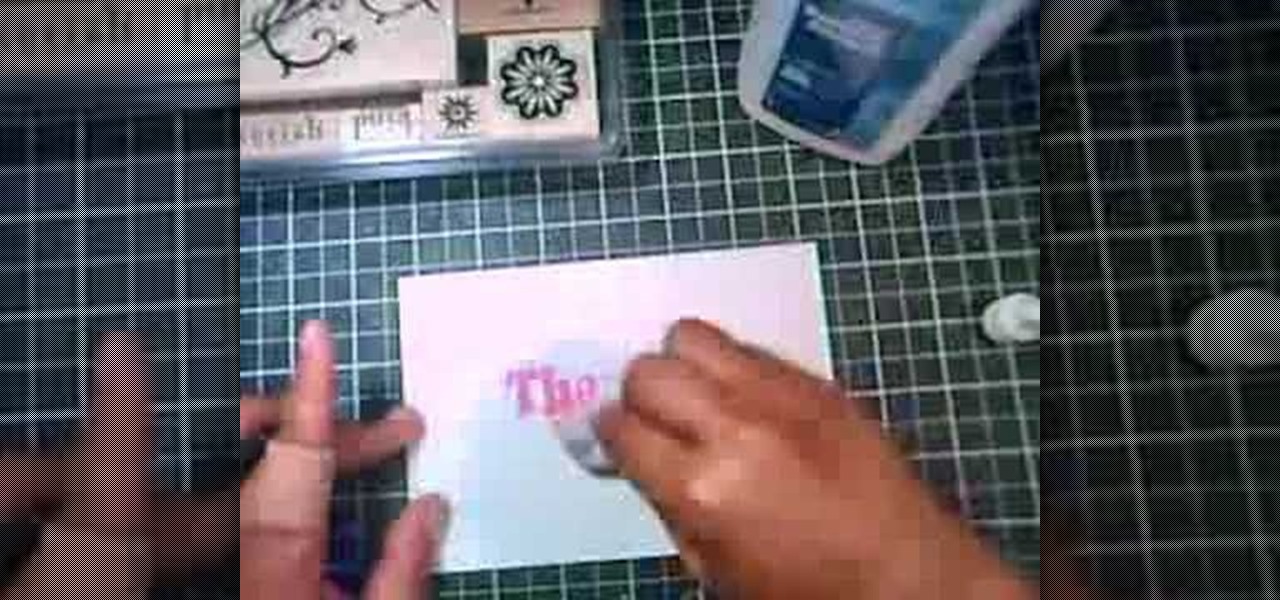
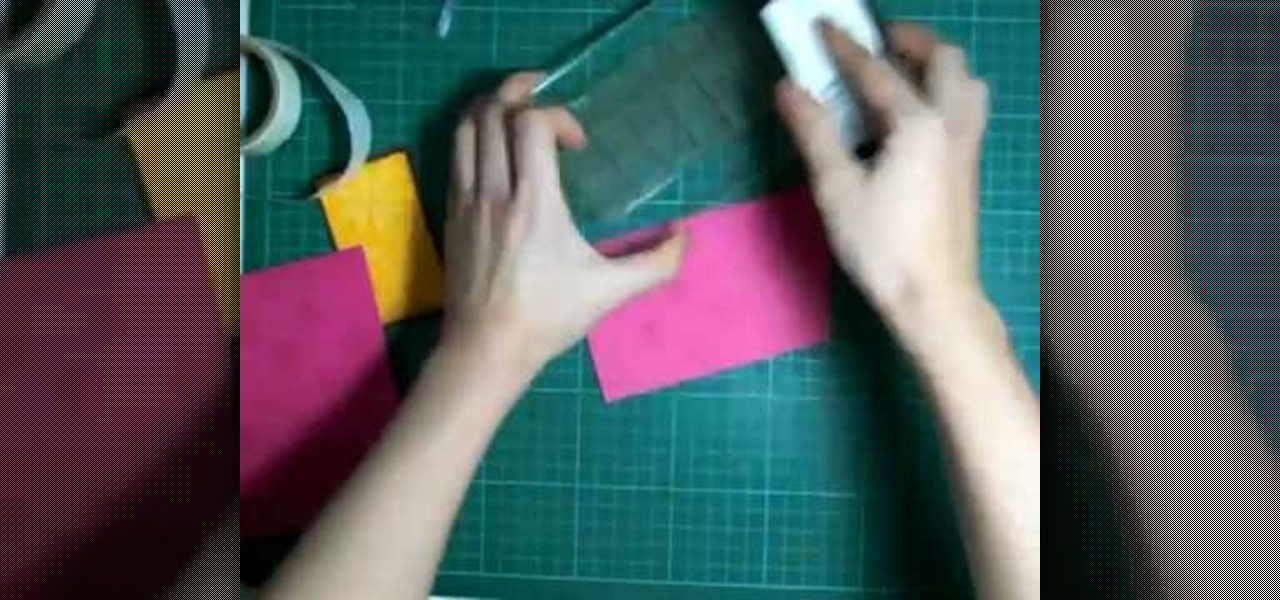
Handmade cards with rubber stamps can be made easily with the following instructions. First, fold a sheet of cardstock in half horizontally or vertically, whichever way you prefer to make your card. Then, trim around the edges with scrapbooking scissors to create a design, or leave the edges straight. You can also find rubber stamps with inspirational messages that you can stamp straight onto the cardstock. Now you can decorate the card front with any rubber stamp you like, but stamp it onto ...

This is a great tutorial on making wonderful little artsy butterflies with your own two hands! They're sparkling butterflies, which you make with fantasy film, a butterly image, permanent ink that dries on non-porous surfaces, craft iron, acrylic stamps, and a non-stick craft mat.

This video tutorial will show you how to make a wooden jigsaw puzzle, but not an ordinary one -- a postage stamp wooden jigsaw puzzle. This puzzle video will show you how to cut a postage stamp into ten poplar jigsaw puzzle pieces using the freehand continuous method.
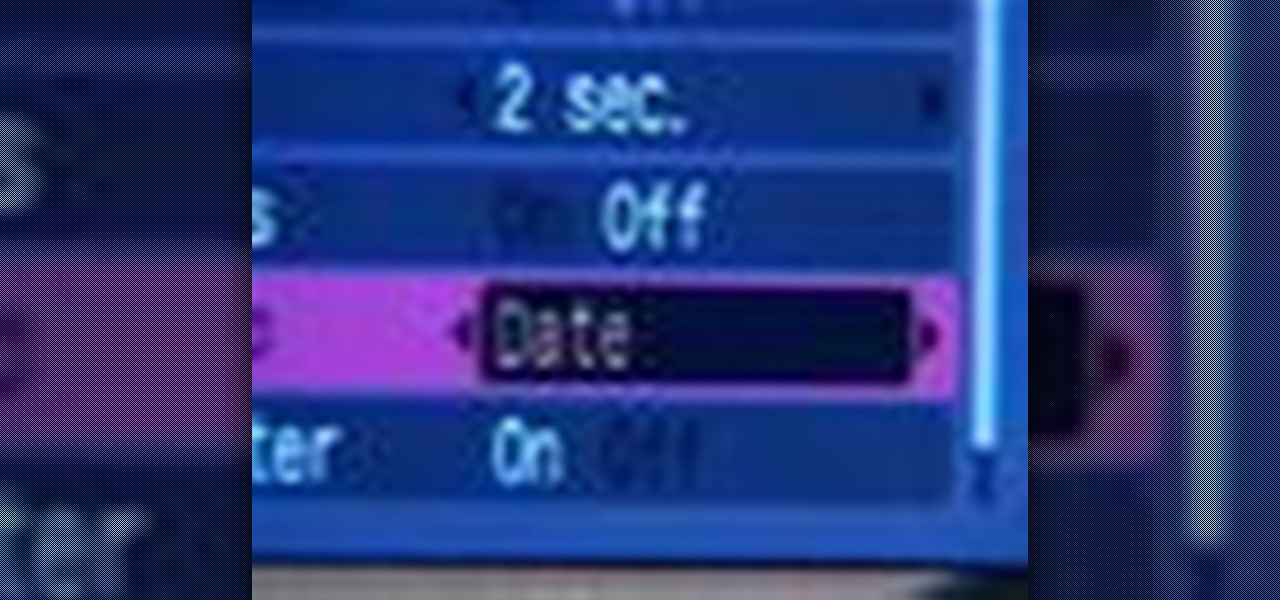
The date and time stamp on a digital photo is great--if wanted there. This how-to video offers tips on using the time stamp on the Canon PowerShot SD600 digital camera. Watch this photography tutorial video to learn how to use the date and time stamp on a Canon SD600 camera.

In this video, we learn how to make zebra and tiger prints with Ranger's alcohol inks. First, you will need some alcohol ink in black, gloss paper, a stamp, and felt. Now, take your felt and cut it into small strips. Make lines like a zebra or tiger would have. Next, push these strips onto the stamp bottom, arranging them to look like a zebra. After these are stuck on securely, trim off any edges and make some pointed. After this, you will squirt the black ink onto the bottom of the stamp on ...
In this video tutorial you will learn about a very powerful feature in Houdini called Copy Stamping.
In this video, we learn how to stamp your own customized X-mas patterned cardstock. You will need: green/red stamp pads, Christmas stamps, light yellow plain cardstock and a stamp foam mat. First, stamp your yellow paper as you wish with the green and red stamp pads, you can make any pattern you'd like. Then, place on your stamps on the paper and press the clear stamp press down onto them. Now, apply your stamp color and press back onto the paper. This will make the different stamp shapes pre...
In order to make ghosted images with white ink and distressed ink, you will need the following: a heat gun, Adirondack ink pads, distress ink pads, blending tools, stickles, stamps, card stock, stamp press, a stamp press, scissors, glue dots, adhesives, brads, paper trimmer, and nonstick craft sheet.
To make a Clay Christmas stocking you need to slice a slab from a block of wedged clay using a wire and two rulers. After you slice the slab trace the shape using a needle and a template. If you want you can add the child's name using stamps. Add decorative stamping. Using a clay extruder, squirt out a clay rope to accent the opening of the stocking. Glue down with slip. Punch out two holes with a straw for hanging. Now you are almost done with your Clay Christmas stocking. You can vary the p...
It's never too early to begin crafting for one of the funnest and spookiest holidays of the year: Halloween! No doubt you're going to be attending at least one Halloween party or get together this year, so why not show the hostess with the mostest some love for putting together an awesome party?
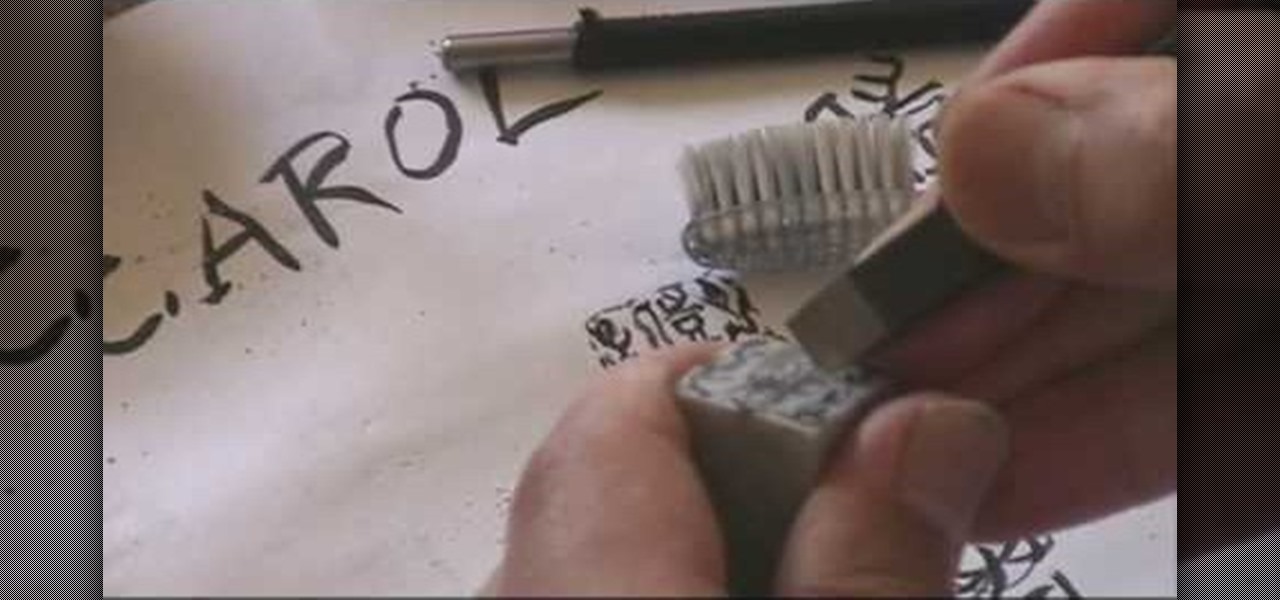
Any artist who excels enough in his profession will create some sort of signature on his painting to notify other it's his work. Some painters, like Jan van Eyck, are cryptic with their inscriptions, putting it in almost impossible to see areas in the painting, while others, like Chinese painters, put their literal stamp on paintings with a carved seal stamp.

Are your electrical switch covers in your home just too boring for you? Tired of all those receptacle covers just being plain, old beige or white? Then a little arts and crafts project and some fantasy film might be your answer.
In this tutorial, we learn how to create a marble effect for paper design. You will need: rubbing alcohol, ink, stamps, and a cotton ball to get this effect. To start, you will Need to first dip the cotton ball in some rubbing alcohol and then add it to the ink. Dab this onto the paper all over. From here, you will color your stamps with dye ink and stamp it over the paper where you made the marbled effect. When finished, you will have a cute image over the marble design and then you can add ...
Accidentally stick a time stamp on an image file? Get rid of it with Photoshop's touch-up tools. Whether you're new to Adobe's popular image editing software or simply looking to pick up a few new tips and tricks, you're sure to benefit from this free video tutorial from Tutvid. For more information, and to learn how to get rid of digital photo time stamps yourself, watch this digital photographer's guide.
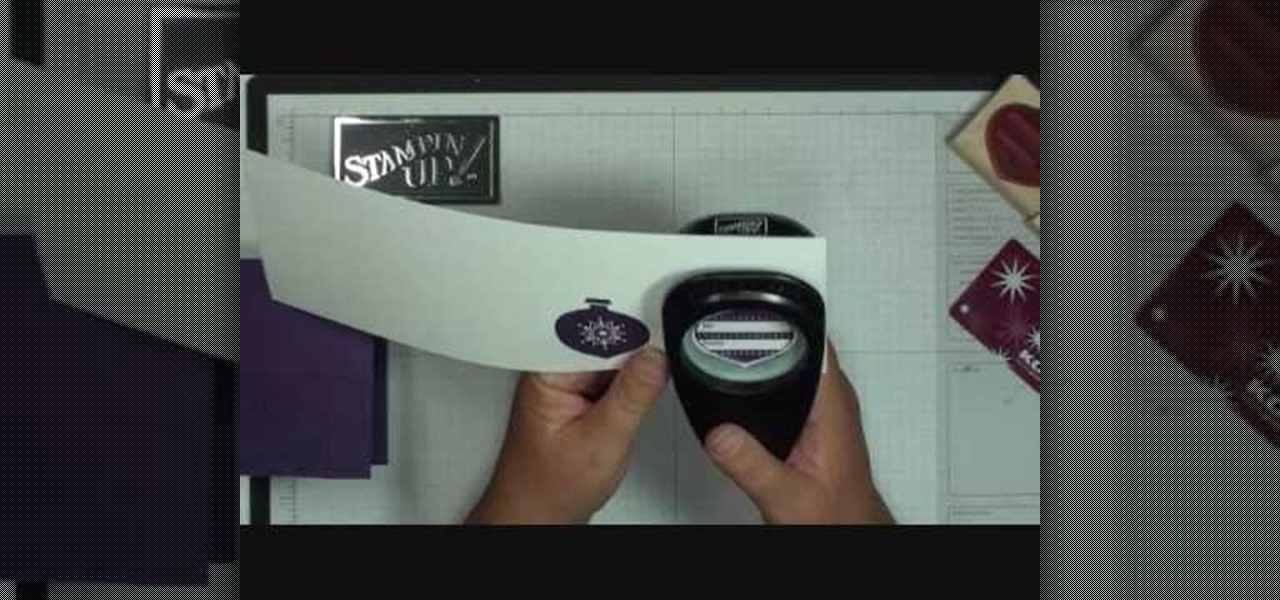
In order to make a scallop square card with Stampin' Up, you will need the following: a big shot, a large scallop square # 115950 Bigz Clear die, stamps, adhesive, design paper, mini glue dots, decorative ornaments, and card stock.
In order to make a Cuttlebug Smoosh Card, you will need the following materials: card stock (at least 3 different prints or colors), a ruler, distress tool, double sided tape or glue, distress ink, watermark stamp pad, decorative accessories, and scissors.
Cathie Filian and Steve Piacenza demonstrate the way of making medieval candles using tissue paper transfer technique. Steve asks you to first take a piece of tissue paper and a square-shaped chunky stamp. Then you should load the stamp with black pigment. Once the loading is completed, you should cut the tissue paper in square shape and place the shining side on the stamp and give a nice light press with your fingers. Then once you get the stamp image on the tissue, gently take it out and pl...
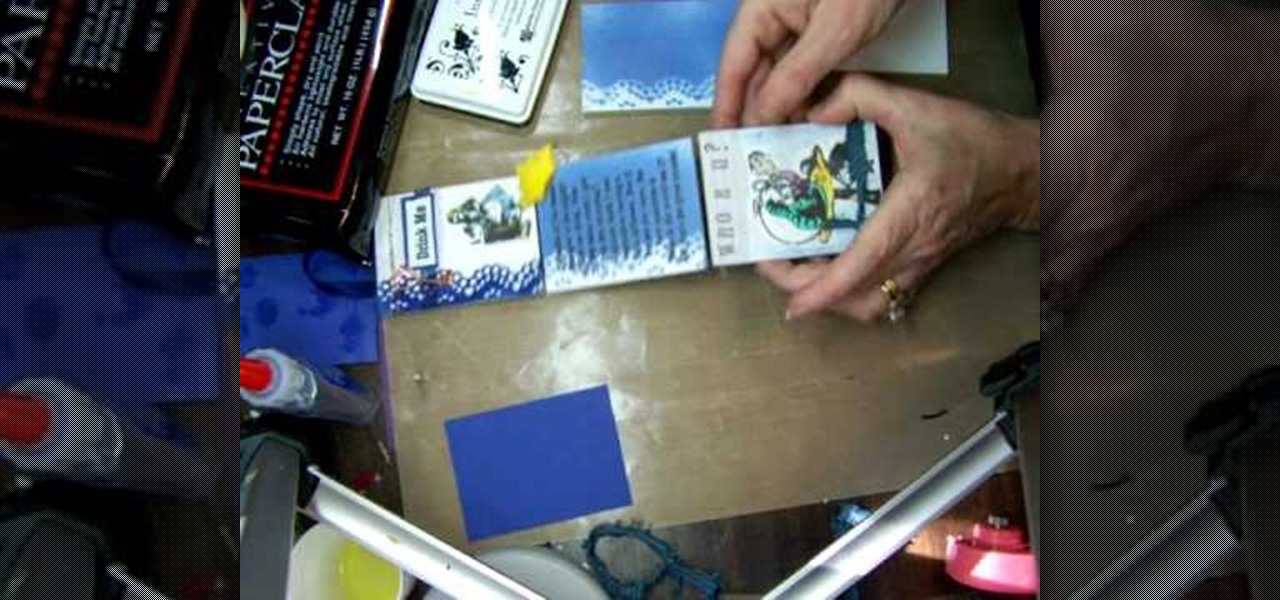
This video is about how to make a story board craft. In this case the story is about Alice in Wonderland. In this case 3 Eco art boards are taken of a suitable size of 2 1/2"X3 1/2" the left edge is decorated with a lace spray painted with Memorie mist spray, the rest of the card is also spray painted. Now from Queen Kat Designs the stampings are selected and stamped on each board as per the story. Whilst stamping Indian stamping ink is used as it does not smudges. For extra decoration paper ...