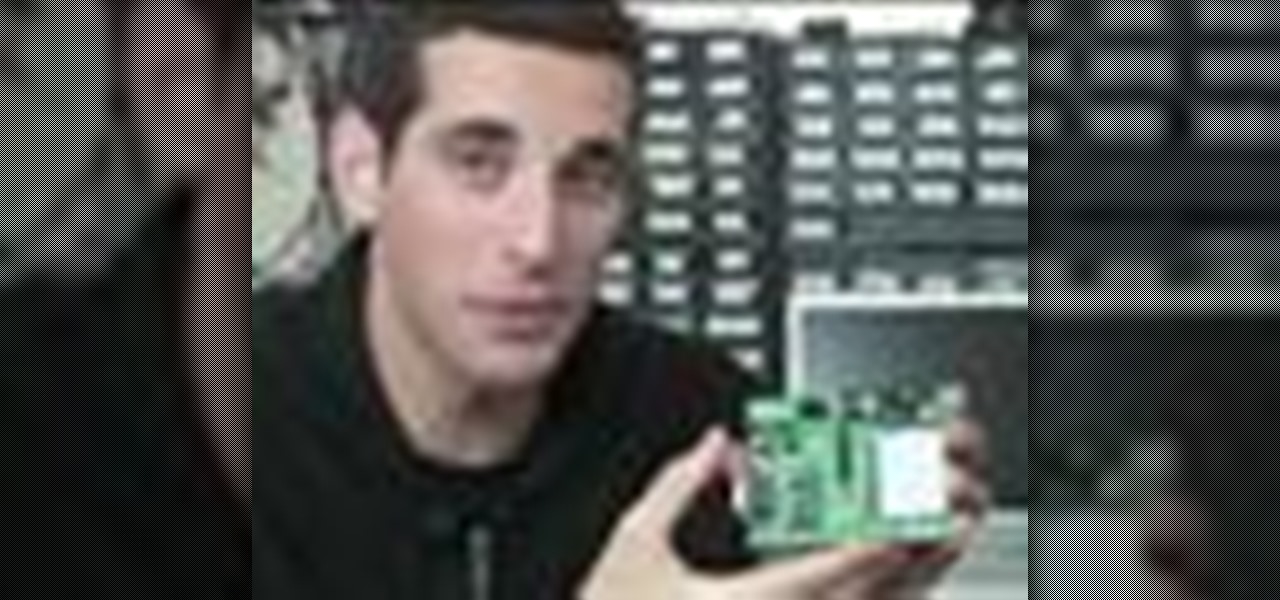
This video introduces you to the basic stamp to create your own electronics. The basic stamp is a microcomputer that can be programmed using basic to do anything from turning on a LED light to cellphone ringtones.
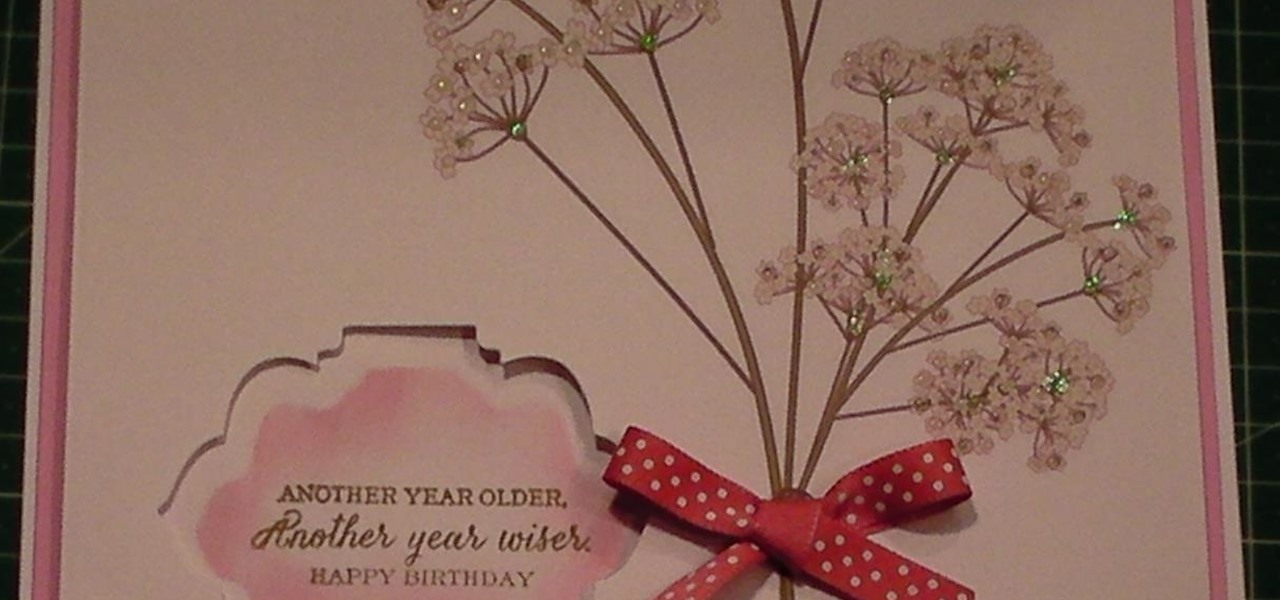
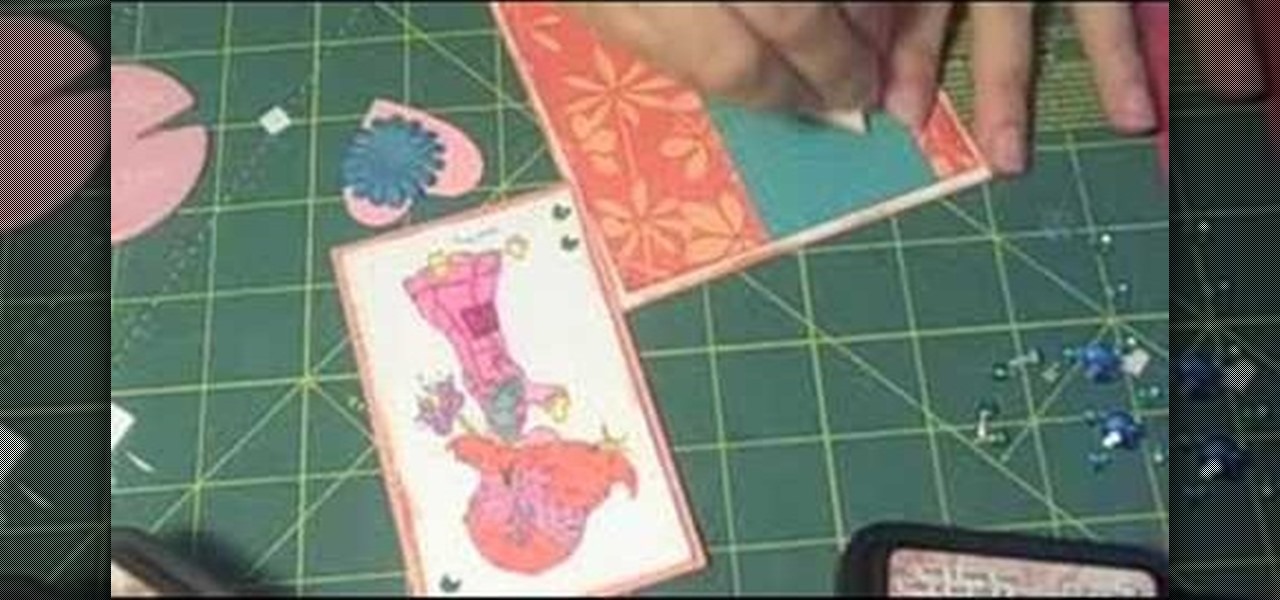
Instead of a tutorial this is really a card idea for what to do with large stamps/images/rub ons/stickers etc.. and a really quick & easy option. Step 1: Items Used
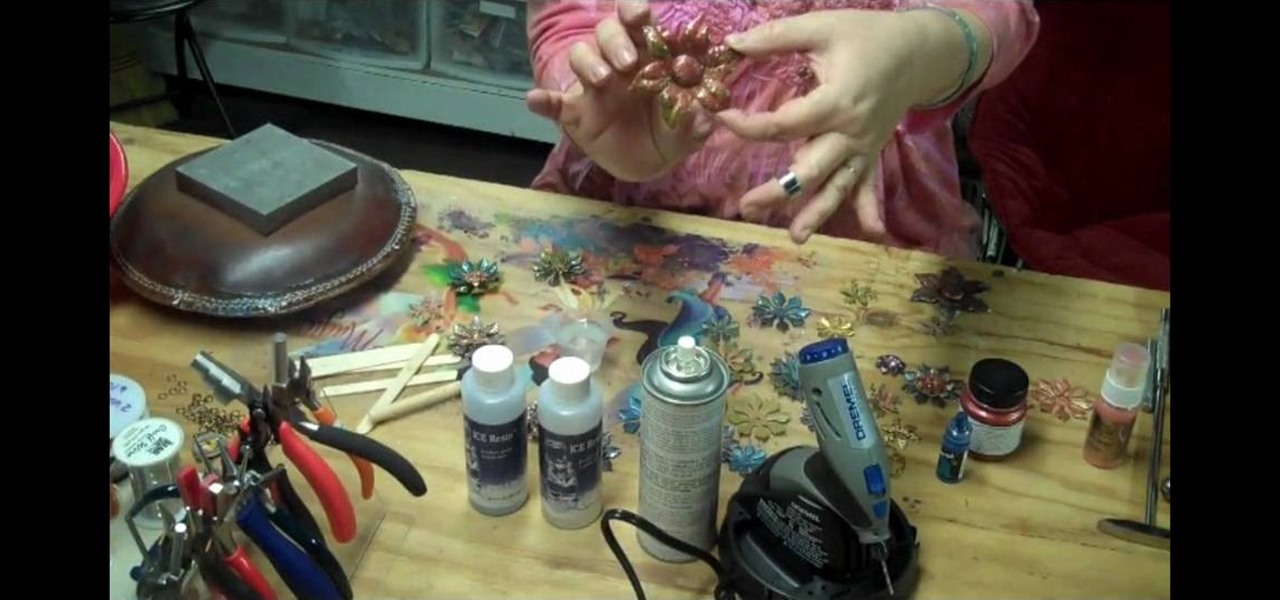
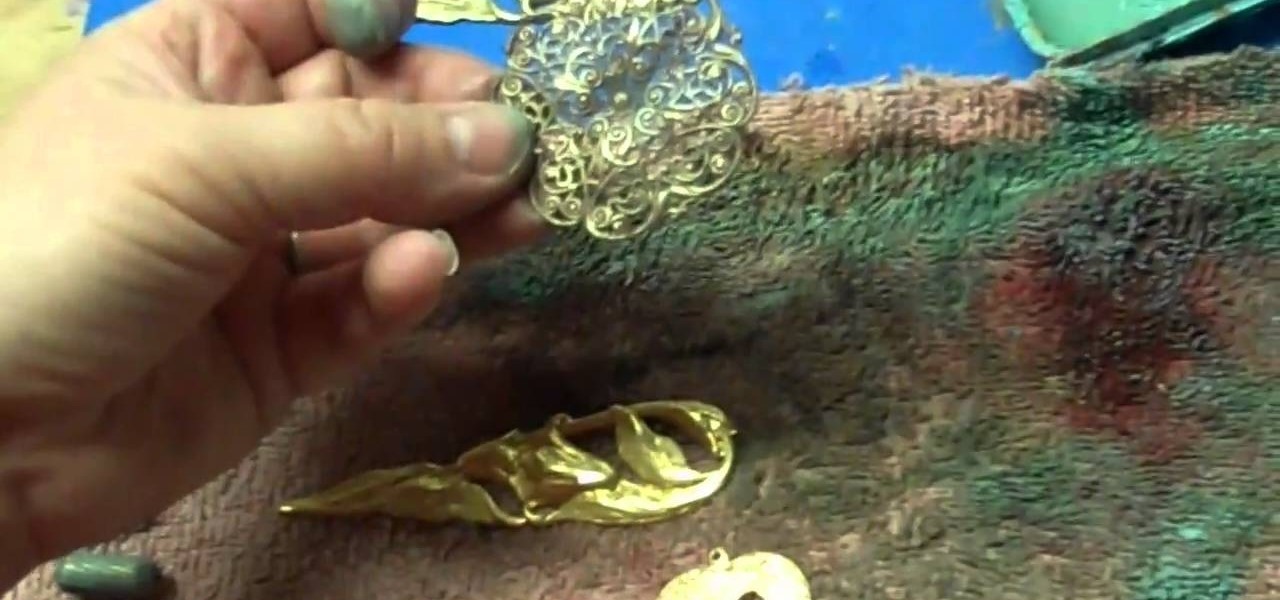
If you enjoy creating vintage inspired jewelry, then there's no way you can get around not using brass stampings. Already infused with a rusty colored hue, they're very antique-looking and their colors can be altered. Check out this jewelry crafting video to learn how to color vintage flower brass stampings using materials including acrylic paint and resin.
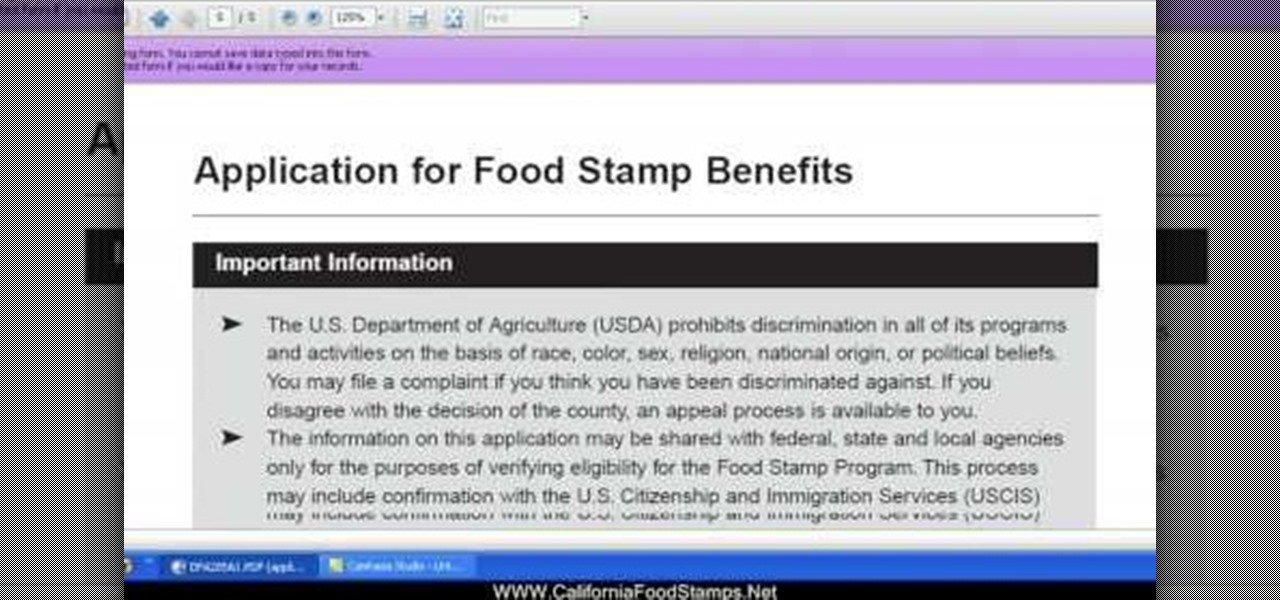
In this tutorial, we learn how to apply for California food stamps. First, to go the website: California Food Stamps. After you are on this site, you will see a pop up where you can enter in your name and e-mail, as well as more information about food stamps in California. After you enter in your information, you will receive an e-mail with two links on it. One will be for the application and the other will be to find an office near you. Print out the application and fill it out entirely, fol...

In this video, we learn how to apply for Arizona food stamps. First, you will need to go online and print out the application to receive food stamps from the state. You will also need to print out the information that you will need to bring with you as well as look for an office that is closest to your location. Fill out all of the sections of the application until it's complete. Make sure to use the correct colored pen and don't leave out any information. If you do leave something out, this ...
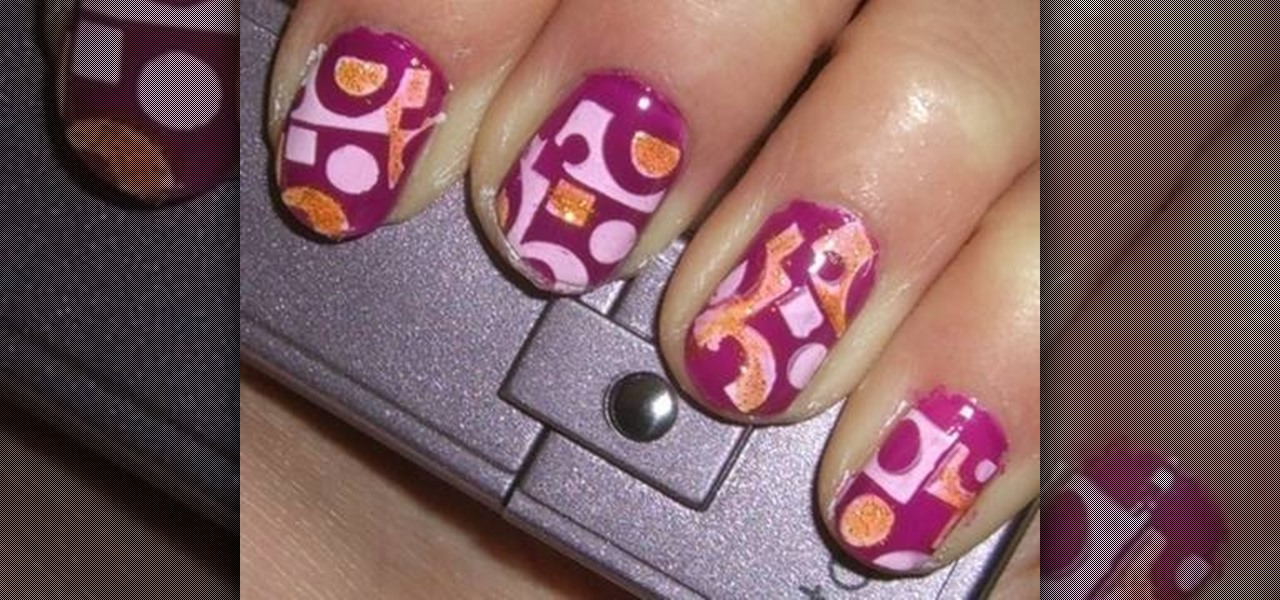
In order to paint nails with funky hot pink design, you will need the following: a base coat, a purple nail polish, a nail plate, stamping nail polish, a stamp, a top coat, gold glitter nail color, and a scraper.

In order to make a pocket card out of an envelope, you will need the following: a used envelope, printed paper, adhesive, card stock, paper cutter, cuddle bug, an ink pad, stamps, markers, and crystals.
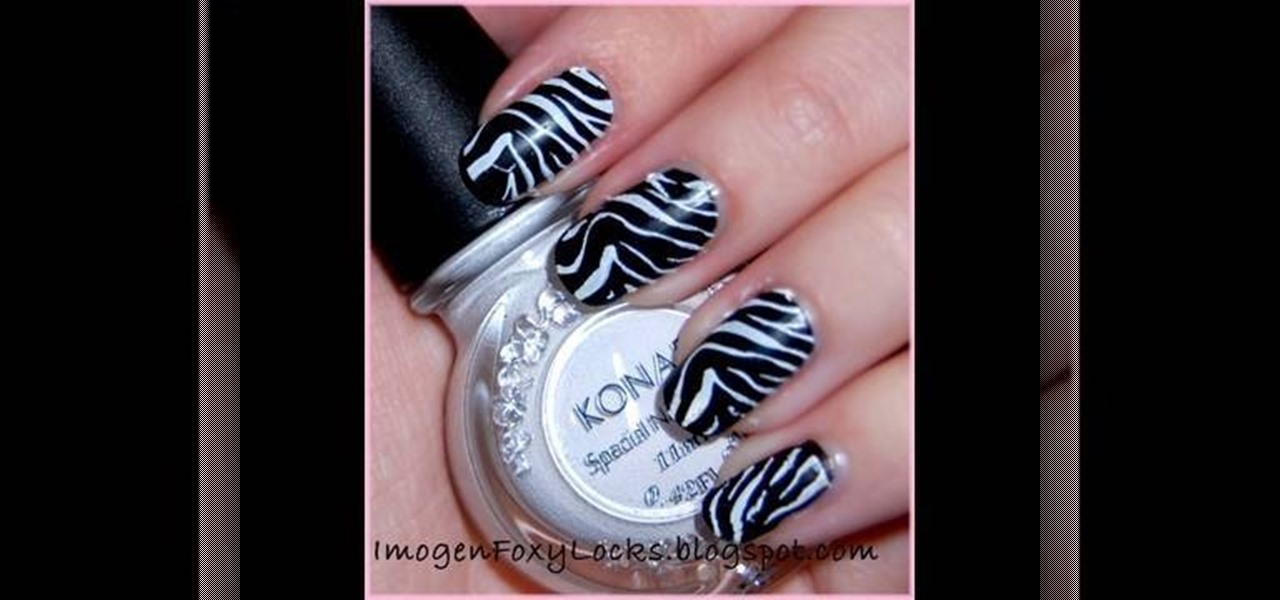
In this tutorial, we learn how to do a Konad zebra nail design in 5 minutes. You will need: Konad white nail polish, stamper, zebra stamp, and scraper plate. First, place white nail polish onto the zebra stamp until it's all over the stencil. Then, use the scraper to remove the excess nail polish. Now, stamp the stamper onto the stencil and then stamp it onto your nail. You can clean up the excess white nail polish with nail polish remover on top of a Q-Tip. Before you begin this, you will wa...
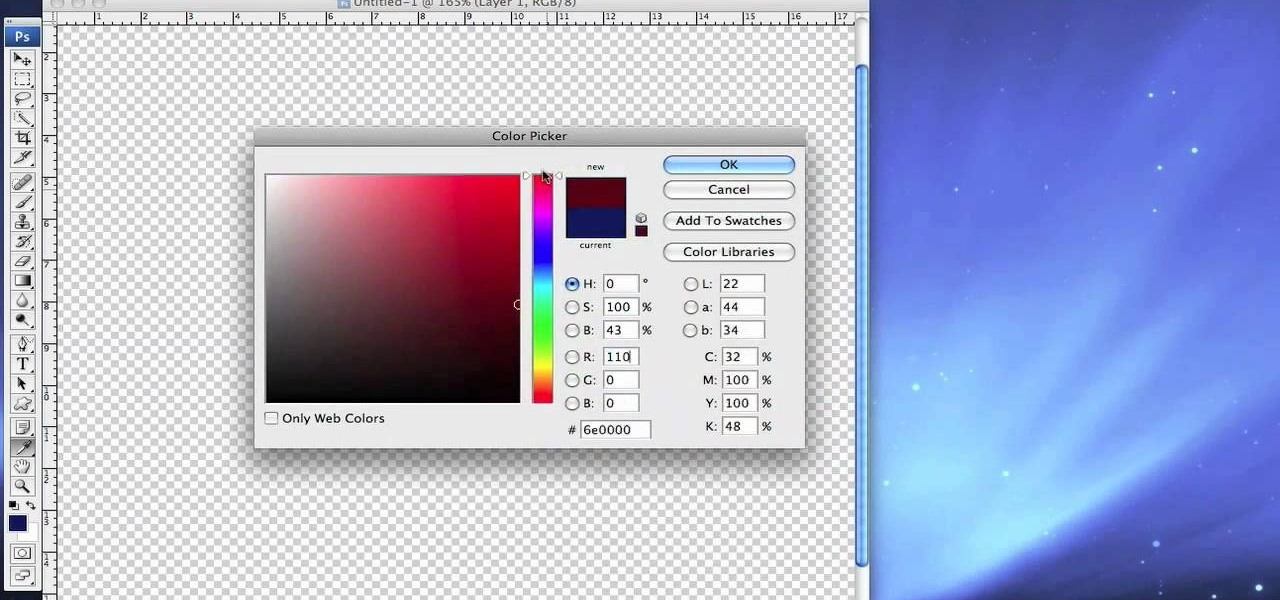
The shape stamp tool in Photoshop is similar to using old fashioned clip art. Shapes are extremely easy to access and you will get the hang of them quickly. These shapes can be used to enhance your existing photos or to create graphics like banners and icons. In this tutorial, you will learn exactly how to access and use the shape stamp tool in Photoshop CS3. You will no doubt have this down pat in no time and will soon be on your way to using stamps - just one of Photoshop's many helpful tools.
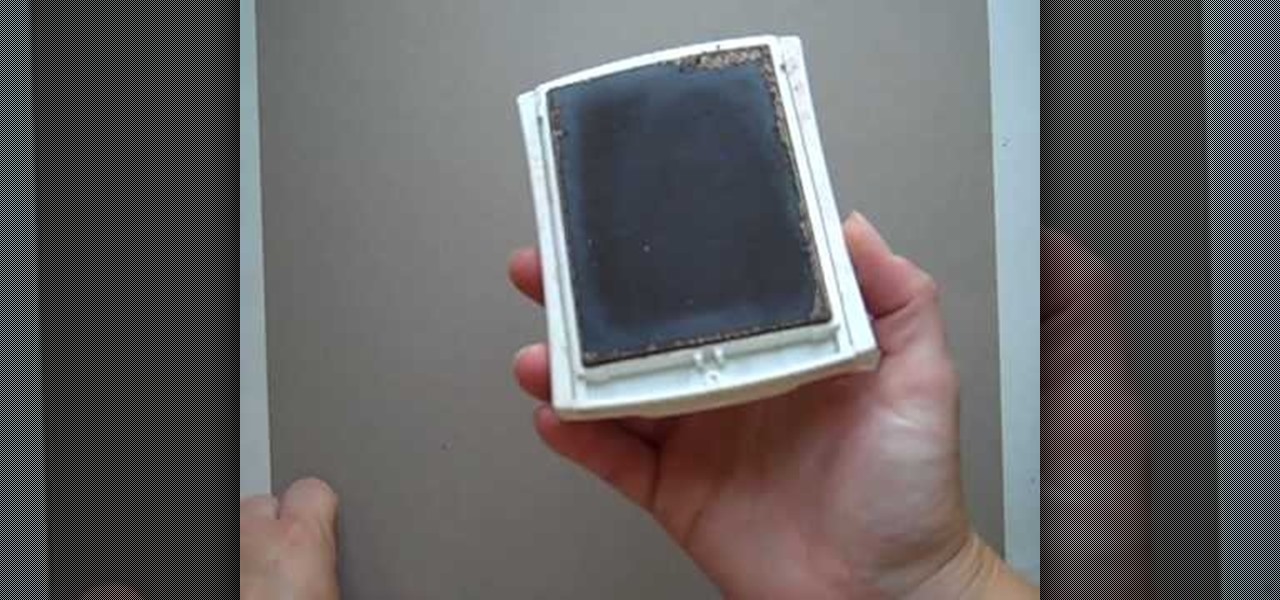
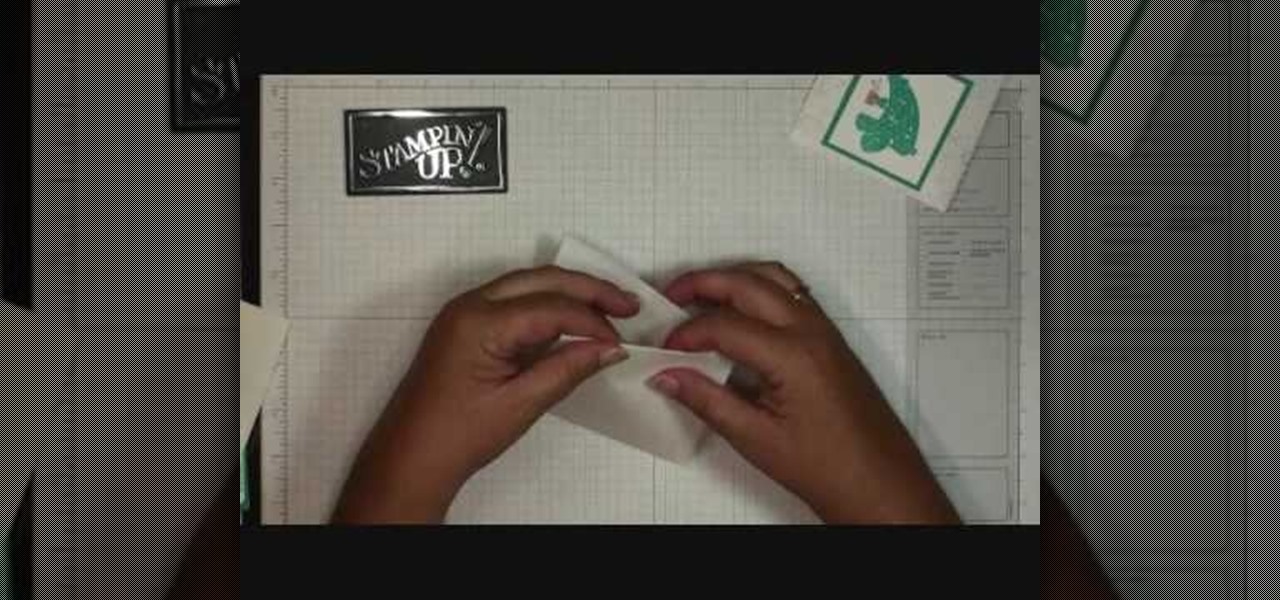
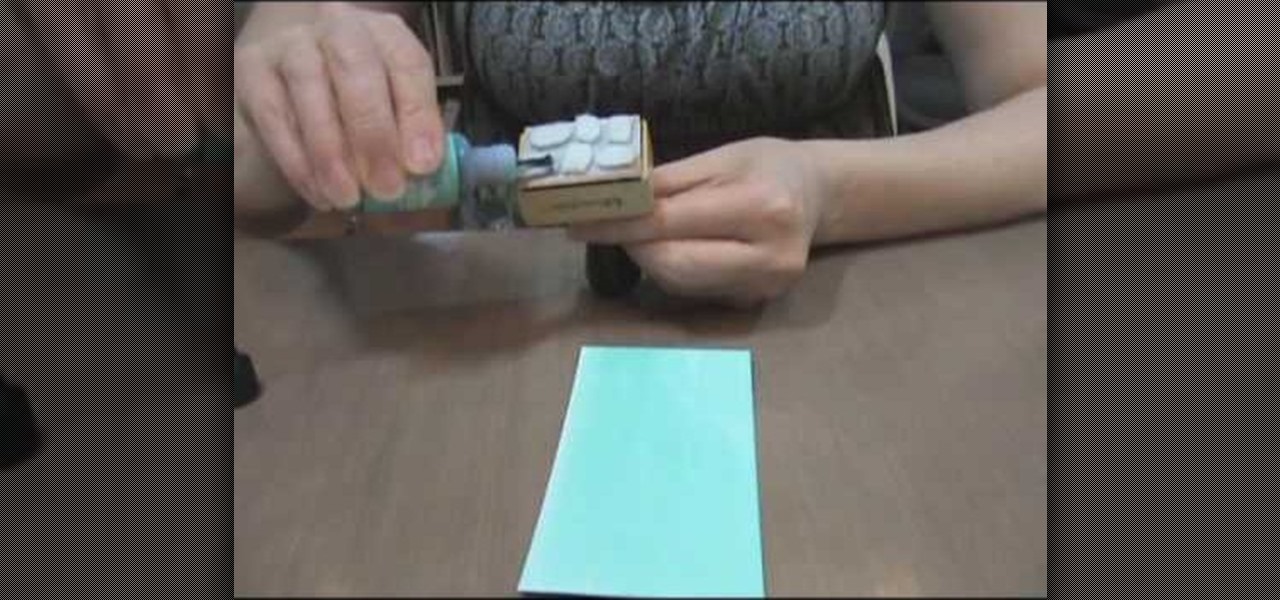
In this video tutorial, viewers learn how to create a faux suede technique on cardstock. Users will need a plastic stamp pad. This stamp pad will be used for rubbing, so it should be an extra or an old stamp pad. Users will need to re-ink the pad once in a while. This will give the cardstock a textured look. It will give an old age, distress look. Simply take the stamp pad and rub it over the cardstock. This will pick up the texture of the cardstock. This video will benefit those viewers who ...
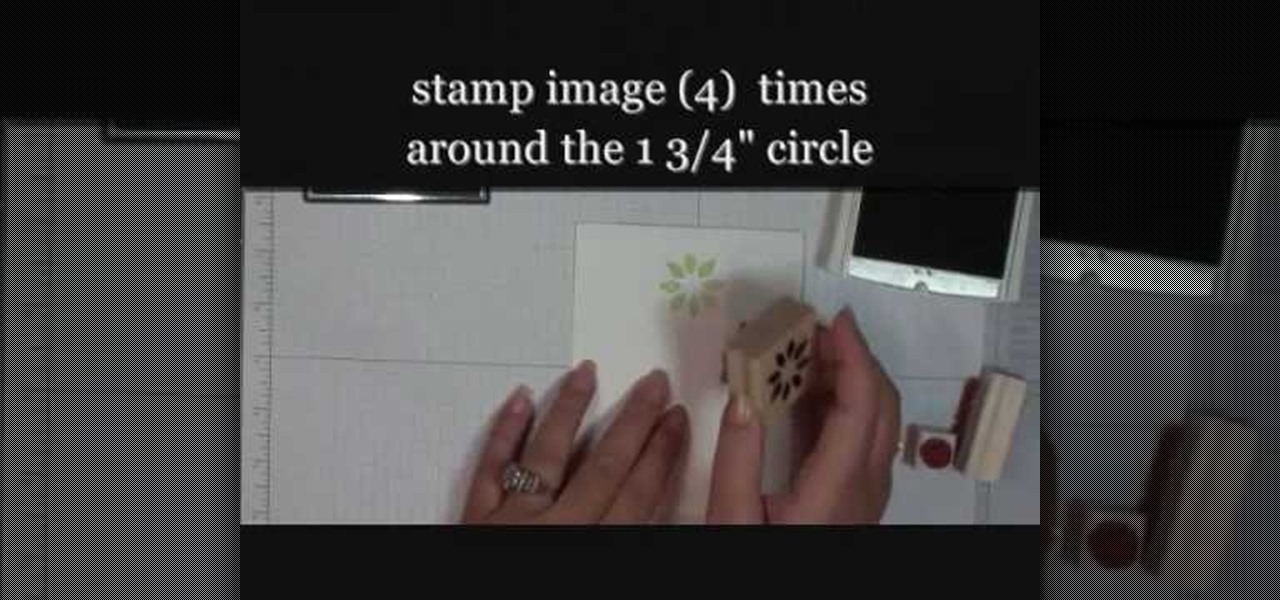
Learn how to make a "Berry Christmas" wreath card with Stampin' Up! Making a wreath card is very easy and simple to make. Use whisper white paper cut at 4 1/4" x 11" and cut a whisper white 1 3/4" circle punch which will be used as the base for the wreath. Place the circle in the center of the card. Use the Berry Christmas stamp set from the Holiday Mini. With the Certainly Celery ink pad, stamp image 4 times around the circle. Then, remove the circle. Fill in the circle space with more image...
Aperture's lift and stamp tools let you copy adjustments and metadata from one image and copy them to other images in your Aperture library.
All digital cameras automatically record the date and time each photo was taken and store this time stamp as metadata within each image file. In Aperture 2, you can change these time stamps. This is particularly useful if the clock in your camera is set incorrectly or if you're trying to synchronize photos taken by multiple cameras at a single event.
This video is part of the lawn fawn card series and it explains the making of a card using border punches and a stamp.The materials required are a set card-polka dot basics from paper tray ink.This card has a variety of dots on it. Remove the big open circle polka dot and lay it on the aqrualic and place it on a plastic bock with grids on them.Using a color box cover the stamps with ink.Now place the block over the card so that the grid lines with its length and press on it.The polka dots wil...
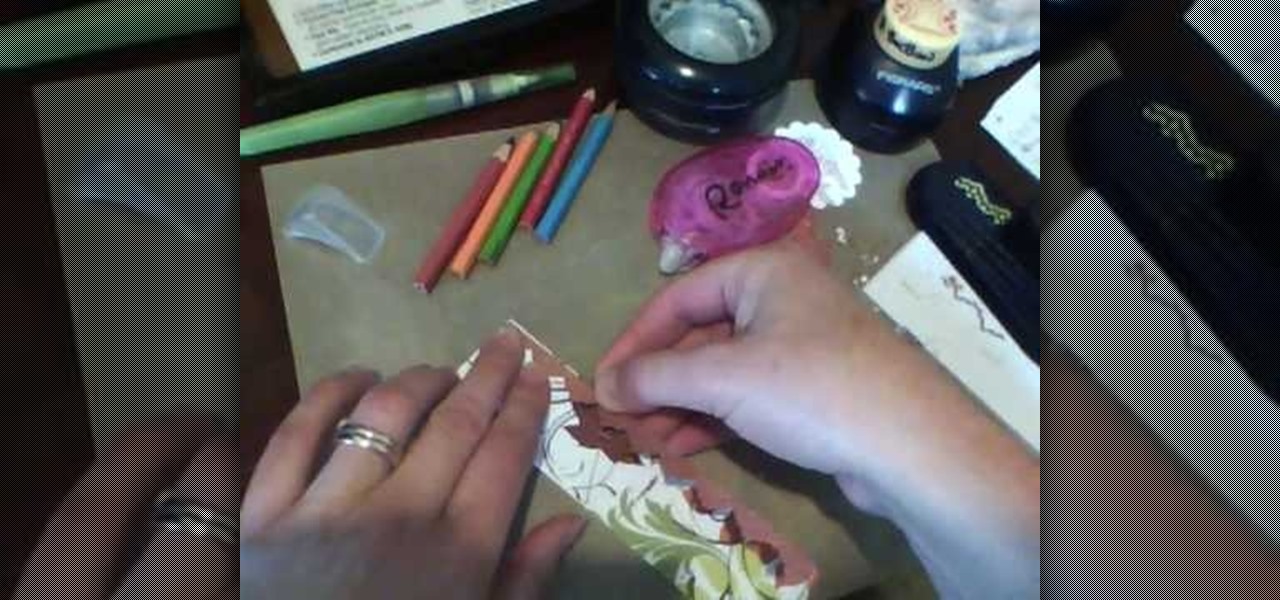
This video demonstrates how to emboss a button and then use it as an emblishment on a card. Start by covering your stamp with clear VersaMark Ink. Holding your button with pliers, carefully press your button onto the stamp. Next, take your embossing powder and sprinkle it on to the button. Then apply heat to the button. You are now ready to make your card. Ink your bird stamp using chestnut chalk ink. Place it at the bottom of your card stock. Using a blender pen, color in the bird and any ac...
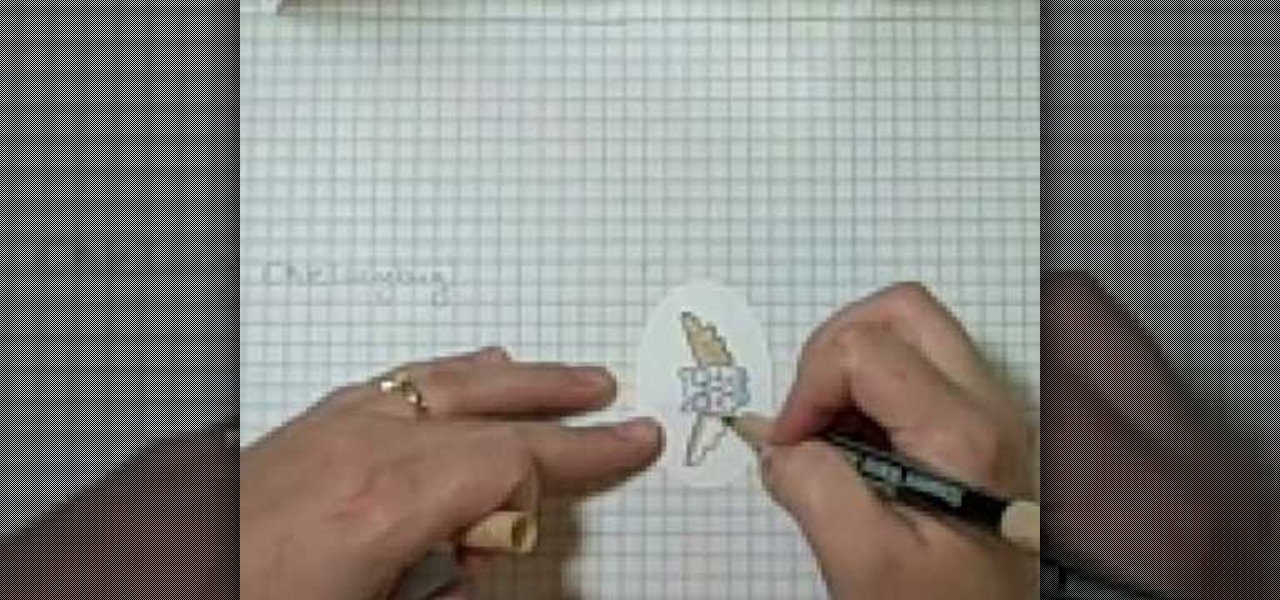
In this tutorial, we learn how to heat emboss a stamped image for a handmade card. First, use the stamp to grab ink and then lay it down on a piece of card stock. After this, cover it in ink and start to add heat to it. You will see the image start to change color when you do this. It will turn to a metallic sort of color when you add the heat to it. Once you have added heat to the entire thing, you will be finished with the embossed stamp effect! Do this for any type of stamp you want and ha...
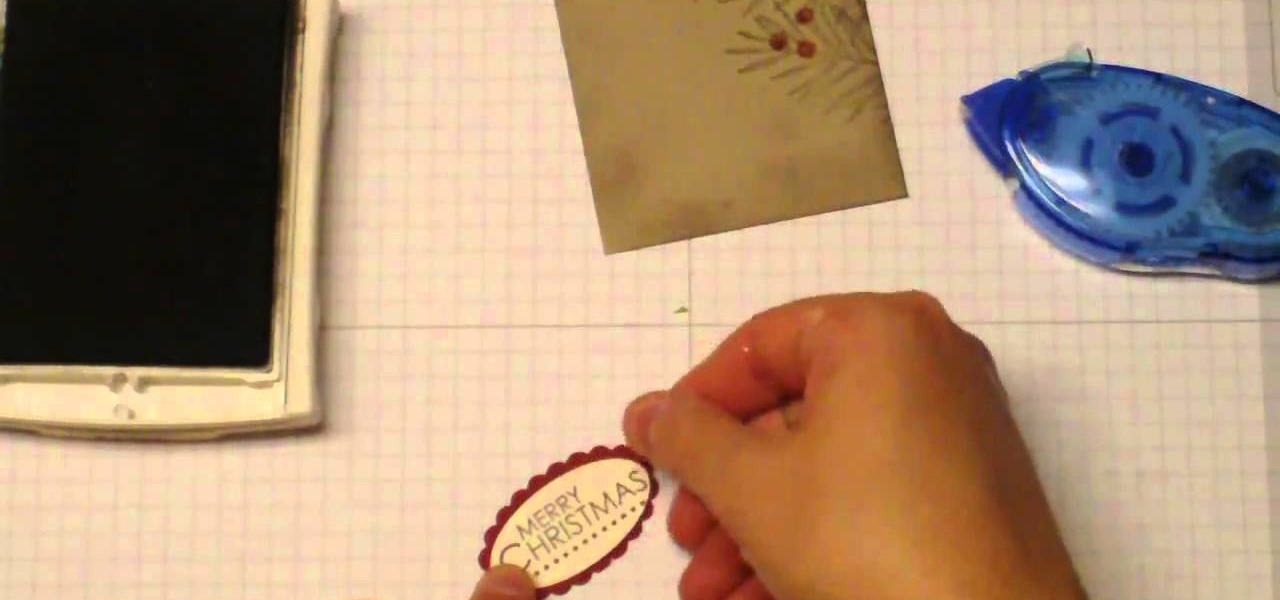
This is a quick and easy project you can use to make a beautiful, vintage inspired gift tag that you can attach to all your Christmas gifts! All you need is some basic papercrafting supplies in muted tones and your favorite vintage stamps!
Jewelry made with untreated brass findings and stampings looks just fine, but if you're going for an impressive, interesting piece that stands out and shows personality, then Gilder's Paste is where it's at. Gilder's Paste comes in a large variety of colors and is used to color brass jewelry pieces.
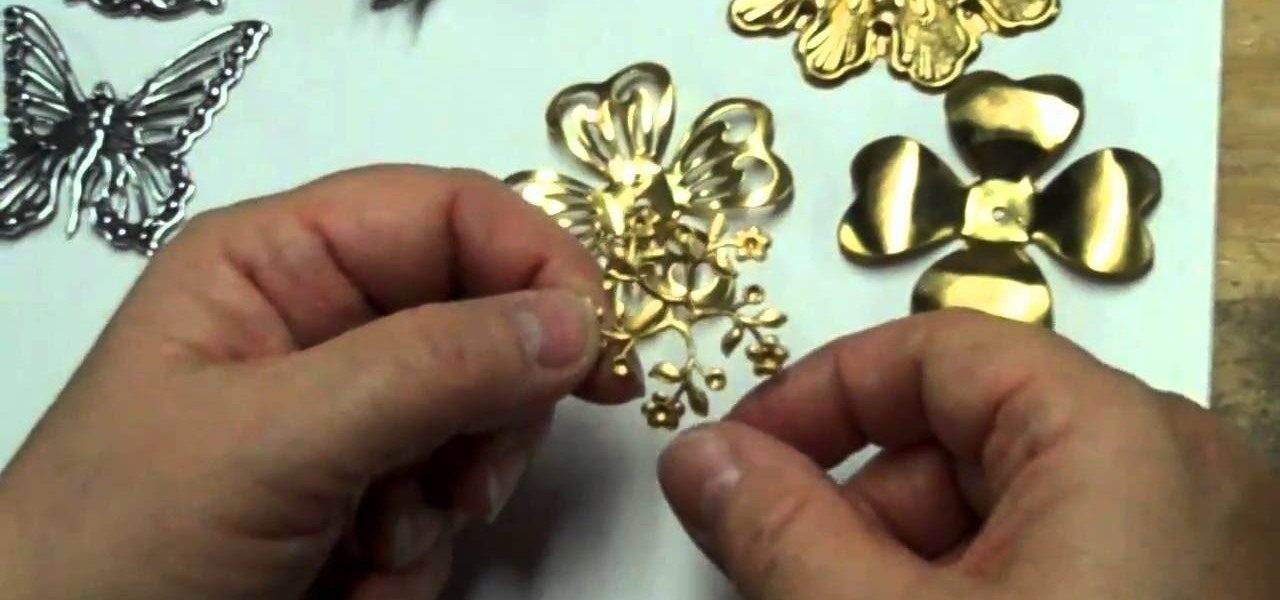
Interested in getting in on the vintage jewelry trend? Then consider this video the introduction to the rest of your jewelry-crafting career. This jewelry tutorial focuses on brass stampings, which are intricate, almost filigree-like floral patterned rounds that you can string onto necklaces or pin onto earrings.
In order to make hot cocoa holders with Stampin' Up, you'll need the following: a whisper white Stampin' Up envelope, scissors, a paper cutter, cocoa, a jumbo wheel, ink pad, adhesive, stamps, ribbon, pen, stapler, glitter, and card stock.
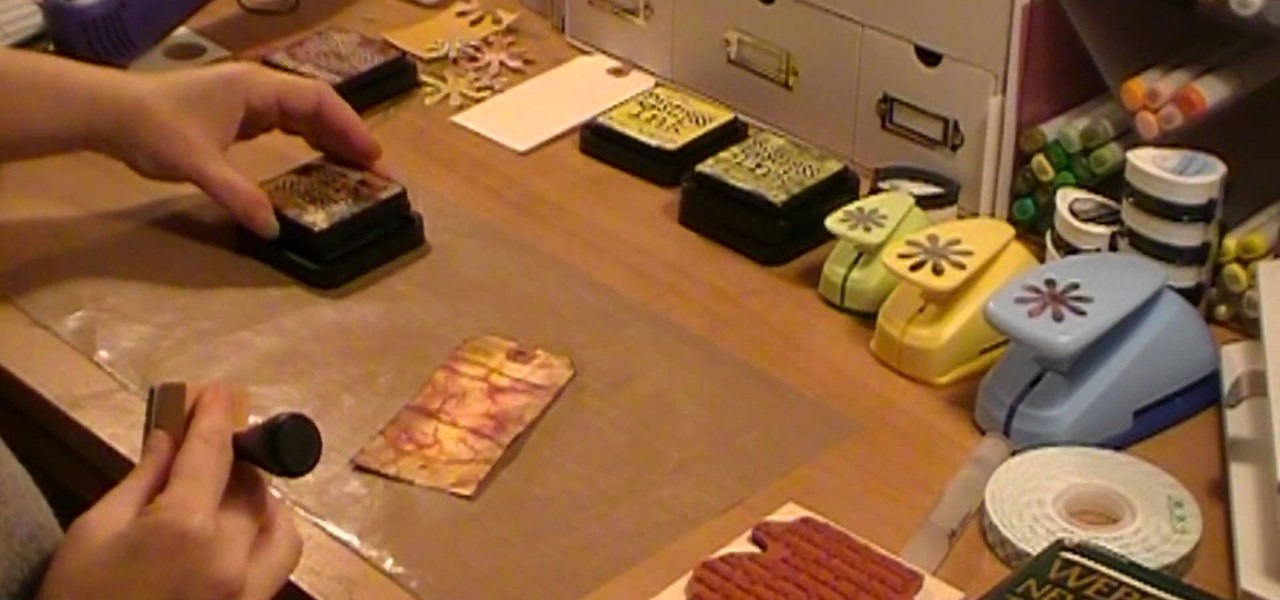
This video illustrate us how to make a Tim Holtz inspired tag with distress inks and water. Here are the following steps:
Start with an eye pin. Place a gold bead and end cap on it. Now put on a piece called a stamp, or stamping. You want to find one that is curved like a lamp. Next put on a large crystal (8mm). In this video she uses a Swarovski crystal. Find some beads you like and place them on the pin. At the end, place on a large plastic back of an earring to secure the beads and hold the "lamp" upright. Now to make the little beaded fringe at the edge of the lamp, you take another eye pin and thread on som...
When defining fields in FileMaker Pro 10, one has to choose what type of field to decide for a database. There are two fields that accommodate special handling of data. They are time and time stamp fields. When one decides a field under manage>database,there is a option for "type". Under that, there is time and time stamp. The "time" one determines the time while the "time stamp" determines the time and date. This will help in preparing a proper and detailed database system.
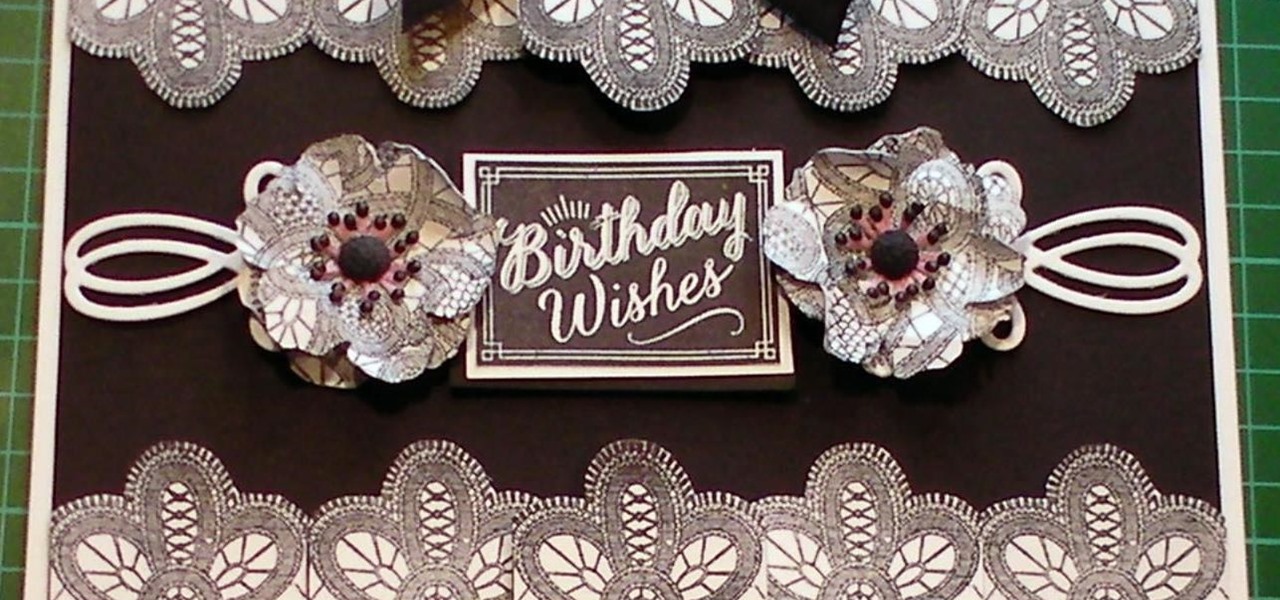
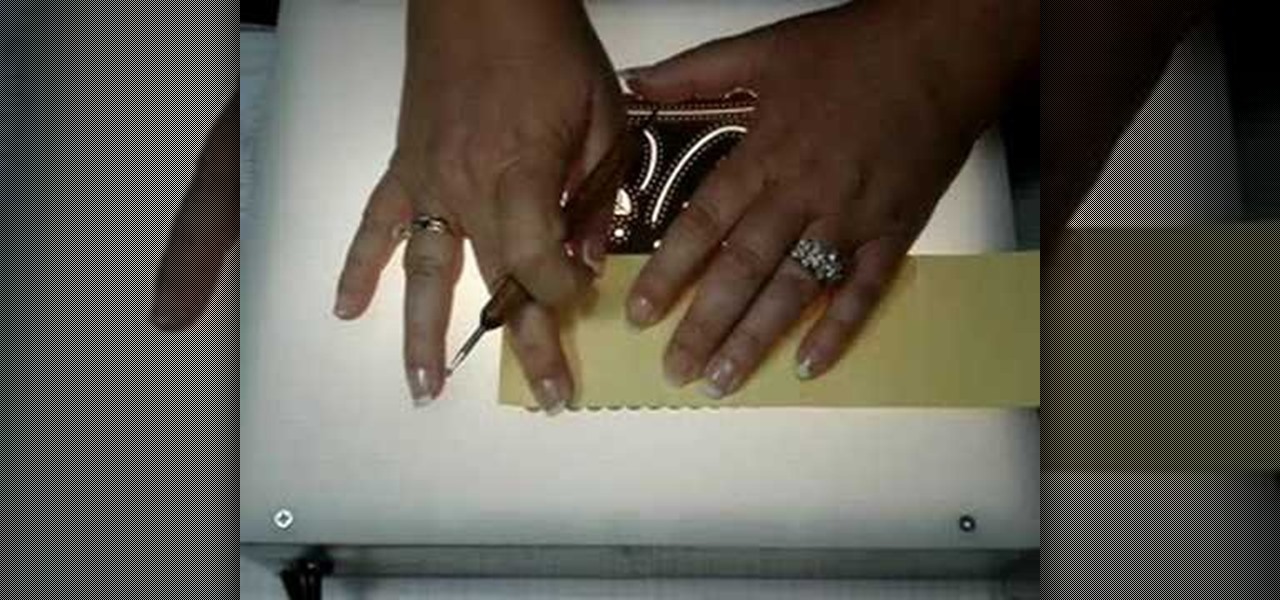
In this cardmaking tutorial I use a Anna Griffin rubber stamp to make a repeat pattern in a very easy way, so if you have trouble repeat pattern stamping this could be for you. I make a lace edged card with 2 pretty flowers and a stamped sentiment. Step 1: Items Used
Patti Behan shows us how to make this beautiful giraffe prints to create an amazing card. You will need:
This video demonstrates how to make a greeting card using card stock, scrapbook paper, a stamped image and a stamped sentiment. Ribbon and a floral embellishment add the finishing touches to any greeting card. Learn how to make this beautiful card by watching this crafting how-to video today!
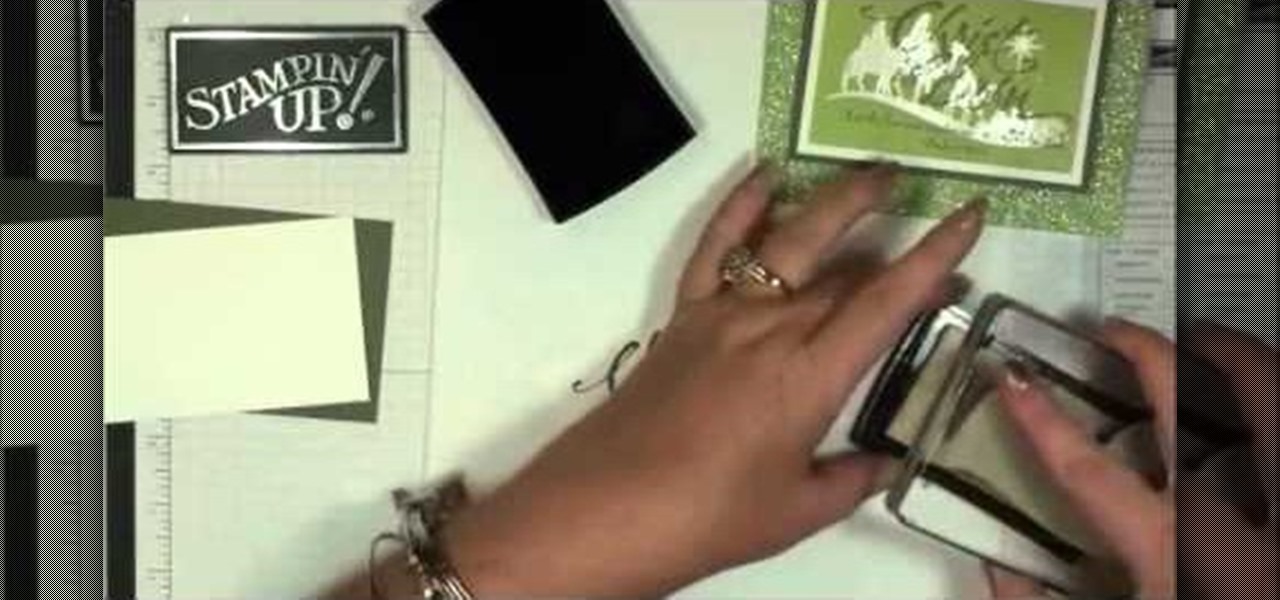
This tutorial shows you how to make a beautiful green embossed Christmas card, featuring the words 'Christ is Born,' for those who celebrate the religious aspect of Christmas. Make sure you have enough stamping supplies and embossing powder for this project!
Send your best Halloween wishes to friends, family and zombies! This tutorial shows you how to start with some card stock and spiderwebs stamps, and end up with a crafty and creative Halloween greeting card, complete with bats flying around!
Make your own thank you note cards to send to friends, family, gift givers or hosts. This tutorial shows you how to create cards using cardstock and designer paper along with a few stamps to create your own lovely fall themed stationery.
A cool way to accessorize your scrapbook is with distressed ink. In this tutorial, learn how to take beautiful inks from the folks at Stampin UP and distress them for a very cool effect.
Putting foam onto a die will allow for a crisper paper cut-out. These dies can be used to easily make stamped images for scrapbooking, card-making, or any other paper design project. Watch this video crafting tutorial and learn how to install foam onto a QuicKutz Revolution die.
While embossing machines are marketed to be used brand specifically, all those Cuttlebug dies and embossing folders are completely compatible with a Sizzix Big Kick embossing machine. Make the most of your stamping materials without having to purchase to much of everything. Watch this video crafting tutorial and learn how to use Cuttlebug dies and embossing folders to make die cuts with a Sizzix Big Kick.
While embossing machines are marketed to be used brand specifically, all those QuicKutz and Revolution dies and embossers are completely compatible with a Cuttlebug embossing machine. Make the most of your stamping materials without having to purchase to much of everything. Watch this video crafting tutorial and learn how to use QuicKutz and Revolution dies and embossers to make die cuts with a Cuttlebug embossing machine.
While embossing machines are marketed to be used brand specifically, all those QuicKutz 12 inch border dies and embossers are completely compatible with a Cuttlebug embossing machine. Make the most of your stamping materials without having to purchase to much of everything. Watch this video crafting tutorial and learn how to use QuicKutz 12 inch border dies in a Cuttlebug embossing machine.
The Cuttlebug combo sets are very simple to use. The same machine can be used to cut out a desired stamped image from a piece of paper, and then that same image can be embossed for further effect. These are so helpful when creating unique cards and scrapbooking layouts. Watch this video crafting tutorial and learn how to use the Cuttlebug combo cut and emboss sets.
While embossing machines are marketed to be used brand specifically, all those Cuttle bug dies and embossers are completely compatible with a Sizzix Big Kick embossing machine. Make the most of your stamping materials without having to purchase to much of everything. Watch this video crafting tutorial and learn how to use Cuttlebug dies and embossers to make die cuts with a Sizzix Big Kick.
This video will teach you how to dry emboss paper items such as a little box. This is a useful technique that will add a nice touch to your boxes and paper items. Your work will be looking professional once your items are embossed.
Learn how to make a sparkly owl card with designer paper, decals, and an owl stamp. Follow along to make one to send for a special occasion or just for fun.
Looking for your next craft project? Why not a bright and festive paper box? This video guide from Dawn of Dawn's Stamping Thoughts will teach you everything you need to know. For all of the details, and step-by-step instructions, take a look.
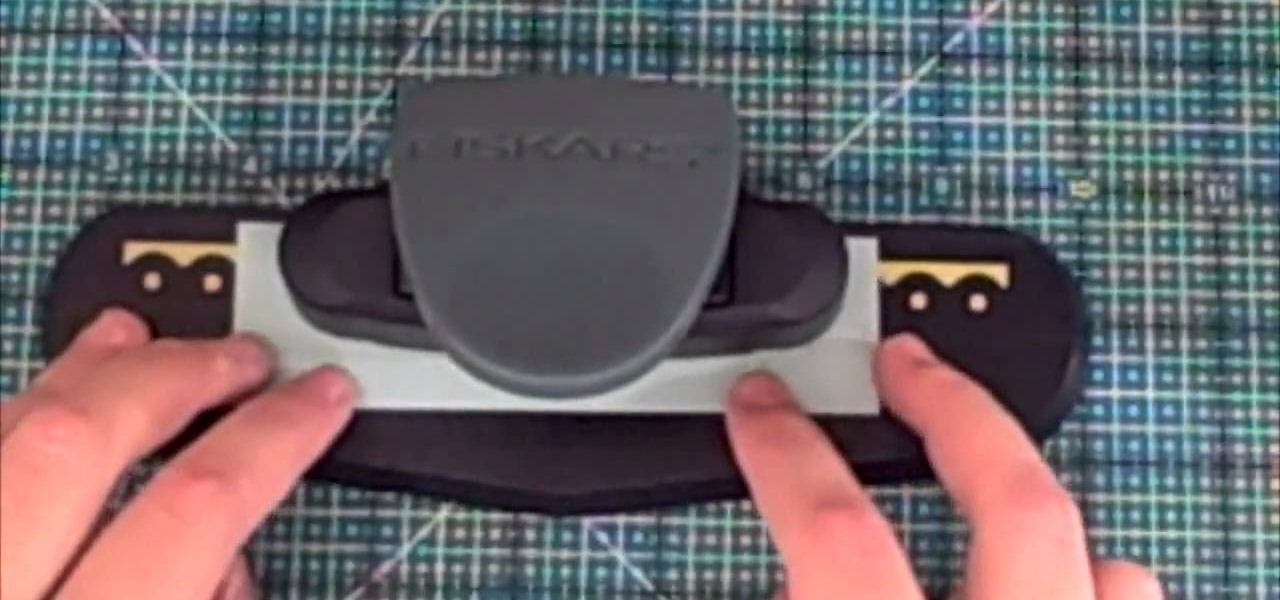
In this Arts & Crafts video tutorial you will learn how to make a vertical Easter greeting card. Take a 6x6 yellow card and fold it in half. Using the Valentrio Fiskars corner punch, you can punch one corner. Cut a 2 1/2” wide metallic cardstock, a 1” wide paper strip, stamp a picture or a design and punch it with Fiskars punch. Punch the 1” wide strip with the Fiskars border punch and glue both the pieces above and below the metallic card stock. Glue the metallic card stock and the pic...