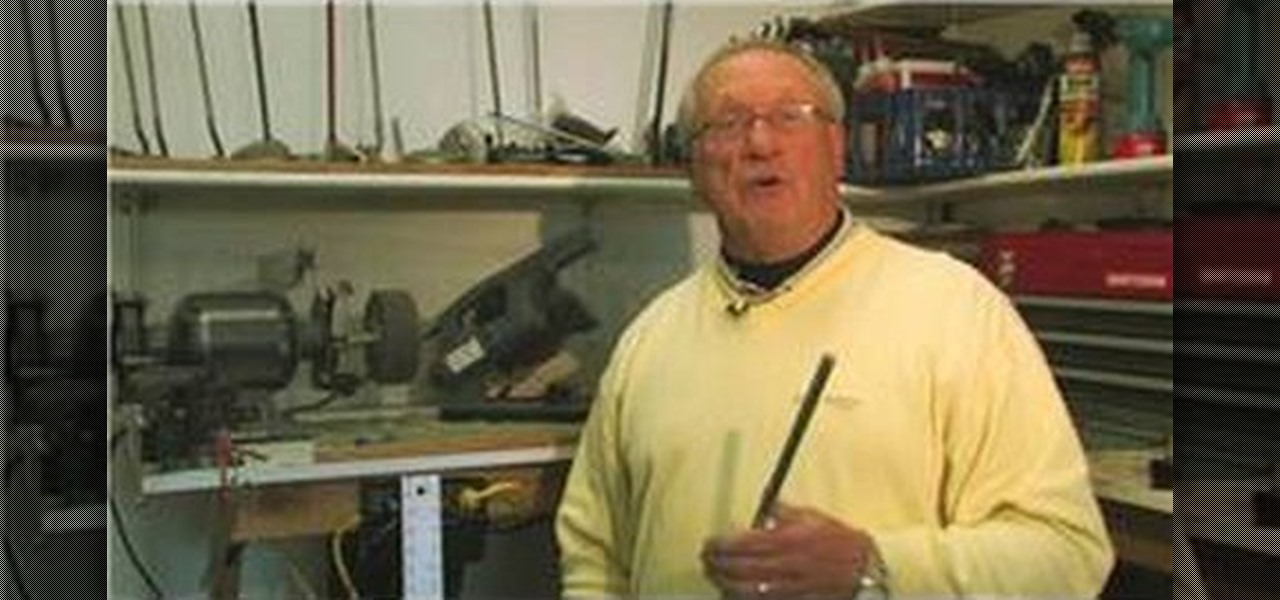
In this video tutorial, viewers learn how to trim golf club shafts. The materials required are: a golf club, yardstick, marker, chop saw and grinder/buffer. Begin by determining how long you want your golf club to be. Measure and mark where you want it to be cut. Now place the shaft in the chop saw holder and tighten it. Make sure that it's lined up with the blade and cut the shaft using the chop saw. Now smooth the rough edge with the grinder/buffer. This video will benefit those viewers who...
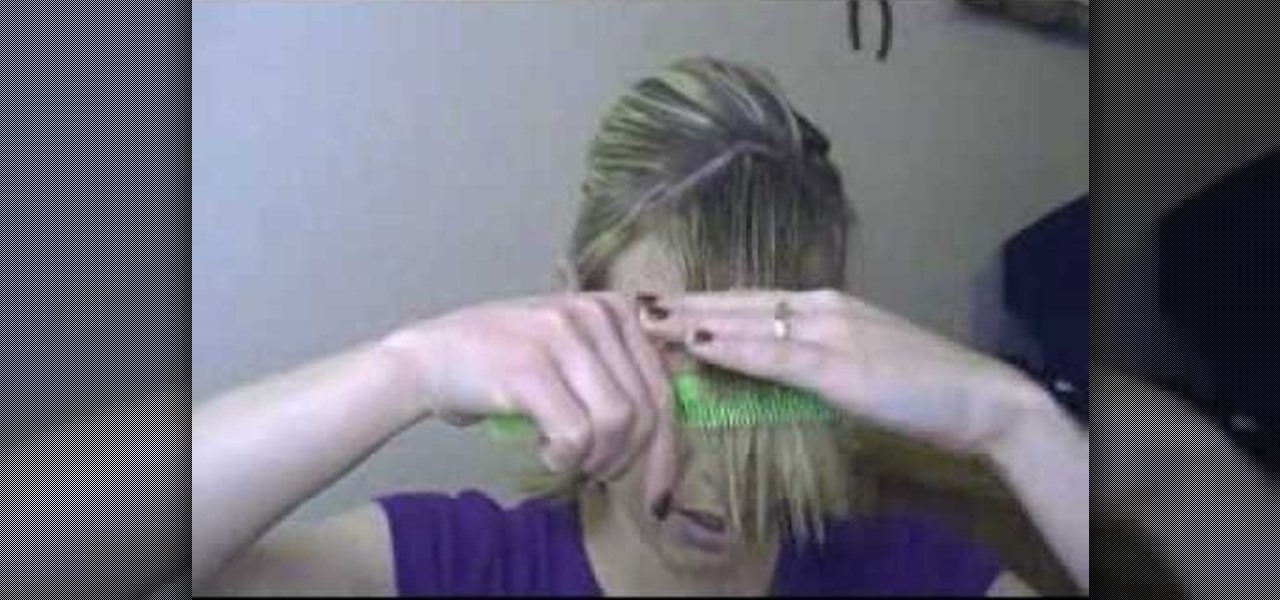
This video is about how to easily trim side swept bangs at home. You will need a plastic grocery bag, a spray bottle, a clip or ponytail holder, a comb and some sharp scissors. First put your hair behind your ears so you can see where your bangs start and comb your bands straight down and comb the rest of your hair back and clip the back of your hair back. Get the bangs wet with your water bottle. Decide what length you want. Make sure to cut them a little longer than you want them to be beca...

This video shows the viewer how to rejuvenate damaged hair with a few simple techniques. The first stage is to not let the hair get damaged in the first place. One of the most common causes of damaged hair is excess use of heat on the hair – either through a blow drier, straightening iron or a curling iron. Another cause of damaged hair is allowing the hair to become matted. This can be sorted out by simply combing the hair. If the hair has become damaged the recommended approach is to get it...
This video is about how to trim your split ends. This video gives detailed instructions about how using heat and trimming too often can lead to split ends and how they can lead to breakage. The instructor teaches you that just randomly clipping your ends does not fix your split ends, but makes them worse. She tells you to twist your hair before you start to clip to expose the hairs that are hidden from you. This last step is very important.
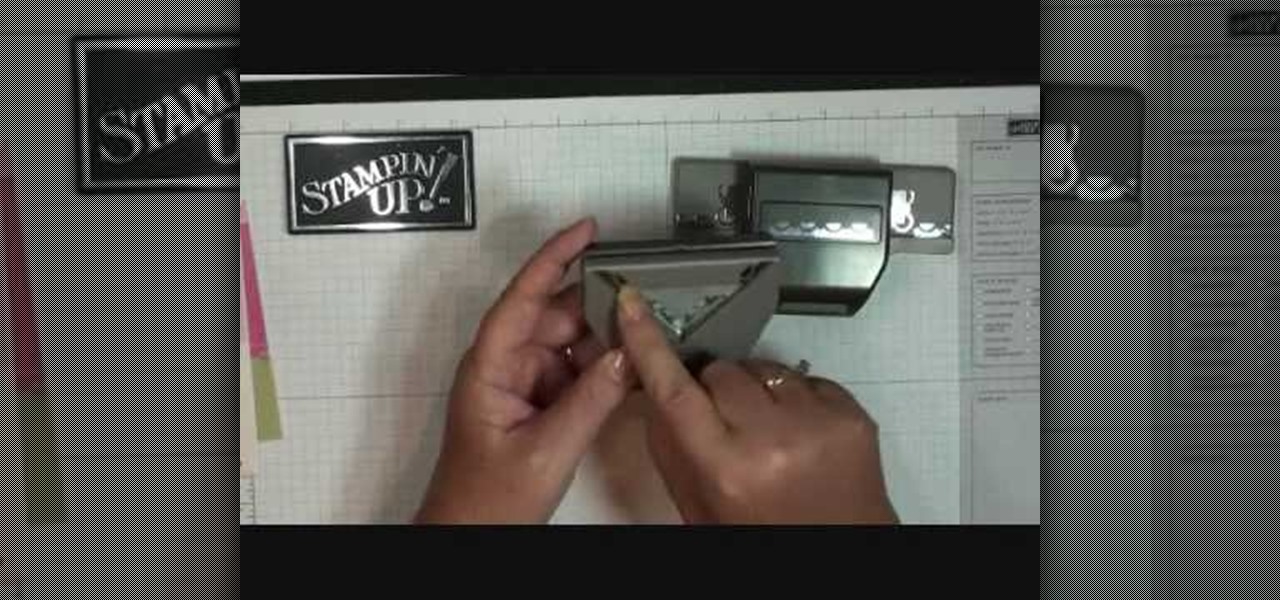
In this video, Dawn, an arts and crafts expert shows you how to work with stamping and stenciling. She goes through two different styles that can be created with stamps/stencils. The first is a "scallop trim border" on card-stock paper. She takes you through various steps to complete this. She then goes on to show you how to make a "scallop trim corner punch" with stamps. The process is quick and easy, you need card-stock paper, various stamps, and stencils.
Pruning tomatoes, though not required, will create stronger vines, which produce larger, fuller tomatoes during the growing season. Trim back a tomato plant in the winter with instructions from a sustainable gardener in this free video on gardening. No need to go crazy, even trimming the plant down by a third will give you a bigger, better tomato. Follow along with the tips in this gardening video and learn how to prune a tomato plant.

These models are sometimes called "elevator" helicopters because they basically go up and down. There are no cyclic controls, so don't expect much control. Here is a simple explanation of how to trim the Reflex or Helix on your remot control helicopter.
Mark Donovan shows how to install carpet transition trim between vinyl and carpet flooring. A new transition strip can be placed over an existing strip to both dress up and freshen up the look of the doorway. Watch this video tutorial and learn how to install a carpet transition strip between vinyl and carpeted flooring.
This truck customization tutorial shows us how to cut out the fenders on a 4x4 to allow for bigger tires.. fender trimming redneck style. If you plan to do any hunting or serious off road driving you'll want to consider widening your fenders for bigger tires like this guy.
Alton Brown shows how to trim out the rib ends to make crown roast of lamb. This process is also called frenching. Watch this instructional cooking video to carefully cut away unnecessary fat and lamb pieces while preparing to cook a rack of lamb.
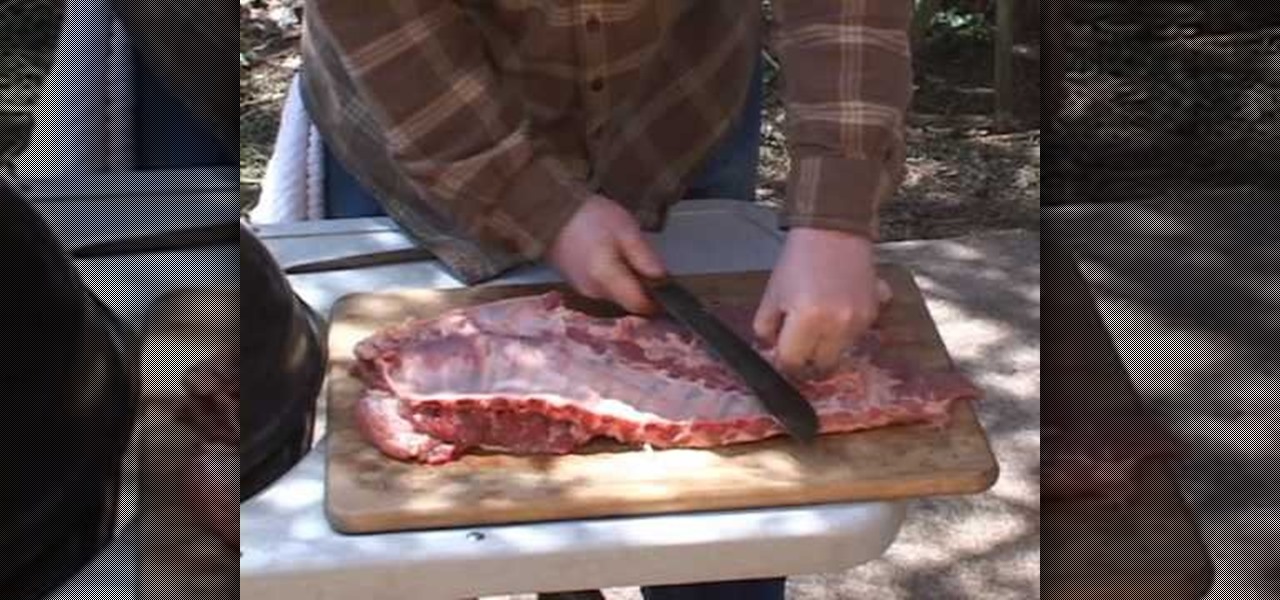
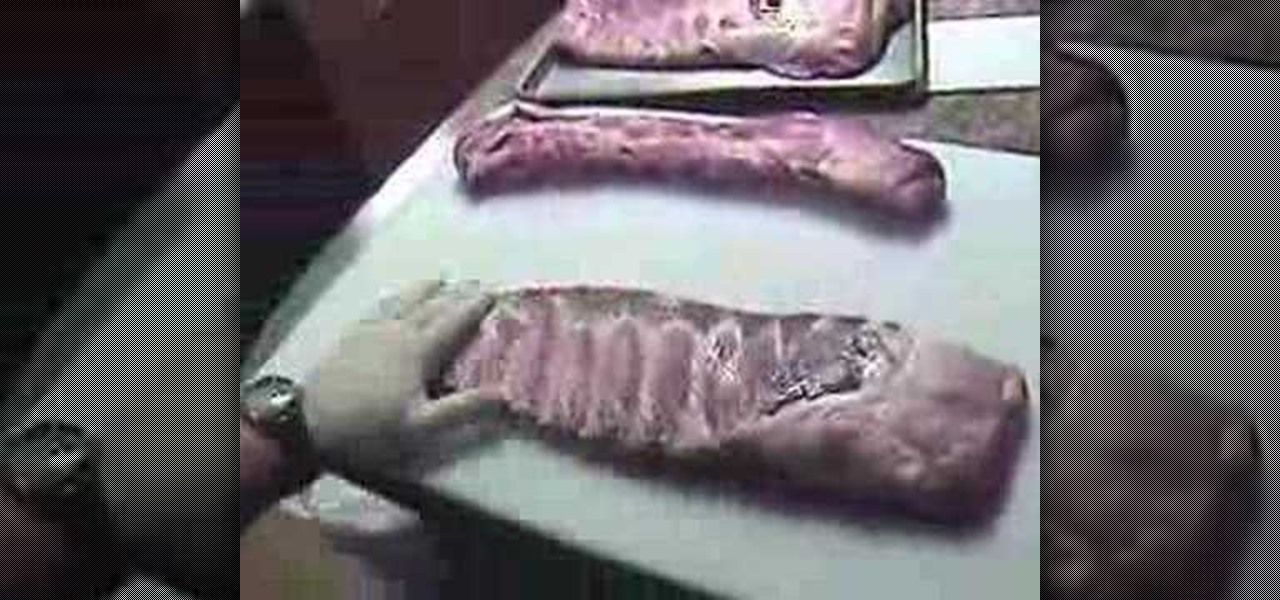
Save some money, and watch how easy it is to trim up your own pork spare ribs. Watch this how to video as the BBQ pit boys show you how to trip pork spare ribs into Saint Louis style ribs for any barbecue.
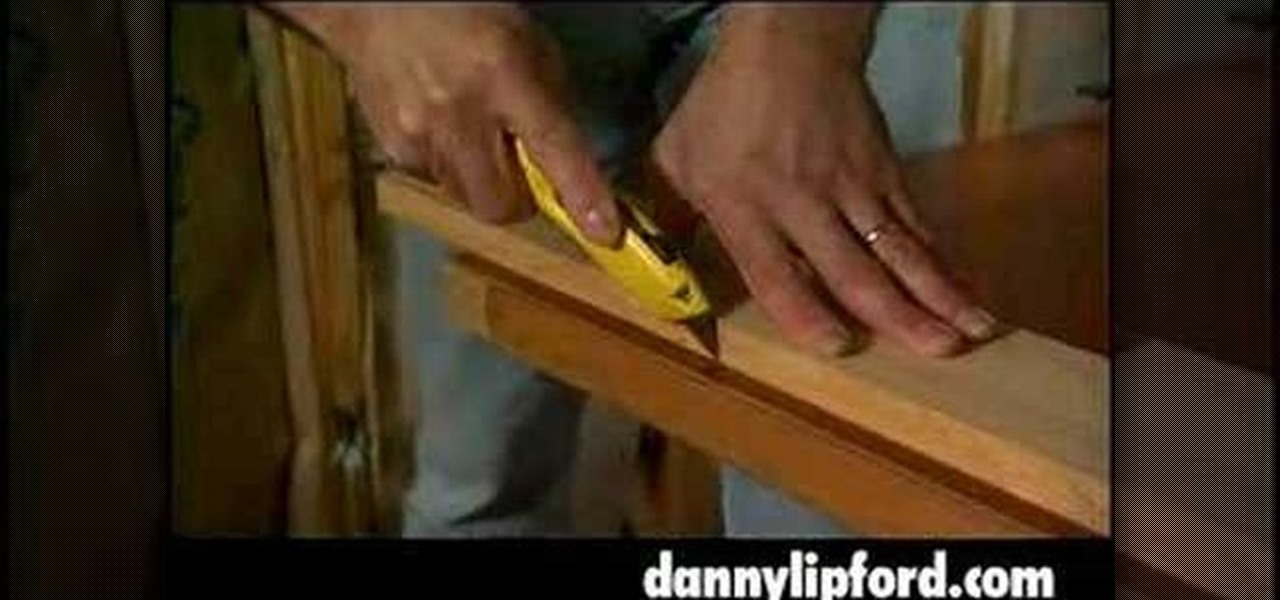
If your home improvement project requires you to cut an interior door, then this how to video is for you. Home improvement expert Danny Lipford get some great tips for easily trimming an interior door so it will fit in your frame.
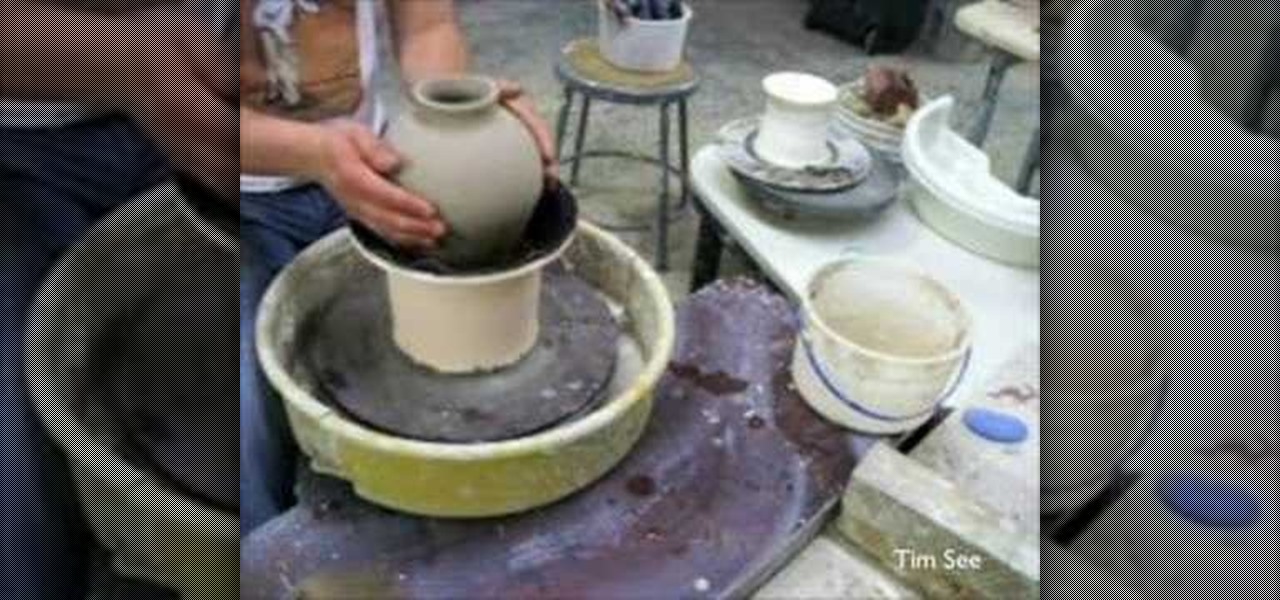
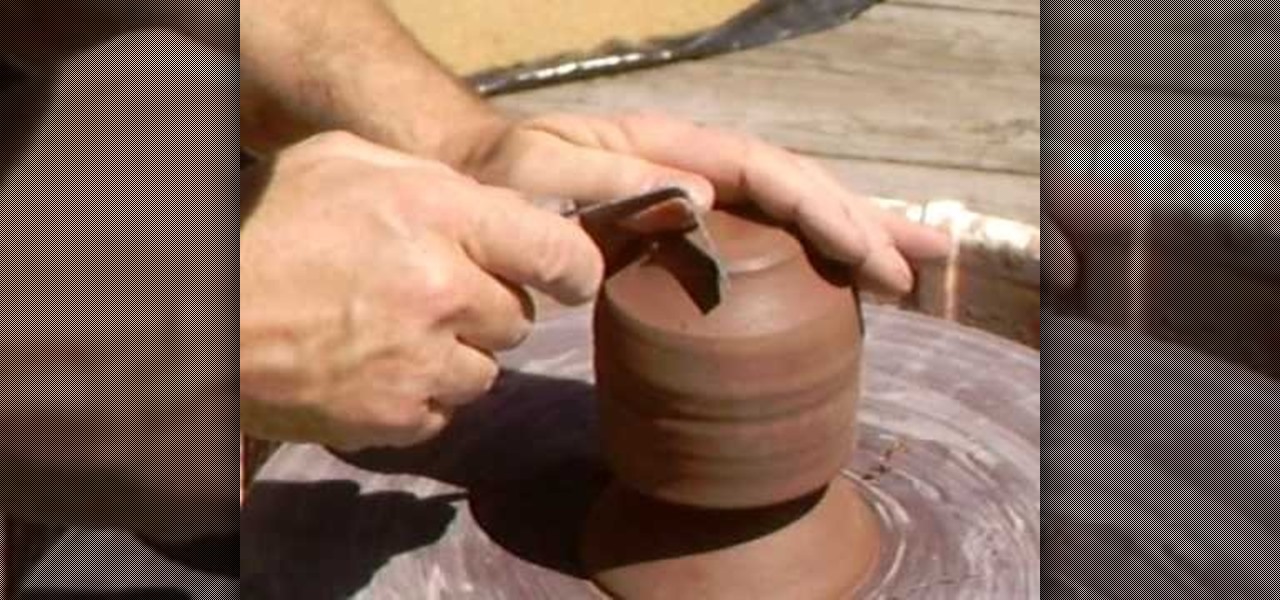
Watch this ceramics tutorial video to learn how to use a chuck to trim your small-necked pottery. The detailed instructions in this helpful how-to video are best for intermediate potters with some experience.
In this video Bob Schmidt shows you how to prepare stained trim for installation and touch up during your home improvement projects.
In this video Bob Schmidt shows you how to fill nail holes and caulk your wood trim molding before preparing to paint in your home remodeling project.
Watch as top celebrity hair stylist, Ted Gibson, teaches viewers if bangs are right for them and gives insider secrets on how to do an at-home trim.
Learn how to develop good warm-up habits before playing or practicing with this 5 spot warm-up drill. Learn how to use the 1st spot drill to develop a better shot, then another spot on the court for a good warm-up. The fourth video covers how to use the 3rd spot shooting drill to develop good shooting mechanics, the fifth how to use the 4th spot shooting drill to develop dedication, concentration and determination in your game and the last part of the series covers how to develop consistency ...
Trimming spare ribs into St Louis style ribs is demonstrated in this Barbecue Web video.
In this video, we learn how to trim a pot. First, you will want to get your pot wet and place it onto a ceramic bowl shaper. Start to spin the bowl and get it wet as you use a sharp tool to remove the trim from around the pot. Continue to do this until all of the trim you want to remove is gone. When finished, you will need to refire this and place glaze back onto it. This can be done with any type of ceramic pot, just make sure you keep it moist while you are cutting it, so it doesn't break ...
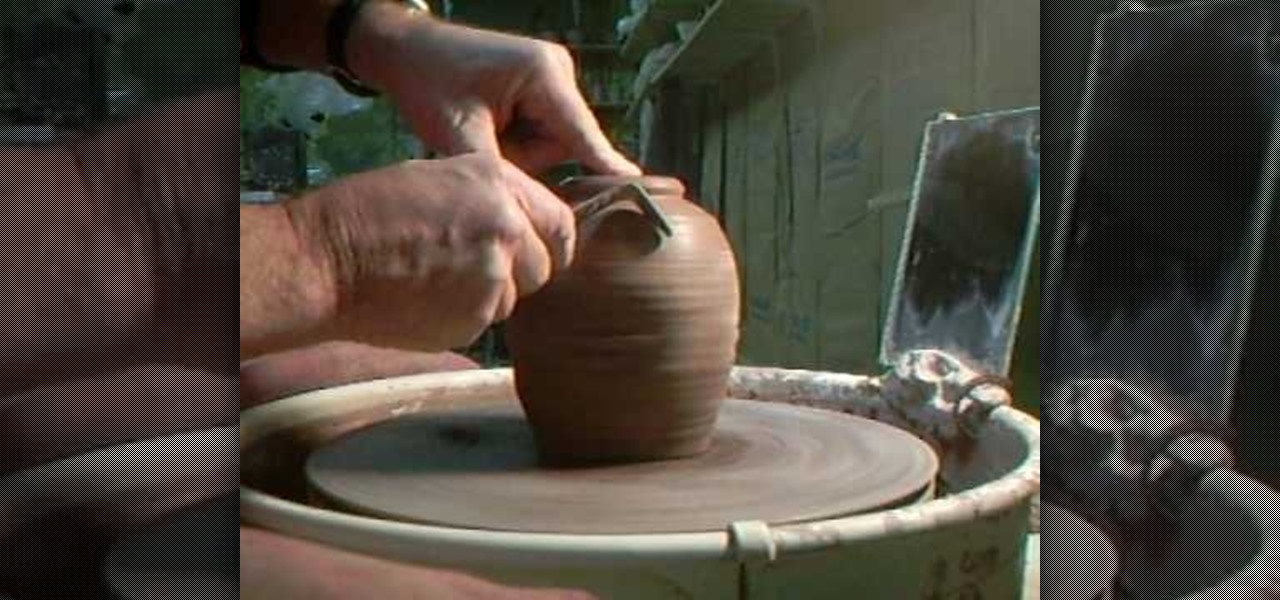
English pottery instructor Simon Leach has stepped out onto his lovely deck to teach us how to trim our ceramic pots on the wheel. His example piece is small cup or pot that begins the video as plain as vanilla and ends it as a wonderfully detailed piece after only 10 minutes or so of work.
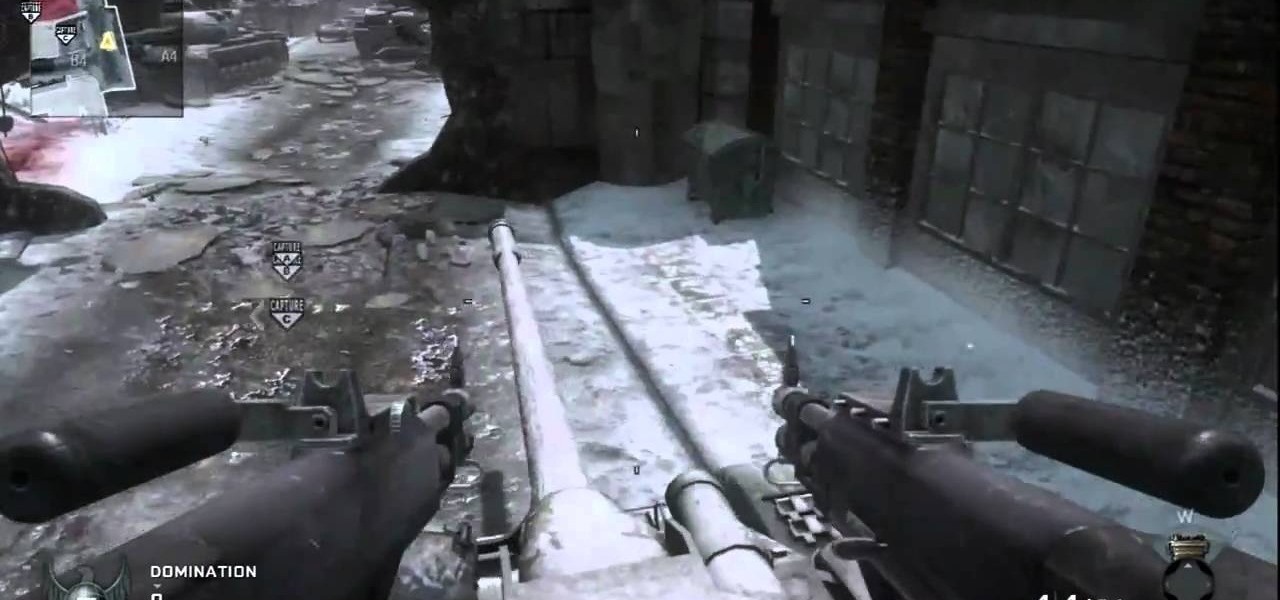
Love 'em or hate 'em, you have to know where all the good camping spots are on a multiplayer map in any online shooter to be a really effective player. This video will help you to that end immensely, at least in the Black Ops map Berlin Wall, showing you all the best camping spots to snipe from or to hunt snipers in. It's also just a good tour of the map.
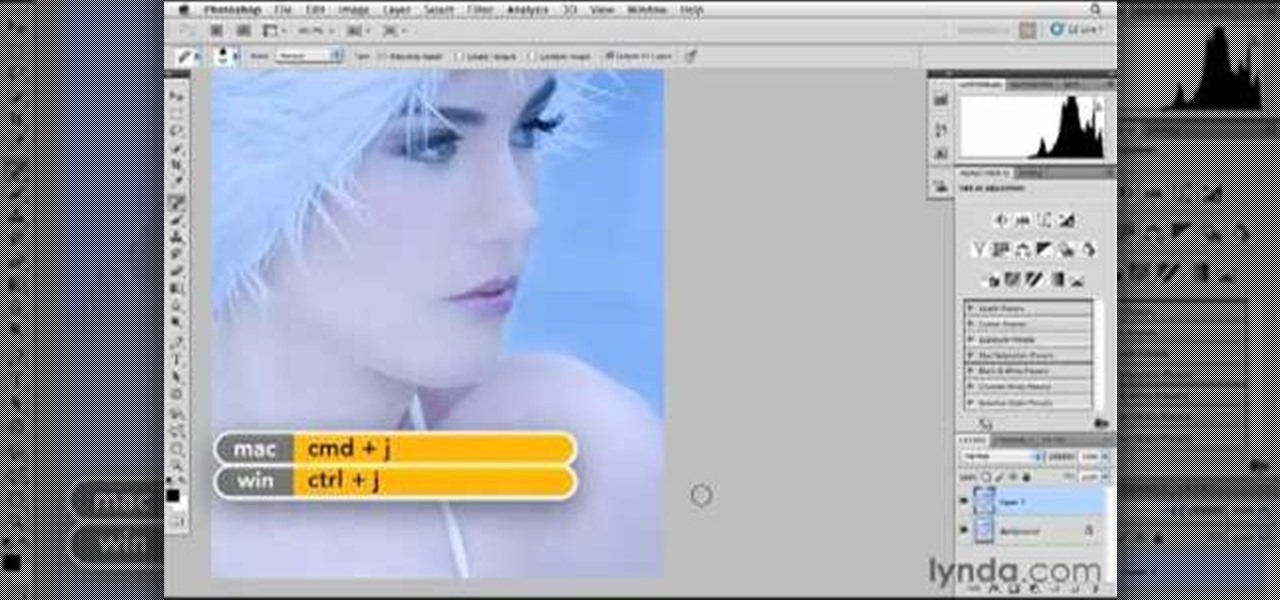
Spot healing is a new feature of Adobe CS5 which can remove embedded features (like a misplaced clothing strap or a power cable). The content-aware feature will take contextual clues and help you retouch your images more effectively and spot-heal large areas of your image.
It's no secret, artists are broke. That's why they're referred to as "starving artists". One day these artists will achieve unimaginable success, but for most of their lives, they'll be struggling to survive… struggling to keep their vision alive. That's why they need to work cheap. And that's why they stretch their own canvases, not buy pre-made ones or have the hobby shop do it. If you’re a starving artist, save a few bucks, hone your carpentry skills, and stretch your own canvas.
One of the coolest new features available on HTC's new EVO 4G cell phone is the ability to create Sprint Hot Spots with your phone and tether other devices to it. In this clip, you will receive a great step by step tutorial on how to set up your Hot Spots and use it to tether up to 8 other devices. Begin using your cell phone as a wireless modem anywhere you may be with this instructional clip from Fommy.
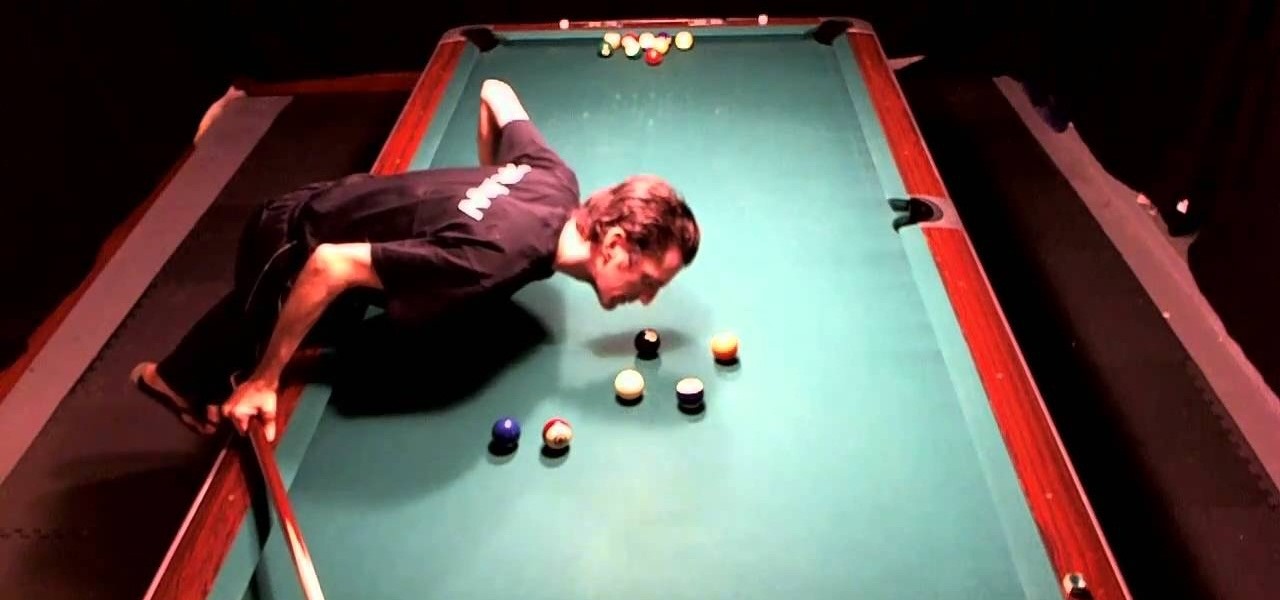
In this video guide, we learn how to play On the Spot, a variation of pool and billiards where the objective is to hit a ball directly onto a designated spot on your pool or billiard table. For all of the details, and to get started playing On the Spot yourself, take a look.
A frozen pipe doesn’t have to mean major trouble. You can keep your water flowing all winter long. You Will Need
Sometimes we have great individual sounds and we put them together in a mix but they don't gel as good as they should. You might need to find the sweet spot or sour spot in the frequency spectrum. This tutorial shows you how to use the EQ to find the sweet spot when working in FL Studio.
The Recon character class in Battlefield Bad Company 2: Vietnam is a thinly veiled sniper, and utilizing their target-spotting functionality is key to effective sniping in this game. This video is a complete guide to effective Recon play, teaching you about all your abilities, guns, and how you can spot targets to make yourself much more effective from much further away.
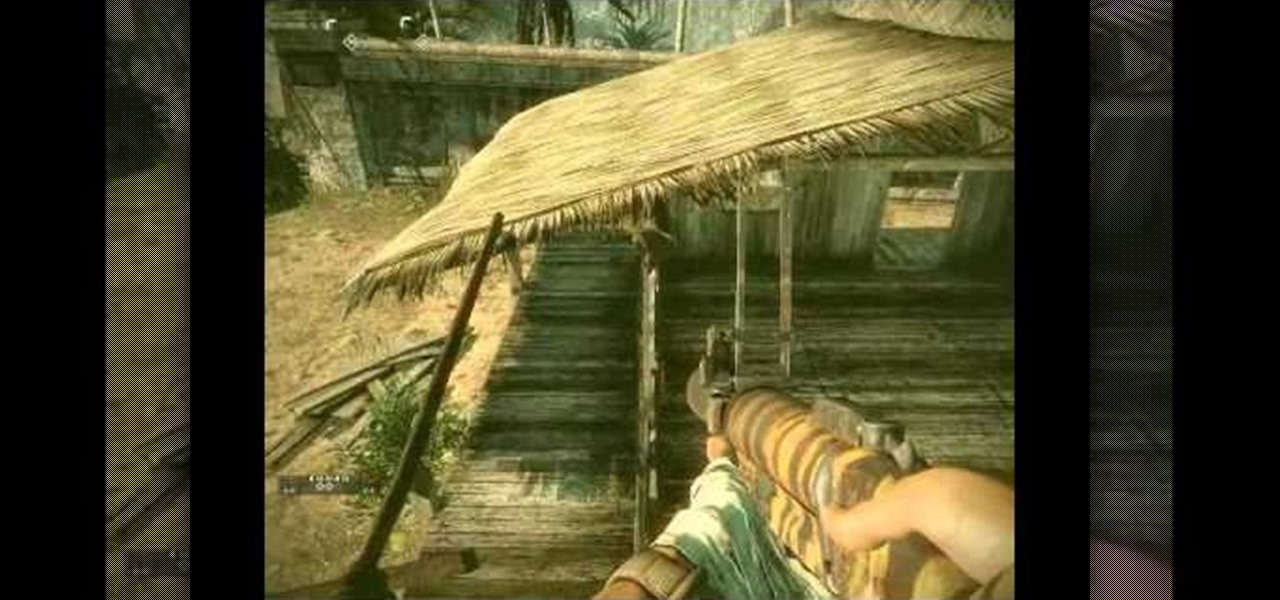
Battlefield Bad Company 2: Vietnam might have the convoluted title of any map pack released in the history of gaming, but it is a great one and must-buy for all your BBC2 players out there. This video will teach you how to jump into three obscure hidden sniper spots scattered across the maps, allowing you to rack up kills while confusing and infuriating your opponents. Perfect.
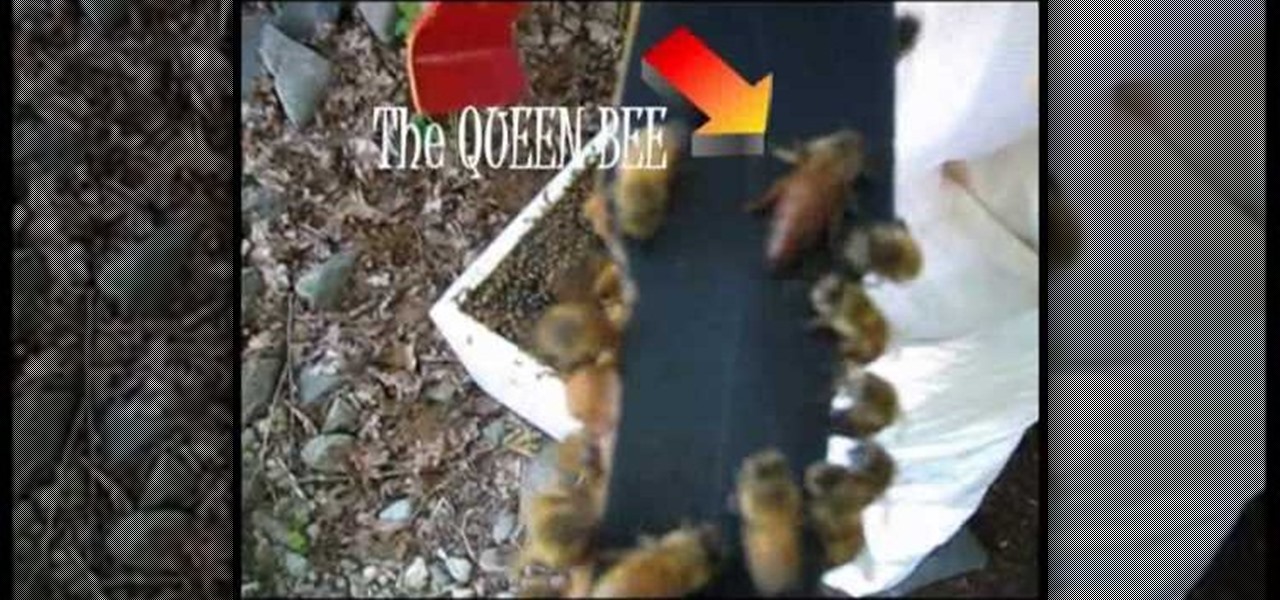
If you're getting started in the beekeeping business, or as a hobby, the first thing that you will want to know is how to spot the queen bee of the hive. And also, a technique called "Splitting the Hive" so you can begin an entirely new hive out of the one you already have. In this video you will get a full tutorial on how to do all these things to get you started with beekeeping!
In this video, we learn how to remove brown spots from your skin. These develop over time on your hands and face. First, you will need to buy sunscreen and use this as often as possible when you go outside. Next, you need a bleach cream that will stop the body from making extra brown pigment. Also a topical treatment will work with the bleach cream that will peel off the layers that are holding the brown spots. If none of these work, you can see your dermatologist and have them removed perman...
In this video, we learn how to remove ink stains from your American Girl doll. If you get ink marks on your doll it's pretty easy to get off with just some Oxy spot treatment clear. The main ingredient in it is Benzyl Peroxide, which is an acne medicine. After you have this, you will put a little bit of it onto the stain on the doll. Apply this using a Q-Tip and not your finger, to avoid oils. Press this all over the spots on your doll, then cover the spots with plastic wrap. Put the doll in ...
Spotting is incredibly important in gymnastics or dance. By spotting, you keep your focus steady so that you avoid dizziness or falling. In this tutorial, learn how to start spotting and how to use this technique for back handsprings or back walkovers in gymnastics or tumbling.
Sometimes an ordinary coleslaw just doesn't do it, so that's when you try out different ethnic recipes. And this Asian spin on slaw is sure to be added to your list of favorites, from the dressing to the actual salad mix. Check out the recipe for this delicious Asian coleslaw with peanut dressing.
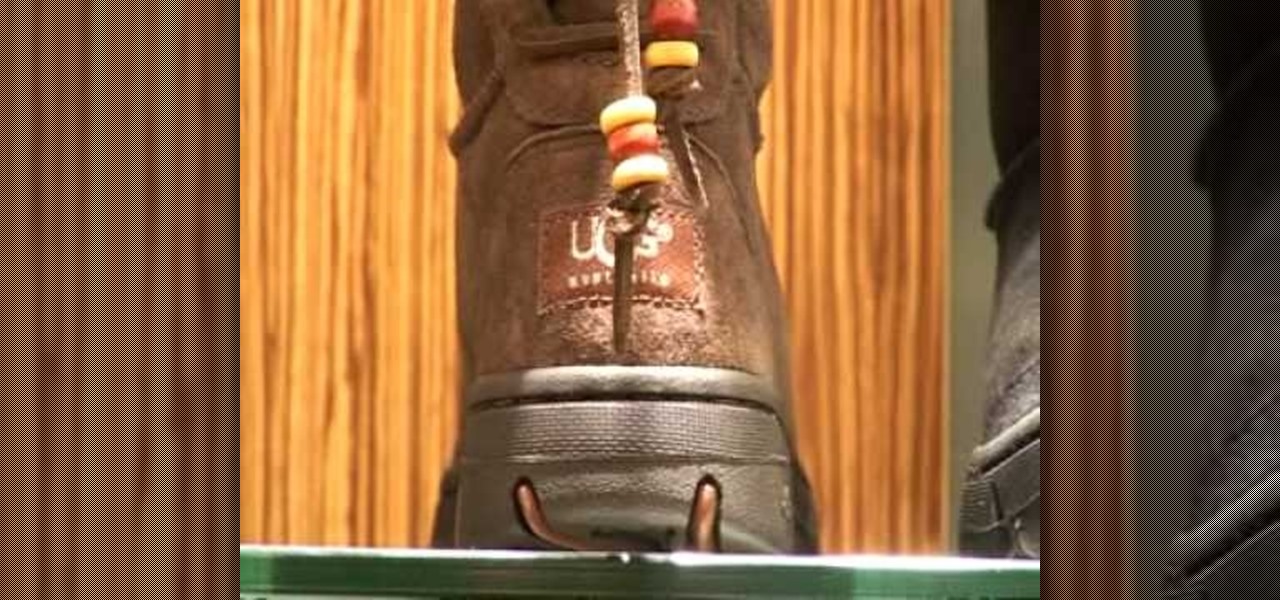
Ordering your Uggs online? Our Ugg expert explains top tips for buying genuine Ugg Boots! There are easy ways to spot pirated or counterfeit designer gear. This Ugg expert delivers the insiders' tricks for spotting authentic gear.
You can gain even greater precision on the Canon EOS 7D digital SLR camera by using Spot AF or AF Point Expansion. When you manually choose one AF point, you also have the option of changing its size. You focus point will be exactly what you want. Very specific.
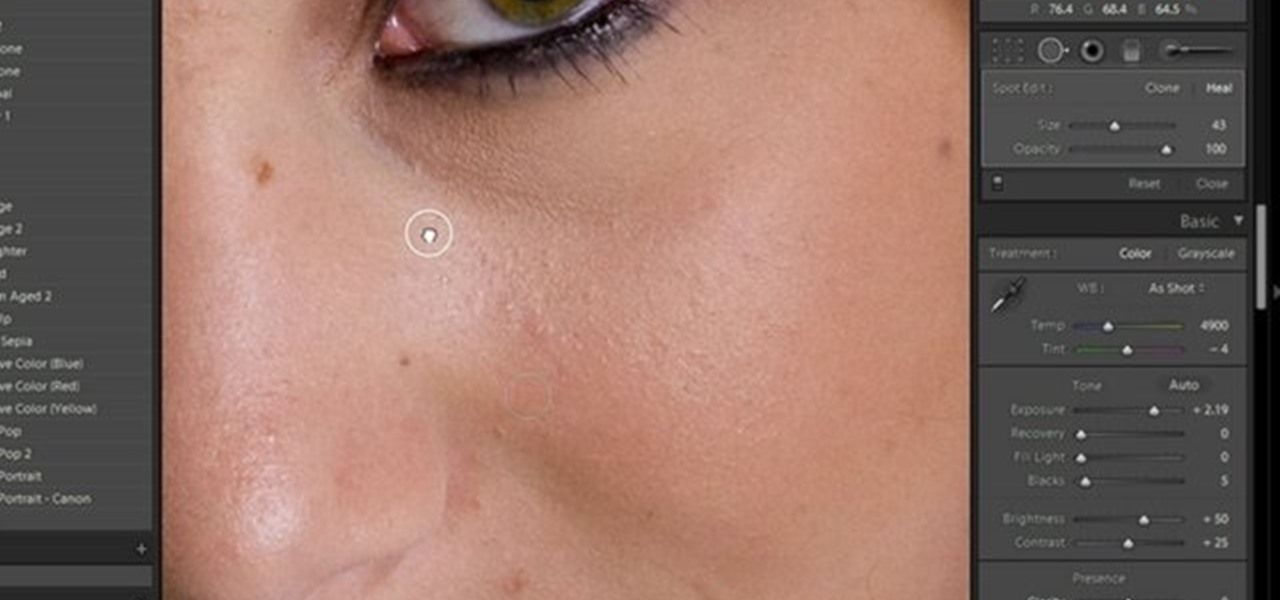
Kerry Garison demonstrates a quick tip of healing tool (Lightroom 2. 0), which is situated on the upper right hand corner of the screen, with the help of lady's image. Click on spot removal tool which can be used for cloning and healing. In order to change the brush size, scroll wheel mouse or left or right rapid keys can be used. Brush size, change in opacity can be changed also by clicking and dragging the bar; from there cloning or healing options can be selected also. After clicking the h...
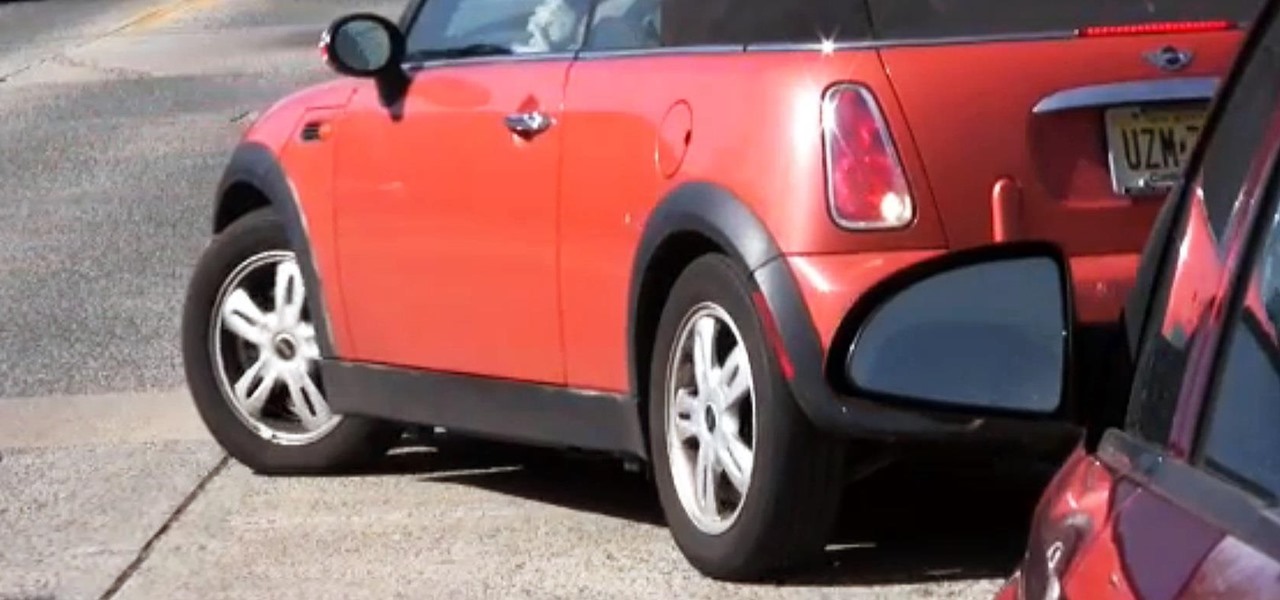
If you live in L.A. or New York, you simply will not survive unless you know how to parallel park. That's beccause in big cities finding any sort of parking spot at all is a miracle, and often the spots that are open are also tiny slits of parking spaces, requiring more than a little finesse to slip into.
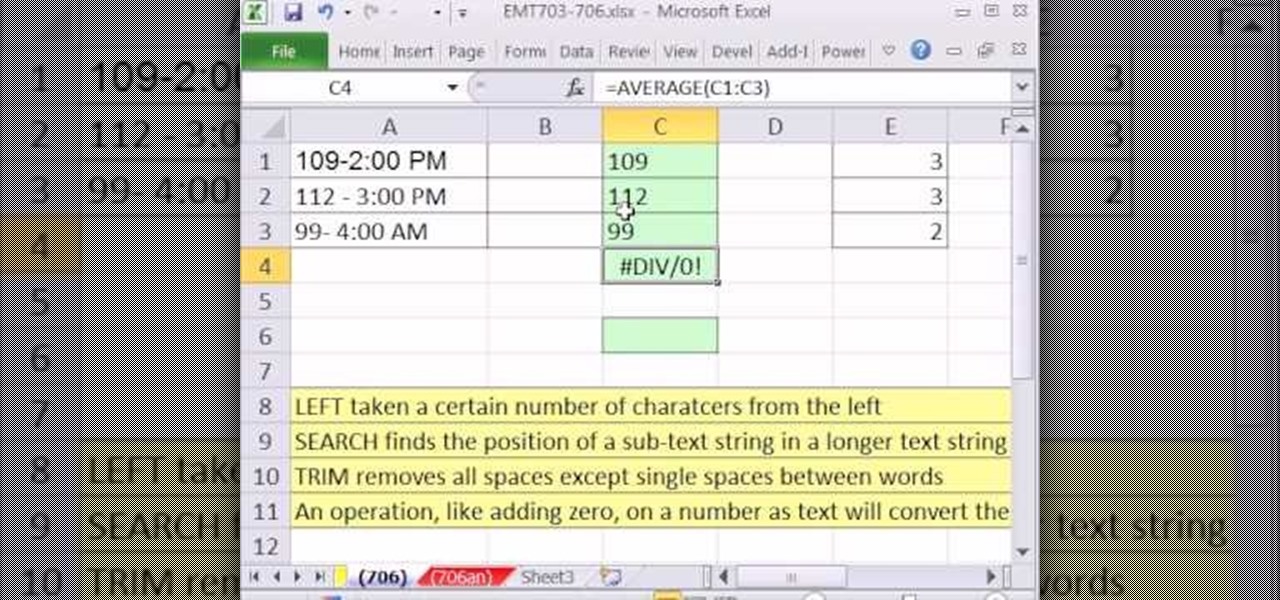
New to Microsoft Excel? Looking for a tip? How about a tip so mind-blowingly useful as to qualify as a magic trick? You're in luck. In this MS Excel tutorial from ExcelIsFun, the 706th installment in their series of digital spreadsheet magic tricks, you'll learn how to to use the LEFT, SEARCH and TRIM function to eaxtract numbers from a text string that can then be used in a calculating formula.
In this video tutorial, viewers learn how to make a juggling prop rack. The materials required for this project are: 2x4 pieces of lumber with proper length and space for the props, L-brackets, drawer pulls and trim. The 2x4 pieces of lumber are the shelves that will hold up all of the props. The L-brackets will mount the racks onto the wall. The drawer pulls will specifically hold clubs. The trims will decorate the shelf and provides re-enforcement. This video will benefit those viewers who ...