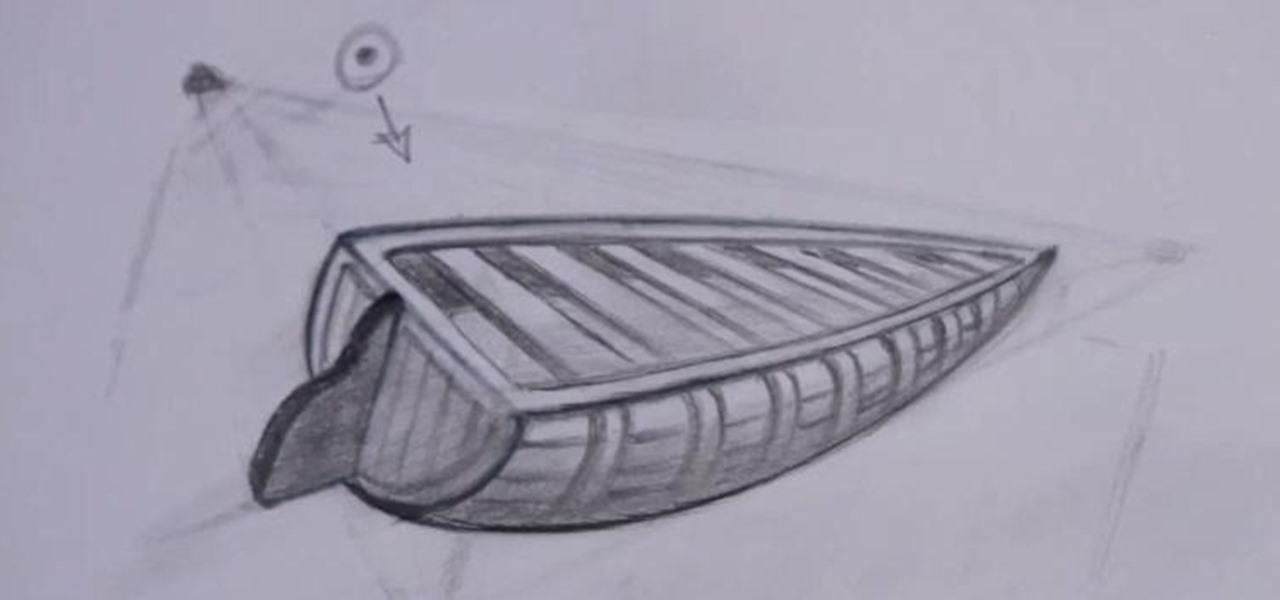
VCAD instructor Glen Kennedy, who has worked for several large studios throughout his career, including Disney, Universal Studios and Marvel Productions, introduces fundamental drawing techniques to encourage young artists to develop and hone their drawing skills. In this five-part drawing series, viewers can follow along with Glen to learn how to sketch a boat in two-point perspective.
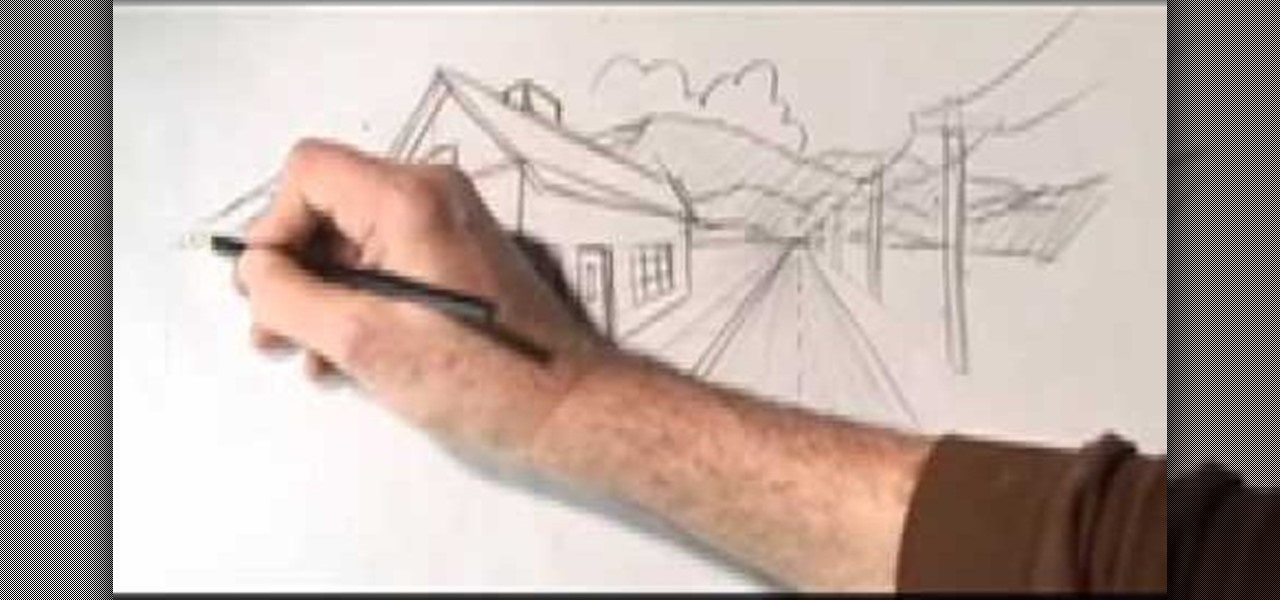
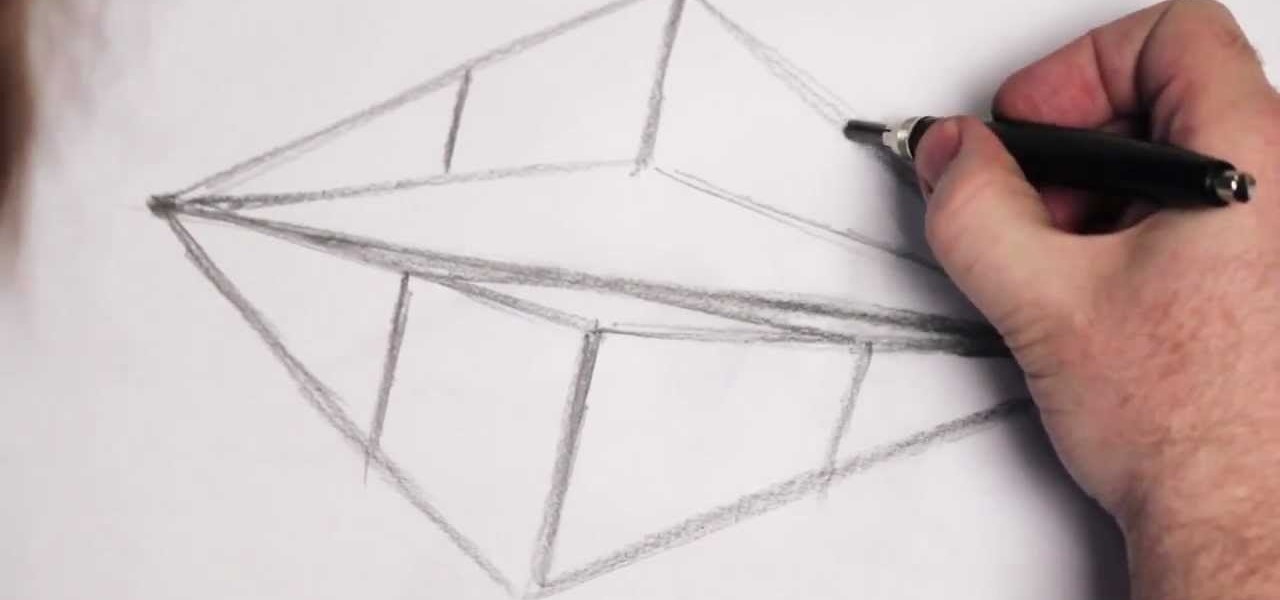
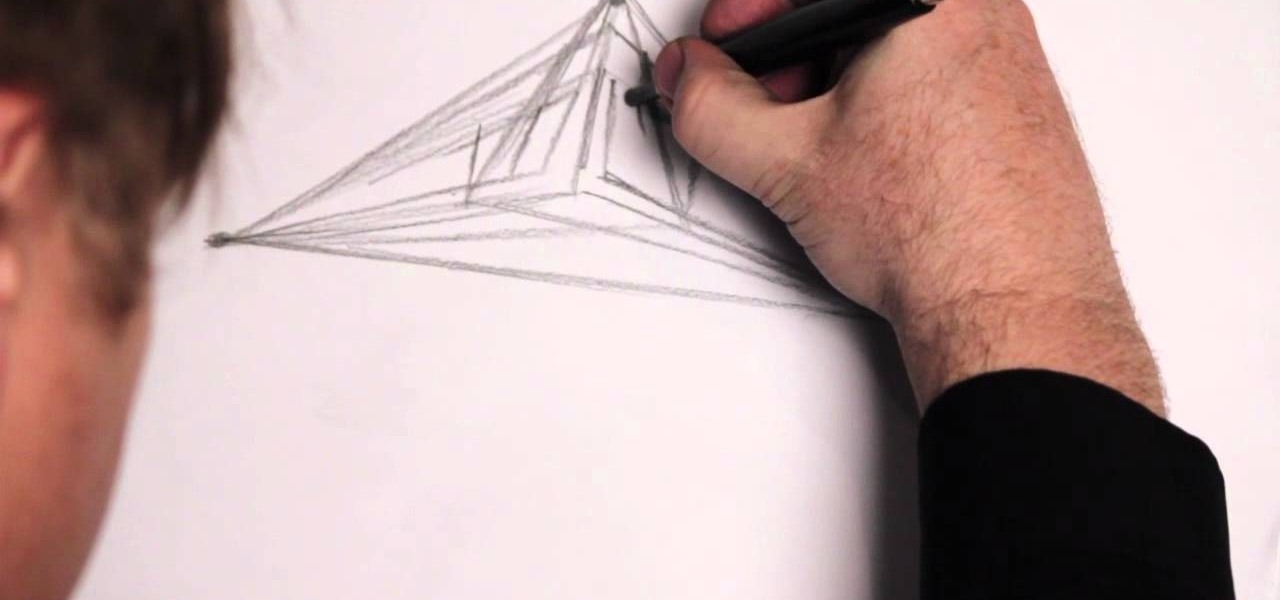
In this video, we learn how to draw two point perspective. Start off with a horizontal line on your paper. After this, draw a small point on the line where your drawing will focus to. From here, you will start to draw lines coming out of this. Next, you will design the rest of the picture around the main focal point you started out with. Add in lines to create lots of detail and make sure to use shading to show depth. Erase any background lines you don't need. Then when you are finished, you ...
Watch this instructional video to learn how to use periscopes and borescopes to maximize the performance of the P+S Technik SKATER Mini dolly. Working with periscopes and borescopes can add interesting perspective to the shots you do with the SKATER. View final footage of the Skater used on actual professional film sets.

Video: . Step 1: Today We Are Going to Draw an Airplane. Let's Start with a Rectangle in Two Point Perspective. Before We Begin We Need to Figure Out Where Our Horizon Line and Vanishing Points Will Be. Sit Back and Think What Kind of Look You Are Going for.
If you can successfully and convincingly draw complex levels on a sheet of paper, then you can draw just about anything. Despite having been around for thousands of years, representative art only approaches reality and reflects it, rather than depicts a believable replica of it.

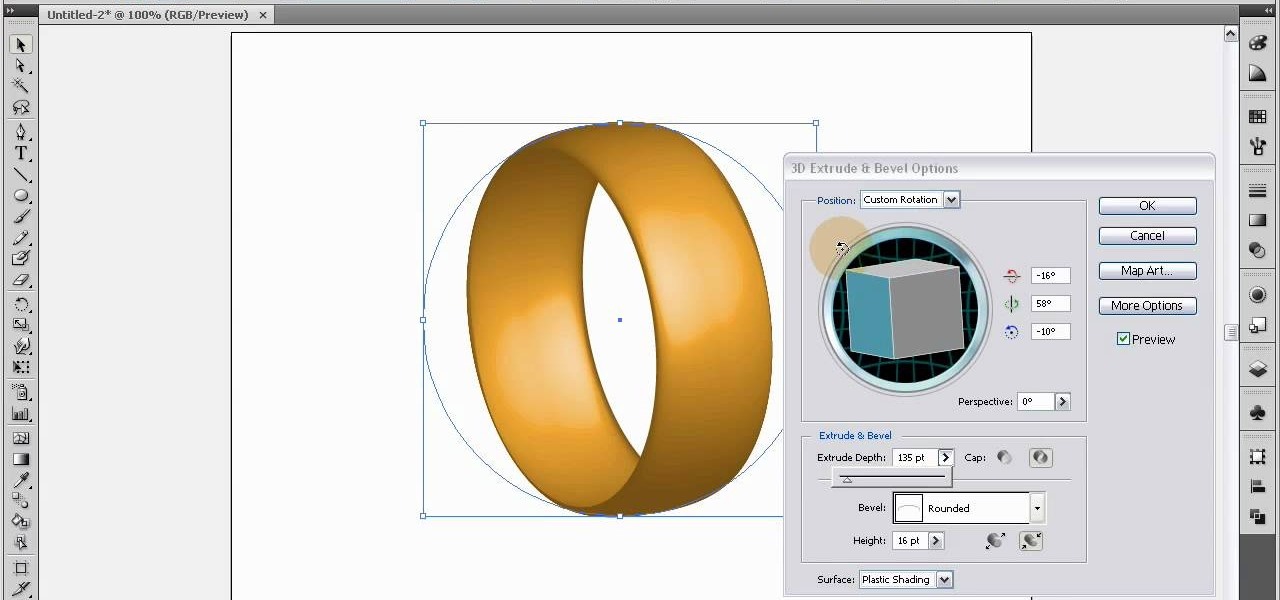
Learn how to interlace custom shapes in Adobe Illustrator CS4, an effect that's especially attractive when working with 3d perspective objects and shapes. Whether you're new to Adobe's popular vector graphics editor program or a seasoned graphic arts professional looking to better acquaint yourself with the new features and functions of this particular iteration of the application, you're sure to benefit from this free software tutorial. For more information, watch this designer's guide.
Start with a faint outline of the leopards head which is an oval shape and is body which is connected to the head, then add the outlines of the legs ears and tail. In the oval draw the proper perspective lines for the face of the leopard. Now draw the outline of the tree or branch the leopard is laying on. Begin to darken the outlines, drawing with proper perspective, while adding the outlines for facial features. Add your shading depending on your light source then begin to erase the faint l...
Nick from Greyscale Gorilla demonstrates how to do the effect from "The Matrix" in which time stands still and the camera whips around, continuing the action from another perspective. Go here for Nick's blog entry:
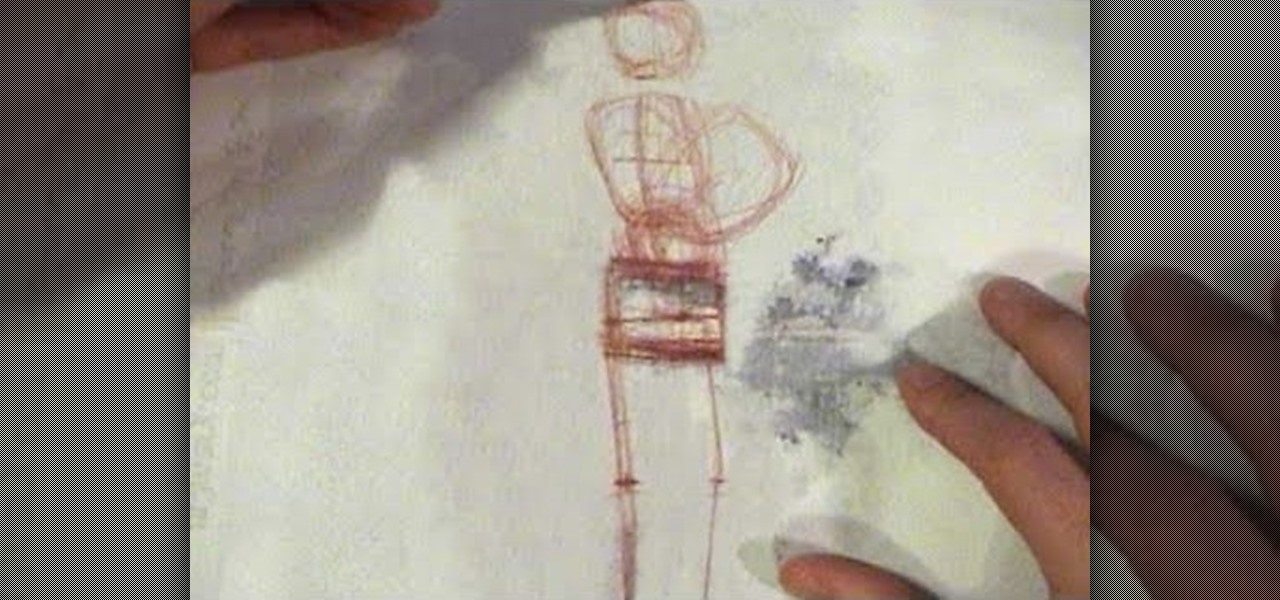
In this tutorial Cy starts out a human figure from above in 3/4 view. Some tips for putting the horizon line on the page.
The foundation of most fine arts educations begins with the drawing of the human figure. These human figure drawing tutorials are brought to you by Cy Porter of solomation.com. Search WonderHowTo for more figure drawing tutorials by Cy.
The foundation of most fine arts educations begins with the drawing of the human figure. These human figure drawing tutorials are brought to you by Cy Porter of solomation.com. Search WonderHowTo for more figure drawing tutorials by Cy.
Walter Johnson and the Denver Optic Company are proud to present a short film documenting the eye-making process as "seen" through the perspective of the patient, as well as the ocularist.
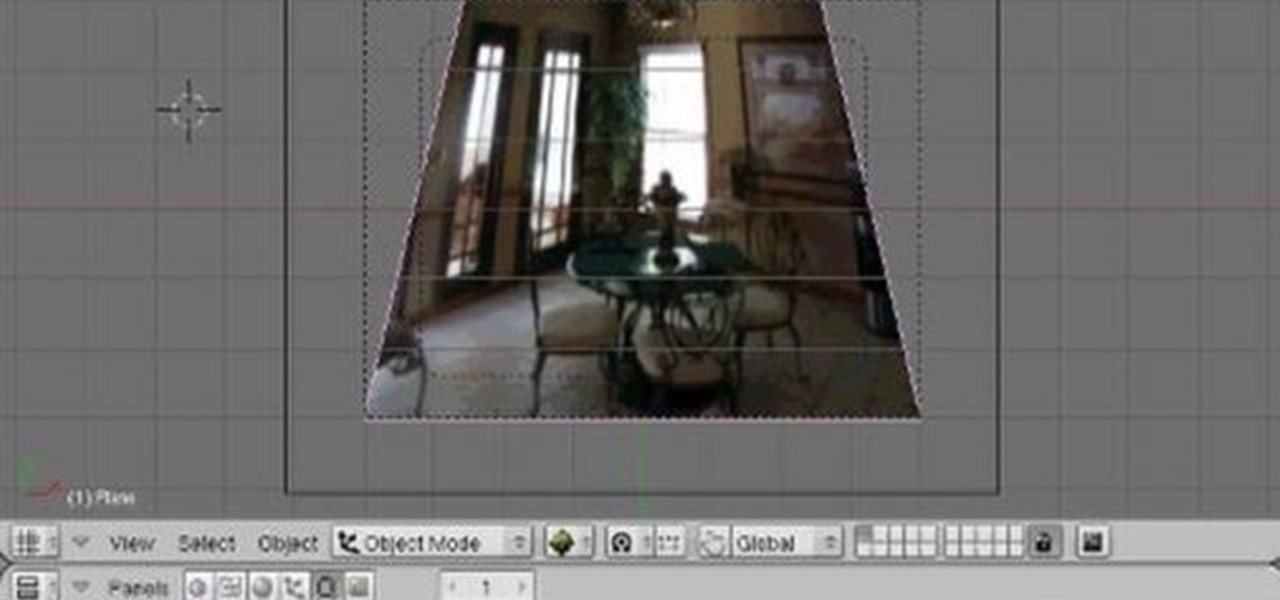
In this tutorial, you'll see how to do perspective correction for an image or video clip within Blender. Whether you're new to the Blender Foundation's popular 3D modeling program or a seasoned graphic artist just interested in better acquainting yourself with the application, you're sure to be well served by this free video tutorial. For more information, including detailed instructions, take a look!
Want to know how to play "Hey There Delilah" by on the guitar as a beginner? Learn how with this free video guitar lesson, which presents an easy-to-follow overview of the popular song. For more information, and to get started playing this aughties folk pop ballad on your own guitar, watch this how-to!
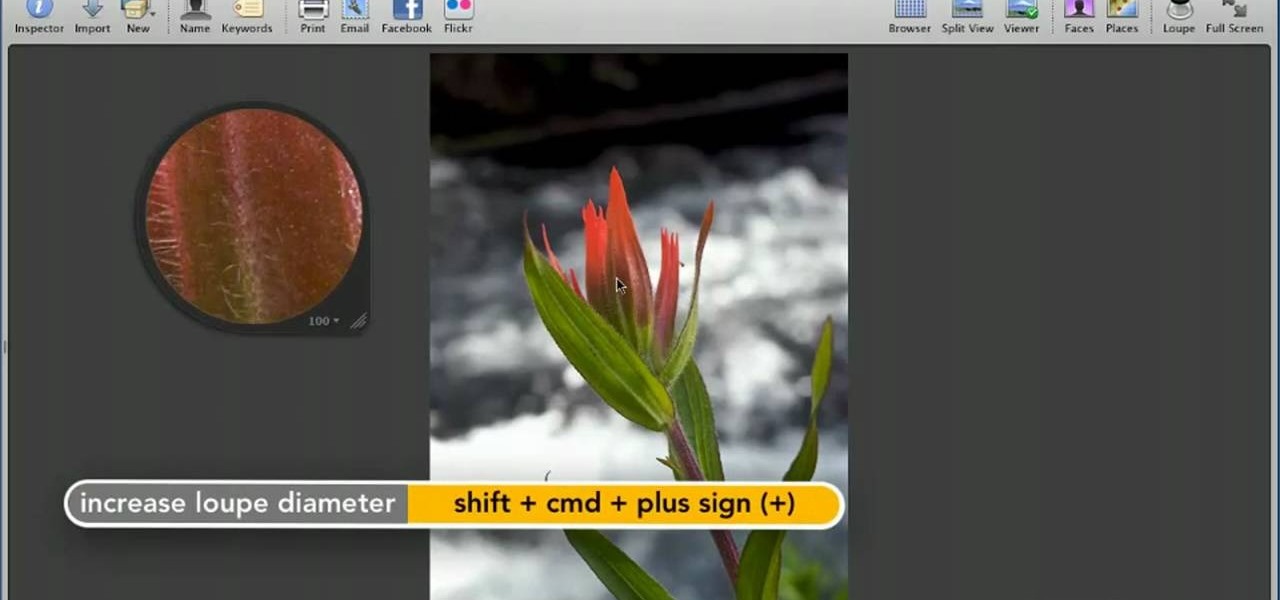
Want to zoom in on a particular part of a digital image in Aperture while maintaining the overall perspective? Try the Loupe tool. Whether you're new to digital photography or merely unfamiliar with Apple's Aperture 3, you're sure to benefit from this free video software tutorial from Lynda, which presents a thorough, step-by-step overview on how to use the digital Loupe feature within Aperture 3.
This is a fantastic video that walks you through a simple drawing of a face in the manga style. Drawn from a 3/4 perspective, this is great manga and anime portrait technique.
This is a tutorial video from Sessions Online Schools of Art & Design's "Photoshop Basics" course. This video is part of Sessions' Graphic, Web, Multimedia Arts, Digital Arts, and Marketing Design certificate programs. You are distorting layers using the transform tool. Use the line tool to check the work. GO Edit: Transform - Distort.
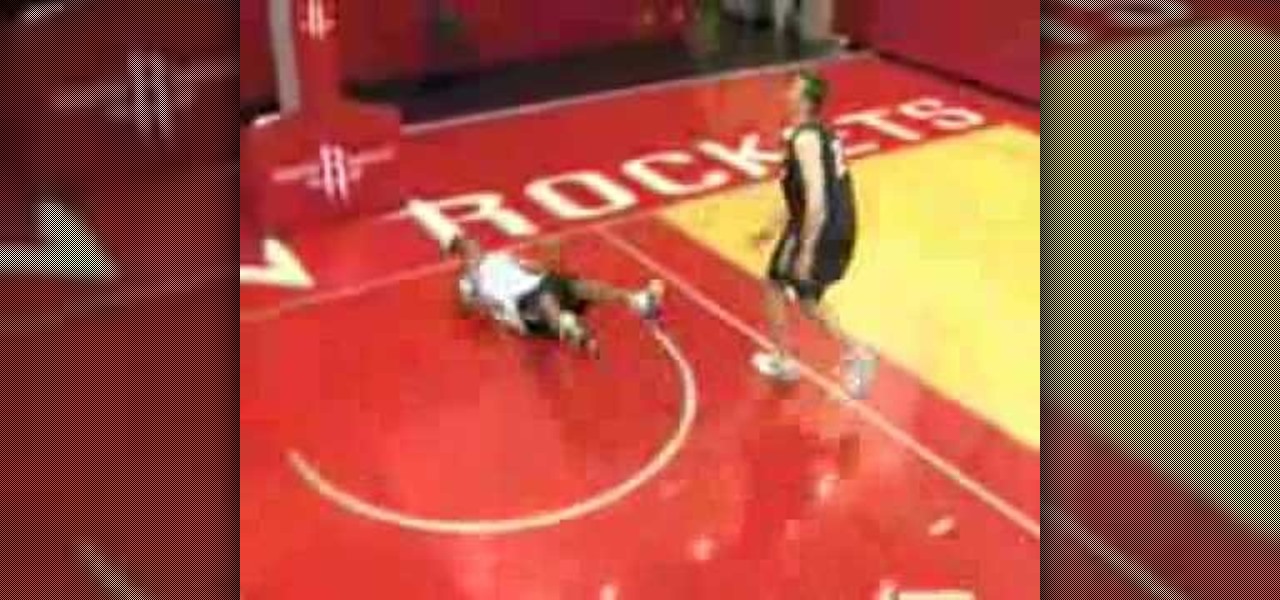
Shane Battier teaches you how to take a charge, and how it can help to stop superstars like Dwyane Wade and Lebron James. This inside skill drill from Shane Battier gives you the right perspective from an NBA star. Get basketball advice from the pros on how to improve your basketball game. Shane Battier is the authority on defense!
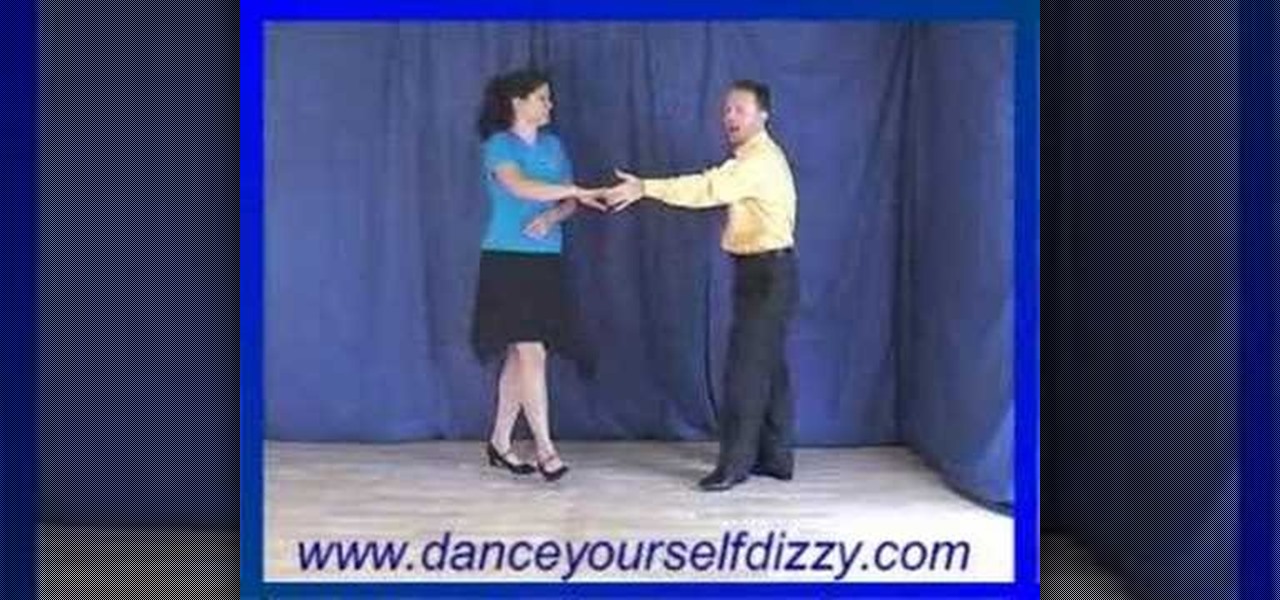
Here's a weekly on-line Modern Jive dance lesson from Dance Yourself Dizzy. This is a two part step by step from the man's perspective showing the steps in lead during basic modern jive dancing. Jive is a style of swing.
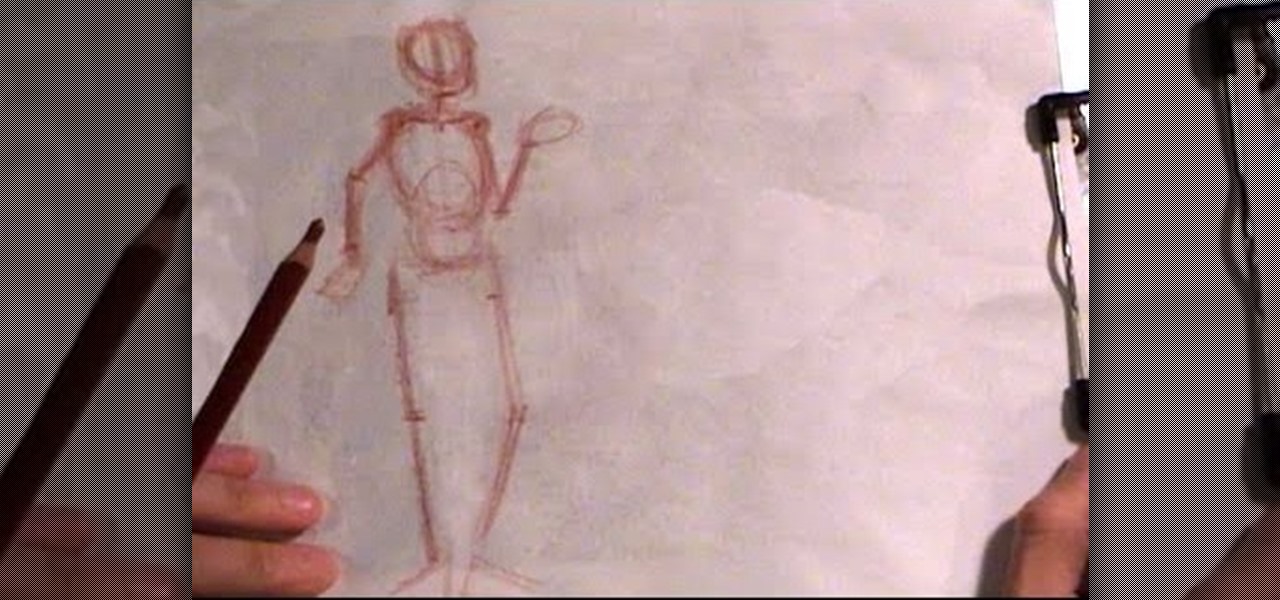
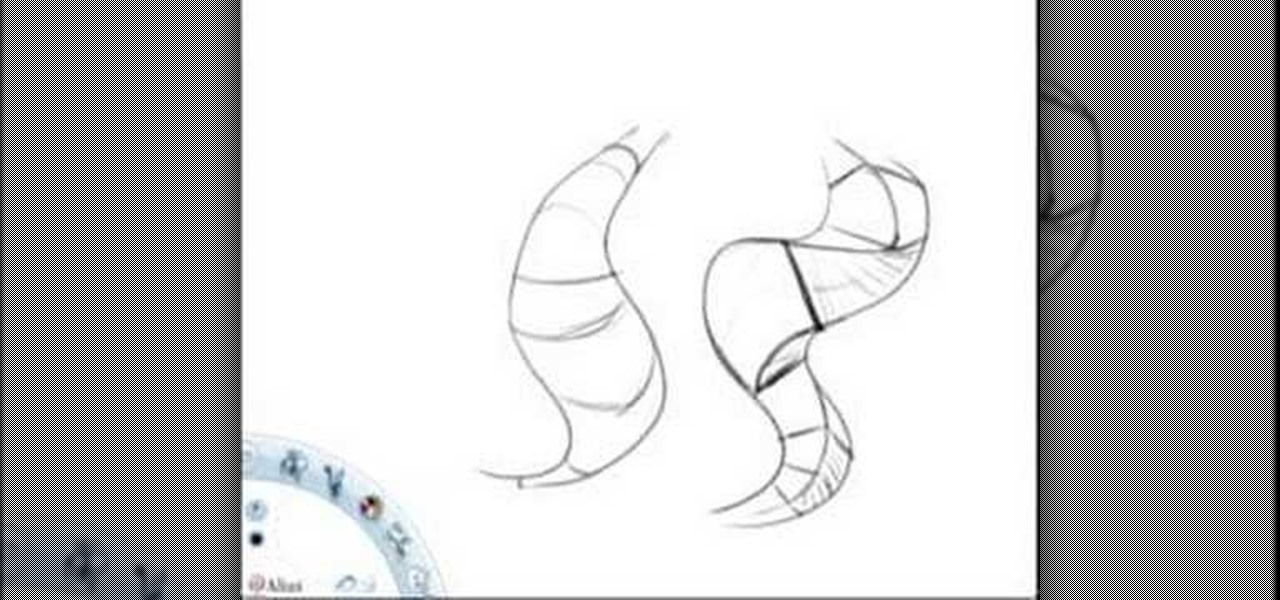
Use everything you know about drawing with perspective and line efficiency to draw a sculpted form. This instructional drawing video demonstrates how to flesh out the map of a drawing into an almost mobile being. When drawing with this technique, line drawing becomes a way of carving a figure out of boxes.
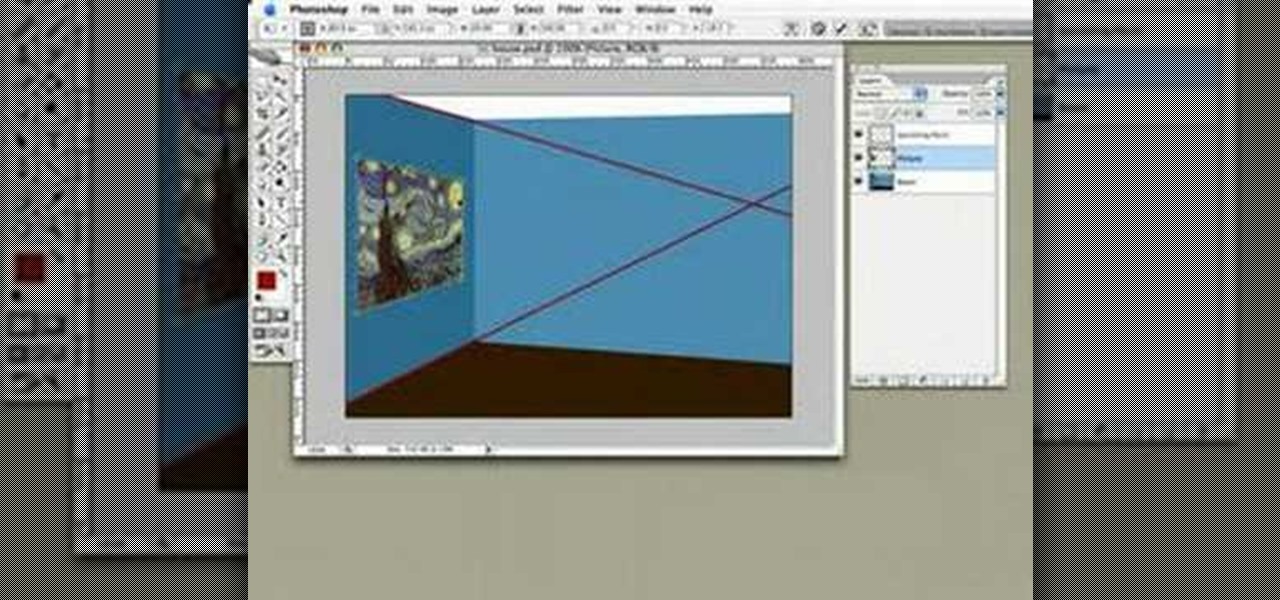
Bert transforms a city's skyline using Illustrator, Photoshop and the concept of perspective. See how to create 3D objects in a 2D plane all to create one image from Photoshop and Illustrator.
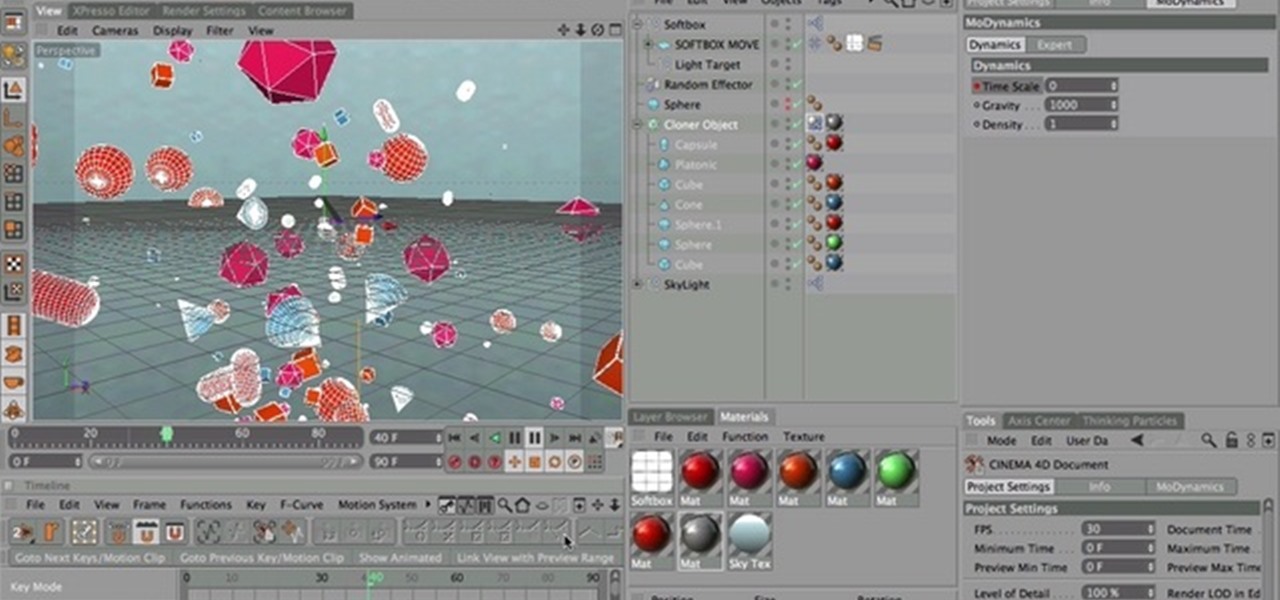
In this tutorial; it has a 3D, vanishing point, perspective look to it. It's similar but not quite what Superman uses. This tutorial is for Cinema 4D.
In this tutorial, we learn how to draw steps in perspective. Start off by drawing a dot in the middle of the paper. From here, draw lines using a ruler coming from the middle diagonally on the top middle and sides. Now, you will be able to draw your pictures using these as a reference point. The lines at the top will show the steps that are at the top and farthest away the closer they get to the dot in the middle. After this, fill in the details of the picture making different items around th...
Miandza teaches you how to draw a complex room. You will start with two rectangles, one smaller than the other. Also draw 3 perspective lines - one horizontal and two diagonal, meeting in the middle. After that, start creating objects and pieces of furniture. Also add walls, doors and windows, according to the perspective lines. Use a darker pencil when you're sure of the things you are drawing. Now you start working on details. Don't forget about the floor and ceiling and add details and obj...
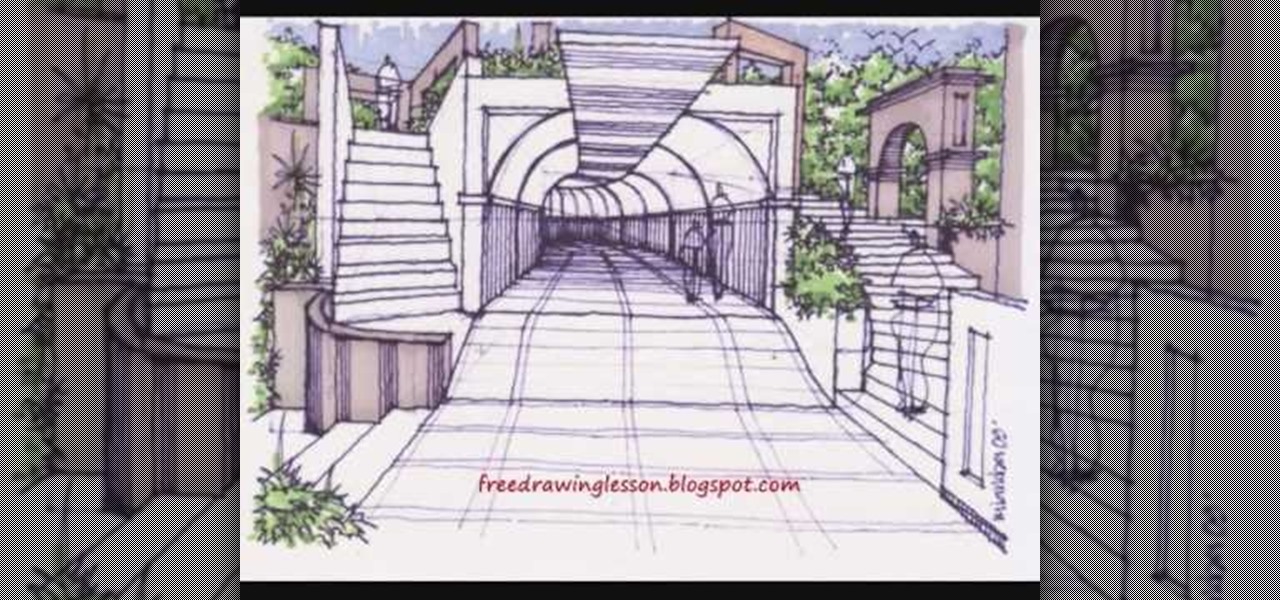
This video is a drawing lesson on how to draw and color a tunnel. It starts with rectangles and an arch, and more lines are added to show the perspective of the tunnel. Stairs, structures, and more architectural detail is added all around the tunnel and then inside. Next the coloring is demonstrated. First the bushes are colored green, and the different architectural elements made of cement or stone are colored in shades of brown and beige. The inside the tunnel is done in shades of blue, and...
Miandza teaches us how to sketch a street. You start with a horizontal line and two diagonal lines, all intersecting in the middle. You then start to add parts of buildings, in perspective. You continue to use the lines as reference and add more buildings. Then start doing trees and people. Also add pavements and start doing details on all objects. You finish by drawing the sky and the birds. The final scene is still a sketch, but has lots of details and uses the perspective to look natural.
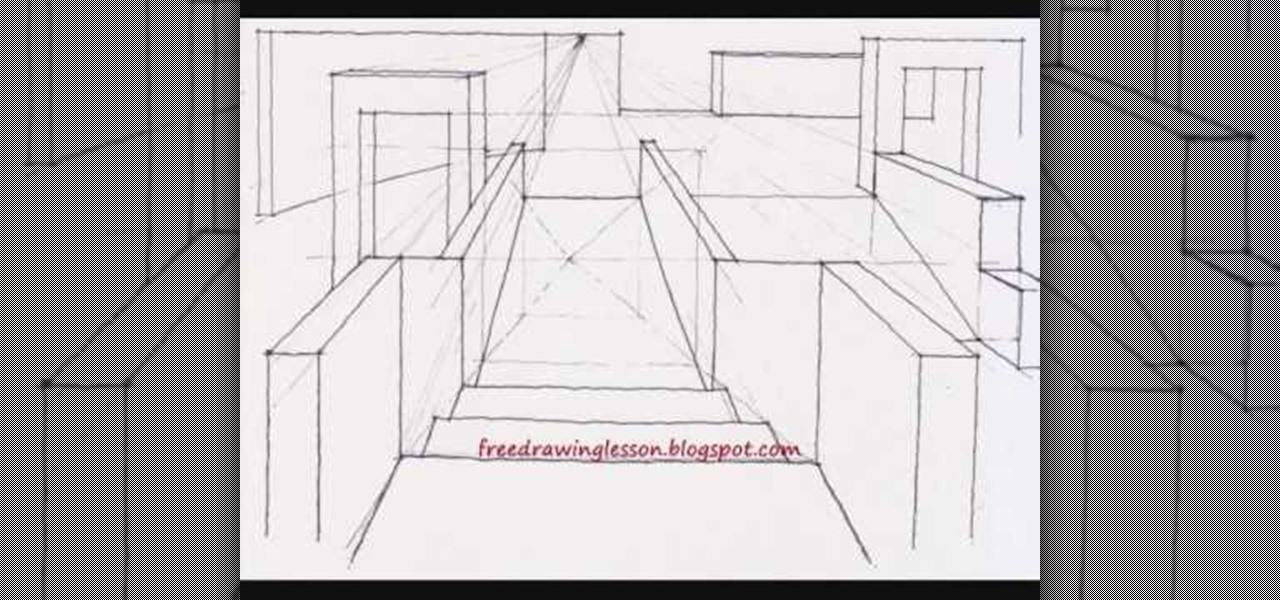
This video demonstrates perspective and how to use it to make your drawings more realistic. In this time lapse video, the pencil drawing slowing completes itself. The artist uses many different vanishing points to create the drawing. The drawing consists of several different rooms, along with several different stair cases. The stair cases lead from a bottom floor, up to a main floor, and then finally on to the top floor. The artist has many other videos on YouTube that demonstrate other drawi...
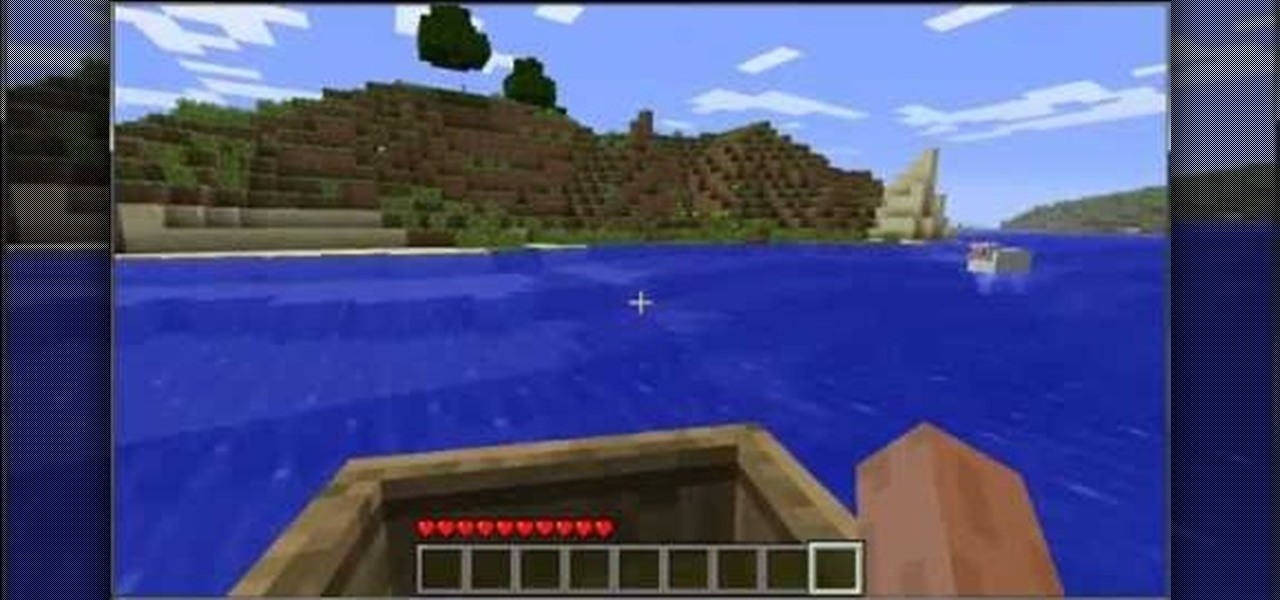
It's time to set sail for adventure on the high, well completely flat actually, seas of your Minecraft world. Watch this Minecraft building guide video to learn how to craft a boat and a chest. Explore your Minecraft world from a whole new perspective.
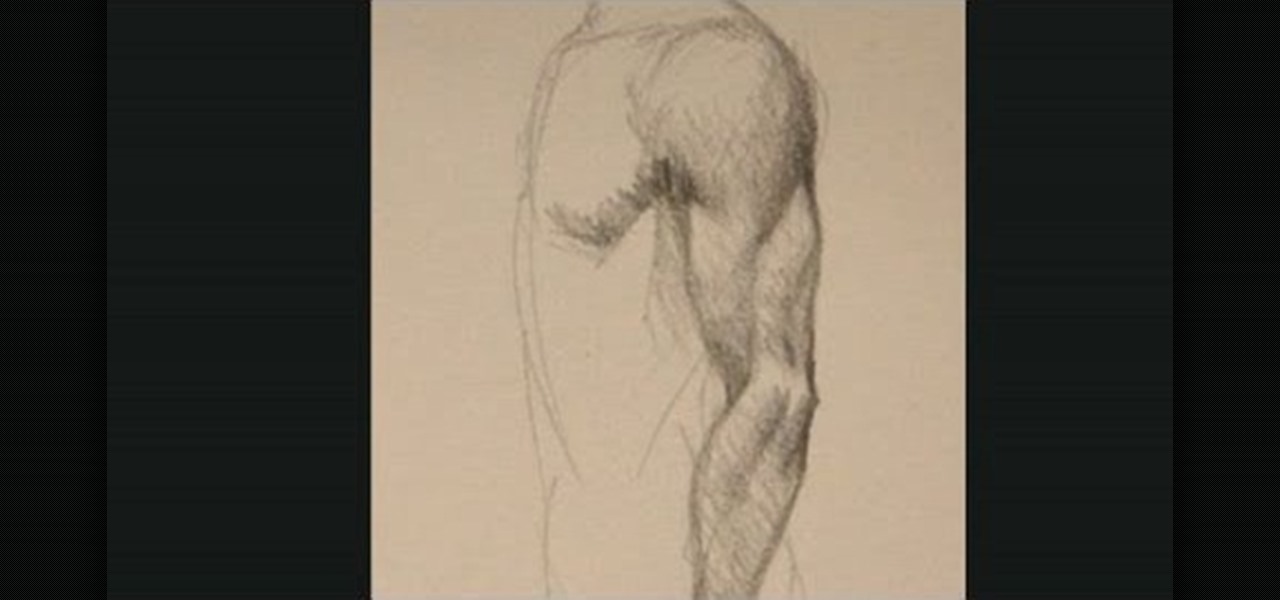
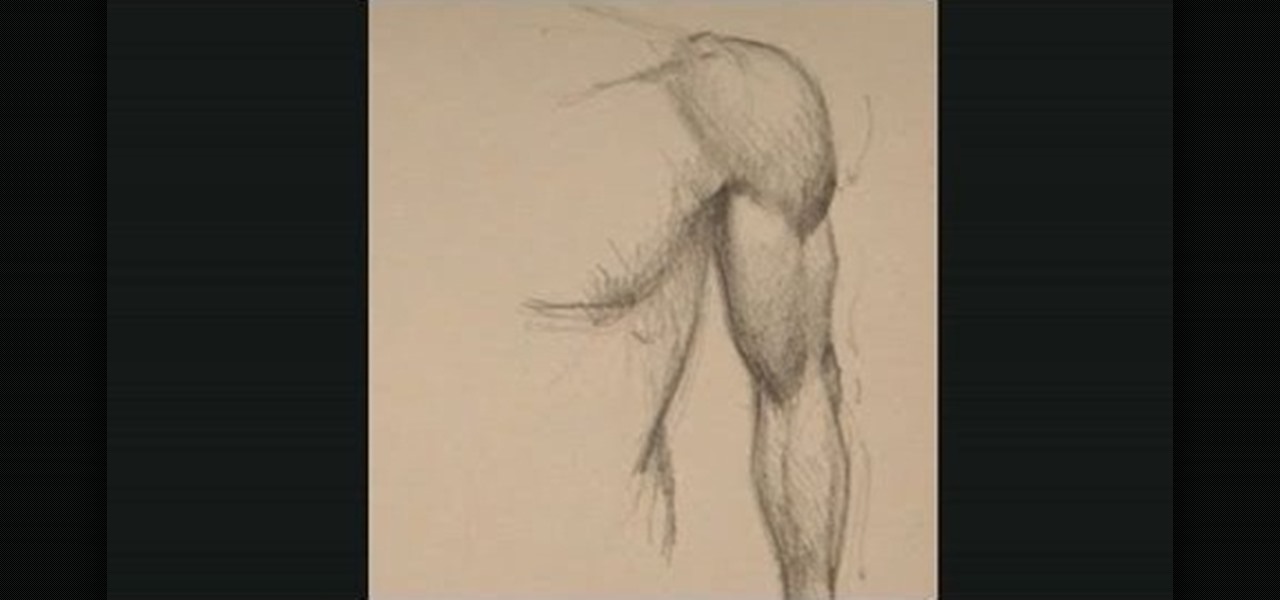
If you're drawing someone in profile, and they have strong, muscular arms, you'll need this tutorial. It demonstrates how you can draw people from the side and, using perspective and a strong working knowledge of the human body, draw realistic arm muscles.
If you want to draw someone with a muscular arm from the front, this tutorial is for you. Using perspective and an advanced knowledge of the human body, you're shown how to draw male and female arm muscles using the front view.
This is a useful drawing tutorial, but also a good lesson on perspective. Whether you want to improve your skills as a sketch artist or are looking for a few good ideas, this tutorial shows you how to draw someone running directly at you.
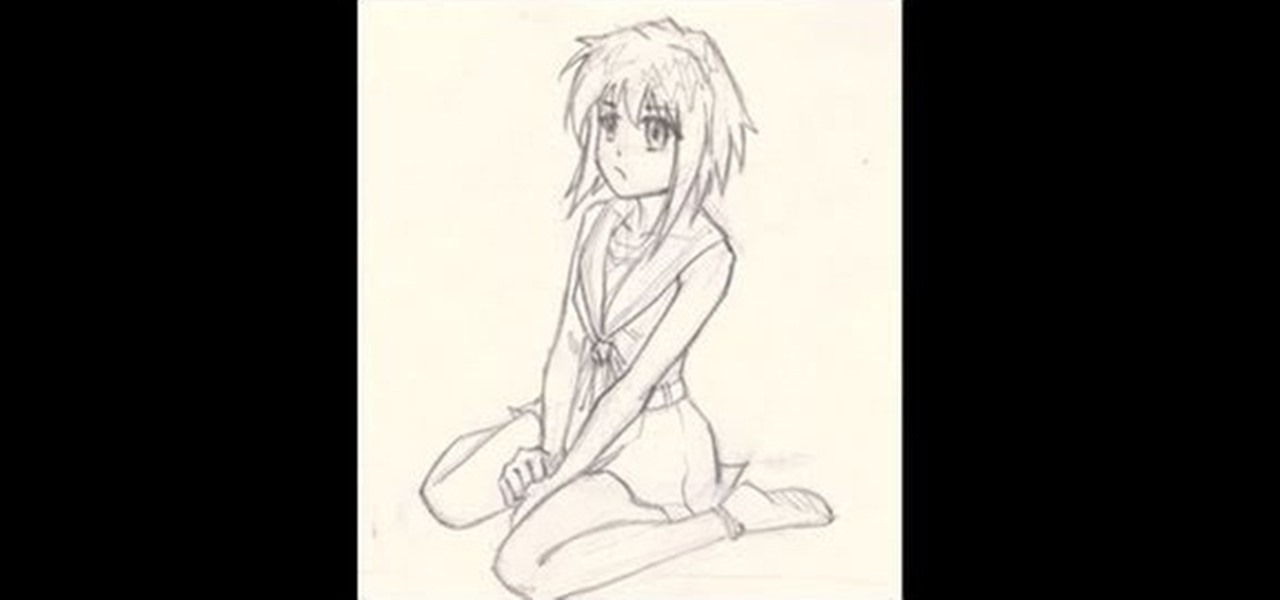
This tutorial shows you one way to draw your anime girls - to show them sitting down. The video also goes over the proper use of perspective to make your drawing more realistic. Just follow along with this step by step and add to your anime portfolio!
Do your kids blow every problem way out of proportion? Do they need to develop some self-control? Watch this video to learn how you can teach you kids to manage their emotions and put their problems into perspective with discipline and teaching by example.
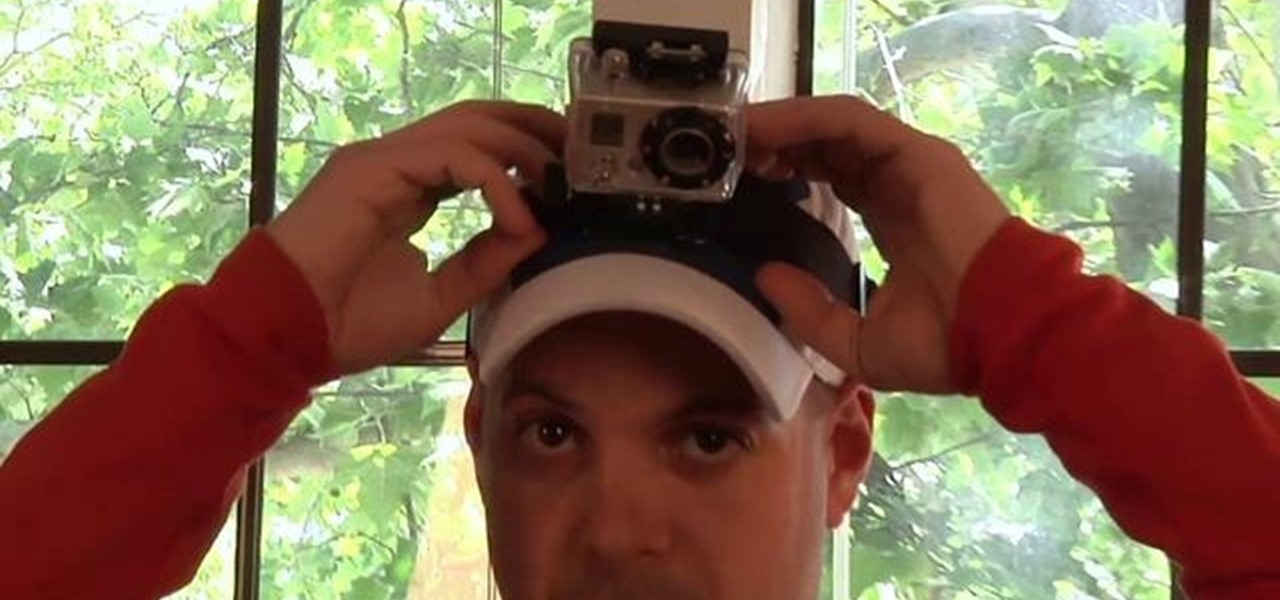
You can use a headstrap mount with your GoPro digital camera, which will allow you to take hands-free shots or get a unique perspective on whatever you're looking at. This tutorial shows you how to properly use a headstrap mount so you can 'wear' your camera.
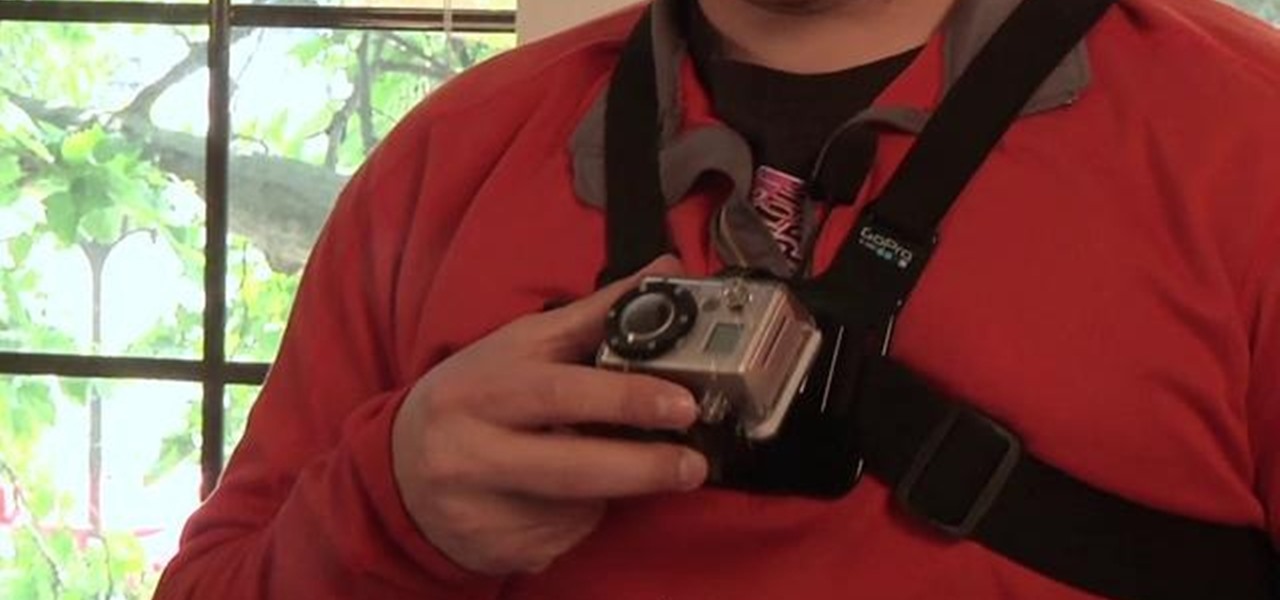
Get a unique angle and perspective for your digital shots by using a chesty mount. Just like how it sounds, a chesty mount is a setup which will allow a photographer to strap a GoPro digital camera to their chest, and this video shows you how to use it.
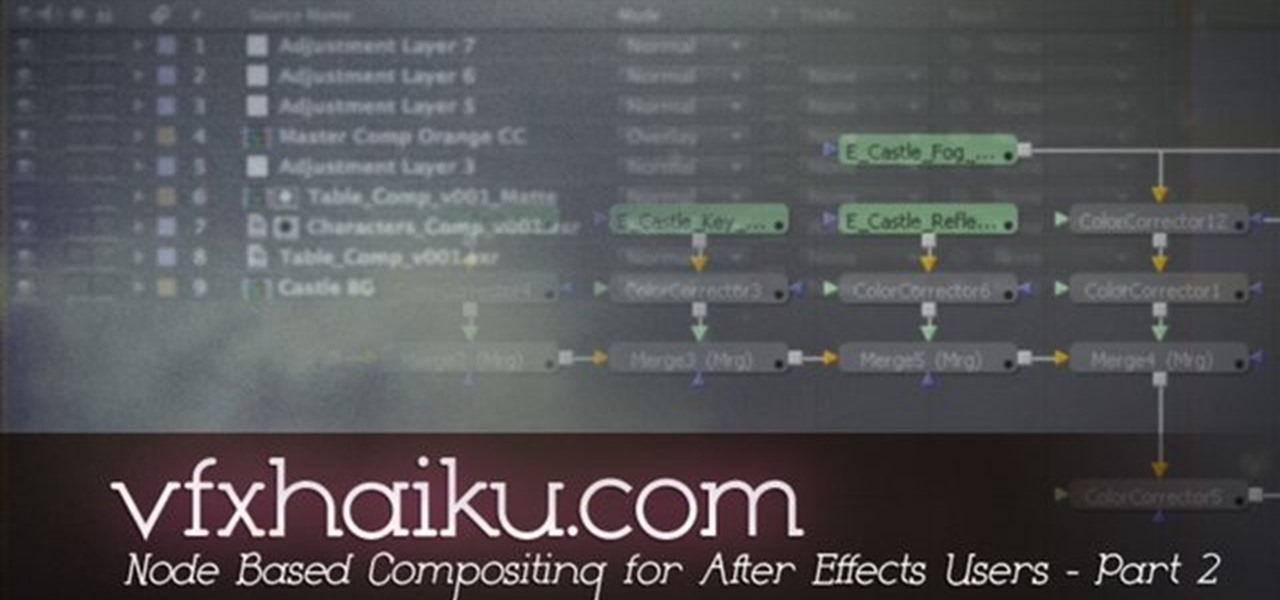
This video presents an introduction to node-based compositing from the perspective of an After Effects User. Whether you're new to Adobe's popular motion graphics and compositing software or a seasoned video professional just looking to better acquaint yourself with the program and its various features and filters, you're sure to be well served by this video tutorial. For more information, including detailed, step-by-step instructions, watch this free video guide.
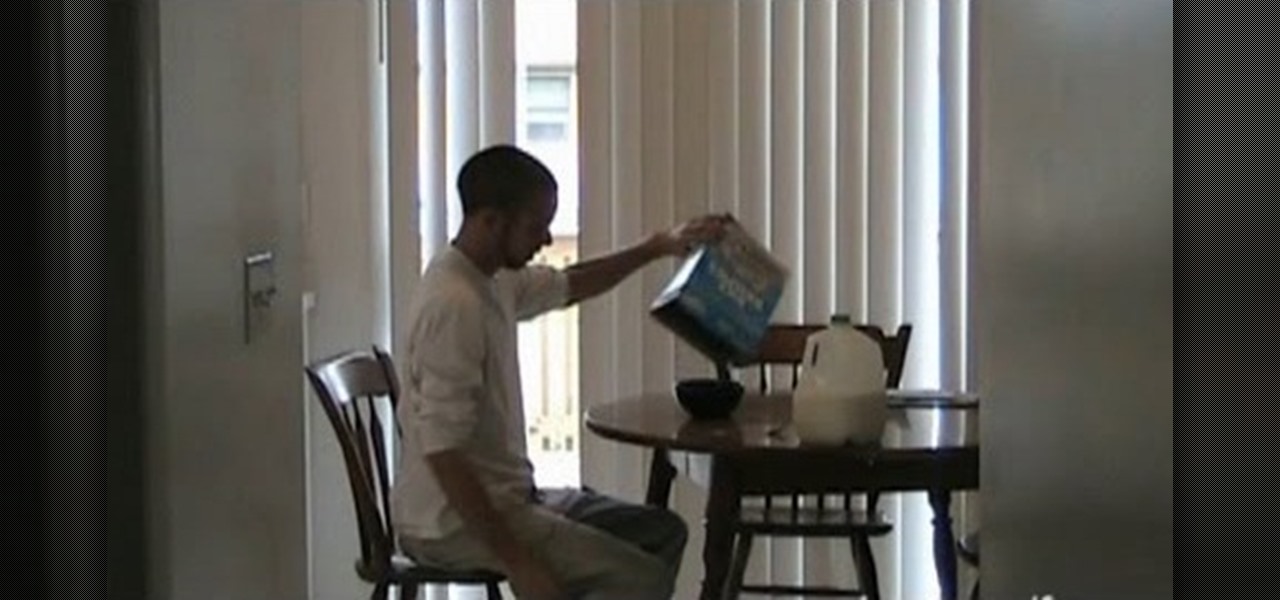
People who like cereal are fanatical about it, and aren't quite right if they don't get their fix in the morning. If you live with a cereal person, try using this prank to give them some perspective. All you need is a toy mouse, which you deposit in their cereal box. Then watch, enjoy, and run.
Need a new perspective on giving feedback in the workplace? Giving feedback can be tough, especially when you're dealing with negative feedback. It's a challenge. This video will cover some quick tips you can use to make sure both parties get the most out of the experience. It will create a better work environment, and workers will be more willing to change their ways.