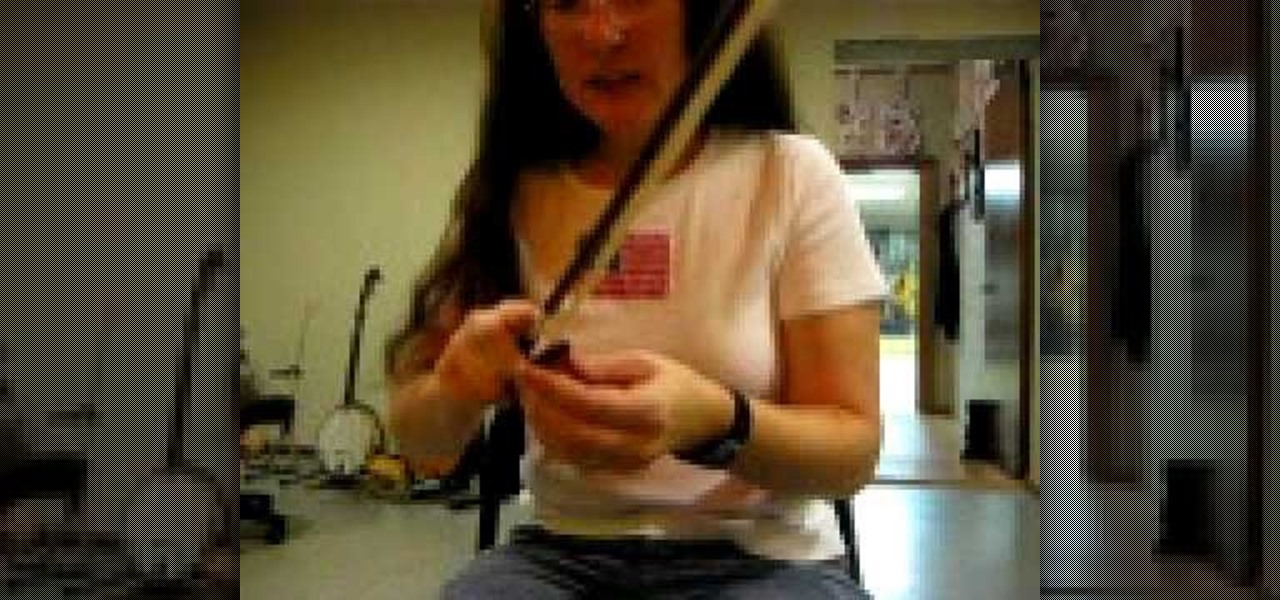
In this video, we learn how to rosin a violin bow for the first time. To start, you will want to tighten the hair on the bow by turning the bottom bow clockwise. Next, you will take your rosin and move the bow over it. Just do small sections at a time, then move onto the next section. It may be hard to get the rosin going, scratch it with sandpaper before you begin if it's being difficult. You will know when the rosin is going, because it will not look shiny anymore. Once you reach the top of...
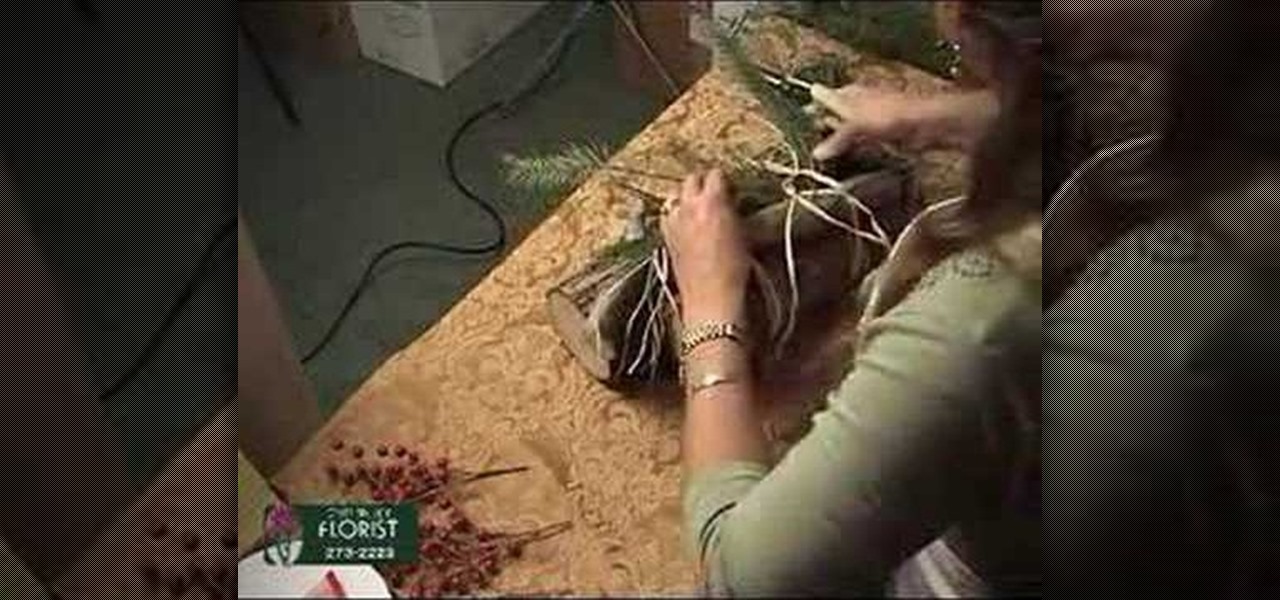
In this tutorial, Ingrid teaches us how to make a yule log for a gift. First, wrap two pieces of wood together with wire thread. Next, take some raffia and tie it onto the top and bottom of the yule log to give it a rustic look. To warm it up, add in some pine needles to the middle, as well as fur, cedar, and whatever else you find. To make it look more festive, take some red shiny ribbon and tie it onto the top of the pieces of wood like a package. This is inexpensive and useful for anyone t...
In her music video for "Round and Round," teen queen Selena Gomez is the sexiest spy ever, sporting a classy beige trenchcoat, the proverbial black spy sunglasses, and hair so softly wavy and shiny she looks like she just came back from filming a Pantene commercial.

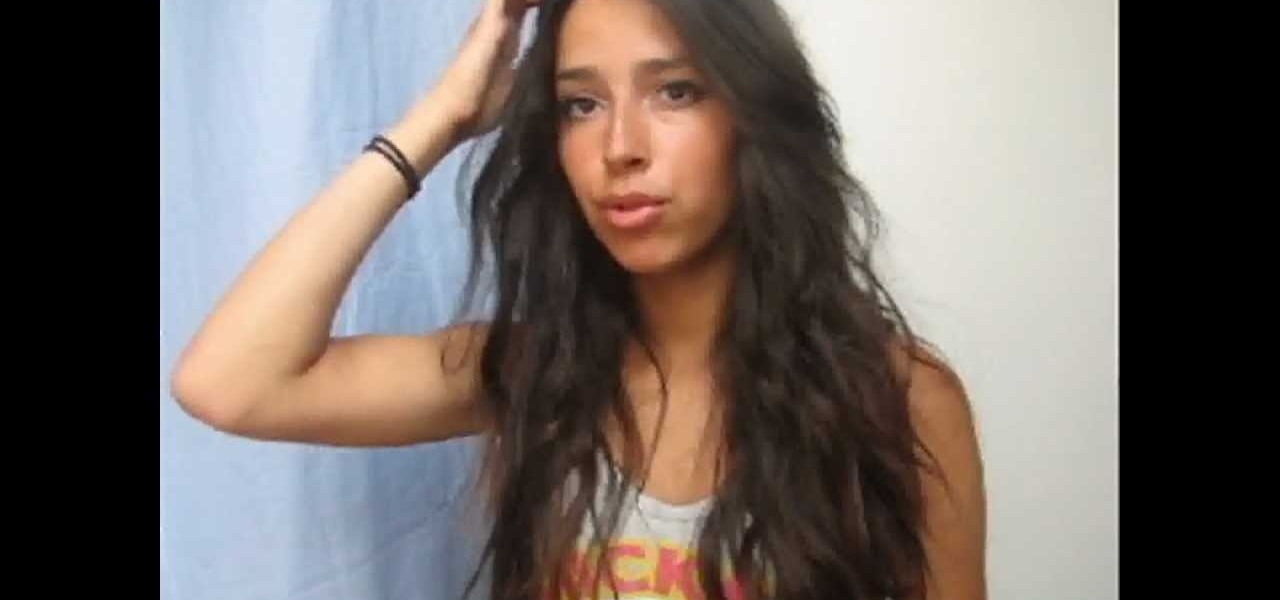
Do you have unruly and curly hair? If you have wild waves and are looking for a straighter, sleeker hairdo, check out this tutorial.
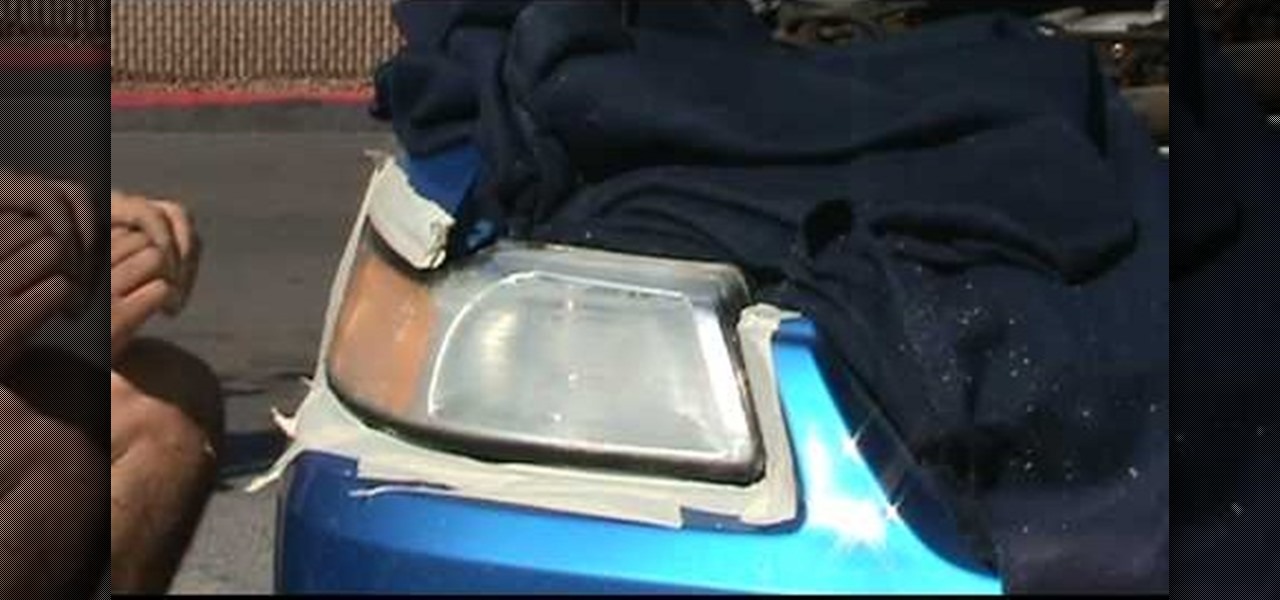
In order to clean and restore your headlights, you will need the following materials: razor blades, tape, liquid rubbing compound, and a power polisher.
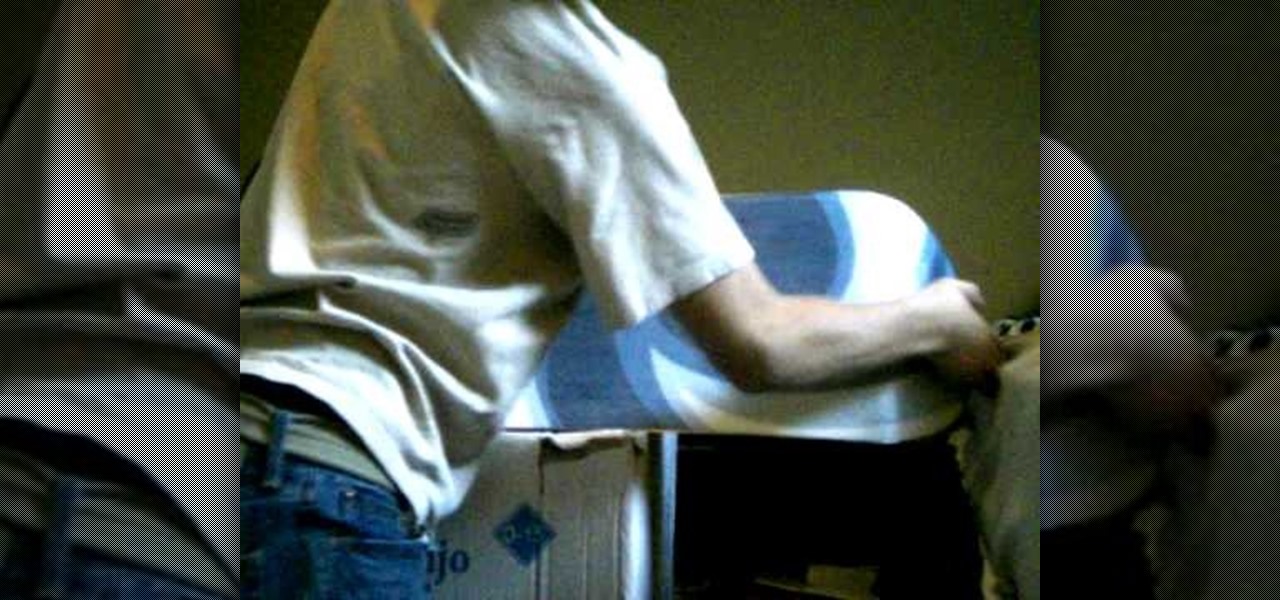
This particular video demonstrates a method to wax your snowboard. This method of waxing the snowboard does not involve use of iron. It is done using a large piece of wax and a piece of cork. Firstly we need to rub the piece of wax over the surface of the snowboard. Hard rub is required and one ball jay is the most efficient. After rubbing for some time we need to polish the waxed using a large round piece of cork. After polishing for some time you will discover a shiny looking snowboard read...

The video is a straight forward Photoshop tutorial on how to create a Christmas ornament. The video shows you how to do this with very simple shapes, gradients, and a few layers. All you have to do is keep up the simple instructions. The finished product is very pleasing to the eye, a glossy, shiny, Christmas ornament. The video also provides a link to an external website where the Photoshop project files can be downloaded for reference and are easily customized.
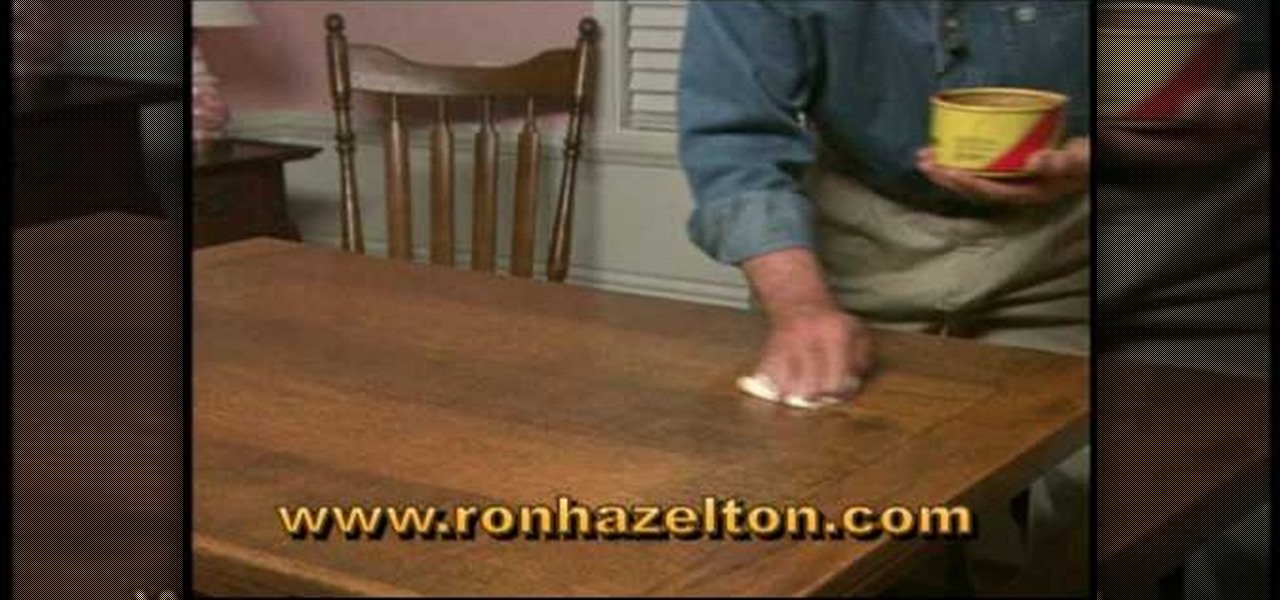
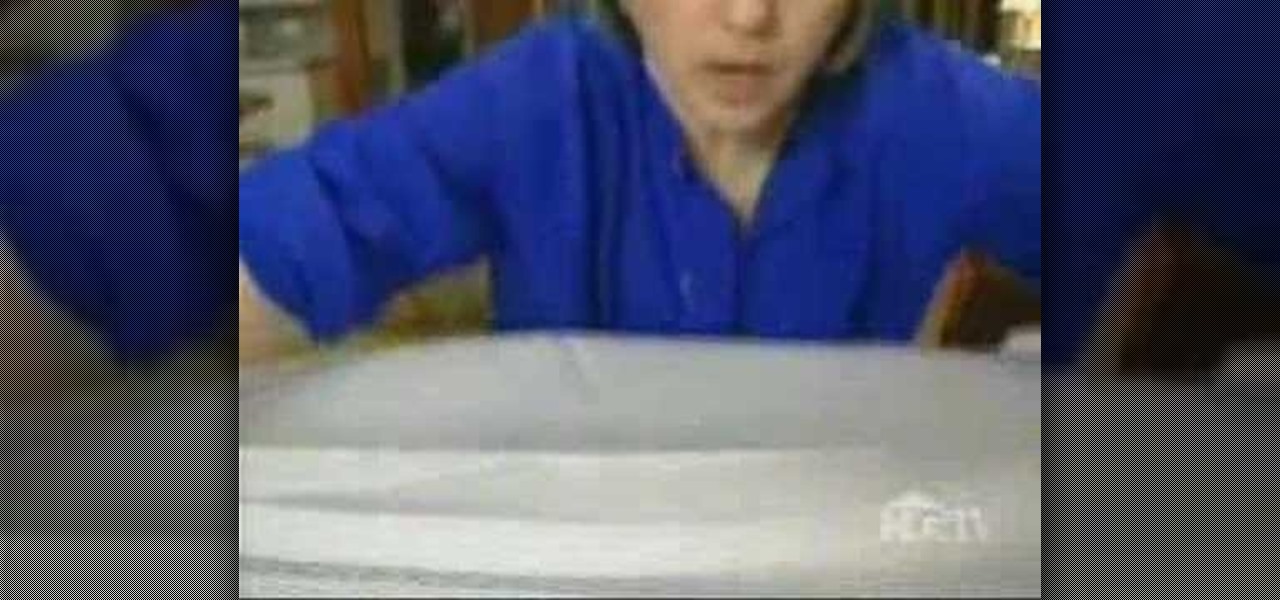
Not sure how to safely clean your wood table without ruining it? In this video tutorial, learn how to properly wipe off your table and how to protect it with a sealant called, Pastewax. This substance dries and does not attract dust making your table look shiny & new, like a piece out of a museum!
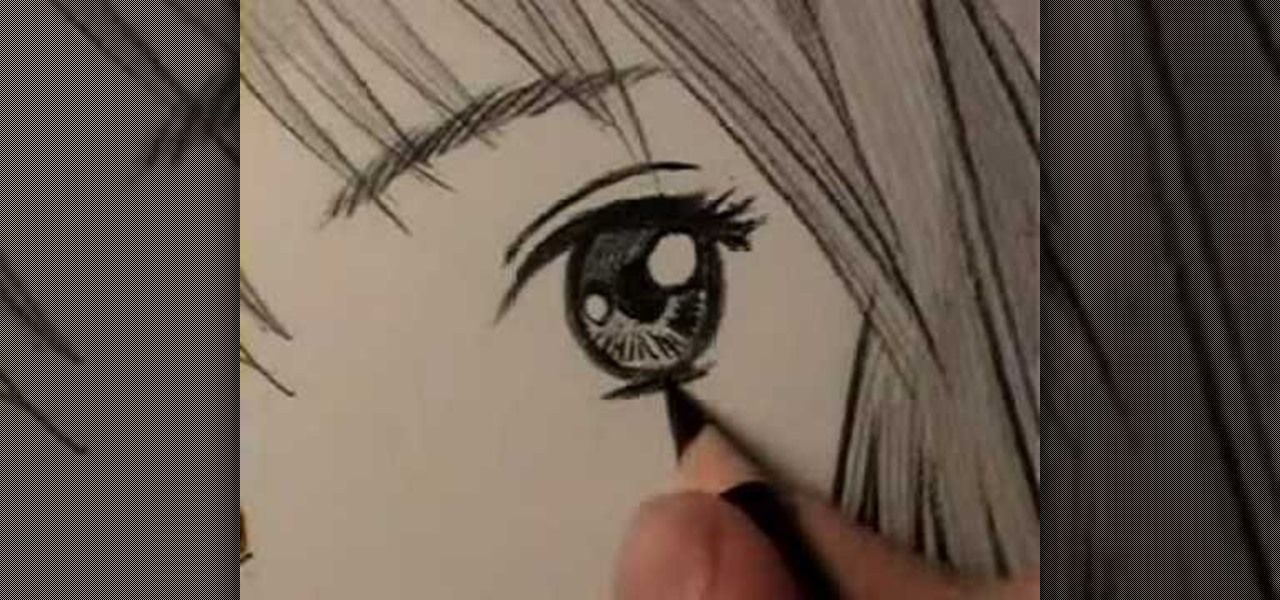
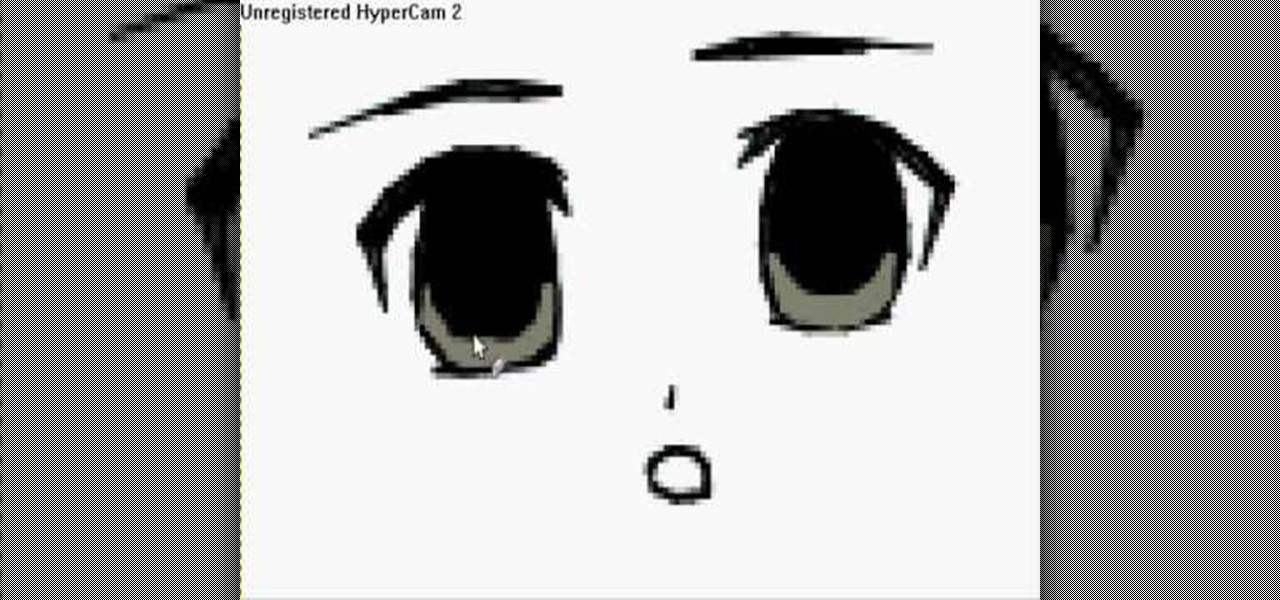
The eyes of characters in Japanese manga tend to have a very distinctive look. They are large, childlike and shiny, with lots of little reflections. If you draw them right, they can look beautiful. But if you get them wrong, they'll just look bizarre. In this video, "Miki Falls" manga creator Mark Crilley shows how to draw manga eyes, line by line.
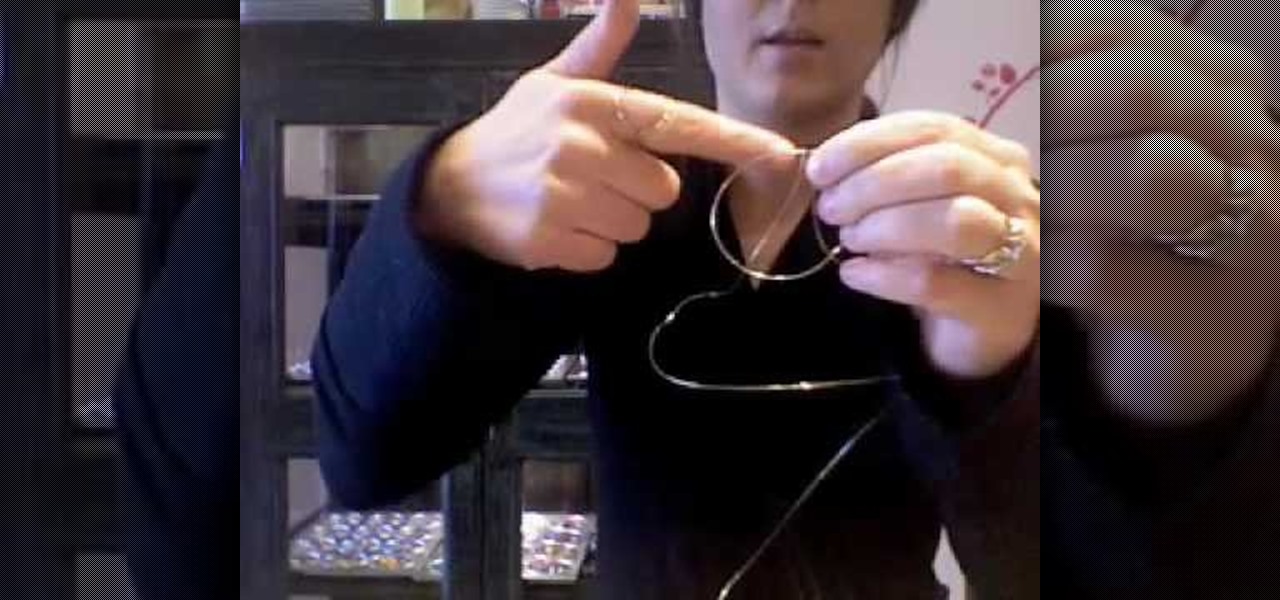
Save the trees! Have a few extra wire hangers hanging around? Make your own retro Christmas tree for your next holiday season out of old hangers, wiring, and shiny tinsel. With help from ThreadBanger's Decor It Yourself, your new Christmas tree will be done in no time, standing tall and eco-proud!
Ring Lights can create a specific lighting that brings out warmer hues from your actors/models, as well as giving you a cool effect for the eyes. If you're not looking to spend a fortune on buying an already made one, you can make one with items from around the house on the cheap, if you have to buy everything you need, you're looking to spend around $100 which is much cheaper than buying one brand new! Check out this video for a full tutorial on how to build your very own Ring Light!
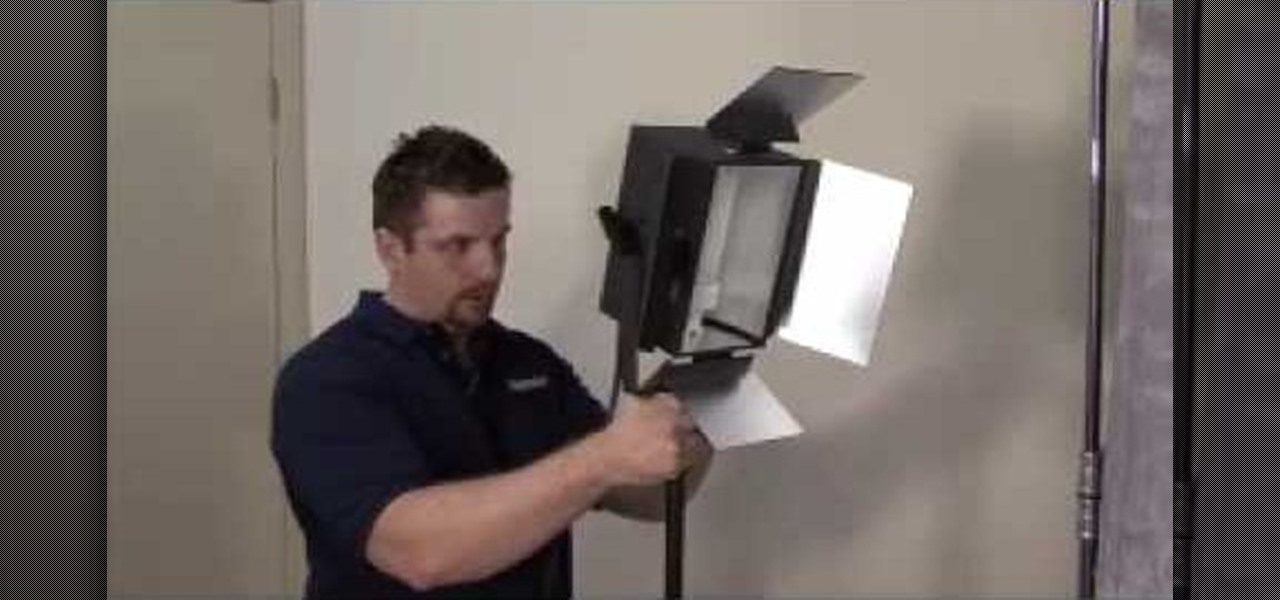
Three point lighting can be used to achieve professional studio results. For this, you will need: a key light, a fill light, and a backlight.
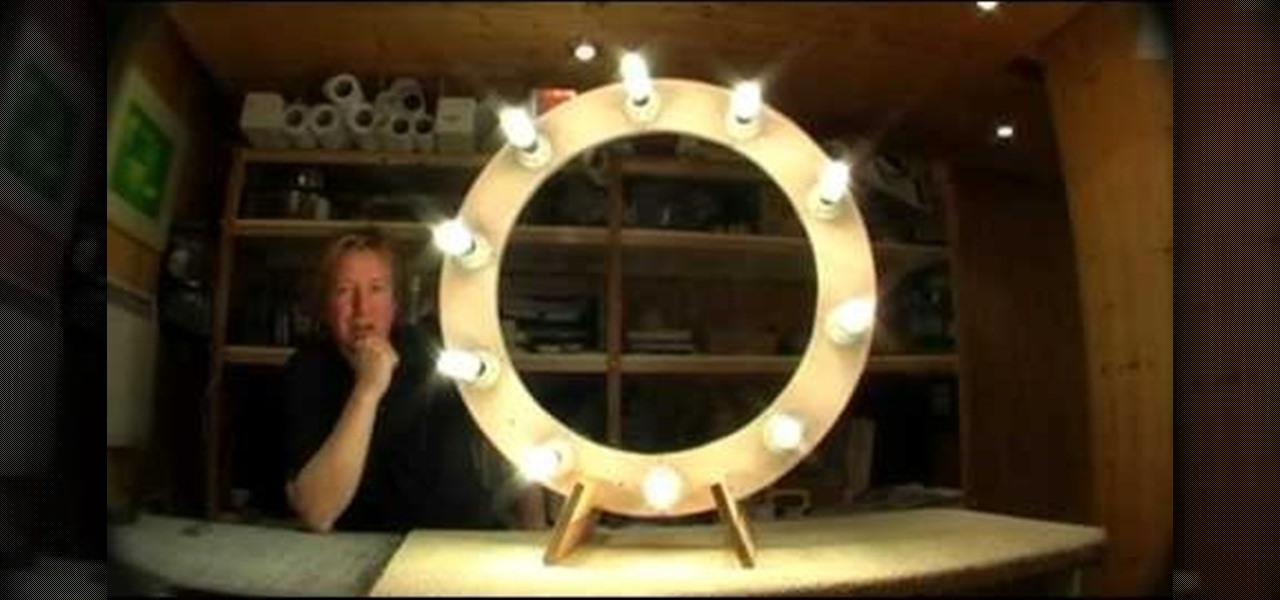
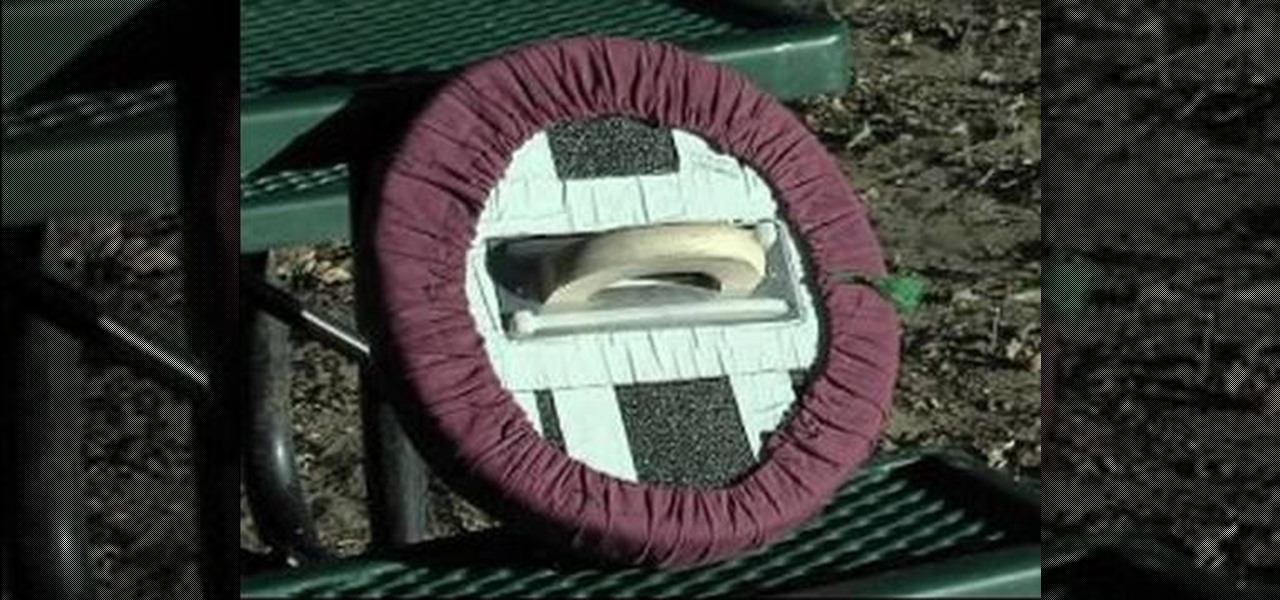
Lighting is everything when it comes to creating a good solid video/film. You will see a great example of a ringlight made of 12 lightbulbs arranged in a perfect circle with a cut-out to allow your camera to be in the middle to capture the best light. You will get an idea of just what materials you will need to create your own ring light.
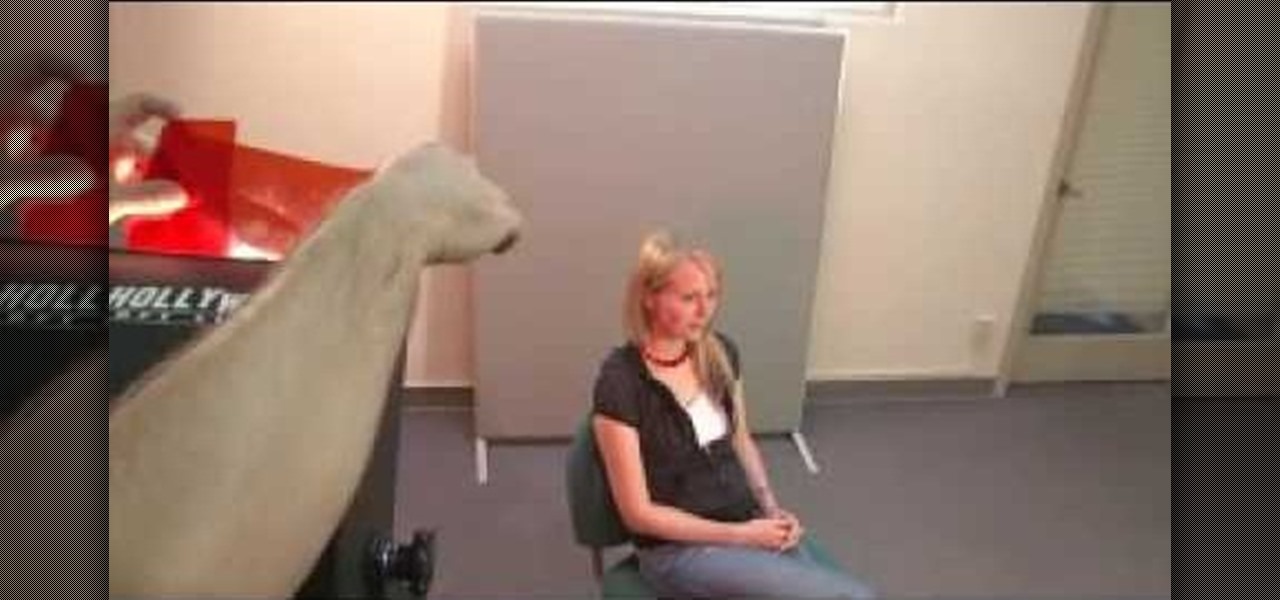
Interviewing lighting basic training tutorial provides easy to follow instruction in this step by step video. Set up the interview area to allow the best camera angles. Place your lights in key, fill, and backlight positions. Use back lighting spillover to fill subject area without camera spillover. Check your setup with the subjects and make any necessary adjustments to your camera or lighting angles. Place your crew and your ready for your interview. This scenario using key, fill, and back-...
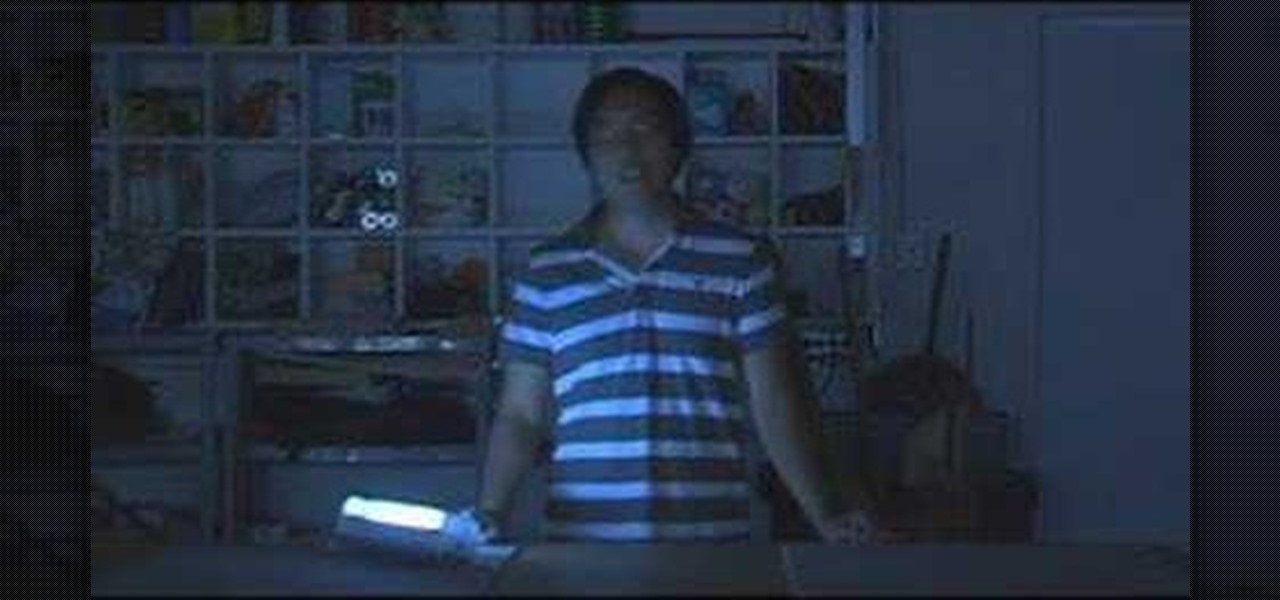
Take Zer0 covers the topic of lighting, again, because lighting is and always will be an expansive area. We begin by describing the reasons why proper lighting will help to accentuate a scene. And lastly is a visual demonstration of how one common lighting technique can be applied.
Why role play online with an avatar when you can live out your princess-rescuing and spellcasting fantasies in real life? Amtgard is a real life, live action RPG in which people roleplay in set up situations.
In this video, we learn how to make a prop Michael Myers knife. You will need: six pins, a pen, a sharp knife, black paint, hot glue gun, cardboard, thin cardboard, and medium foil. First, print out a picture of the knife that's given in the video. After this, cut out the pieces and tape them together so it looks like a real knife. Then, cut off the points from the pins and draw the handle of the knife out on the regular cardboard, making two layers. Then, cut out the large part of the knife ...
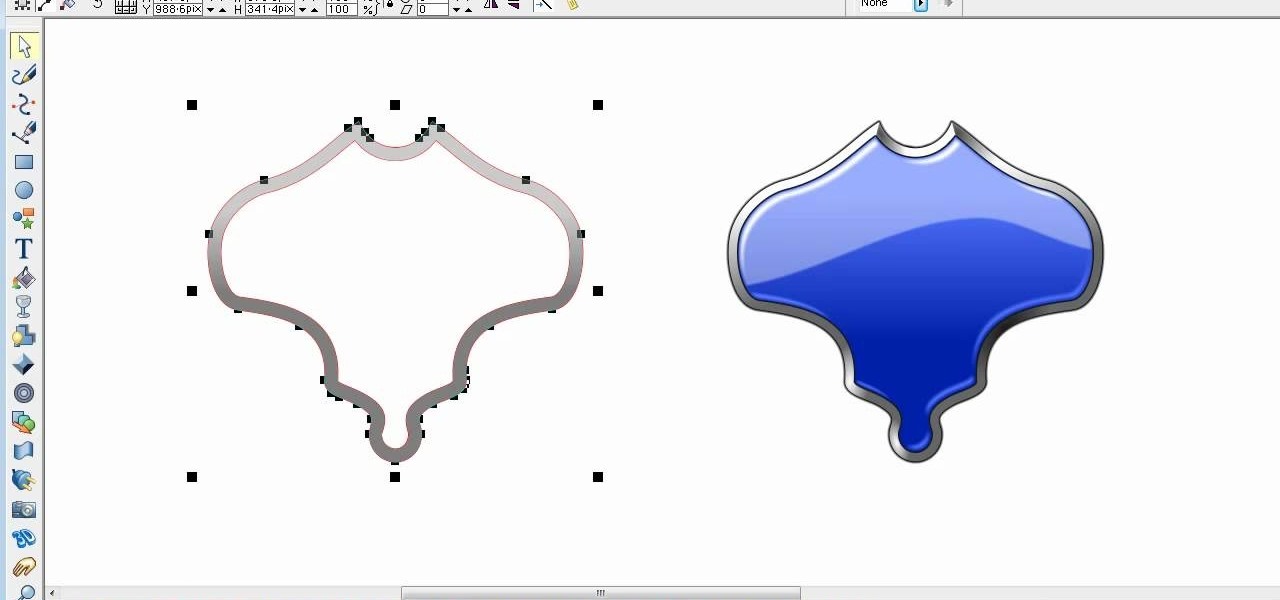
In this video, we learn how to create a glossy shield in Xara Xtreme. First, open up the program and then create the shield outline. After this, create another outline inside of it. Arrange these and then combine them together, adding in silver in between them. After this, you will add a light blue color to the top and then separate this with a dark blue color at the bottom. To make this appear shiny like a shield, you will add in white around the outline of the inner shape. Once finished, sa...
In this video, we learn how to draw 10 different types of anime eyes in GIMP. For the girls eye, draw the outlining of the eyes and then the eyebrows. Then, color the whole eye black and give it color. Then, burn the shadows and add in white to the top. Color the face around it and then add in the facial features. For the guys eyes, give them the color in the eyes first and then add the lighter color and the white to make it shiny. If you are going for a mean look, darken the eyes and make th...
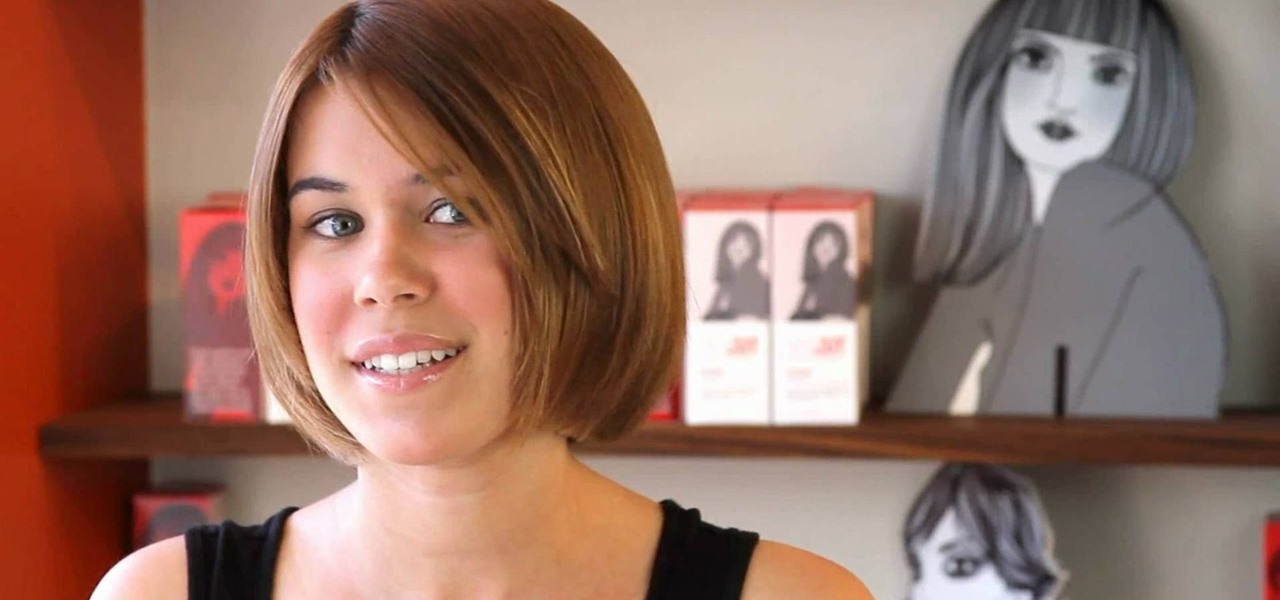
Bobs, both long (affectionately termed blobs) and short, are the hottest hair trend in Hollywood right now. A-listers like Eva Longoria and Victoria Beckham, who love the liberated, "modern girl" effect a bob tends to give off, have made the haircut high in demand at major salons.
In this video, we learn how to draw a BMW car. Start off by drawing the outline of the car. After this, start to shade the drawing and add in the details of the car. Draw in the windshield, headlights, grill, license plate, and all the other small details. Make sure to use shading underneath the car to make it look more realistic. Also do shading inside the driver's seat to make it look like someone is inside of the car driving. Erase lines where you don't need them to make the car look more ...
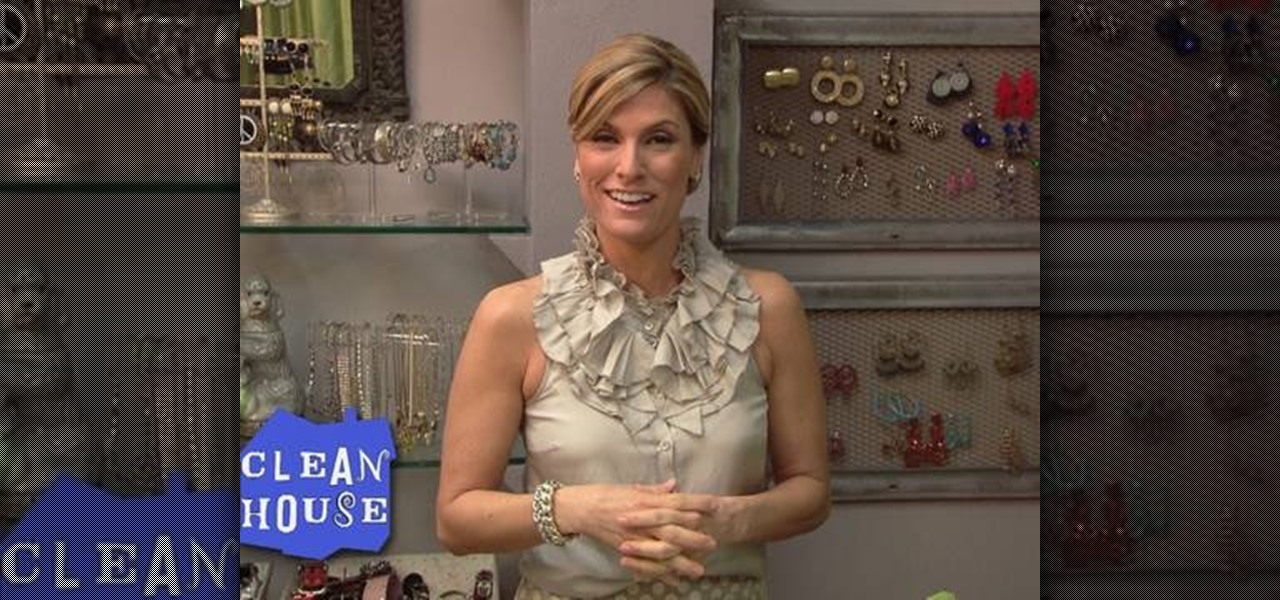
We love shiny things. Pretty baubles, Swavarski crystals, long link chains holding art deco pendants. And that's why we also have an extremely messy jewelry storage system. Basicall this is how it goes: we buy a necklace, wear it once or twice, and then toss it into a sort of bin type thingy.
In this tutorial, we learn how to get wavy hair in less than five minutes. First, apply silk hair serum to your entire hair, avoiding the roots. Next, take a curling iron and curl your hair from the bottom up. Only curl around 1 inch curls, or smaller if you want tight curls. If you want your hair to be shiny, flatten it with a straightening iron before you do this. Curl your entire head of hair, sectioning off sides as you go. When you are finished, your hair will be curly and sexy! Use flex...
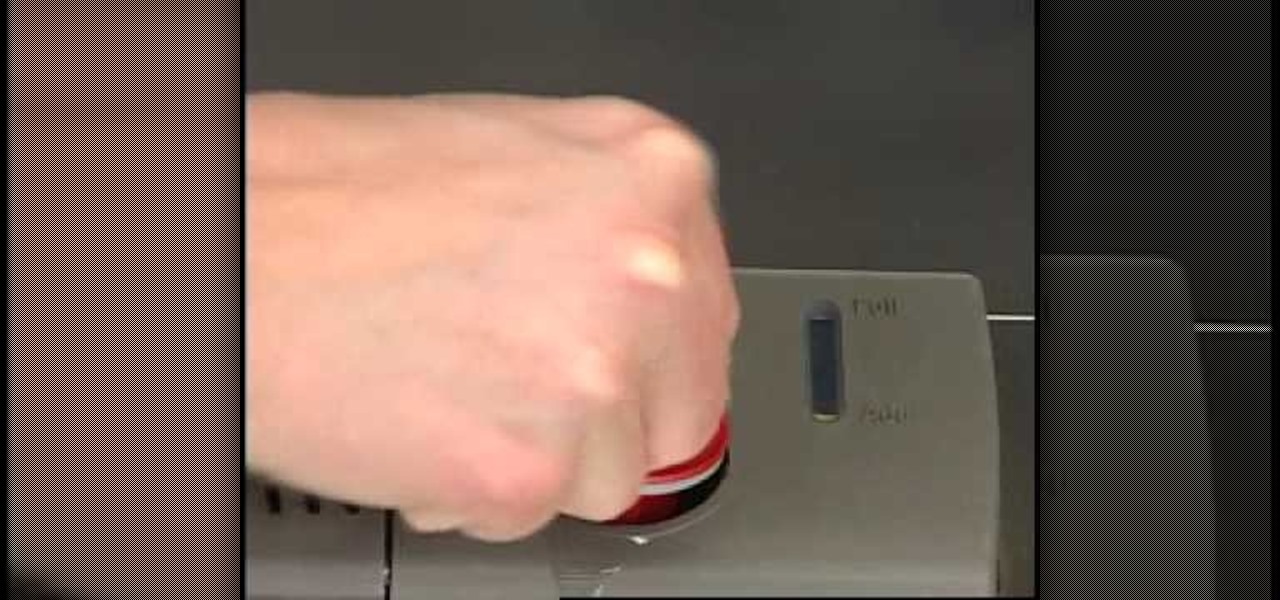
If you've never used a dishwasher before, you're about to fall in love with a machine that makes washing dishes easy. One of the main features of owning a dishwasher is it's ability to rinse the dishes to make them nice, shiny, and clean. A rinse aid dispenser is used to store a cleaning product that can prevent streaks or marks from appearing on your dishware.
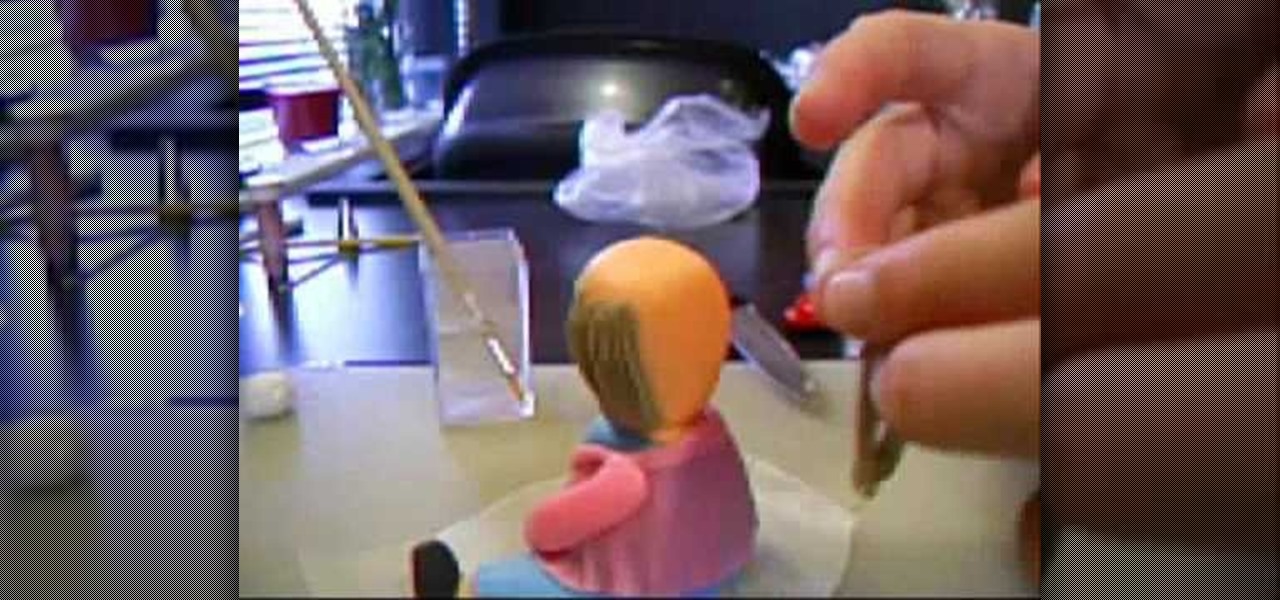
It's a little known fact that fondant men too face male pattern baldness. Luckily, bakers aware of this sad issue have created fondant toupes to solve this ever-growing (or un-growing) problem.
Whether you are moving or just cleaning up your home, consider polishing your brass hardware. Just by giving a quick polish to things like doorknobs and window frames, you can improve the look of your home. If the little things are shiny, they are what everyone will notice, giving your home an especially clean look down to the tiniest detail. So, before you sell your home or invite company to stay, check out this tutorial and learn some polishing secrets from successful real estate profession...
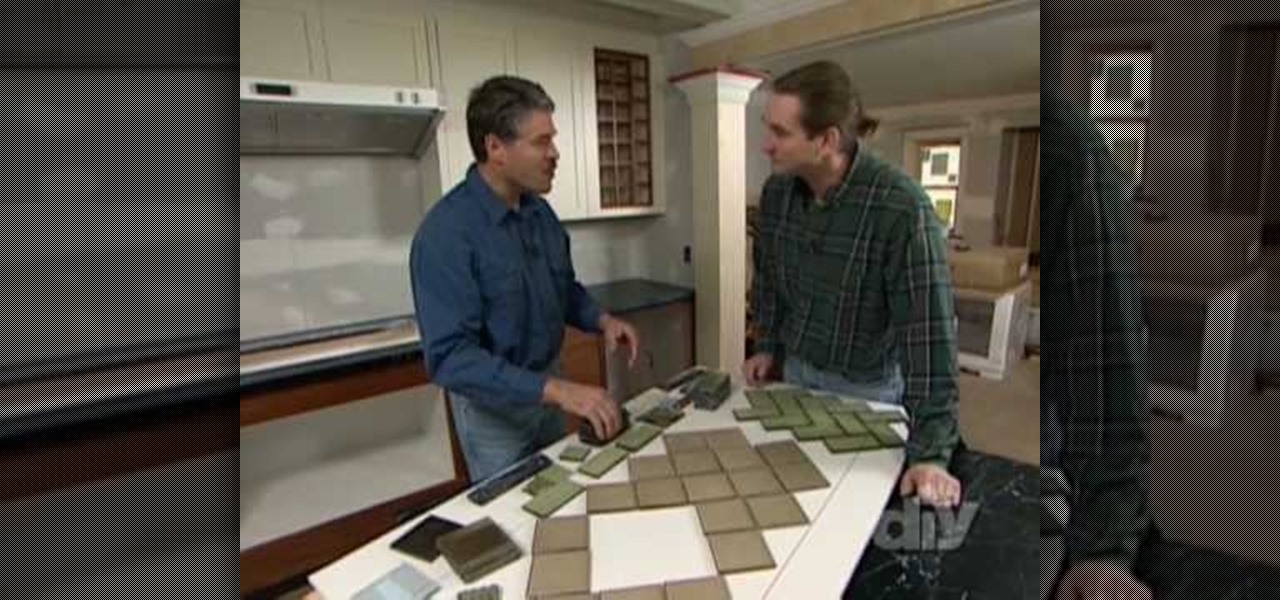
In today's edition of the DIY Network, you will learn how to create an elegant backsplash for your kitchen. This backsplash looks lovely and is made from recycled glass tile - so it's eco-friendly! In this renovation tutorial, hosted by Fuad Reveiz and Paul Ryan, you will learn how to fix up that old kitchen and make it shiny and new!
In this Arts & Crafts video tutorial you will learn how to create a box to hold a mini album or small cards. Take a shiny card stock 10.5 x 6 inches. On the 6" side, score at .5" and 1" on both sides. On the longer side, score at 3, 3.5, 7.5 and 8 inches. Cut out the corners on the flap side of the card as shown in the video. Do a step cut on the other side of the card as in the video. Round the four corners with a corner rounder. You can do some stamping now if you want or you can also glue ...
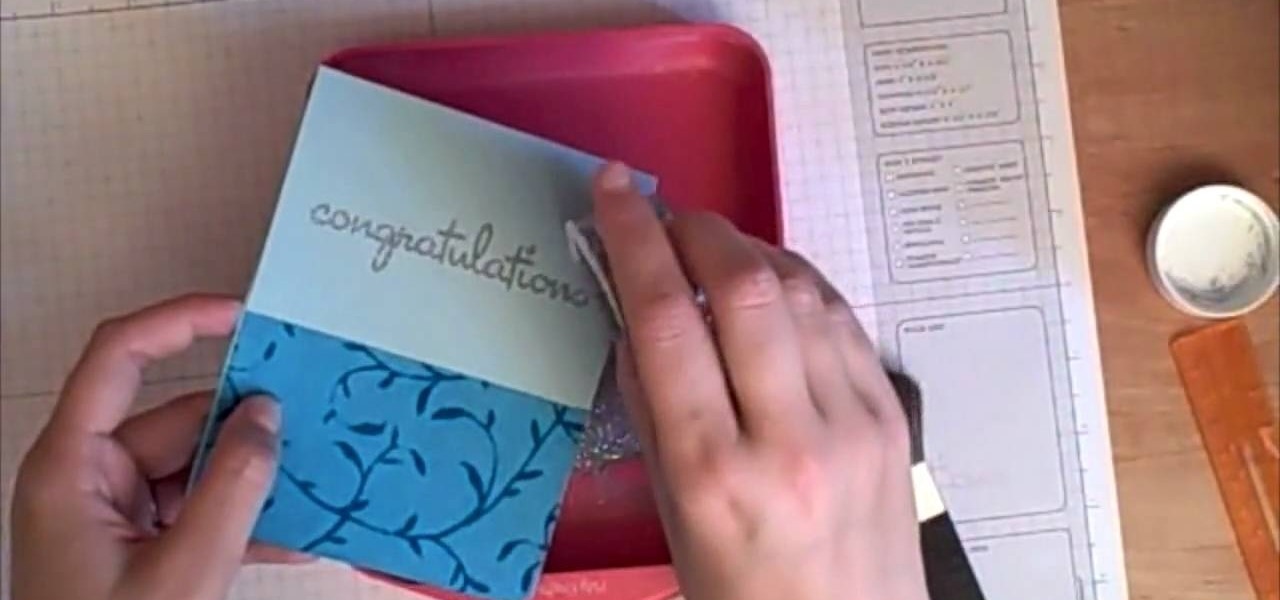
In this Arts & Crafts video tutorial you will learn how to stamp & heat emboss on a card. First you rub in a powder on the paper on which you are going to emboss, because embossing powder is really sticky. Then you select the stamp that you want to emboss and apply sticky transparent ink on the stamp. Make sure you do a through job of this. This will make the embossing powder stick to it. Now stamp the card and press it evenly to ensure that the impression is complete. Then pour embossing pow...
Jewelry is one of those major accessories that can help make or break an outfit. From rings to bracelets, jewelry can help describe so much about an individual and what their sense of style can be described as. Sometimes the jewelry can be fun and playful that it doesn't matter how shiny it must be. This tutorial shows you how to make one of those fun and playful pieces of jewelry: beaded hoop earrings. Their nice, fun to look at, and can be fun to make. Enjoy!
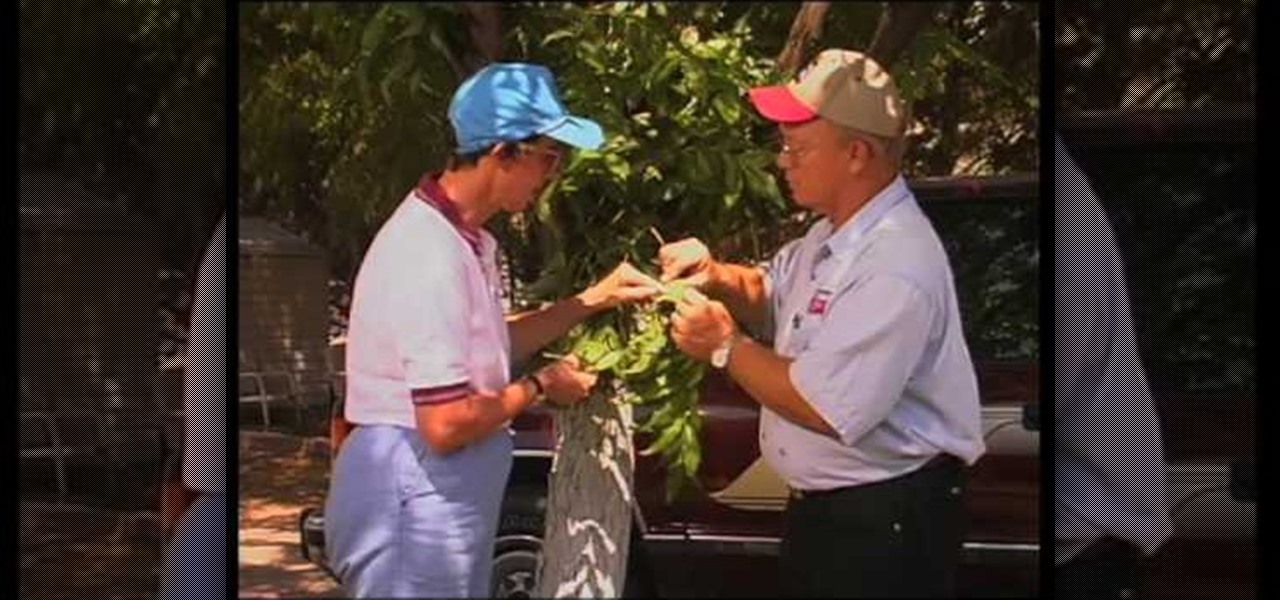
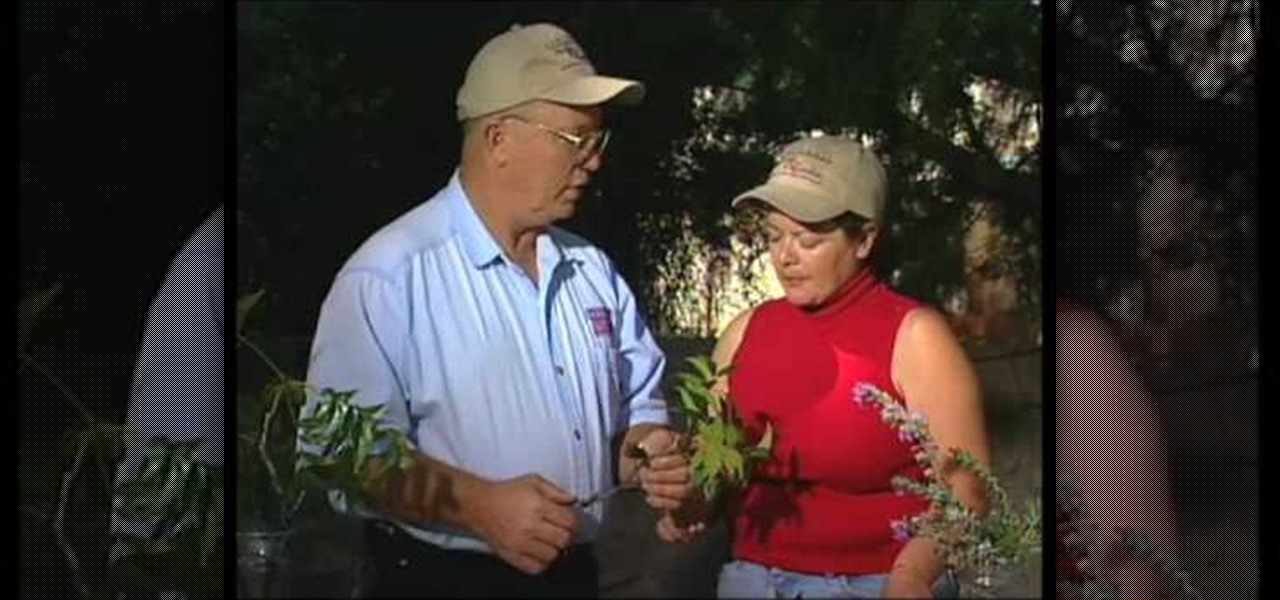
We learn how to identify a pecan aphid. There a few different types, some more harmful than others. Looking at the leaves closely we see shiny sticky spots on the leaves. This is called honeydew' which is actually the aphids waste. It is not harmful to the tree. The Black pecan aphids however cause brown discolorations on the leaves. They are necessary to control although mother nature offers a way since there are certain insects who actually eat their eggs. It is wise to first consider this ...
In this video it is demonstrated that how to Paint nails with a gold glitter flower design. First of all apply red glitter French tip manicure on your nails, now reapply red glitter nail polish on it so that tips get darker. Now take a golden polish and apply it to half way rest nails with the help of sponge. Now apply big and small glitter to your nails to become more shiny. Now to make flowers on your nails, take white nail polish, gallop paper and start making dots such a way that it looks...
Master Gardener Valois Pearce advises how to identify problems with pecans. 1. Look for webworms. One control is to cut the branch off if you can. You can break the web with a strong blast of water. 2. Shiny leaves indicate there may be a problem with Aphids. 3. Check for Pecan-nut Casebearer. Should you decide to use insecticide for any of these problems, please check with your local county extension office to confirm spray dates. Even with these precautions trees normally do not give a hund...
In this video, Josh shows us how to clean dirty pennies with ketchup. You will need, a timer, ketchup, a dirty penny and a penny. First, pour ketchup into your cup or dish. You don't need a lot of ketchup into the cup, just enough to cover the pennies. Next, push the penny into the ketchup so it's fully covered. Now, set your timer for 2 full minutes. When the timer goes off, take your penny out of the ketchup. Place the penny onto a paper towel and wipe it off until all the ketchup is gone. ...
This video illustrates the method to Make a nuno felt purse. You need colored paper, a piece of cloth and a pair of scissors to make it. This process is comprised of the following steps -Step 1Cut a oval shaped figure from the sheet of colored paper. Make a crease in the middle and fold the paper.Step 2Cover the paper with the cloth piece. Stitch the end of the piece of cloth and cut the cloth in a proper manner.Step 3Make the oval shaped figure into a rectangular figure. Add some nuno paste ...
IShowU and Shiny White Box demonstrate how to create still image effects in Final Cut Express. First, place your scroll bar in the front of the timeline and click on the clip so that it is selected. Then, click on the motion tab in the preview window. Hit the keyframe button in the scale option. Create a keyframe also where you'd like the effect to stop on the clip. Adjust the line. When you now play the clip, the image's size will be adjusted as you have designated. You can use the same tech...
How to remove acrylic nails with a soak
This video shows how to use a wire wheel brush on an angle grinder to remove rust or old paint from metal so that it looks practically brand new. The brush is easy to find at any hardware store and costs $15-$20. He shows how to attach the brush to an angle grinder. He then demonstrates how to use it with a rusty metal finial which has been clamped down to his work bench. The brush works very quickly to remove all the rust from the finial, revealing the shiny metal. Following the instructions...
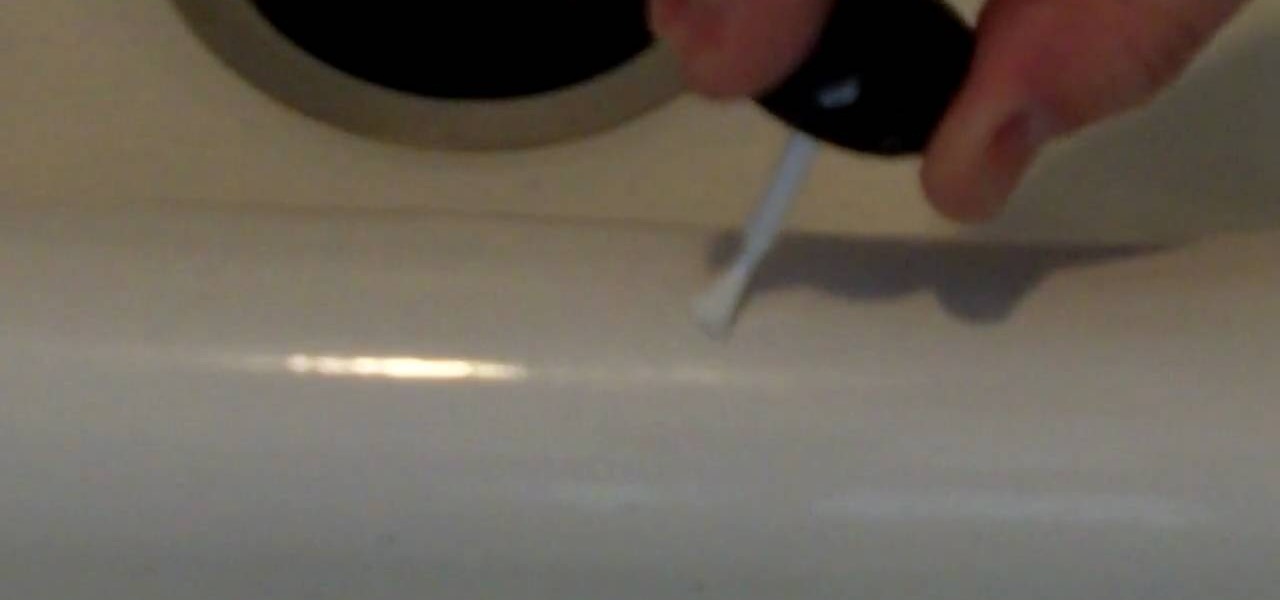
You can buy a porcelain patch kit to fix chips in your porcelain sink. You used to have to take two steps to repair it starting with a filler followed by a glaze to make it shiny. The video teaches how to use patch kits that you paint on like nail polish. To apply the patch you want to put on several thin coats and let each coat dry. When you apply the coats the key is to get the patch level with the rest of the sink. Then you can sand it with 220 grit sandpaper. After you have sanded the are...
You roll out some light brown clay, cut out two small circles and place one in a mini pie plate. The mini pie plate is similar to a plate you would find in a doll house. You take the extra clay and place it in a garlic press, which makes the clay come out in little strings. You take two of the string clay pieces and twist them together, making it look similar to a braid that will go around the pie later on. To make the apples, you take some rolled white clay, and any color chalk you want. You...