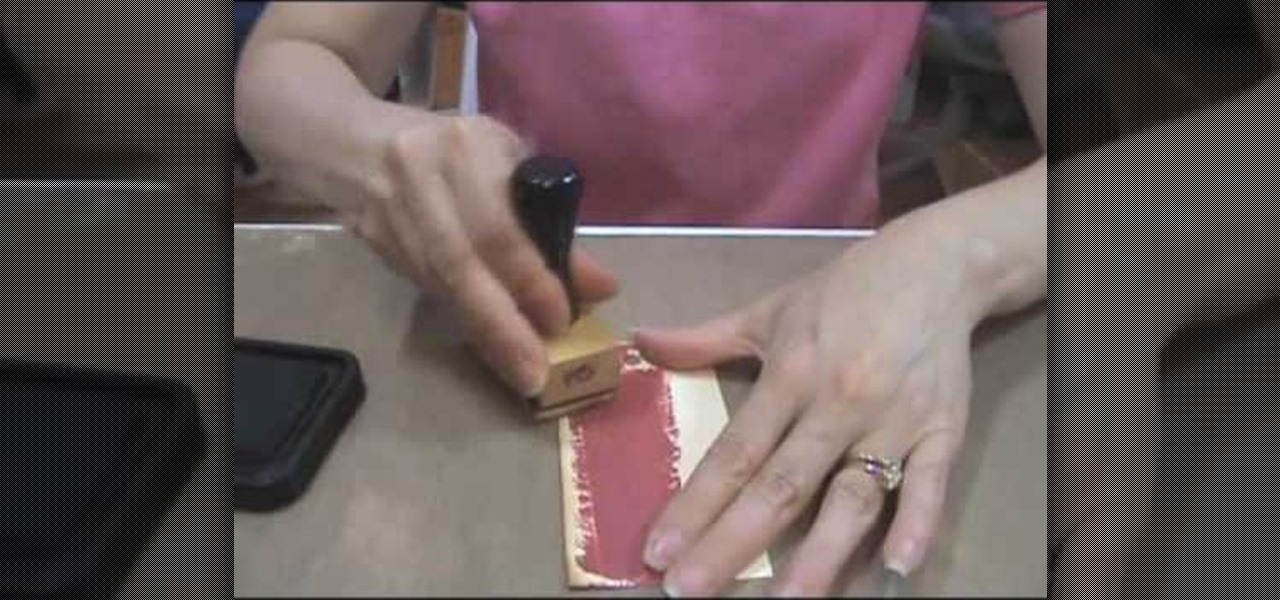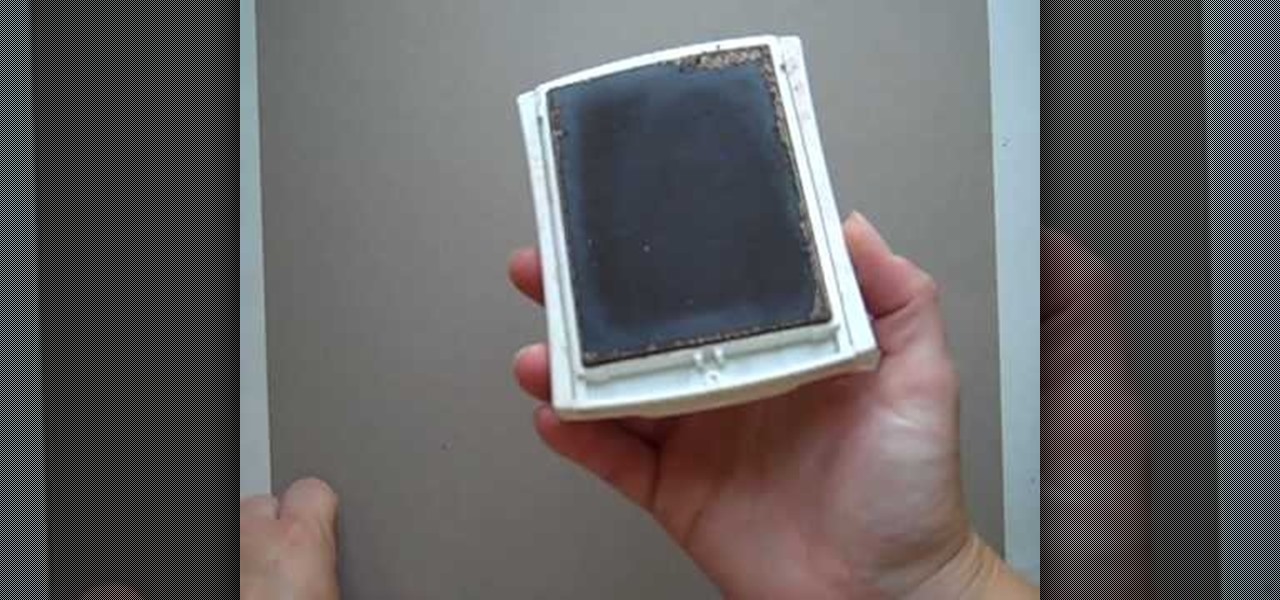
In this video tutorial, viewers learn how to create a faux suede technique on cardstock. Users will need a plastic stamp pad. This stamp pad will be used for rubbing, so it should be an extra or an old stamp pad. Users will need to re-ink the pad once in a while. This will give the cardstock a textured look. It will give an old age, distress look. Simply take the stamp pad and rub it over the cardstock. This will pick up the texture of the cardstock. This video will benefit those viewers who ...
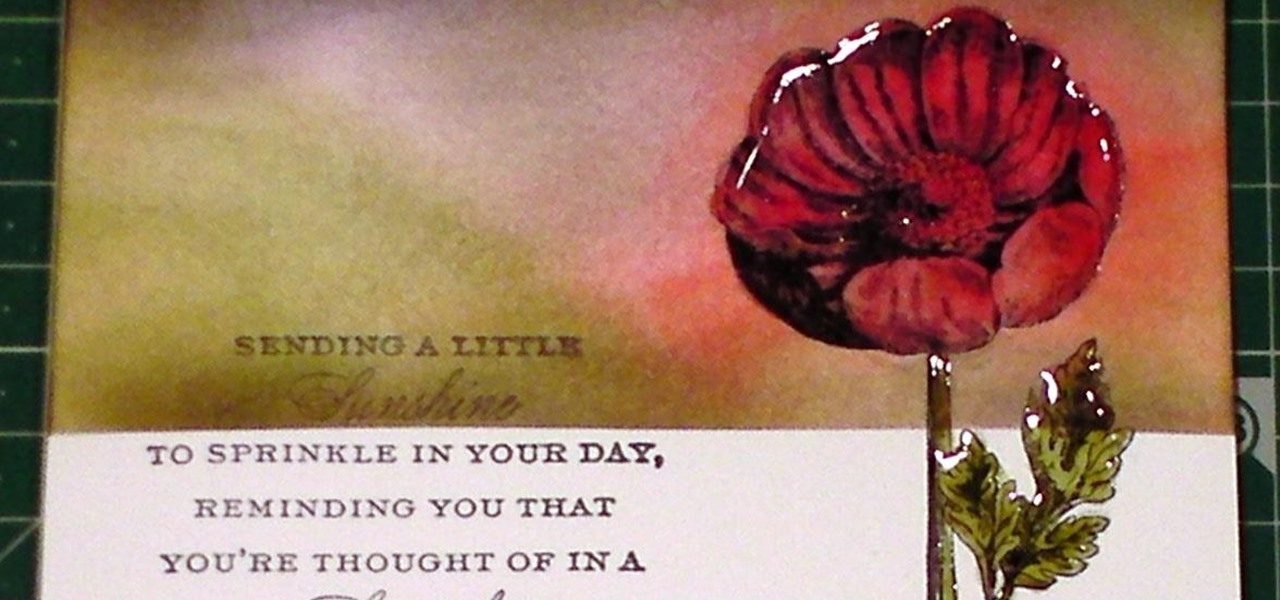
This tutorial is quite an epic, so get a cuppa, kick off your slippers, sit back and relax as we go through a few great inking & blending techniques.
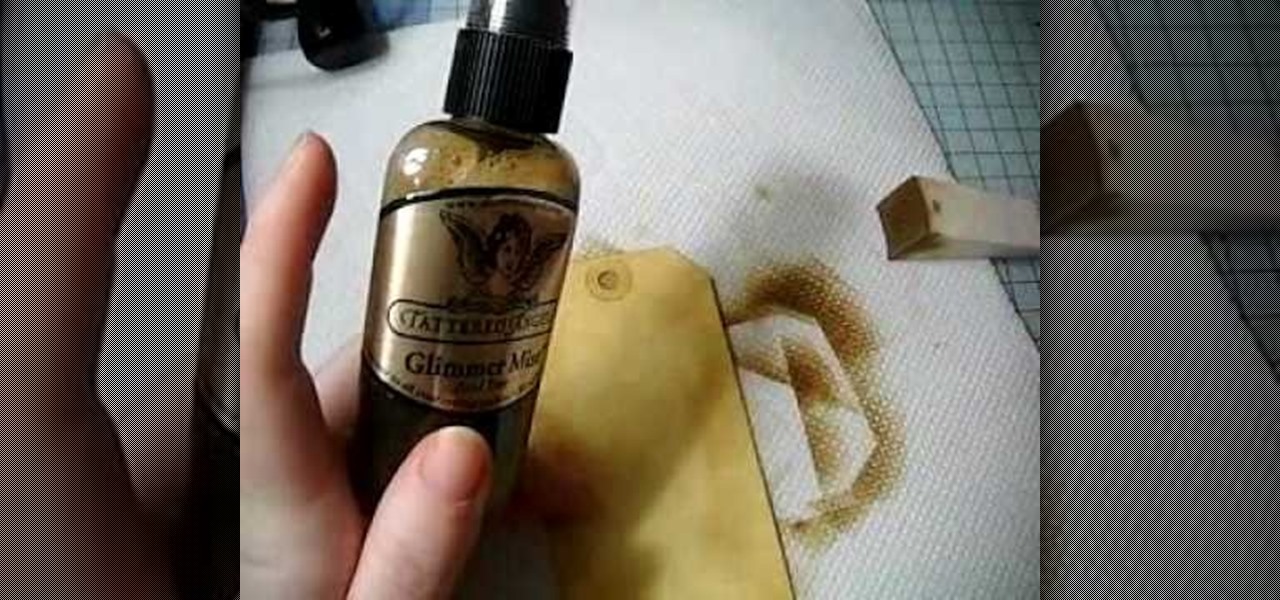
In this Arts & Crafts video tutorial you will learn how to make a distressed scarpbook tag. Take two tags, one red color and one yellow color and strip the threads off. Take a light color ‘Distress’ ink on a sponge and dab one side of the yellow tag with it to give it a light rough look. Now take little darker brown ink on another sponge and dab the edges of the tag with it. Then place the tag in a box and spray Glimmer mist on the tag. Dry the tag with a dryer. Now dab some more brown in...
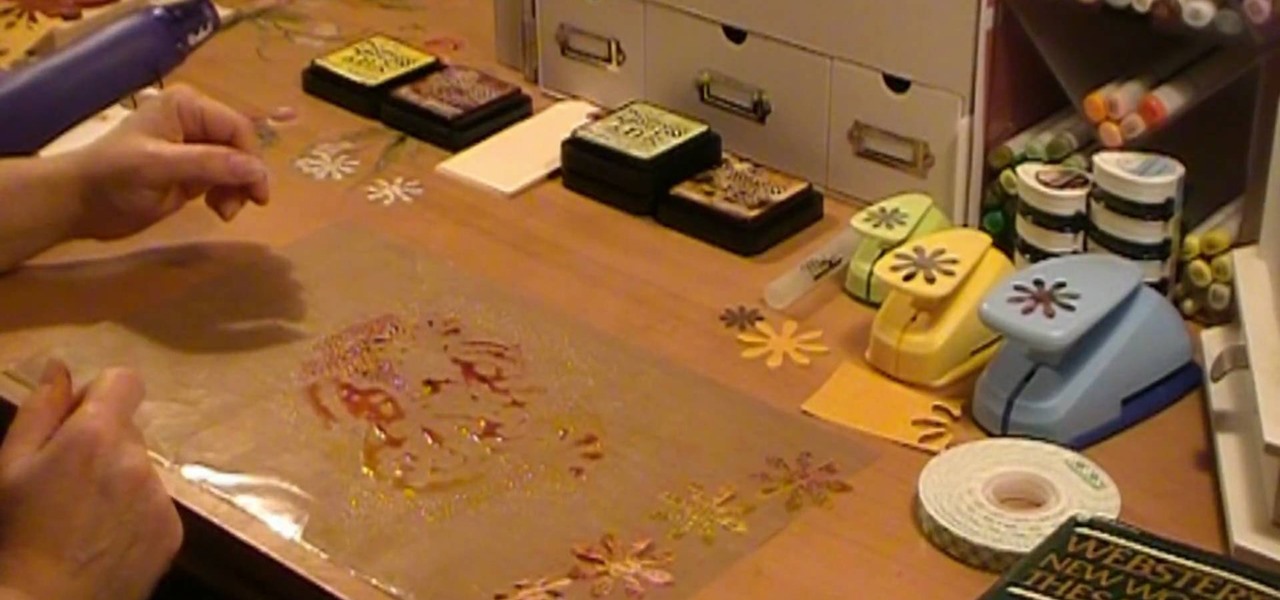
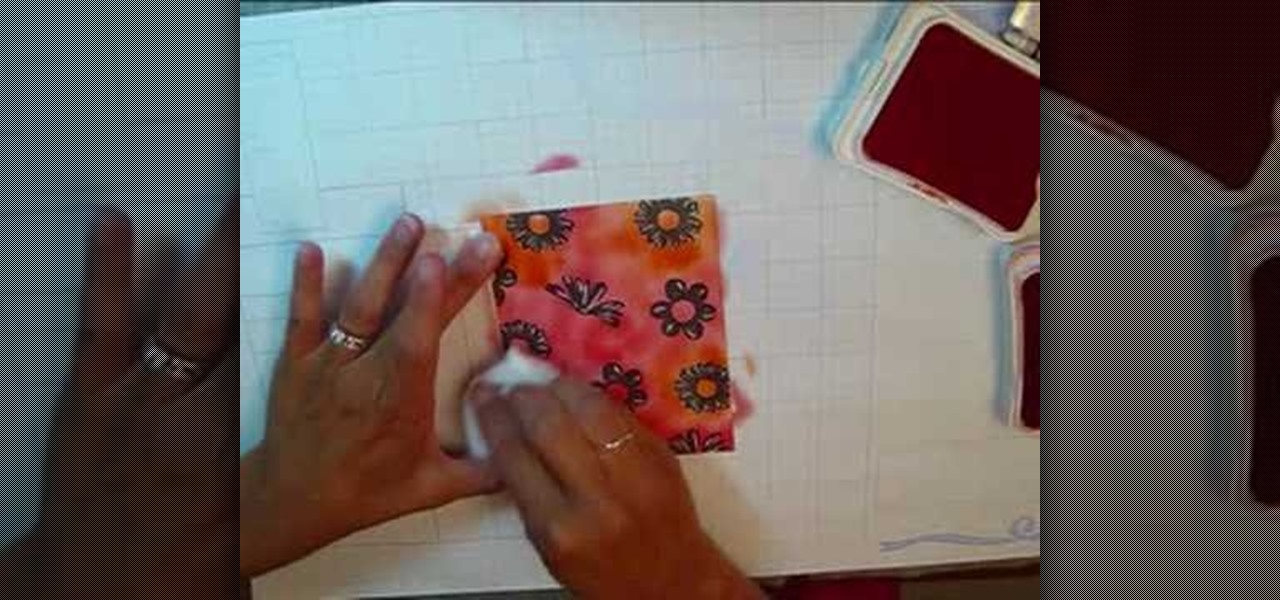
This video demonstrates how to make paper flowers. She lays a silicone mat on the table. She shows how to use distress inks by stamping some red and yellow ink onto the mat, sprays water onto the mat with a mister, and lays punched-out paper flowers into the wet ink. She turns them over and uses a heat gun to dry the ink. After the flowers are dry, she layers them on top of each other, putting a piece of foam tape in between the layers. She shows how she used the layered flowers to decorate a...
In order to make hot cocoa holders with Stampin' Up, you'll need the following: a whisper white Stampin' Up envelope, scissors, a paper cutter, cocoa, a jumbo wheel, ink pad, adhesive, stamps, ribbon, pen, stapler, glitter, and card stock.
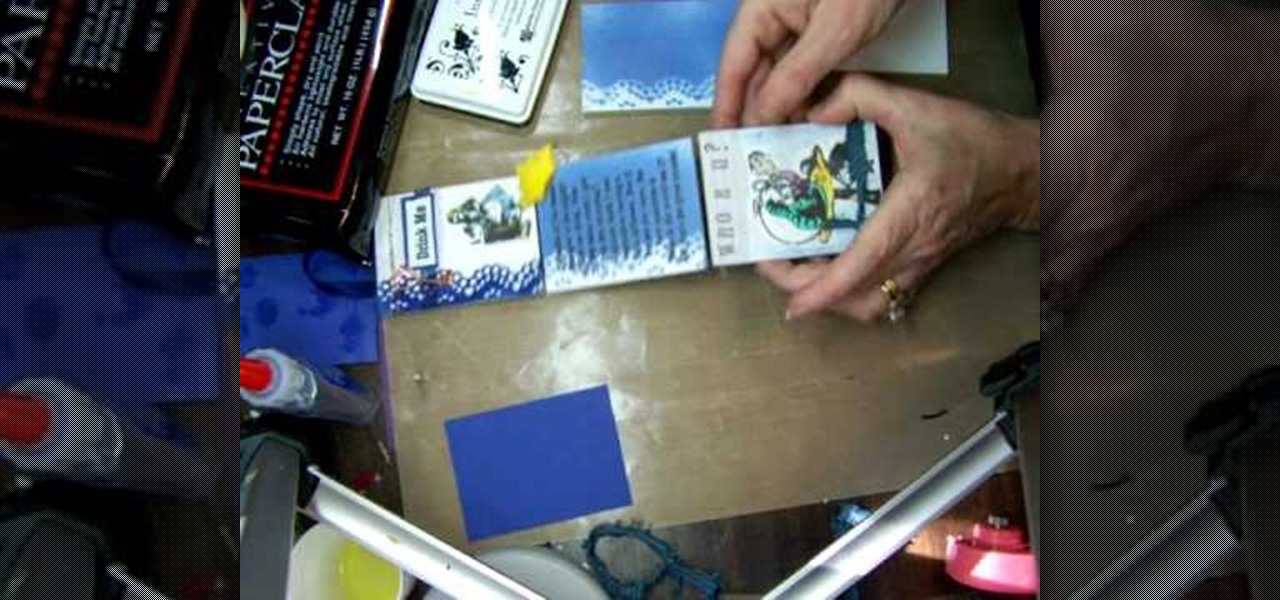
This video is about how to make a story board craft. In this case the story is about Alice in Wonderland. In this case 3 Eco art boards are taken of a suitable size of 2 1/2"X3 1/2" the left edge is decorated with a lace spray painted with Memorie mist spray, the rest of the card is also spray painted. Now from Queen Kat Designs the stampings are selected and stamped on each board as per the story. Whilst stamping Indian stamping ink is used as it does not smudges. For extra decoration paper ...

You will need the following materials: a Green Galore #101768, cut at 4 1/4" by 11' scored at 5 1/2", a piece of Whisper White #100730 cut at 2 1/2" by 1/4", Real Red #102482 cut at 2 3/4" by 1/2", a piece of Whisper White for the door to release the treats from the card, cut at 2" by 2/12", a strip of Real Red cut at 1" by 5 1/2" and a circle of Green Galore with a 1 3/8" circle punch #104401. First use the larger piece of white and the stamp set #120780. Use the clear block #118485 and Gree...
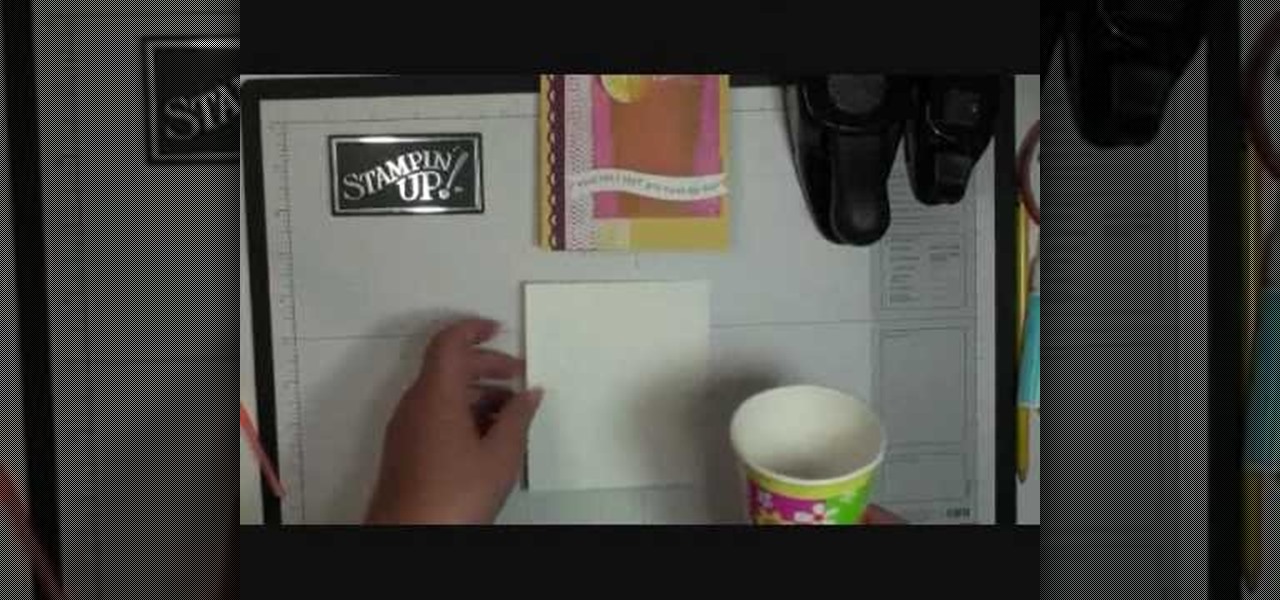
Dawn Griffith creates a cute card with a 3D lemonade glass embellishment from start to finish. Create a template by making a rough sketch of an 8 ounce paper cup onto a piece of white cardstock and cut it out. Take the template and either trace it onto a piece of vellum cardstock and cut it out, or use Dotto adhesive to attach the template directly to the vellum and then cut around the shape. Score each side at about 1/4", fold on the score lines and trim the overlap at the top. Apply sticky ...
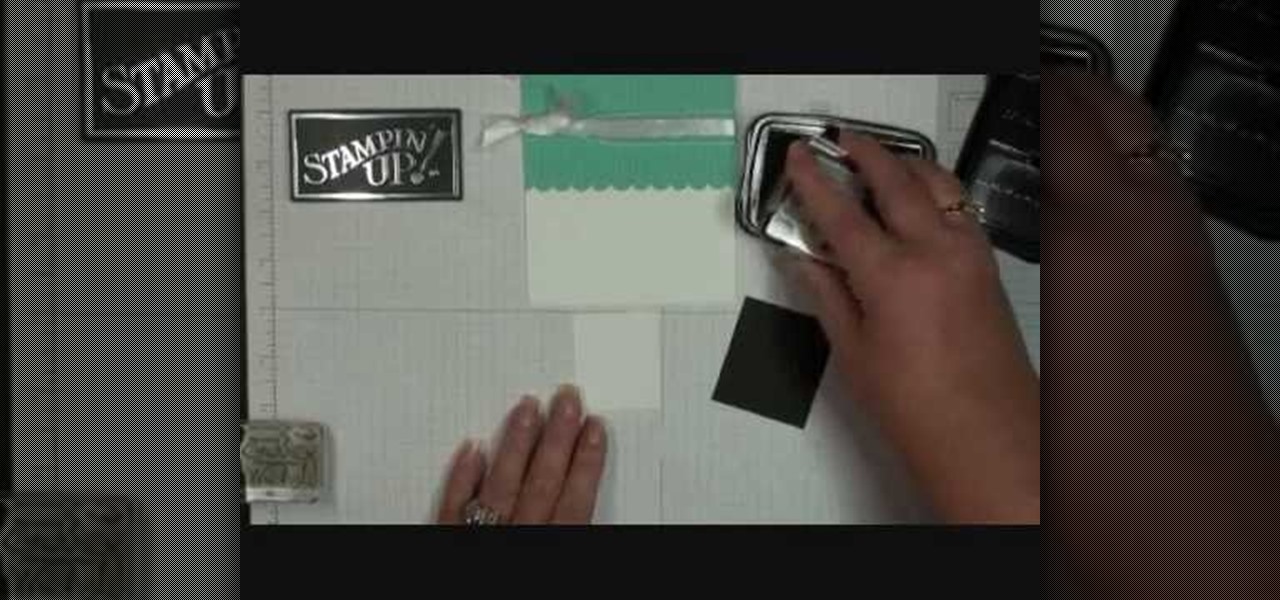
Stampinmama1 shows us how to soften edges of paper with ink sponges. When you sponge, you get a little softer look onto the paper. You're going to want to use a round stamping sponge and you would want to cut it up into six pieces to have more control over them. Rub your sponge directly onto the pad, grind it on pretty hard. Go right along the edge of your paper, ink it up again and keep going. You will get a soft feathery edge instead of a fairly bland edge with no soft look to it.
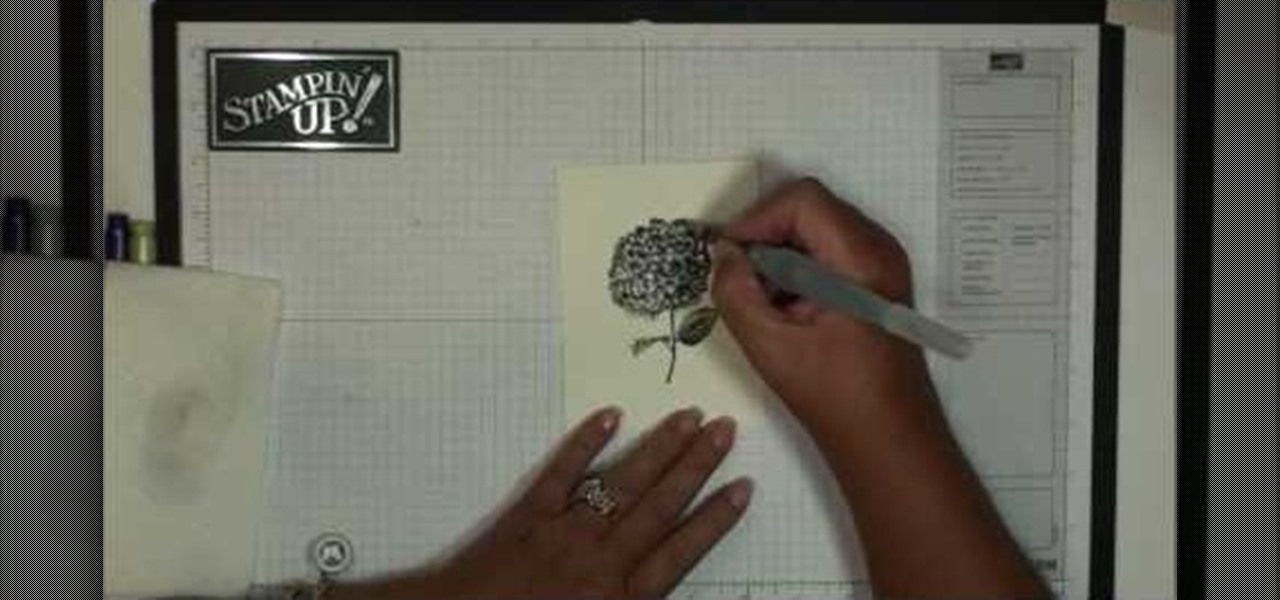
In this video tutorial, viewers learn how to shade and color the background of an image. This video explains all the materials required to shade and color the background of an image. The materials required are: a stamped image, a spoon dauber and an ink pad. Start by inking the sponge dauber and rub the edge of the cardstock. Continue to color the edge. Add more ink if you want the color to be darker. Color the background with the sponge dauber. Add link to the sponge dauber. Dab and rub the ...
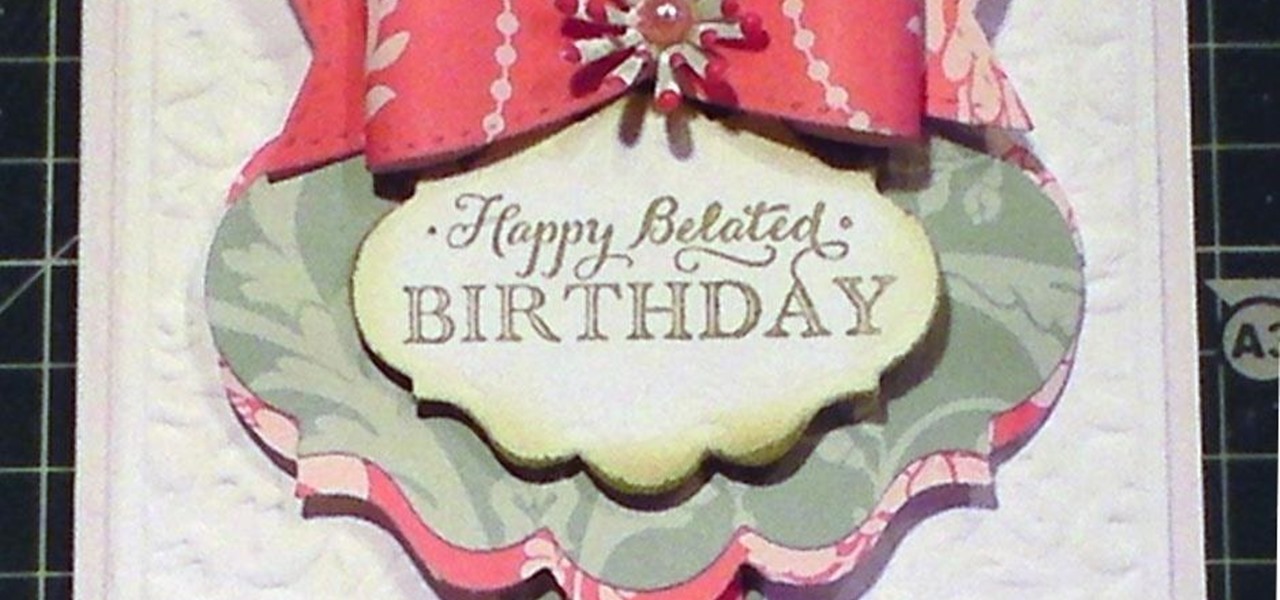
Demonstrator Dawn Griffith offers a short tutorial on how to make a simple and cute birthday card. First you will use white paper to make your base card. Then use a scallop edge punch to scallop some green designer paper, which you will glue to the top of your card. Tie some white ribbon around the top and trim for a clean look. Use a greeting stamp to stamp a message onto the bottom right front of your card. Create a center image by adhering white paper on black card stock, stamp the white p...
Handmade cards with rubber stamps can be made easily with the following instructions. First, fold a sheet of cardstock in half horizontally or vertically, whichever way you prefer to make your card. Then, trim around the edges with scrapbooking scissors to create a design, or leave the edges straight. You can also find rubber stamps with inspirational messages that you can stamp straight onto the cardstock. Now you can decorate the card front with any rubber stamp you like, but stamp it onto ...
This is a great tutorial on making wonderful little artsy butterflies with your own two hands! They're sparkling butterflies, which you make with fantasy film, a butterly image, permanent ink that dries on non-porous surfaces, craft iron, acrylic stamps, and a non-stick craft mat.
Make this card using the crayon resist technique, demonstrated in this video using CTMH products. This technique really helps the colors pop, sealing parts of the paper that you don't want the stamp ink to stick to. Watch this video card-making tutorial and learn how to use the crayon resist technique to make greeting cards.
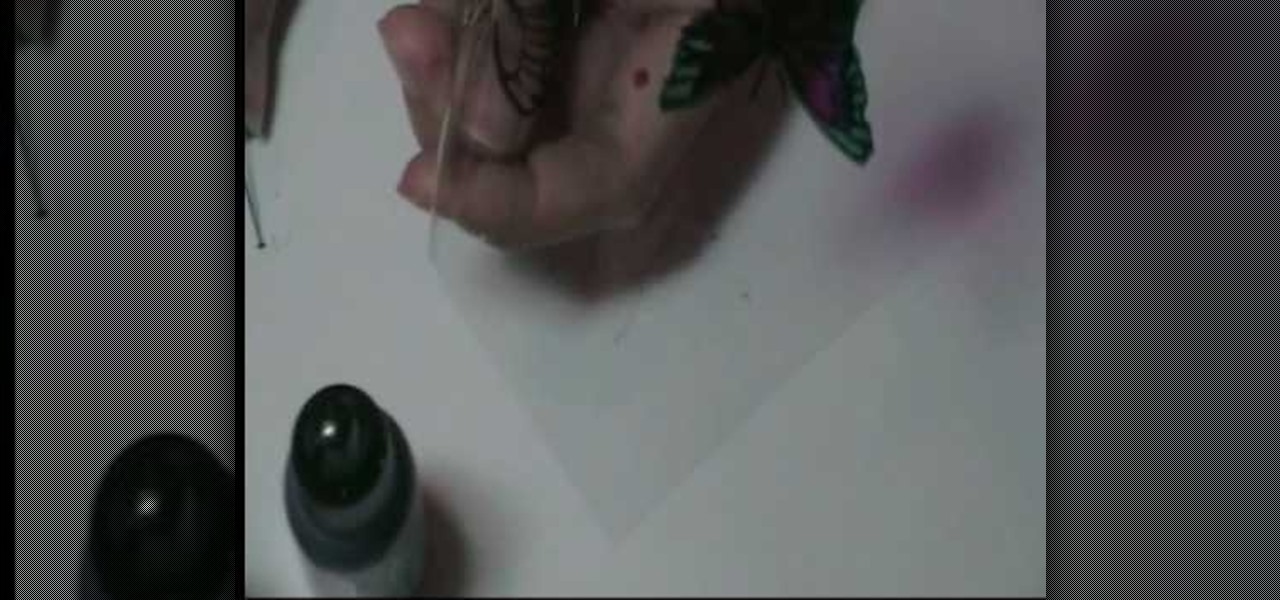
In this video, we learn how to make beautiful acetate butterflies. First you will need to make sure you have alcohol inks on hand for the colors you want to make. To start out, stamp the butterfly with black ink onto a piece of plastic acetate. After you have done this, use different colors to fill in the butterfly how you prefer it to look. After you do this, cut out the butterflies and then you will be able to use them for what kind of craft you want to do. These are cheap and easy to make ...
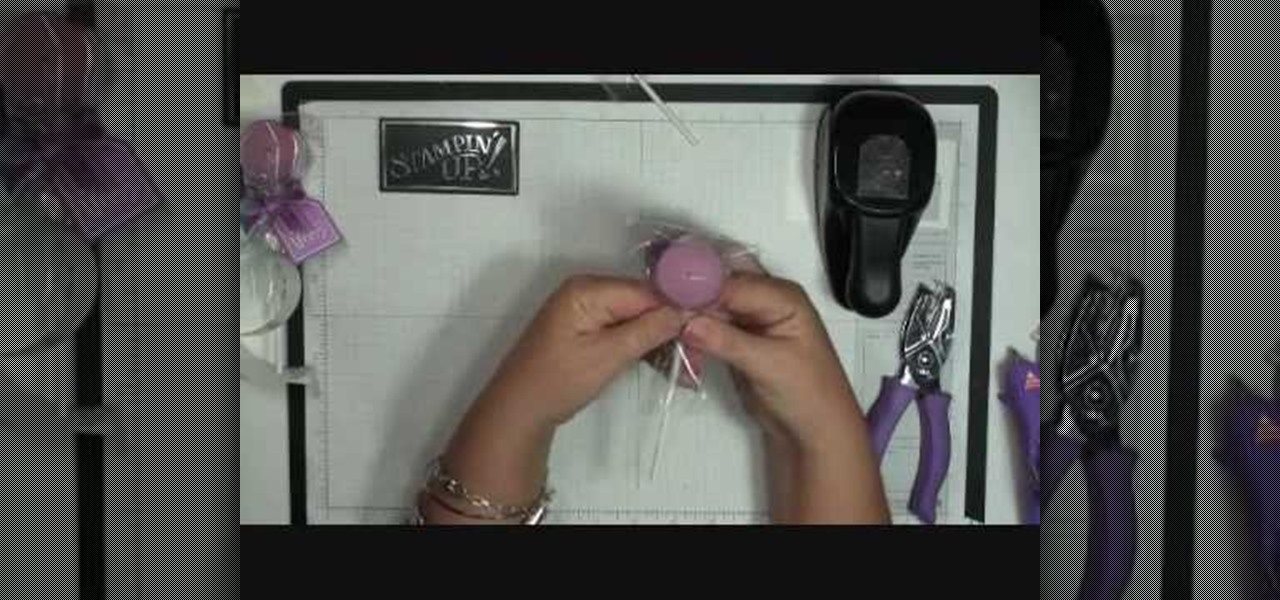
Dawn is all ready to show you how to make an adorable lollipop candle using just a few basic craft supplies and some handy items from Stampin' Up. With a tea-light candle, lollipop stick and cellophane bag you can turn an ordinary candle into the perfect gift. Learn how to use the Stampin' Up stamps and accessories to customize your lollipop candle to fit any occasion. Dawn's video will even cover tips on how to match your ribbon to the color of your stamp ink. These lollipop candles are the ...
To perform the color burst technique using Adirondack paint, you'll need to shake a new dabber really well. Then, you will need to turn it upside down onto a craft sheet, until the paint starts to come out evenly. Once if comes out evenly, you are ready to use. Make sure you recap it, whenever it isn't in use.
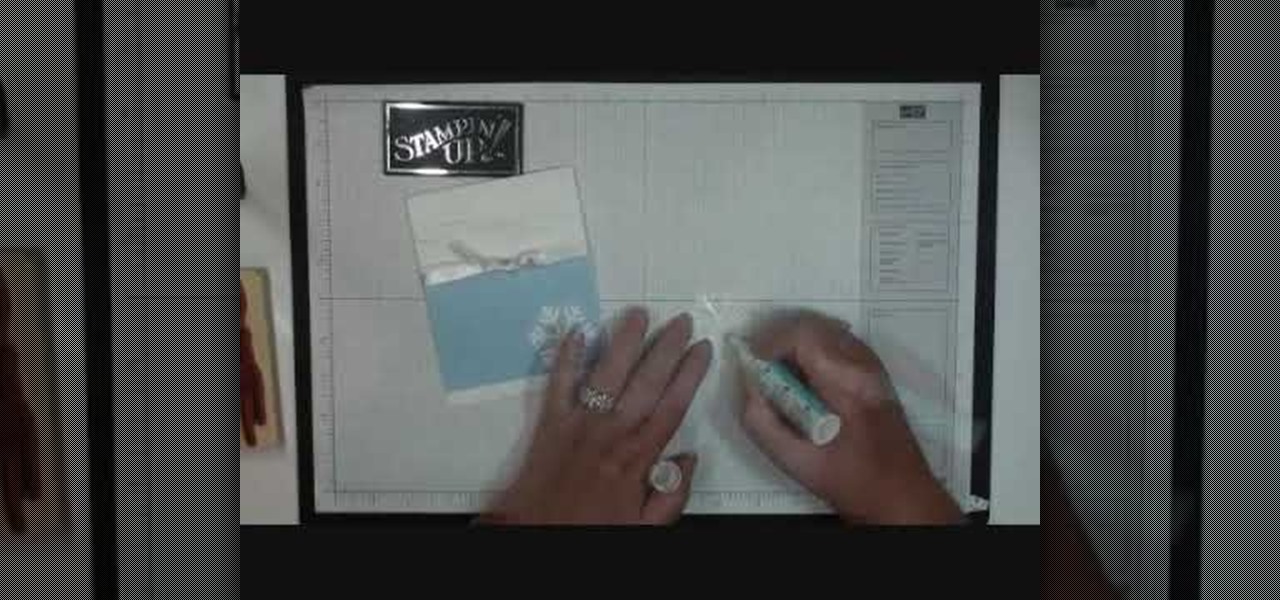
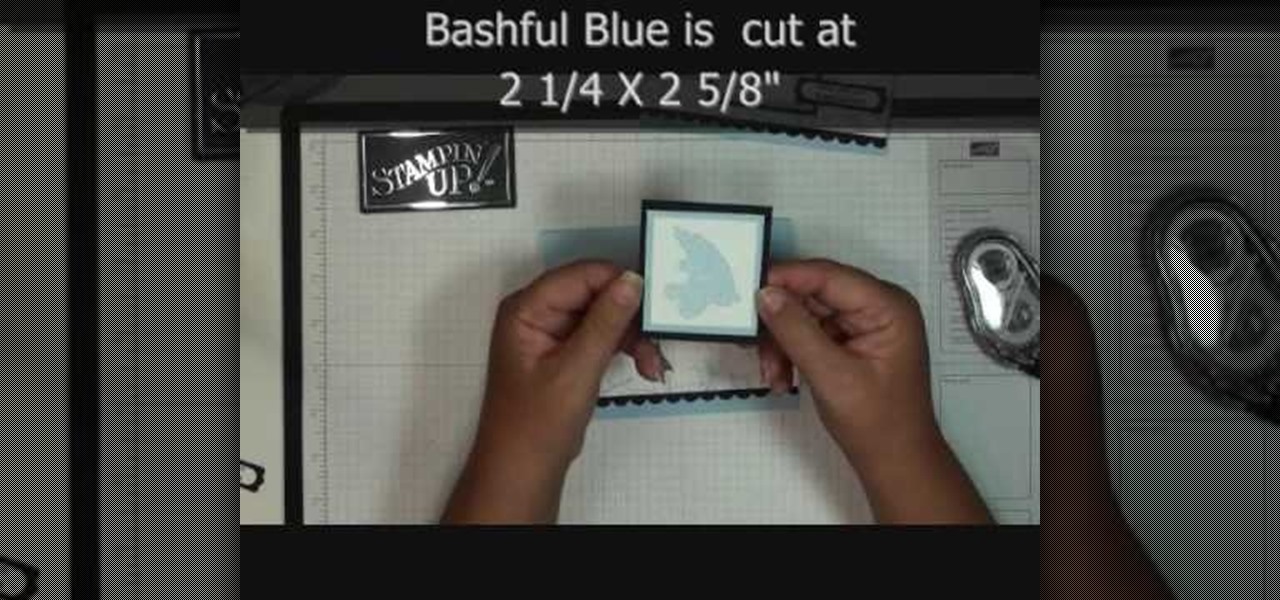
This video tutorial is in the Arts & Crafts category where you will learn how to make a quick and simple Christmas card with Stampin' Up! You will need the bashful blue classic ink, a bashful blue cardstock cut at 3" x 4 1/4", a piece of whisper white cut at 4 1/4" x 11" and scored at 5 1/2", a piece of whisper white organza ribbon and scrap cardstock for two snowflakes. Cut out the snowflakes with the jumbo snowflake punch. Stick the bashful blue on the whisper white cardstock. Using the hea...
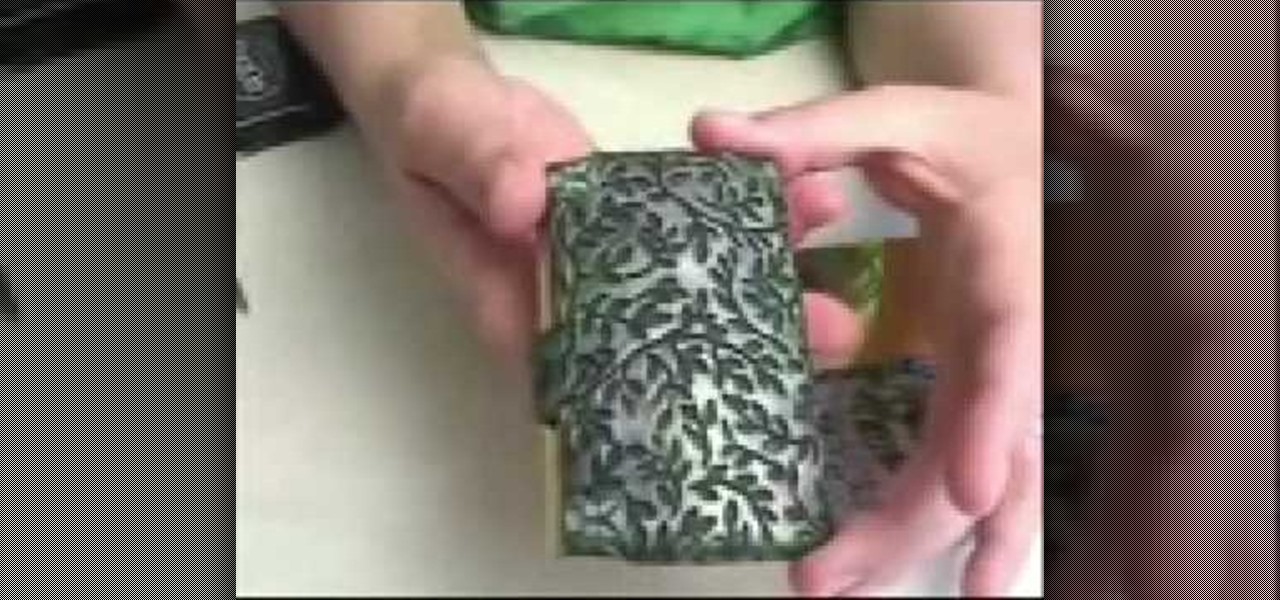
Ilysa Bierer and Kira Slye with Polymer Clay TV demonstrate how to make polymer clay business card holders. You can work cabochons into polymer clay to create business card holders. Stamp on clay and use clay with inclusions in it for a different look. First, get a plain business card case and work the clay over it. Add pigment inks, textured stamps and canes to dress up your business card holder. The clay can be baked right onto the metal and will adhere to it. Polymer clay adheres better to...
Learn how to use the Tim Holtz' Distress Crackle Resist technique with this tutorial that gives step by step instructions on applying this method to a Manila tag. Materials you will need include distress crackle paint, distress ink (for this project, in "Vintage Photo", "Fire Brick" and "Black Soot"), Inkssentials' ink blending tool, foam, nonstick craft sheet, Inkssentials' Mini Mister filled with water, heated craft tool, paper towel, stamp, and a Manila tag. After done, use this tag in a s...
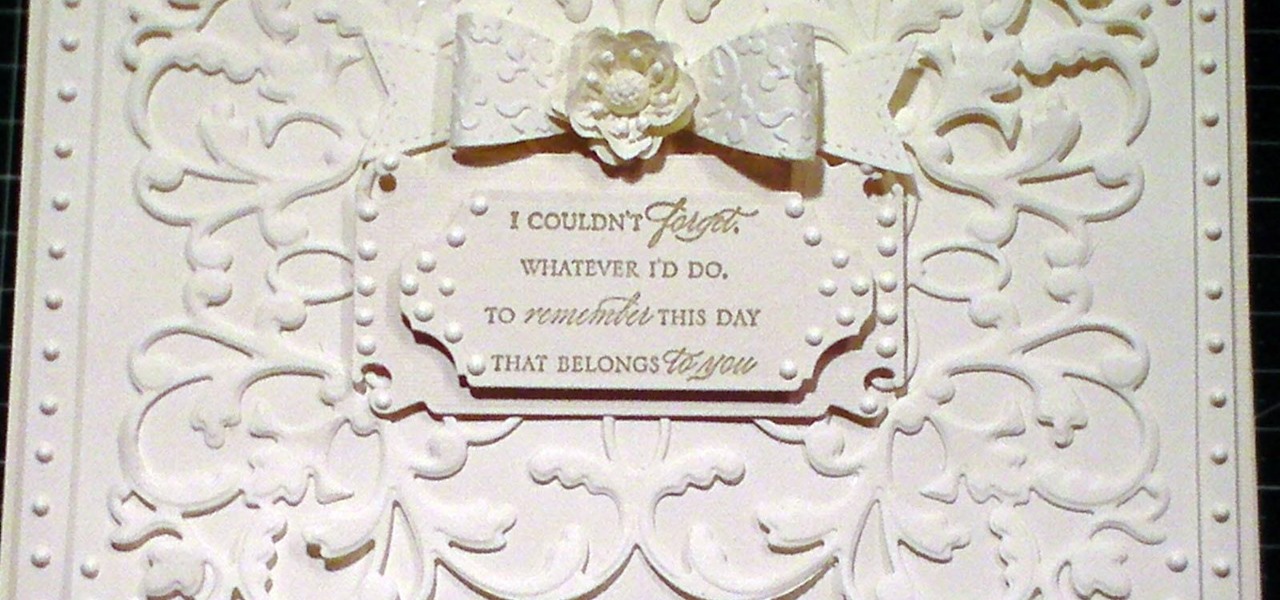
This cardmaking tutorial shows how to make a truly elegant and quick card, that could be made for so many special occasions. The card looks amazing in the Ivory tones and has the look for being embossed, however it is a simple die-cut. Step 1: Items Used
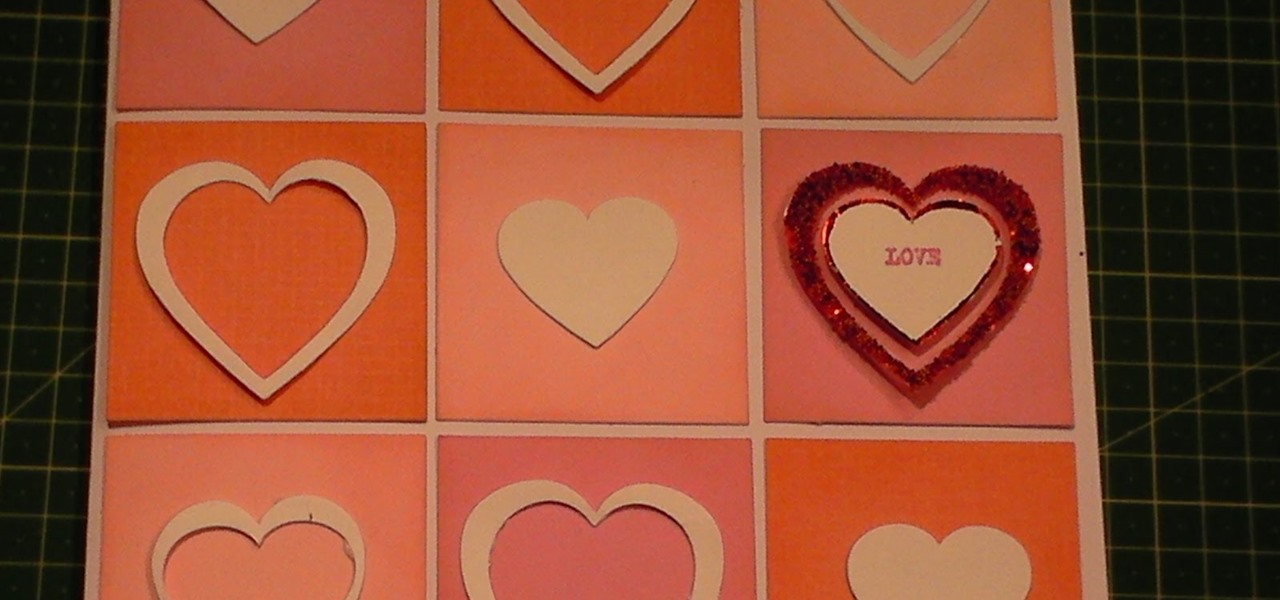
This card tutorial make a very modern style of card that is out of the ordinary for me.. However this is an easy and quick card, ideal for Valentines Day or a Love card or even a Wedding Card Step 1: Items Used
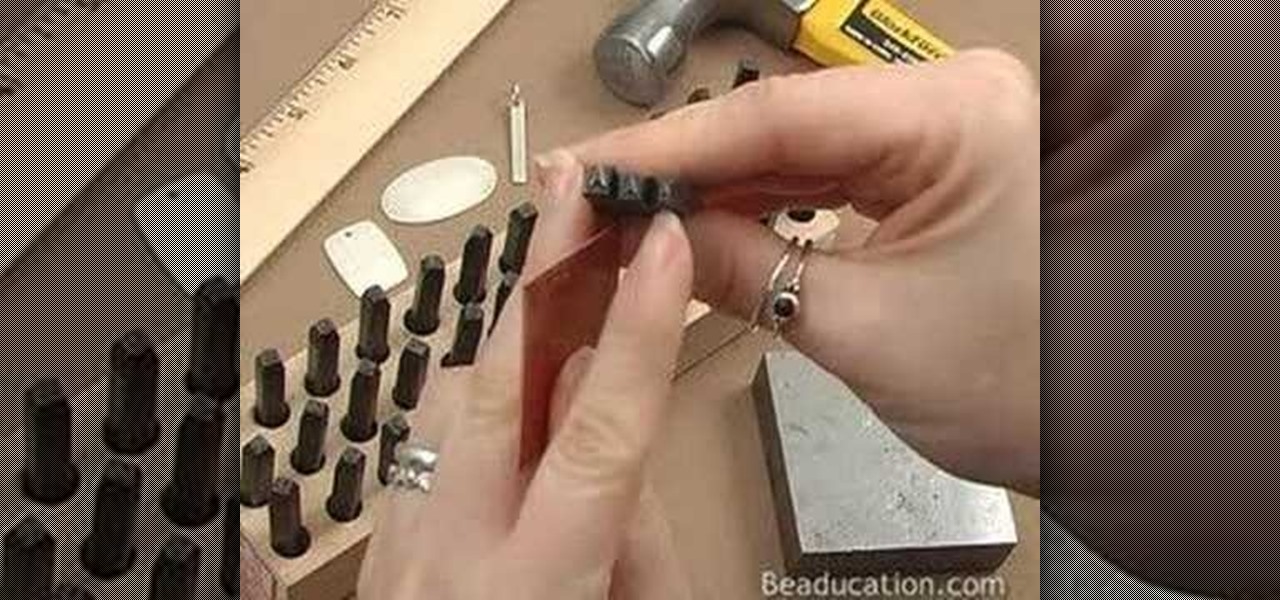
Join Lisa Niven Kelly from beaducation and learn all the basics on getting started with stamping. Learn how to personalize your jewelry by stamping on metal. In this demo, Lisa discusses the necessary tools and teaches you how to make a pendant by stamping on a metal blank, punching a hole, and oxidizing. So get out your letter stamps, bench block, and hammer and stamp away! Learn how to make a stamped pendant for jewelry making.
First of all you need an acrylic block, stamping pad, packet of rubber bands and a piece of paper. Open the rubber band packet and then you have to choose several rubber bands which are of same size. Now you have to get these rubber bands on your acrylic block. You can also use a wooden block or an old stamp instead of acrylic block. Now you have to sort out the rubber bands so that they are placed in order with a gap of around a quarter of an inch between each one. You also have to adjust th...
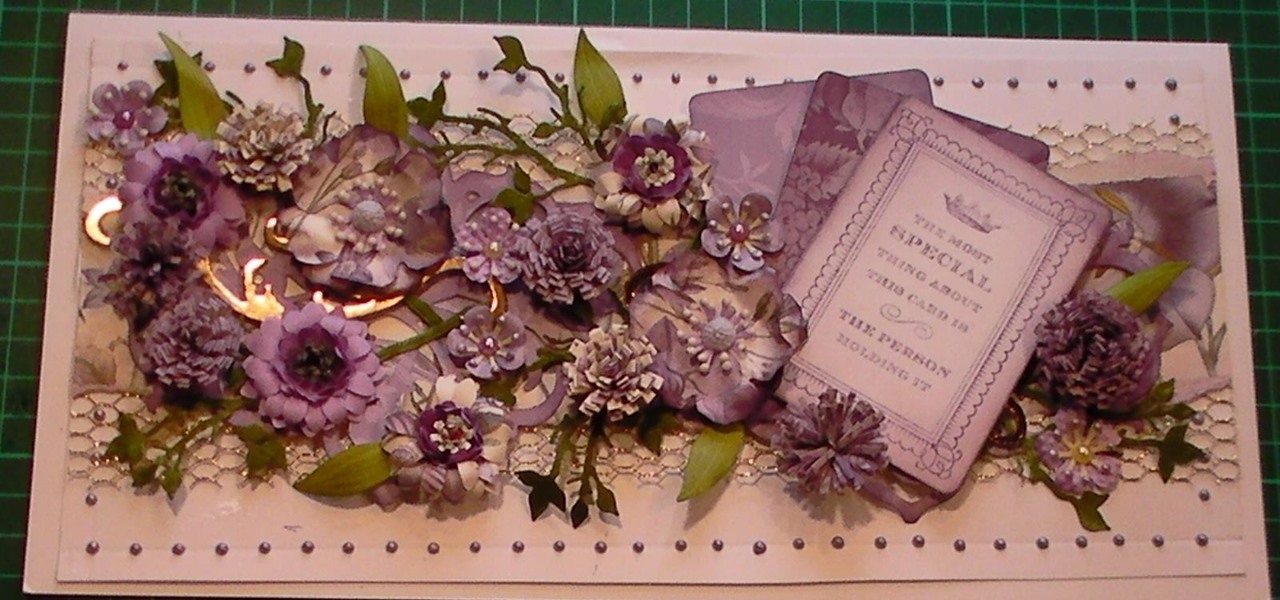
In this cardmaking demonstration I make a really pretty card using a range of pretty papers. The card is a 6x4in card and I go through the layers building up a beautiful card that could be made using any range of papers and any stamps for a multitude of occasions. Step 1: Items Used
This cardmaking tutorial shows you how I have made and built up this card using papers and flowers, with swirls and a stamped sentiment, all to create a fabulous card. Step 1: Items Used
When you hear the word "watercolor," the image of Monet sitting in his garden in Giverny slowly whittling monumental versions of his garden's lillies on canvas probably comes to mind. But you don't have to be a superstar painter to be able to create beautiful watercolor prints.
Let's face it, girls: Sometimes we're stuck five minutes before we have to head out for a party and we have the most inopportune beauty disaster. Whether it's our self tanner streaking and making us look more Snooki than sexy, or you accidentally got ink stains on your hands, there's often little time to take care of the problem.
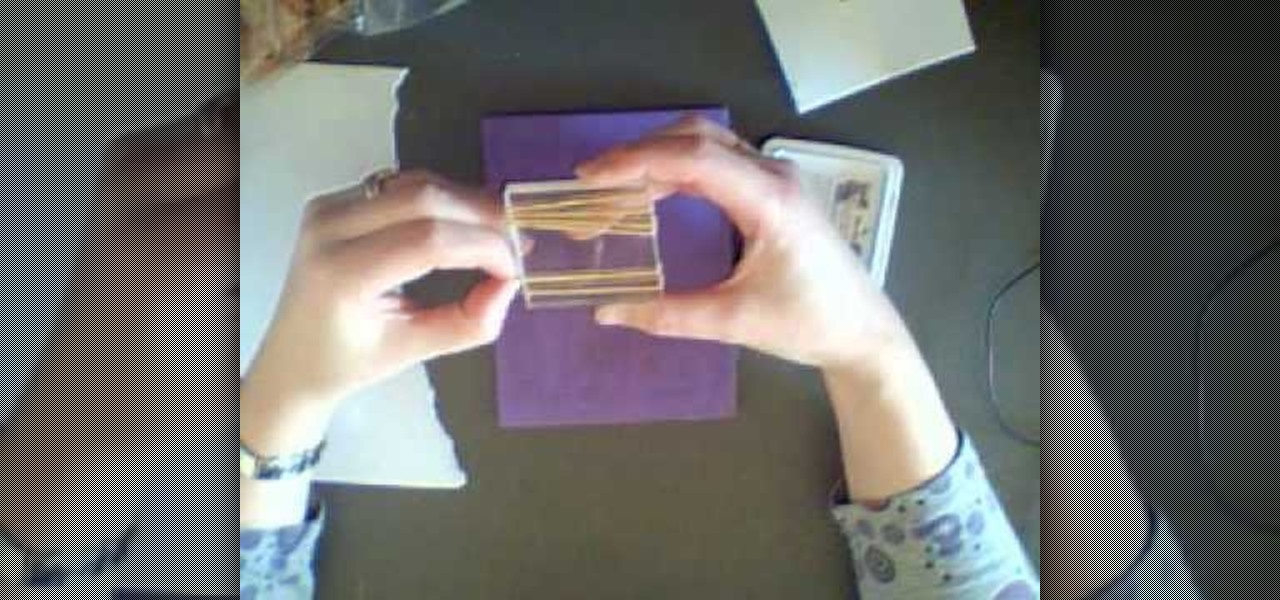
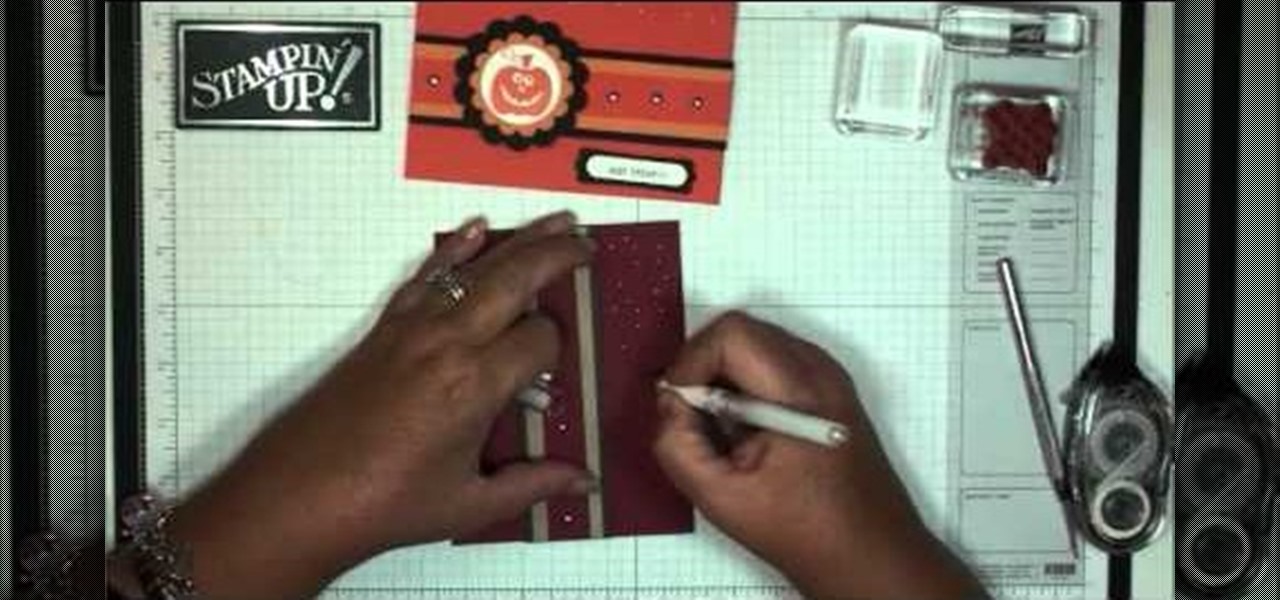
This video tutorial is in the Arts & Crafts category where you will learn how to use the rolling marble technique in scrapbooking. Take a piece of 2" x 5 1/2" whisper white. Then take the stamp set container with three marbles in it and add 4 -5 drops of color from a bashful blue refill inside the container. Then shake the container till the marbles get coated with the ink. Put some dotto on the back side of the whisper white and stick it to the inside top of the container. Flip it over and r...
In this tutorial, we learn how to create ink drop and spread effects. You will need: coffee filters, fish tank, dropper, black ink, water, and a bowl. Next, pour water into your fish tank, then pour your ink into the dropper. After this, add in water into the bowl and place the coffee filter in it to soak it, then place it on a flat surface. For the first effect, drop the ink into your water and see what it looks like when you drop it into the tank, getting this on tape and using the proper l...
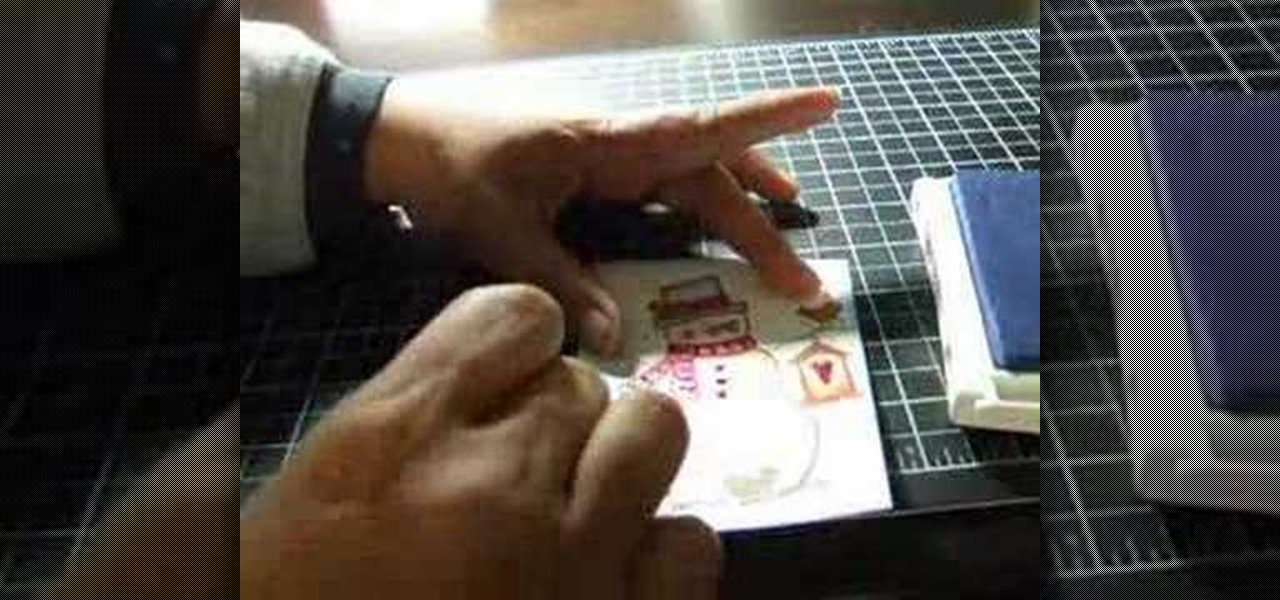
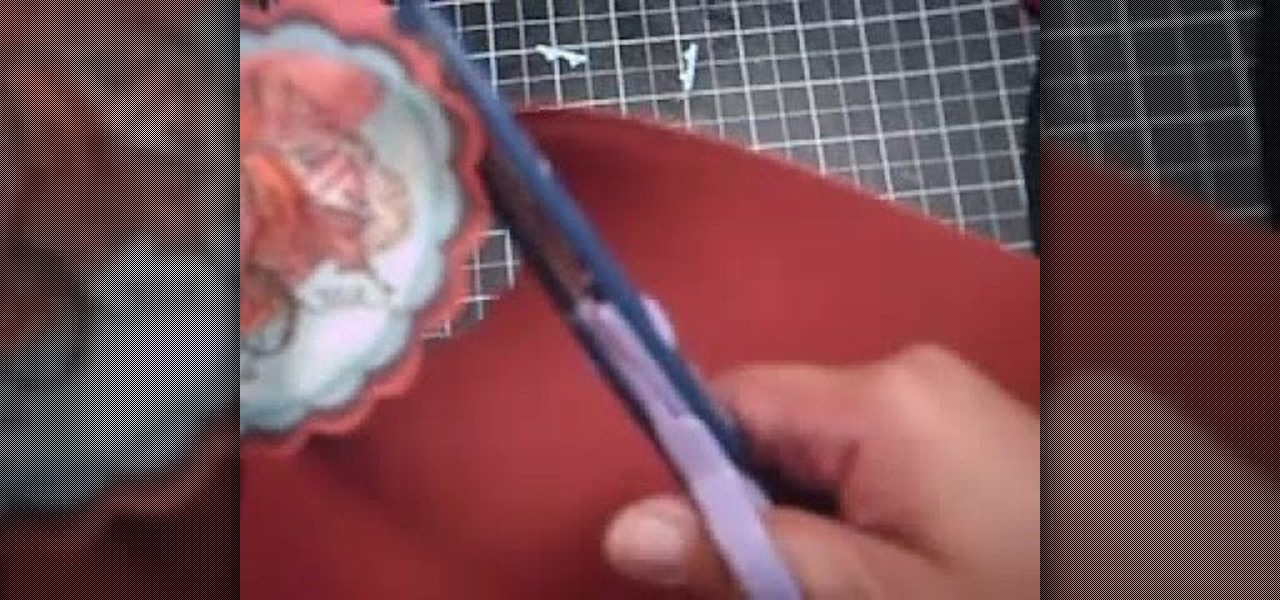
If you're an avid paper crafter, then you have probably been frustrated more than once when you're in love with a particular stamp but you only want to use one part of the stamp image and omit the other part. Rather than getting frustrated and simply stamping down everything at once, why not learn how to separate the image from the stamp?
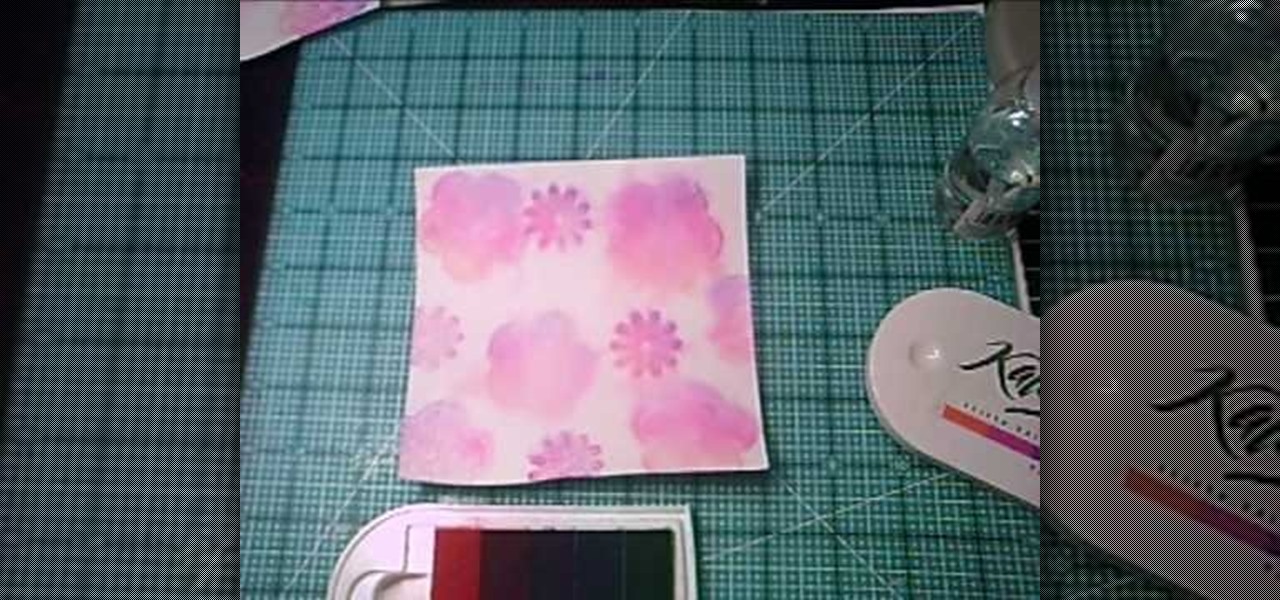
In this tutorial, we learn how to use the rubber stamp technique wet paper watercoloring. This is easy and fast and it will create a water colored background on your cards! First, dip your stamps into the watercolor and then stamp them onto your paper. Either wait for these to dry or dry them with a blow dryer. Once it's dry, go over the image again with the stamps and the watercolor. From here, it will appear more bold and decorative. Then, let this dry and start to decorate with ribbon, gli...
In this tutorial, we learn how to make a cute Thanksgiving card using stamps. First, cut an oval shape with an oval template. After this, you will stamp the image from the harvest home stamp set on watercolor paper. After this, outline the image with SU markers and color the image in with an aqua painter brush. From here, scallop the edges of the design to make it look more unique. Then, glue the stamp to the card stock and use it as the front of a card for the holidays! Experiment with diffe...
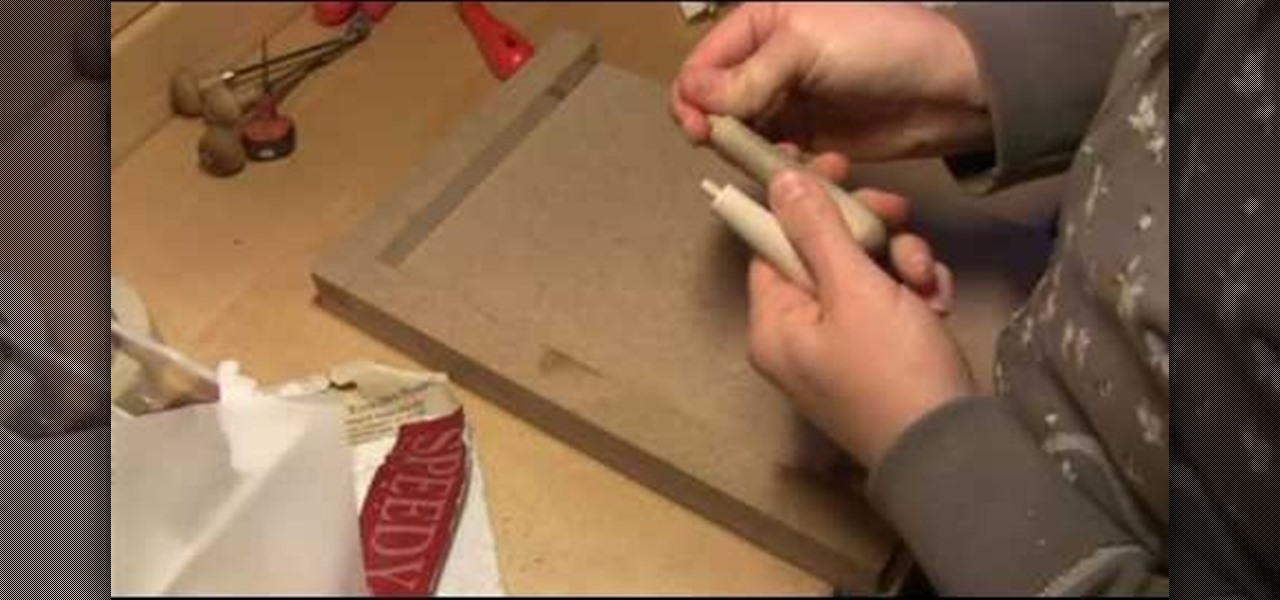
In this seven-part video tutorial, learn how to carve your own stamping printing block for your creative projects. These stamps can be used for anything from scrapbooking to art journaling and make for a wonderful addition to your project. For more information on how to construct these stamps, go here.
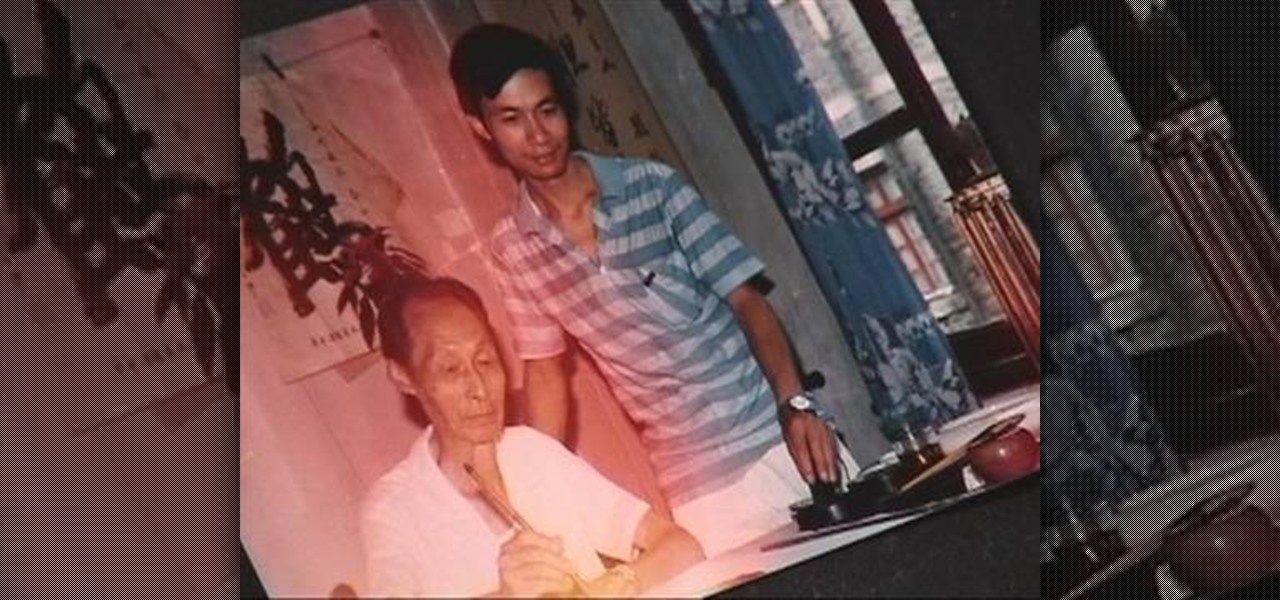
You can create handmade love letters and personal paper gifts by using your very own homemade ink. This video goes in depth on how you can make your own ink at home using an ink stick and ink stone. This is the traditional way that the Chinese make their ink to use in Calligraphy and brush painting. The ink stick is made of soot from burning oil. There are different grades of ink sticks according to the Chinese standard so watch for that when you are purchasing these supplies. The ink stone i...
Looking for easy craft ideas? Learn how to use stamps to decorate your scrapbook or greeting card in this free video series about the techniques of stamping.
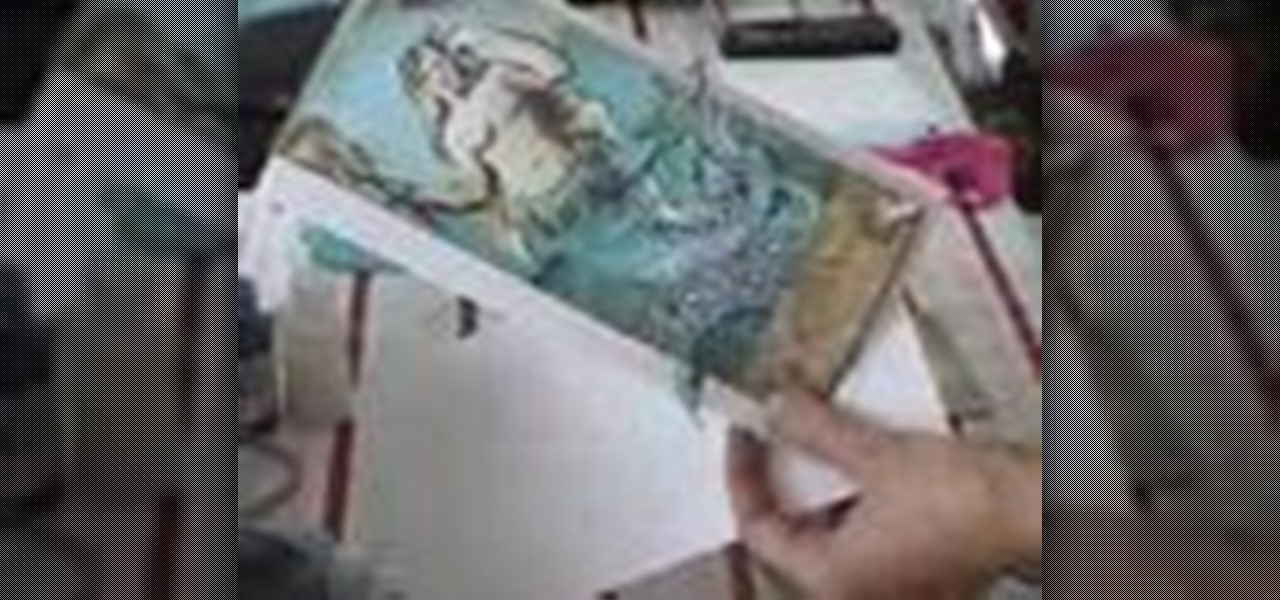
This is the first of 4 scrapbooking How-To's of working on My Mermaid Birthday Party invitations. This is a very in-depth how to, scrap, stamp, use ribbon and yarn in scrapbooking, distress with fun inks, improvise, tear paper, and glitter.
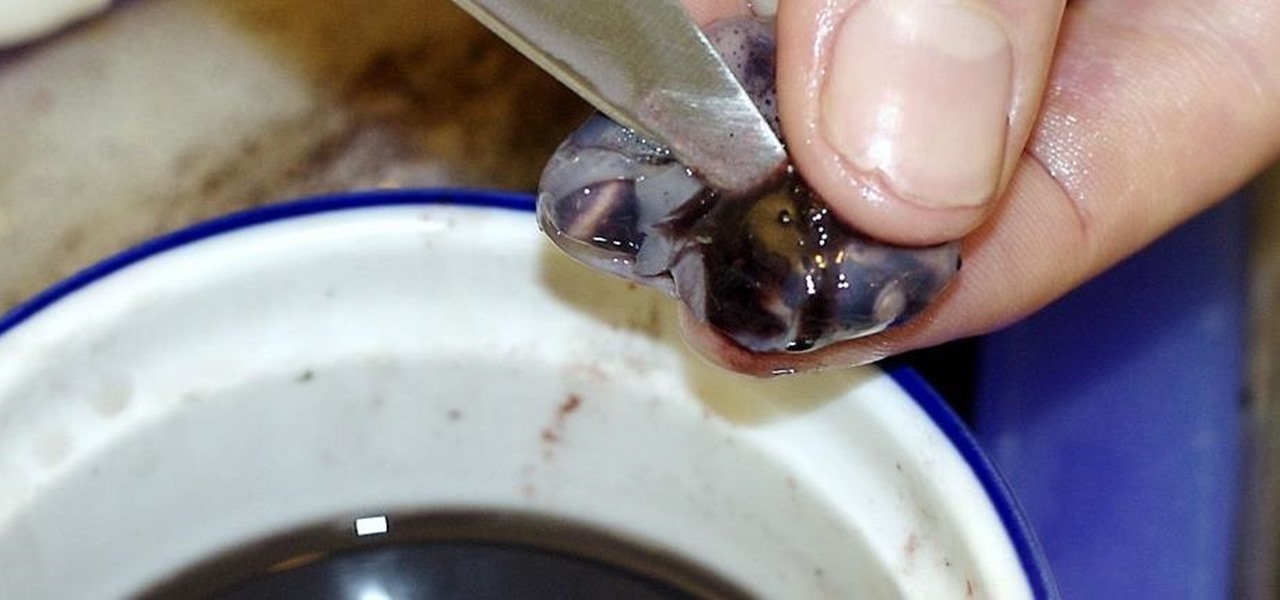
This is an Instructable by canida on how to harvest squid ink. Clean your own squid, and collect ink for printing or cooking!
Find out the best ways to use the creep swab in Houdini. An architect in New York came up with a very clever means of distributing various shapes onto a surface using a creep swab. So, if you want to know how it's done, watch this two-part video, which focuses on using the creep tool in conjunction with copy stamping to achieve some unique results in Houdini 9.
In this how-to video, you will learn how to convert your wood mounted stamps to clear mounts. First, be careful and go slow if your stamps are already mounted on wood. You will need stamps and an EZ mount. Find a spot where the image fits and trim it around the stamp. Once this is done, remove everything from the rubber. Next, peel back the sticky side of the EZ mount piece that has been cut. Now, position the piece so that it is completely covered. Trim the excess EZ mount. Make sure you use...